

This is how we used gel stain over an existing wood stain to create a rich, uniform finish.
In This Post
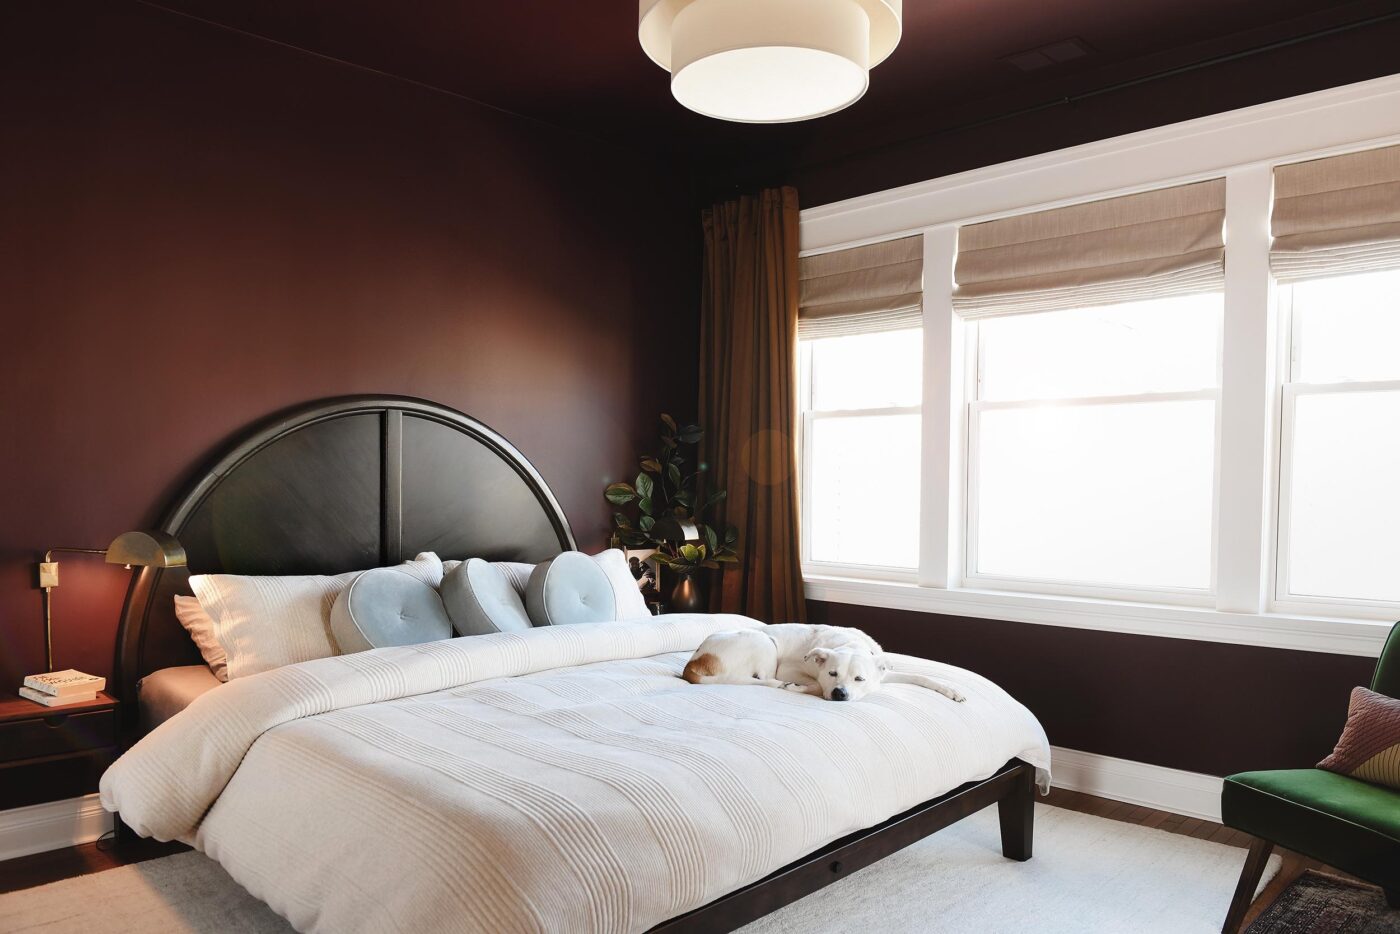
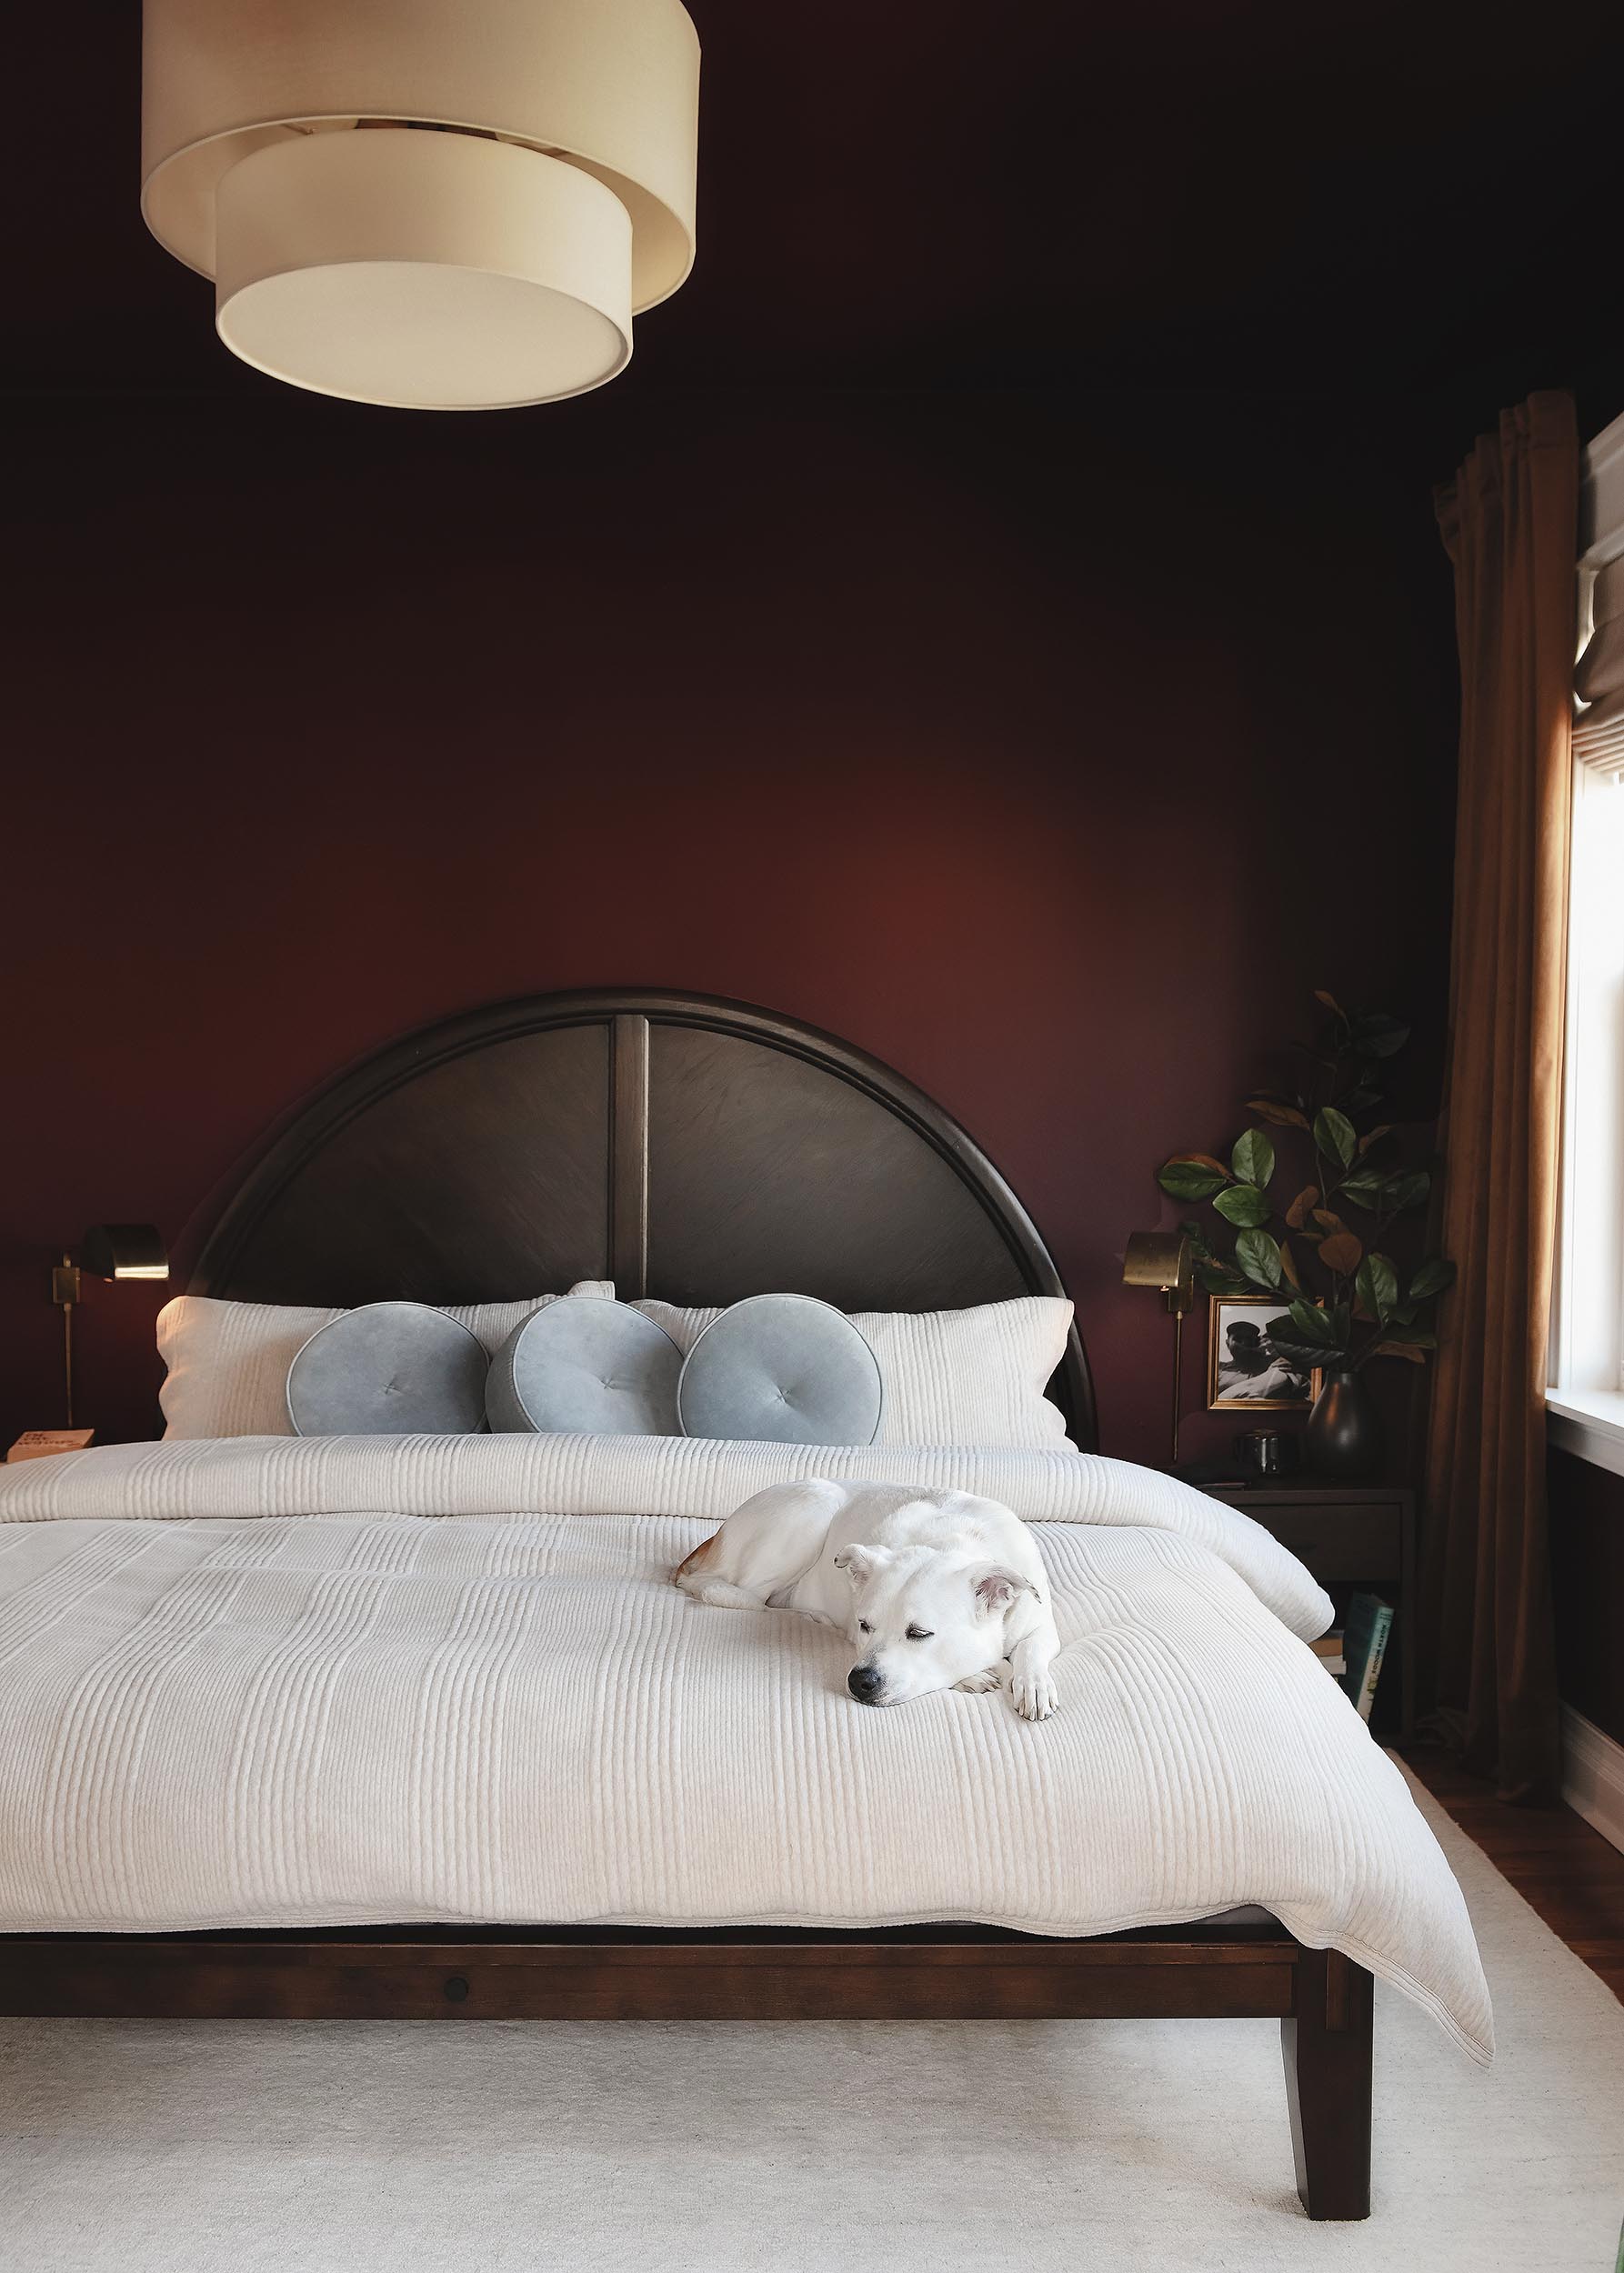
Giving Our Tired Headboard a Makeover
We’re so happy you are enjoying our bedroom refresh as much as we do! It’s been an absolute dream to tuck ourselves in at night and wake up to a new day. In case you missed it, you can see the full makeover and all room sources right here!
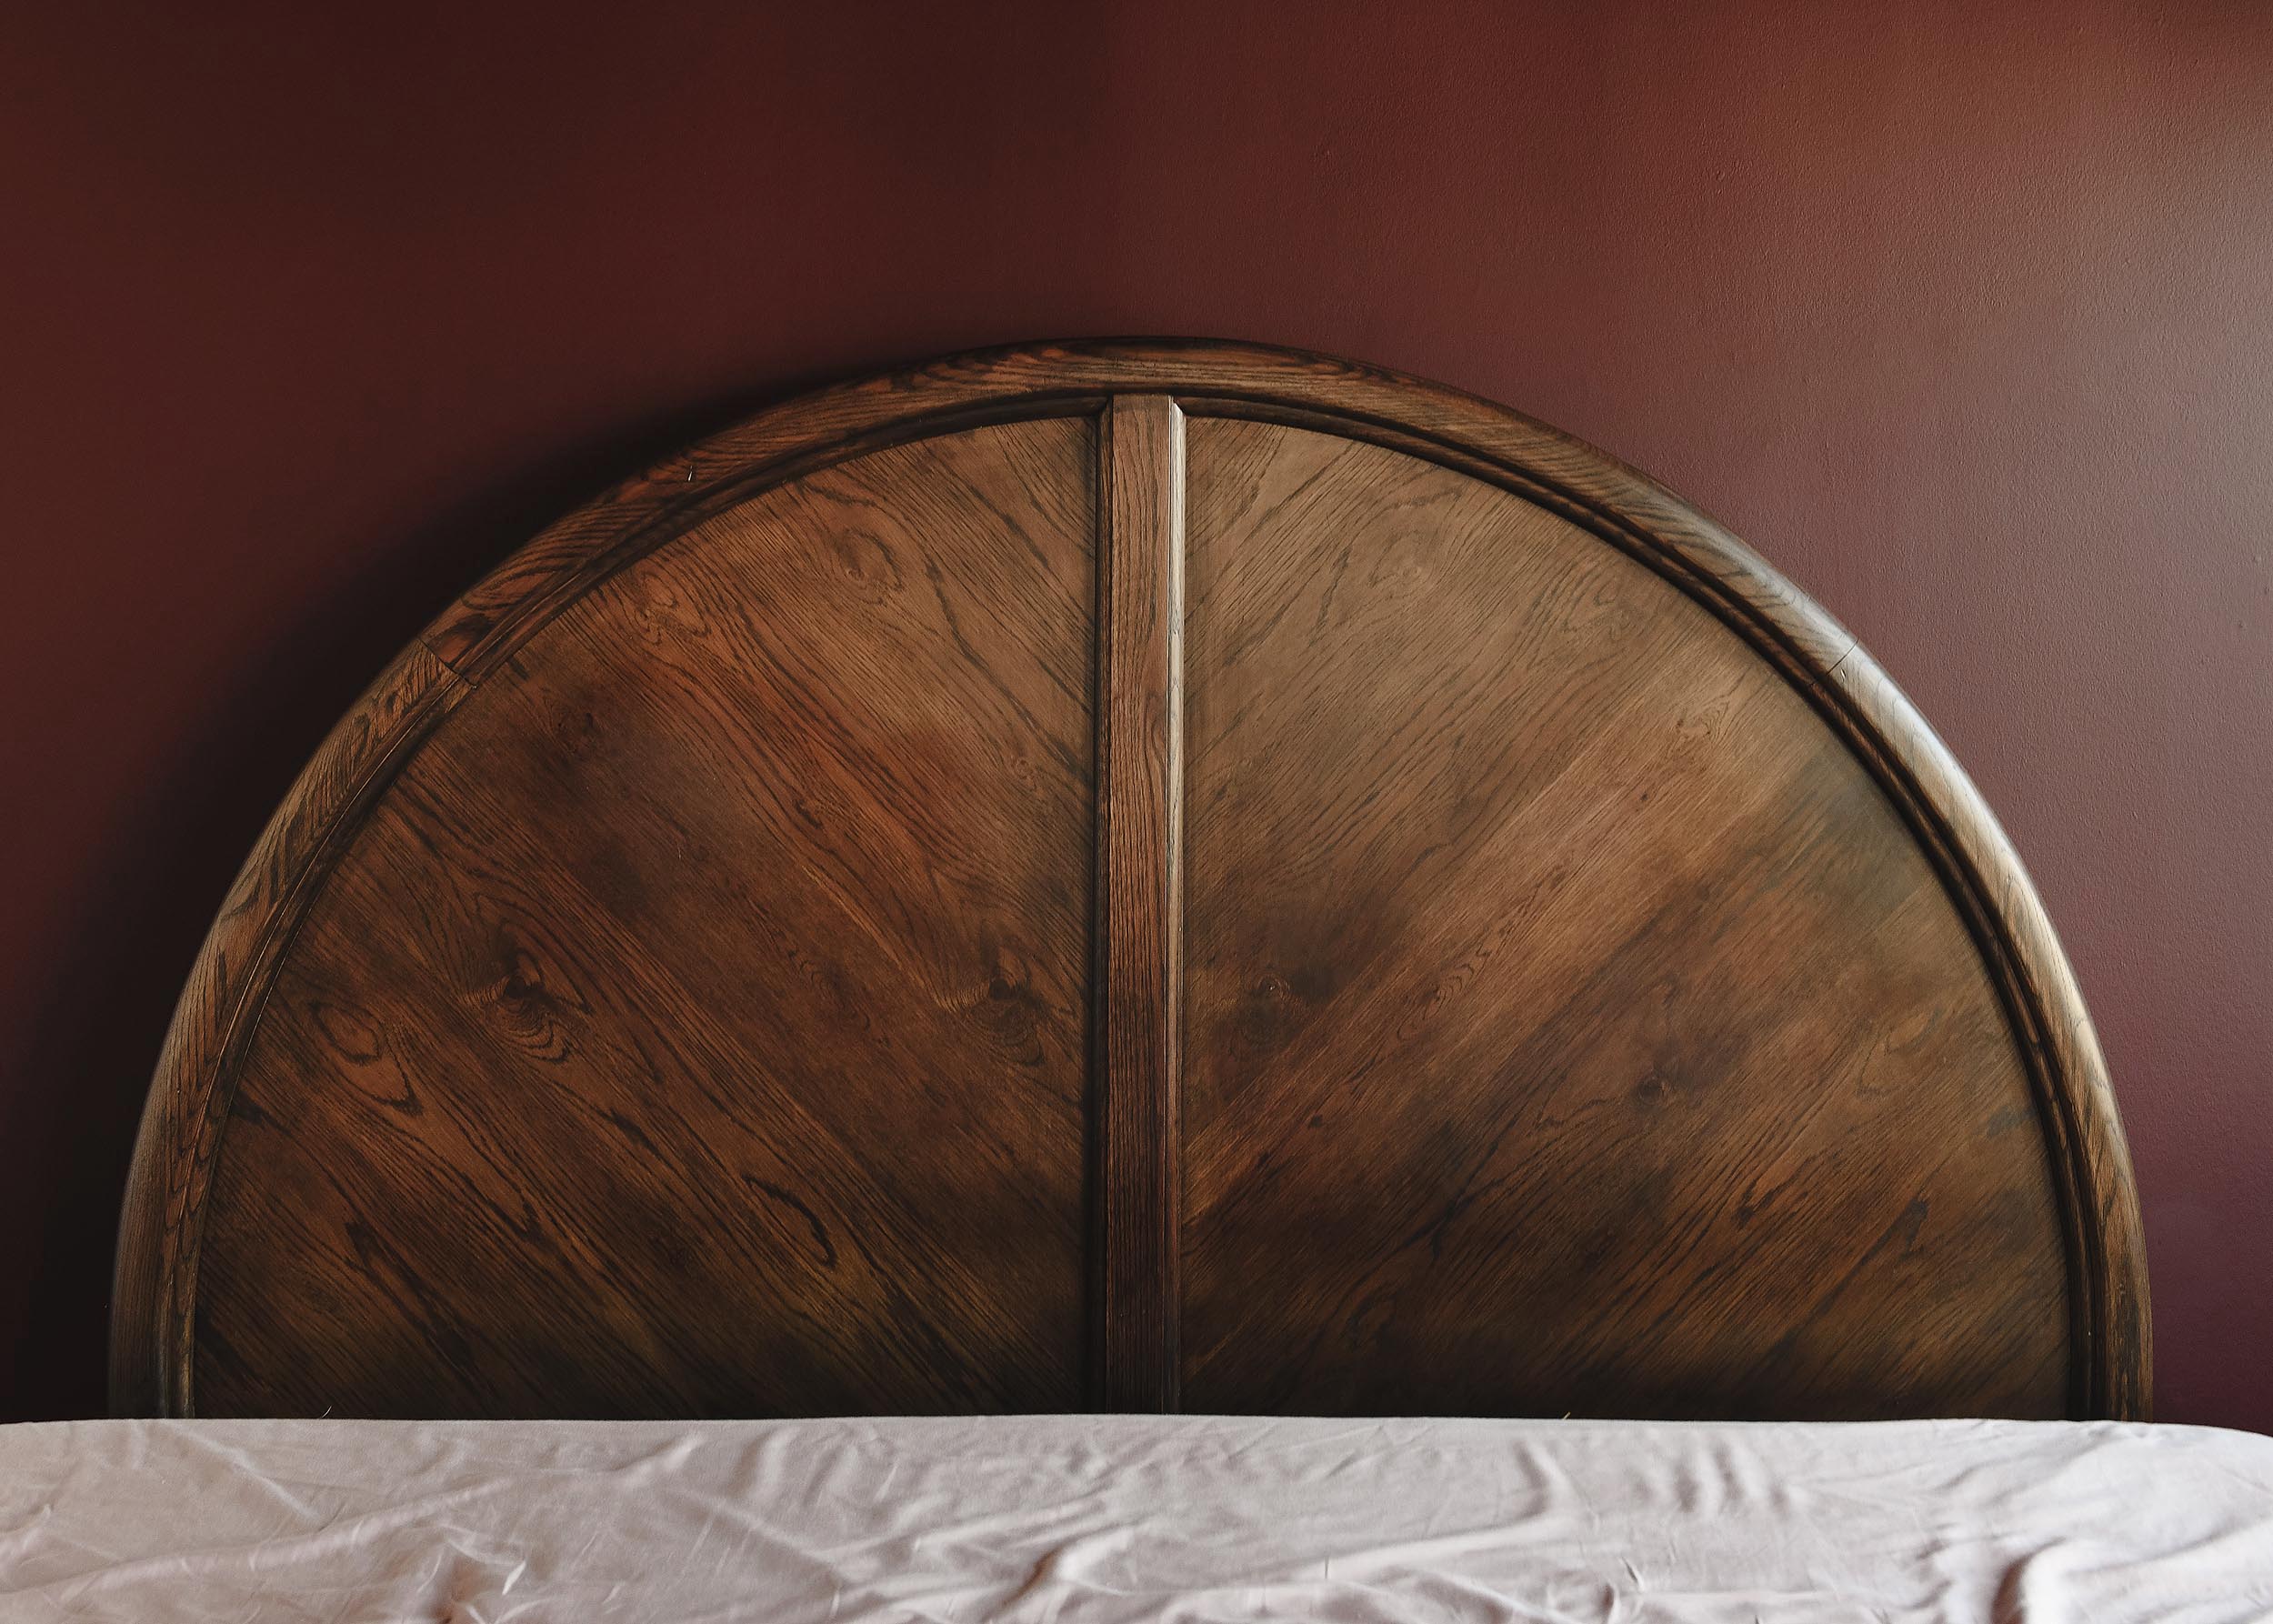
One of my favorite little upgrades was giving our tired headboard a makeover. We found this headboard on Craigslist many years ago, and originally, it was stained a bright honey oak. We sanded it down to bare wood and darkened it up with some walnut stain. It instantly looked more chic, but with the new paint color on the walls, I was itching to go even darker on our headboard. I wanted to see the wood grain, but I craved a deeper, richer color – and I wanted to swap the finish from satin to matte.
Why Gel Stain?
She’s still cute, but there’s room for improvement! Gel stain is a great option if you have wood furniture with an existing finish, and you’re looking to avoid stripping it completely. It also offers a thicker, more uniform coverage. A traditional stain needs a porous material (aka, wood) to absorb into, whereas gel stain sits ‘on top’ of the surface. Because of this, gel stain will cover more of the wood grain than a traditional stain, but you can also use it on any non-porous surface! For example, I’ve seen gel stain used as an option to create a ‘faux bois’ look on painted furniture.
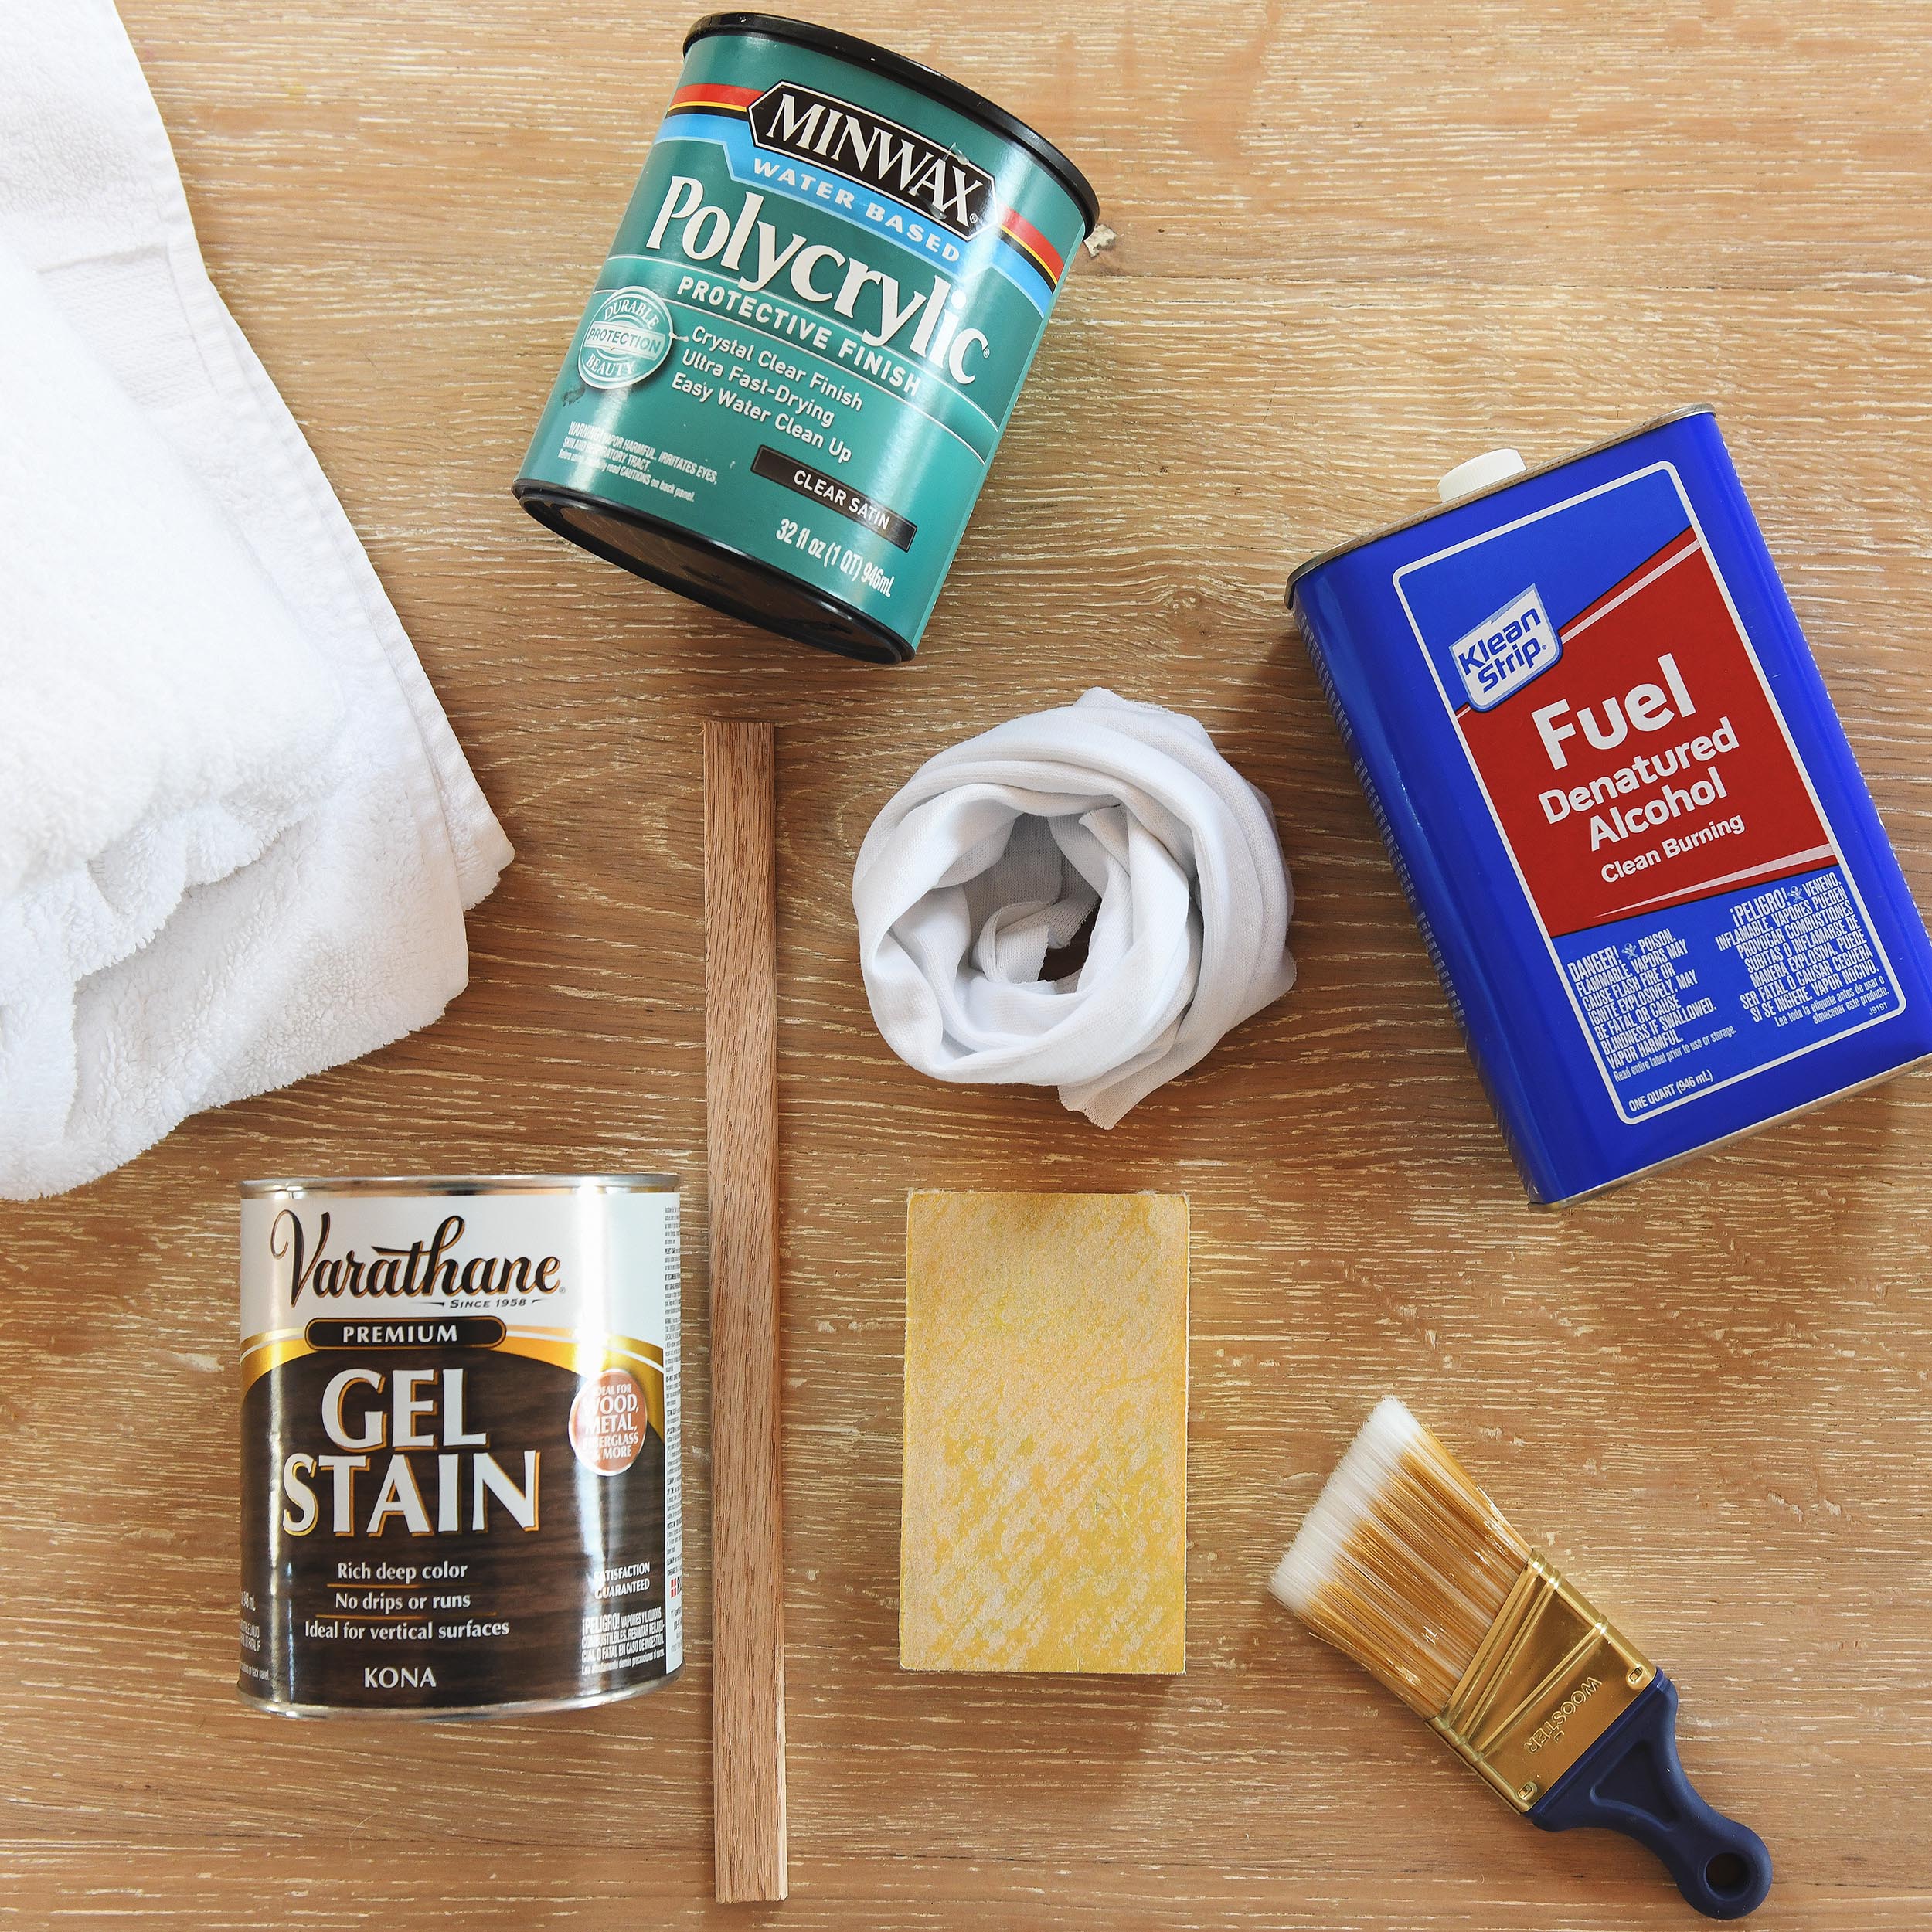
This was my first time using gel stain, and I was fearful it would be tricky to work with. I’m happy to report that it was actually easier than I expected, and I’d absolutely use this method again! So let’s gather our supplies, and keep reading for the step-by-step.
Here’s What I Did
A quick note: After the supply photo was taken below, I ultimately switched to Polycrylic in a matte finish. I find that the matte finish still has sheen, whereas satin will add a touch of semi-gloss.
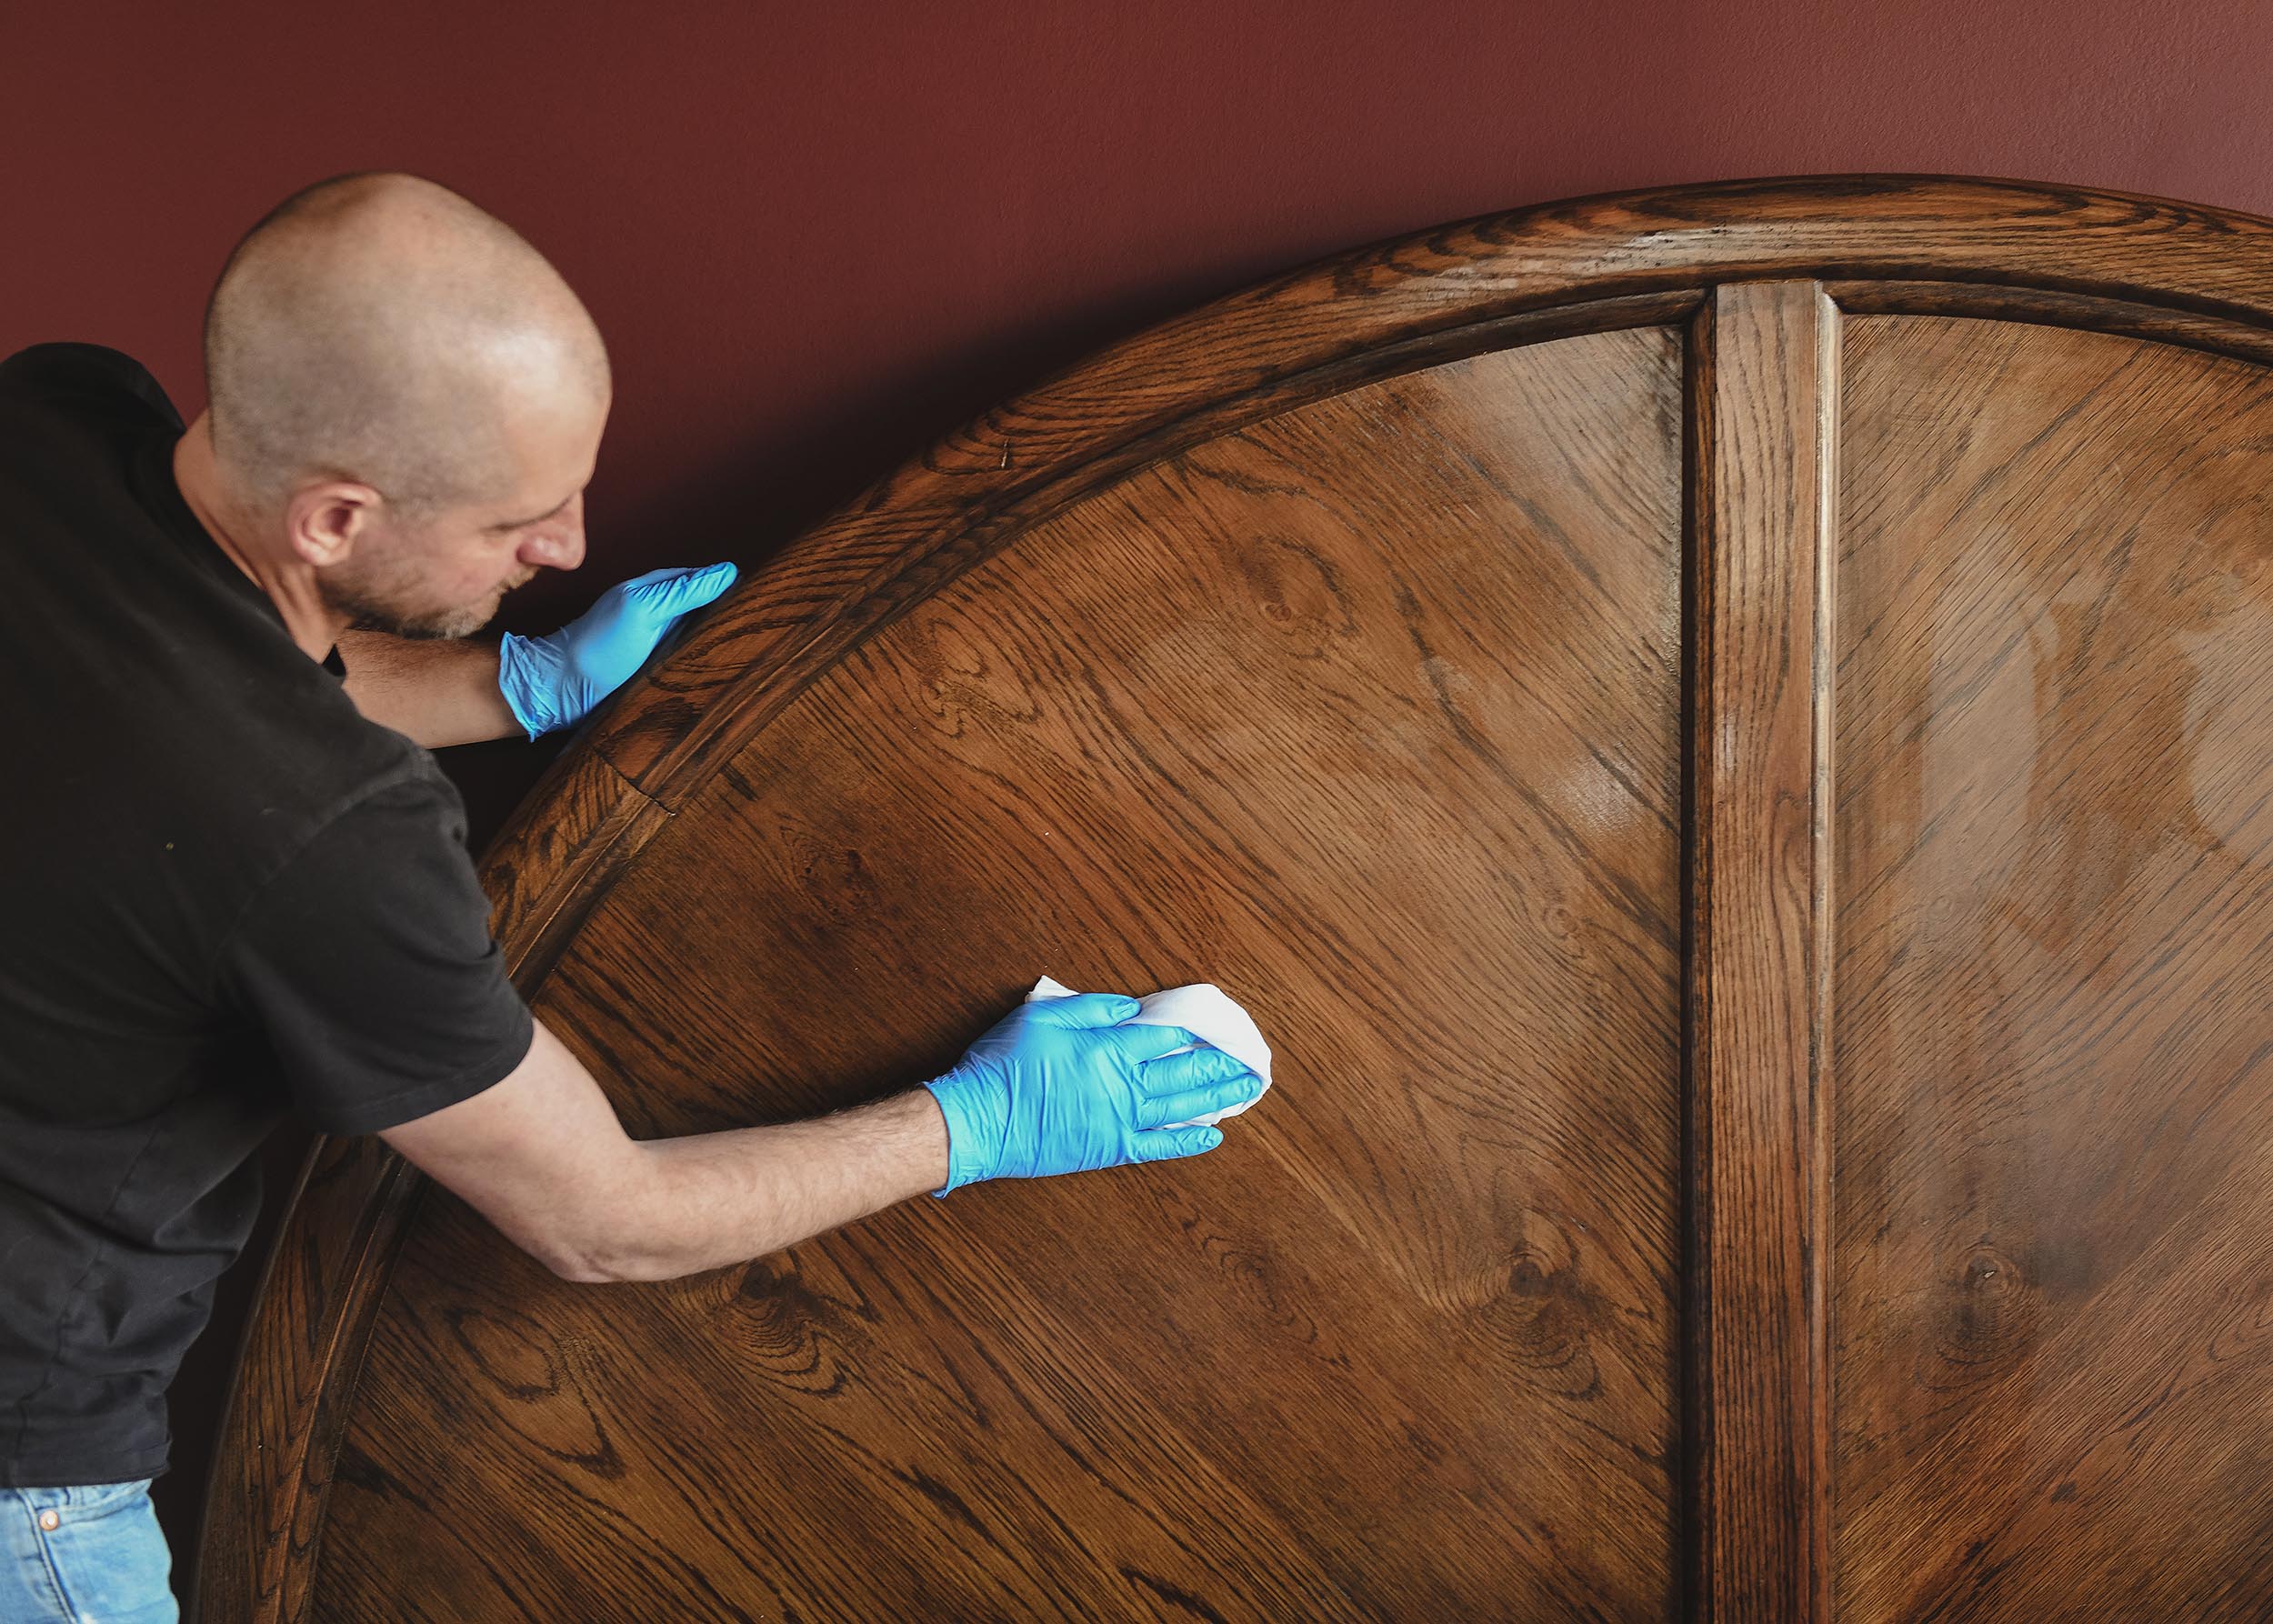
1| Clean the Wood Thoroughly
For the stain to adhere properly, you want to make sure there is no dirt, grime or oils on the surface. The easiest way to quickly remove all of this is by protecting your hands with nitrile gloves, saturating a lint-free rag with denatured alcohol and wiping down the surface. It will evaporate and dry quickly!
Note: If you don’t have denatured alcohol on hand, you can also use isopropyl alcohol, the same alcohol you likely have in your medicine cabinet.
2| Give an Overall Light Sand to Existing Finish
I prefer to use sanding sponges, as they’re easier to hold and flexible enough to get into grooves. To prepare for gel stain, all we want to do is lightly sand the entire piece with a high grit sandpaper, such as this 220 grit sanding sponge.
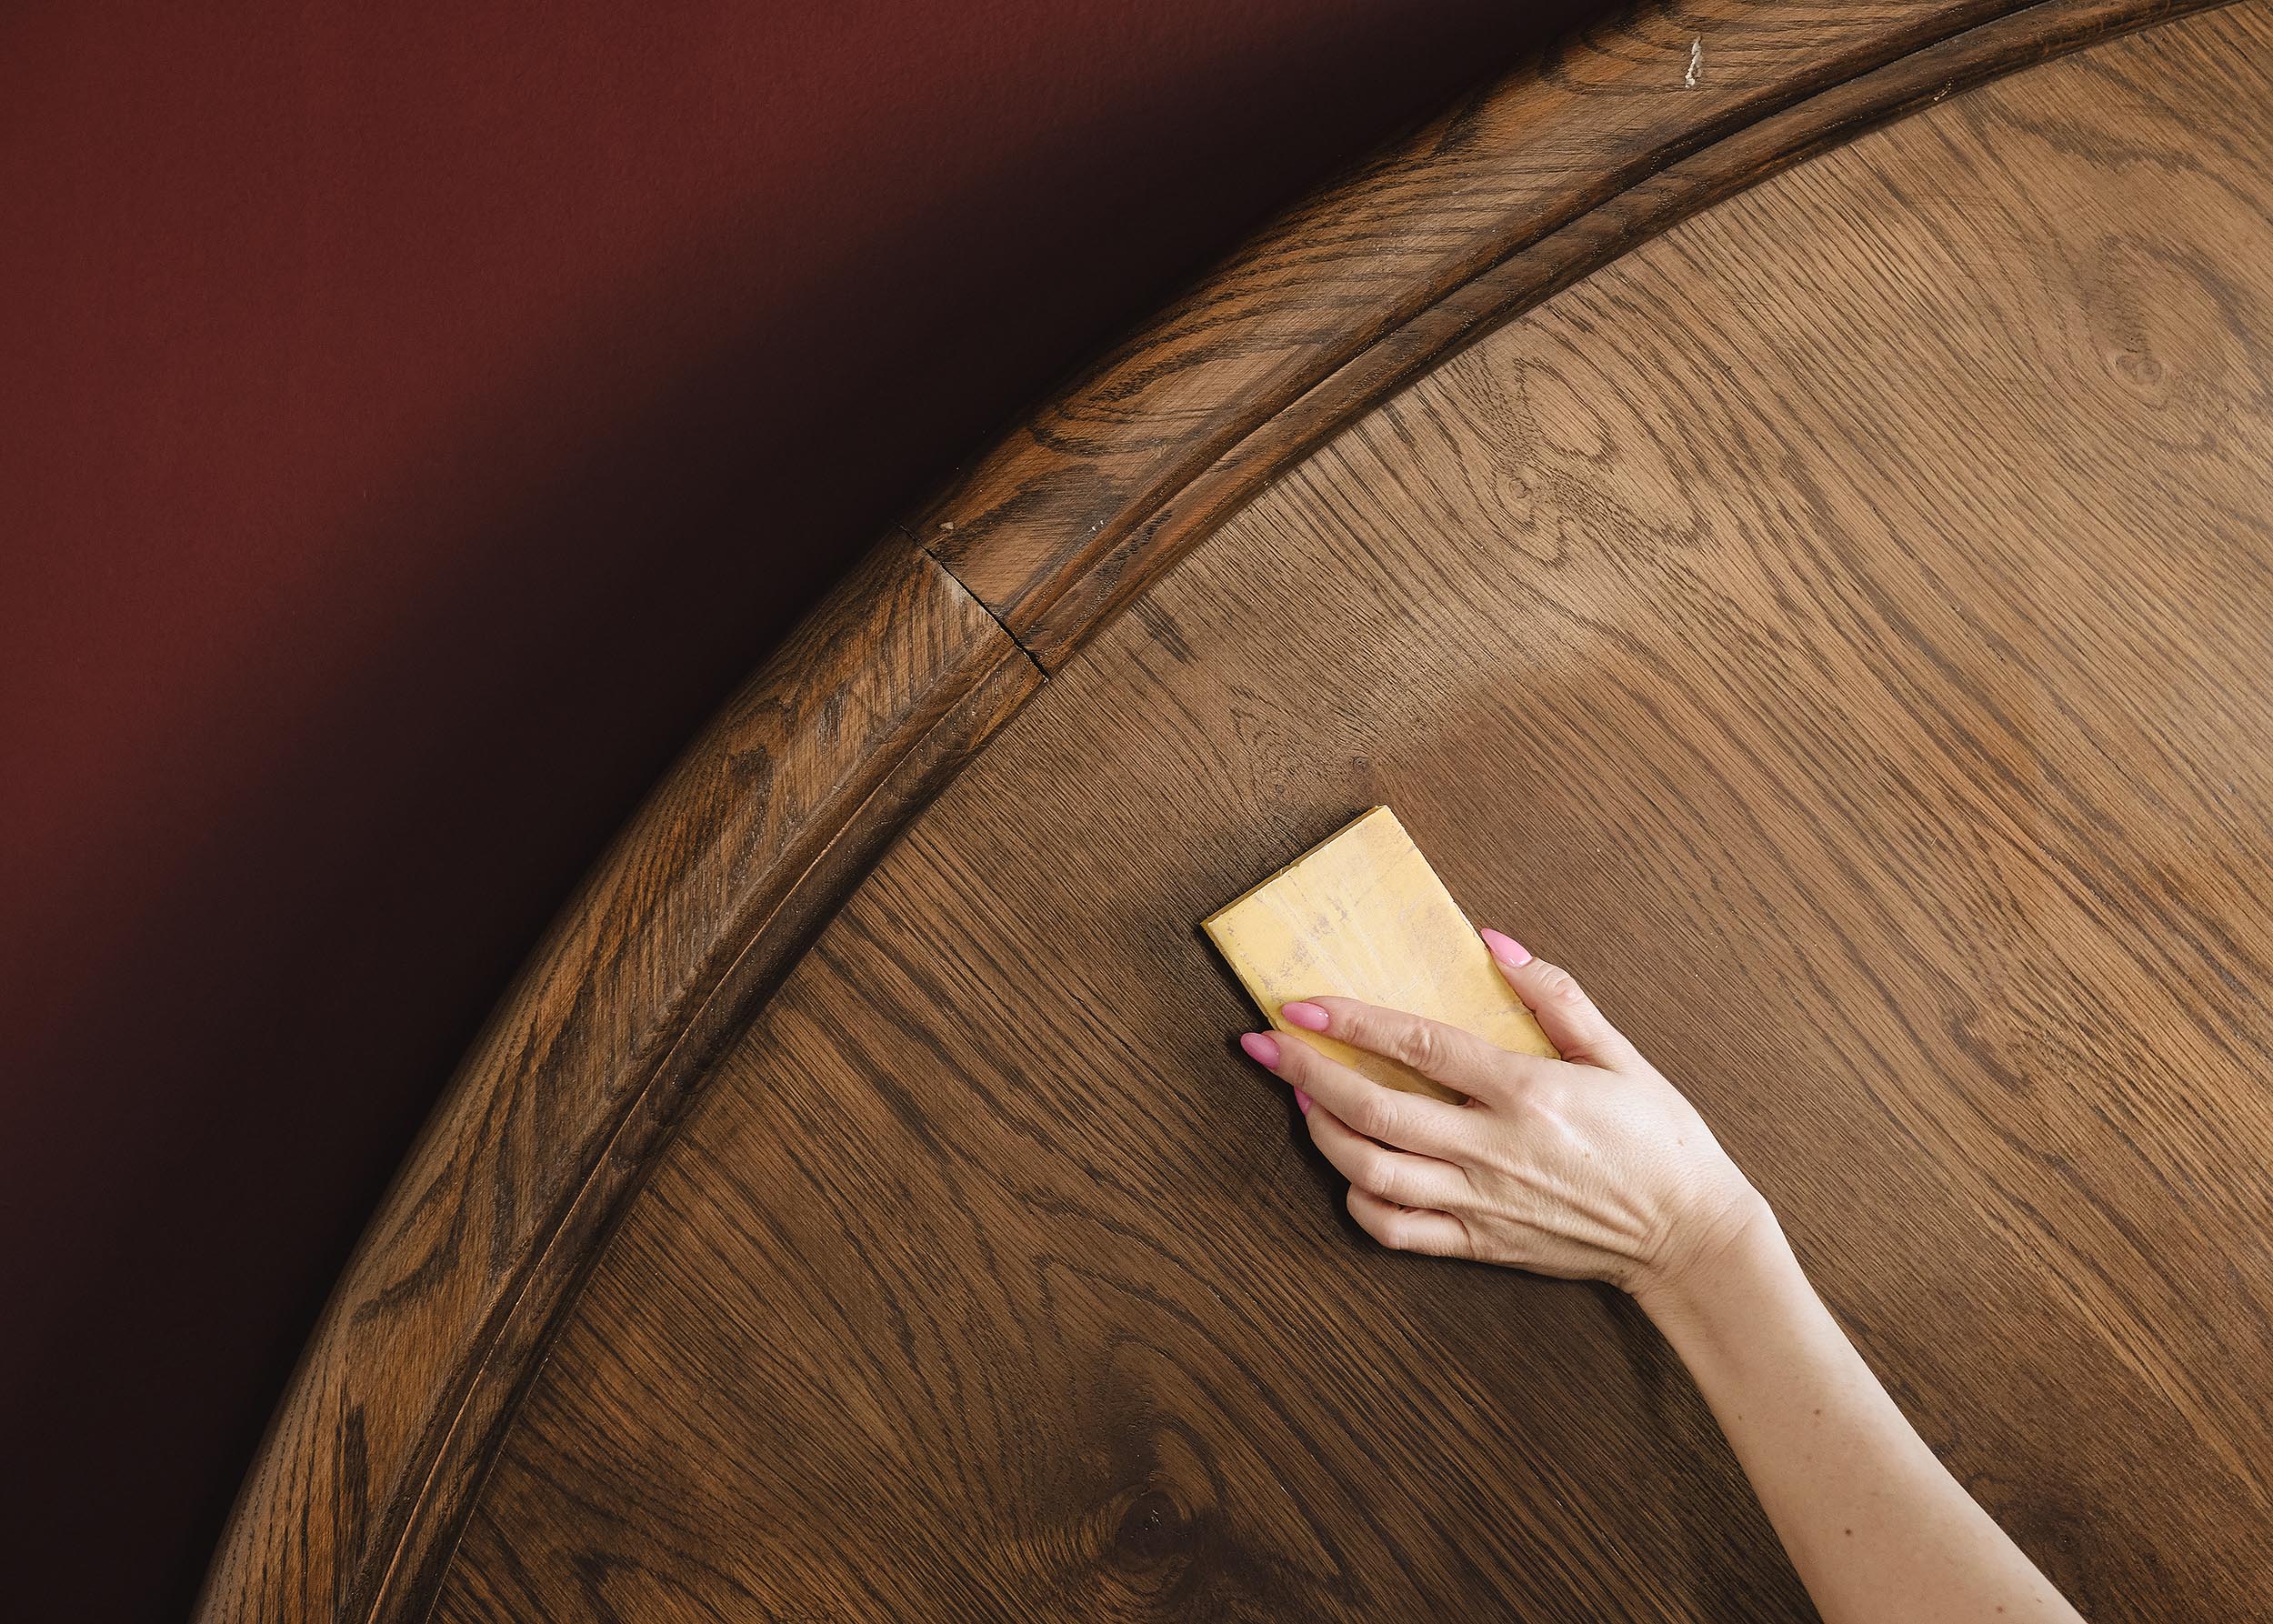
The goal is not to remove the finish! At this point, we’re just microscopically roughing up the existing finish so that our gel stain has something to bite on to. In this example, I sanded this entire headboard with large sweeping motions in under 3 minutes. Before moving on to the next step, use a clean lint-free rag to wipe off the furniture.
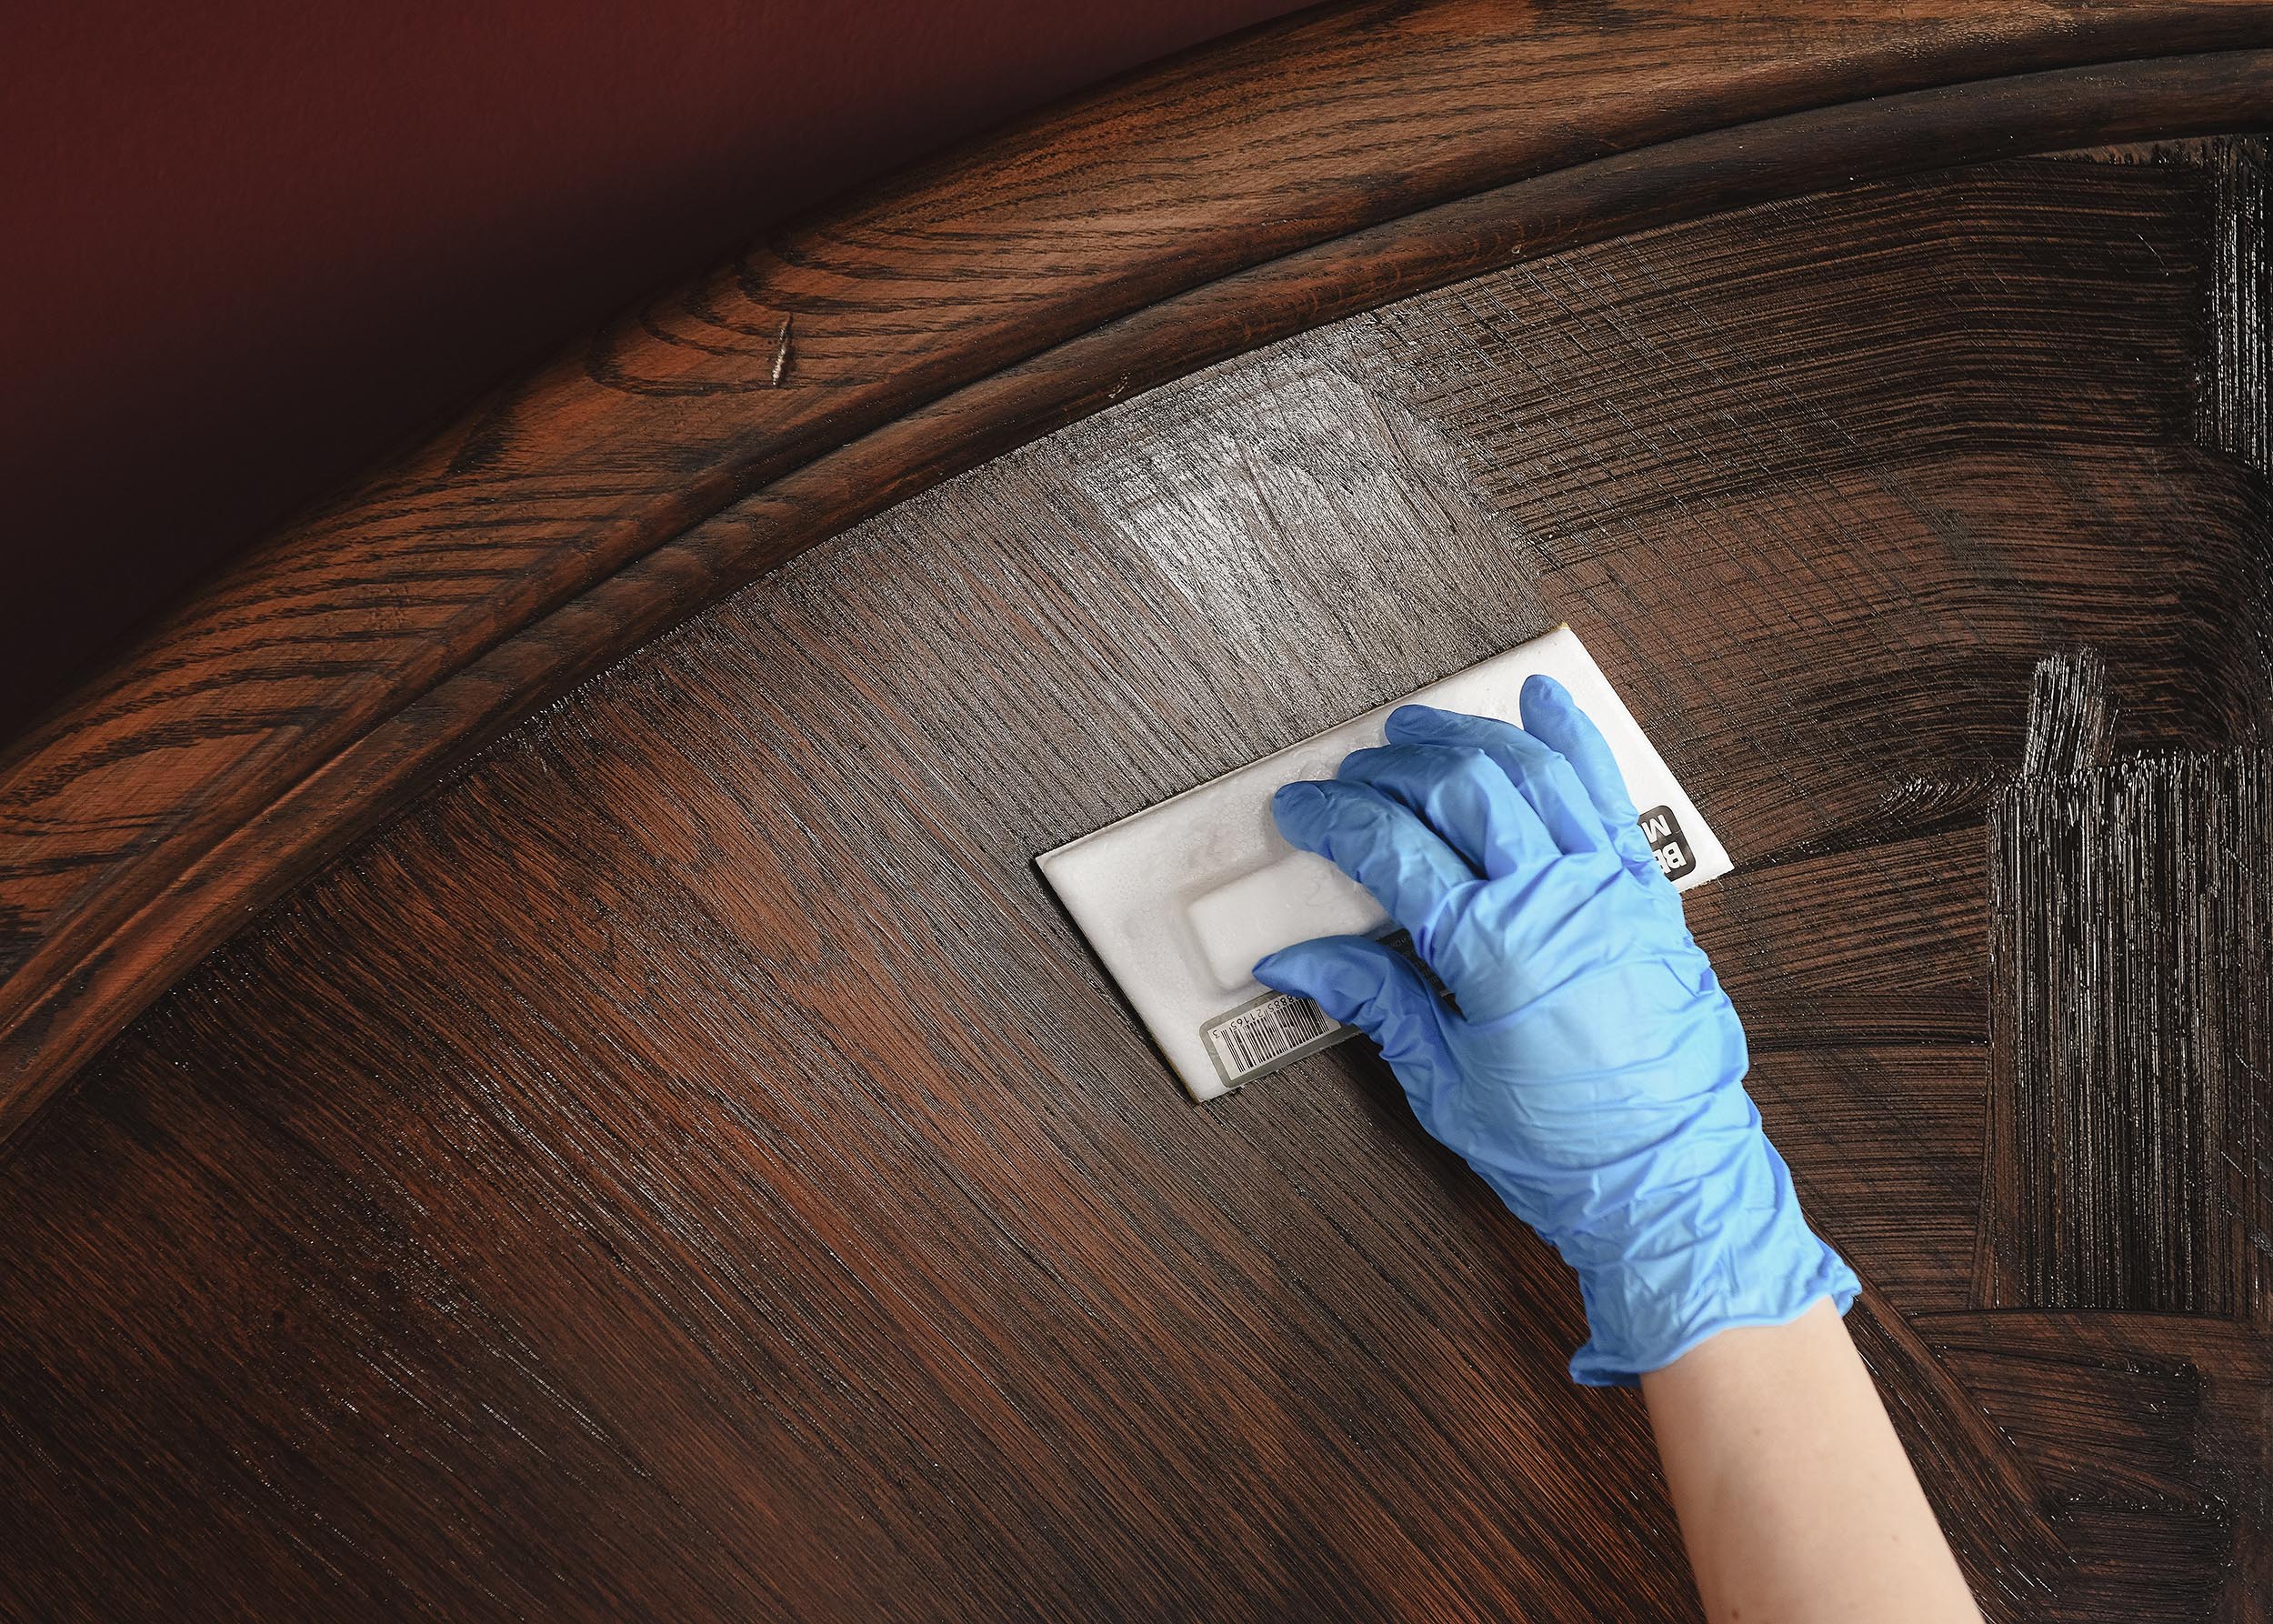
3| Apply First Coat of Gel Stain
Now on to the fun stuff! Mix your gel stain really, really well. It will look thick and gloopy, but once it’s mixed thoroughly, it should have the consistency of Elmer’s glue. In this how-to, I’m using Varathane Gel Stain in the color Kona, a really deep brown without many reddish undertones. For the application, I kept two tools nearby: a stain pad applicator and a 2″ angled paint brush.
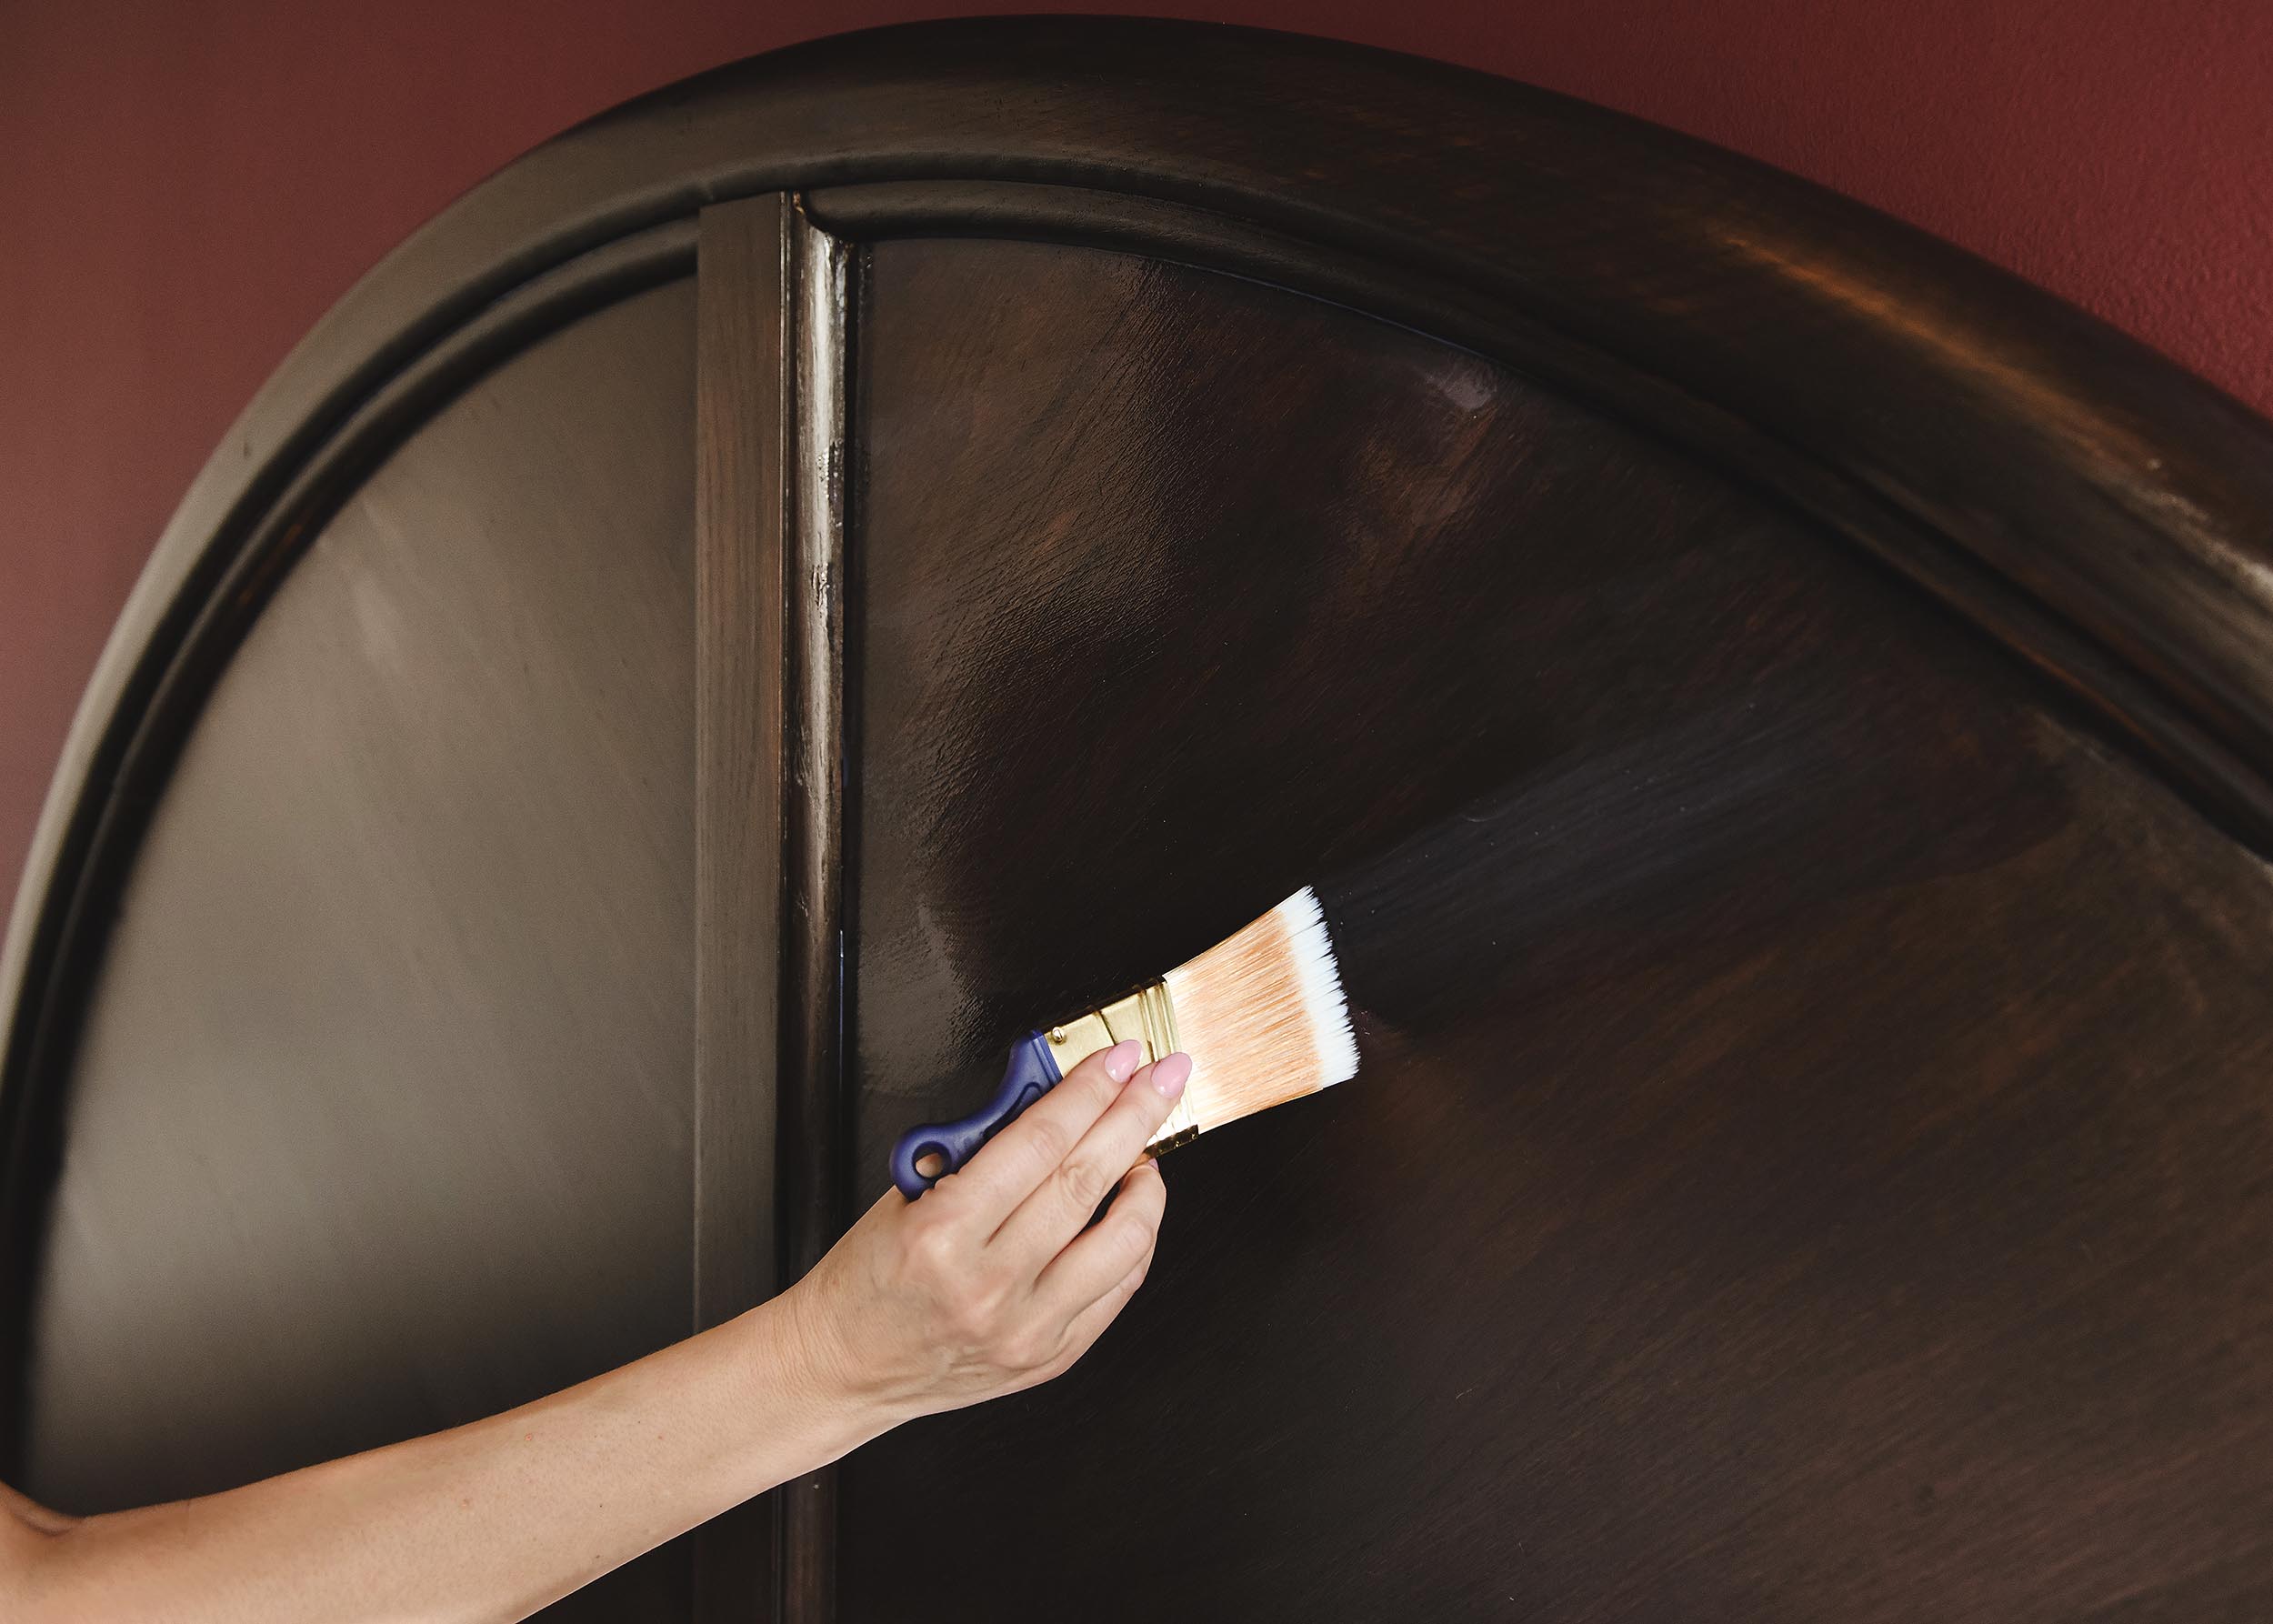
With the paint brush | Apply gel stain to any grooves and edges.
With the stain pad applicator | Use the paint brush to apply the gel stain to the applicator. (I found this to be the easiest method!) Apply stain against the grain first. Because gel stain is thick, going against the grain will ensure that every nook and cranny is filled. Then, apply sweeping coats with the grain. You may need to use the paint brush again to feather edges and grooves into the flat surfaces of your furniture.
You’ll be tempted to keep feathering the gel stain in, and I would normally advise against this, but I have some good news! Gel stain stays wet and active far longer than typical stain or paint. I didn’t spend too much time fussing with the first coat, but I did make sure to feather the application with the grain so it looked decent.

4| Apply Second Coat of Gel Stain
As previously mentioned, gel stain stays wet for a while! My can of gel stain recommended to wait 3-hours before a second coat, but I waited closer to 4-hours. It was still slightly tacky at the 4-hour mark, but I held my breath, hoped for the best, and I added the second coat.
To my surprise, the second coat applied beautifully, and the color was so wonderfully rich! For this coat, I did not go against the grain, rather, I skipped that part and went right to applying the stain with the grain. I stepped back every now and then to ensure I liked the way it looked. At this point, the gel stain application looked good, but the sheen of the finish showed some imperfections. This is where step 5 comes in to save the day!
5| Apply Protective Finish to Gel Stain
I allowed the stain to dry completely overnight, and the next day I added 2 thin coats of Polycrylic water-based protectant in a matte finish. Between coats, I lightly sanded with the 220-grit sanding sponge, which helps with adhesion. Do not spend too much time fussing with Polycrylic! It dries quickly, and over-brushing can lead to an uneven finish and streaking. Trust that it will dry down beautifully.
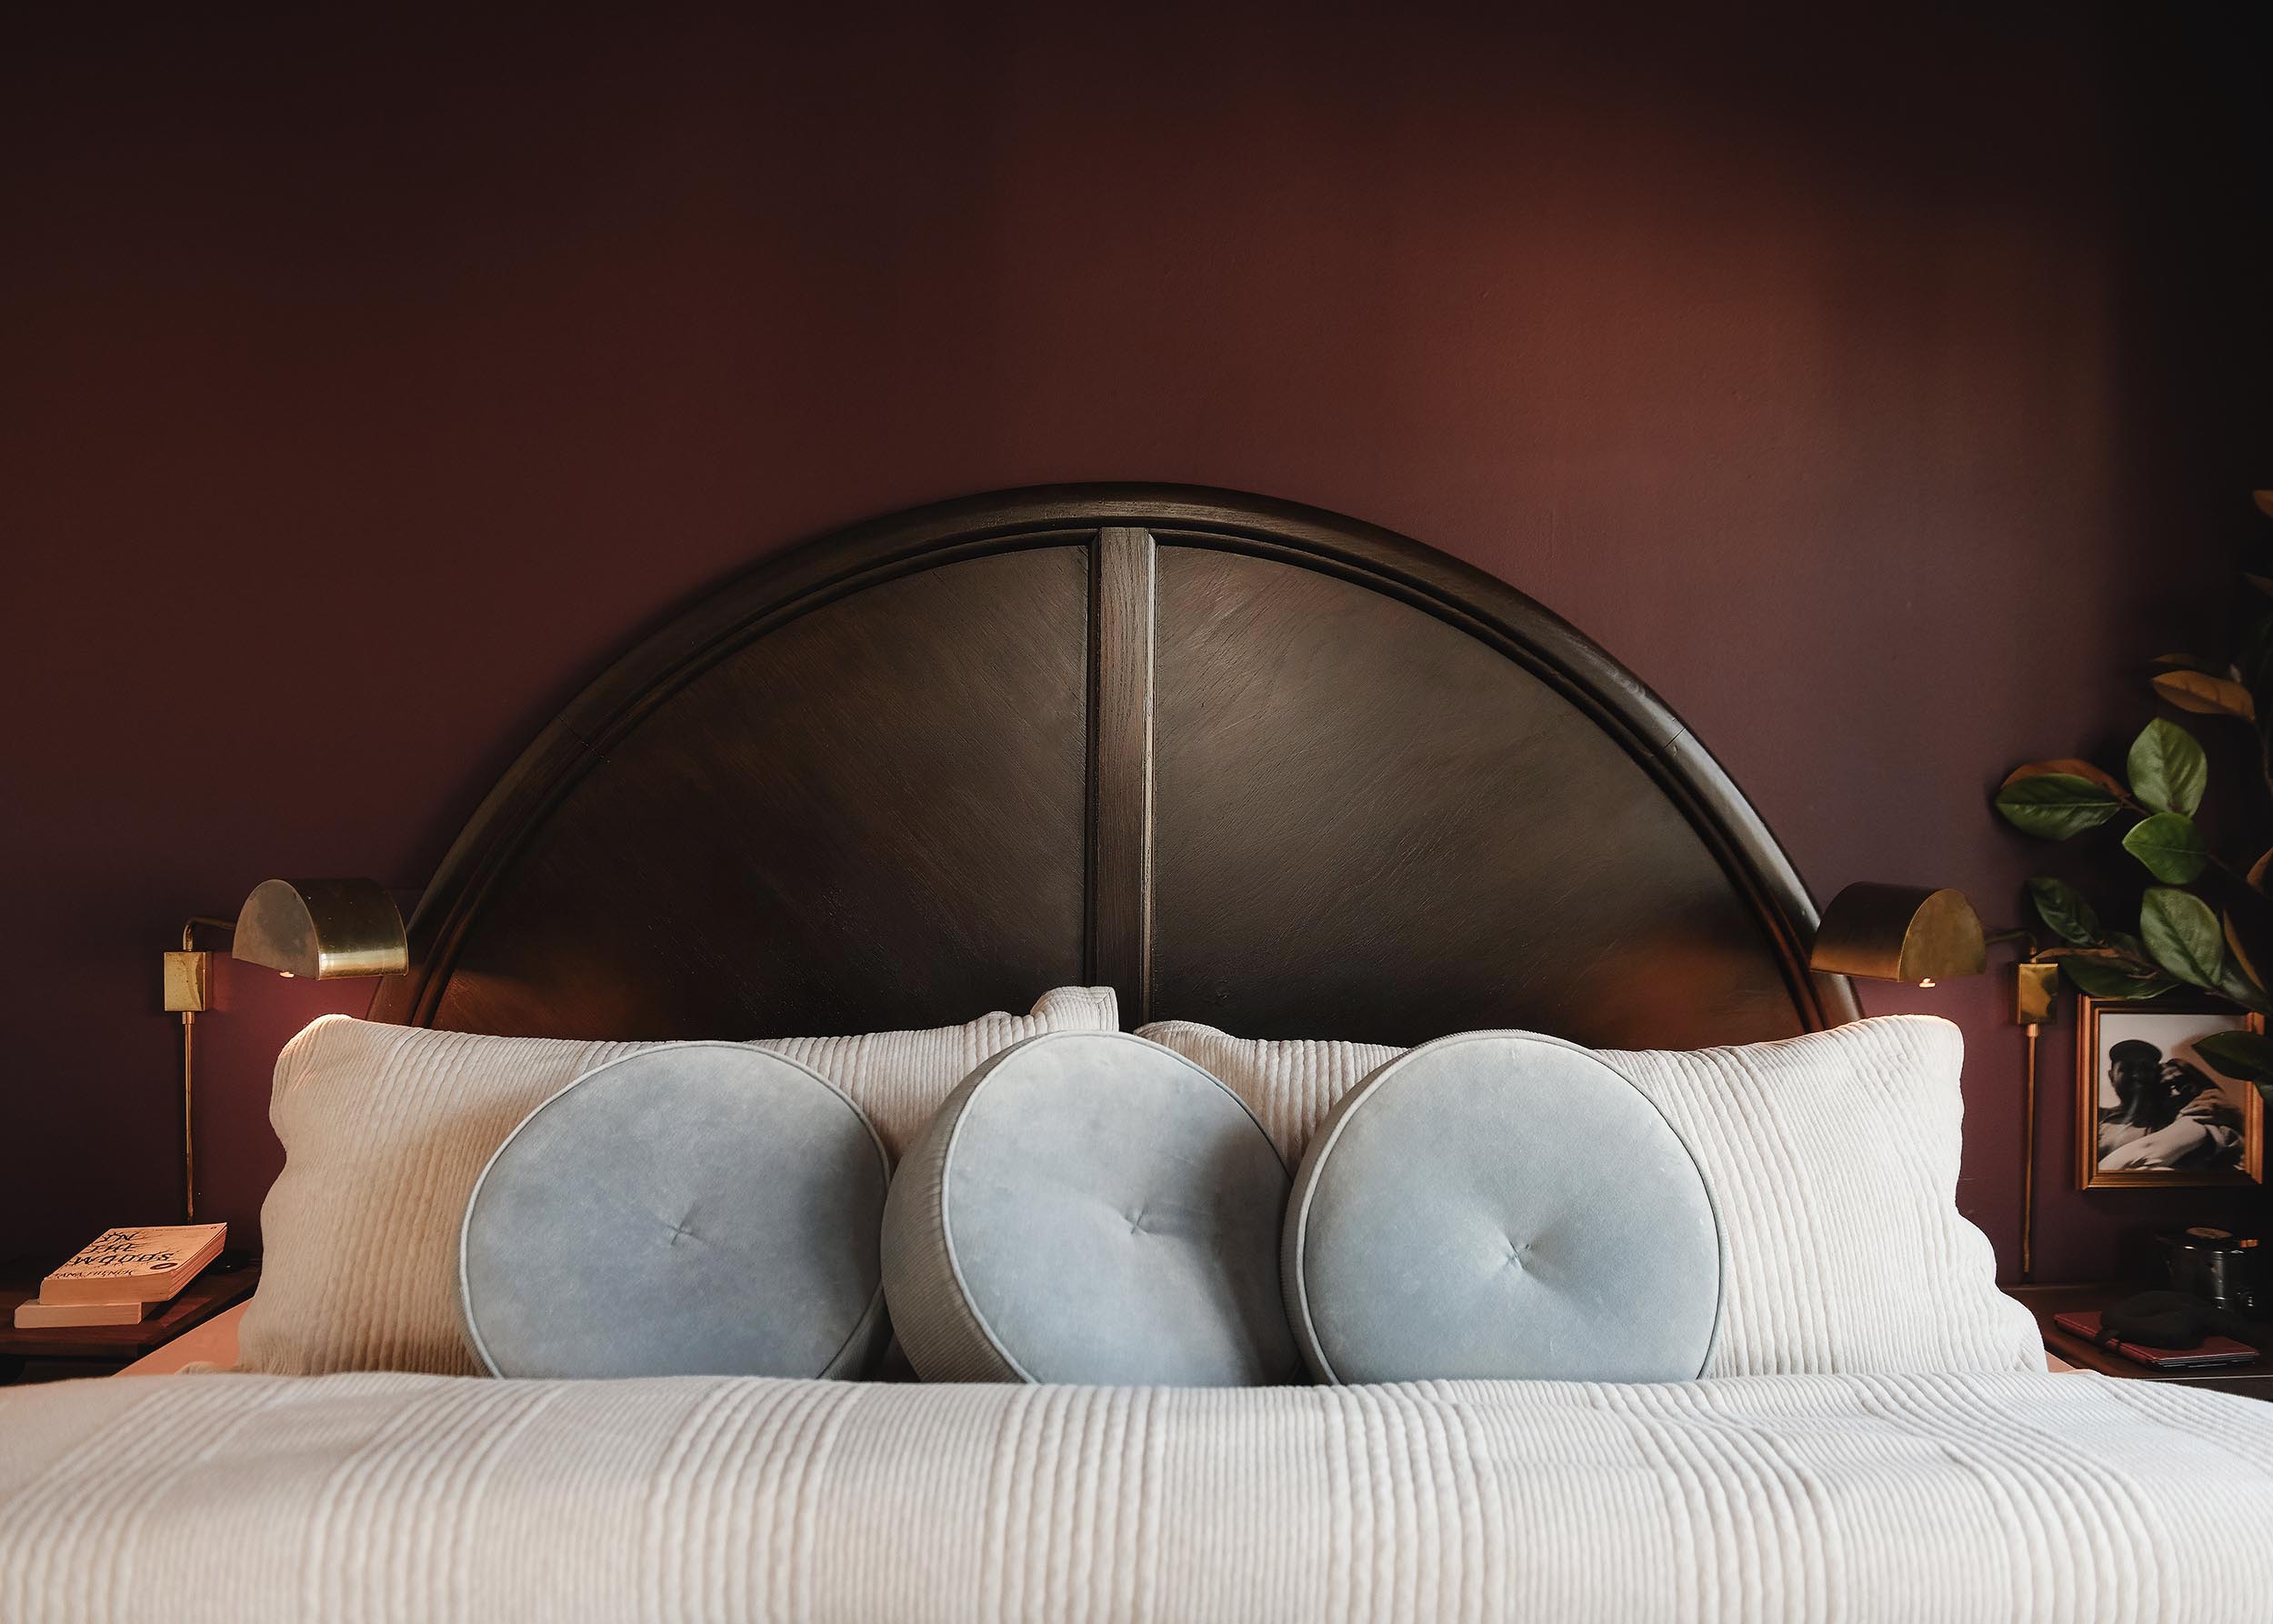
6| Allow to Dry for a Full 24 Hours + Enjoy!
Once completely dry, the finish was EXACTLY what Scott and I had in mind! We couldn’t be happier with the end results, and I’m glad I gave gel stain a try! I would absolutely use it again to stain a piece of furniture darker, and I’ll be returning to this very tutorial when the time comes, ha!
Have you tried gel stain? What did you think?
Looking for more how-tos? This is how to paint anything, how to install a bathroom vanity, how I organize my photos, and more!
In This Post:


I love the color and it looks so good with the walls!! I love that you’ve been able to transform the used headboard a couple times, and it’s still such a great piece!
Who knew this 80s honey oak headboard had so much to offer?!
This turned out so nicely! Love the new shade of the headboard. I’ve been contemplating a gel stain for the bed frame we purchased for my daughters room, as it is much more orange-toned than it looked online (🥴)! It’d be too difficult to take apart and move outside to sand down and restain…this is giving me more courage to try the gel stain first!
Definitely worth going the gel stain route for a project like that!
Out of curiosity, why did you use water based poly instead of oil based poly? I have a DR table in need of some TLC and after reading this post, I’m wondering if I could try gel stain (instead of sanding down the entire thing and re-staining it). It’s the original 1970’s finish and desperately needs a refresh!
Water based poly never yellows over time!! Oil poly turns yellow pretty quickly, changing the color of your finish.
Are the brushes washable after this or do you need to toss them?
You can use mineral spirits to wash the brush, but I used those disposable pads on my applicator that I tossed.
I’m so happy to see dark wood coming back around. I’ve always loved it and stuck with it, even though Scandi-modern white and monotone have been the thing. The dark tones always feel more welcoming and cozy to me.
this looks amazing! Did you do the whole project inside? I would love to do this to our dresser in our bedroom but it is way to heavy to move out to the garage. Just nervous of this being a messy project!
I laid plastic sheeting on everything and pulled the headboard away from the wall, opened the windows, and yes – did it all in the bedroom!