

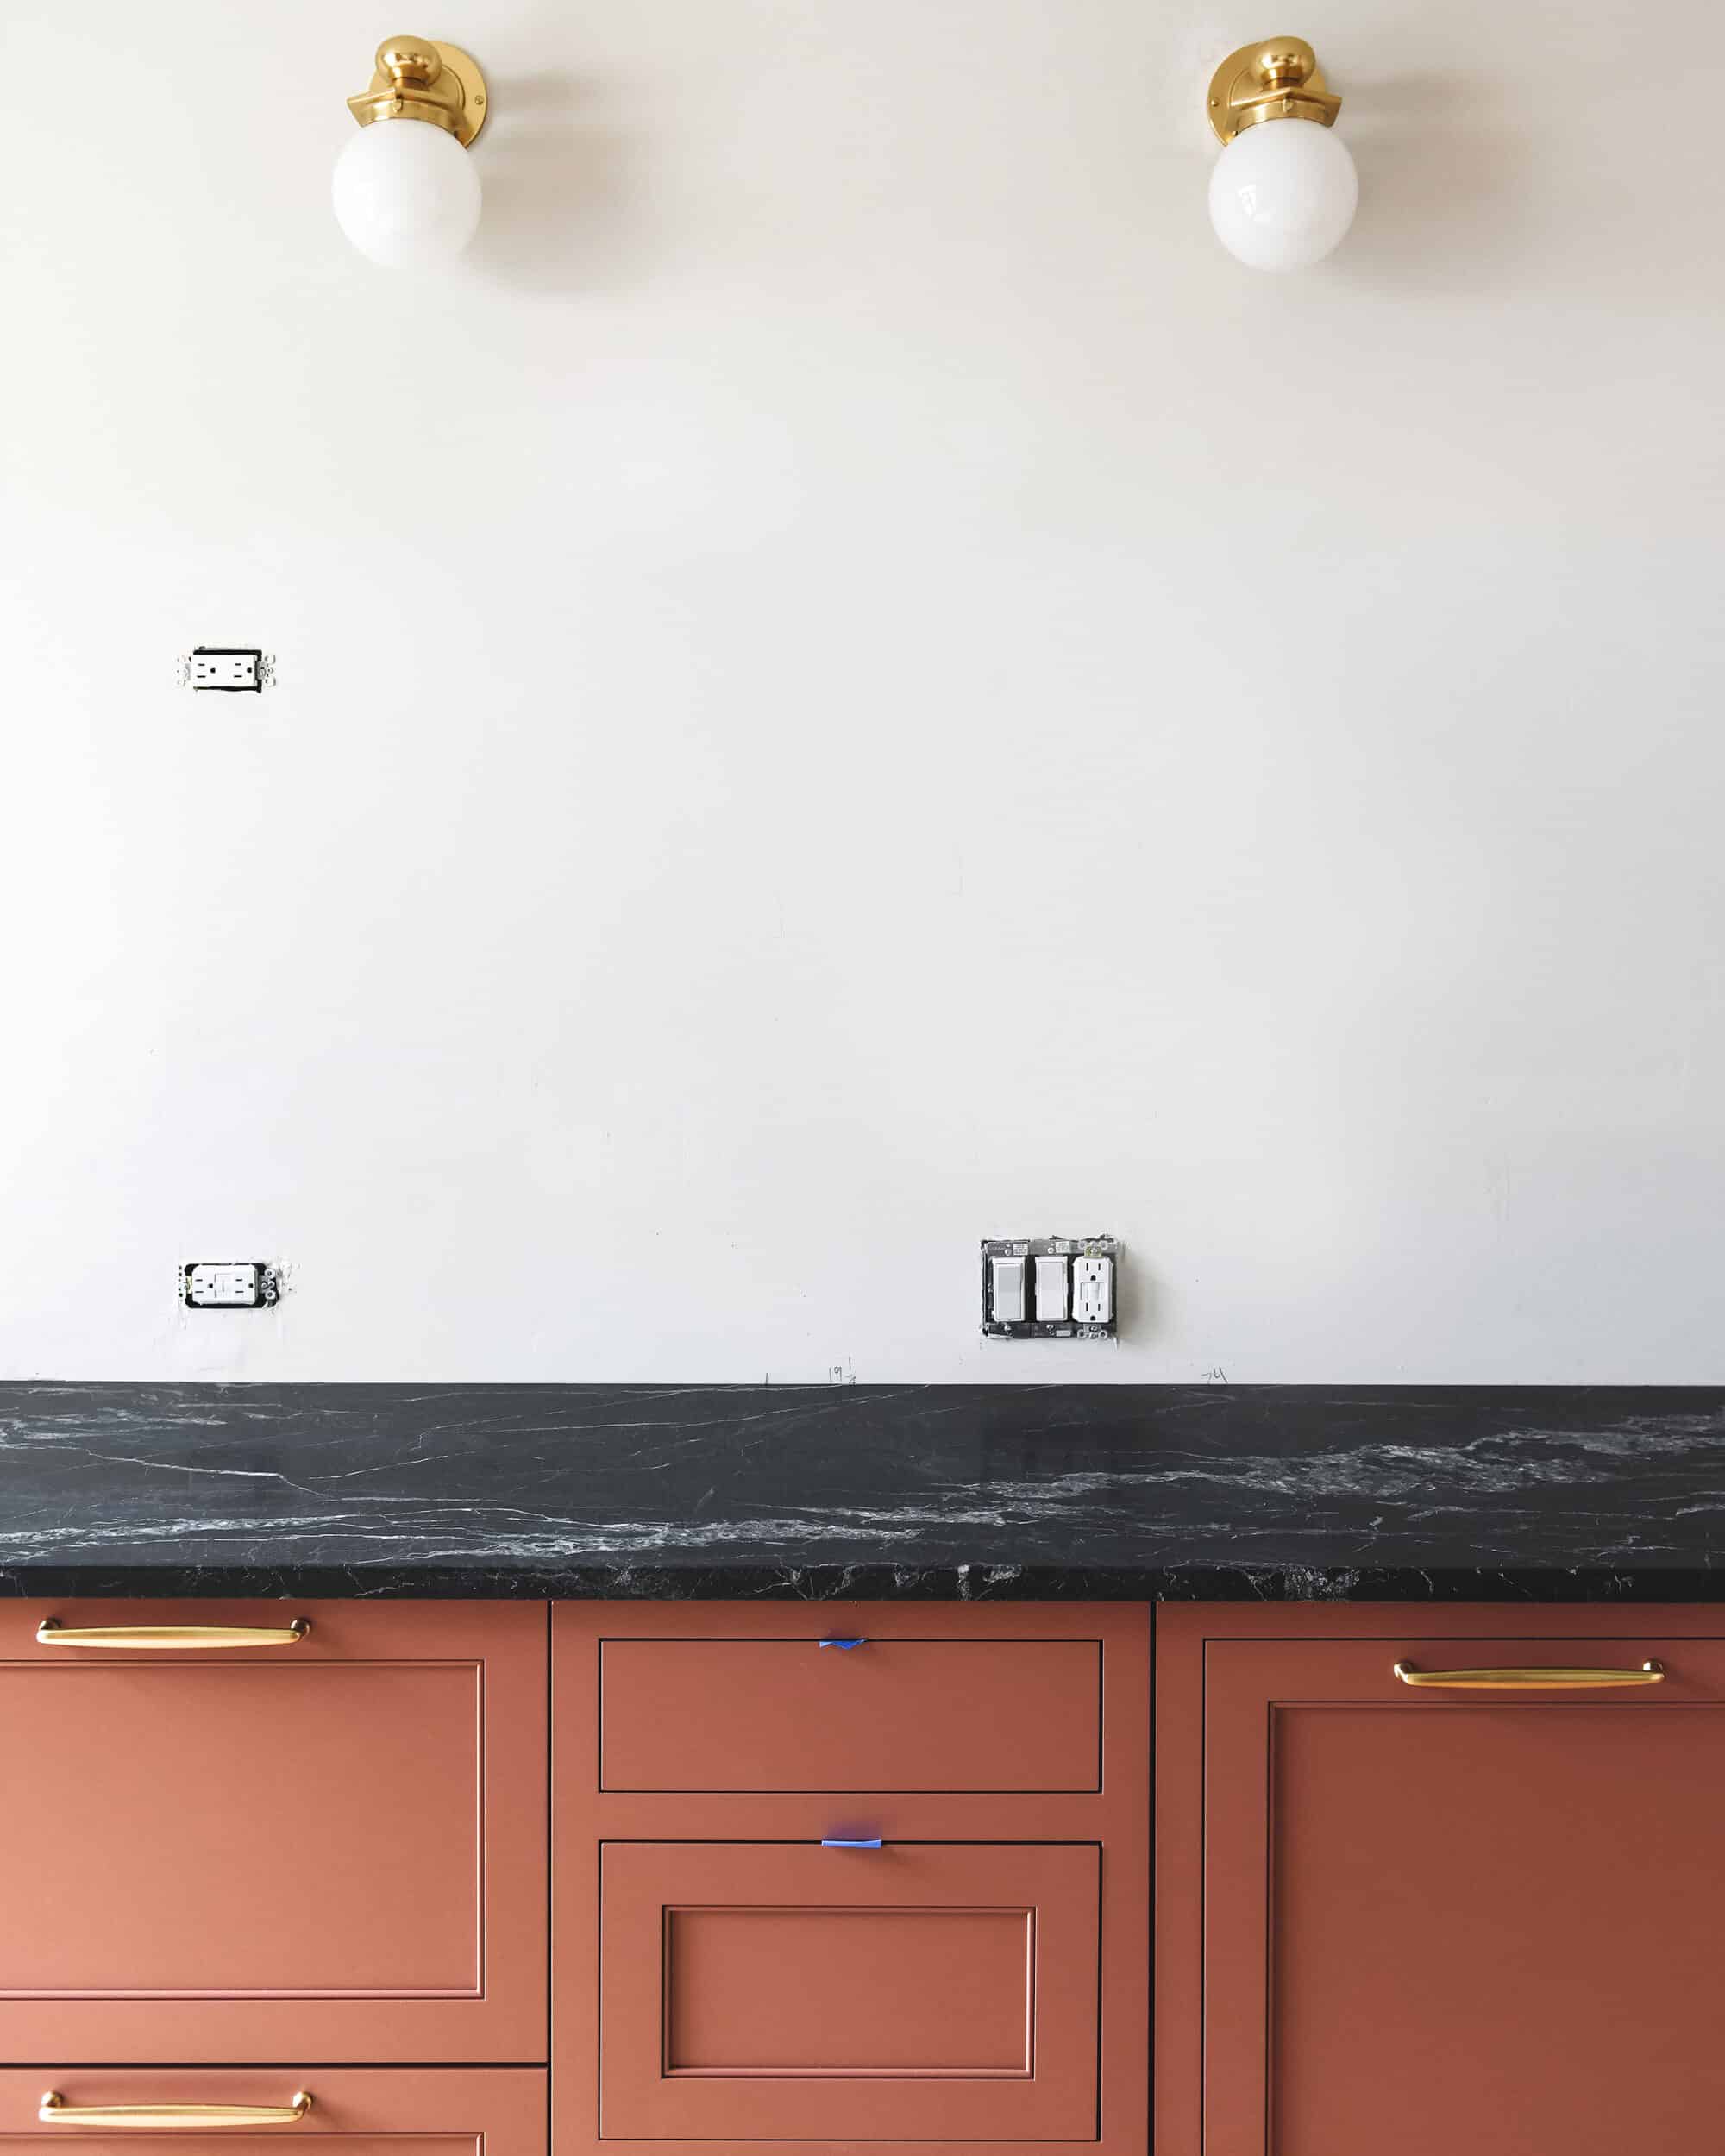
Our countertops are in! Today we’re sharing how we found our fabricator, selecting our slab and a deeper dive into how the countertop selection process works.
When we shared our countertop stone selection and subsequent installation a few weeks ago, we received loads of questions about the process. Admittedly, years ago, we were very confused the first time we went to purchase custom stone countertops as well! To help clarify, we figured we’d break down the order of steps and offer a few more details on the process and our experience.
Follow along with this renovation from the beginning: why we’re renovating the kitchen | a happy surprise | choosing cabinetry | sharing the new kitchen layout | choosing backsplash tile | choosing an eat-in kitchen table (vs. an island) | the mood board | the kitchen is GONE and how we’re making it work | maple flooring is in! | appliance first impressions | installing cabinets onto unlevel floors | how to install drawer fronts on inset cabinetry
In This Post
Semi or Fully Custom?
Prior to diving in though, it’s important to distinguish between the ‘semi-custom’ process of purchasing stone countertops from a big box store versus the ‘fully-custom’ process of purchasing through a fabricator.
How Semi-Custom Works
The semi-custom process is unique and simple in that it’s handled through one point of contact. We purchased the countertops for the Two Flat’s Unit 1 kitchenette from IKEA this way and found it simple and direct. It works like this:
- Bring approximate countertop measurements to big box store (IKEA, Home Depot, Lowe’s etc.), select stone from limited samples and pay based on provided measurements.
- The fabricator, who is assigned by the store, visits your home for accurate measurements and templating. Any price discrepancy will be established at this point and you’ll be charged additionally or refunded based on new measurements.
- Fabricator returns to install countertops.
This is a fairly simplistic, although accurate, description of our experience. The main drawback here, as we see it, is that there is no option to select the exact slab from which your countertops will be created. With manufactured surfaces or stones like granite and quartz that are often more homogenous, the selection of the exact slab may not play as important of a role.
How Fully Custom Works
Stones like marble or soapstone, however, can show massive variation in color and pattern from one slab to another, so if you’d prefer complete control over the final look of your countertops, we think slab selection is crucial. Here is how that process has worked for us…
1| Find Your Fabricator
The first (and arguably most important) step in the process is to find a fabricator you trust and will enjoy working with through the entire process. The fabricator will handle all of the labor and transportation of materials. Most stone suppliers will ask who you’ll be working with for fabrication before setting an appointment or allowing you to tour the warehouse.
And perhaps the most important thing to note: The fabricator is also who you’ll ultimately pay for the project – including the cost of materials and labor.
Here in Chicago, we can’t recommend Granite Design of Midwest enough! We’ve worked with them on multiple projects in our primary home and they do fantastic work. They even handled the re-fabrication and installation of our former countertops in the home of the family that purchased them from us.
If you’re outside of Chicago, consider asking friends or neighbors who they’ve used. Real estate agents and other tradespeople are also great resources for recommendations!
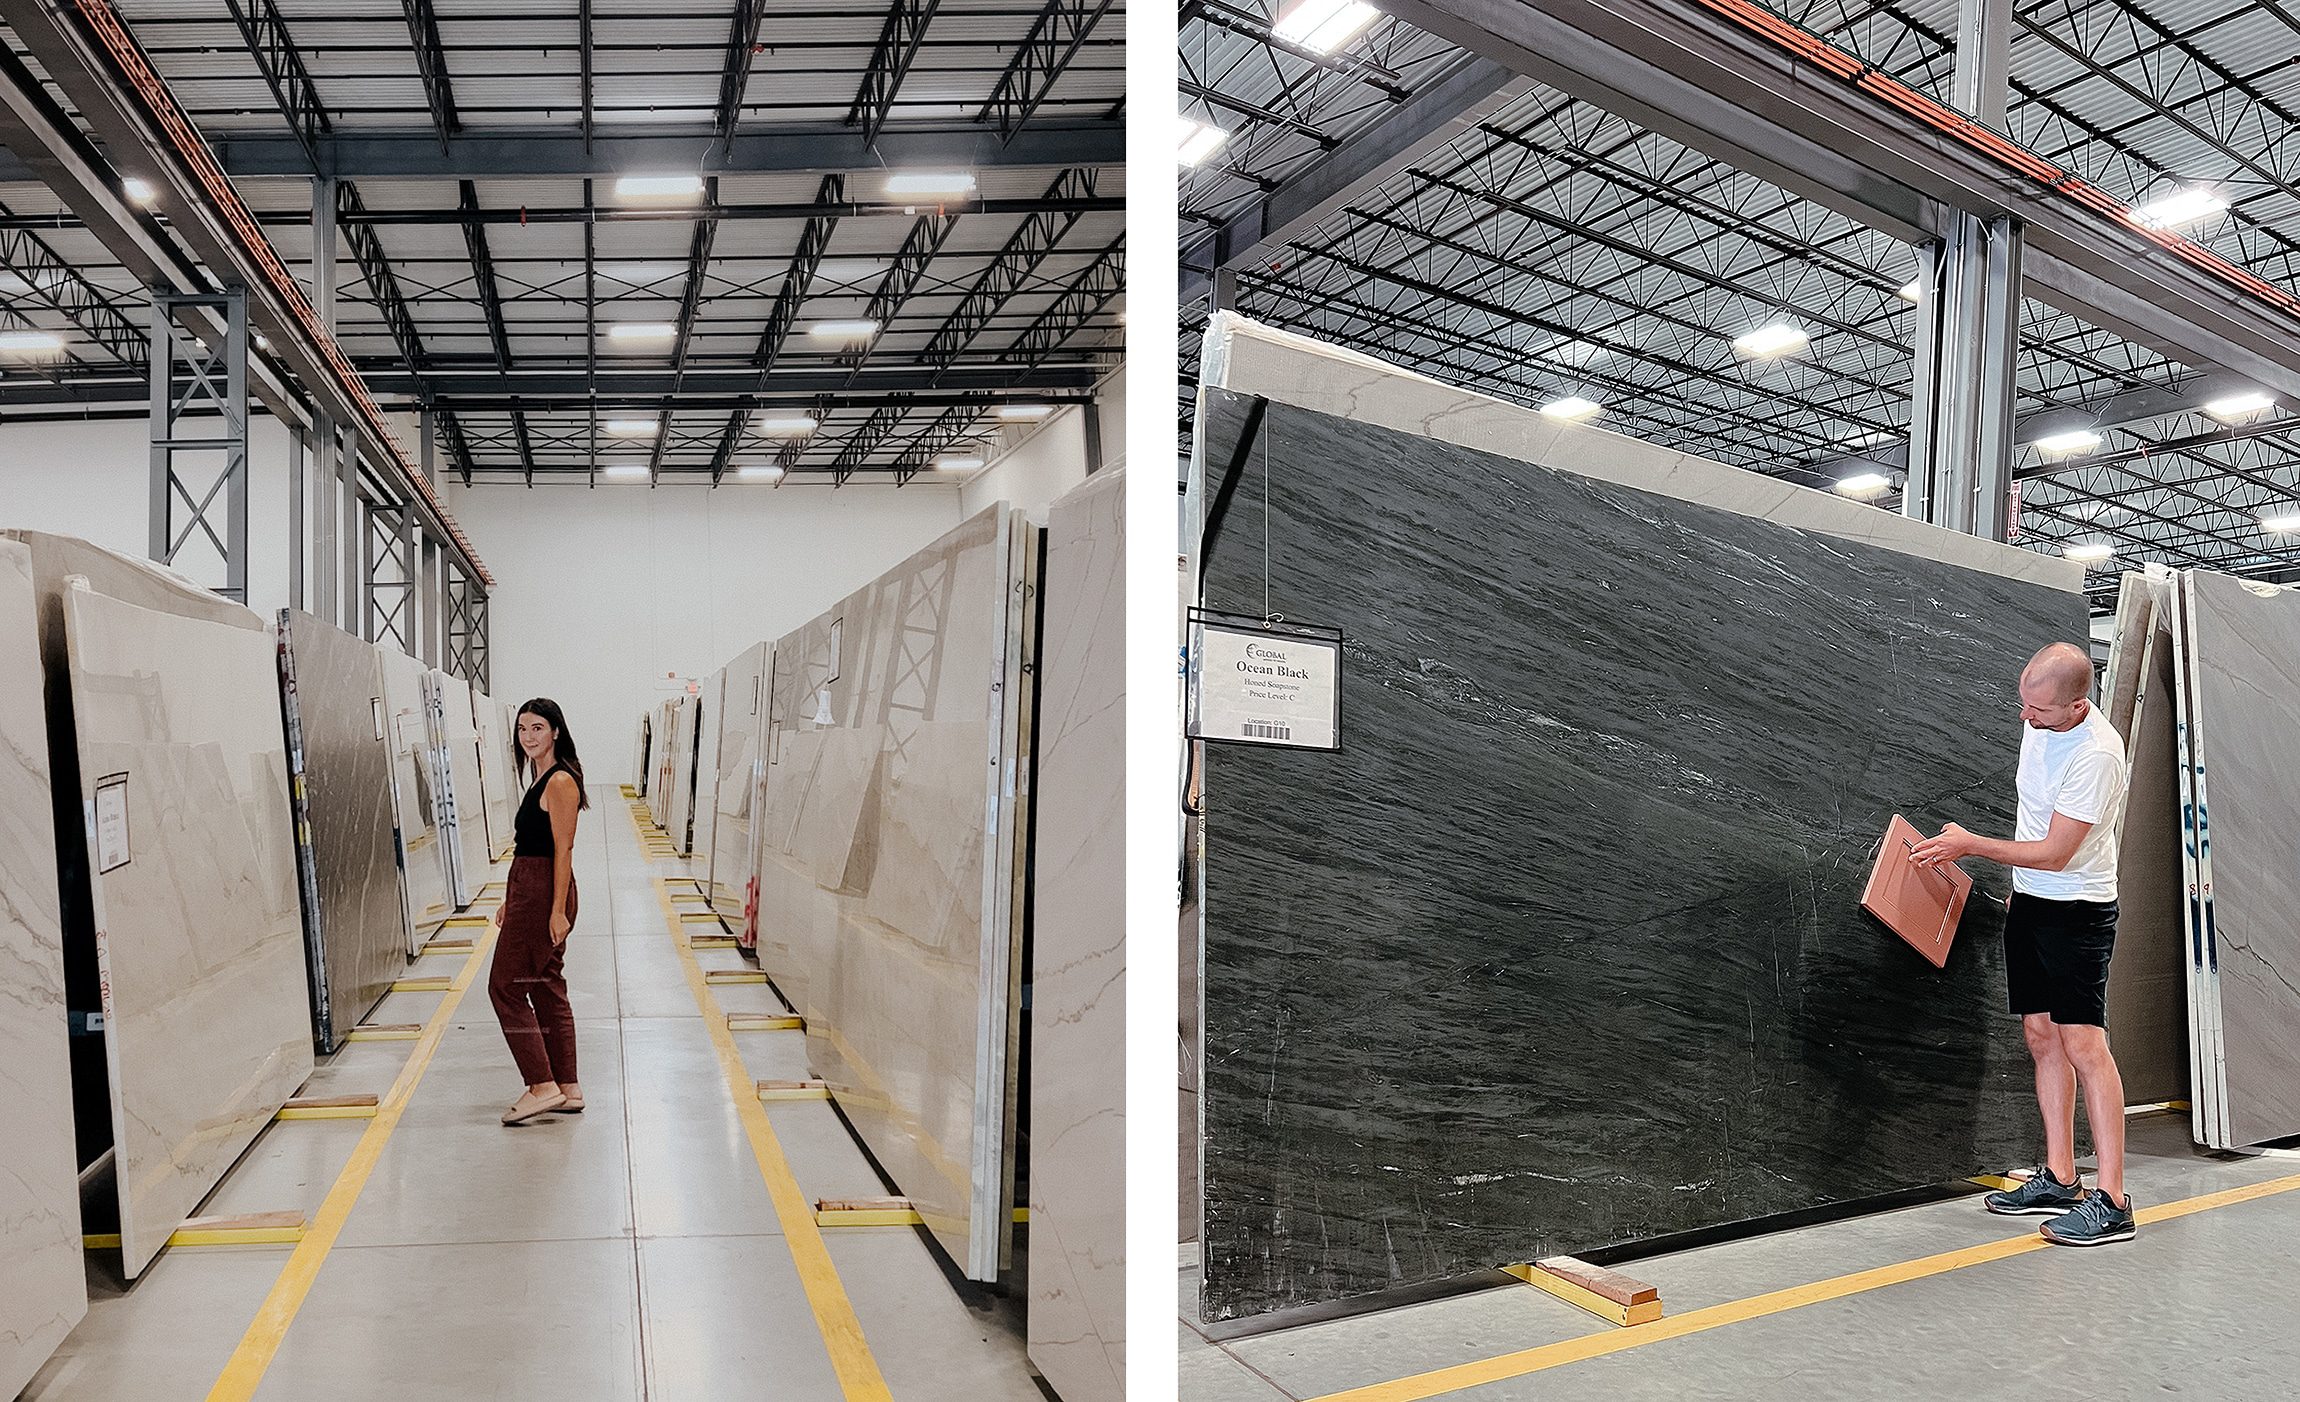
2| Select Your Slab
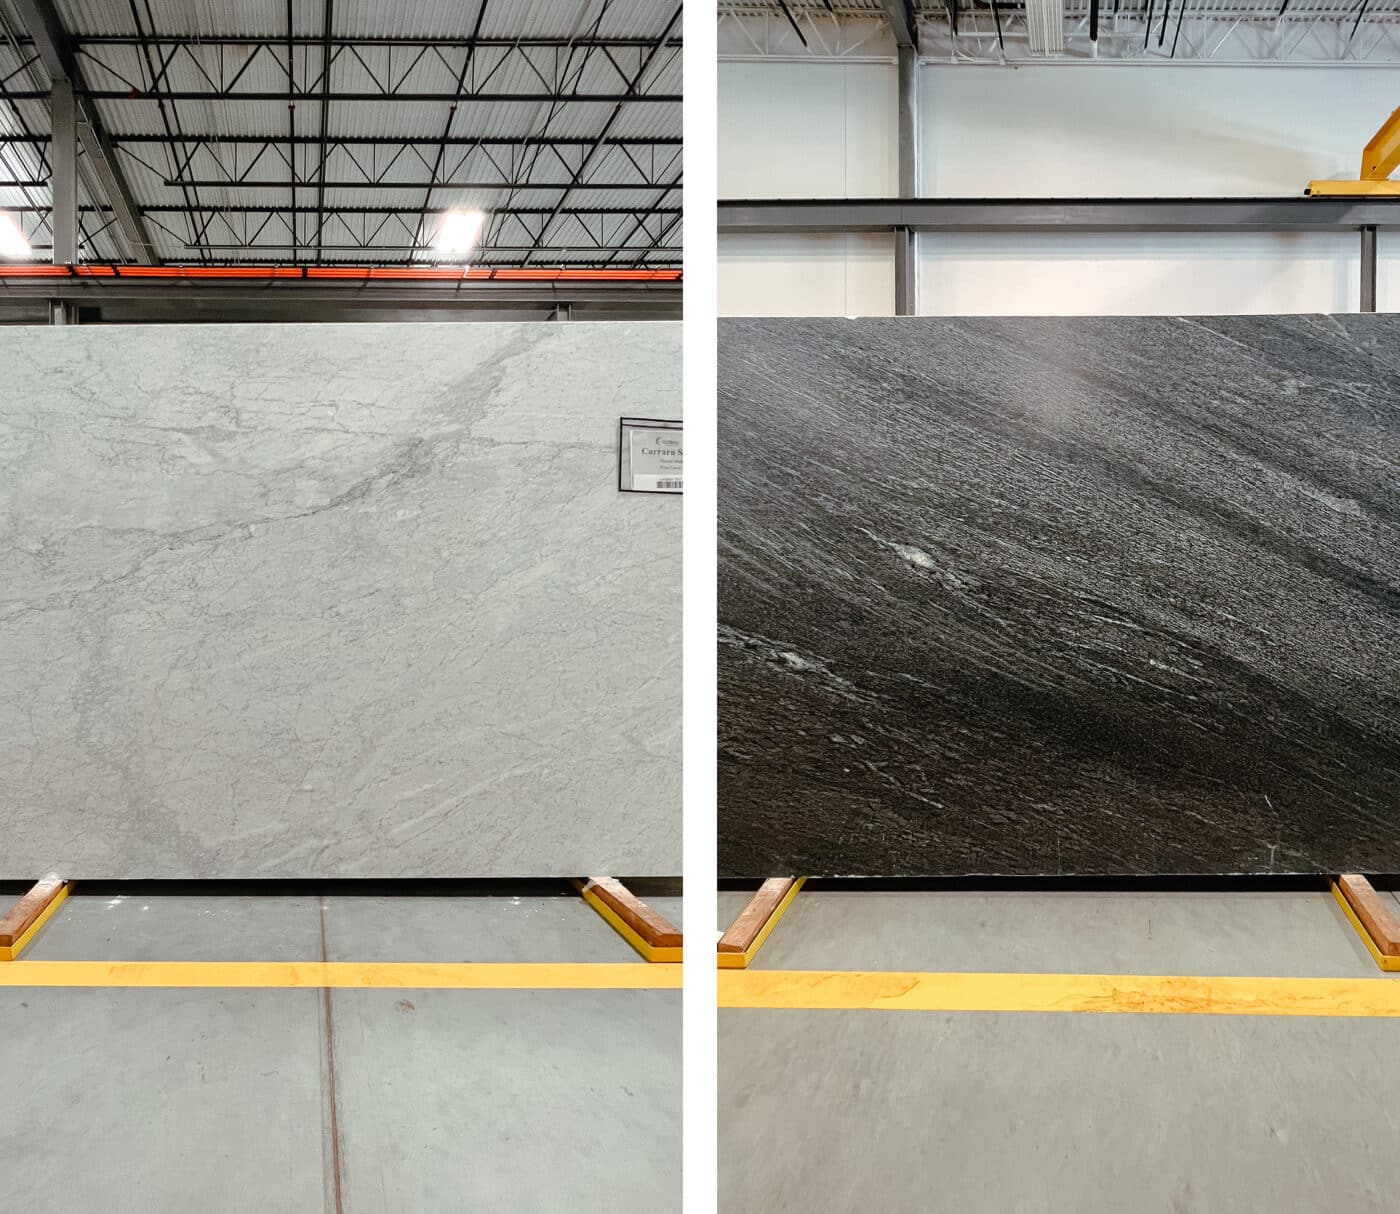
This is the most fun portion of the process for us! Your fabricator likely has a few particular stone suppliers that they prefer working with depending on what type of stone you’re looking for. Ours recommended two different suppliers that specialize in marble and soapstone, which we were leaning towards.
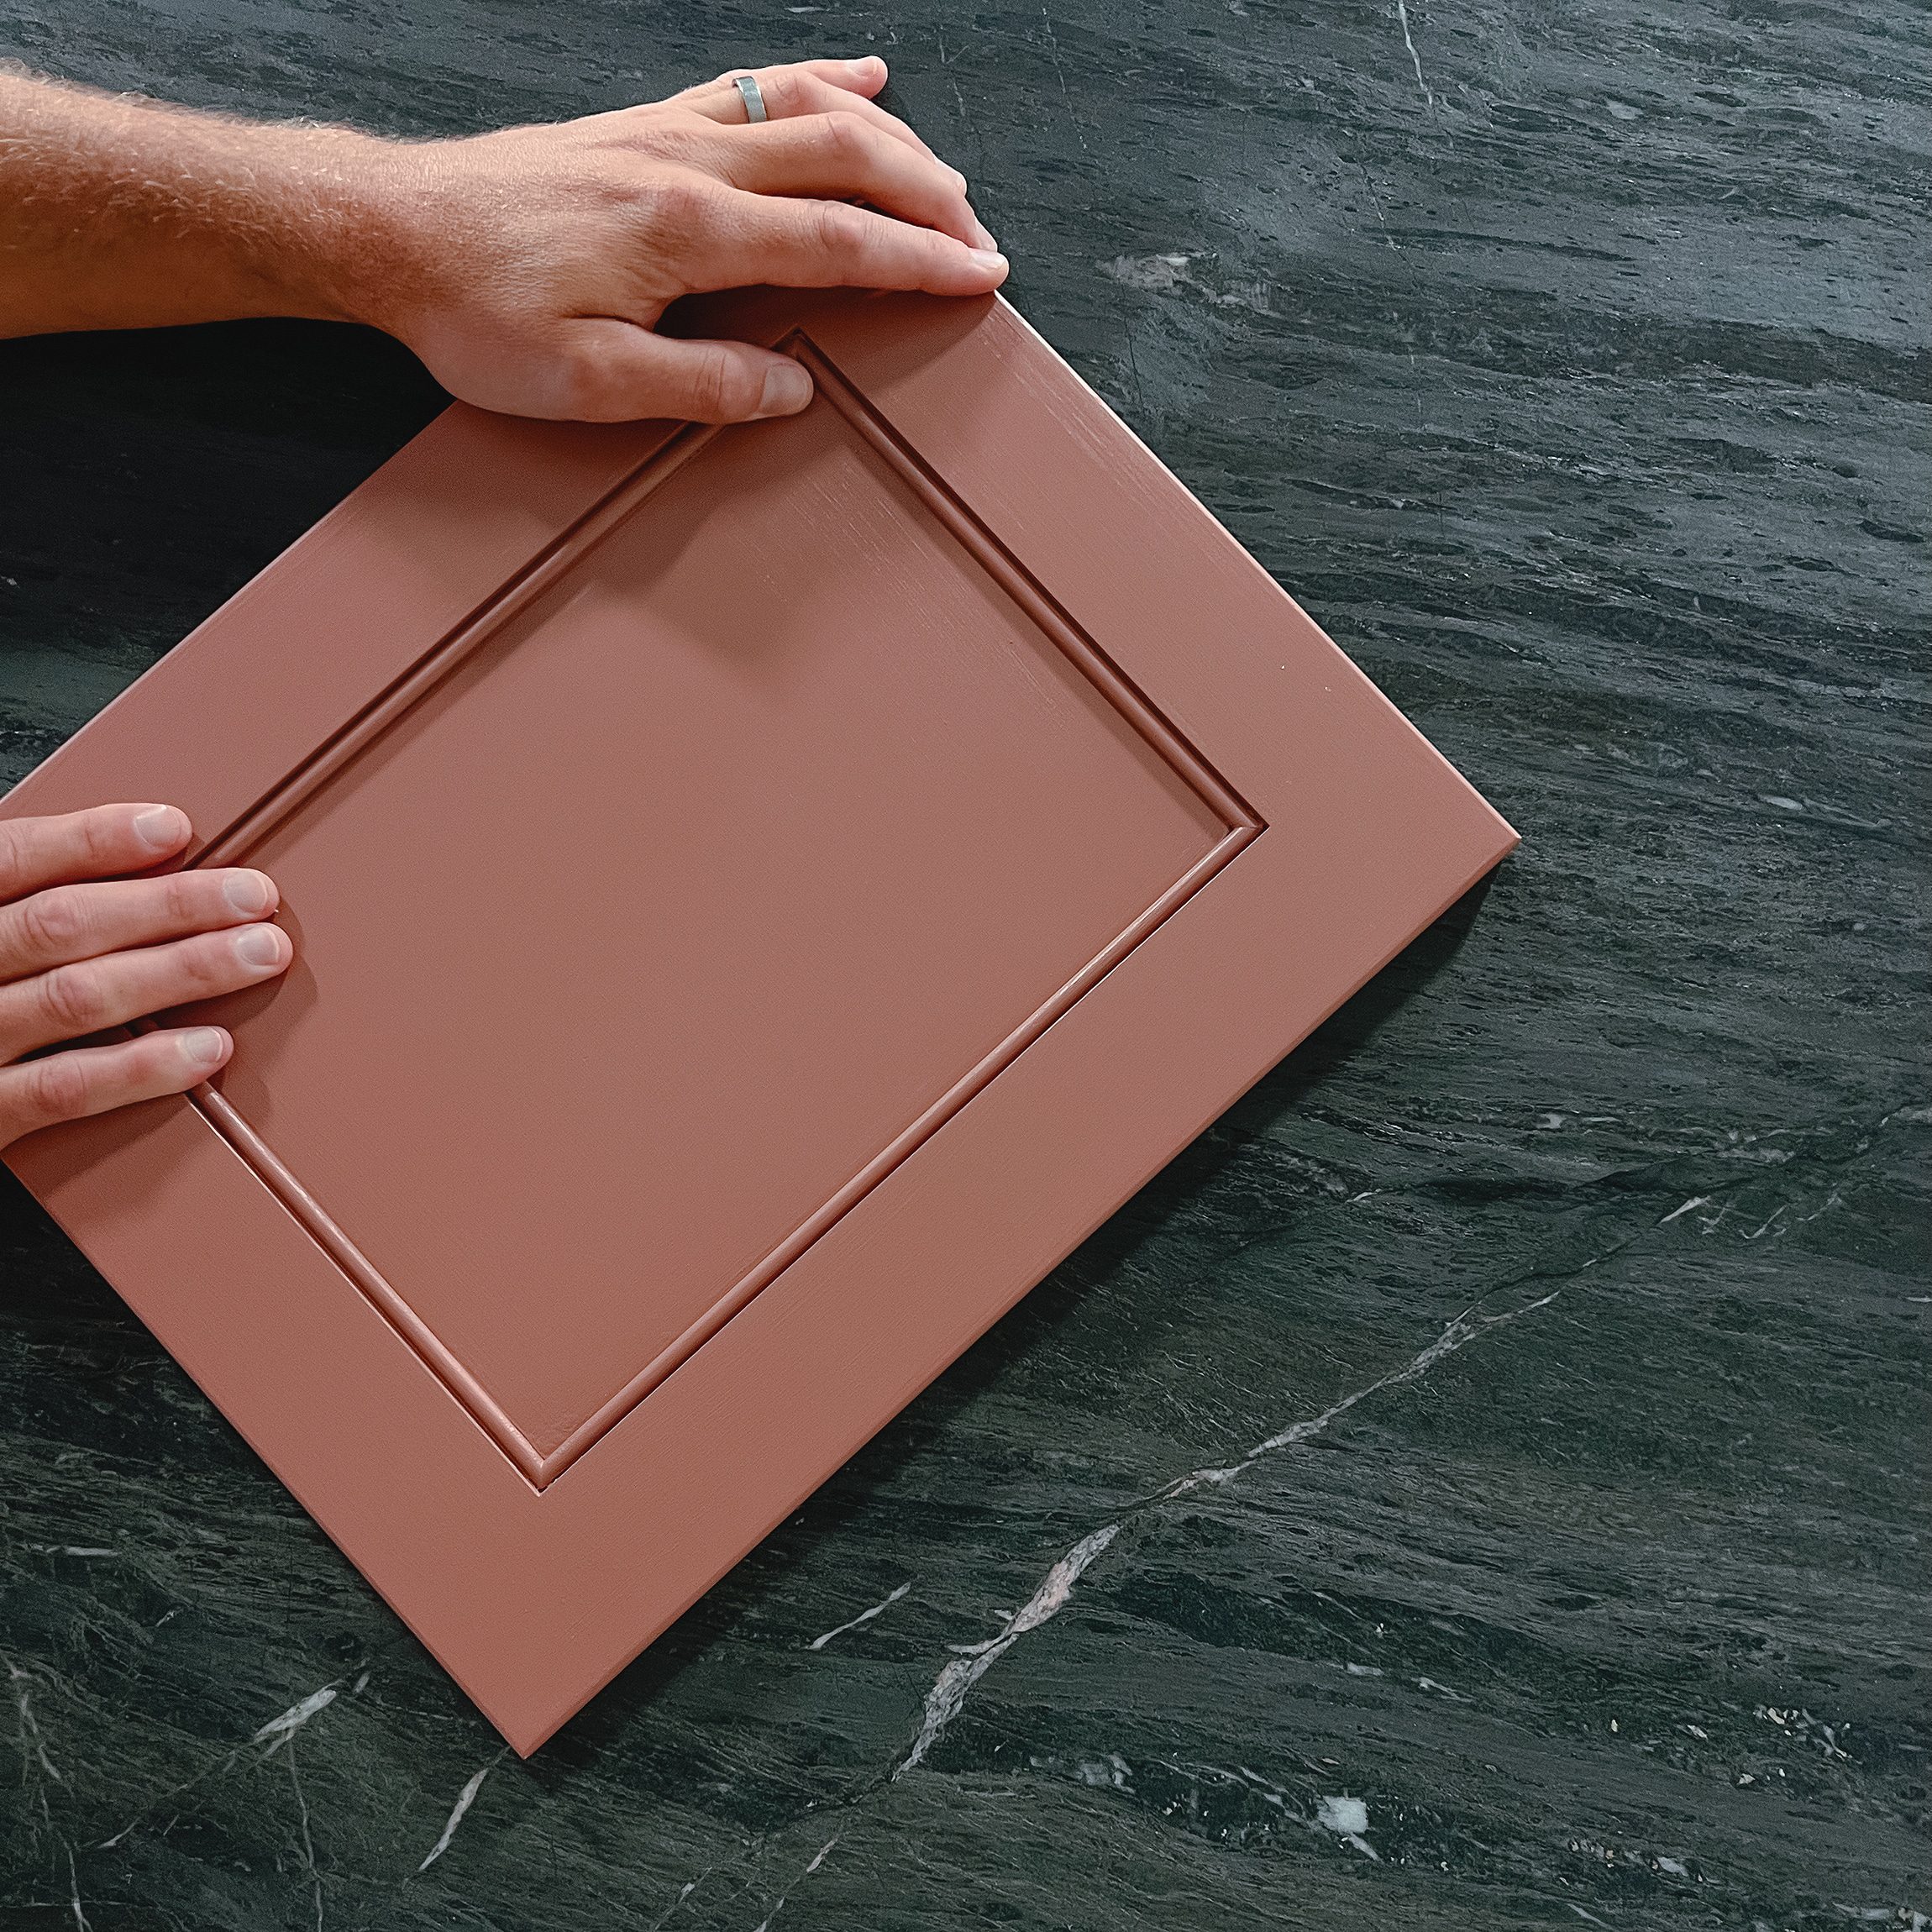
Prior to heading out for slab selection, it’s a great idea to bring color samples from your new or existing space for reference. We brought along a tote bag with a sample of our new cabinet color, the metal we’d be using for our faucets, a sample drawer pull and a small piece of our new flooring. These can really help to narrow down color and tone. For example, the slab below didn’t make the cut because it looked far too green against the SW Reddened Earth cabinet doors.
We found some gorgeous soapstone options at Global Marble & Granite in the Chicago suburbs, but ultimately found our black marble slab at Terrazzo & Marble Supply. Admittedly, there can be a bit of pricing mystery at this step. Most suppliers will use a ‘price level’ or a ‘tier’ system. These can give you a rough idea of the cost of each slab, but your fabricator should be able to provide you with a fairly accurate estimate prior to moving the slab(s) to their shop. In our case, we found two slabs we loved, and we asked our fabricator to price them out for us.
Once you’ve finalized the perfect slab for your project, the supplier will put it on hold for you and contact your fabricator. The fabricator will then purchase the slab from the supplier and move it over to their shop for next steps.
3| Select Your Layout
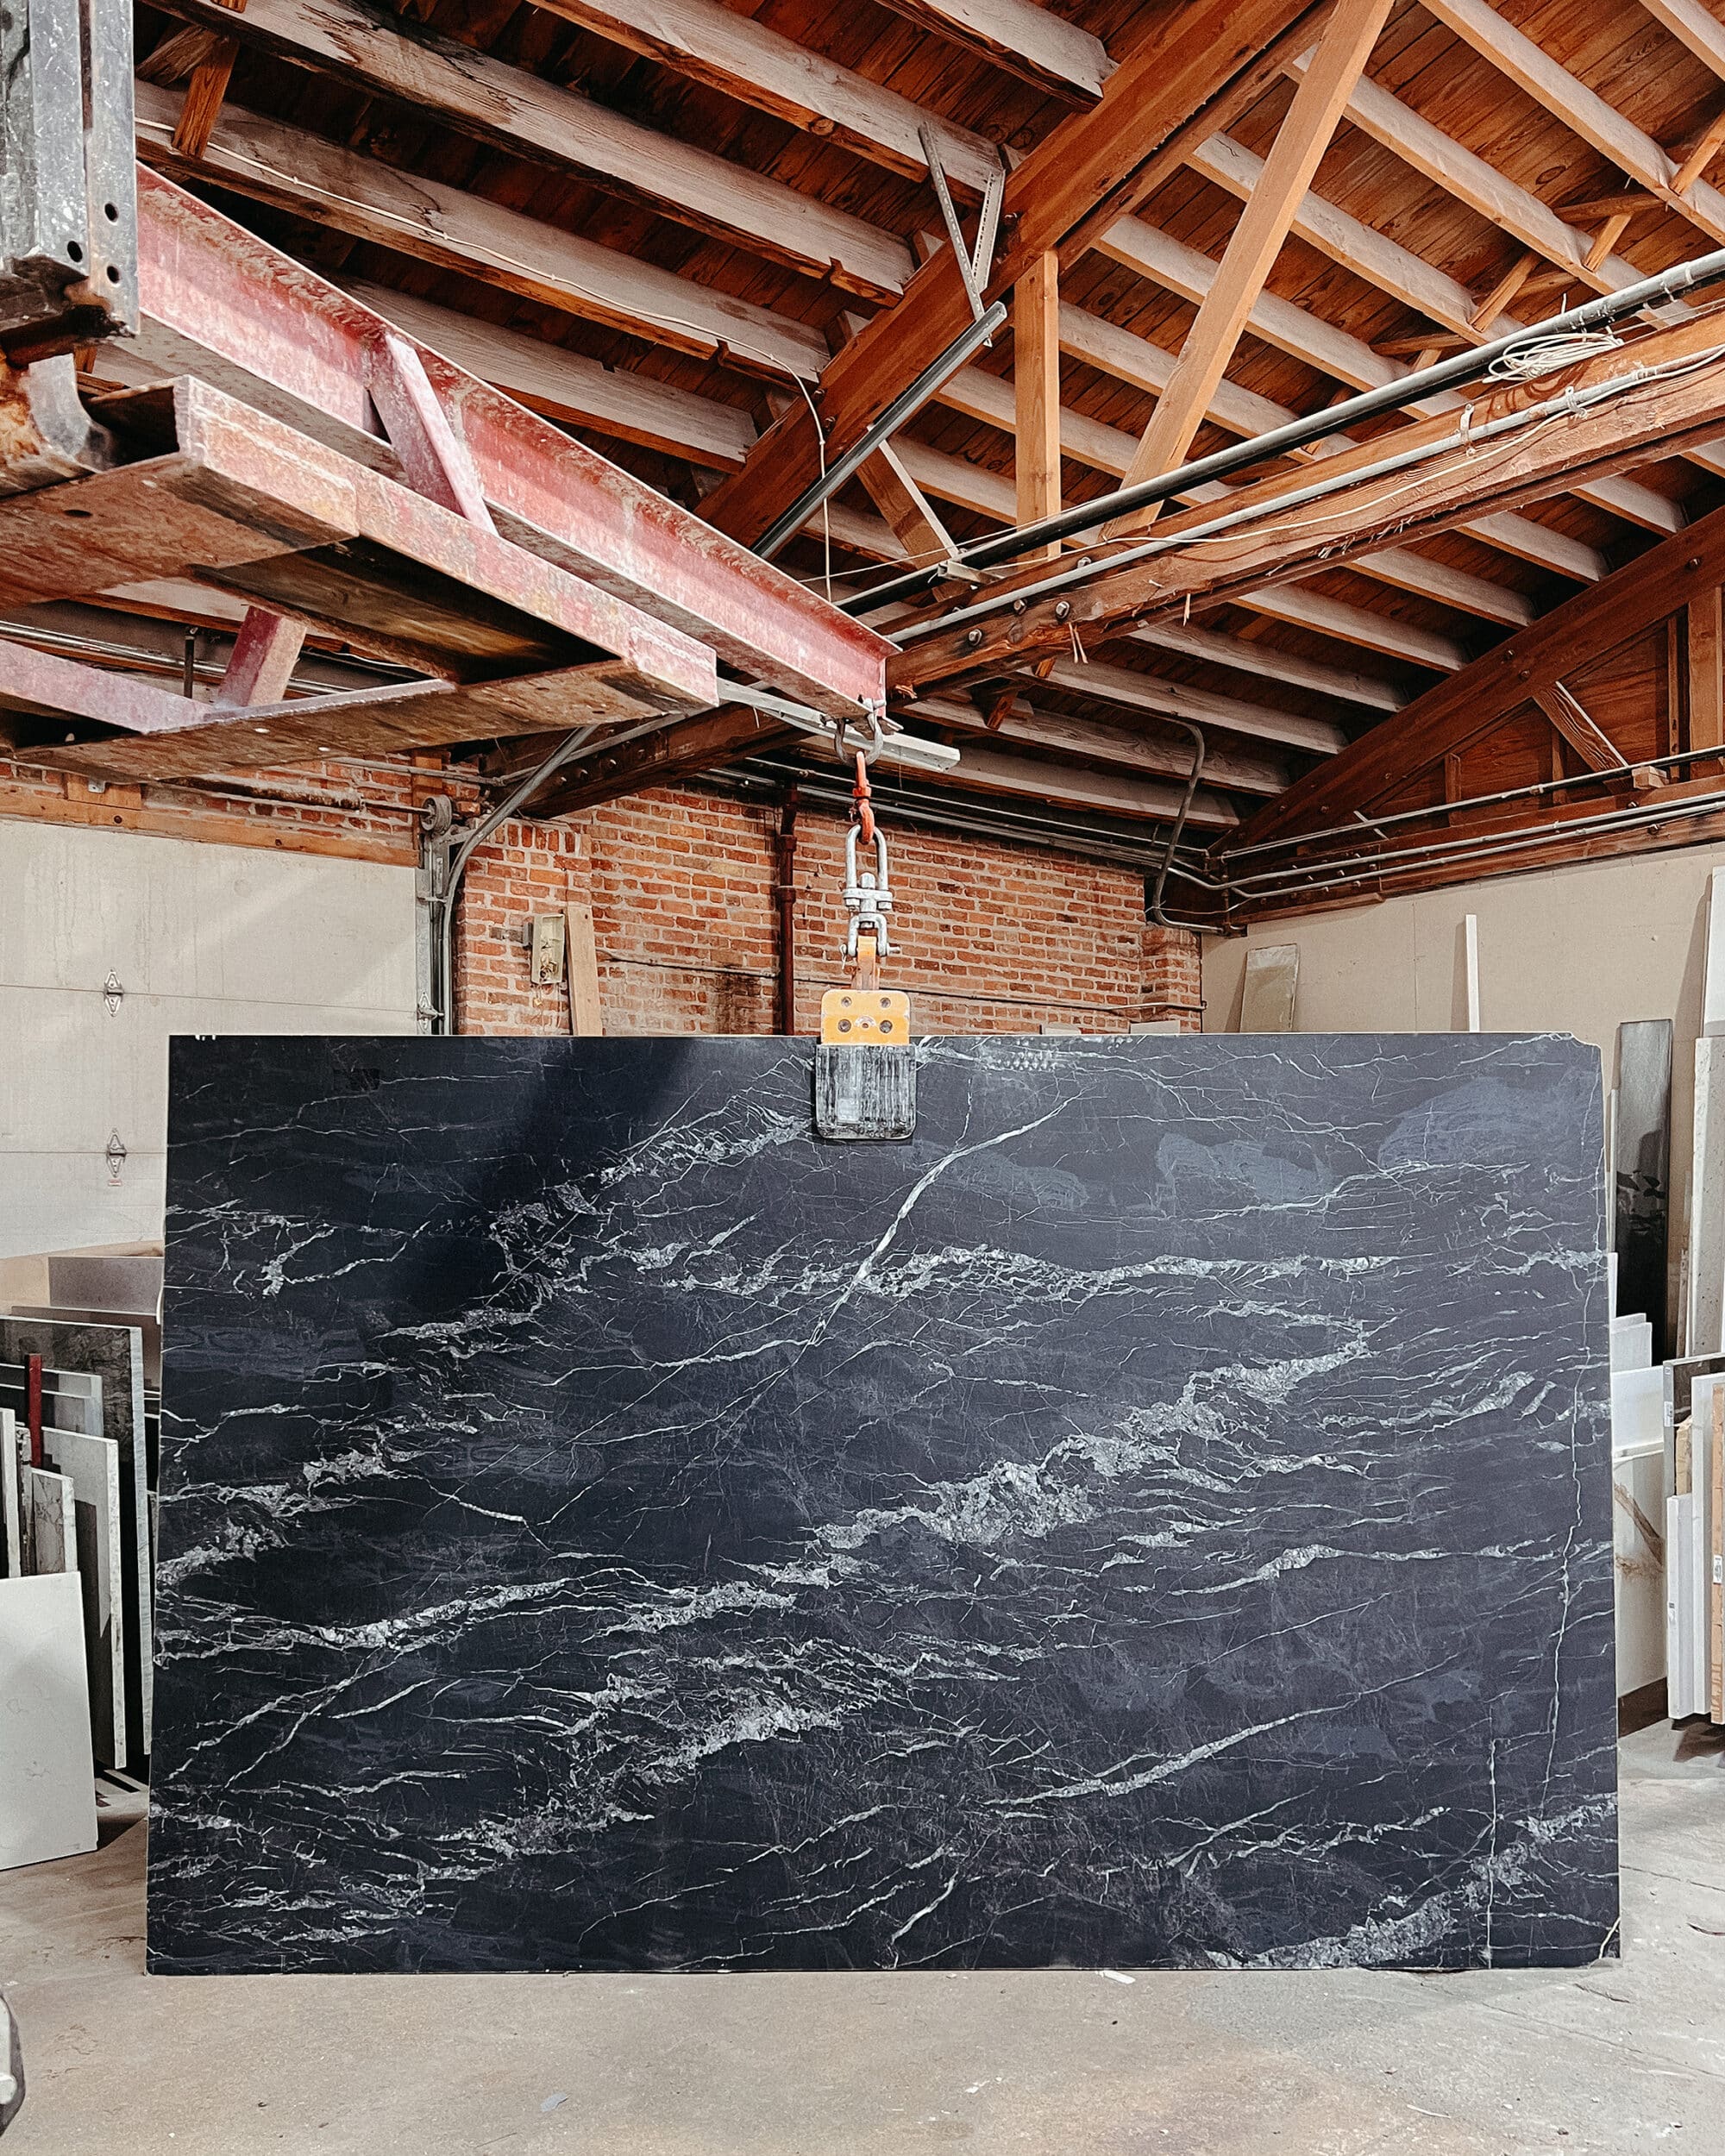
This step isn’t allowed by every fabricator, but we’ve been able to hand select the layout of our slabs both times we’ve done full kitchens with Granite Design Midwest. For this kitchen, we wanted to highlight the unique veining of our perfect slab, but also remain mindful of how each section would interact with each other.
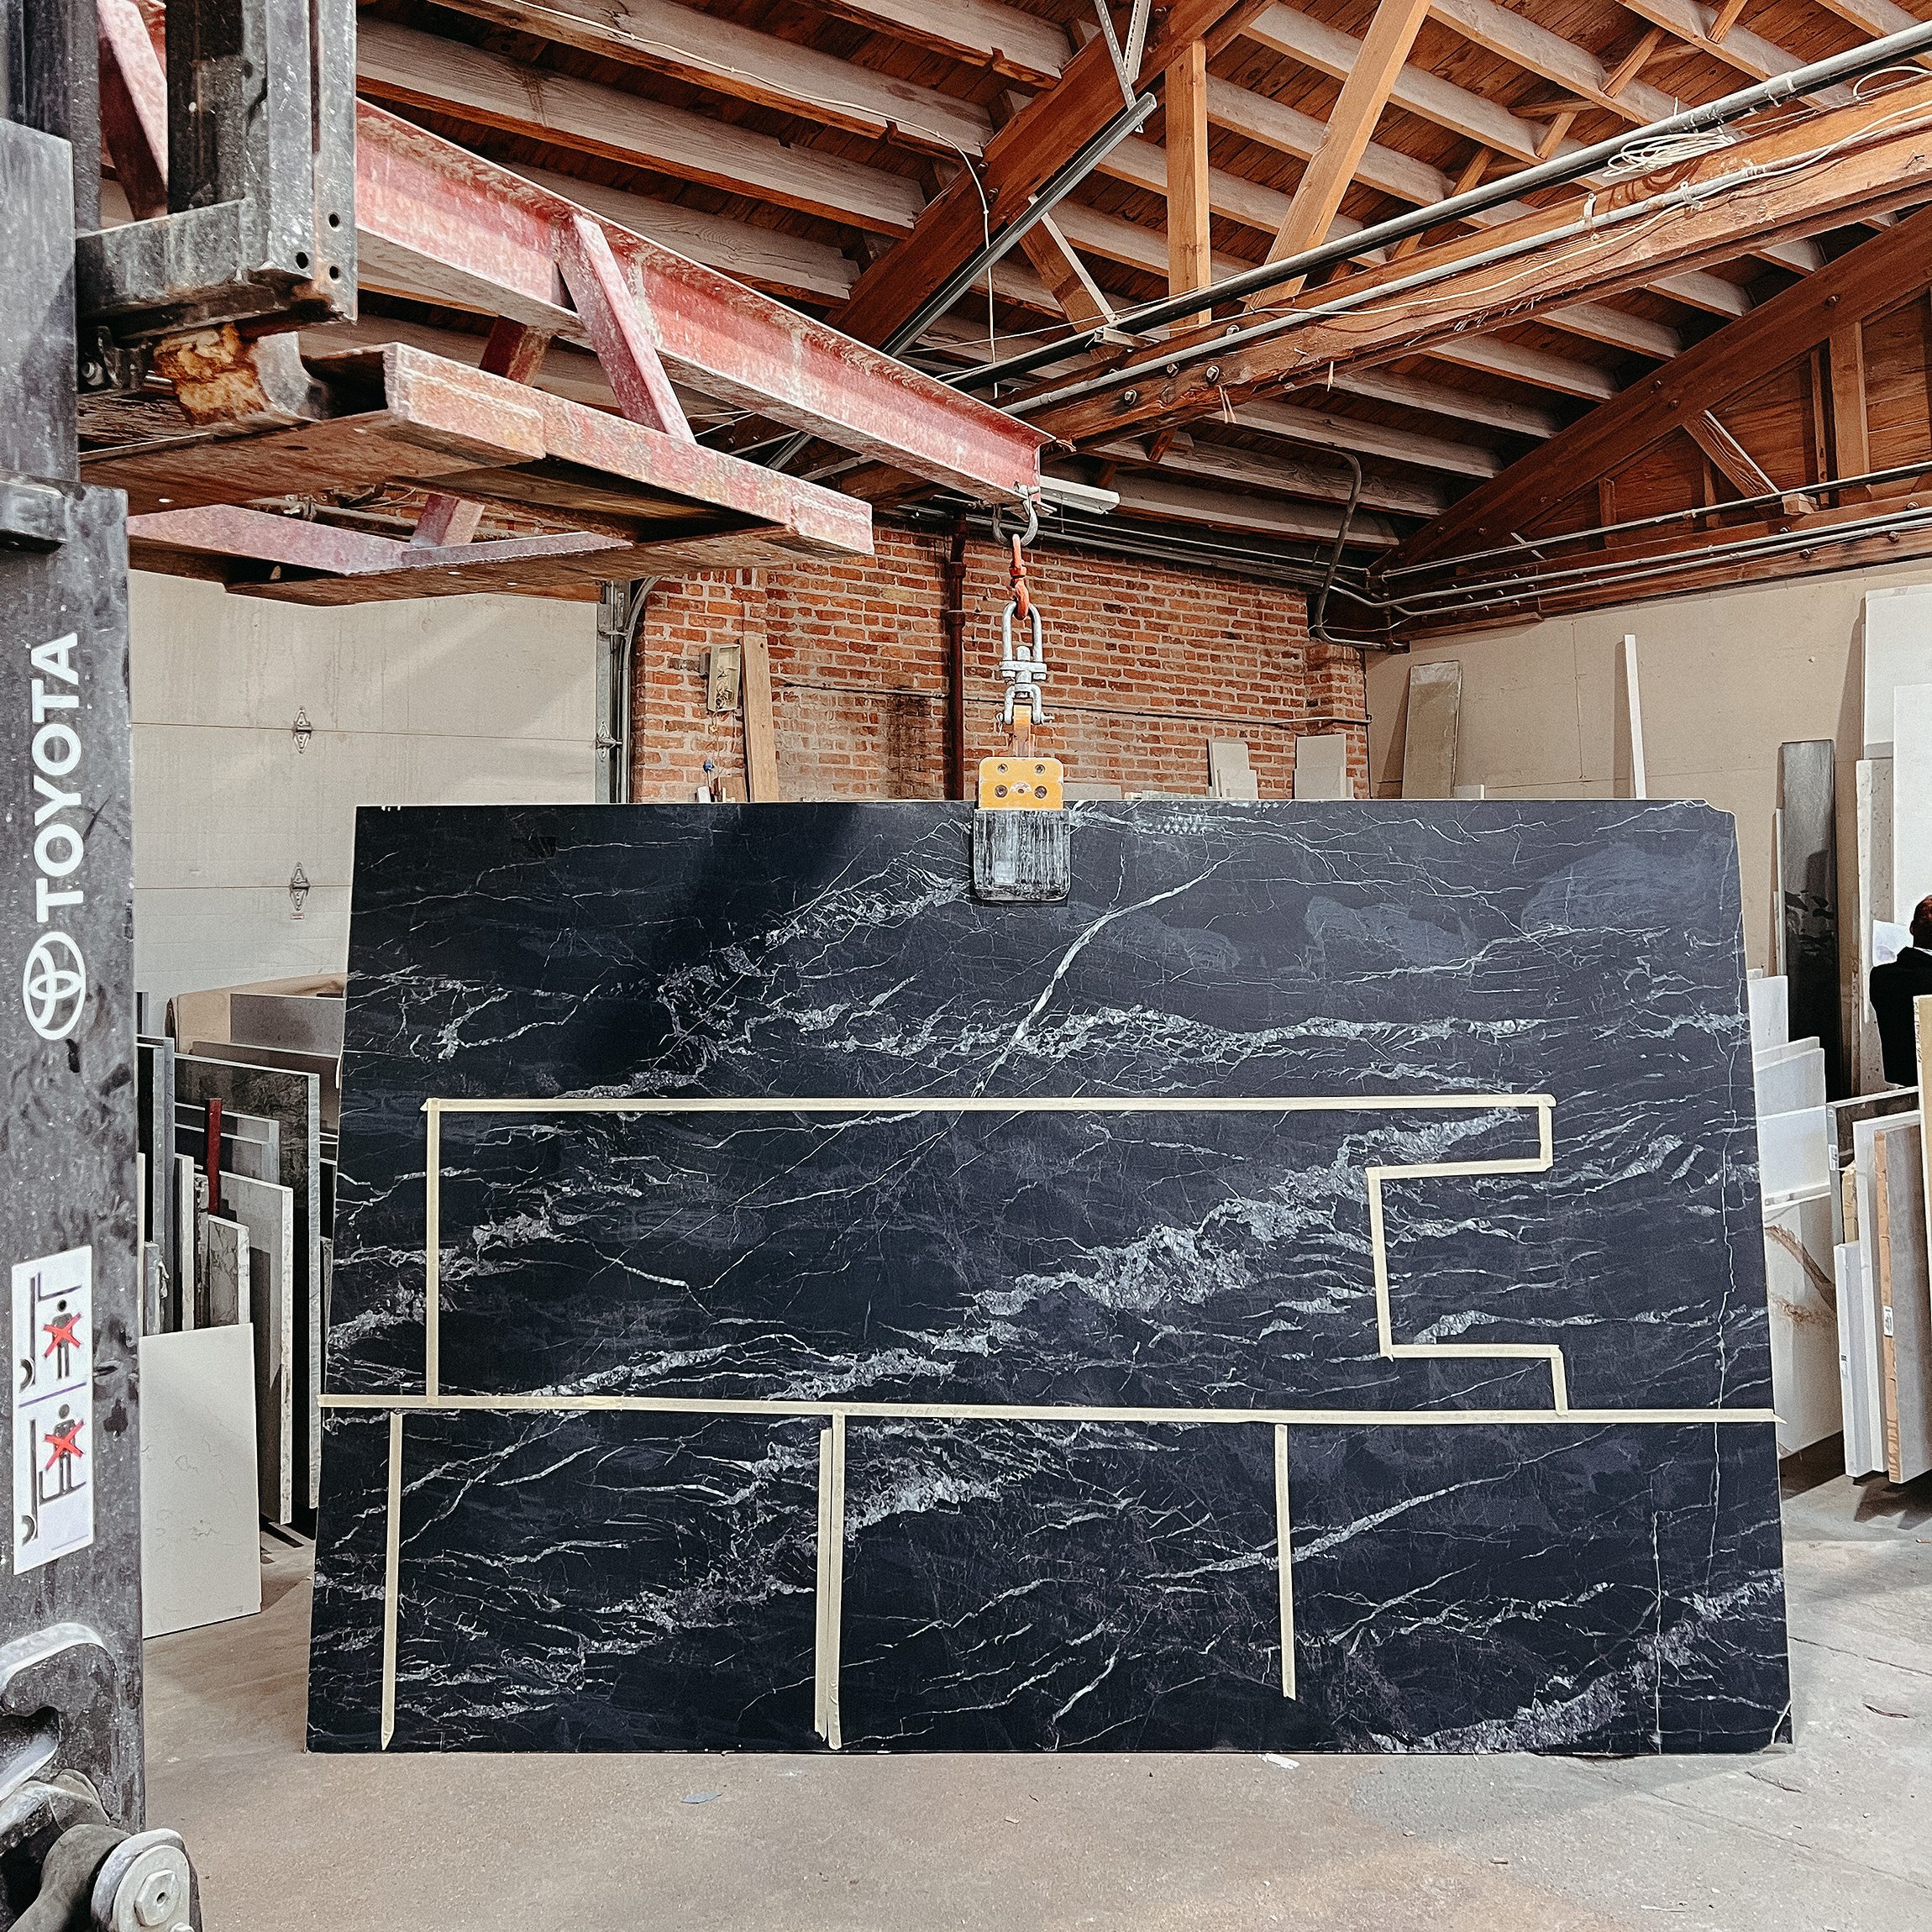
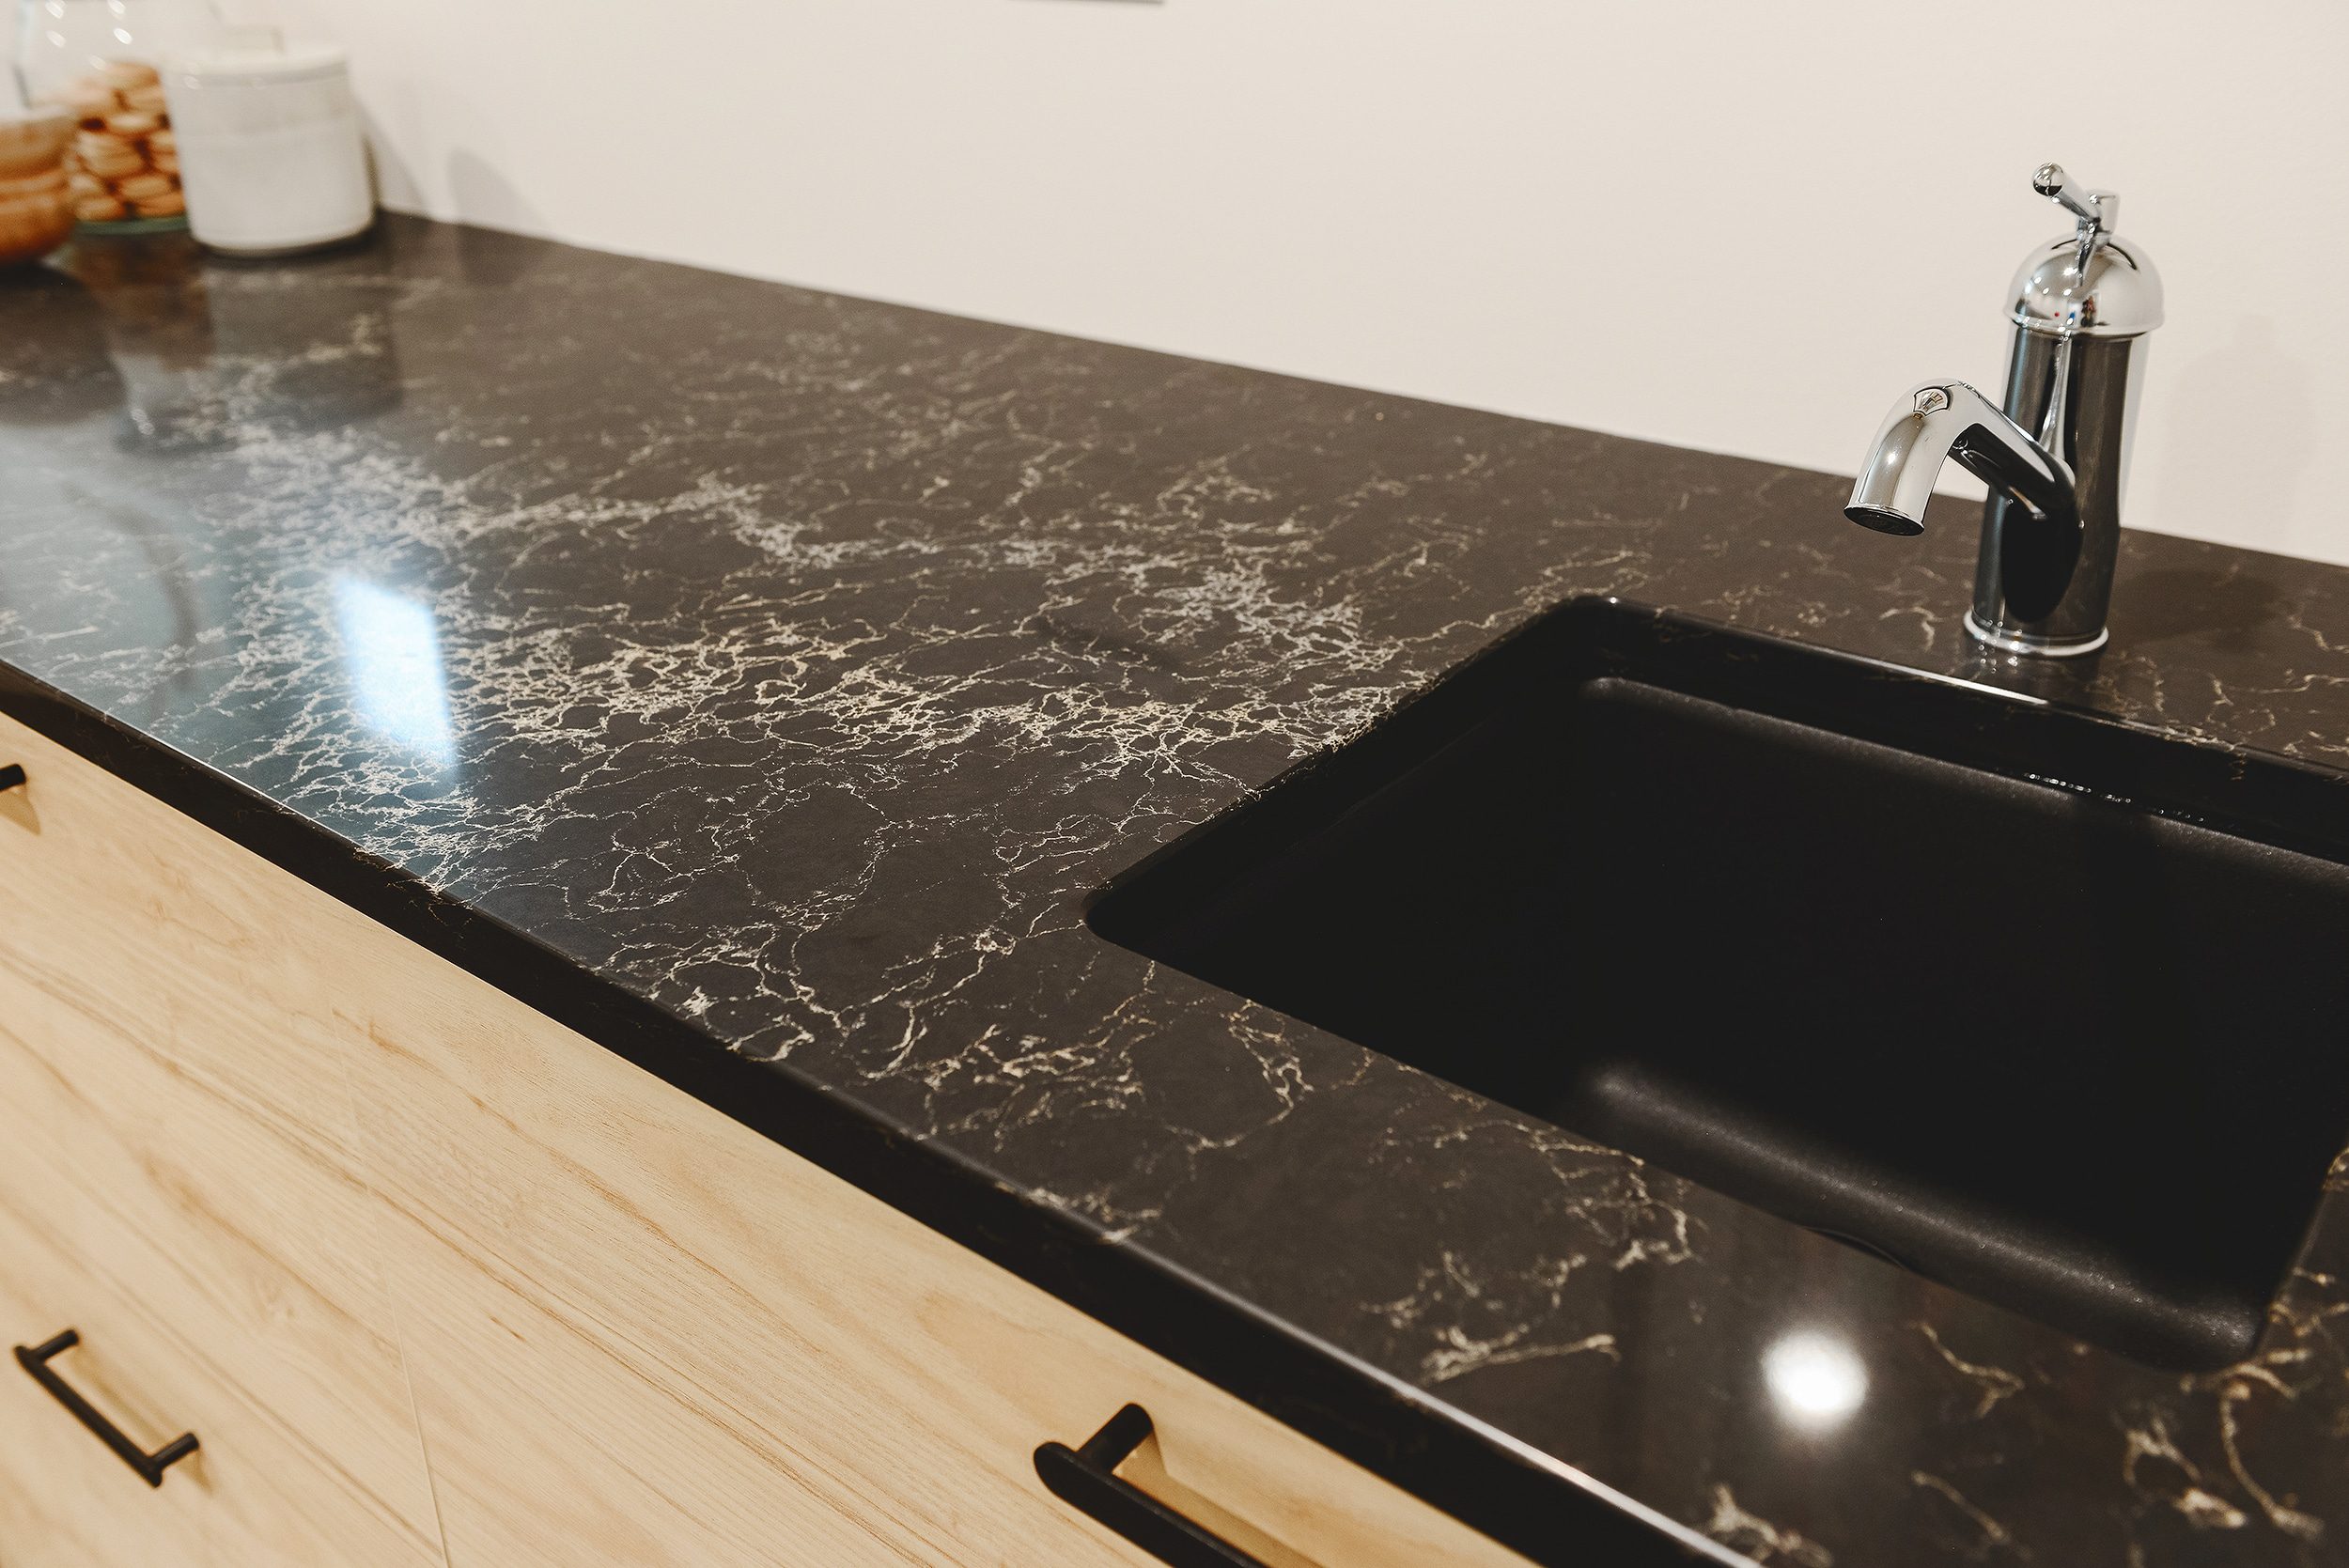
The largest section taped off in the middle of the slab was selected to be the left portion of the countertop that makes up two-thirds of the sink wall. The bottom square-ish sections would flank our range, and for the final piece (to the right of our sink) we trusted the fabricator to lay things out in a way that would flow the best. Now that the countertops are installed, we’re thrilled with how they turned out!
We hope this quick primer is helpful if you decide to select your own slab for your kitchen project. How familiar were you with this process? We’d love to hear about your experience with slab selection!


Had no idea how any of it worked. This was super helpful
Thanks for this helpful post! Do you have a sense for the typical turnaround time for the whole process, from selection to installation, at least for your stone supplier and fabricator? Much appreciated!
In our case, turn around time could have been as quick as 3 to 4 weeks from start to finish! That said, we happened to find the slab was ‘the one’ on our first trip. We started the process very early on just in case we couldn’t find what we were looking for, which we’d definitely recommend. Supply chain issues are still very much a thing in the world of stone, especially since much of it is imported from overseas.
Do you keep the left overs from the slab?
Our fabricator ‘gifted’ us a cheese tray that was mad from some of the leftovers this time around. In the past, we paid the cost of labor only to have a round tabletop fabricated from the remnants. I think it will all depend on how much is actually left over.
Thank you for sharing your process! Does the install include removal/disposal of old countertops?
Great question! Unfortunately, we don’t have a good answer for you since the original countertops were sold along with the original cabinets, so there was nothing left to remove. This would be a question for your fabricator, but I’m sure they’re able to take care of the old material for you.
This fabricator (I am local and visited them) will remove countertops for a disposal fee, which was something like $300 if I recall correctly.
Thanks for chiming in, Bekah!
Do you have a post or could you do one on the cost breakdown of cabinets/hardware/install/countertops? We’re trying to have a wet bar put in which will at most have 6 cabinet lowers (most of which will be integrated appliances) and are getting quotes in the $50K range which seems crazy. We live in Seattle and I realize costs will differ by region but really struggling to figure out what the cost “should” be.
As you mentioned, costs for renovation projects vary so wildly by region that it’s almost impossible to compare in a meaningful way. On top of that, supply chain issues and labor shortages have compounded to make every project pricier than even a few years ago. We’ve outlined a number of kitchen builds on the blog and have compared the pros and cons of each different style of cabinet. We’re sure you’ll find helpful info there!
We just got our countertops yesterday! It’s amazing how they really punctuate a turning point in a kitchen remodel. What a wonderful fabricator you’ve got!
Don’t purchase slabs from a supplier that stores their slabs with bubble wrap between the slabs for padding. We learned the hard way that the bubble wrap, a petroleum product, leaves a perfect dot pattern on the finish that is so far impossible to remove.
Marc,
Tustin, CA
Oh no! We’ve never seen a supplier do this, but it’s a great tip regardless.
I am dying to replace our countertops and this is so helpful! I need to at least get some pricing for the project because I am so clueless! I painted them to look like marble last year and that was a GREAT temporary solution, but can’t wait to have the real thing.
oh my! This is so incredibly helpful! I am weirdly embarrassed to start engaging with suppliers when I have no clue how it works! (and some of them are weirdly bad at explaining things to first timers:) ) THANK YOU!!!