

The who, what and why about the maple hardwood floors we installed in our kitchen.
The Floors Are Finished!
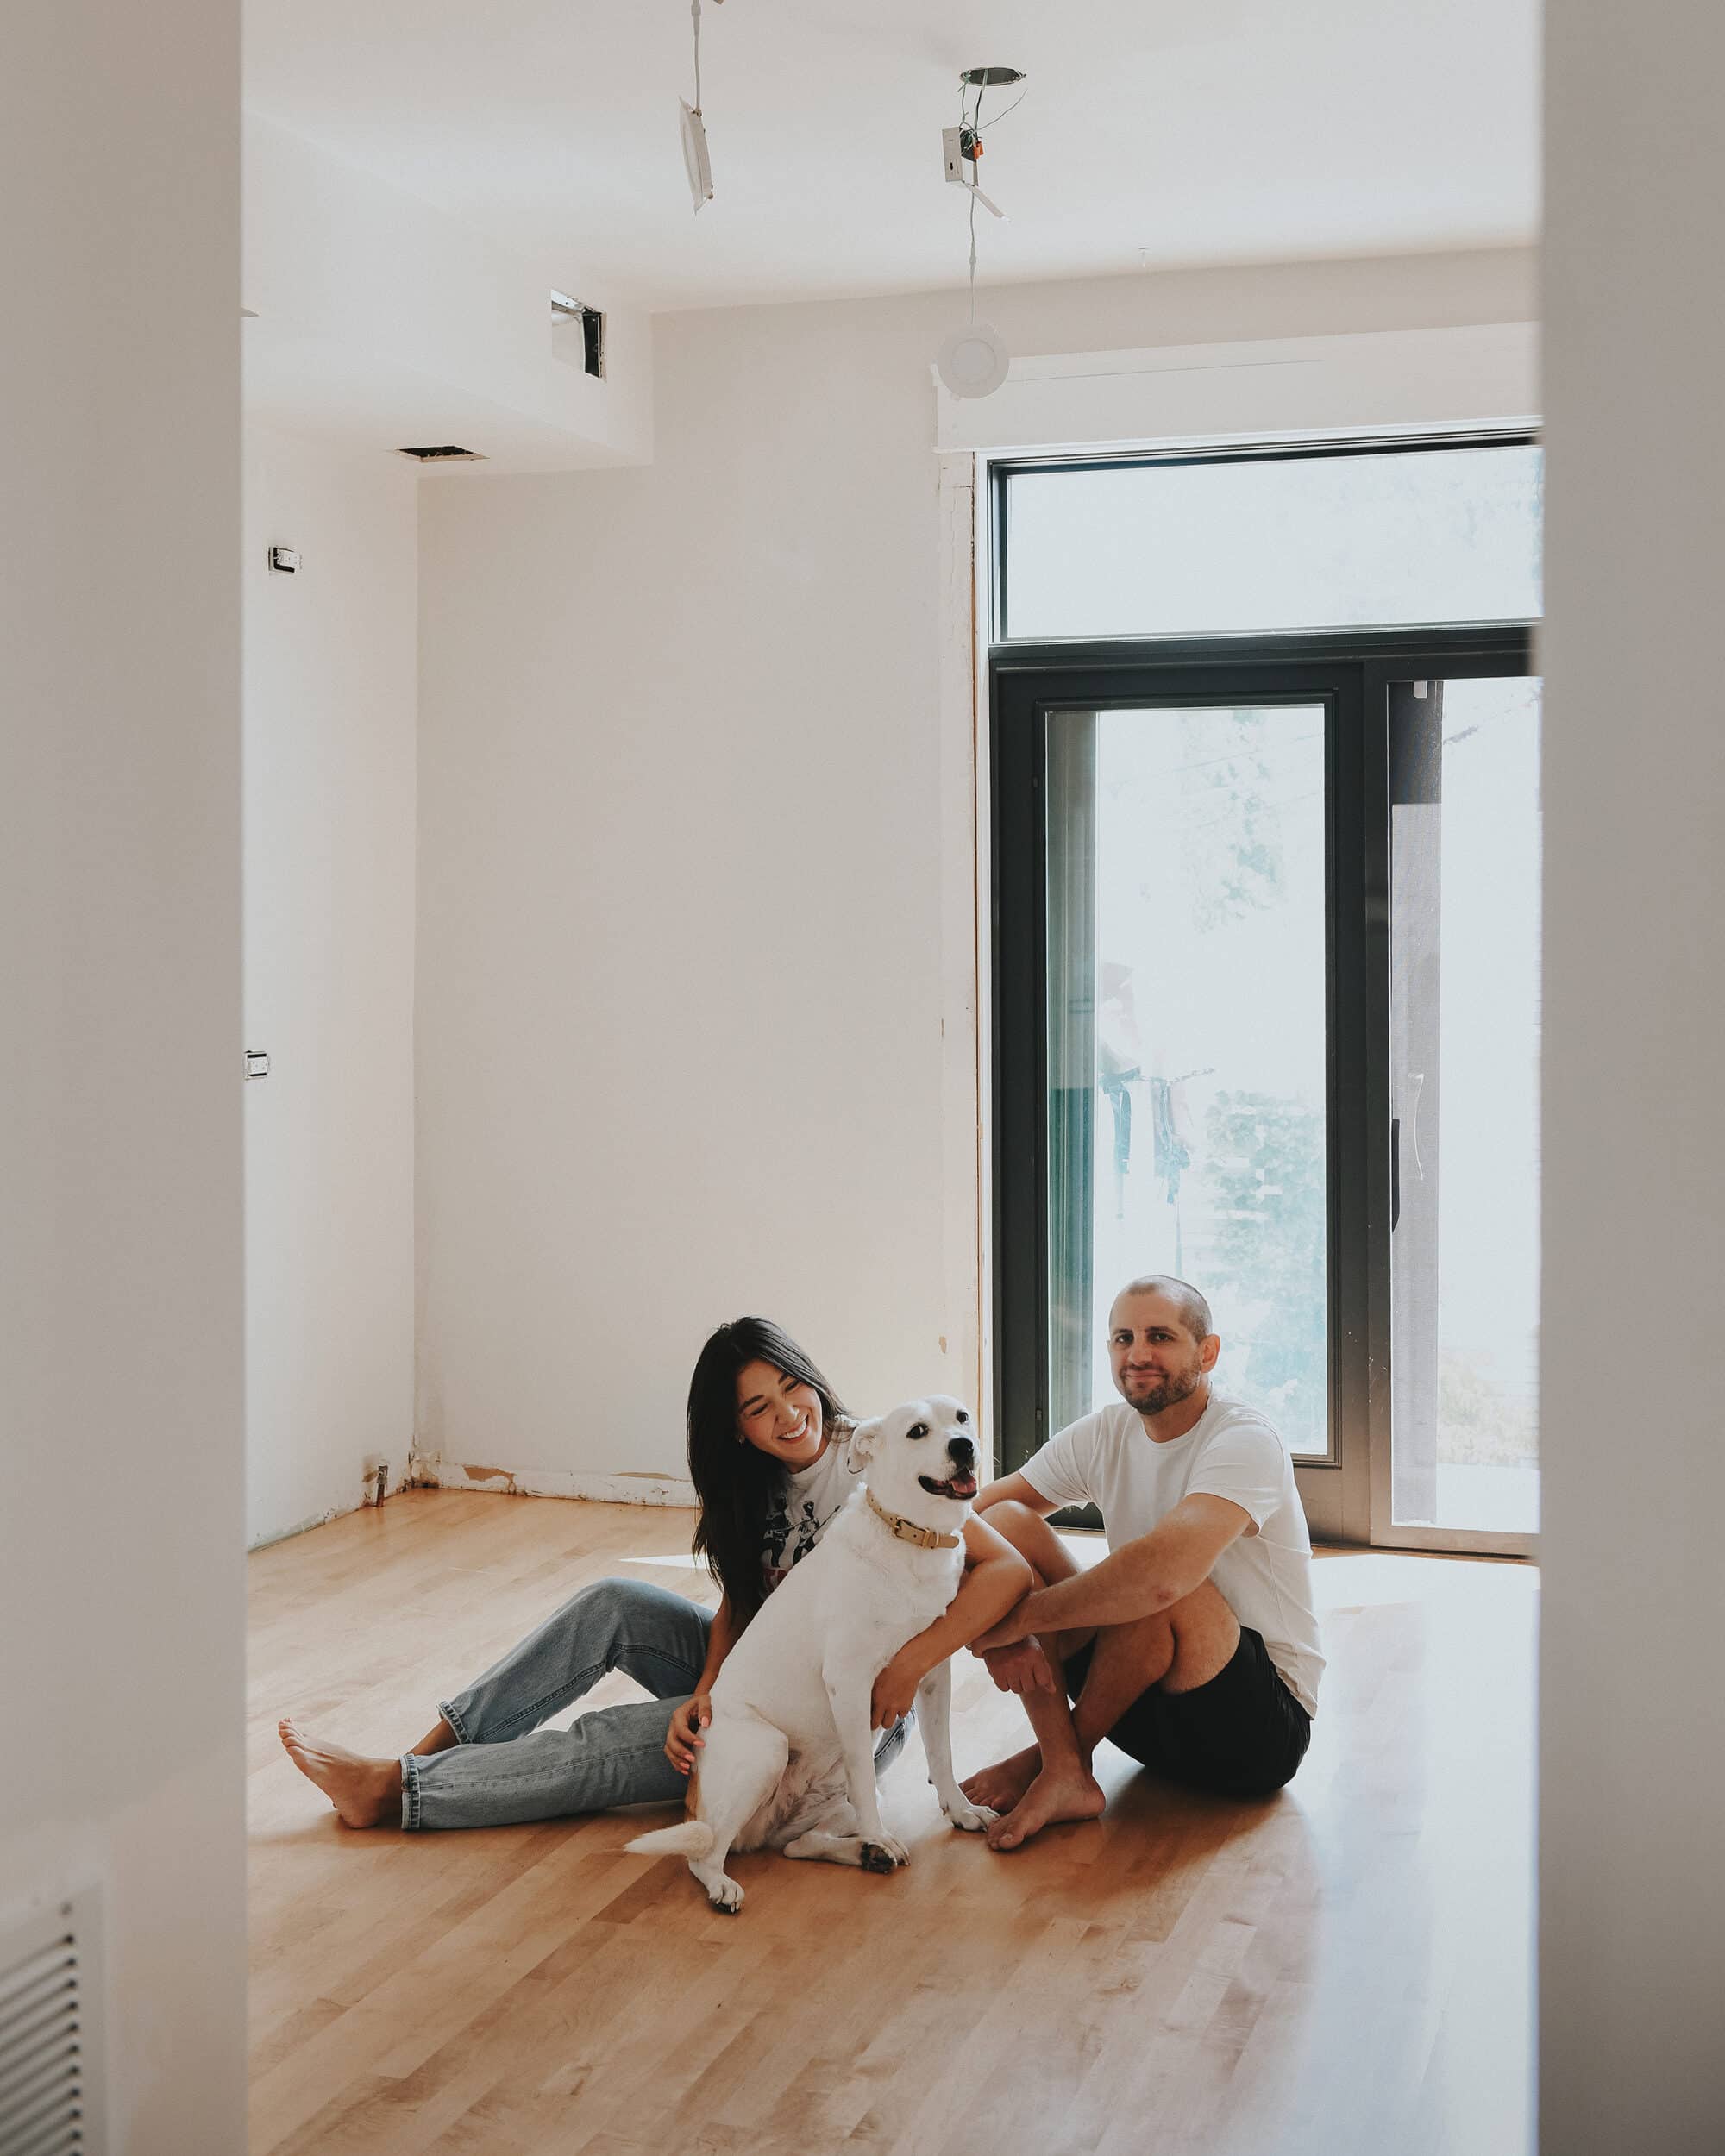
The hardwood floors in our kitchen are installed, sanded, stained and sealed! I laugh when I think back to the time we thought we could patch and repair the hardwood flooring we had before. After moving the furnace closet and realizing the sad condition they were in, it became very apparent that starting fresh would give us the results we craved in the long run.
Follow along with this renovation from the beginning: why we’re renovating the kitchen | a happy surprise | choosing cabinetry | sharing the new kitchen layout | choosing backsplash tile | choosing an eat-in kitchen table (vs. an island) | the mood board | the kitchen is GONE and how we’re making it work | flooring installation
Today I want to gather and answer the common questions I’ve received during the process, all in one place. Honestly, having a blog has helped us tremendously over the last decade+, as we frequently search our own archives to remind ourselves of finishes and colors! As you renovate your own home in any capacity (from room refreshes to floor-to-ceiling makeovers), we always recommend keeping a file on your phone or computer with photos and notes for your own reference.
Q: Why are you replacing the floors?
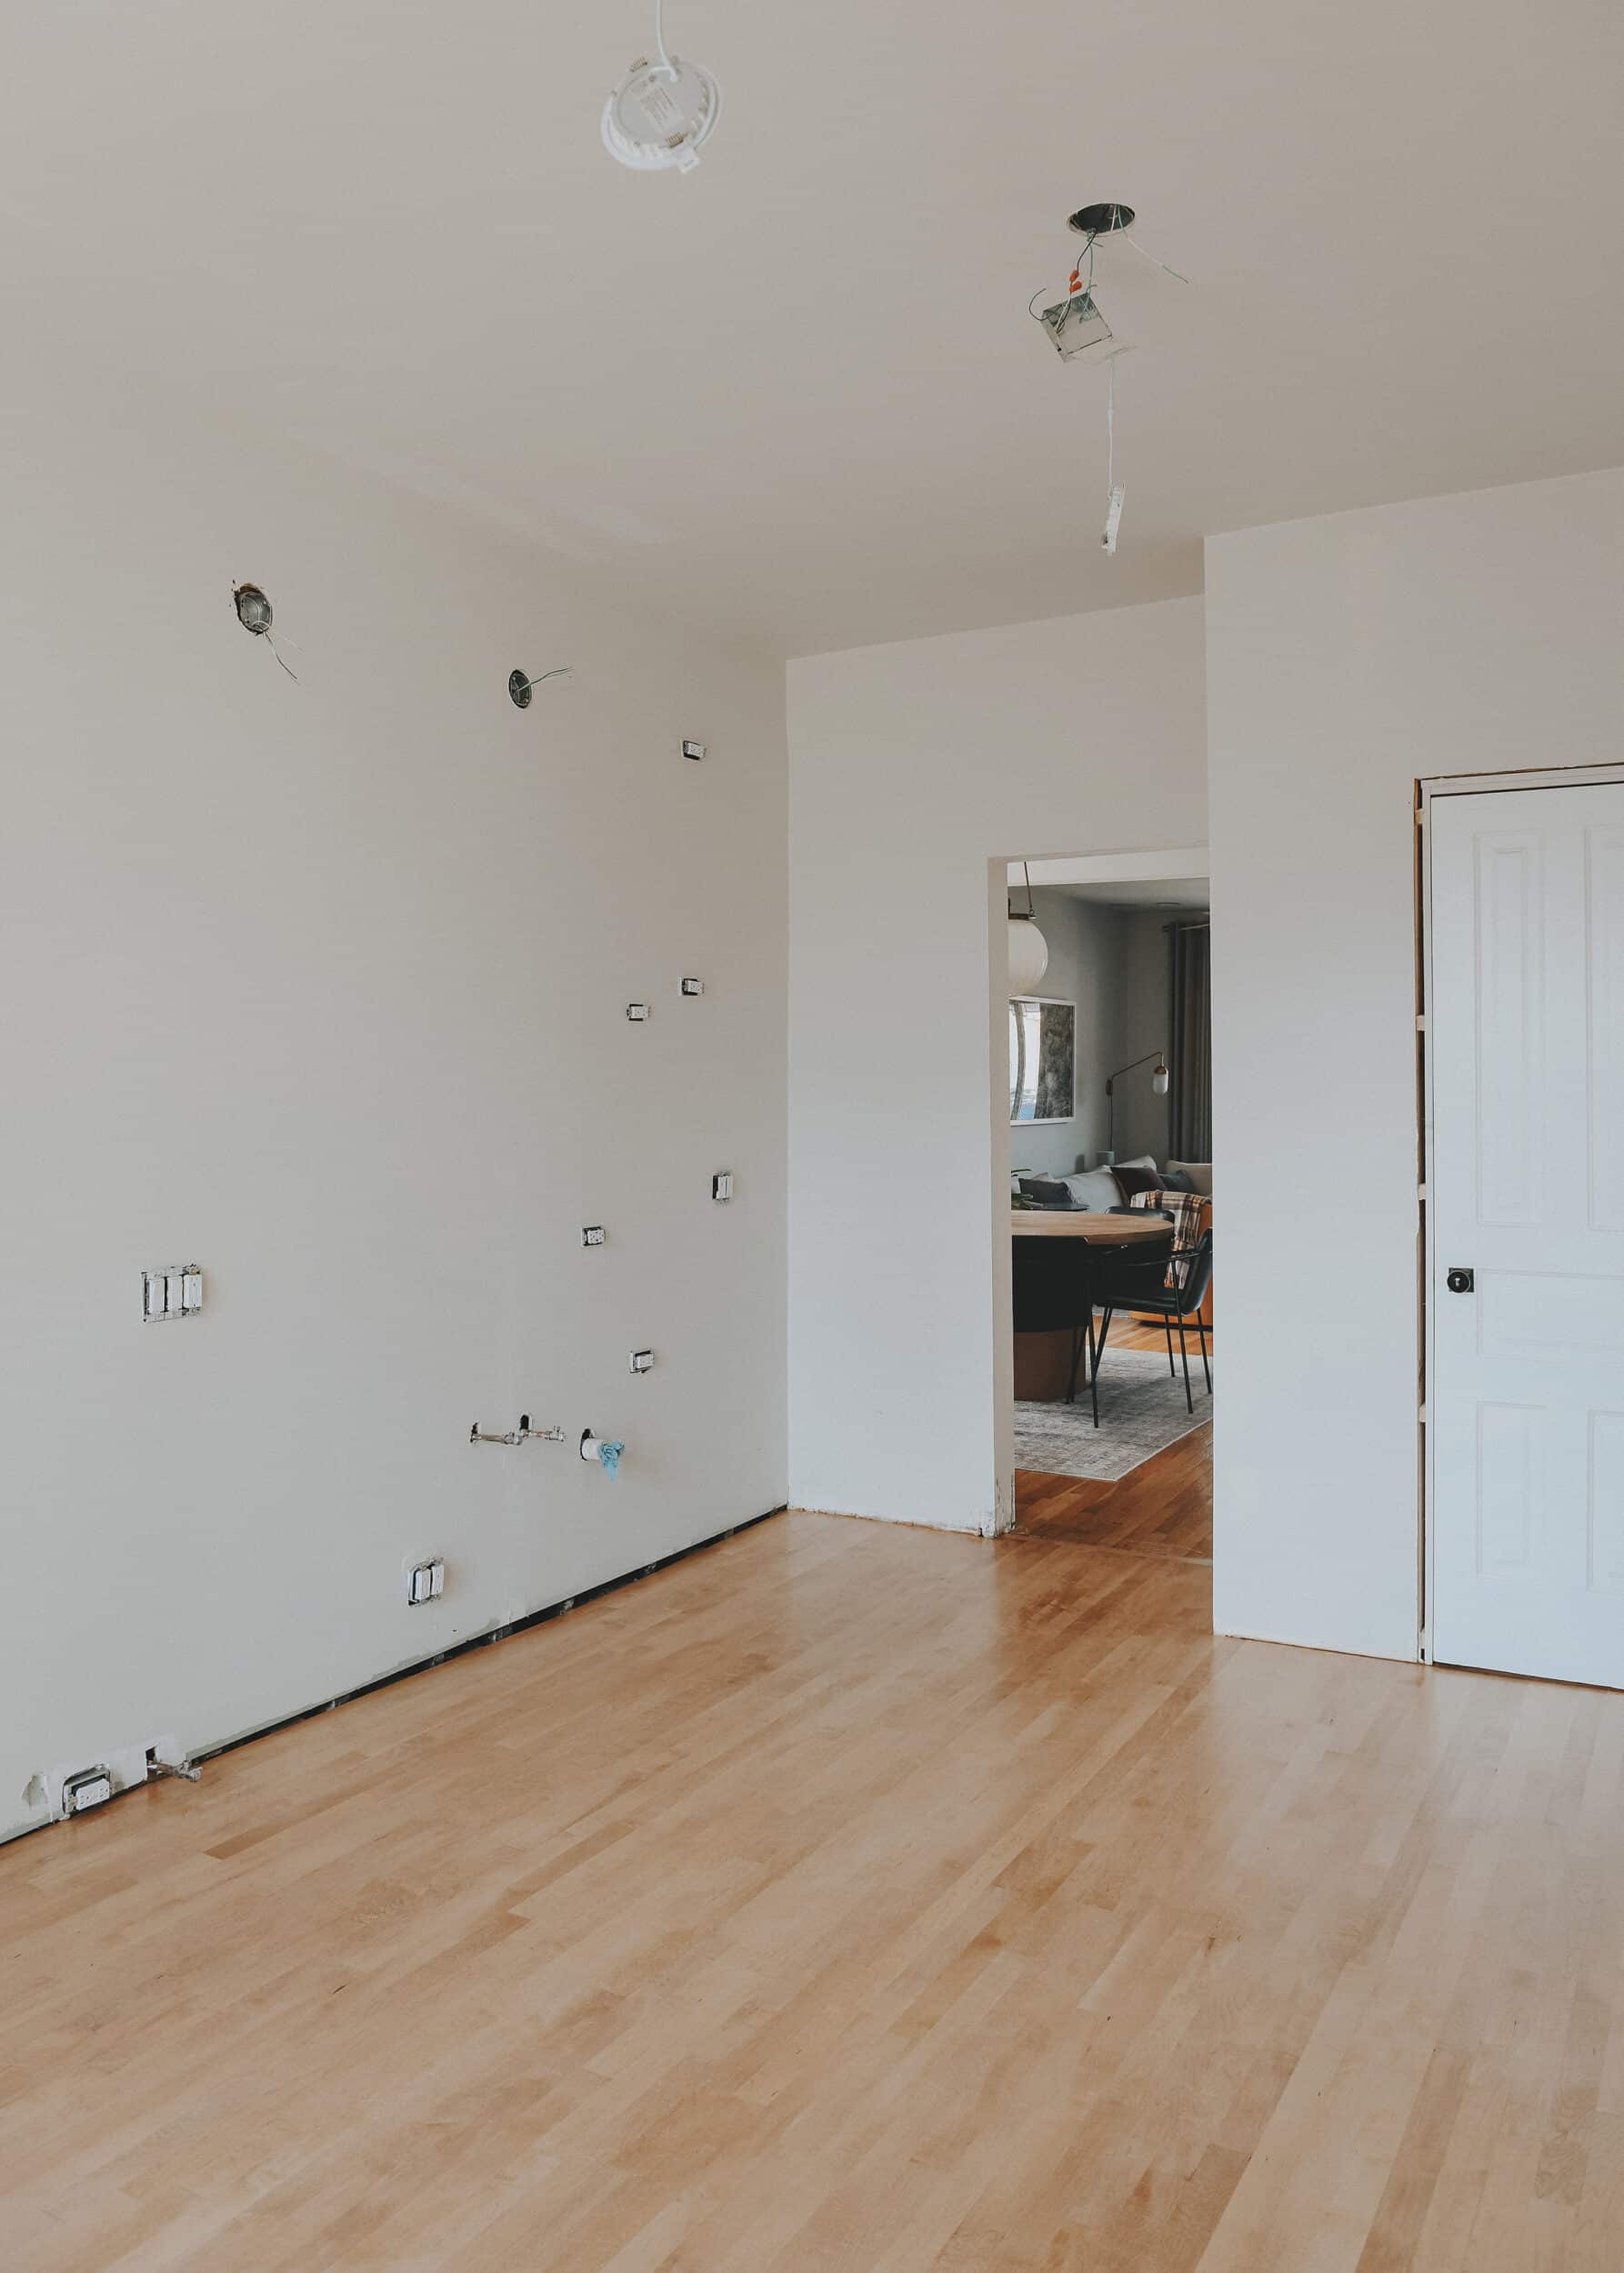
A: While we had hardwood floors prior to this, there was a lot of damage. The previous flooring was prefinished hardwood that saw varying amount of water damage, rot, and deep scratches. After relocating the furnace closet, we also saw several layers of old flooring beneath – from vinyl tile to the original 135-year-old hardwood!
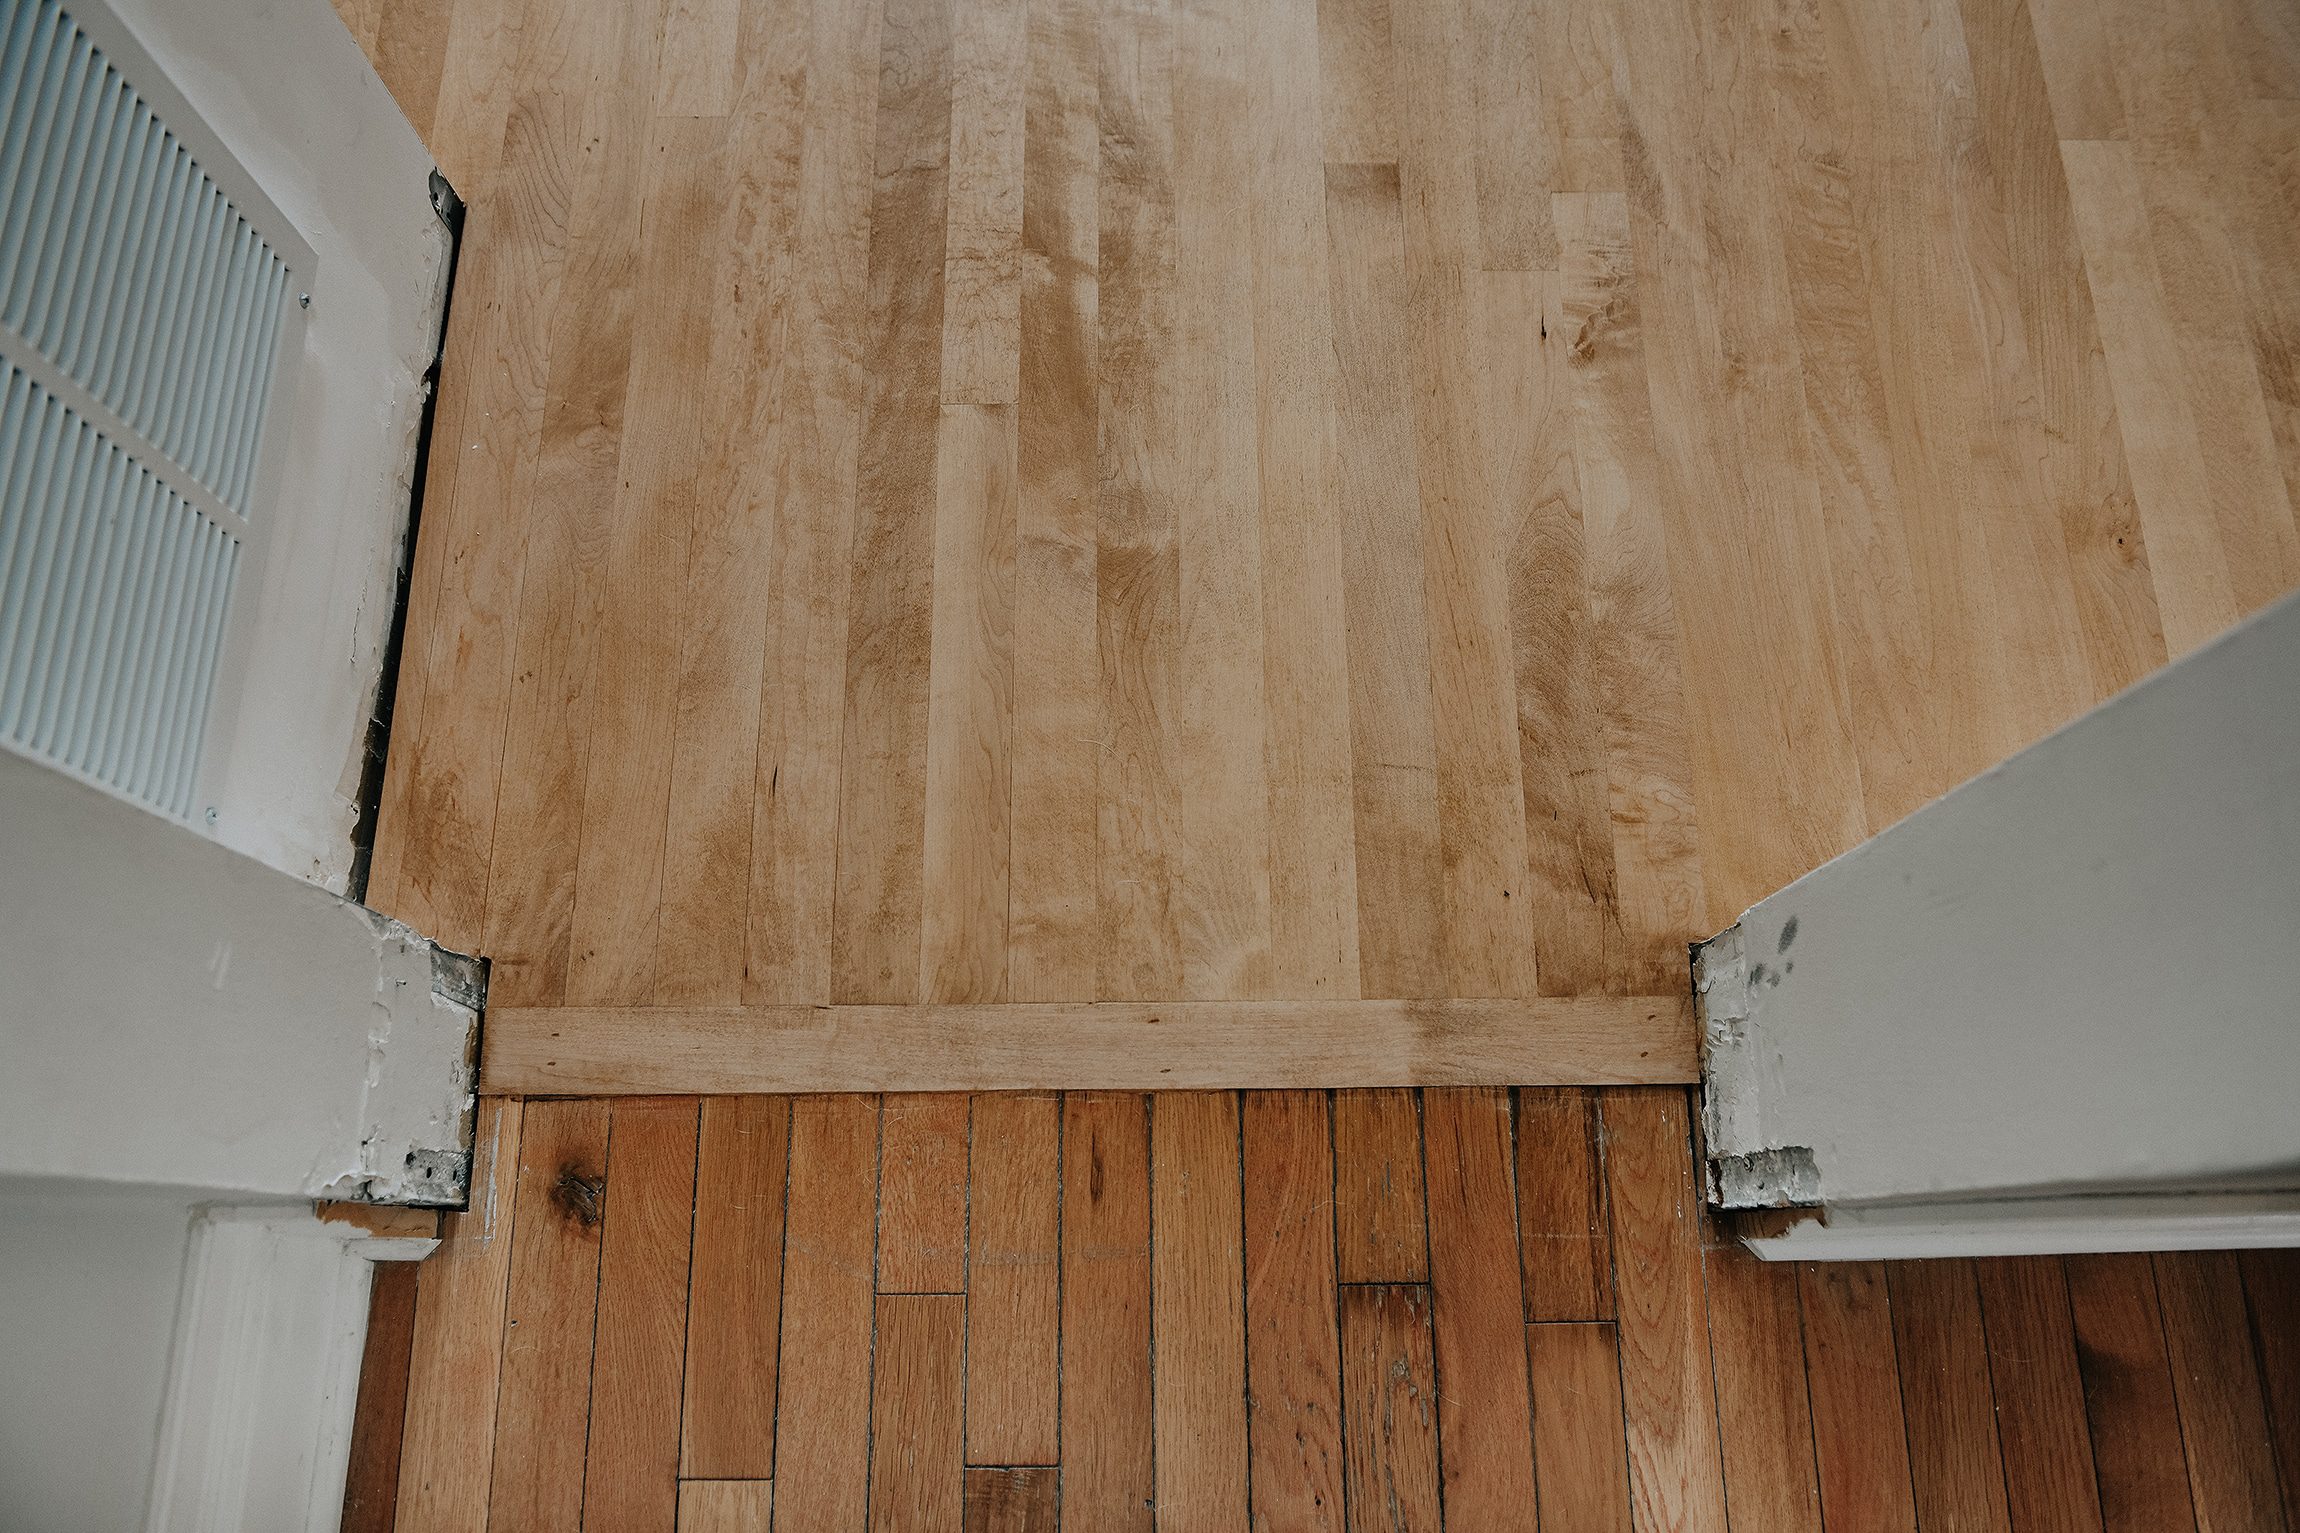
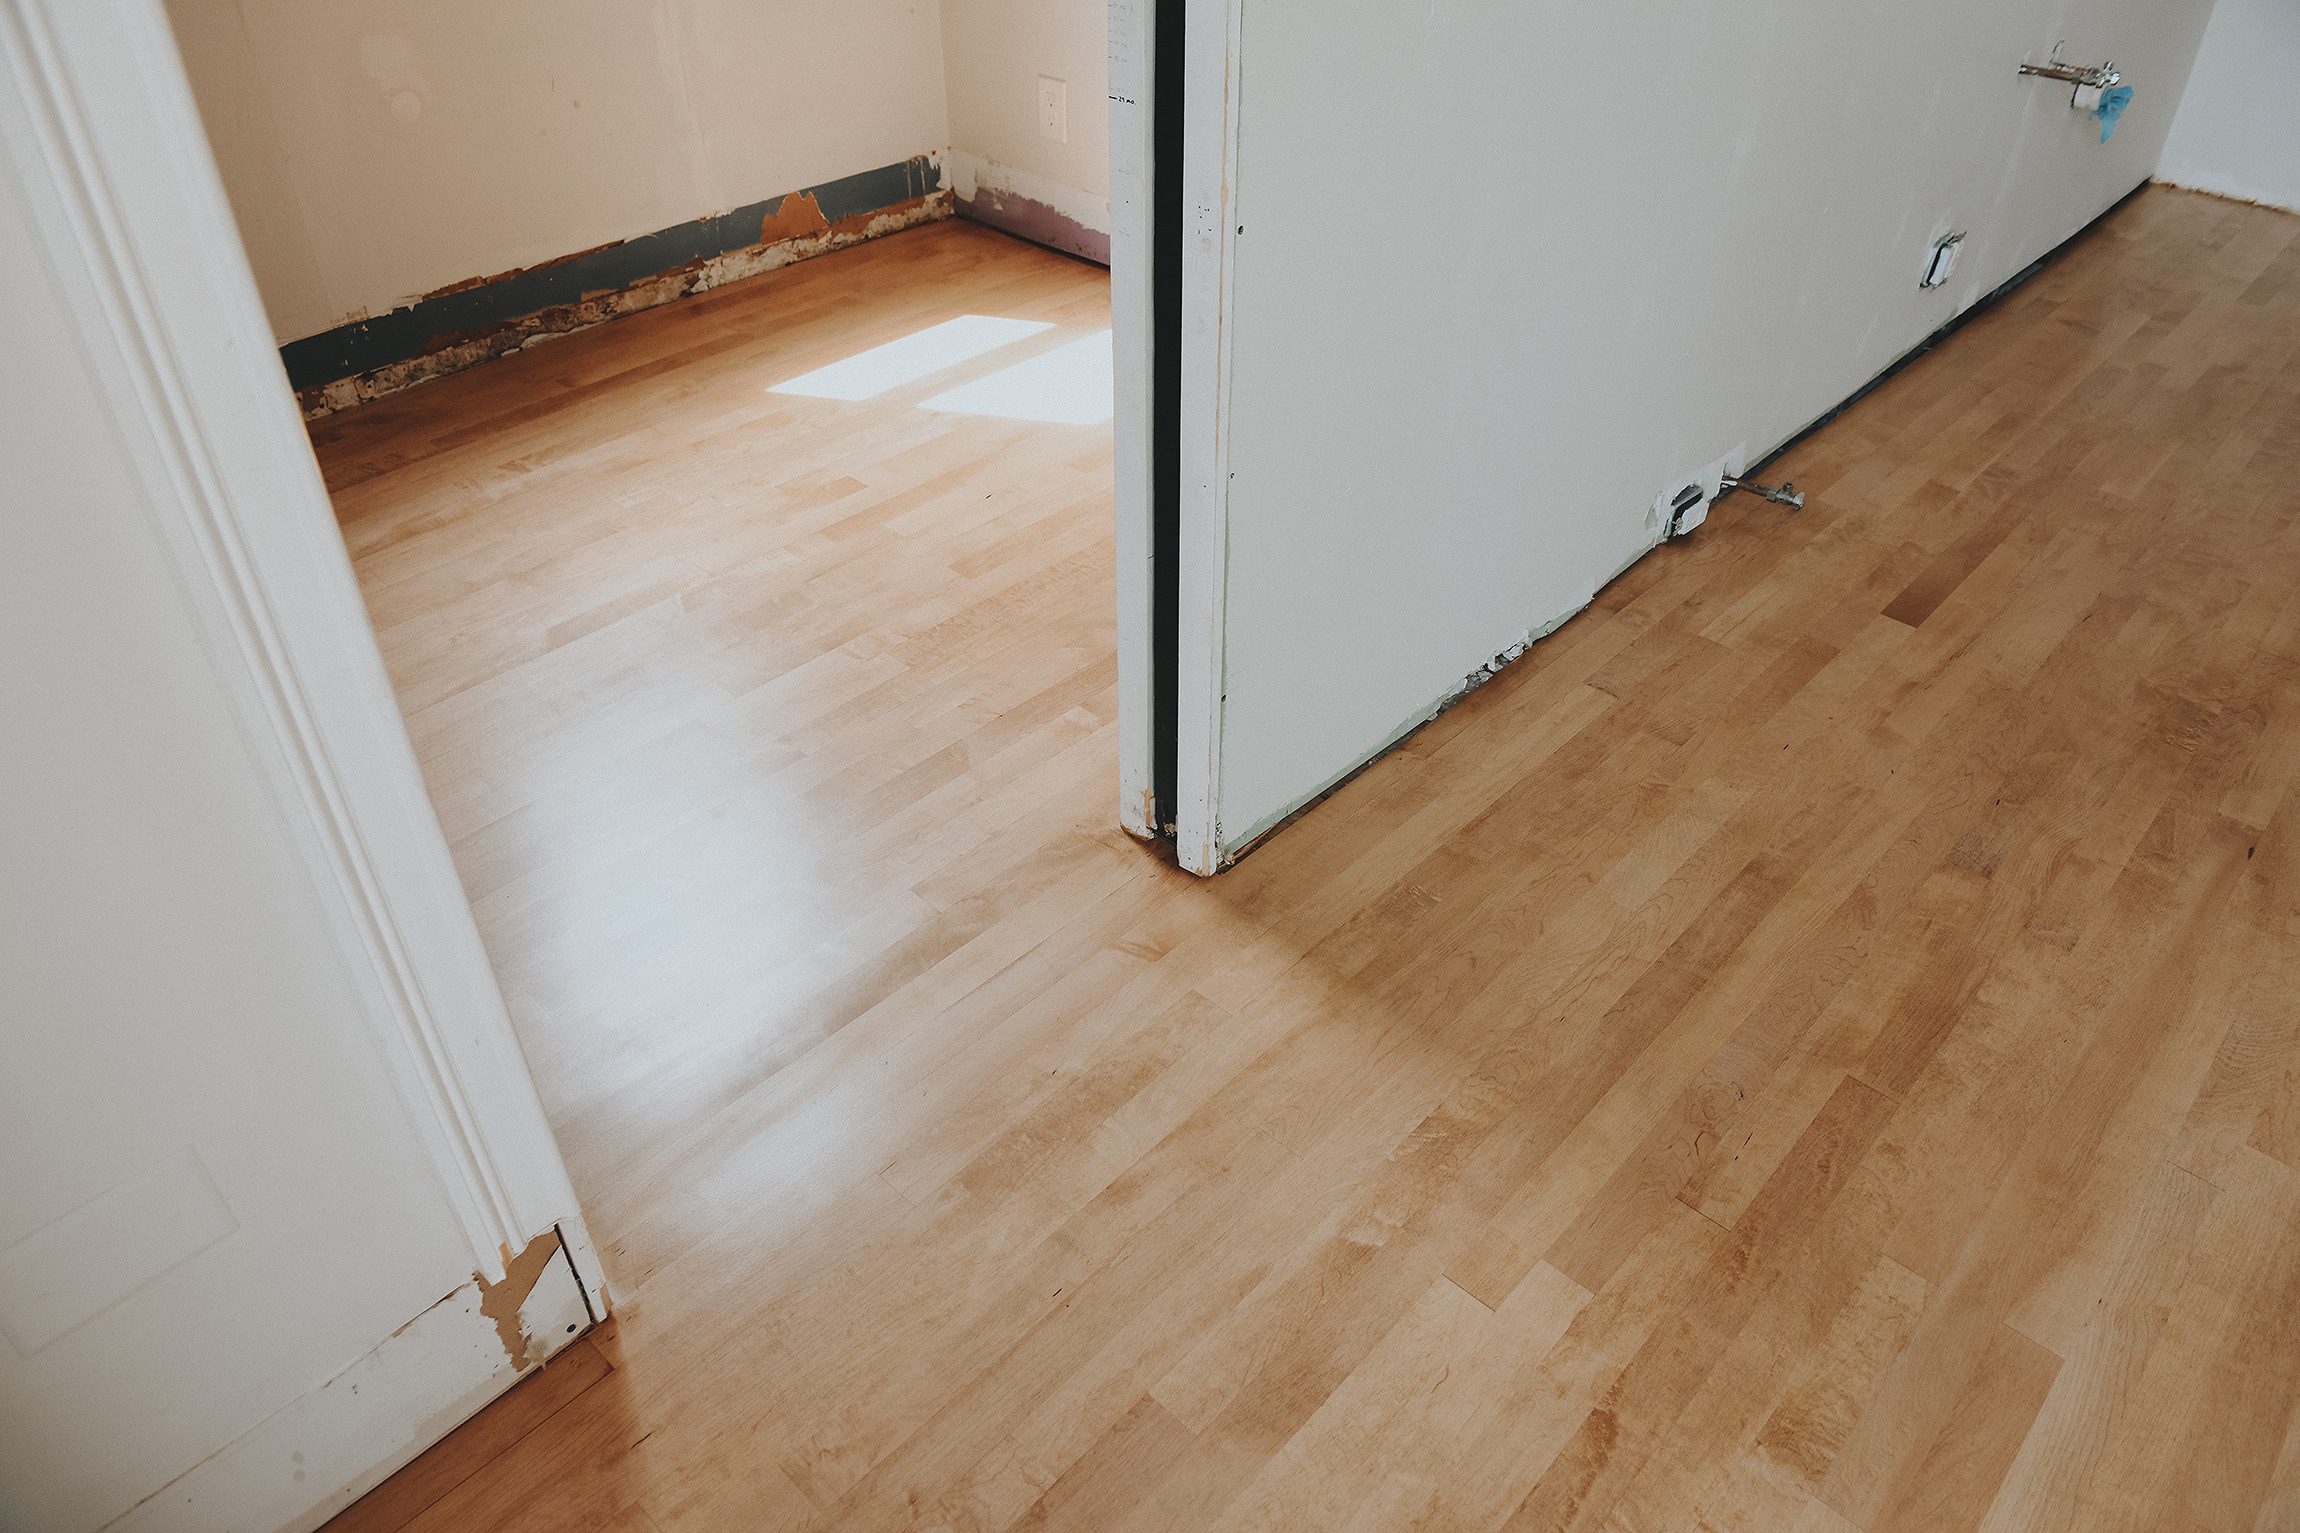
After talking with our floor refinishers, it became apparent that there was too much rot to salvage the original hardwood flooring. The other issue was that the layers of flooring over the years caused the kitchen floor to be an inch-plus higher than the rest of the house! When the new flooring was installed, the team was able to create a smooth transition, seen below:
Q: Which flooring did you choose?
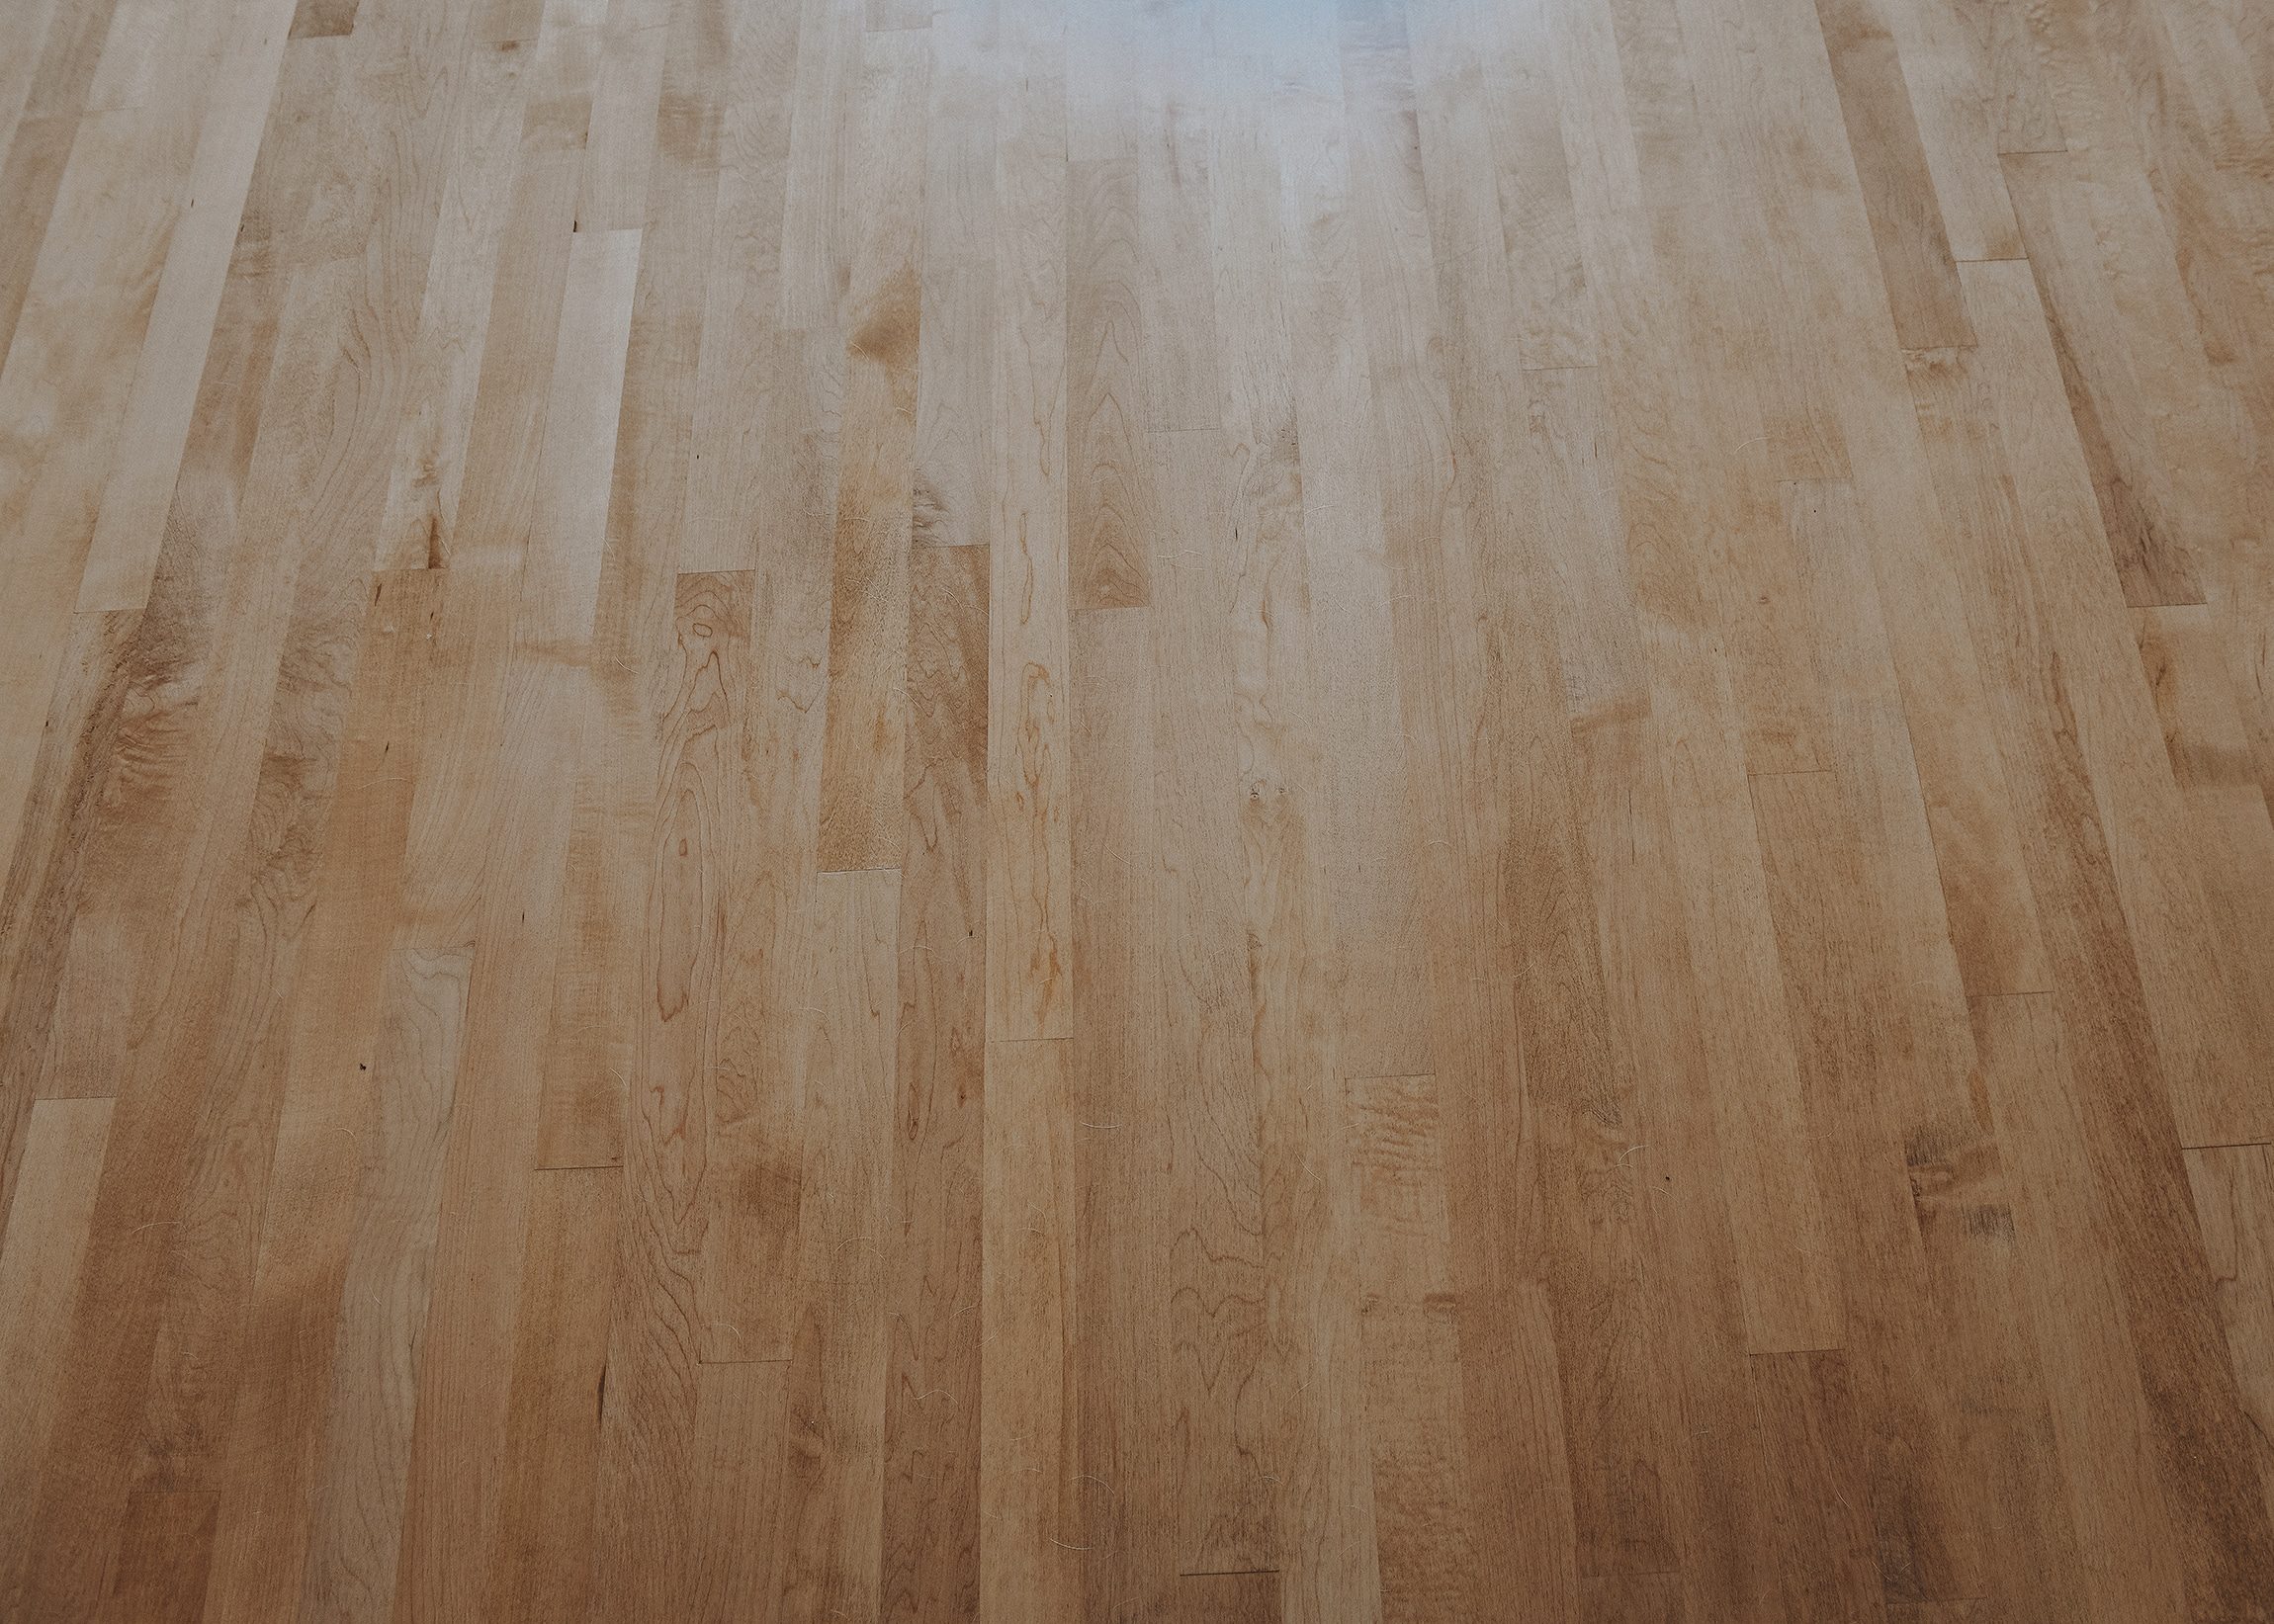
A: In a Chicago home of this age (our home was built in 1887), it would be very common for the kitchen, pantry and ‘work spaces’ of the home to have maple flooring, while the rest of the home would have oak or even pine. These different wood species take stain differently, so right off the bat, kitchen flooring would look different than the rest of the home. This gave us the confidence to choose 2 1/4″ maple hardwood flooring, although it’s adjacent to our (prefinished) 2 1/4″ red oak flooring throughout the rest of the home.
Q: Who did you hire?
A: We worked with Peter’s Wood Refinishing, and if you’re in the Chicagoland area, we can’t recommend them enough! It’s a woman-led business, with Araceli leading the charge. She has always been willing to take the ‘hard’ road, especially if it means salvaging versus replacing.
Here’s an example: while working on our Two Flat project, countless contractors tried to convince us to rip out the original flooring because it would be much easier and less expensive than salvaging the original floors. Within 5 minutes of meeting Araceli, she told us that not only could we salvage (most of) the original flooring, but she was adamant. She even helped us to source salvaged maple flooring where the floors were rotted.

Because of our past experience with Peter’s Wood Refinishing, we trusted Araceli when she said our prefinished floors wouldn’t be worth saving. She also reminded us that maple floors are more historically appropriate for our location and age of home.
Q: What finishes did you use (and why)?
A: After installation, the Peter’s Team laid out a few options for us. Our goal was to get close(r) to the dining room floor color, but we didn’t want to match it exactly. Reason being? We never liked the deep orange-red tone! Whatever stain we choose for the kitchen flooring would bridge the gap between what we have versus what we preferred.
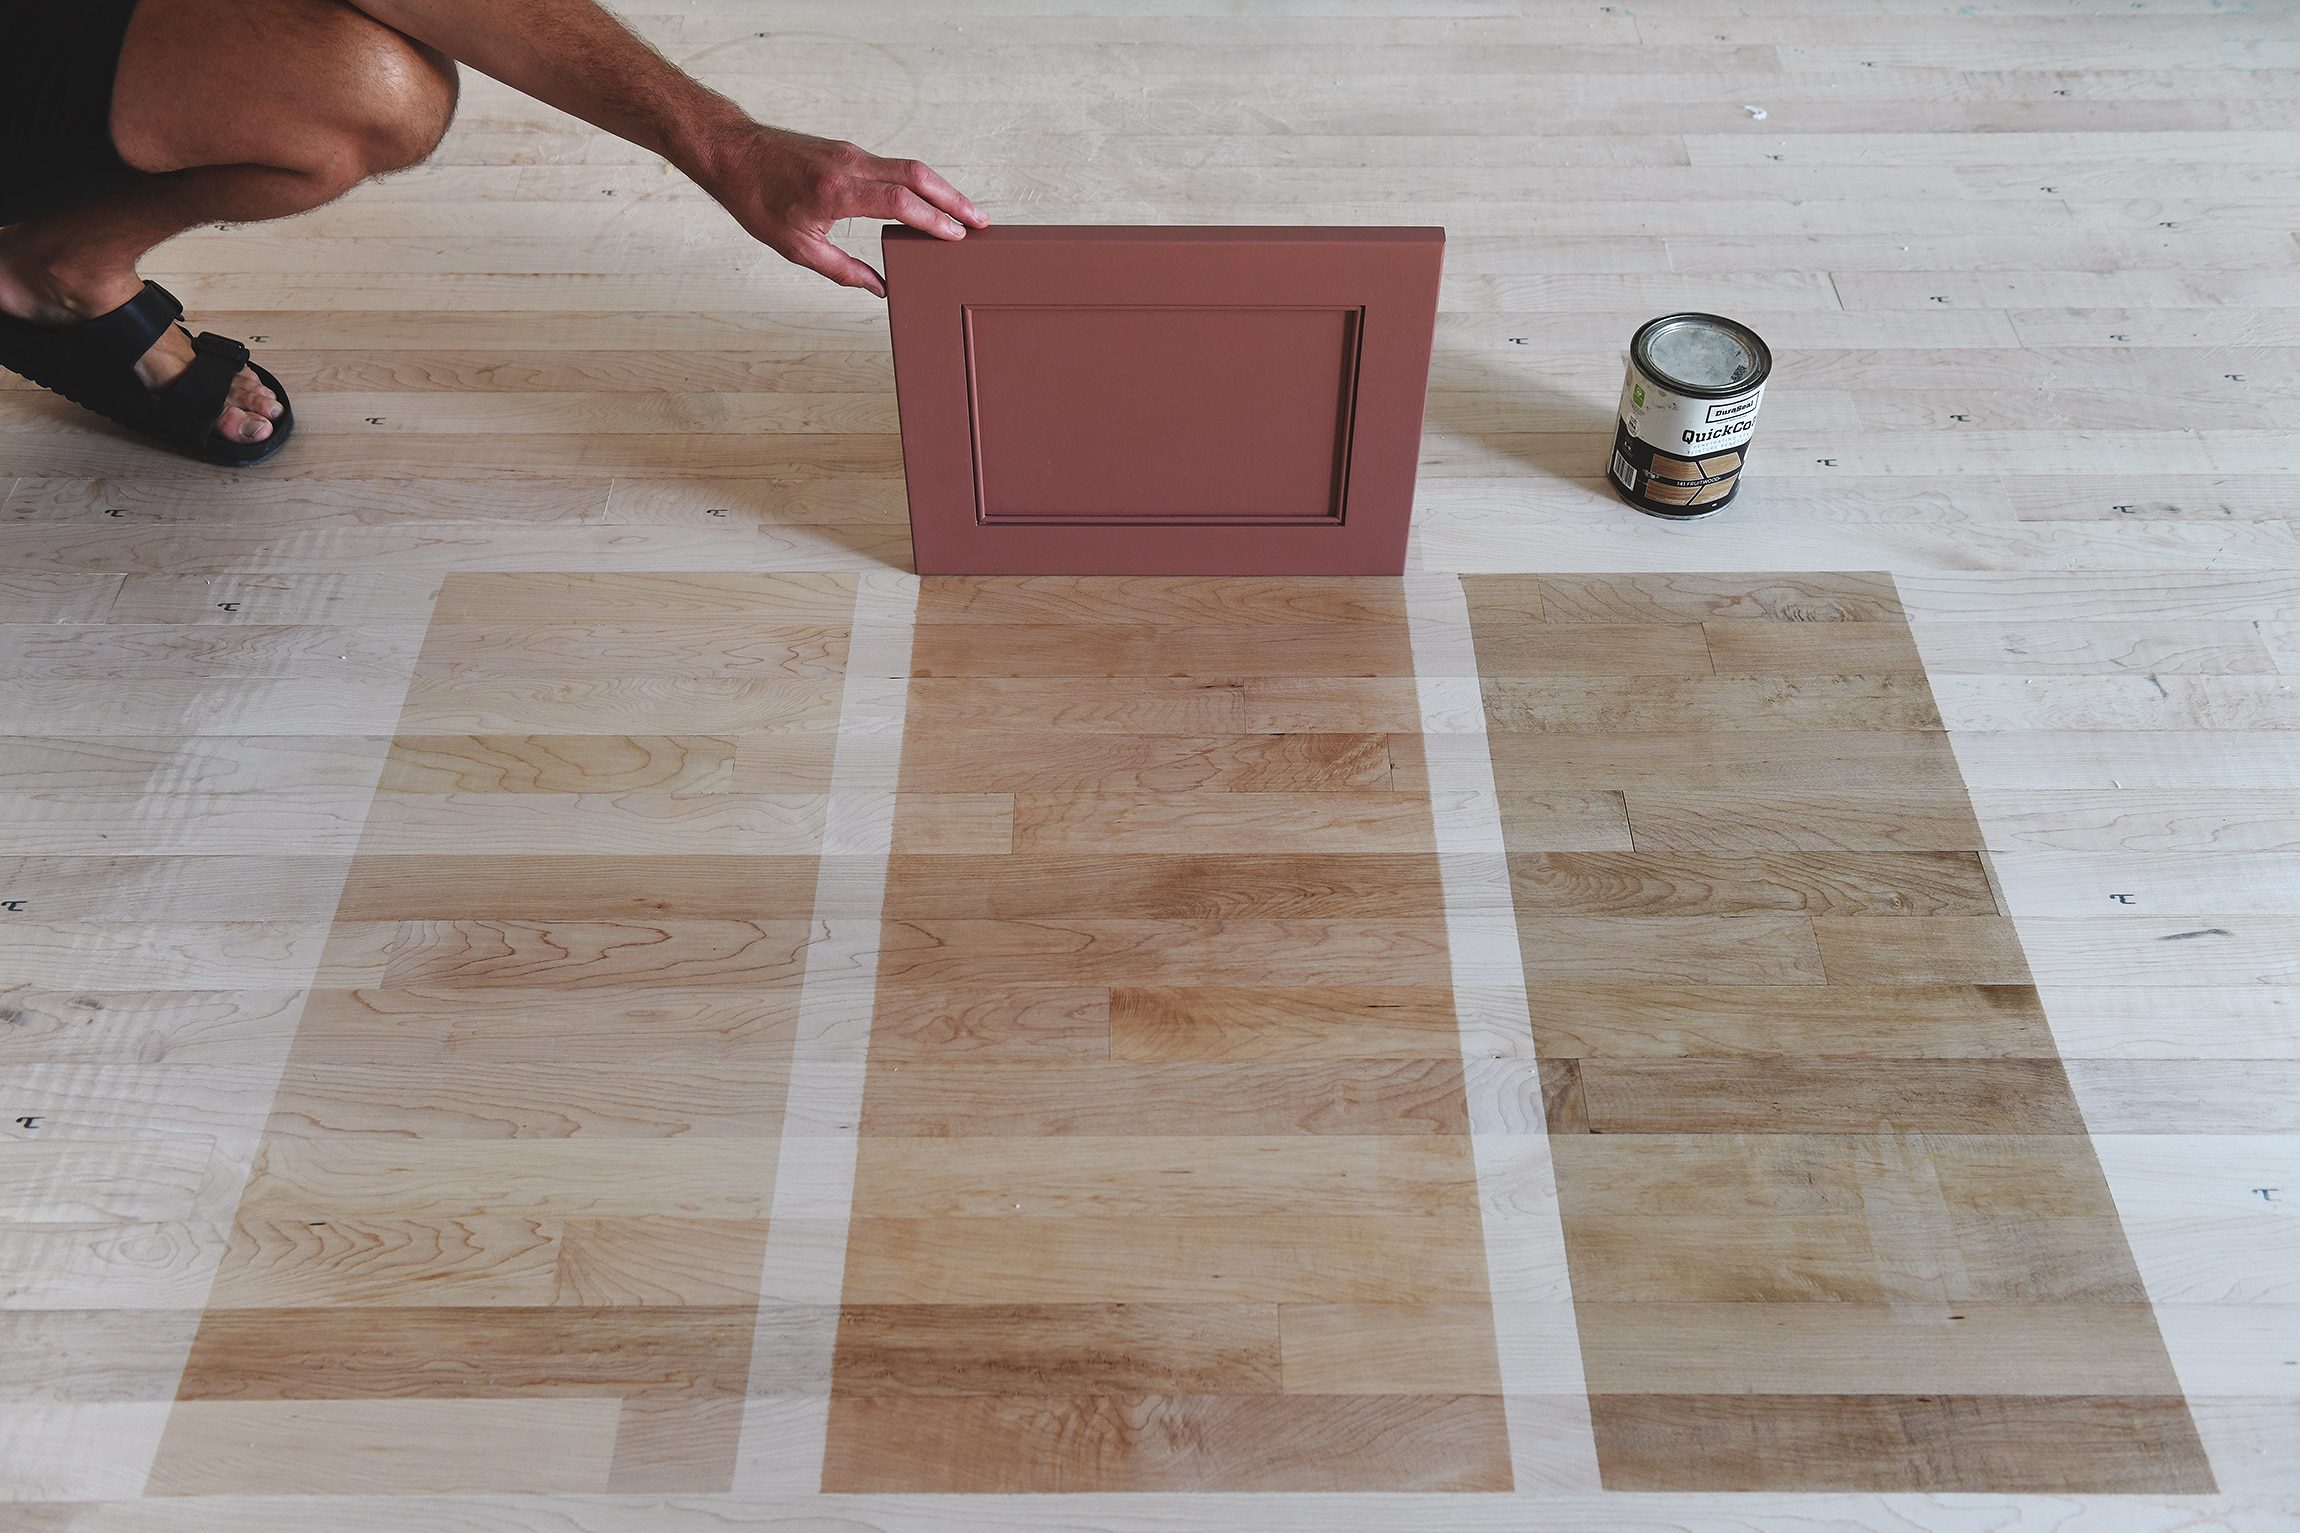
The stain samples were laid on a Friday, and we had all weekend to make a decision. But, me being me, I needed to see more options when they came back to sand, stain and seal on Monday morning! We knew the middle option would be the best transition to the dining room, but I felt it was too red. The option on the right, Fruitwood, has a hint of green in it. I knew that mixing the two would tone down the red and give it a more neutral tone overall. Color theory tells me that when you mix complementary colors, i.e., red and green, the cancel each other out resulting in brown. I knew this solution would tone down the red without making it turn green. And thus, a 50/50 mix of Ipswich Pine and Fruitwood was born!

A Look at the Transitions
Below, you can see how it plays nicely with the adjoining dining room, although it’s not a perfect match. In a dream world, we would replace ALL of our flooring with maple in this exact stain mix, but we’ve always held back due to time, money and inconvenience. We think it’s the prettiest warm neutral!
Our workshop is hidden behind the kitchen, and we even carried the new flooring into this room:
Next Steps!
It feels so wonderful to have the biggest, messiest tasks knocked off of the to-do list! Next steps: Appliances will be delivered on Thursday, and we received notification that our cabinets have been shipped to our area, and we’ll schedule the drop off within the next week (or two?). Then it’s on to build and final install!
PS: How to install hardwood floors when your home isn’t level.


Seems like you’re so close to the finish line already!
Just wait until the cabinets are delivered, because we’re assembling them ourselves. Eek!
Beautiful floors!
They look so good, I love that color!
They are lovely. I live in a 1950s house with similar flooring through the hall, LR and DR. It was so, so orange when we moved in. Thankfully my dad was able to help me refinish them with just a clear coat to show off the lovely maple colour! We have prefinished hardwoods in the bedrooms and man, do I prefer the unfinished! Glad you found a colour you are pleased with that transitions so well to the rest of the house.
Unfinished looks SO nice, we agree. Maybe one day we’ll replace the rest!
Can’t wait to see the finished kitchen! Floors look amazing.
Thank you, us either!
It looks so nice and good job with the “match!” I still can’t get over your workshop in your home – I want one. I guess some people would make it into a pantry, but I’d just put tools in it like you do!