

Today we’re talking through ins and outs of installing of solid hardwood flooring at our Michigan Red House project!
Hardwood flooring is installed at the Red House! Holy smokes, that sentence has been a long time coming. Originally, we (naively!) estimated that we’d be ready to install flooring by mid-August. However, countless surprises and small setbacks piled up (you know, just some unplanned for mold in the ceiling!), and we were nearly six weeks behind schedule. In the end, though, it was absolutely worth the wait. Our new floors are simply stunning and exactly what we planned for all along.

This post is sponsored by our friends at LL Flooring. LL Flooring has helped transform millions of homes across the country for more than 25 years with over 500 flooring selections ranging from vinyl to hardwood to tile. Start with free flooring samples right here. All opinions are our own, and as always, thank you for supporting the brands that support us!
In This Post
Looking Back
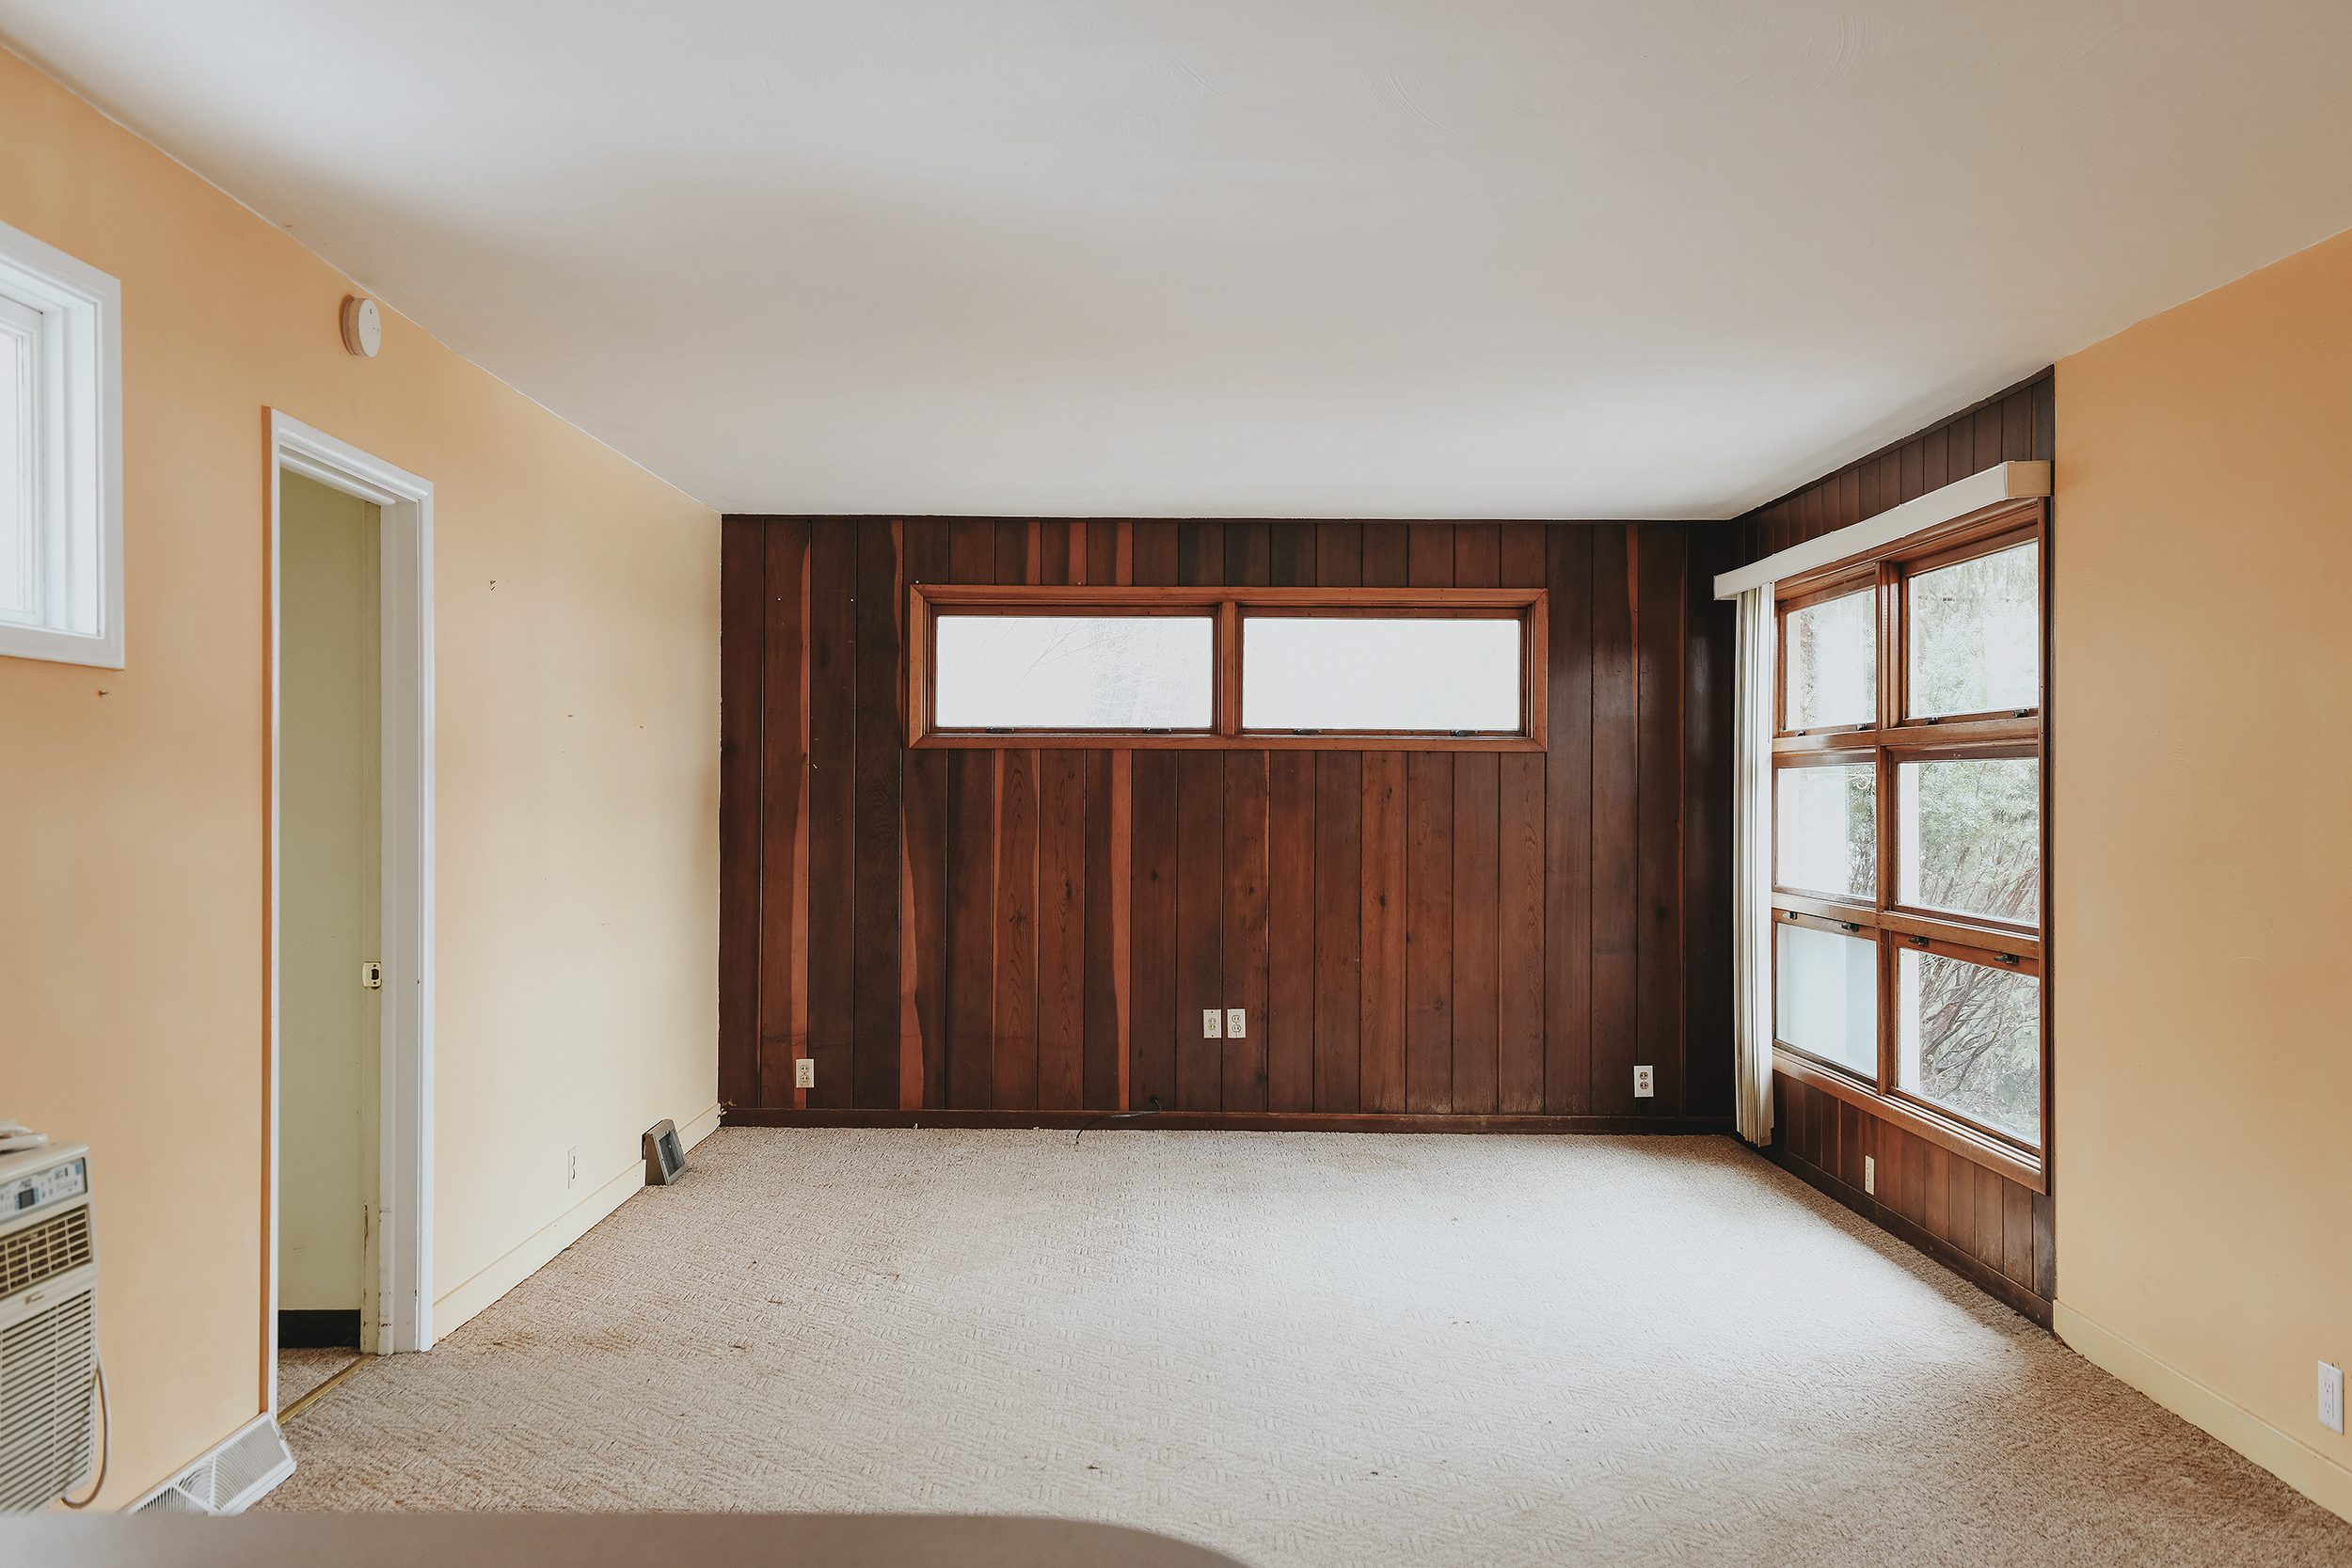
Before we even broke ground on the Red House project, we knew it was destined for continuous white oak hardwood flooring throughout. The home’s location at the edge of the forest brings the outdoors in through every window and we knew that the variable mid tones of oak were the perfect choice. But before we can dive into the selection process, here’s a reminder of where we started…

Along with the various layers of carpet, tile and linoleum, we found a pretty wide range of flooring underneath it all! Rather than removing it, we worked with our flooring installer to determine that it would be best to install a thin layer of underlayment on top of all of these varying layers to provide the best adhesion surface for the new flooring. Since modern wide-plank flooring requires a glue-assist installation (more on that later), we needed to start with a clean base.
How We Chose (+ Free Samples!)
Now that were prepared for installation, we were ready to select the perfect flooring for Red House’s mid century vibe. We chose to partner with LL Flooring for this project because they offer a variety of styles with the guidance to find your one. Before we landed on our one, we ordered a handful of free samples from the hundreds available on LLflooring.com and could hardly wait for them to arrive. Once we had them in-hand, we quickly gravitated toward Bellawood Artisan Somersworth Oak. The tone was exactly what we had in mind and the 5 inch wide planks provided a more modern take on a classic look. With our selection made, we placed our order and waited (im)patiently for our contractors to wrap up framing and drywall so we could get to the fun part!
Installation
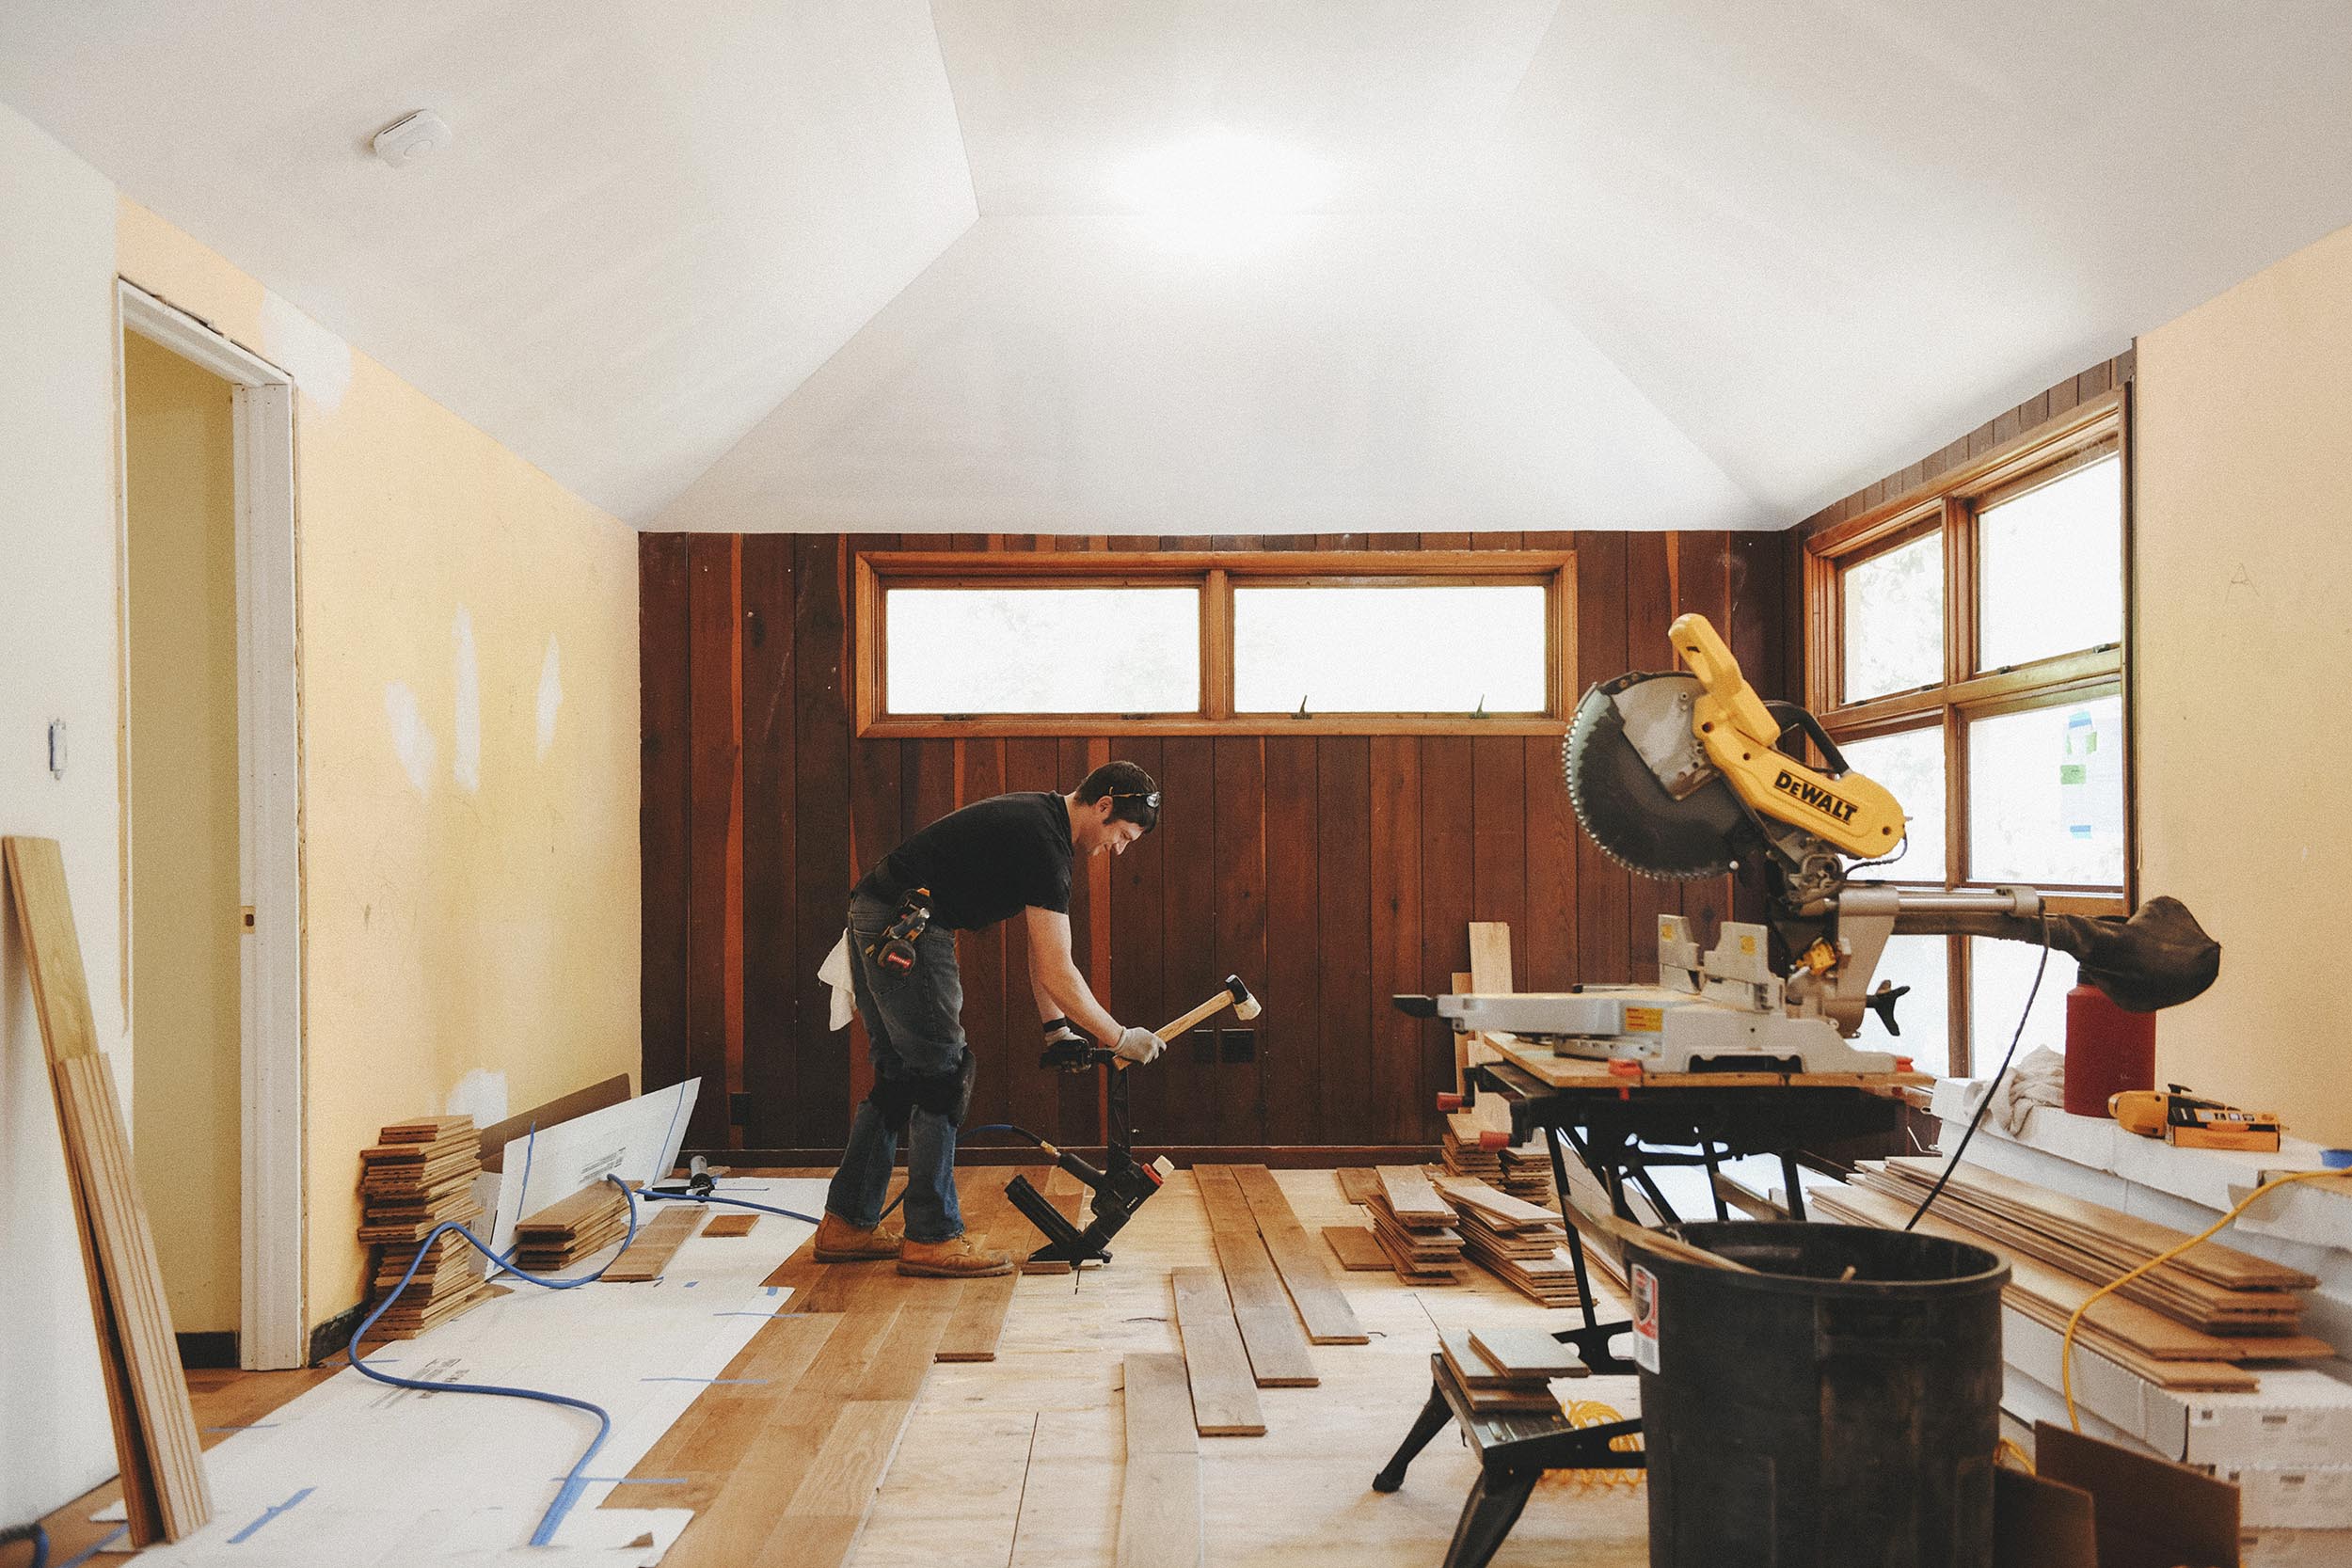
Once the flooring was delivered and given time to acclimate to our home’s humidity levels, we were ready for install! As we mentioned earlier our installer utilized the required glue-assist installation method, which means that specialized floor adhesive was used in conjunction with the traditional floor nails. This allows the wide planks to remain solidly attached to the subfloor or underlayment. As an added bonus, it helps to prevent squeaks!
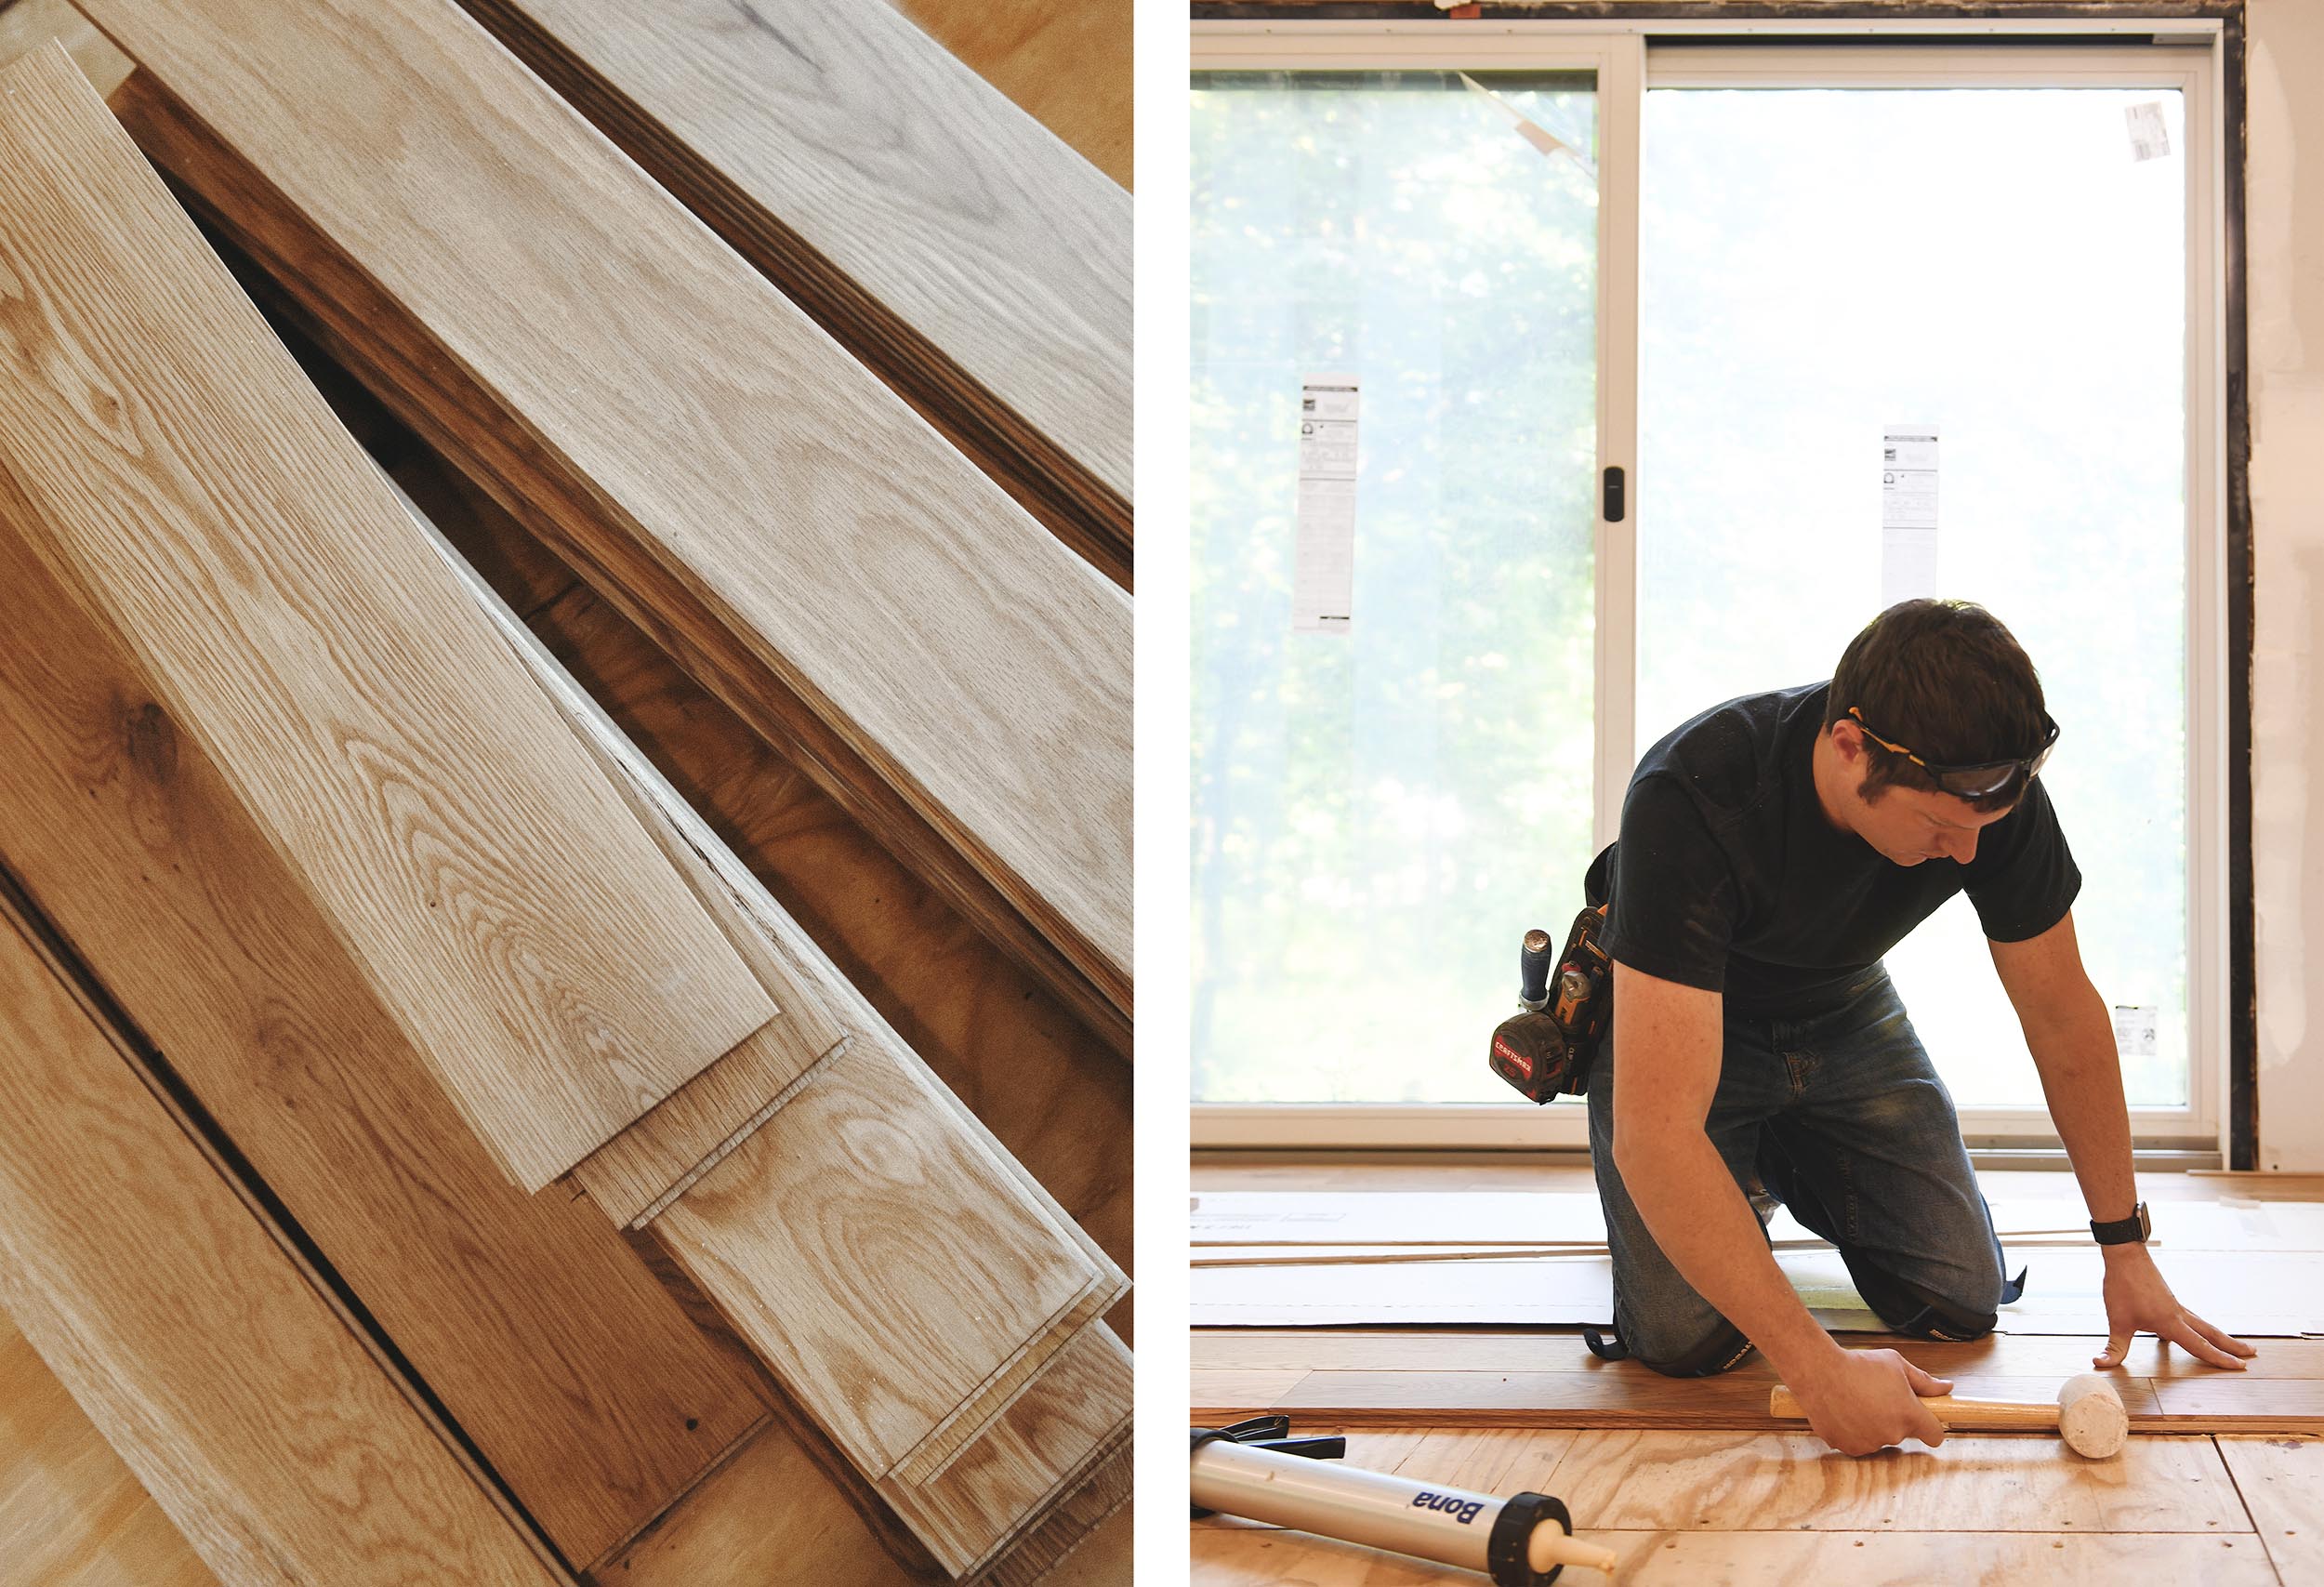
As the flooring began to go down, things were starting to get real! While engineered flooring styles have become popular choices over the last few years, in our opinion, nothing beats the feel of hardwood flooring underfoot. Our Somersworth Oak floors also offer a finish that gives them excellent resistance to stains, scuffs and scratches. They’re even backed by a 100 year warranty! Regardless of personal preference, LL Flooring offers a great mix of traditional looks and on-trend styles. There’s truly a floor for every style and budget.
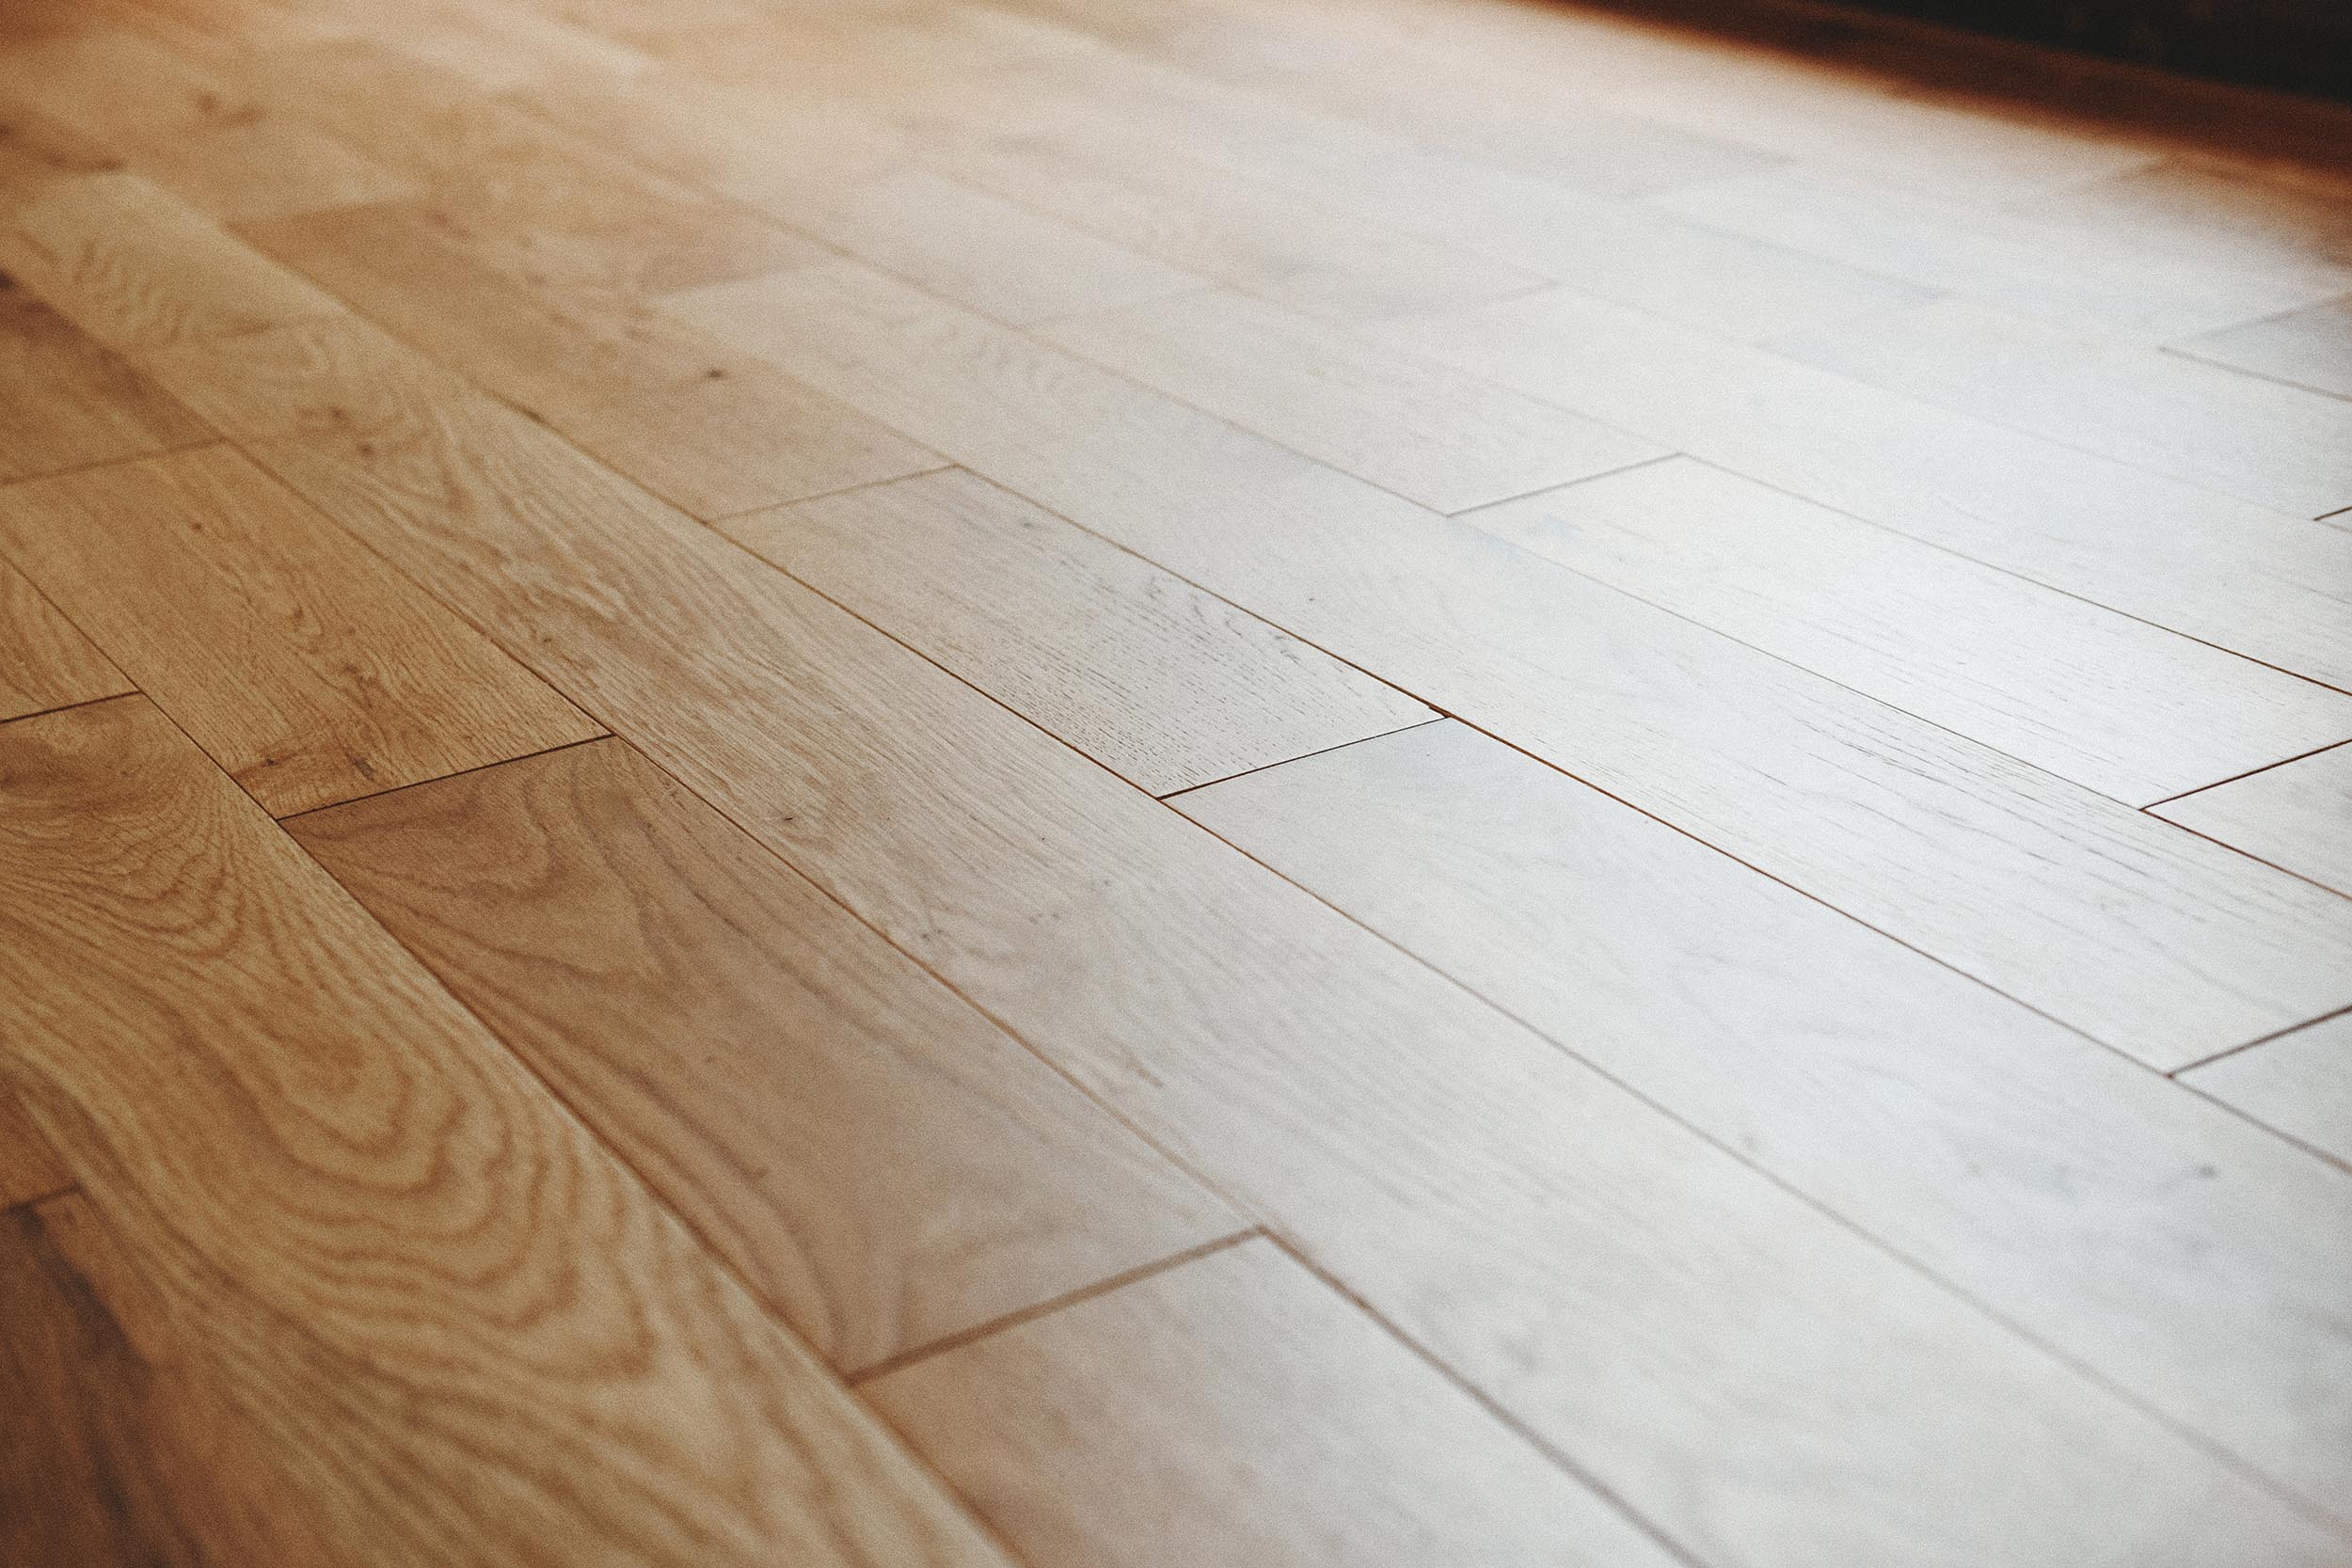
The Natural Details
Prefinished hardwood offers the look and feel of traditional unfinished hardwood, without the time, expense and mess associated with sanding and staining. Since we’d waited months for the home to be ready for flooring, the time we saved was very appreciated.
The floors’ beautiful matte finish allows the grain of the wood to really shine through. As with any natural surface, the planks are individually varied, but provide a cohesive look with just the right amount of variation and interest.
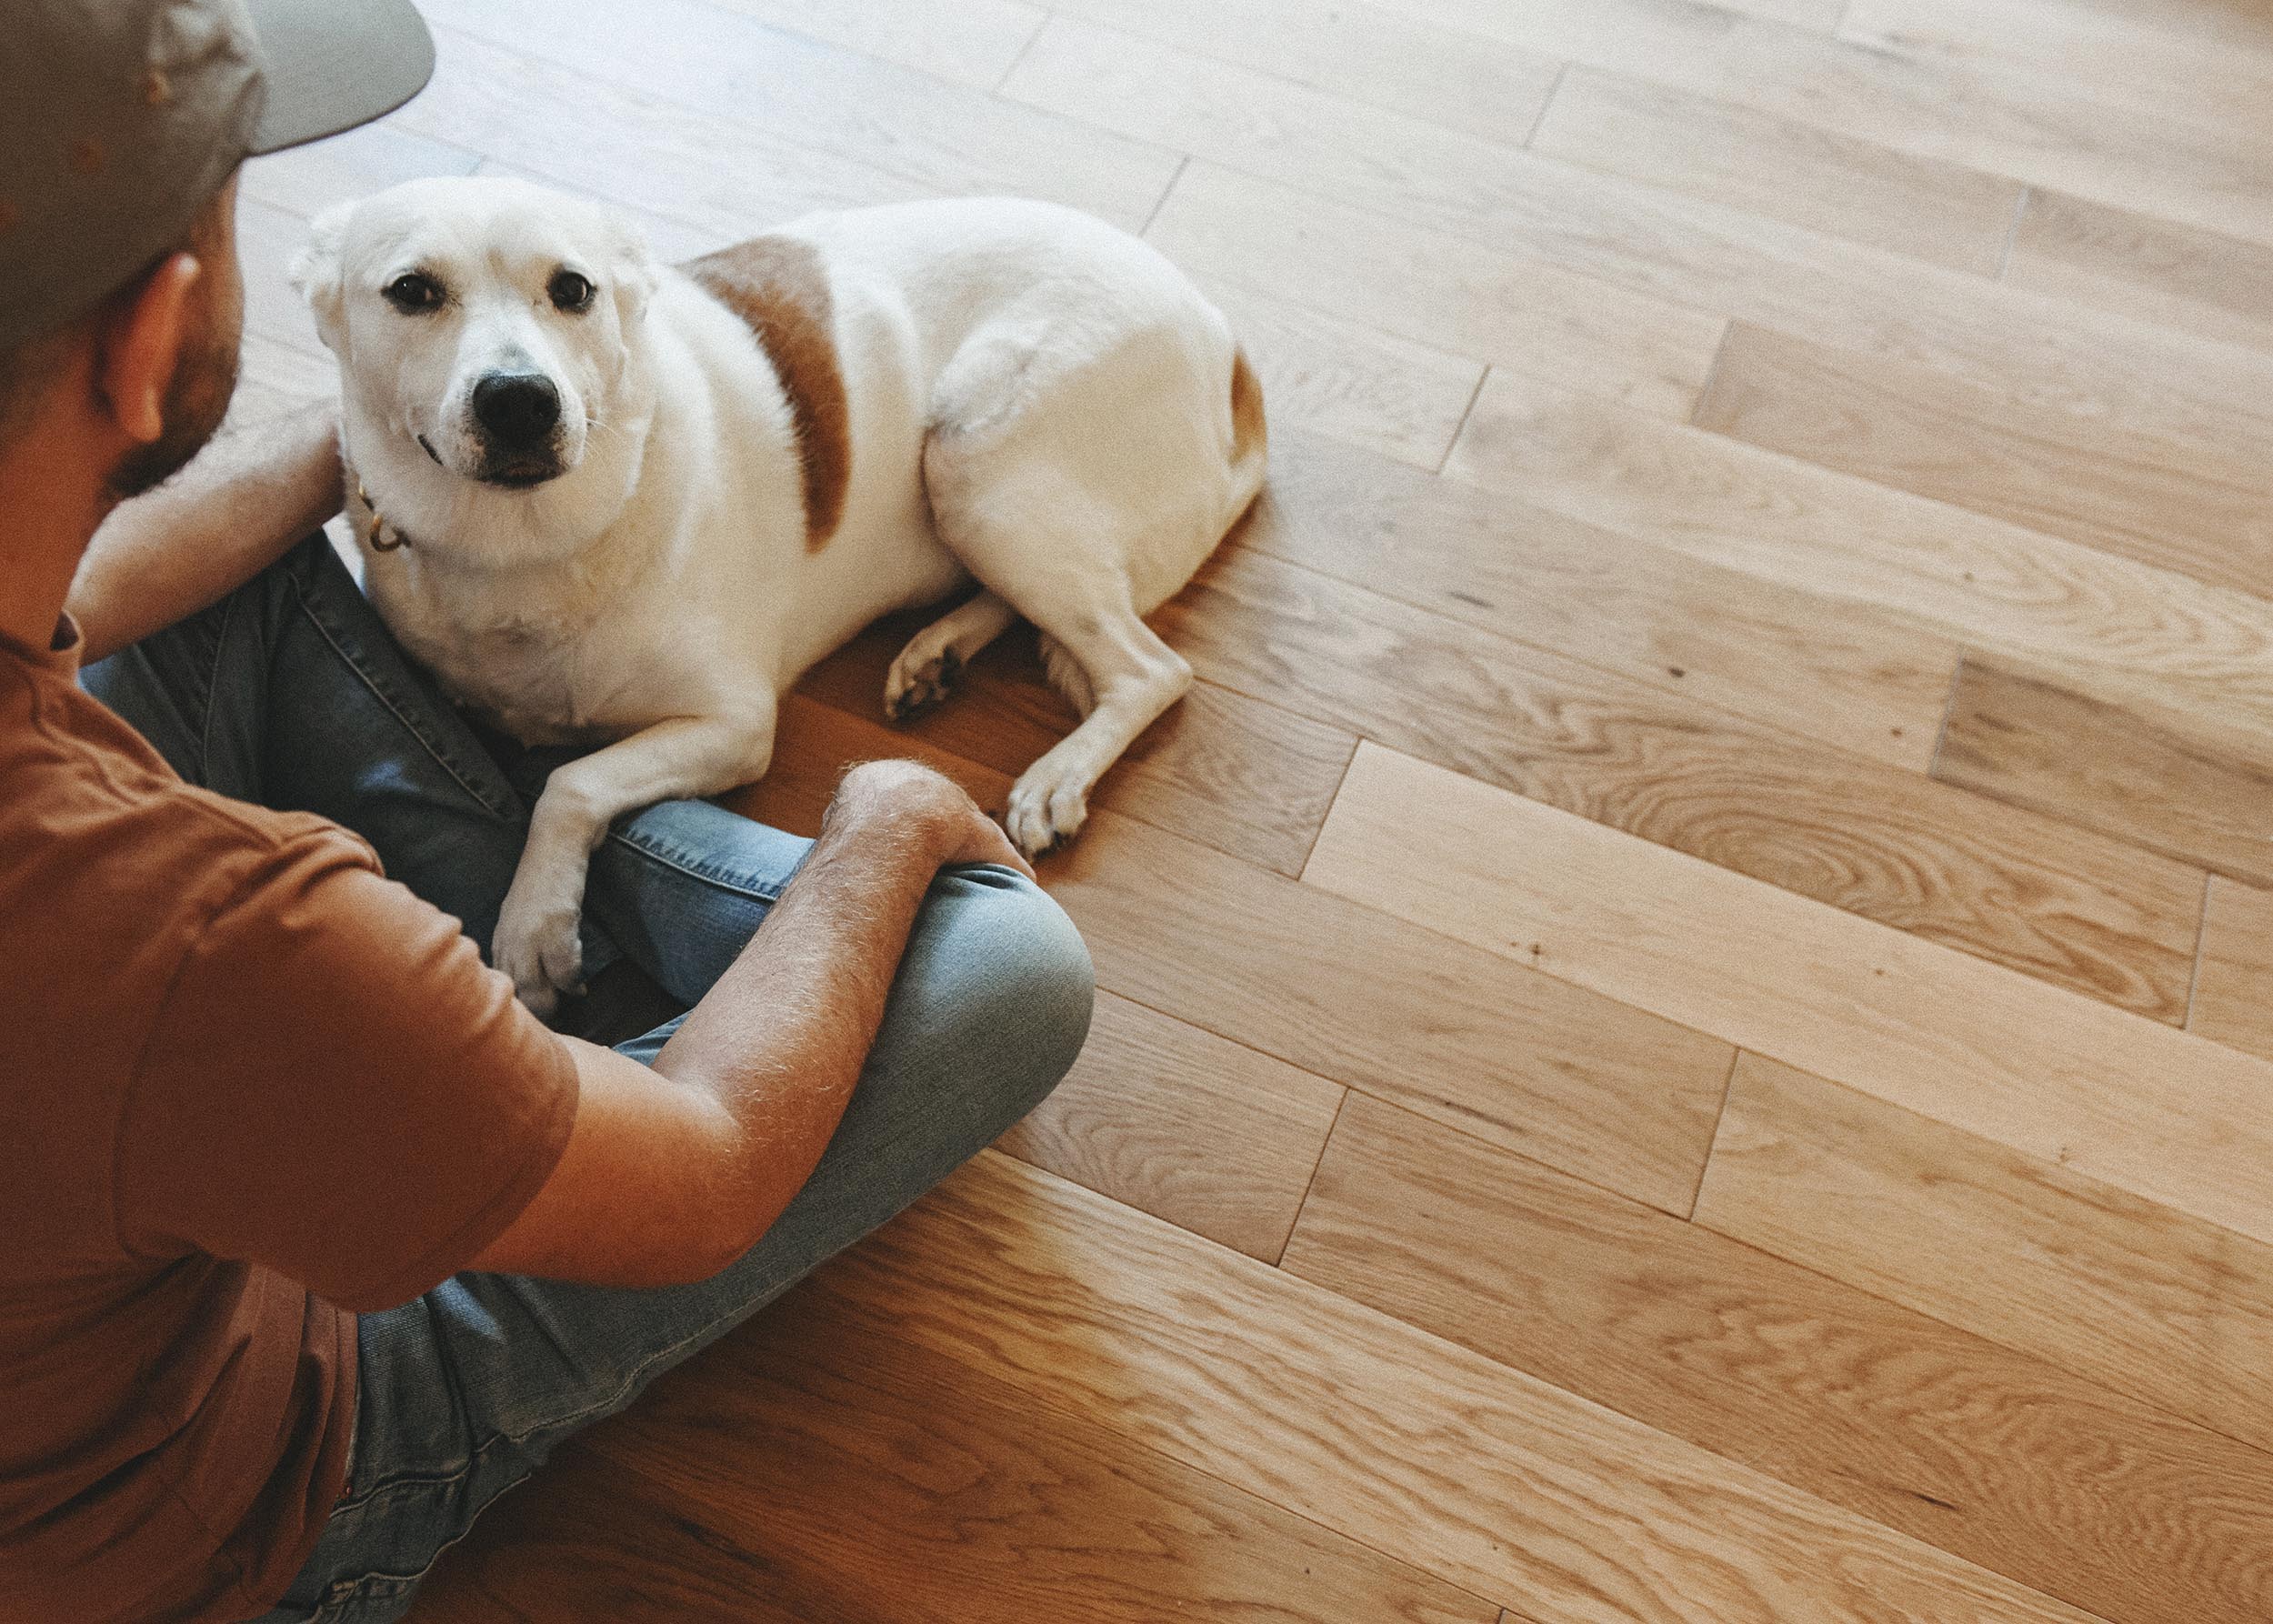
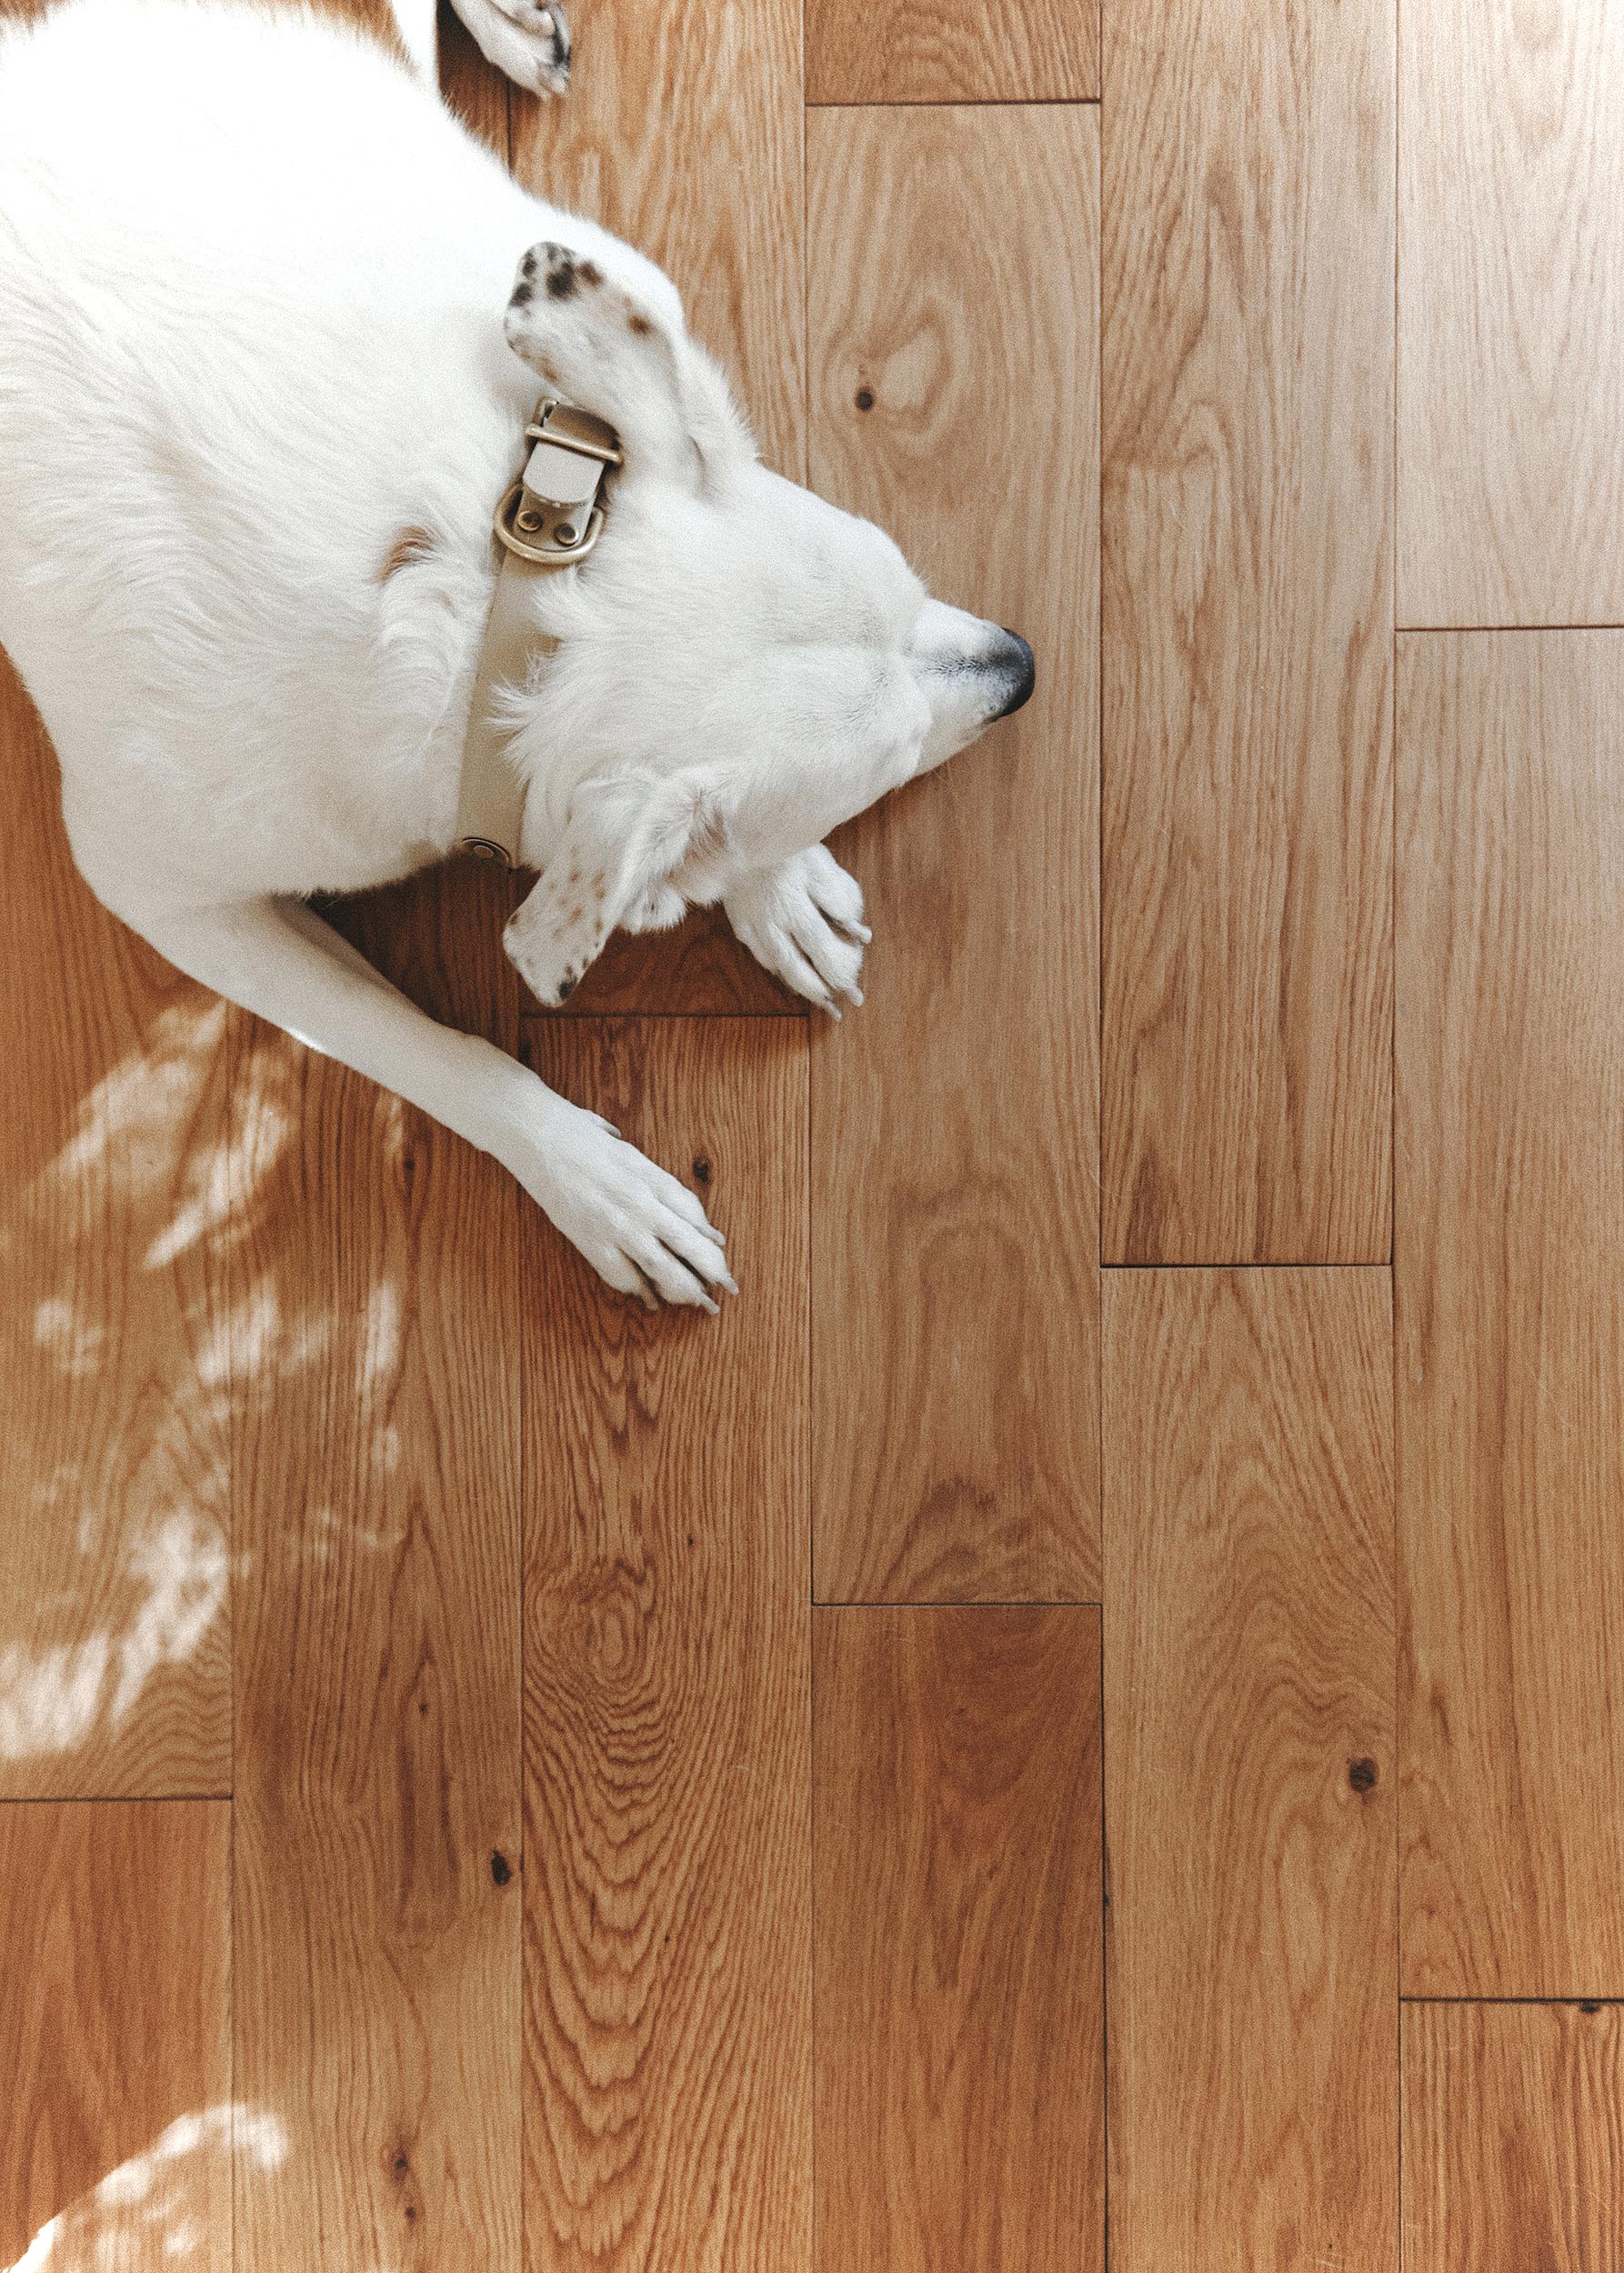
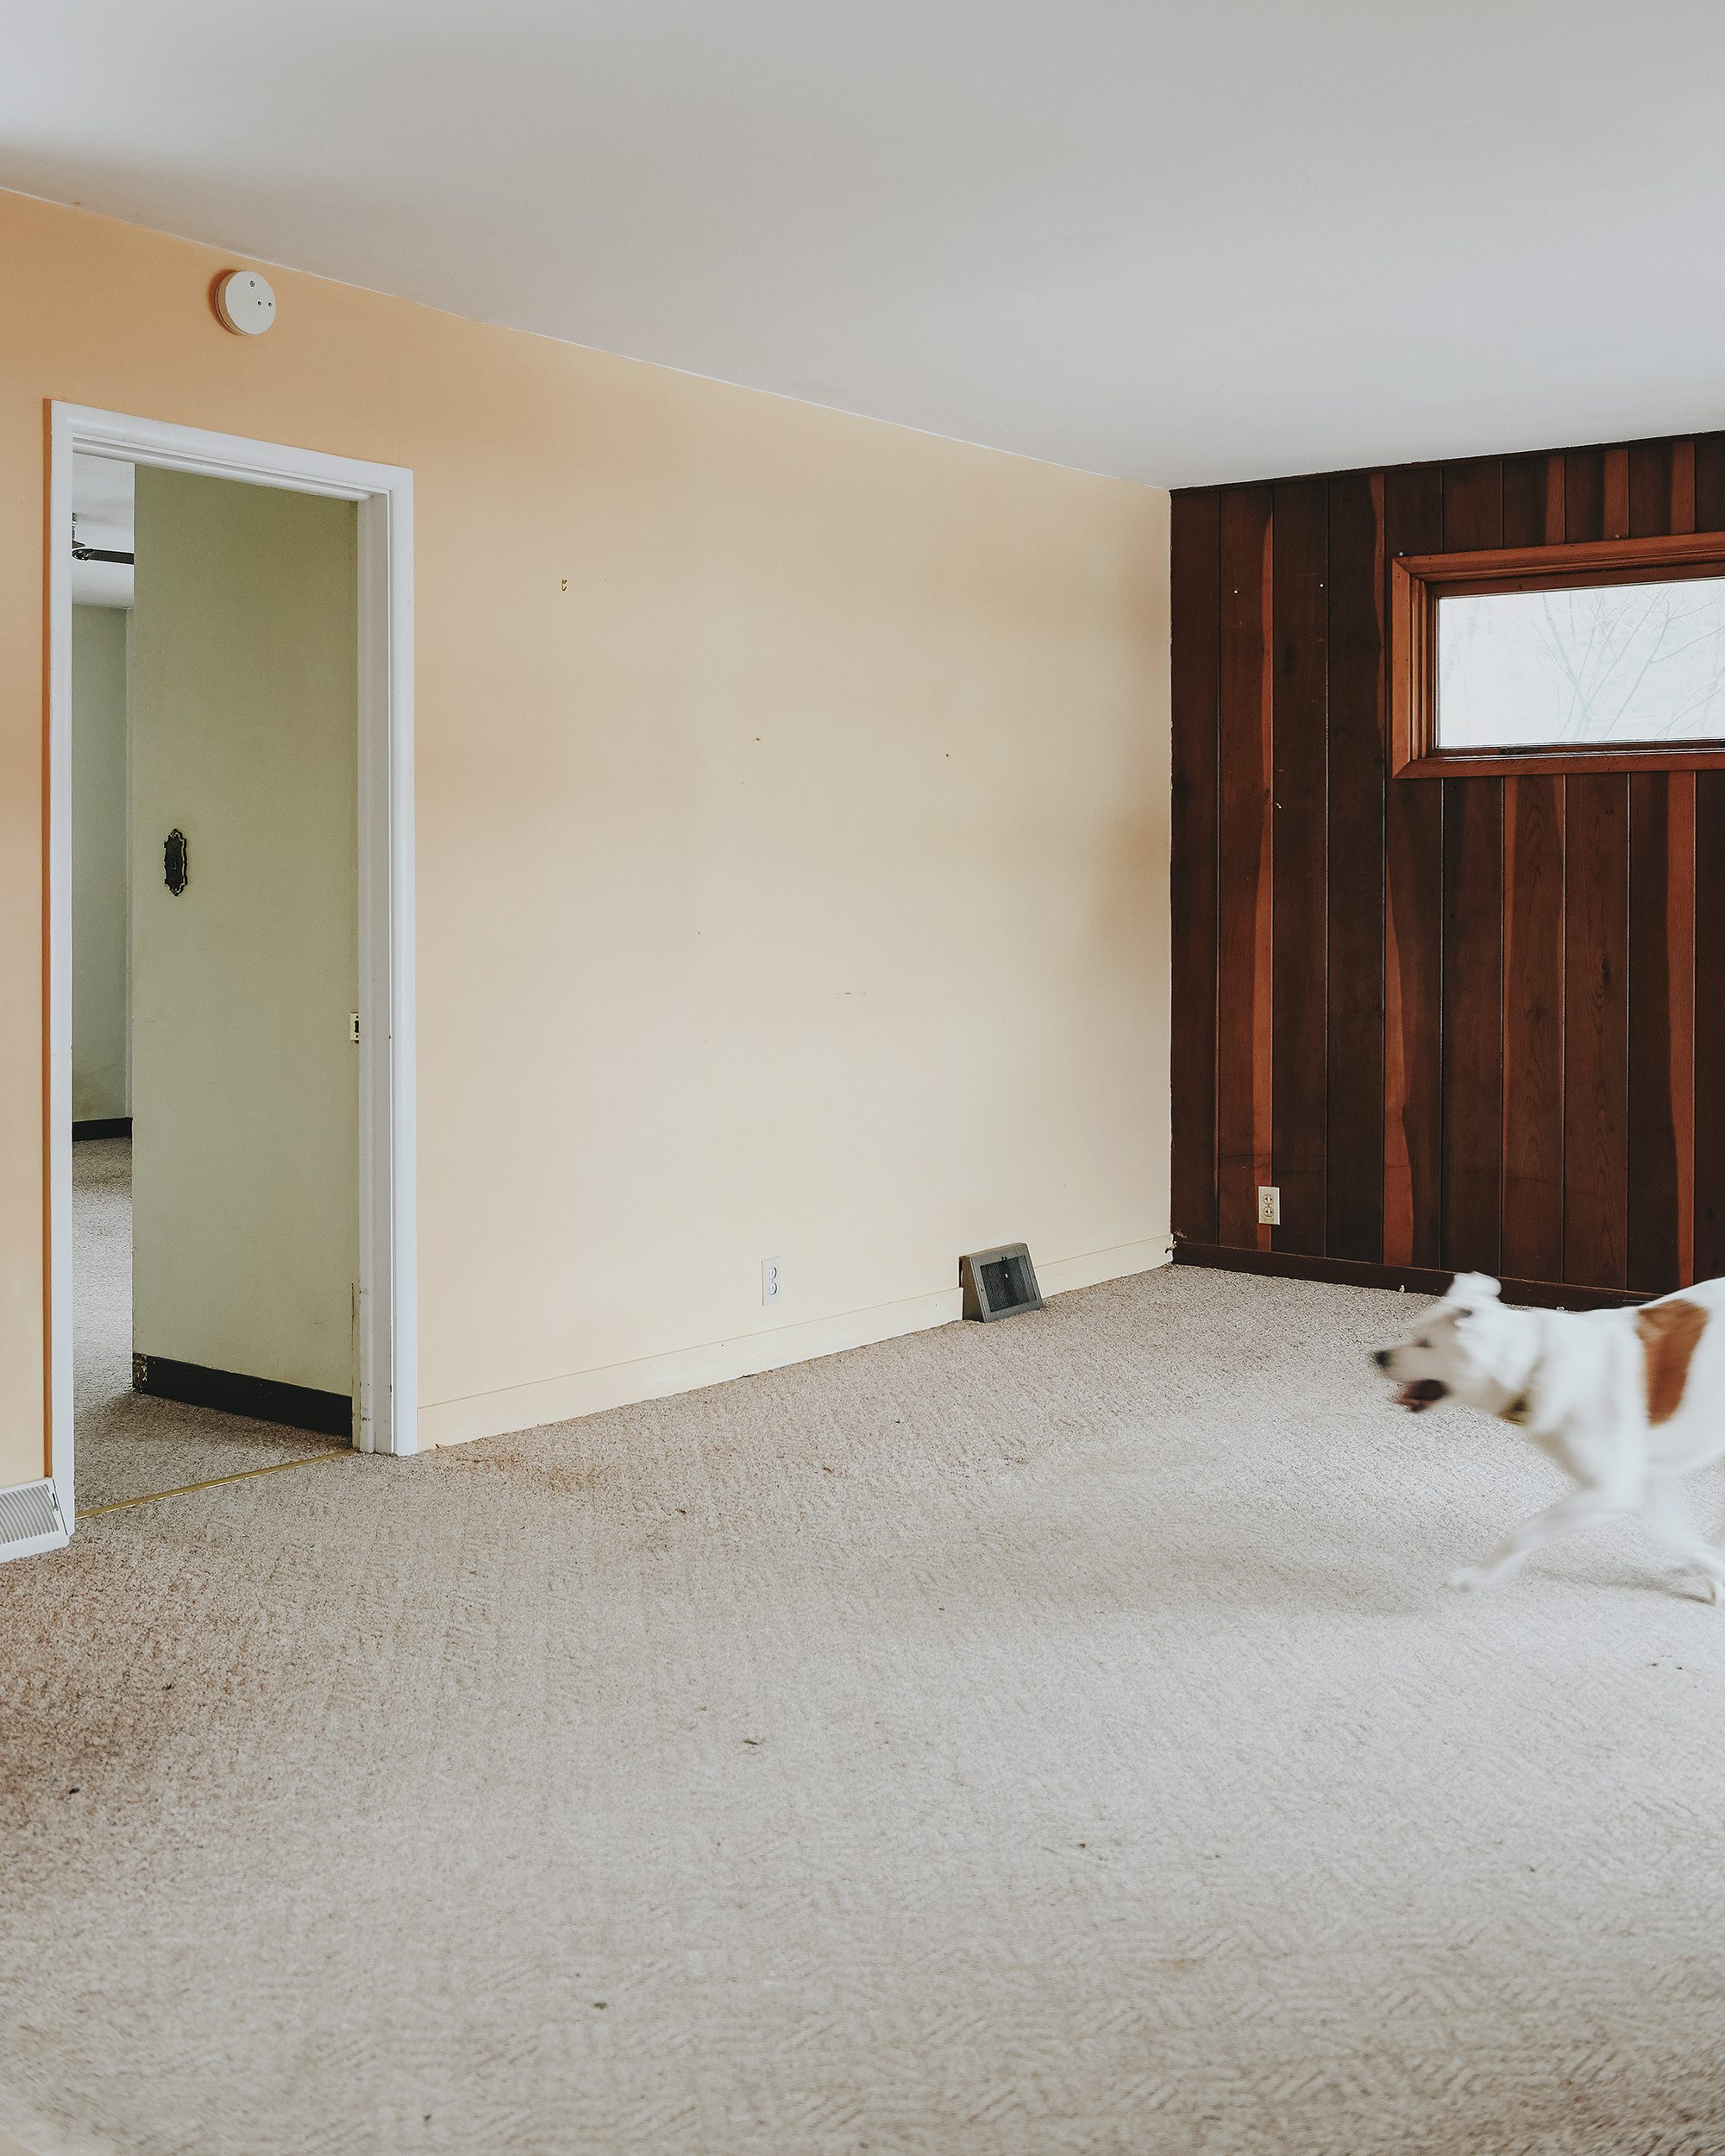
As you can see below, Catfish approves. This sure beats old linoleum with hundreds of protruding old nails and staples.
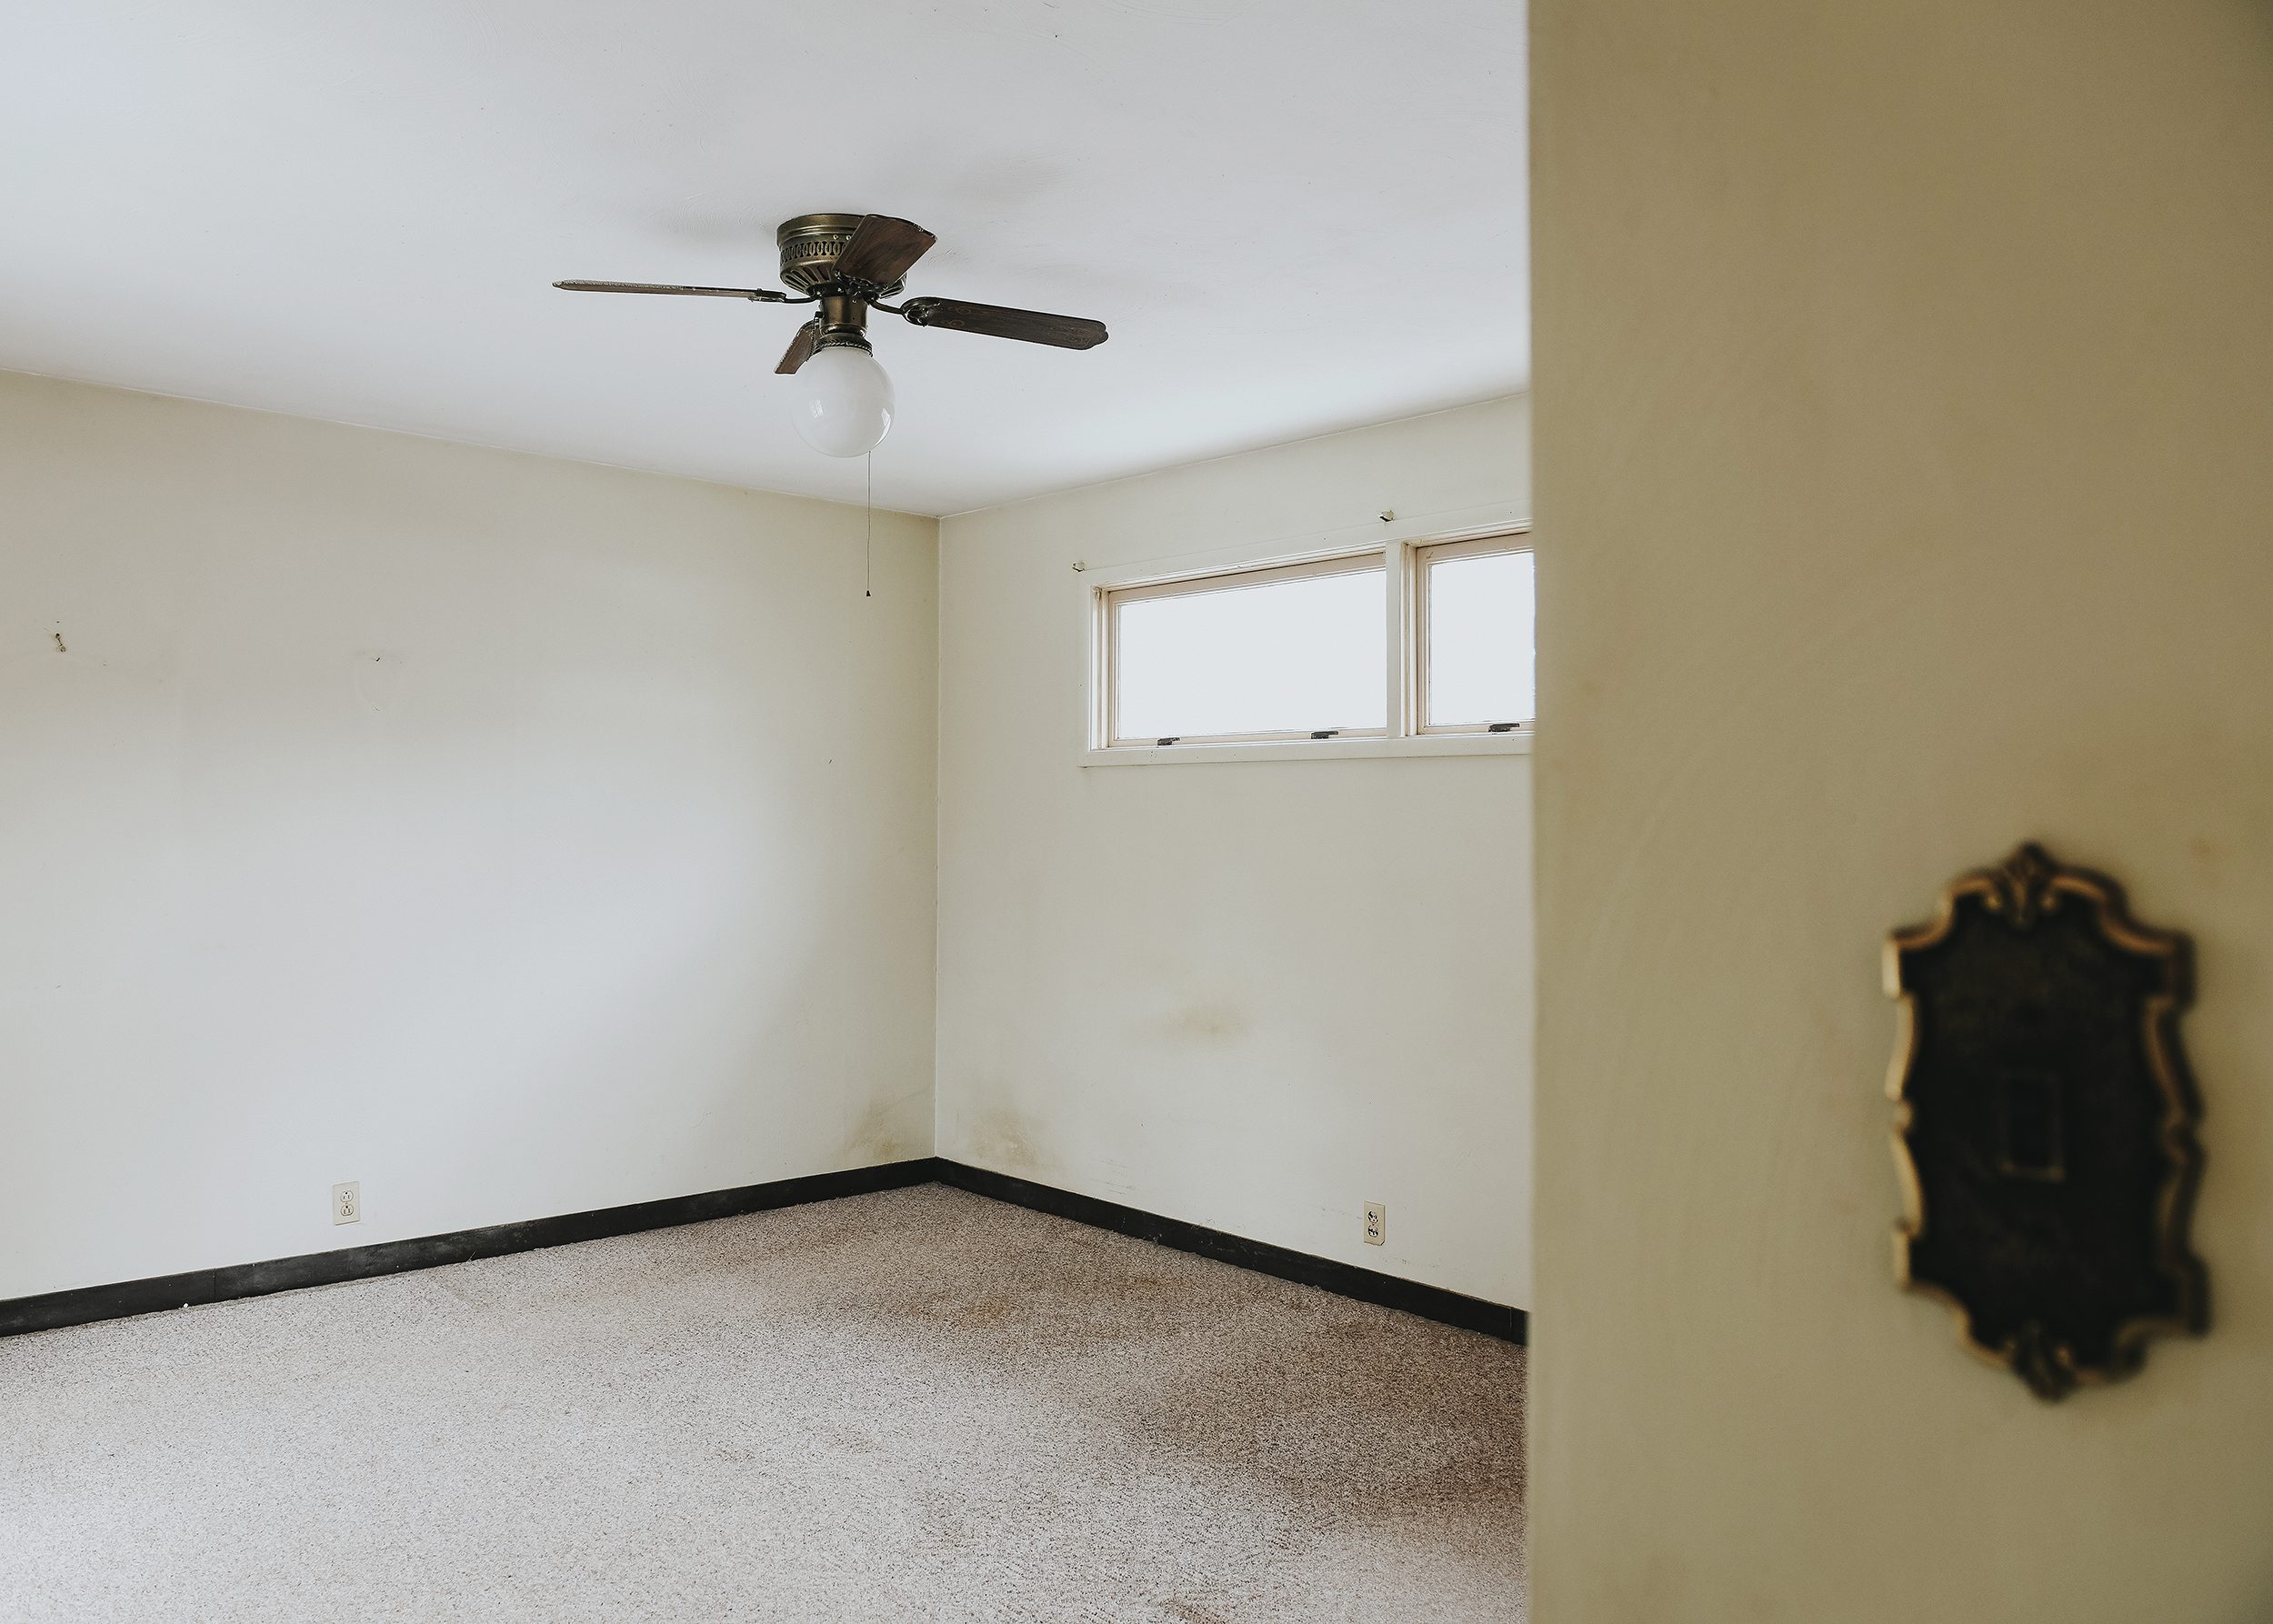
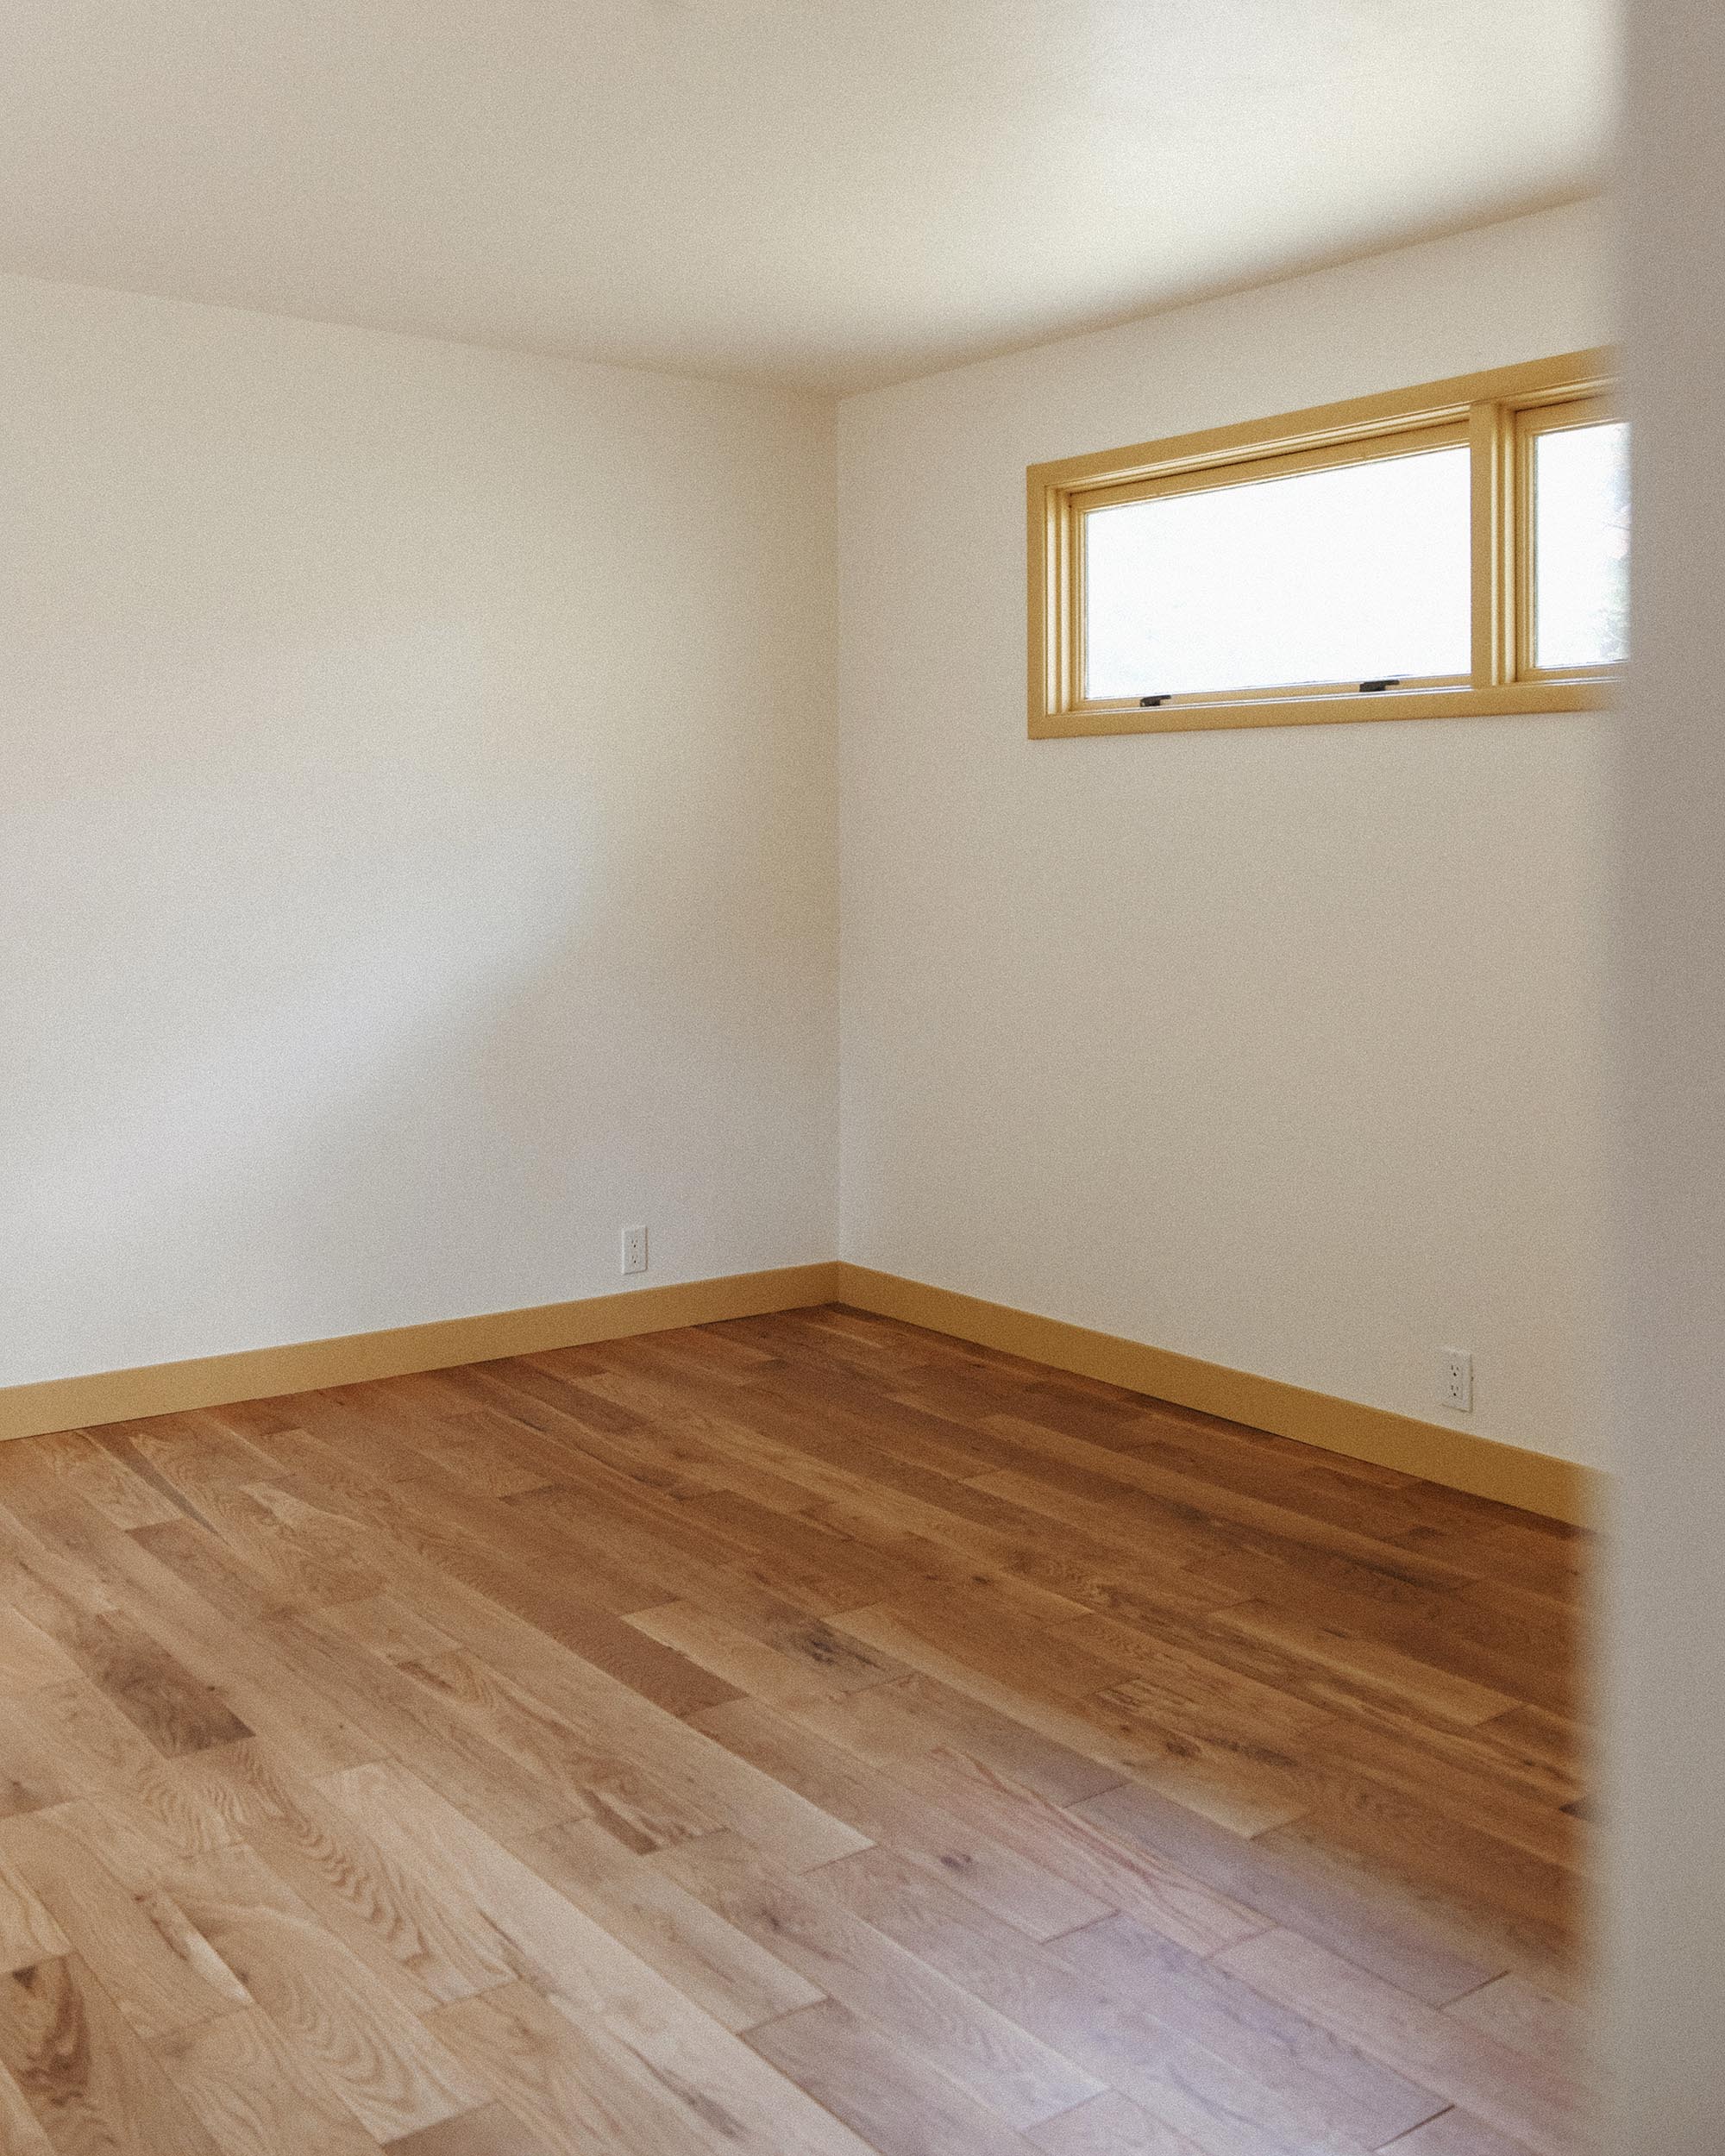
Then + Now
Once the flooring installation was complete, we immediately handed the project over to our trim and finish contractor, who had the the millwork installed and the entire home painted by the time we returned the following week! The transformation was absolutely unreal. Below are a few reminders of where we started way back in early spring vs. where we are now. The photos truly speak for themselves!
Before
After
Before
After

Before
After
Our goal with this home has remained simple from the very beginning. We wanted to honor the history of the house, while modernizing it and maximizing its potential. We think this flooring was the perfect choice for the space! White Oak is timeless and the wide planks give the space a modern, up-to-date feel without ignoring the homes’ 1957 bones. It’s a win on every level!
We can’t thank our friends at LL Flooring enough for their partnership and encourage you to order your four free samples to get your next flooring project started today!


So, so beautiful!!
Thank you Brenda!
A very niche request, but the B&As here highlight the HVAC changes—you managed to get rid of the bulky baseboard vents, but at what cost? We have them everywhere in a ranch we own, but I’m not sure if new ductwork is worth the cosmetic upgrade— more details on this process, decision and budget would be amazing!
Hi Sara! We had to put in an entirely new hvac system, new ducting and everything. It was pretty much from the ground up. We did this for a few reasons: it was old and ready for upgrade, inefficient, and on its last legs. The good news is we were able to work with the hvac team to put vents exactly where we wanted them and avoid any soffits!
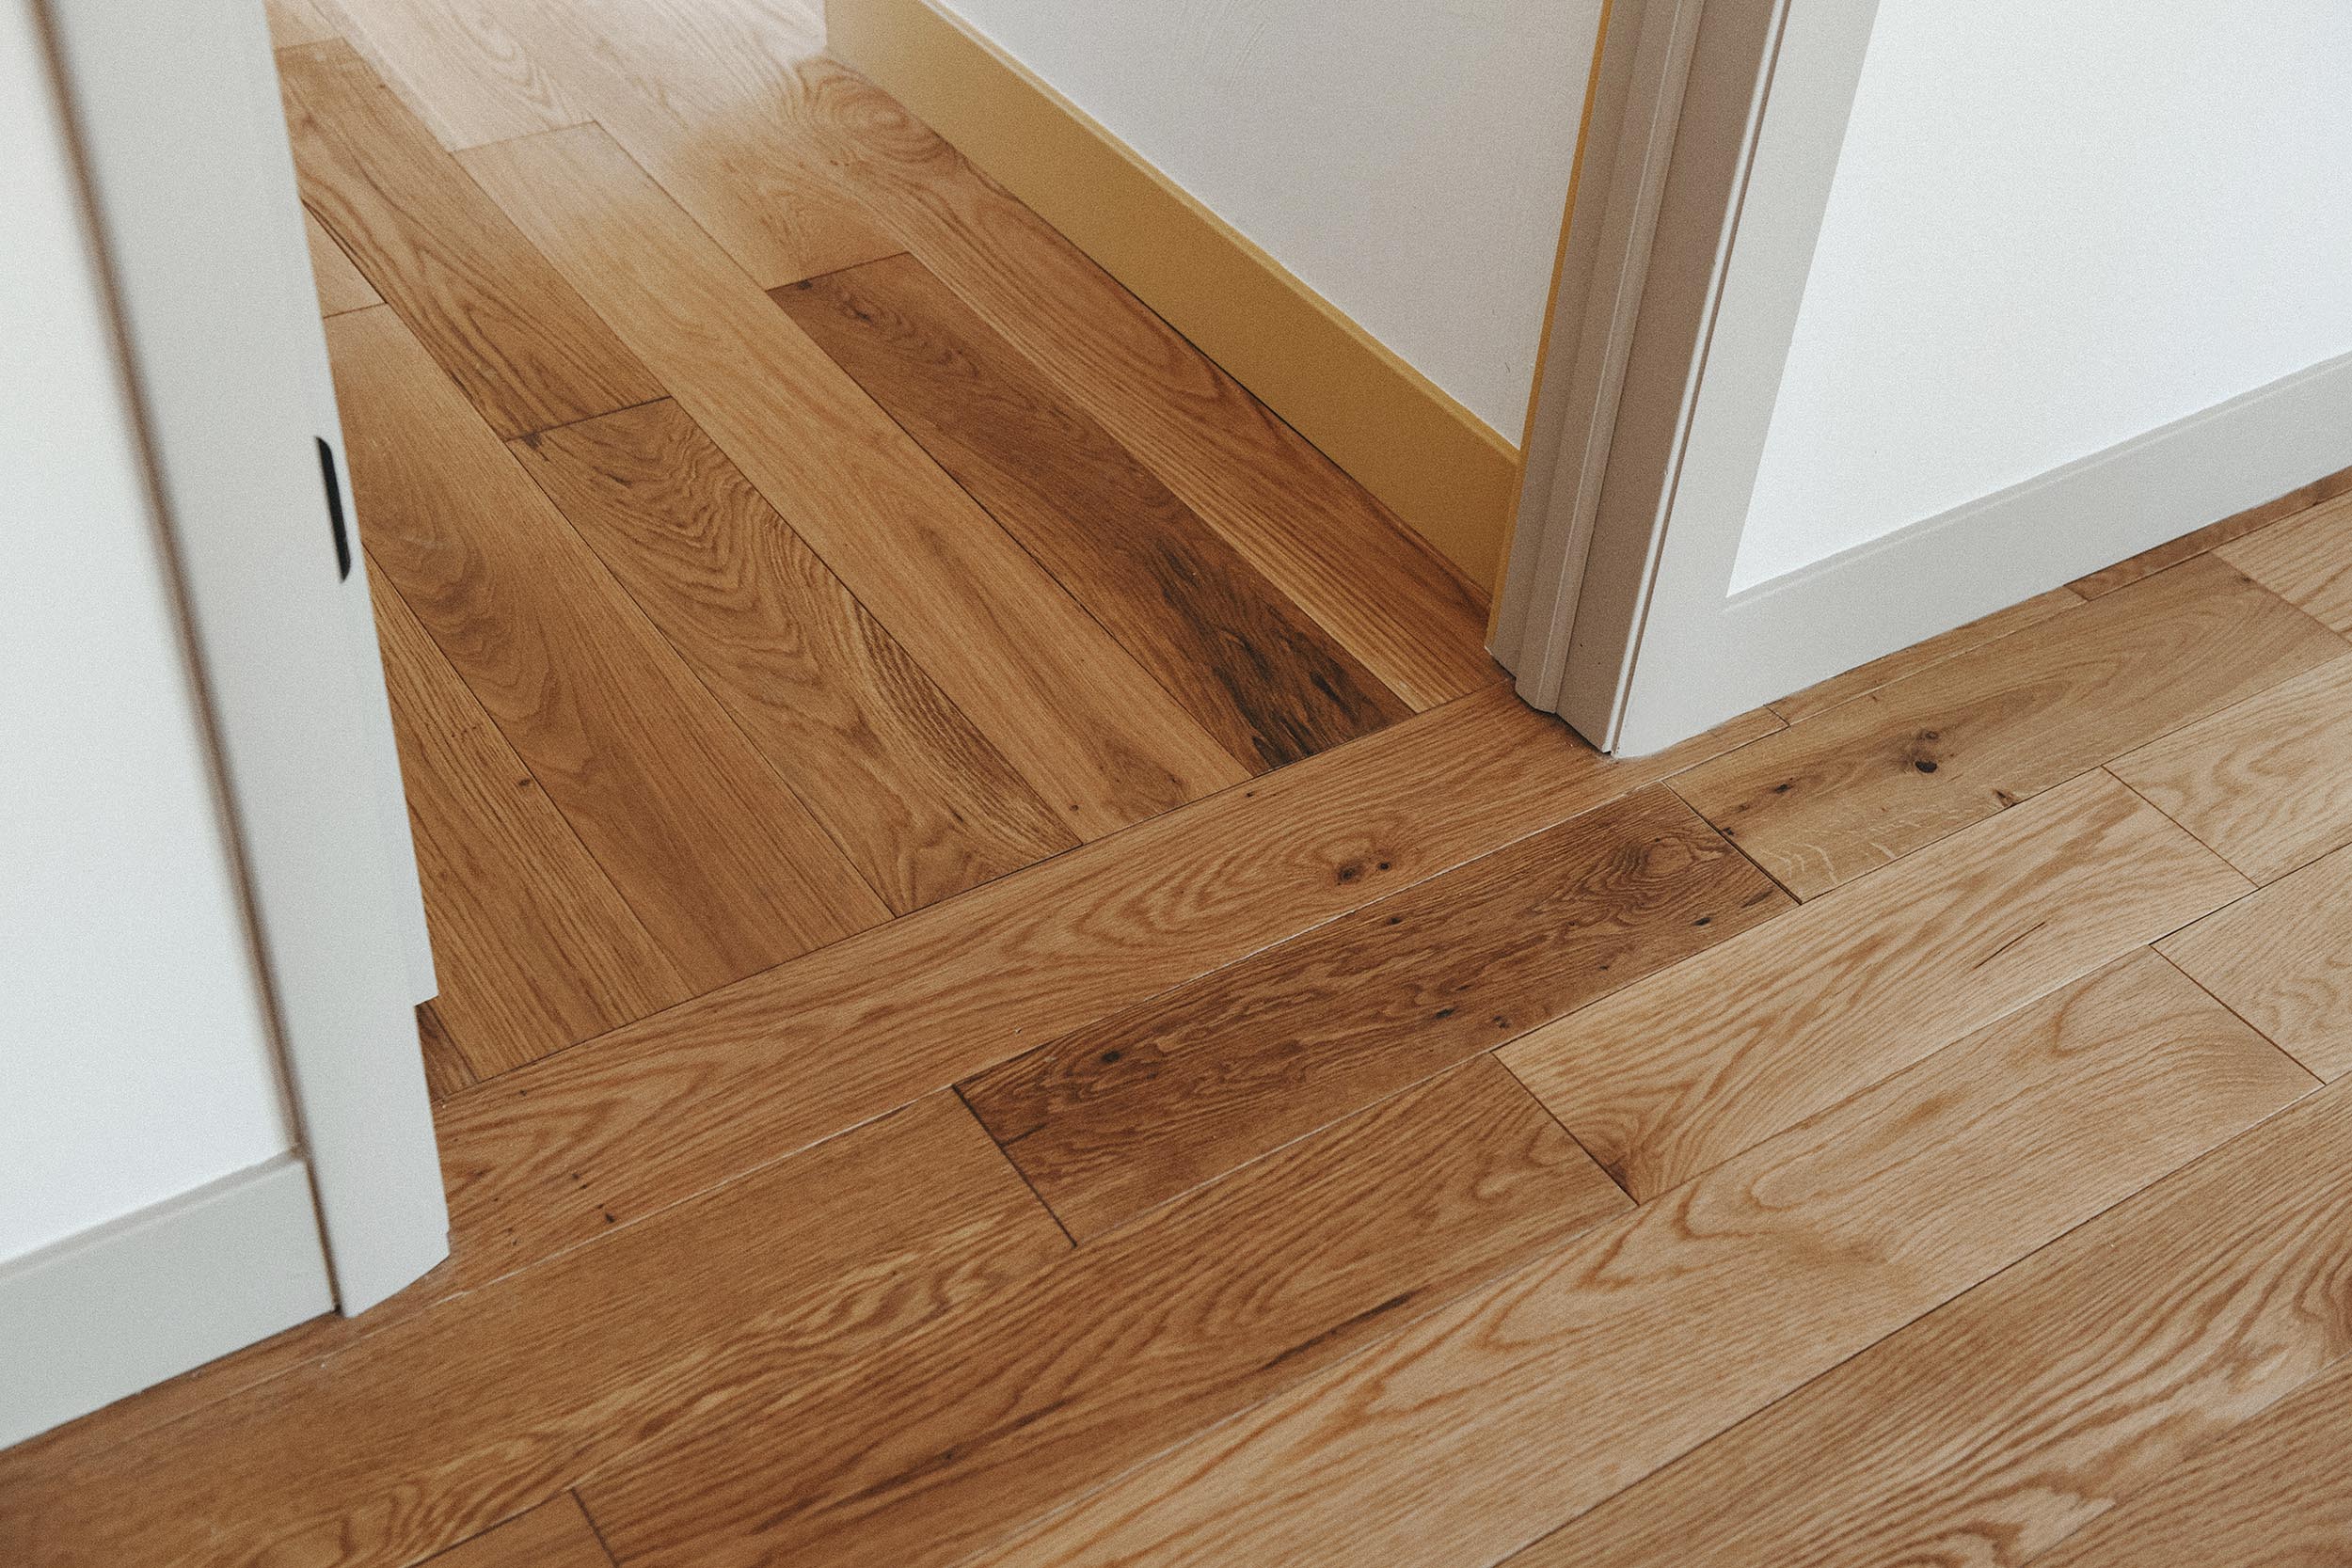
Long-time reader – very rare commenter. What made you decide to change the orientation of the flooring as it transitioned into the bedrooms? Solely aesthetic reasons or just too hard to continue everything running in the same orientation around all the entrances, corners, etc? My house has this as well and I would like to know other peoples’ thought process behind the choice. Thanks!
Purely aesthetic! It made more sense for the hallways and room orientations.
My goodness! They’re beautiful! Did you have to find your own installers?
We hired our own, yea!
Gorgeous floor!
Thank you! We agree.☺️
It really looks amazing and already cozy without furnishings.
Wow! What a beautiful change! What glue and underlayment did you use? Would you mind providing details since I am going to DIY my floors? Thank you!
Hi Jess! Not sure about the specific brands since our installer purchased everything, but there are product recommendations on LL’s website for each style of flooring. Hope this helps!
It looks like a real house now, and I feel the excitement with you all! The before and afters don’t look *that* different, and I mean that in the greatest compliment; that you stayed true to the home (that new trim is spot on!) and you’ve really honored the house and it looks fabulous!
That’s so kind, thank you!
You are absolutely right, nothing beats the feel of hardwood floor. Well done.