

This post is sponsored by Metrie. We’re sharing a HUGE progress update on our ongoing Two Flat renovation project and talking through the process of selecting trim for the entire house!
If you’ve been following along with the progress on our Two Flat project, you may have read that our plan to salvage and refinish all of the original trim in the house fell apart about six weeks ago. We were in love with the vintage trim, and it was one of the things that drew us to this house. Unfortunately, as we removed it in preparation for refinishing, we realized that it was in worse condition than we anticipated. In addition, after walls and doorways shifted, there would not have been nearly enough of it to complete the project. It was a hard decision and one we resisted for a long time before waving our little white flag.
The Importance of Millwork
Through all of this though, our desire for trim that looked like it could have been original to the home remained strong. Enter our friends at Metrie, whose incredibly diverse offerings for baseboards, casing and moulding were just what we were looking for to maintain the home’s vintage feel! The millwork we choose now will set the tone for the style of this home moving forward. Think of millwork – your door and window casings, baseboards and wall paneling – as the necessary supporting player for your whole home design aesthetic. It’s subtle role is an important one, laying the groundwork for everything that comes next.
Our contractor handled the installation of all of the trim, so we’ll walk through our selections floor by floor, from the top of the house down to the bottom. Let’s go!
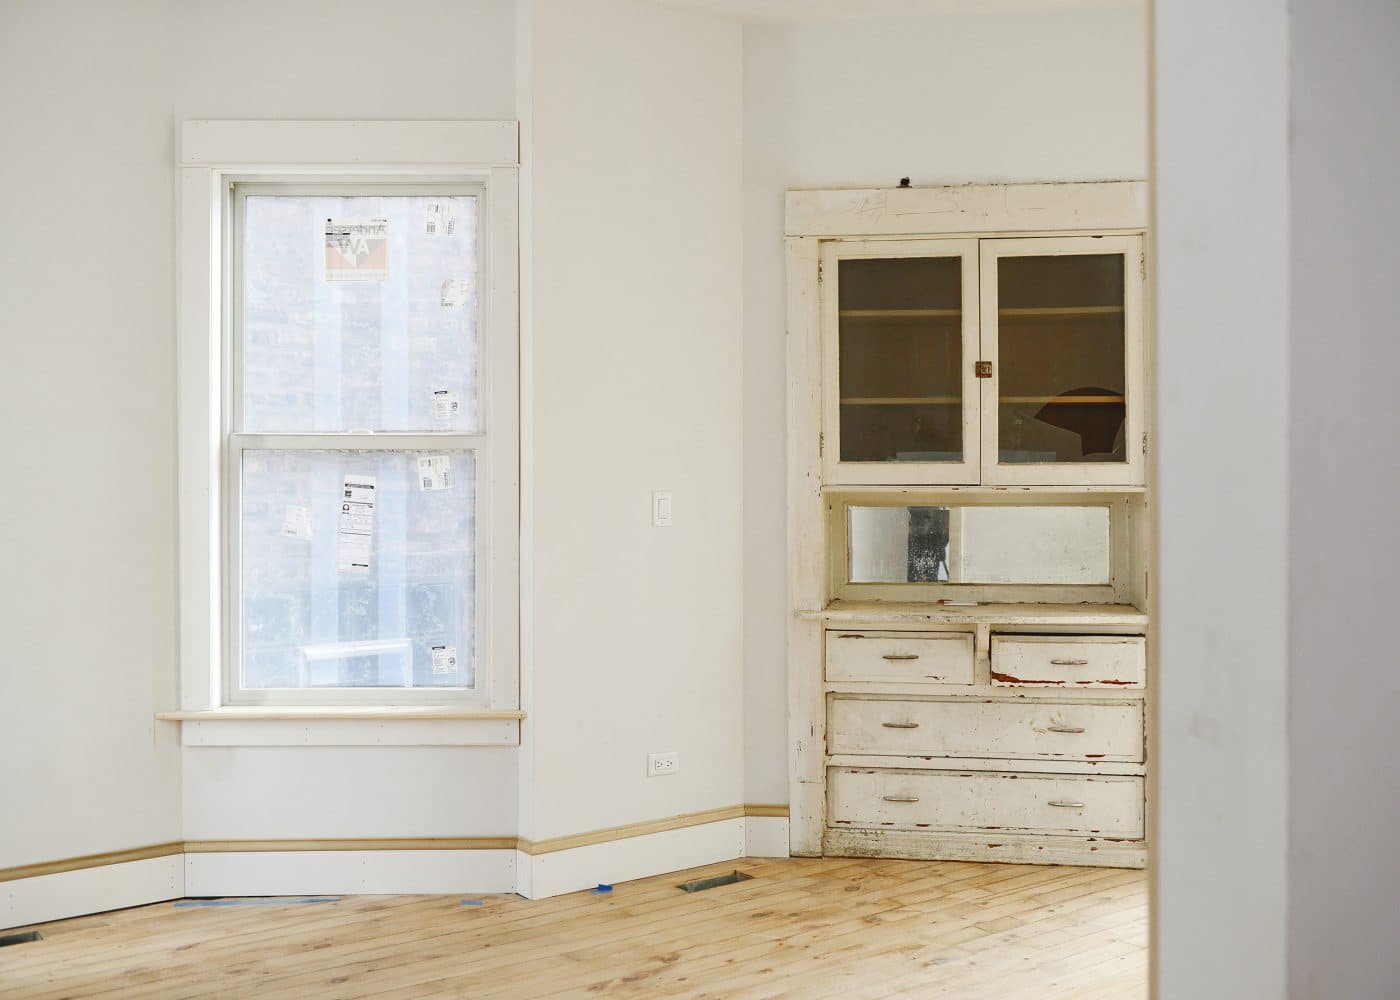
Unit 2
This bright little 2 bed/1 bath apartment is quickly becoming one of our favorite spaces in the house! We’ve largely maintained the original layout of the space, but have optimized a few openings and shifted the bathroom wall to provide a better spatial layout. We were able to maintain a small portion of the original millwork, but the vast majority has been replaced.
To best replicate the original millwork, this is the Metrie trim we used for Unit 2:
- Baseboard
- Baseboard cap
- Vertical door casing (This is actually a chair rail!)
- Vertical window casing
- Horizontal door/window cap
- Horizontal door/window door stop detail
Note: we selected primed trim whenever possible to make for quicker painting, but some of the options we selected were only available unfinished.
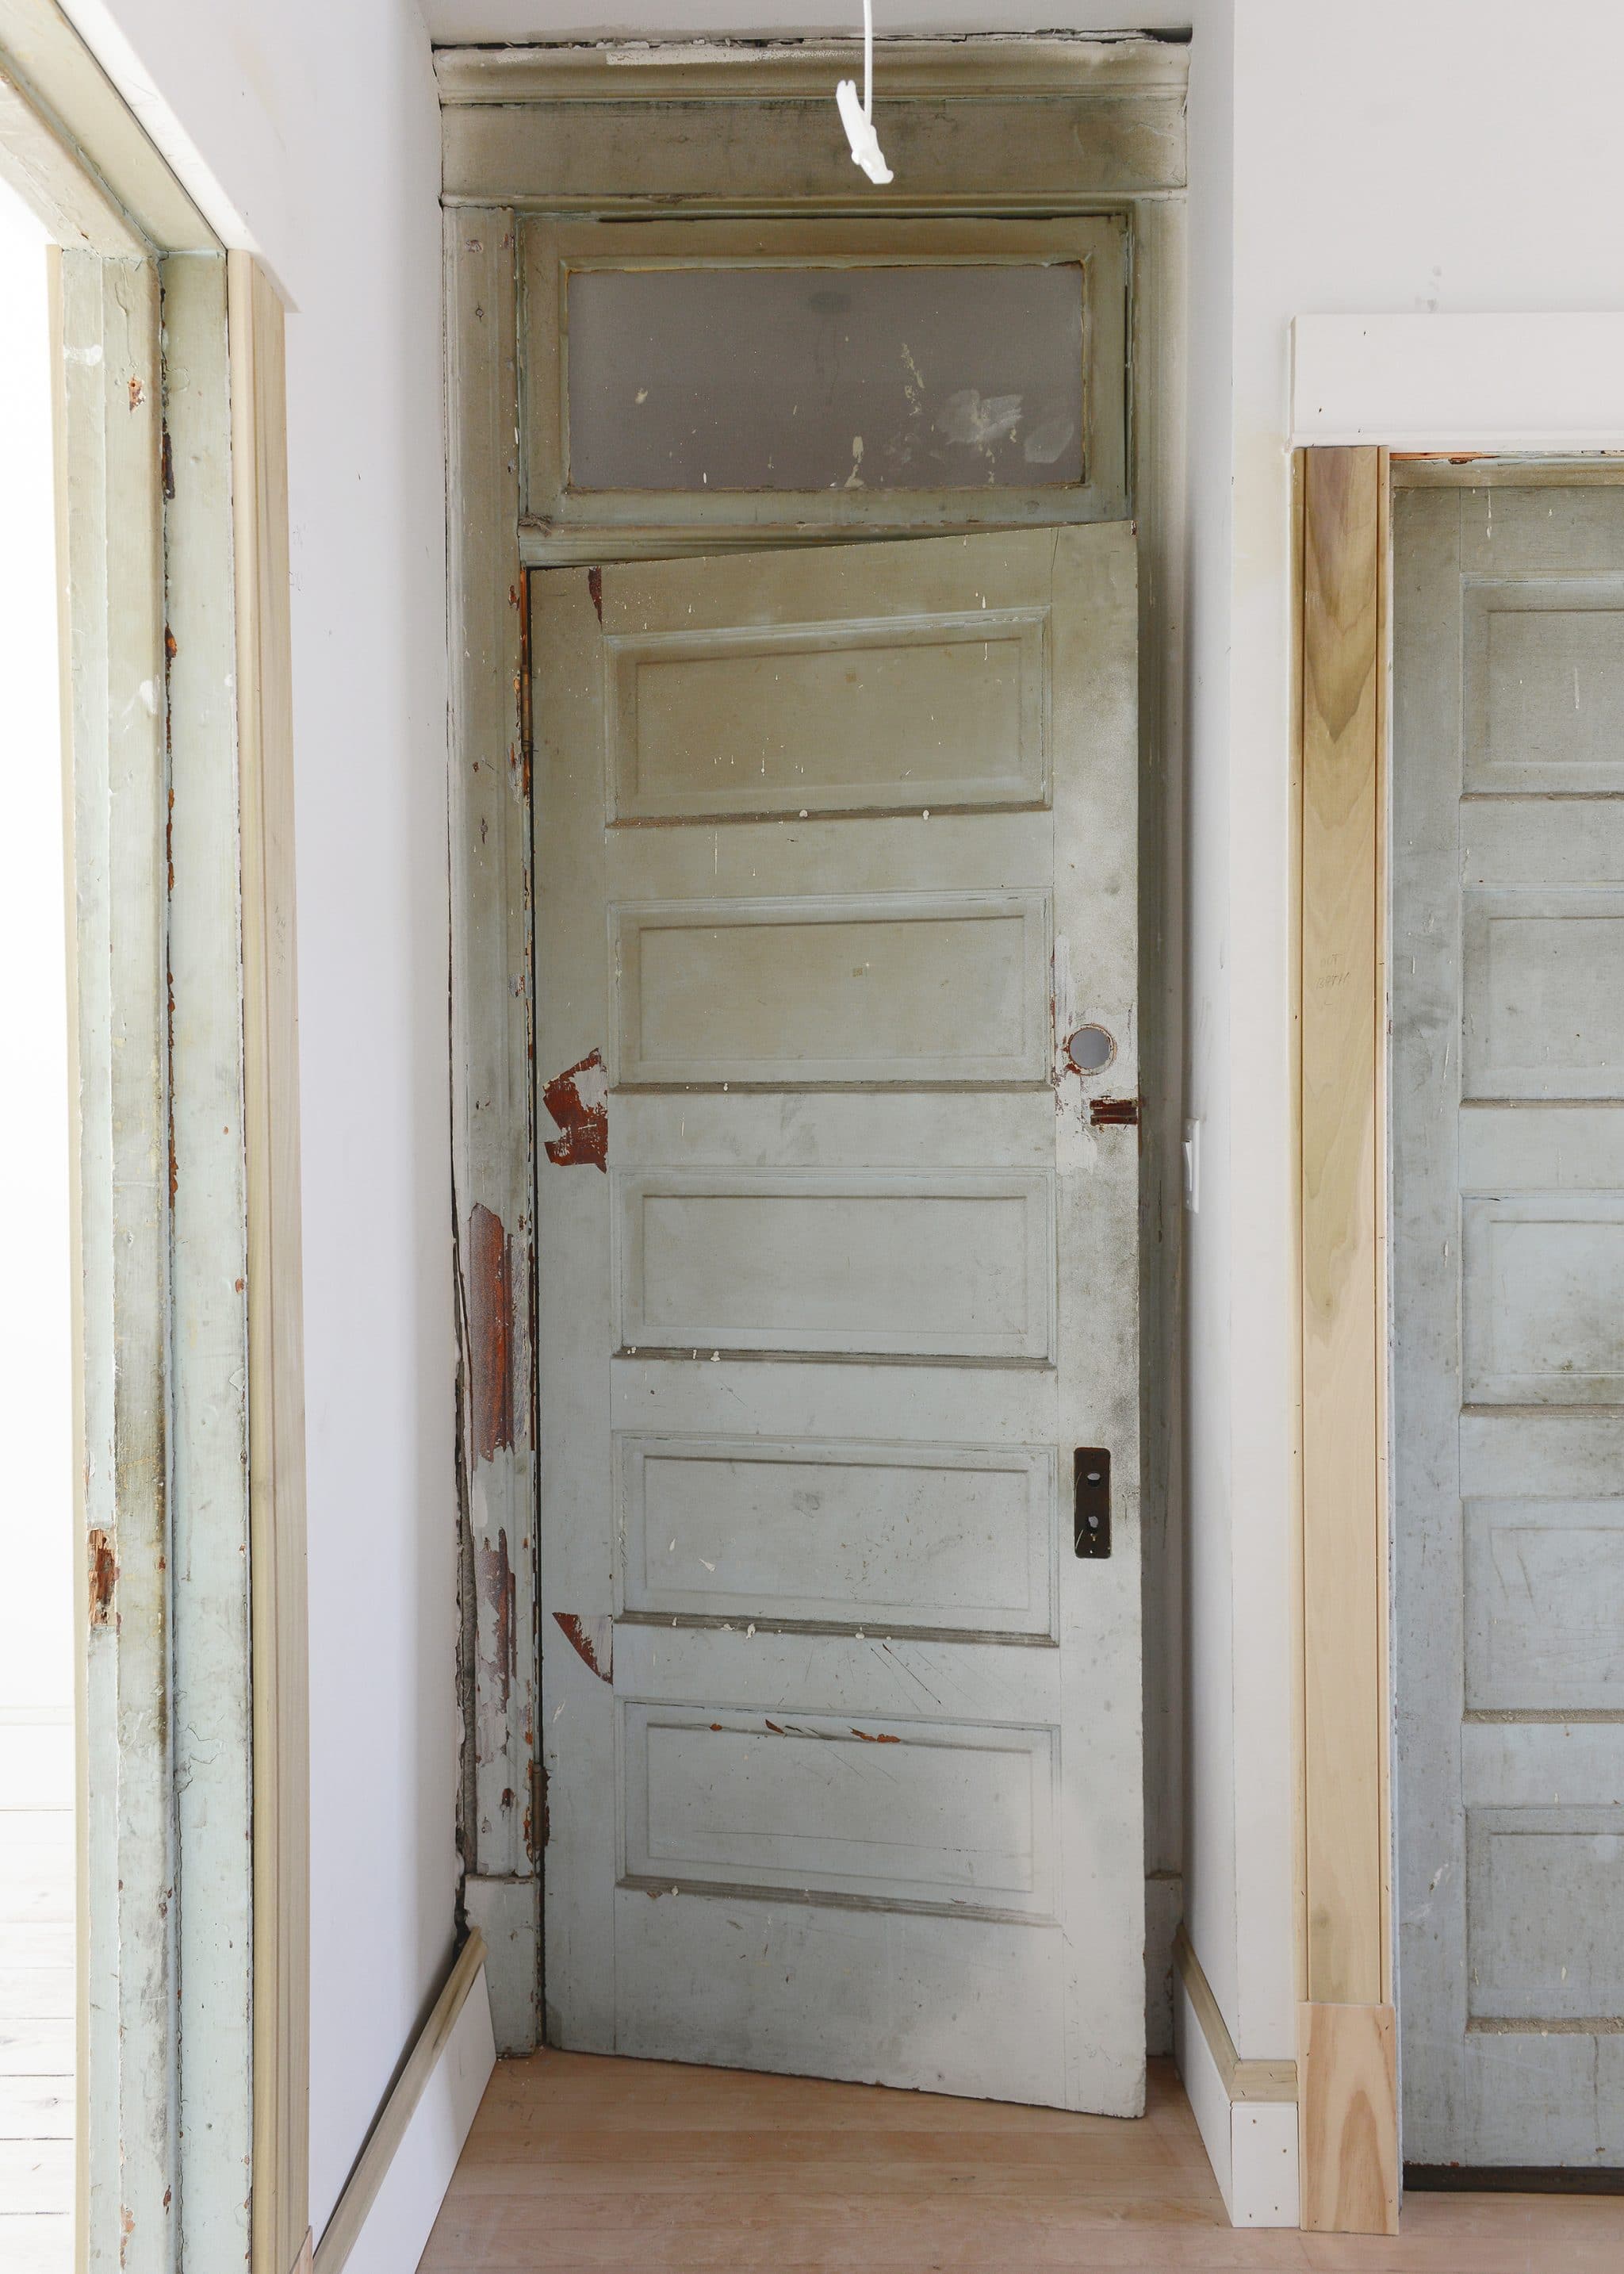
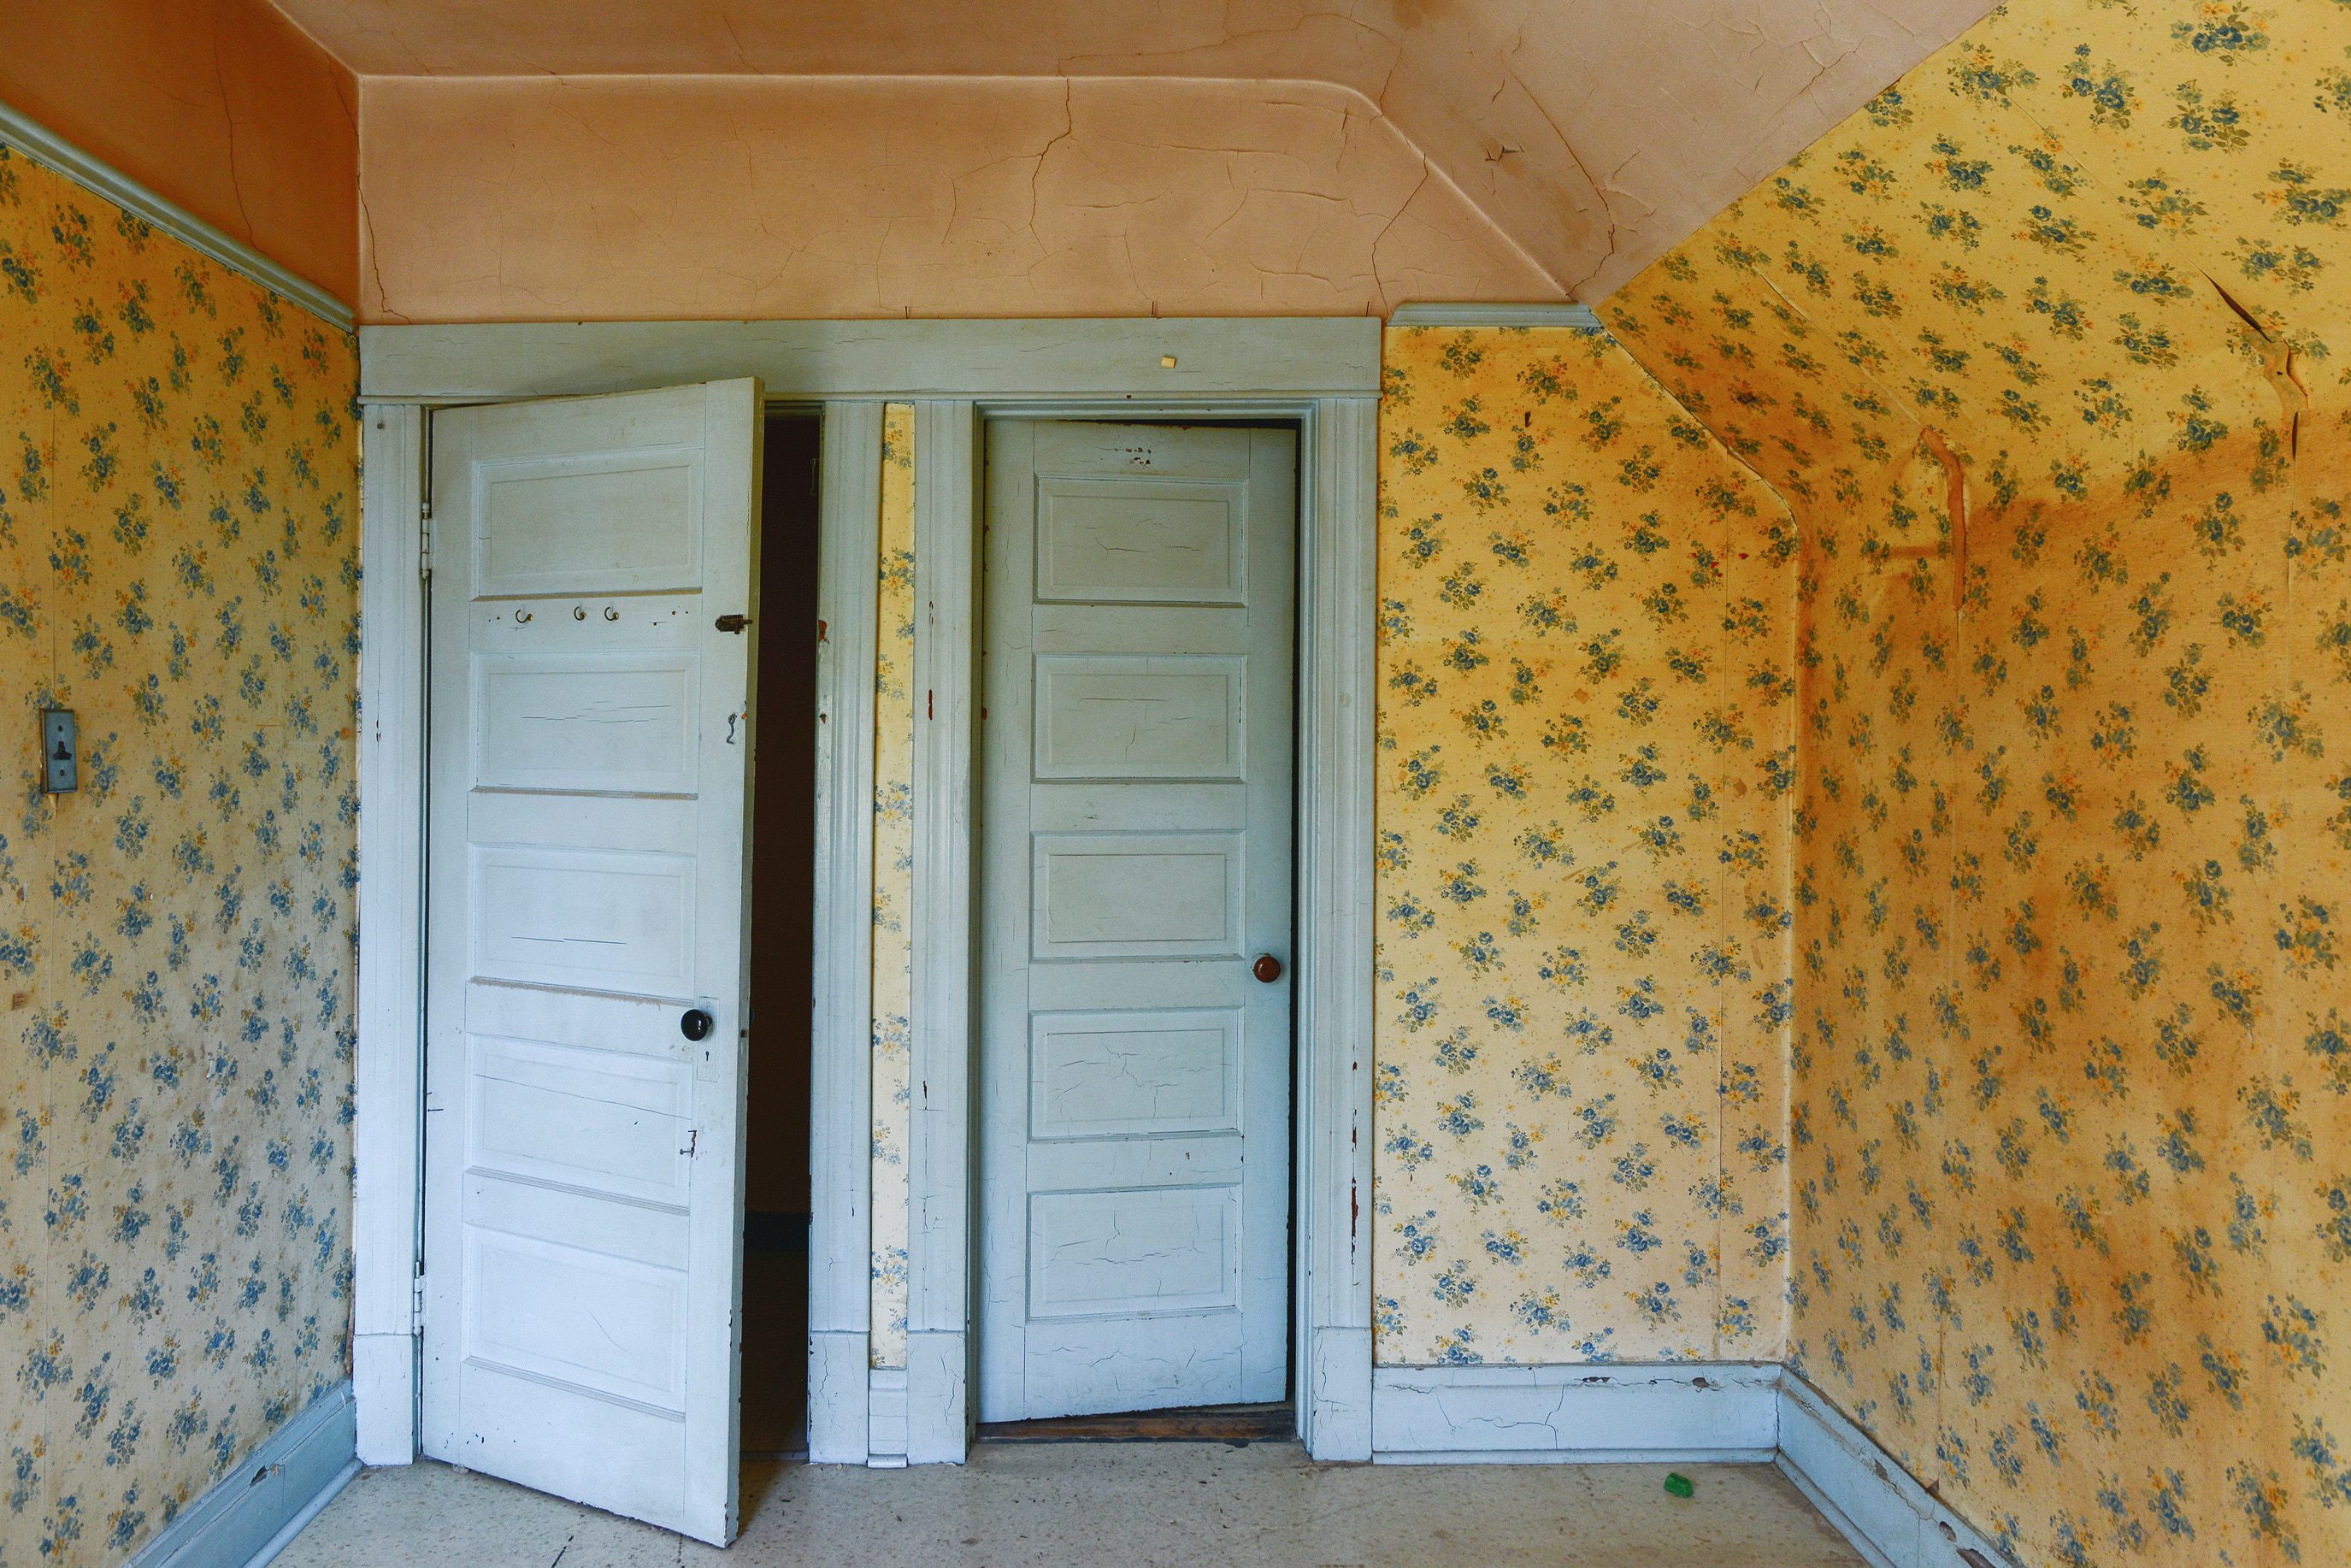
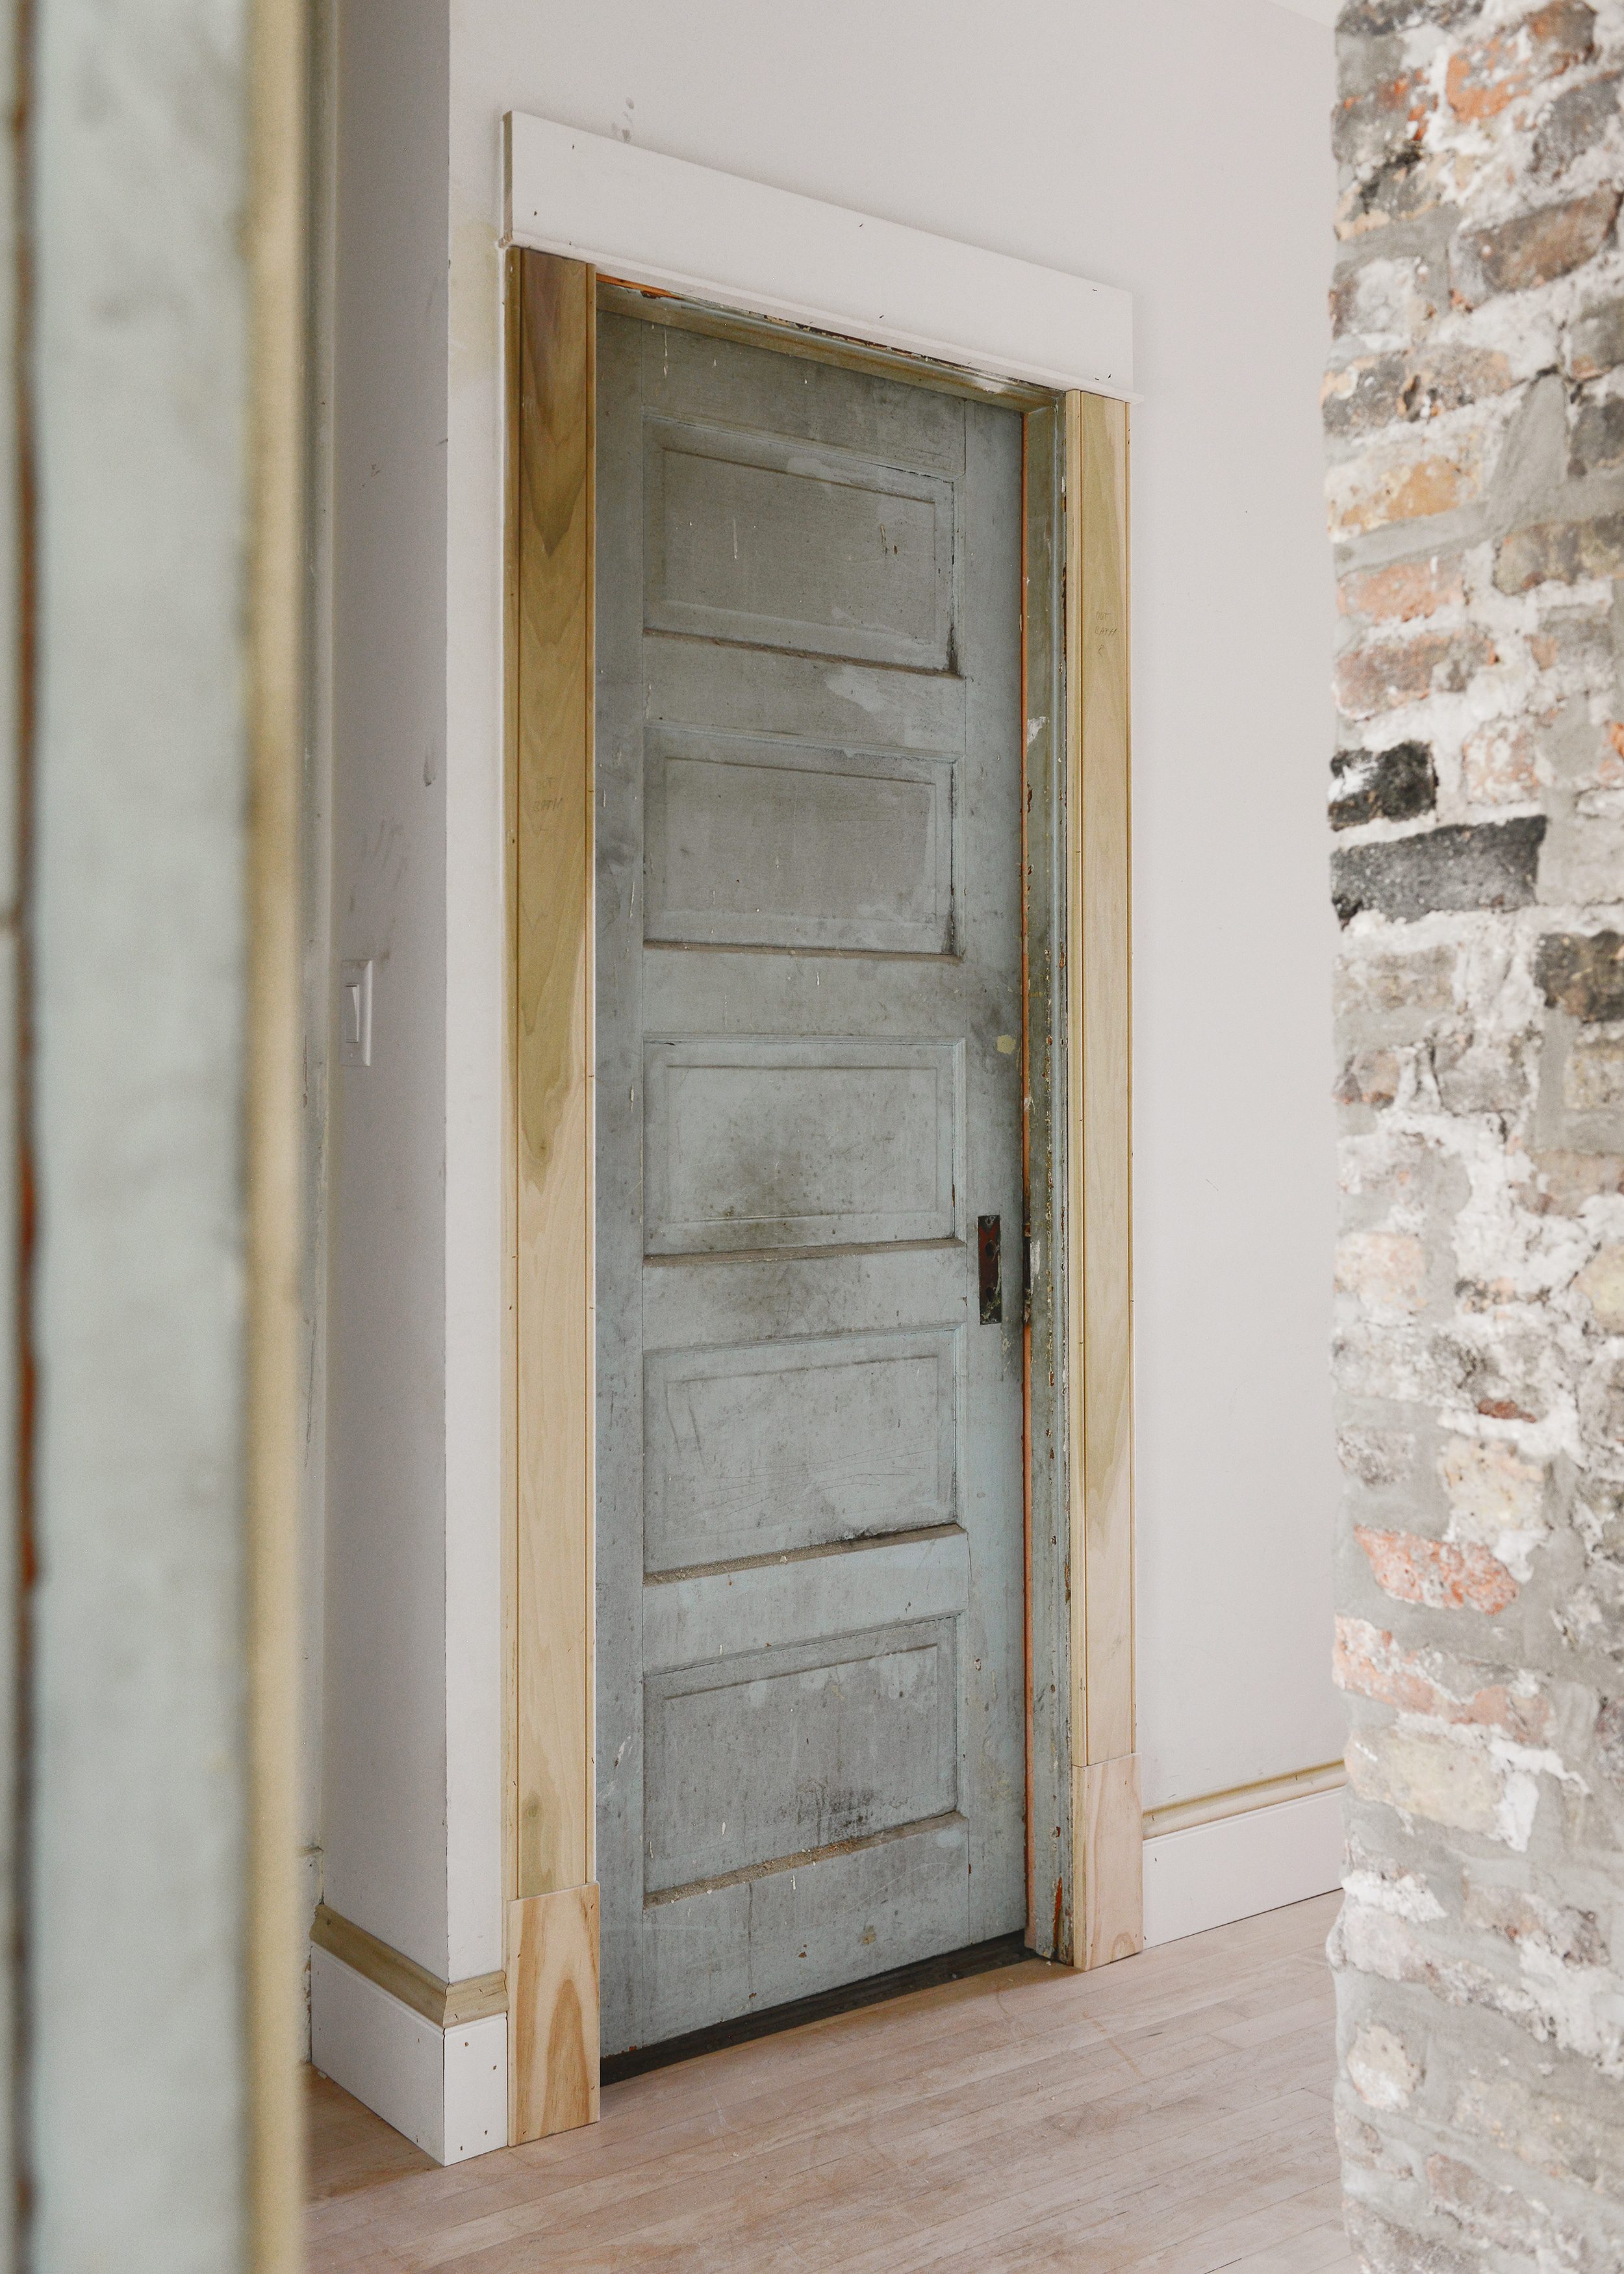
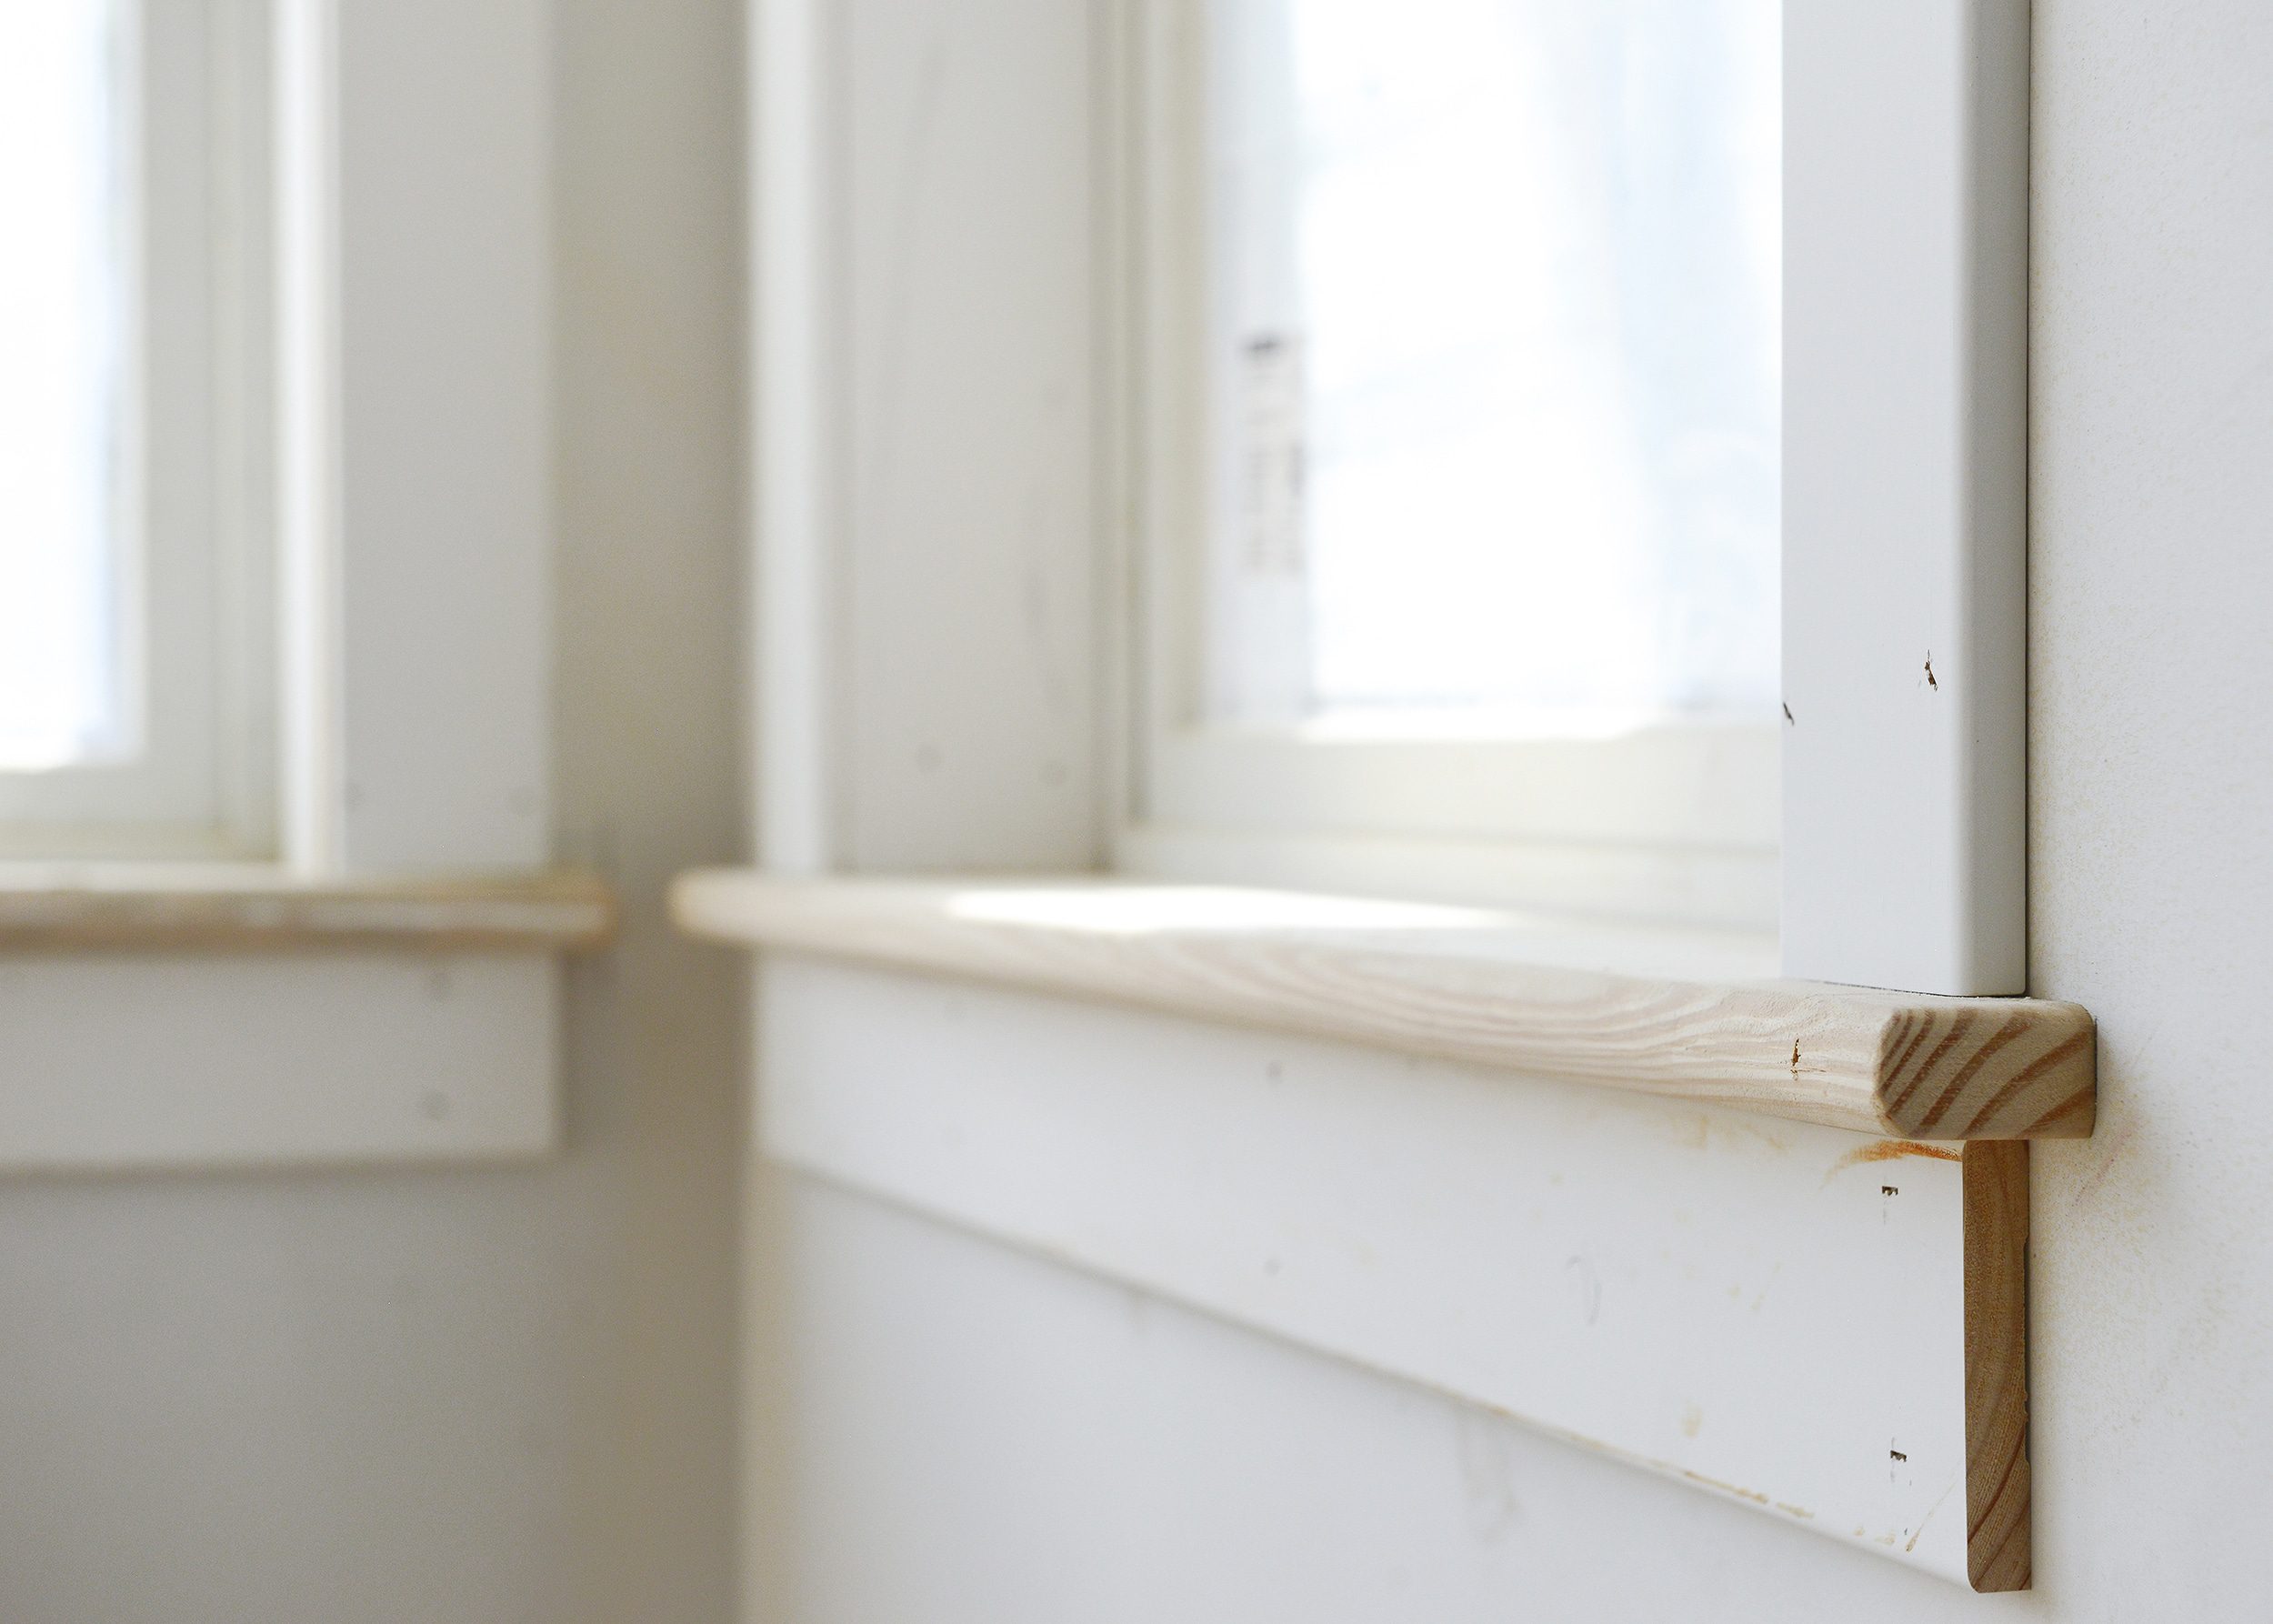
One of the areas that we were able to salvage the original trim is inside the front door of Unit 2 (hooray!). In the photo below, you can see the original vertical door casings, as well as the new Metrie casings on either side of the front door. While they’re not a perfect match, they have similar details and the same width (so important when trying to replicate), and we love how nicely they compliment each other.
Kim’s favorite room also turned out great! Much like in the hallway above, we had our contractor combine the trim at the horizontal tops of the doors into one piece as it was done originally. Keeping with the same installation practices was important for us to honor the home’s history and craftsmanship. The photo below was taken when we purchased the Two Flat:
And here’s the same view today!
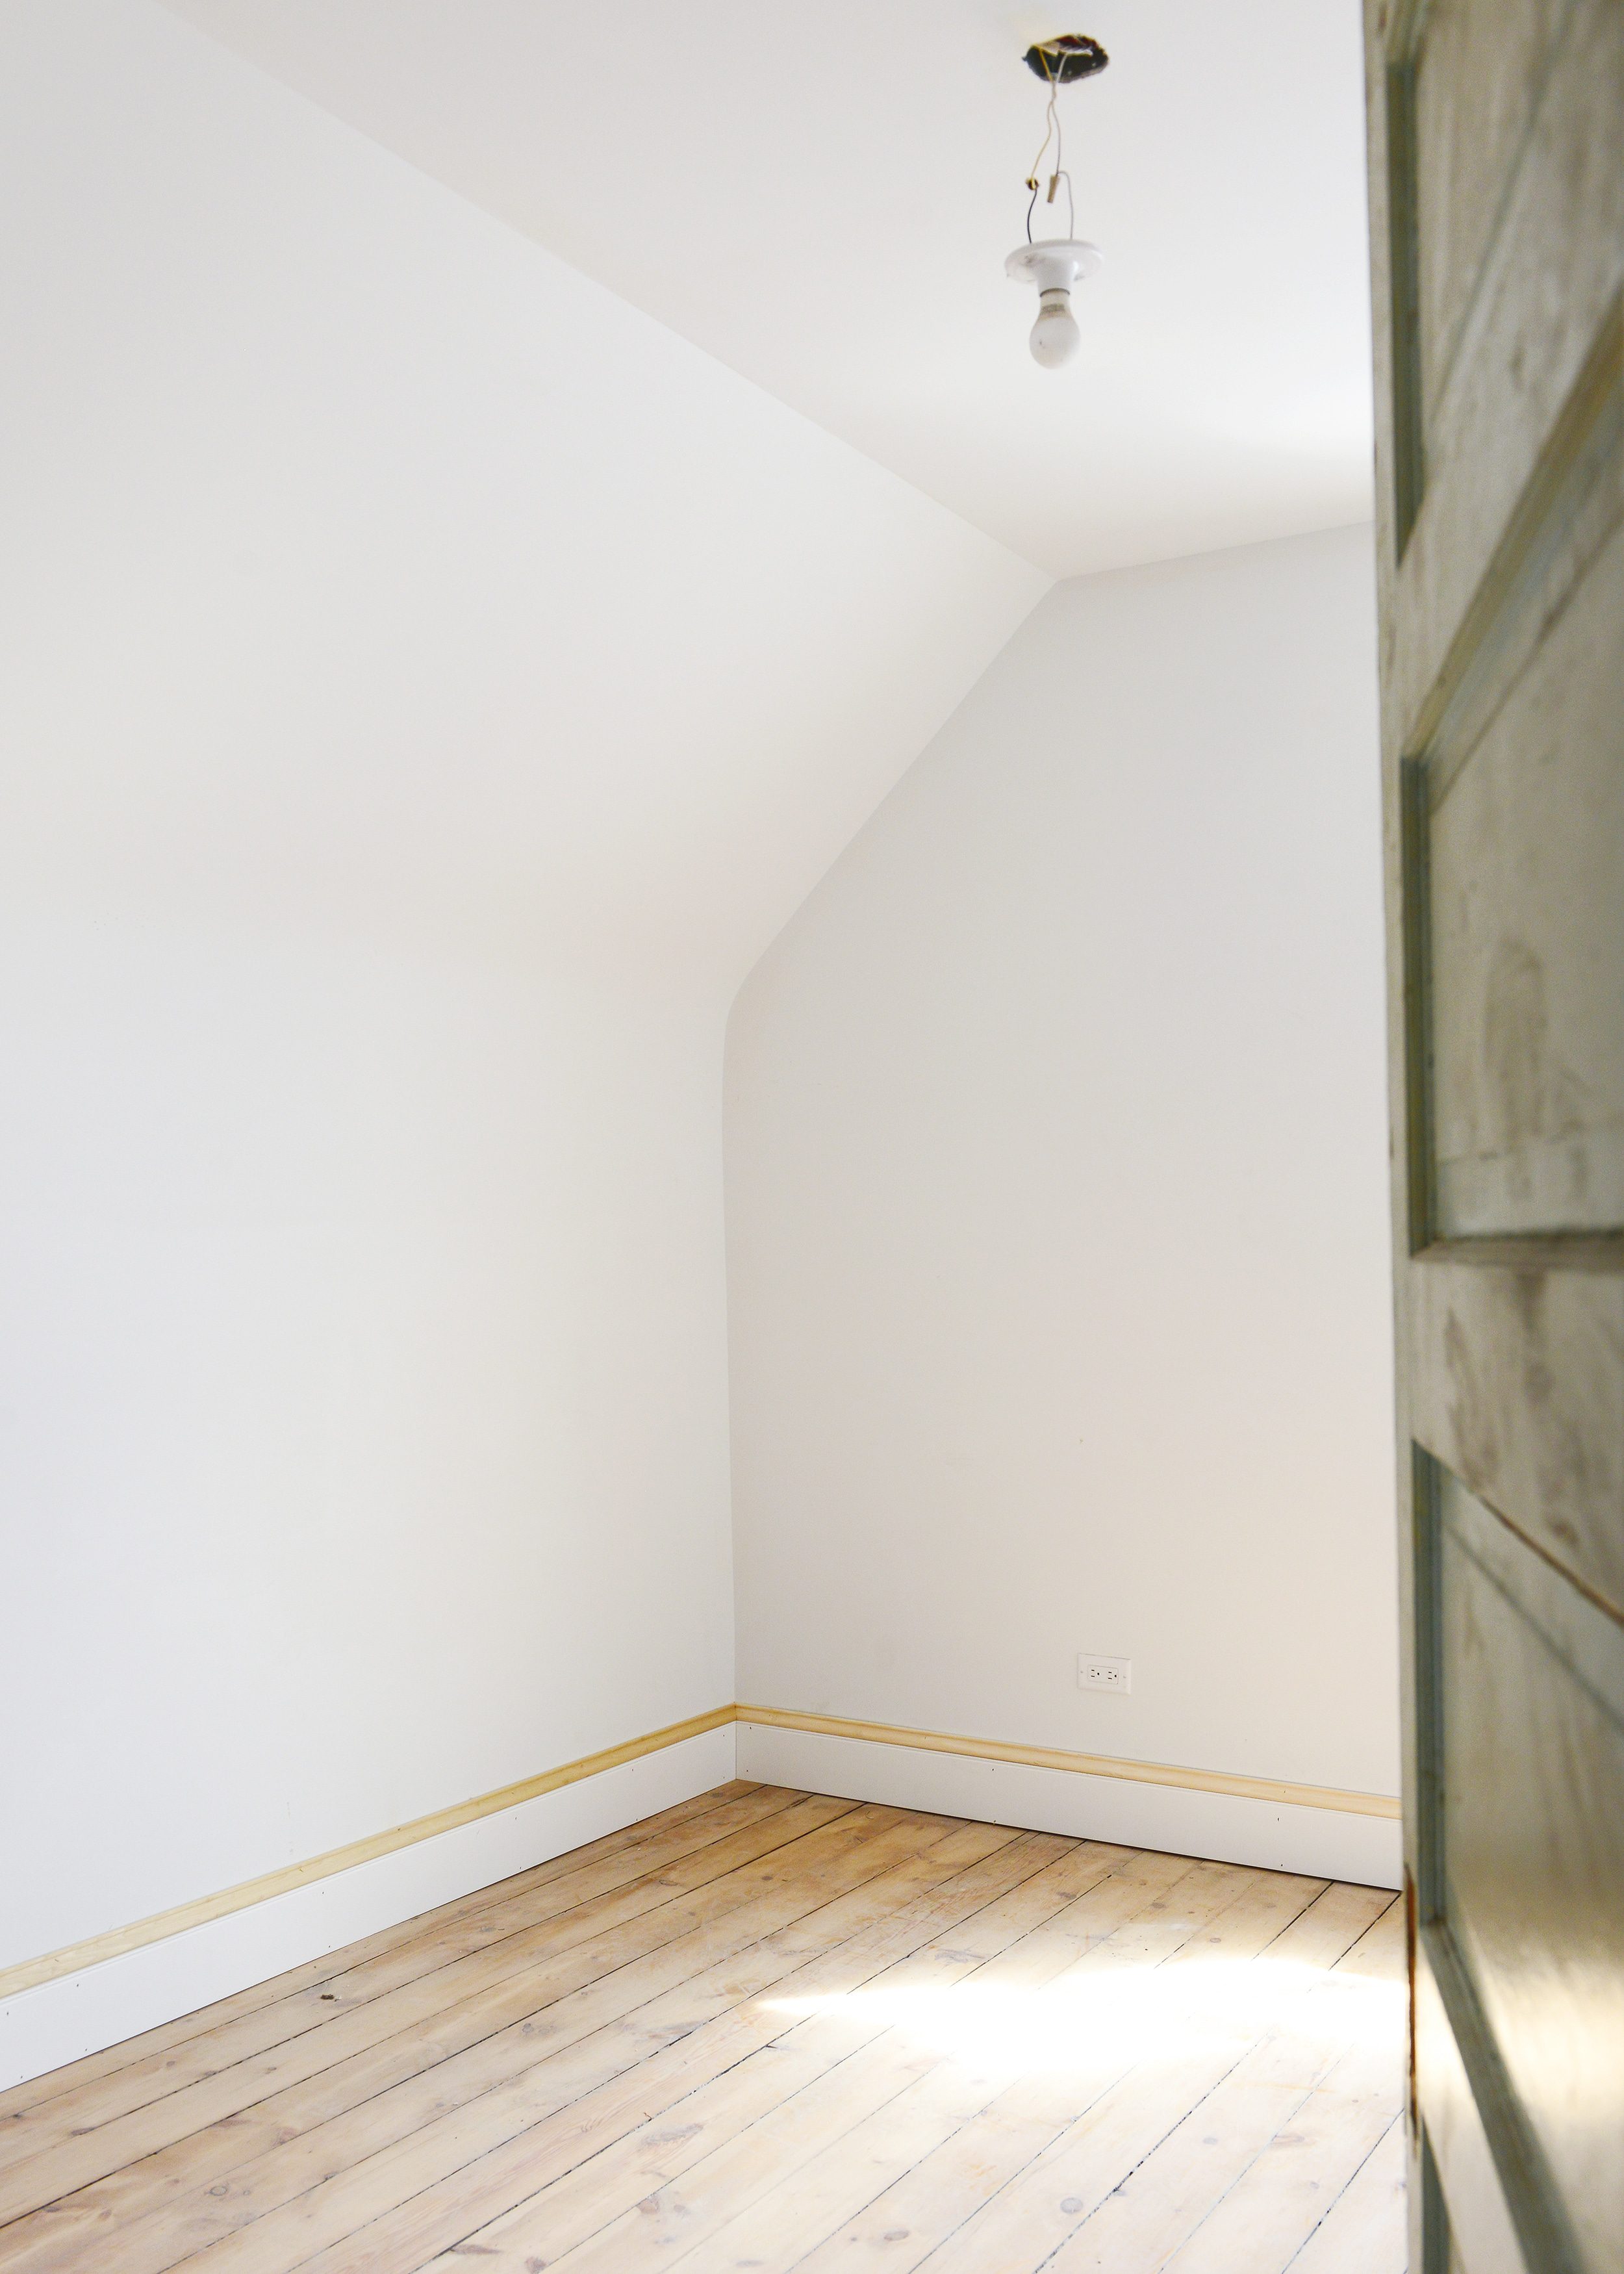
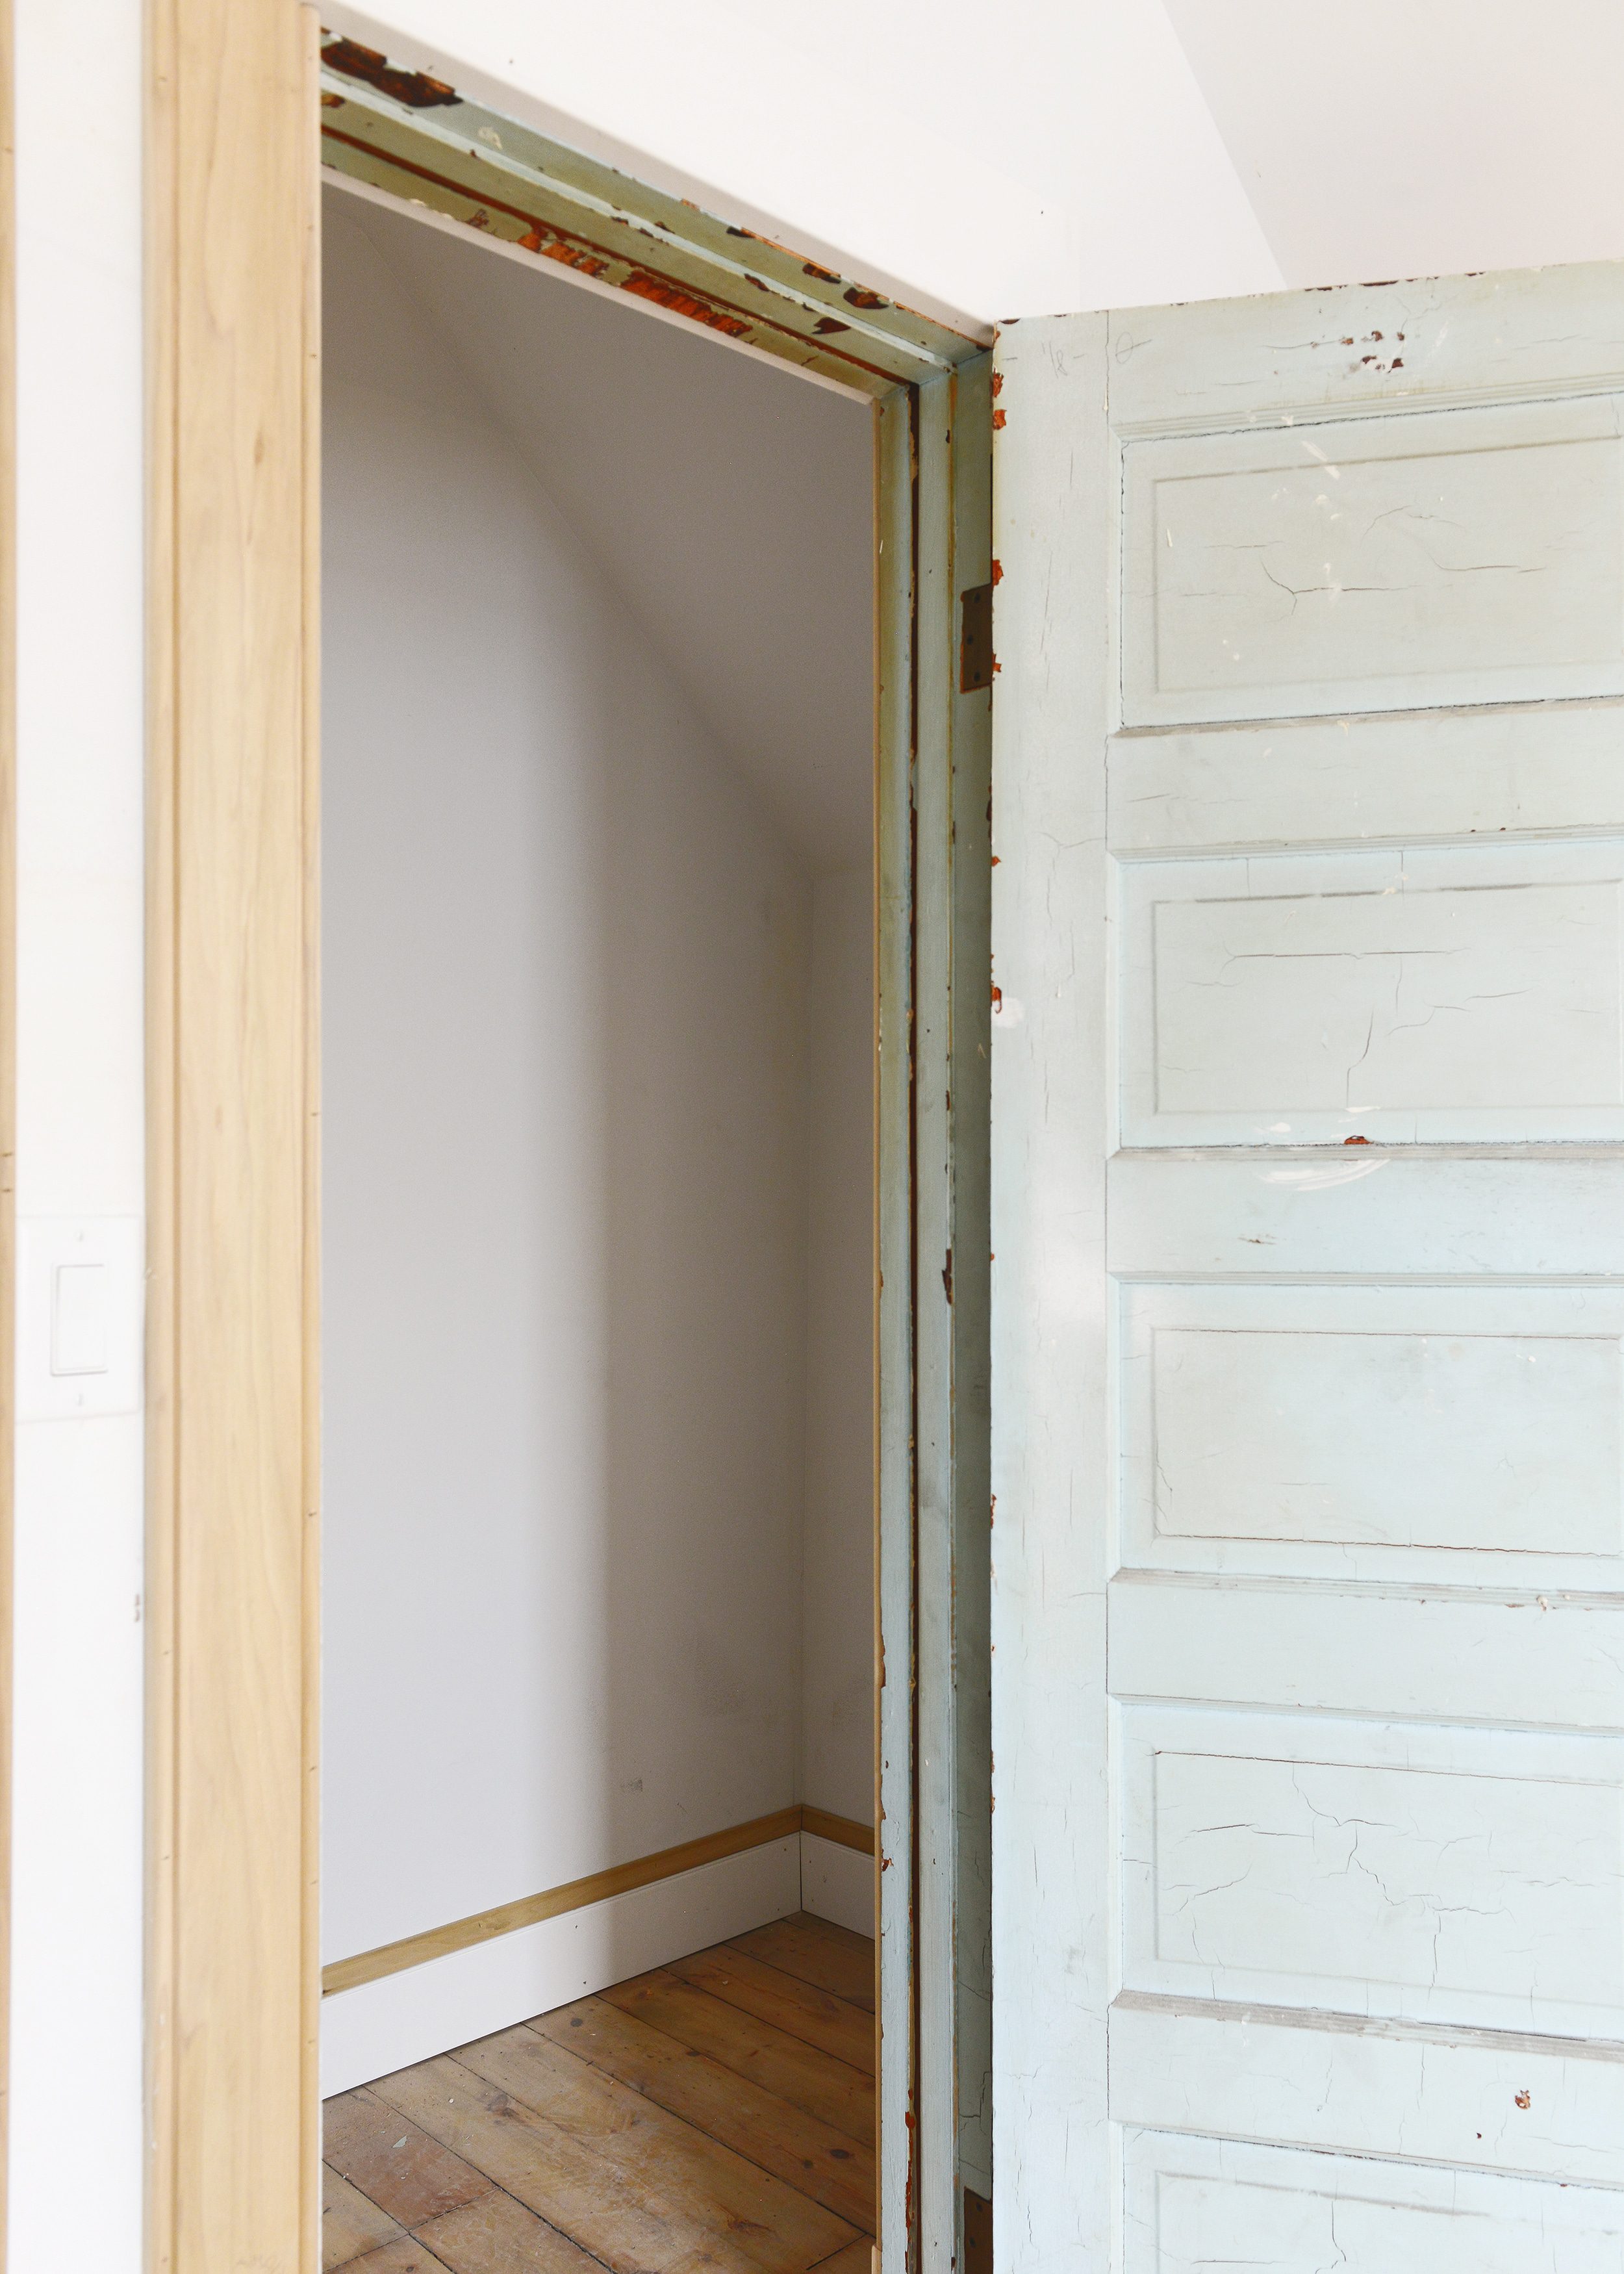
We were also took considerations to ensure that the same trim in the main spaces was replicated in the closets, which are surprisingly generous by late 1800’s standards. We still can’t get over how much we love these refinished original pine floors and how much they’ll pop once the baseboards are painted!
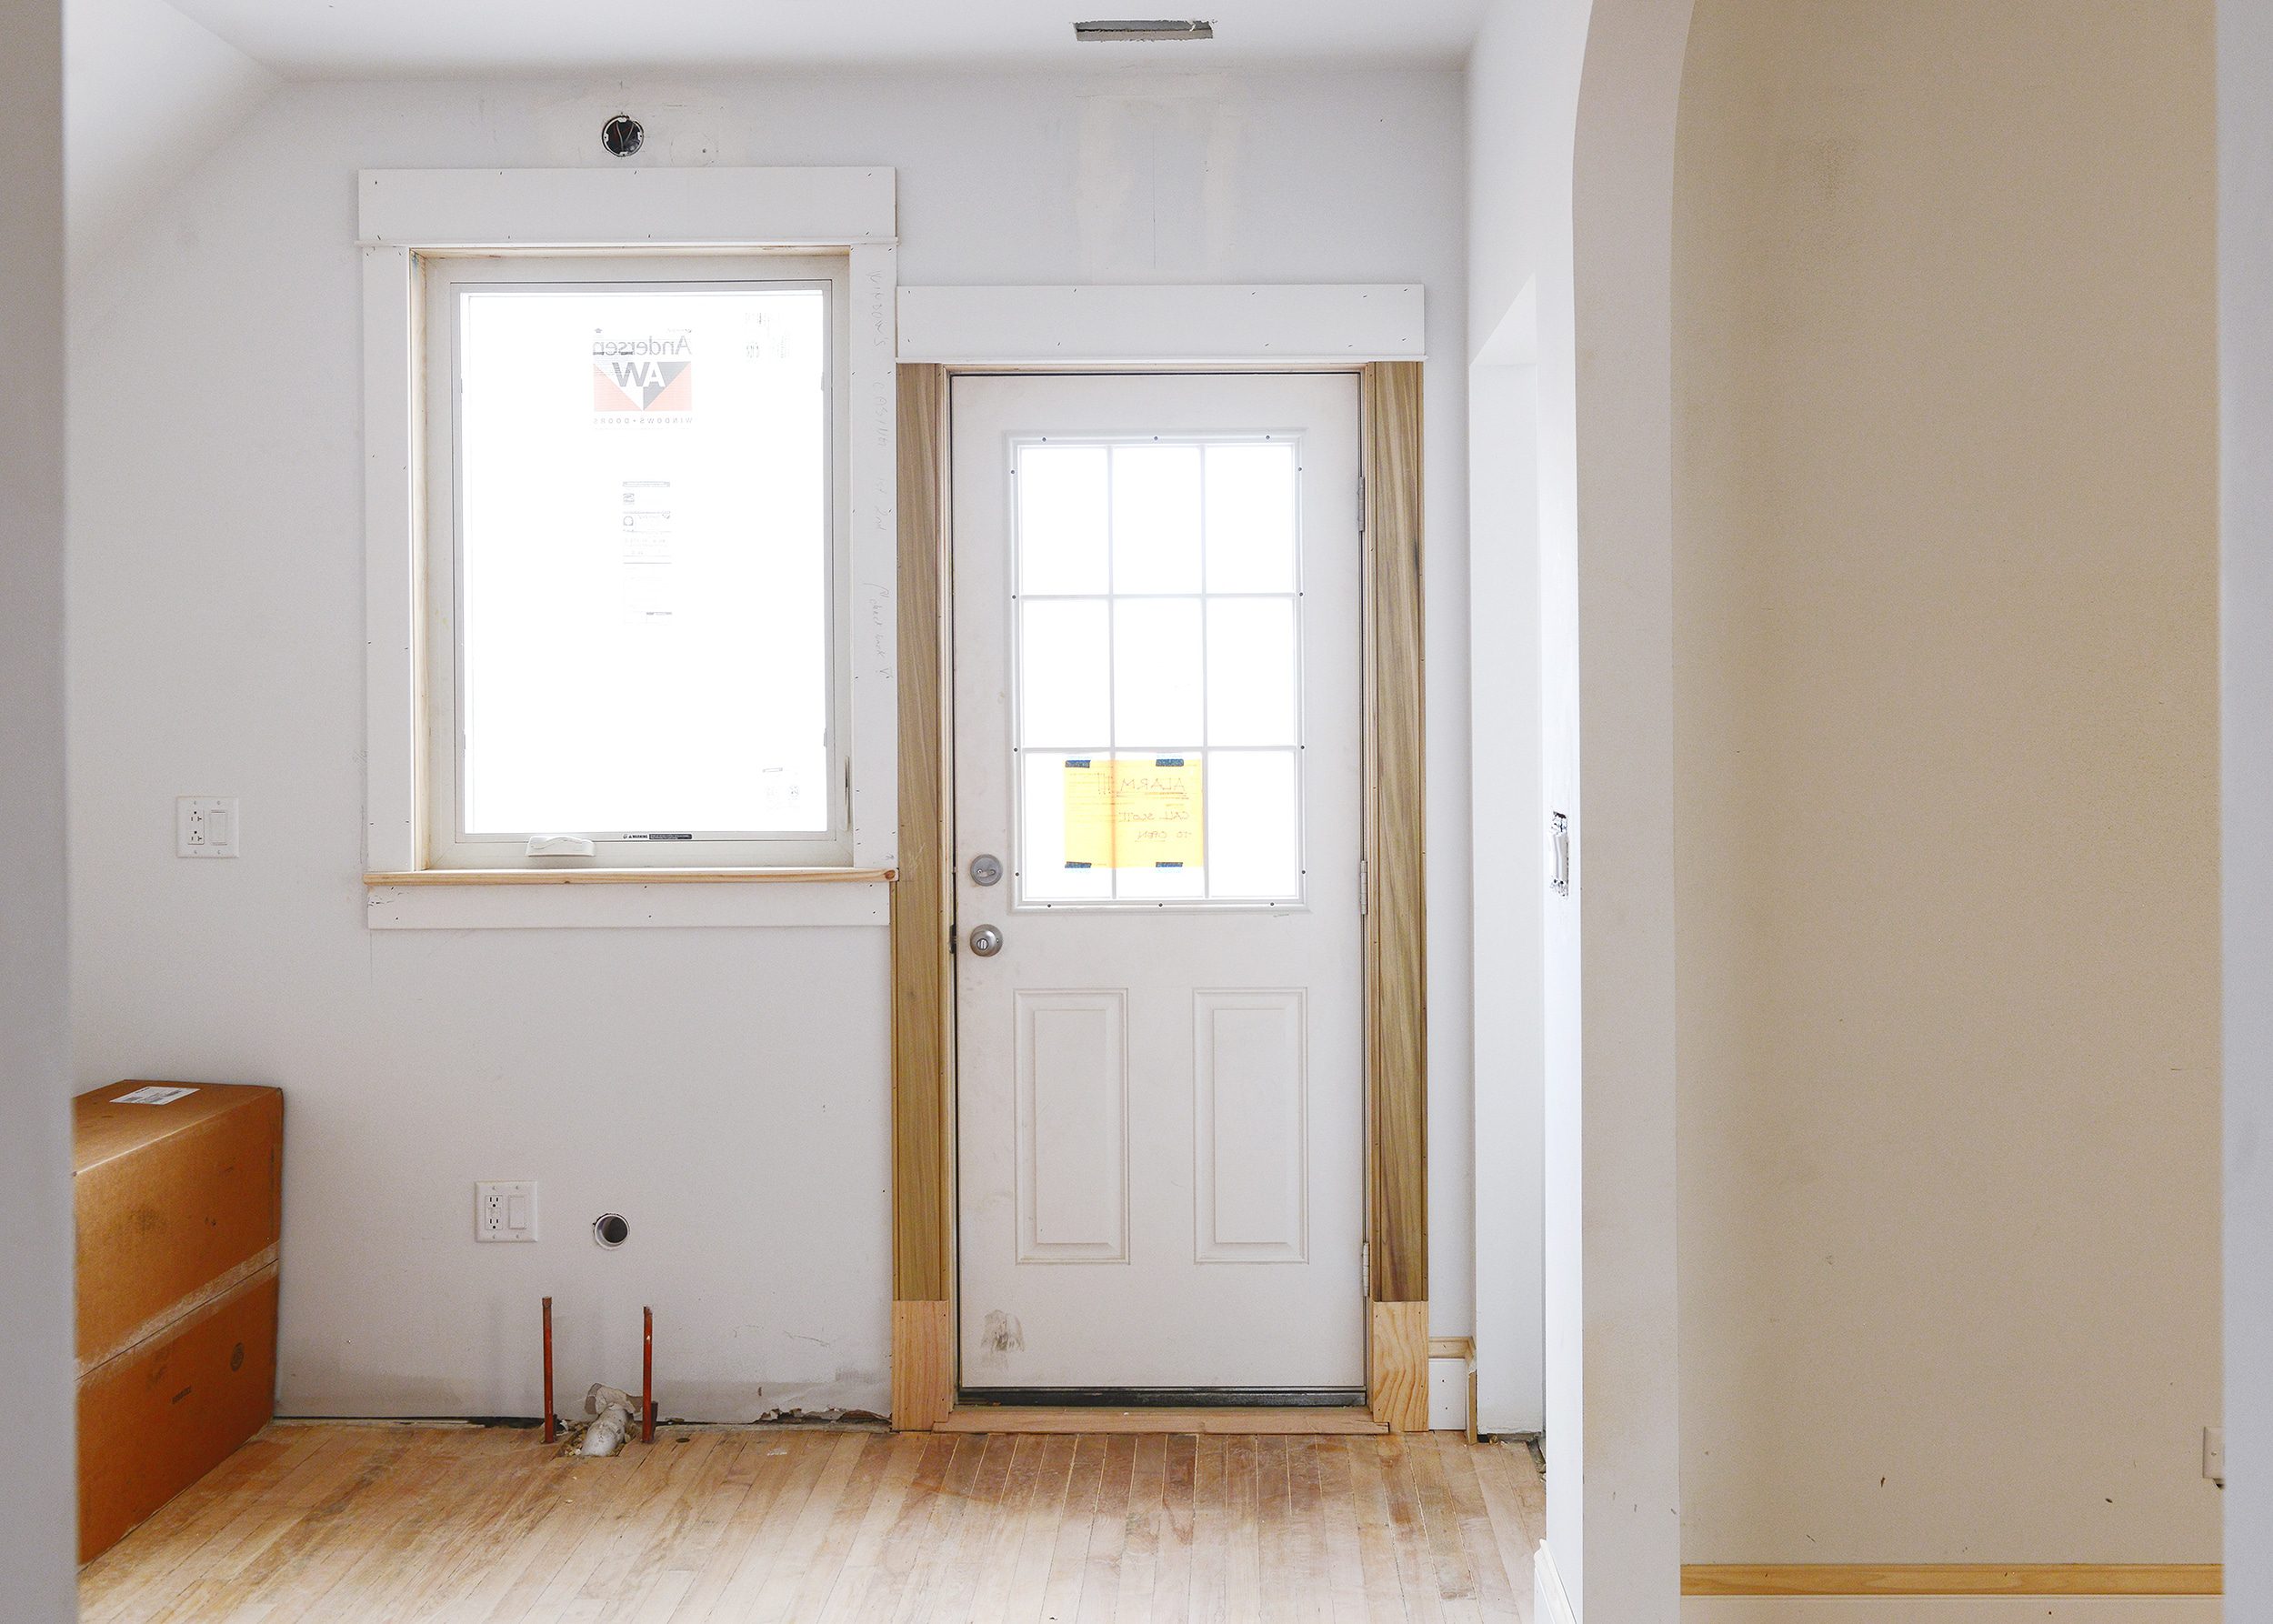
At the rear of the unit, we had to make a few interesting decisions where the back door meets the window trim. Some careful shaving here and there resulted in a junction that will look nice and clean once everything is painted the same color. Can’t you just envision a cute little sconce above the window with the sink centered perfectly below? Not a bad place to do some dishes if you ask us!
Unit 1 | First Floor
Moving down into Unit 1, the main floor is looking bright and open, a drastic difference from day one! The trim selections on this floor are identical to what we chose up in Unit 2. Again, we wanted the trim on these floors to match as well as possible with what was here originally. Allow me to save you from scrolling – here’s that list one more time:
- Baseboard
- Baseboard cap
- Vertical door casing (This is actually a chair rail!)
- Vertical window casing
- Horizontal door/window cap
- Horizontal door/window door stop detail
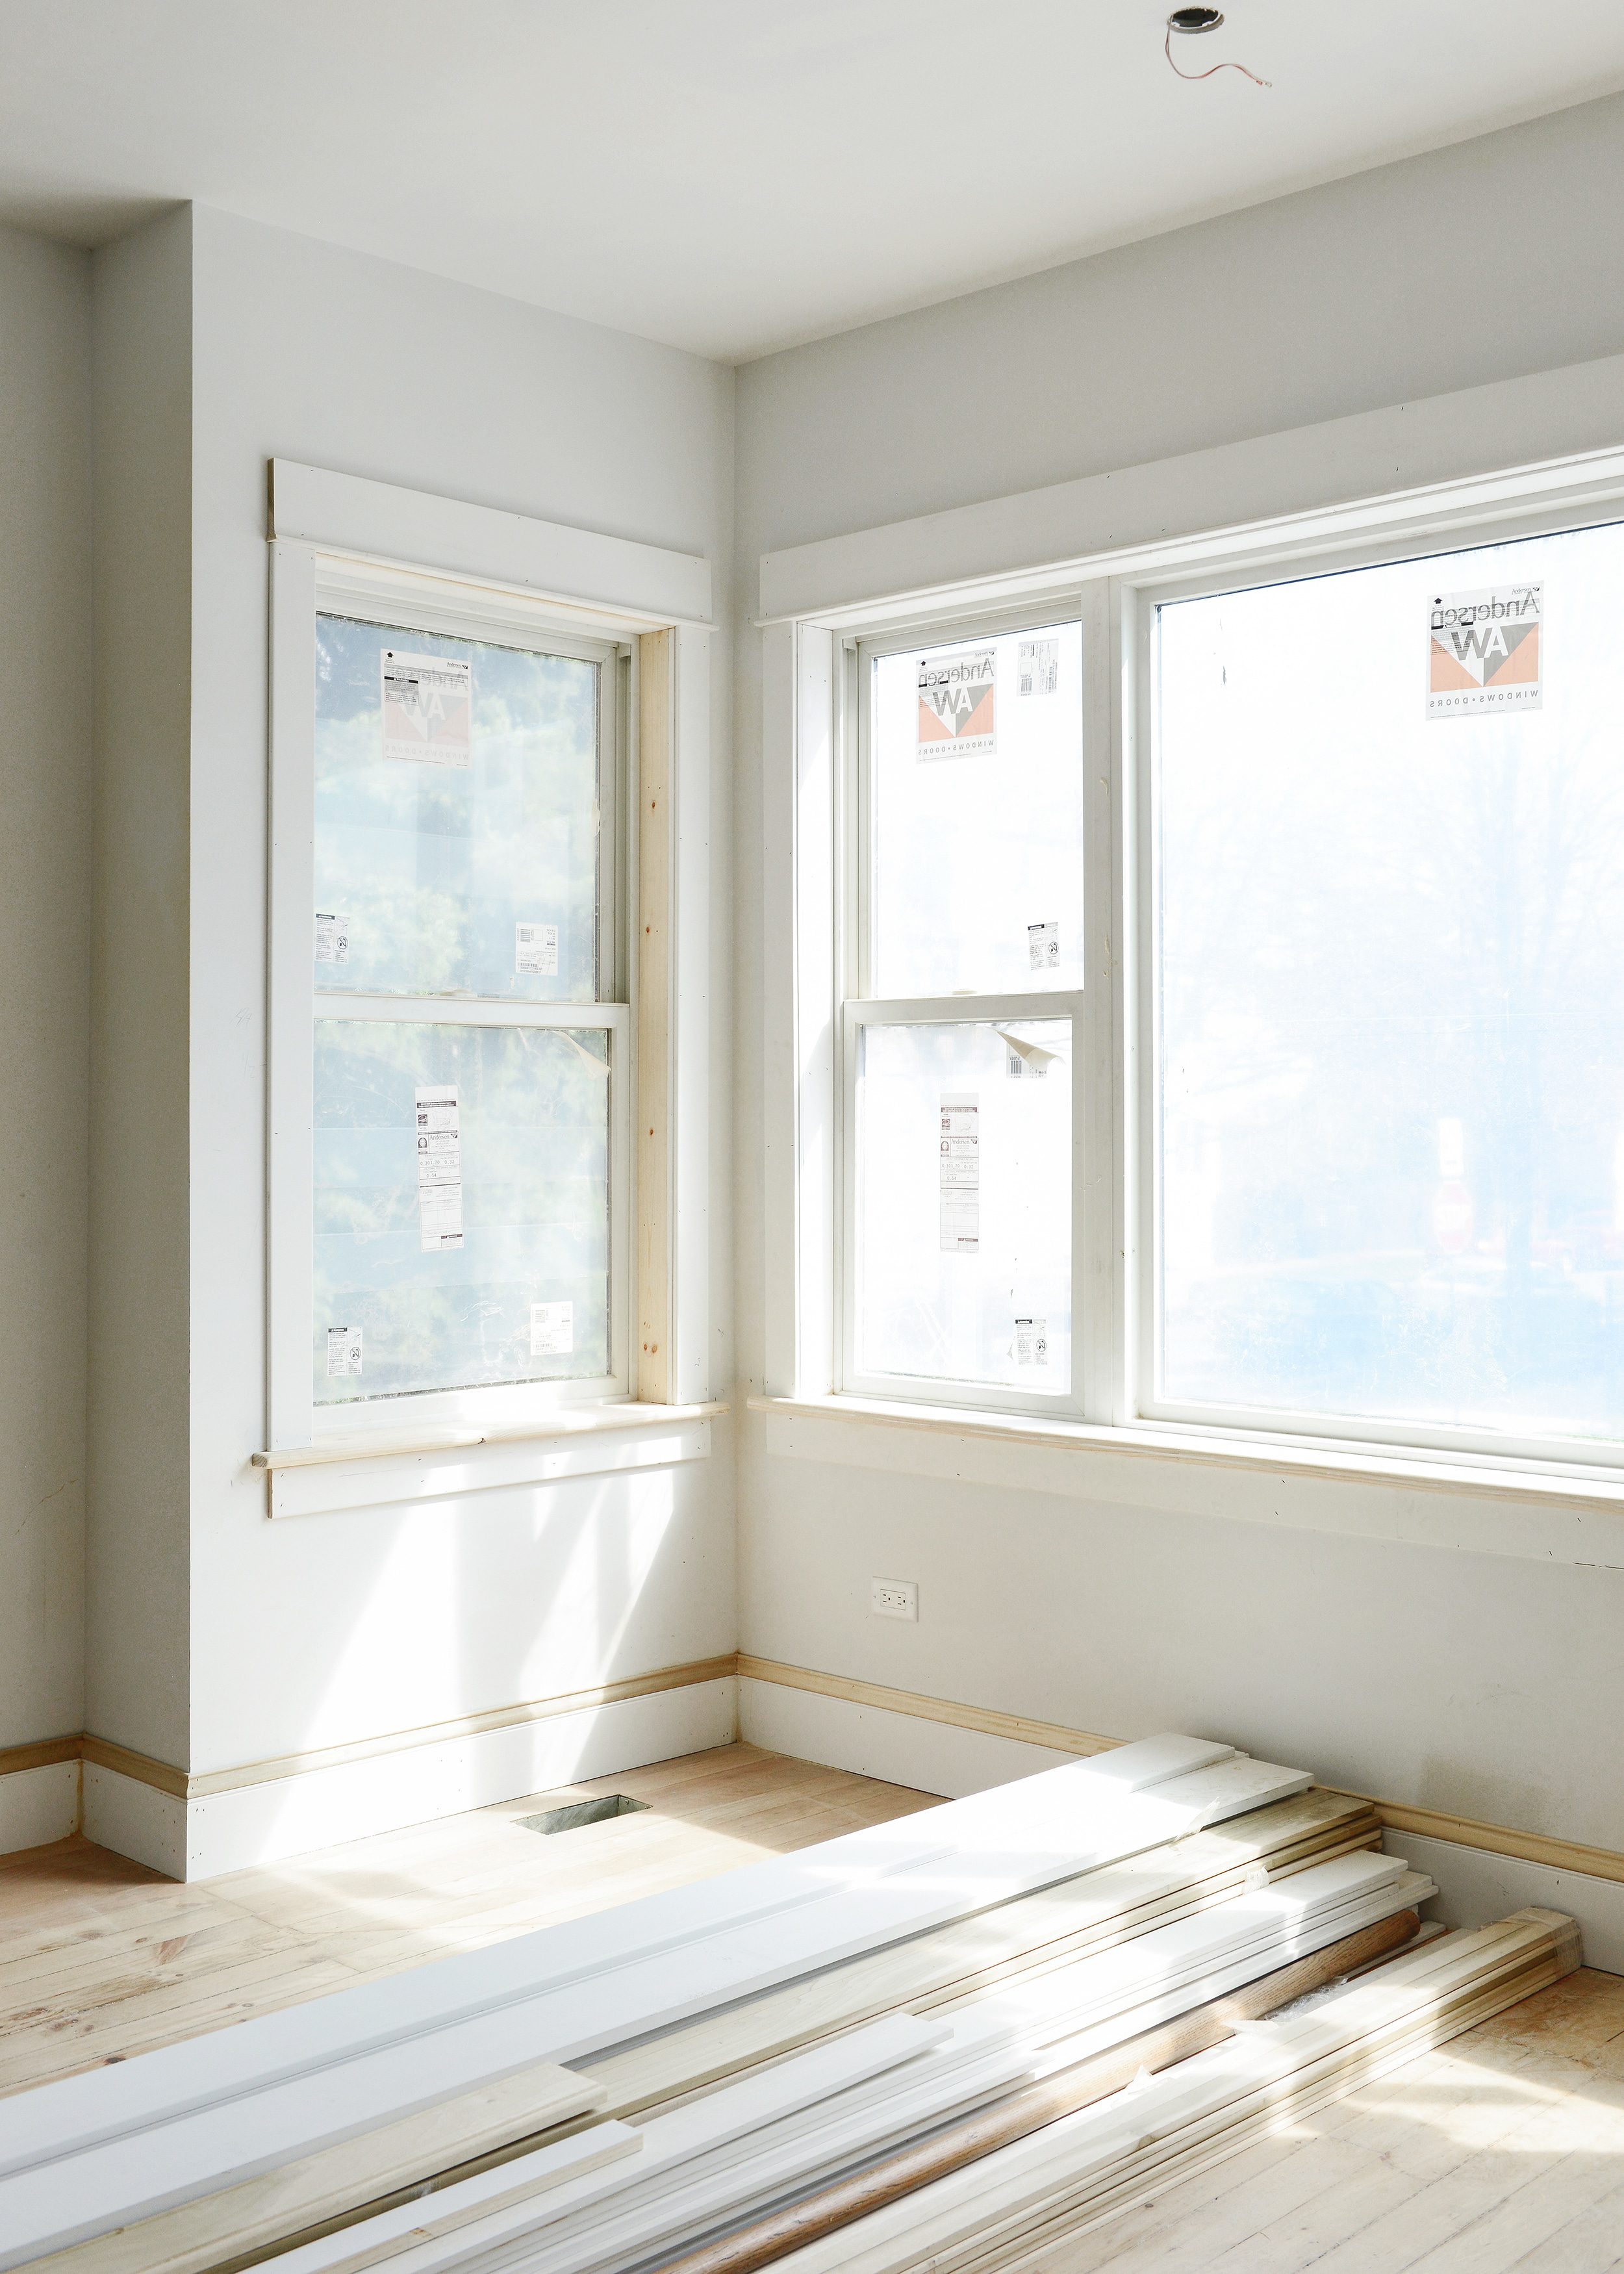
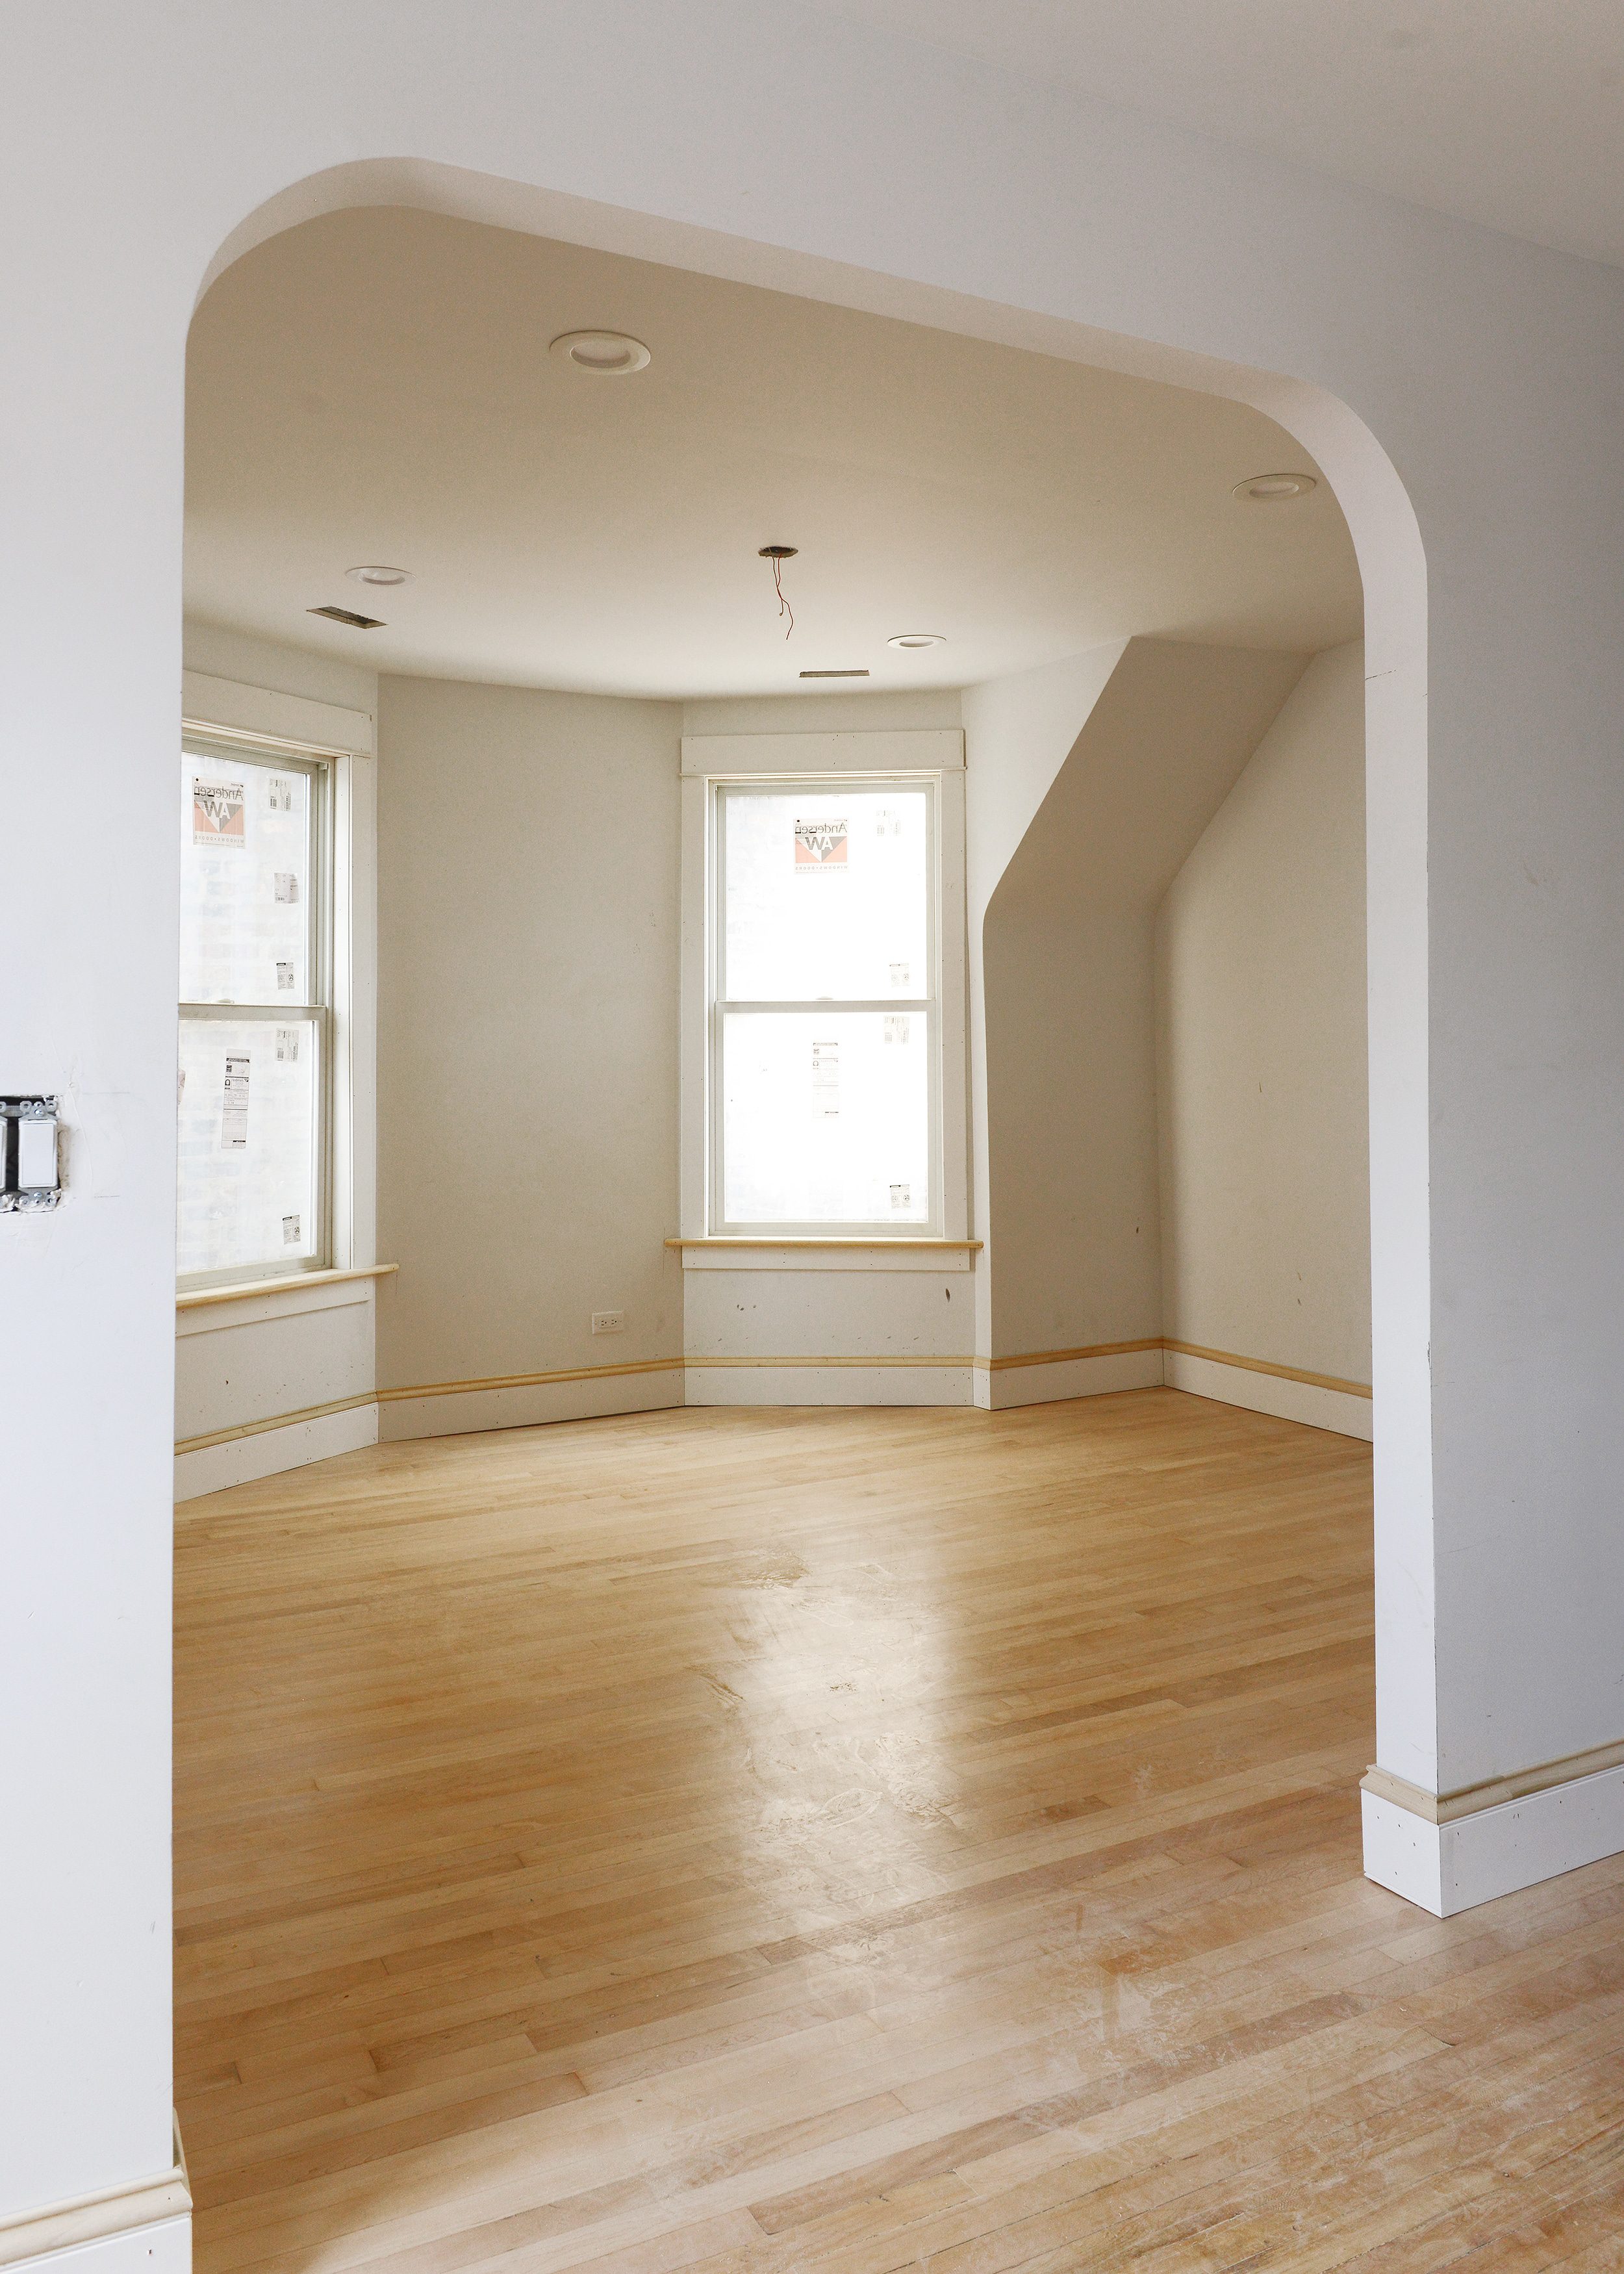
The bay window, or coffin bay as we’ve heard it called, is one of the best features of this unit! We envision a big statement light fixture hanging from the now bare junction box, with a pair of big, cozy chairs angled toward each other. Oh, and plants. Lots and lots of plants! If there’s a better spot to enjoy morning coffee or an evening cocktail, we’d be hard pressed to find it.
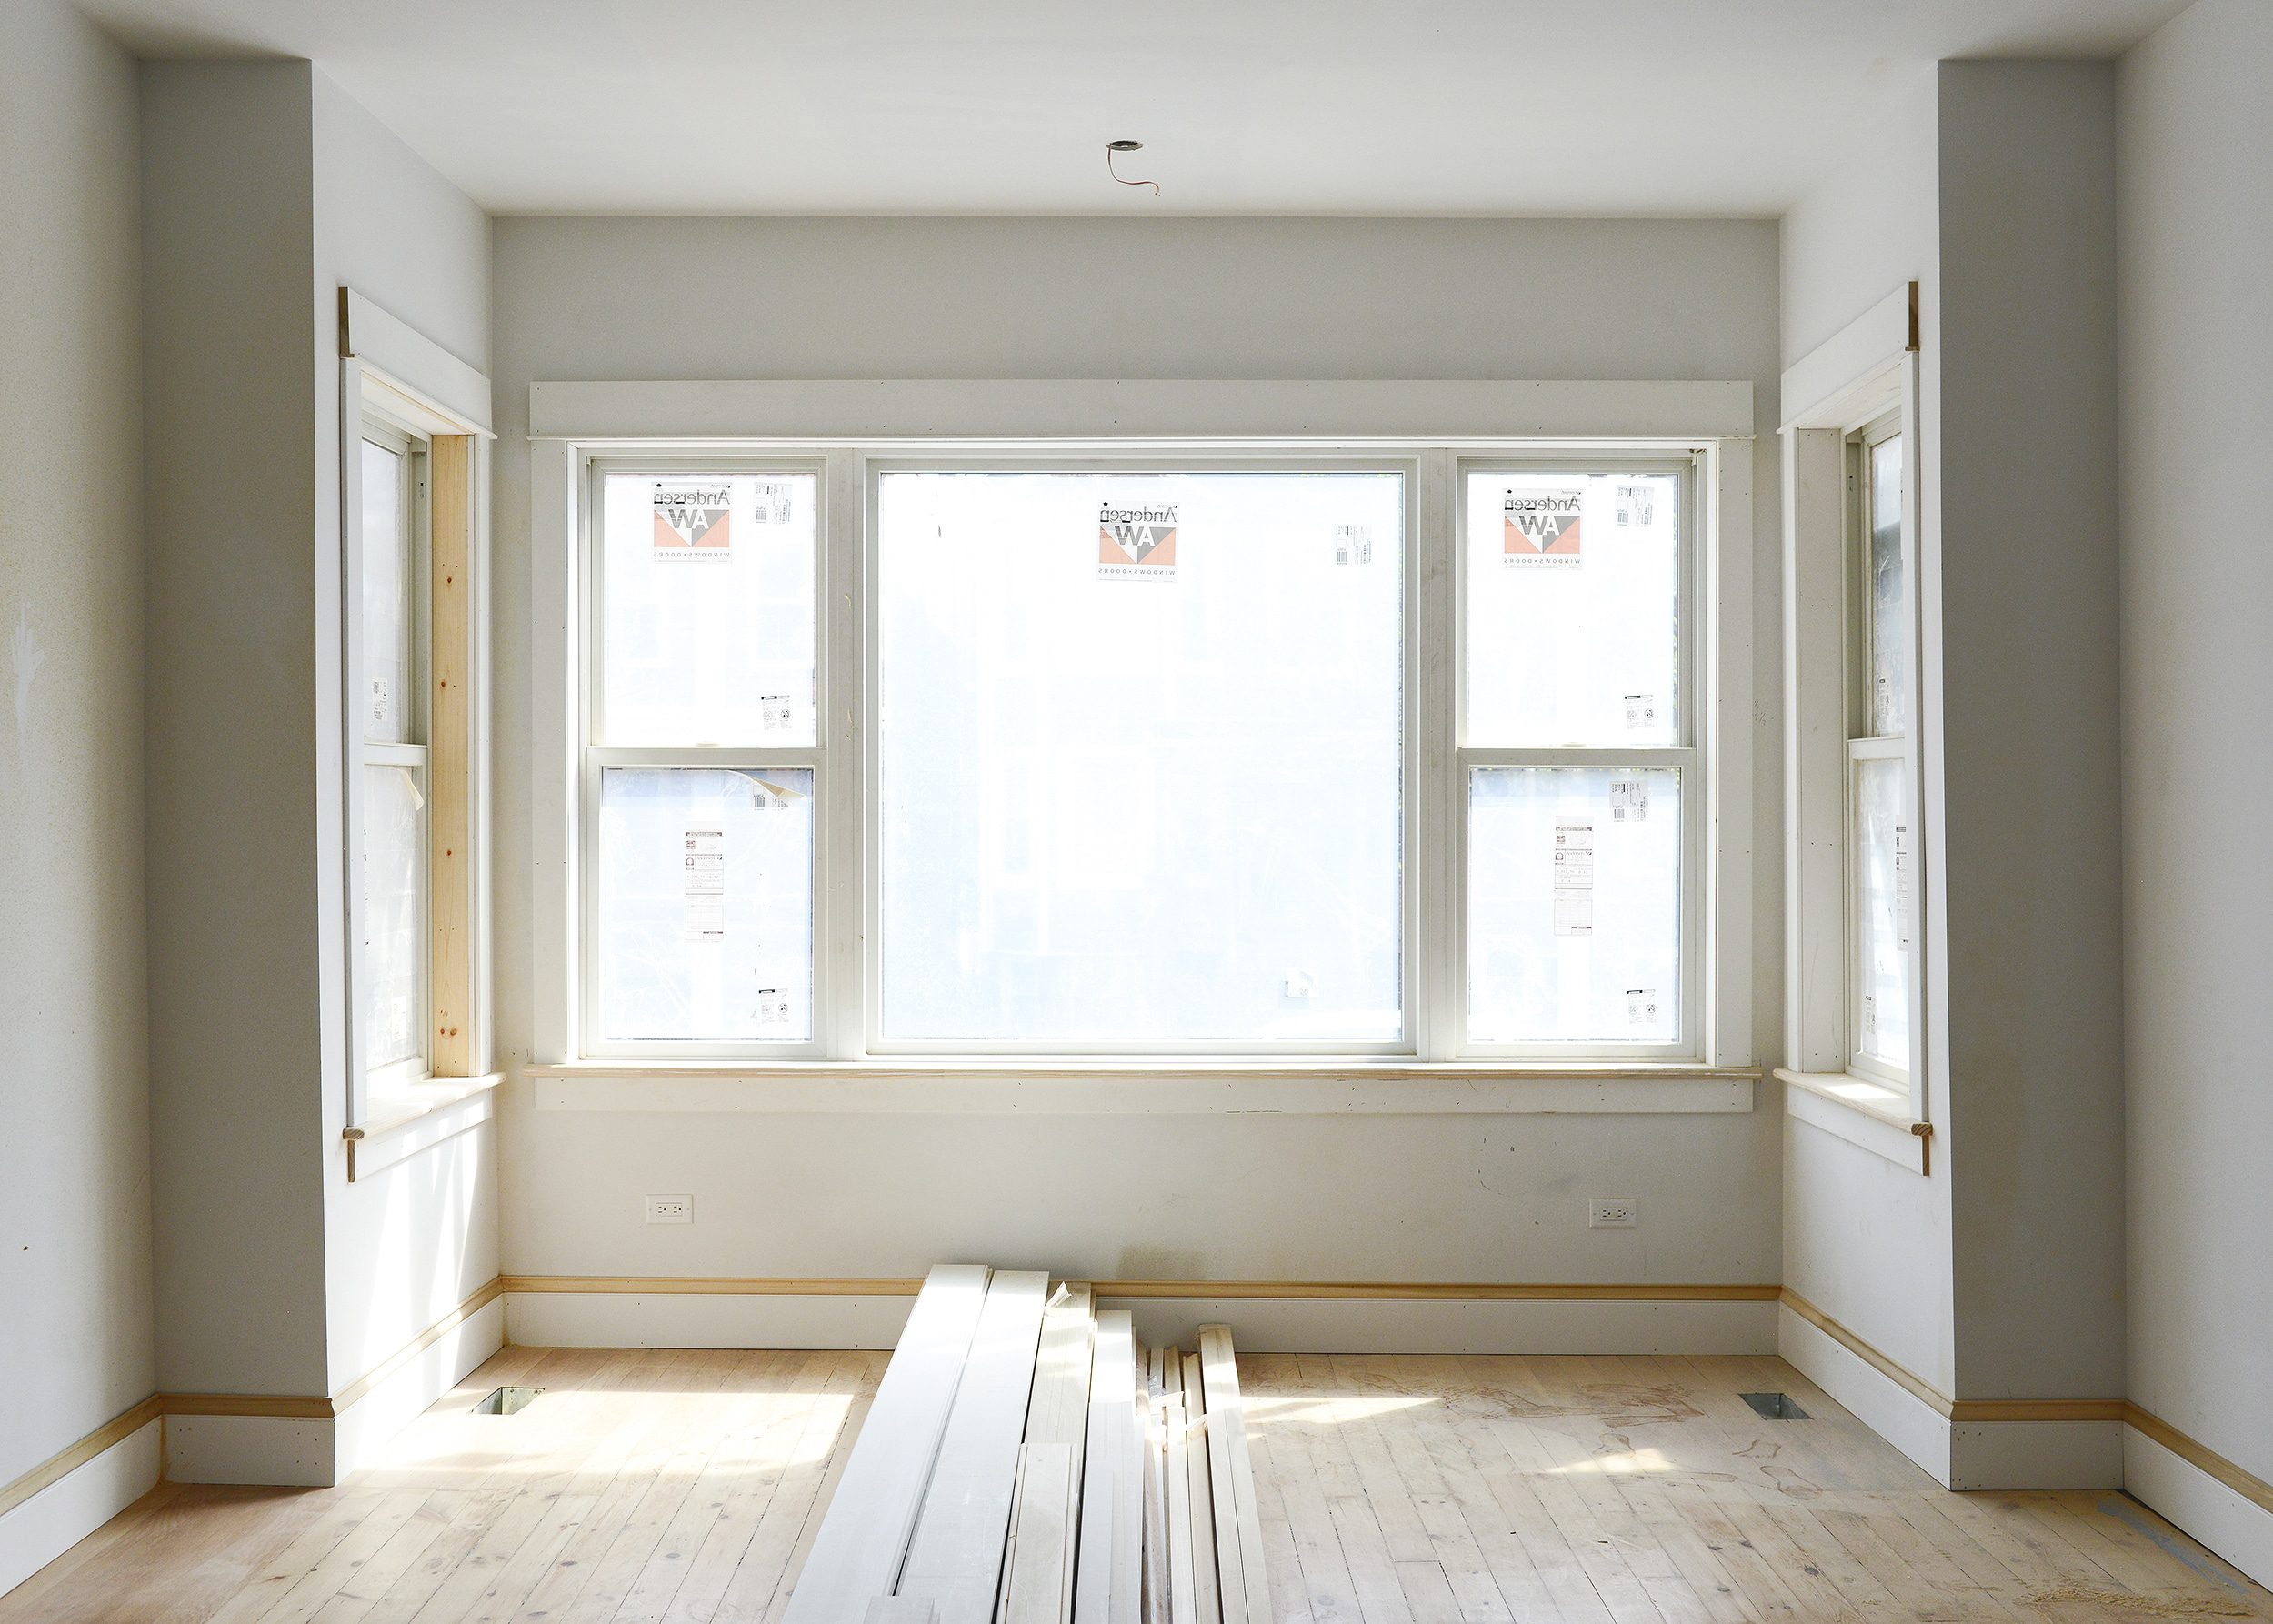
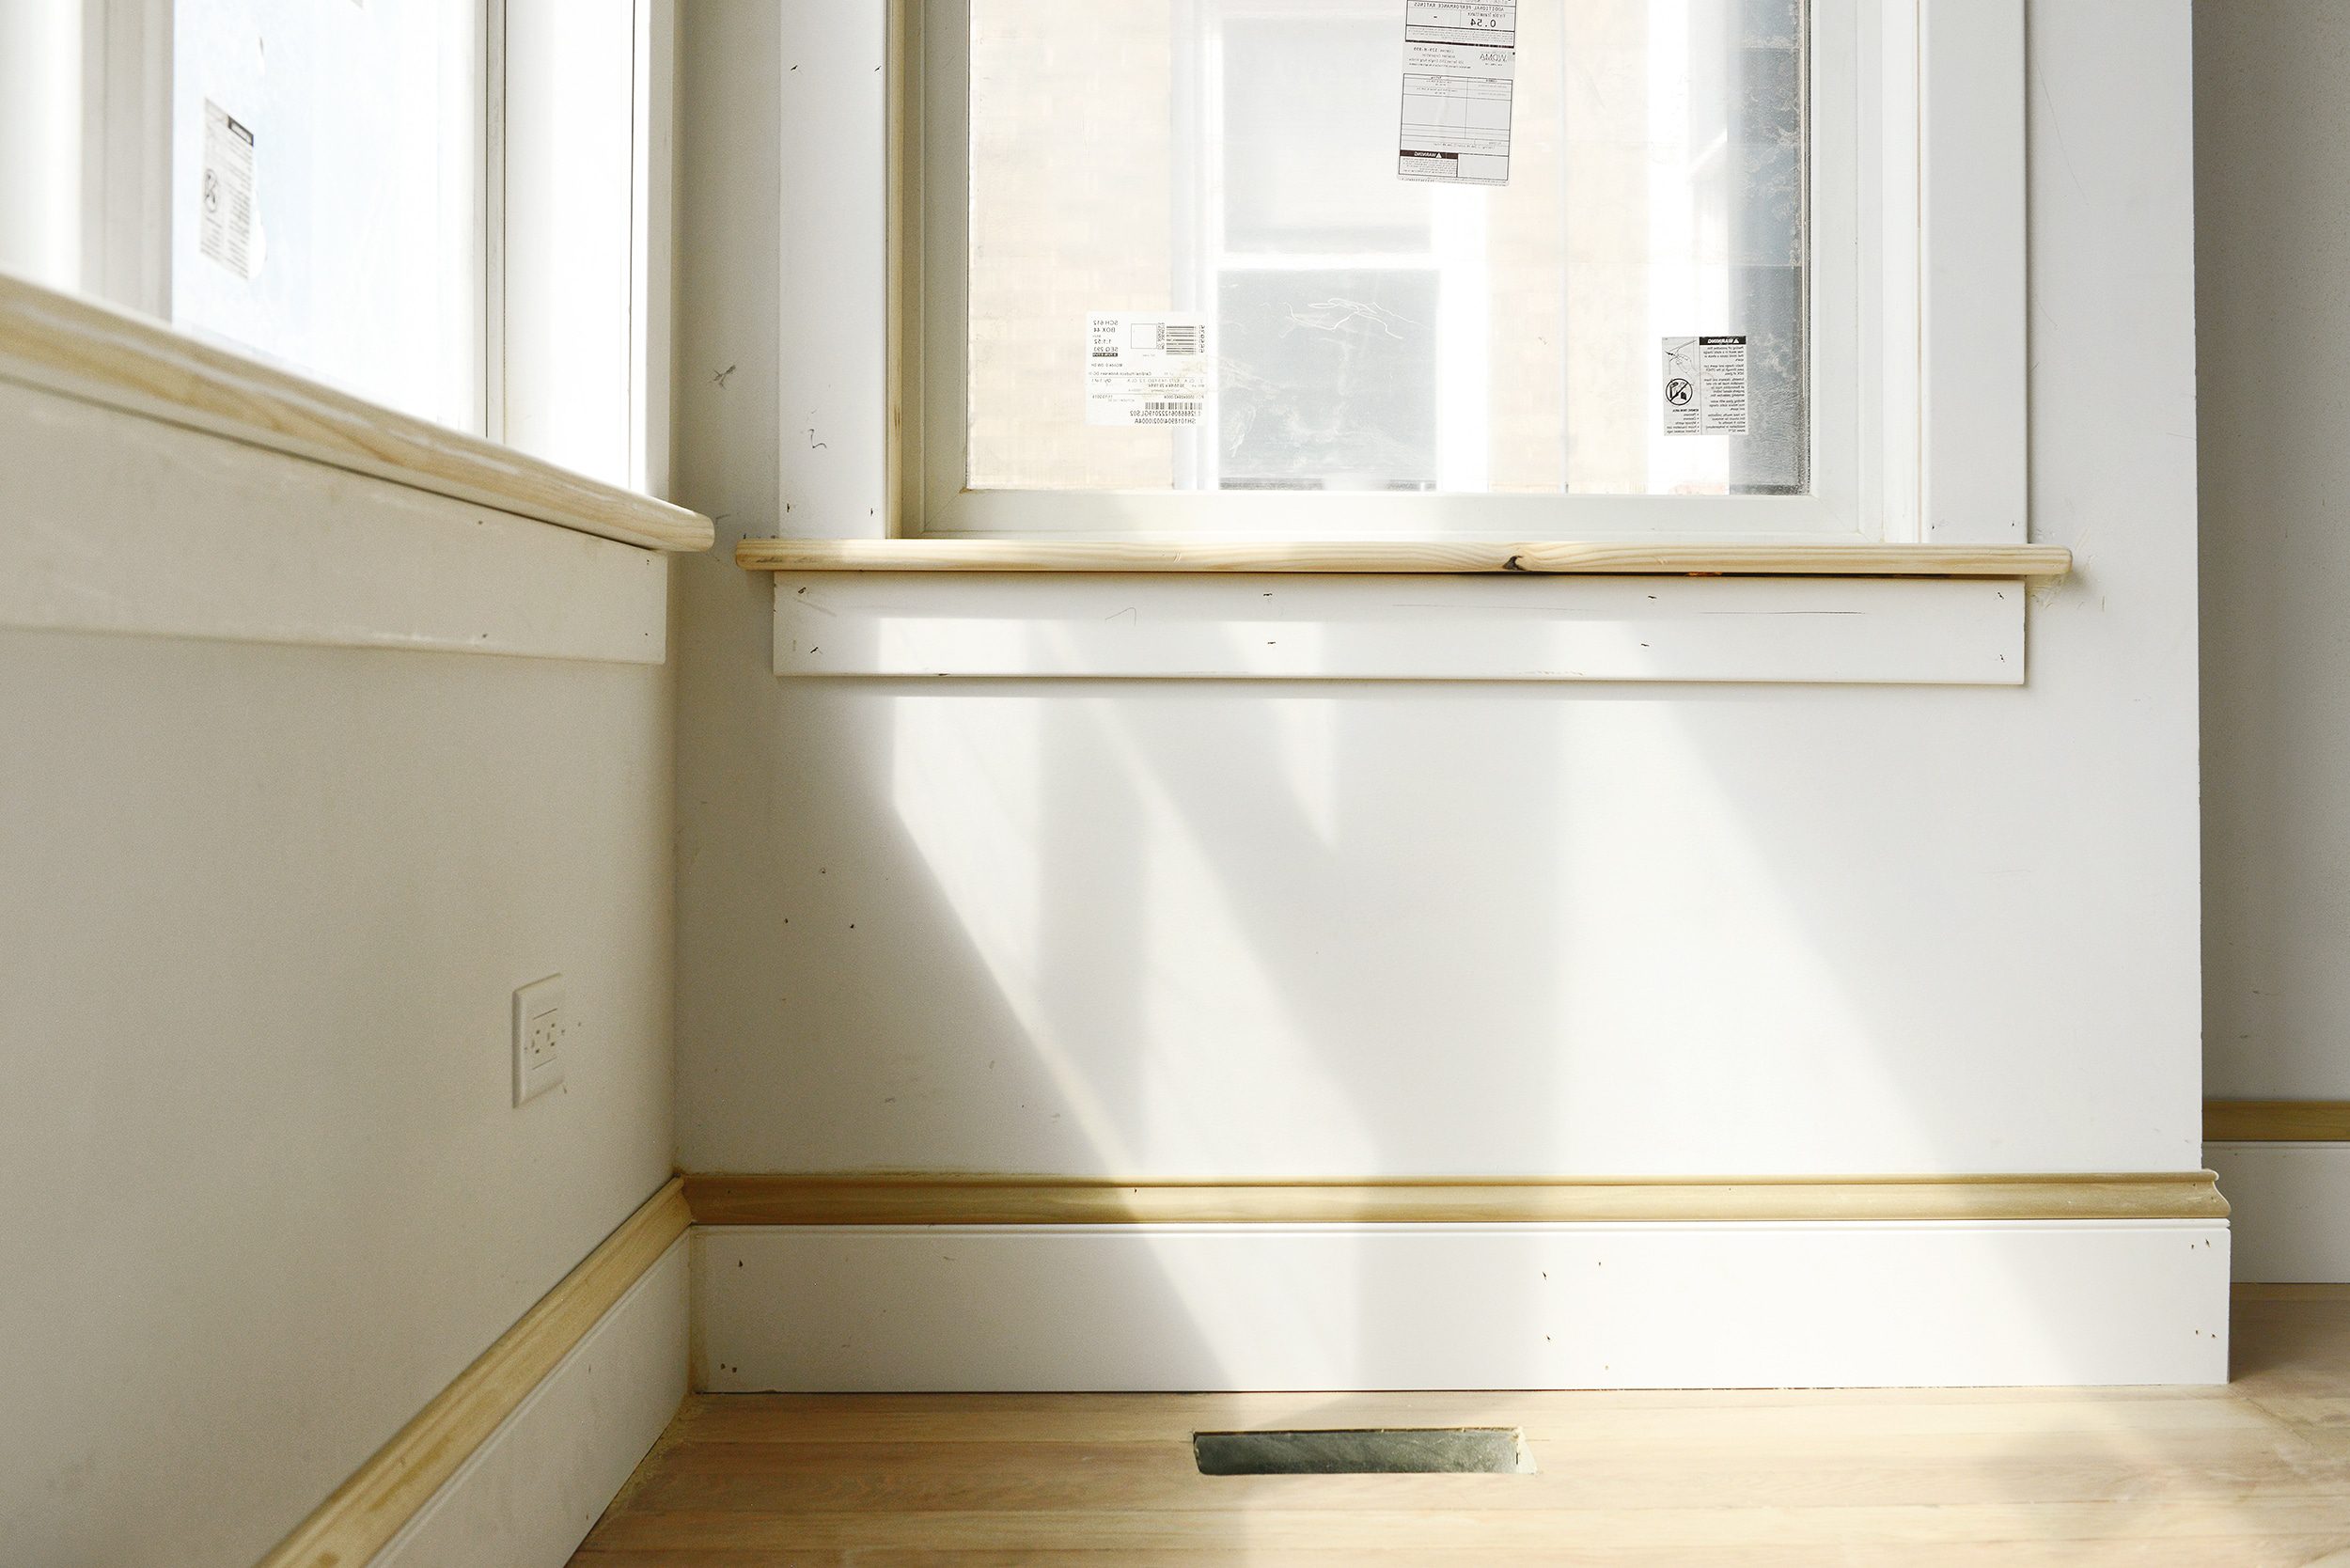
The baseboards have a small beaded detail, but when topped with a baseboard cap, they feel more substantial. Our original baseboards were 8″ high, and these are 7″ when paired together.
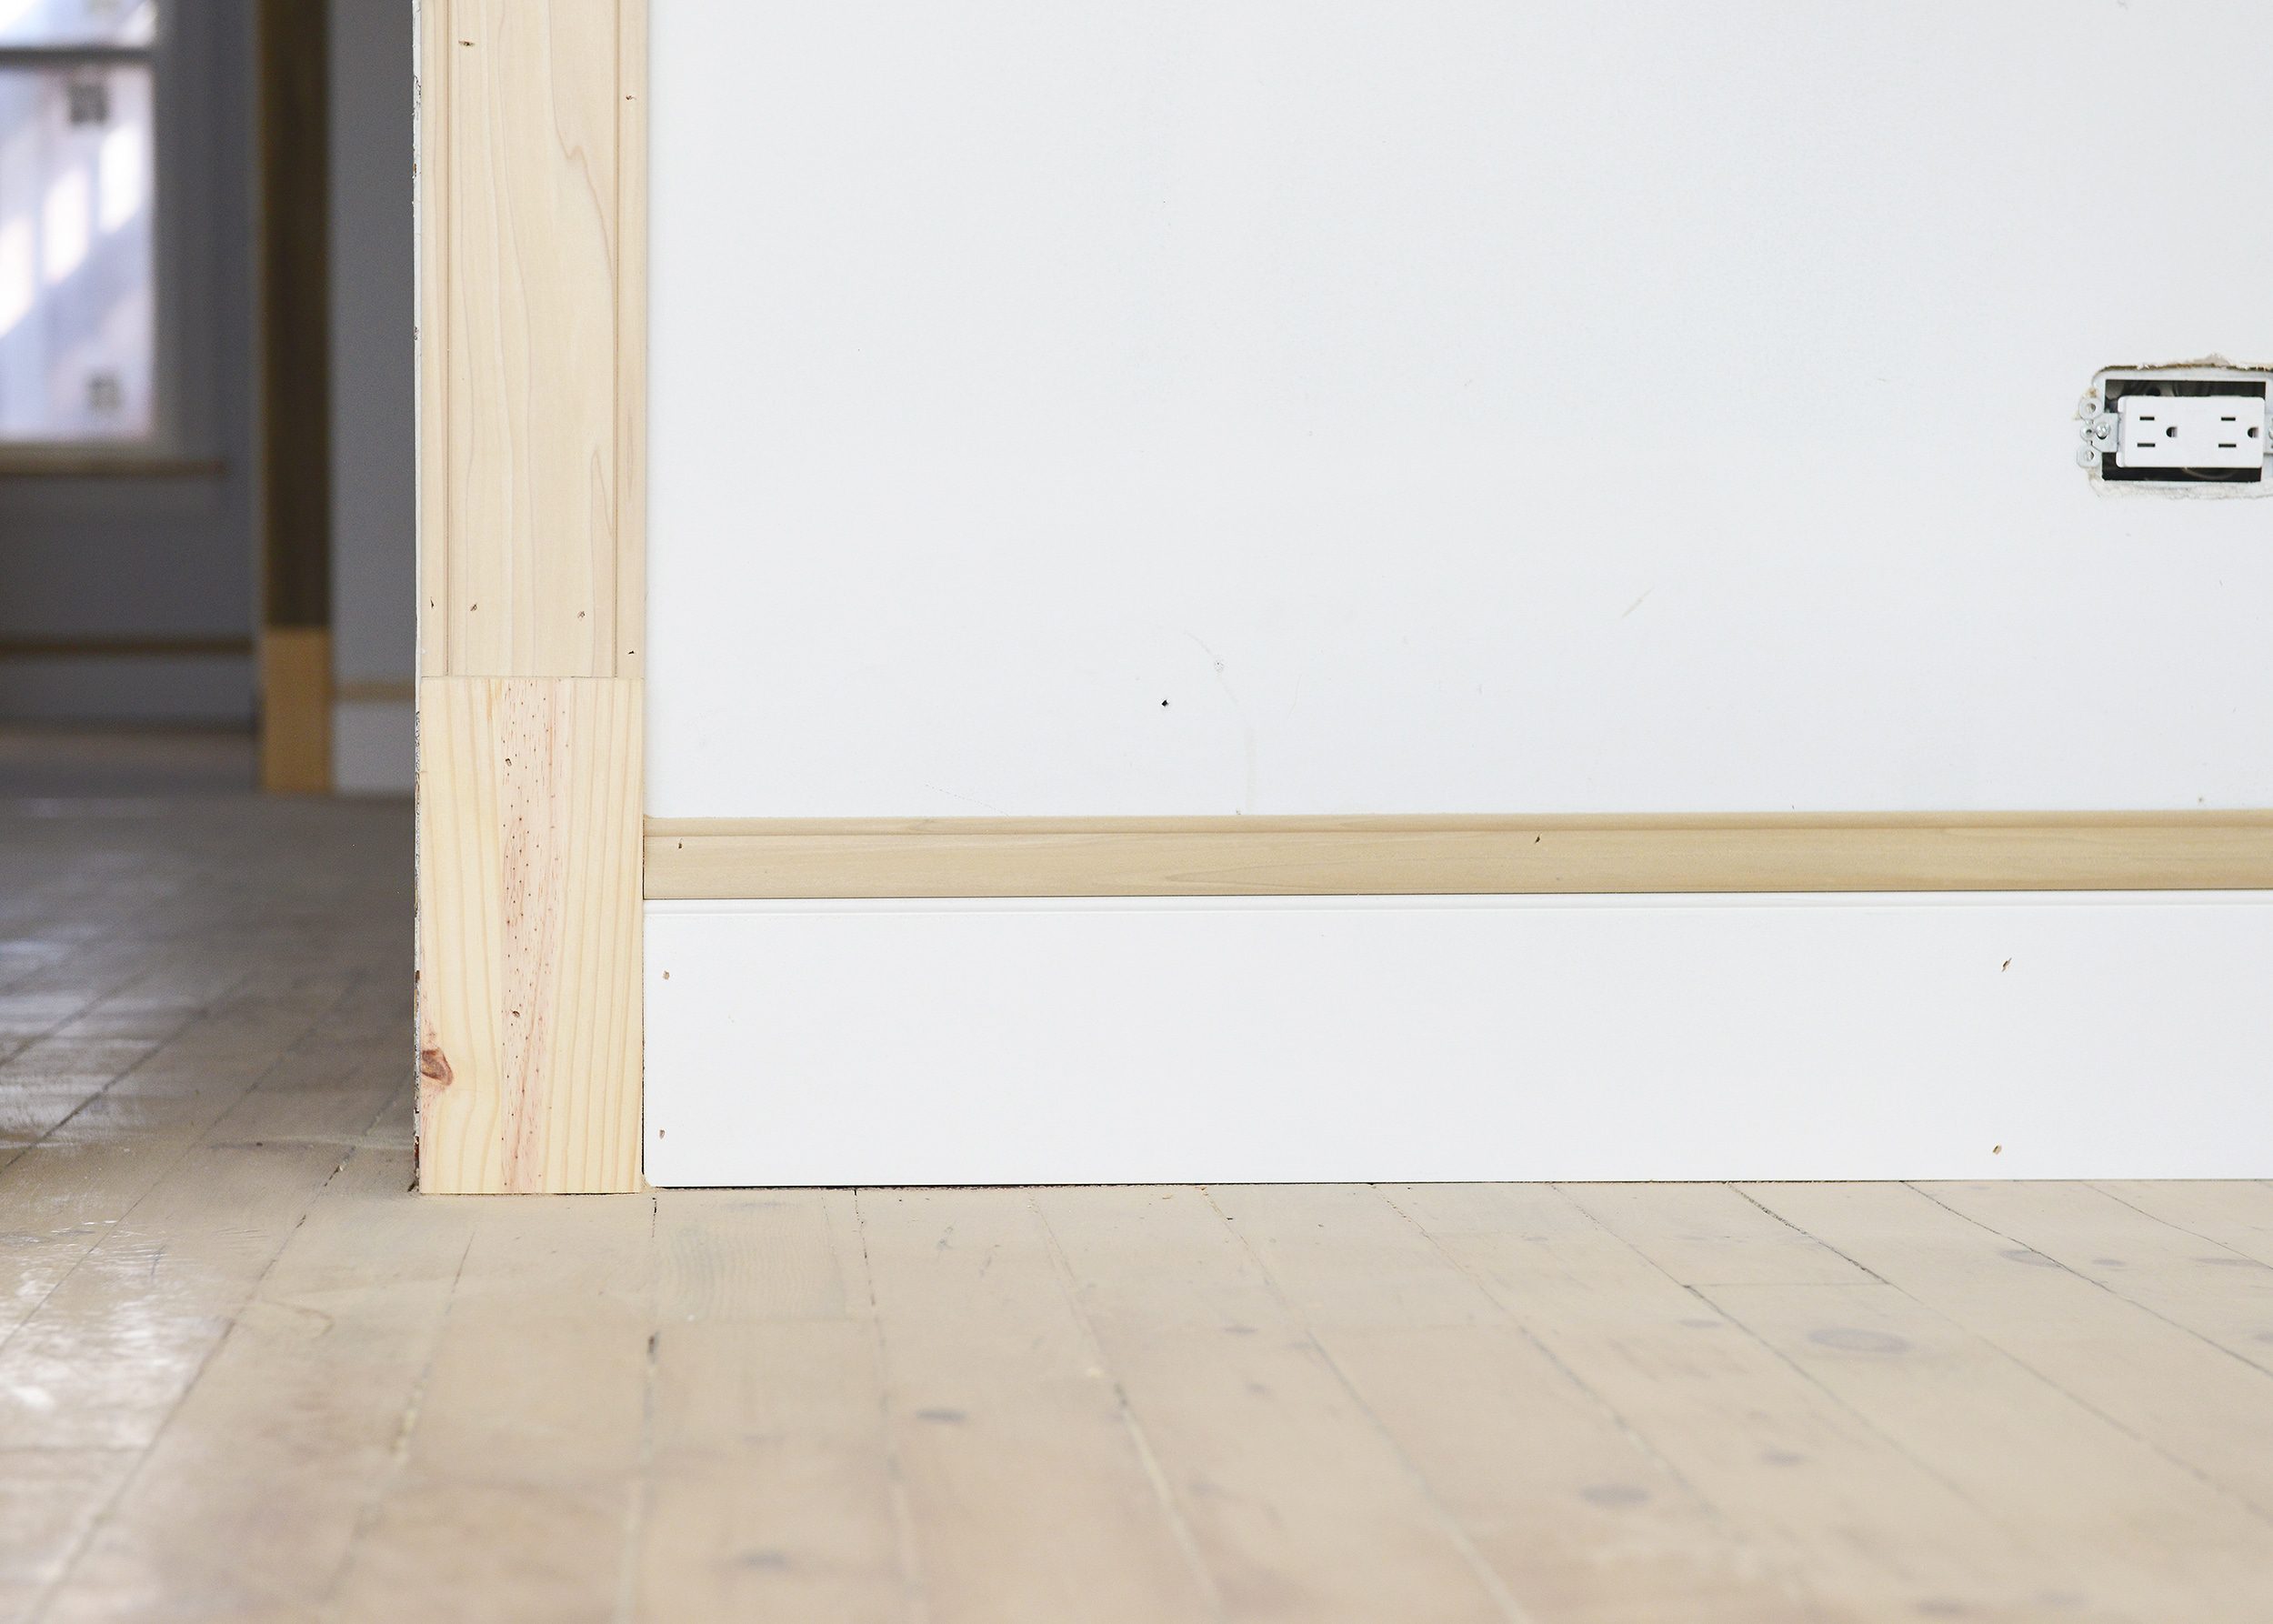
Here’s a closer look at how the baseboard/baseboard cap combo came together. One of the things we love about trim and moulding is that there is no ‘right’ answer! Trim can to be stacked and combined to create a finished product that is unique and perfect for any space, regardless of style. We can’t wait to get this caulked and painted to see how it’ll look finished!
In the dining room, we again took considerations to ensure that the new trim worked well with the built-in hutch. Once the broken glass is replaced, the whole hutch is stripped and painted and all of the hardware is replaced, this little beauty is gonna be a showstopper! Oh, and did we mention that we added a junction box inside for a switched downlight? She’ll light up from the inside out when we’re done! We also have plans to add wall paneling to the dining room, so stay tuned for that addition.
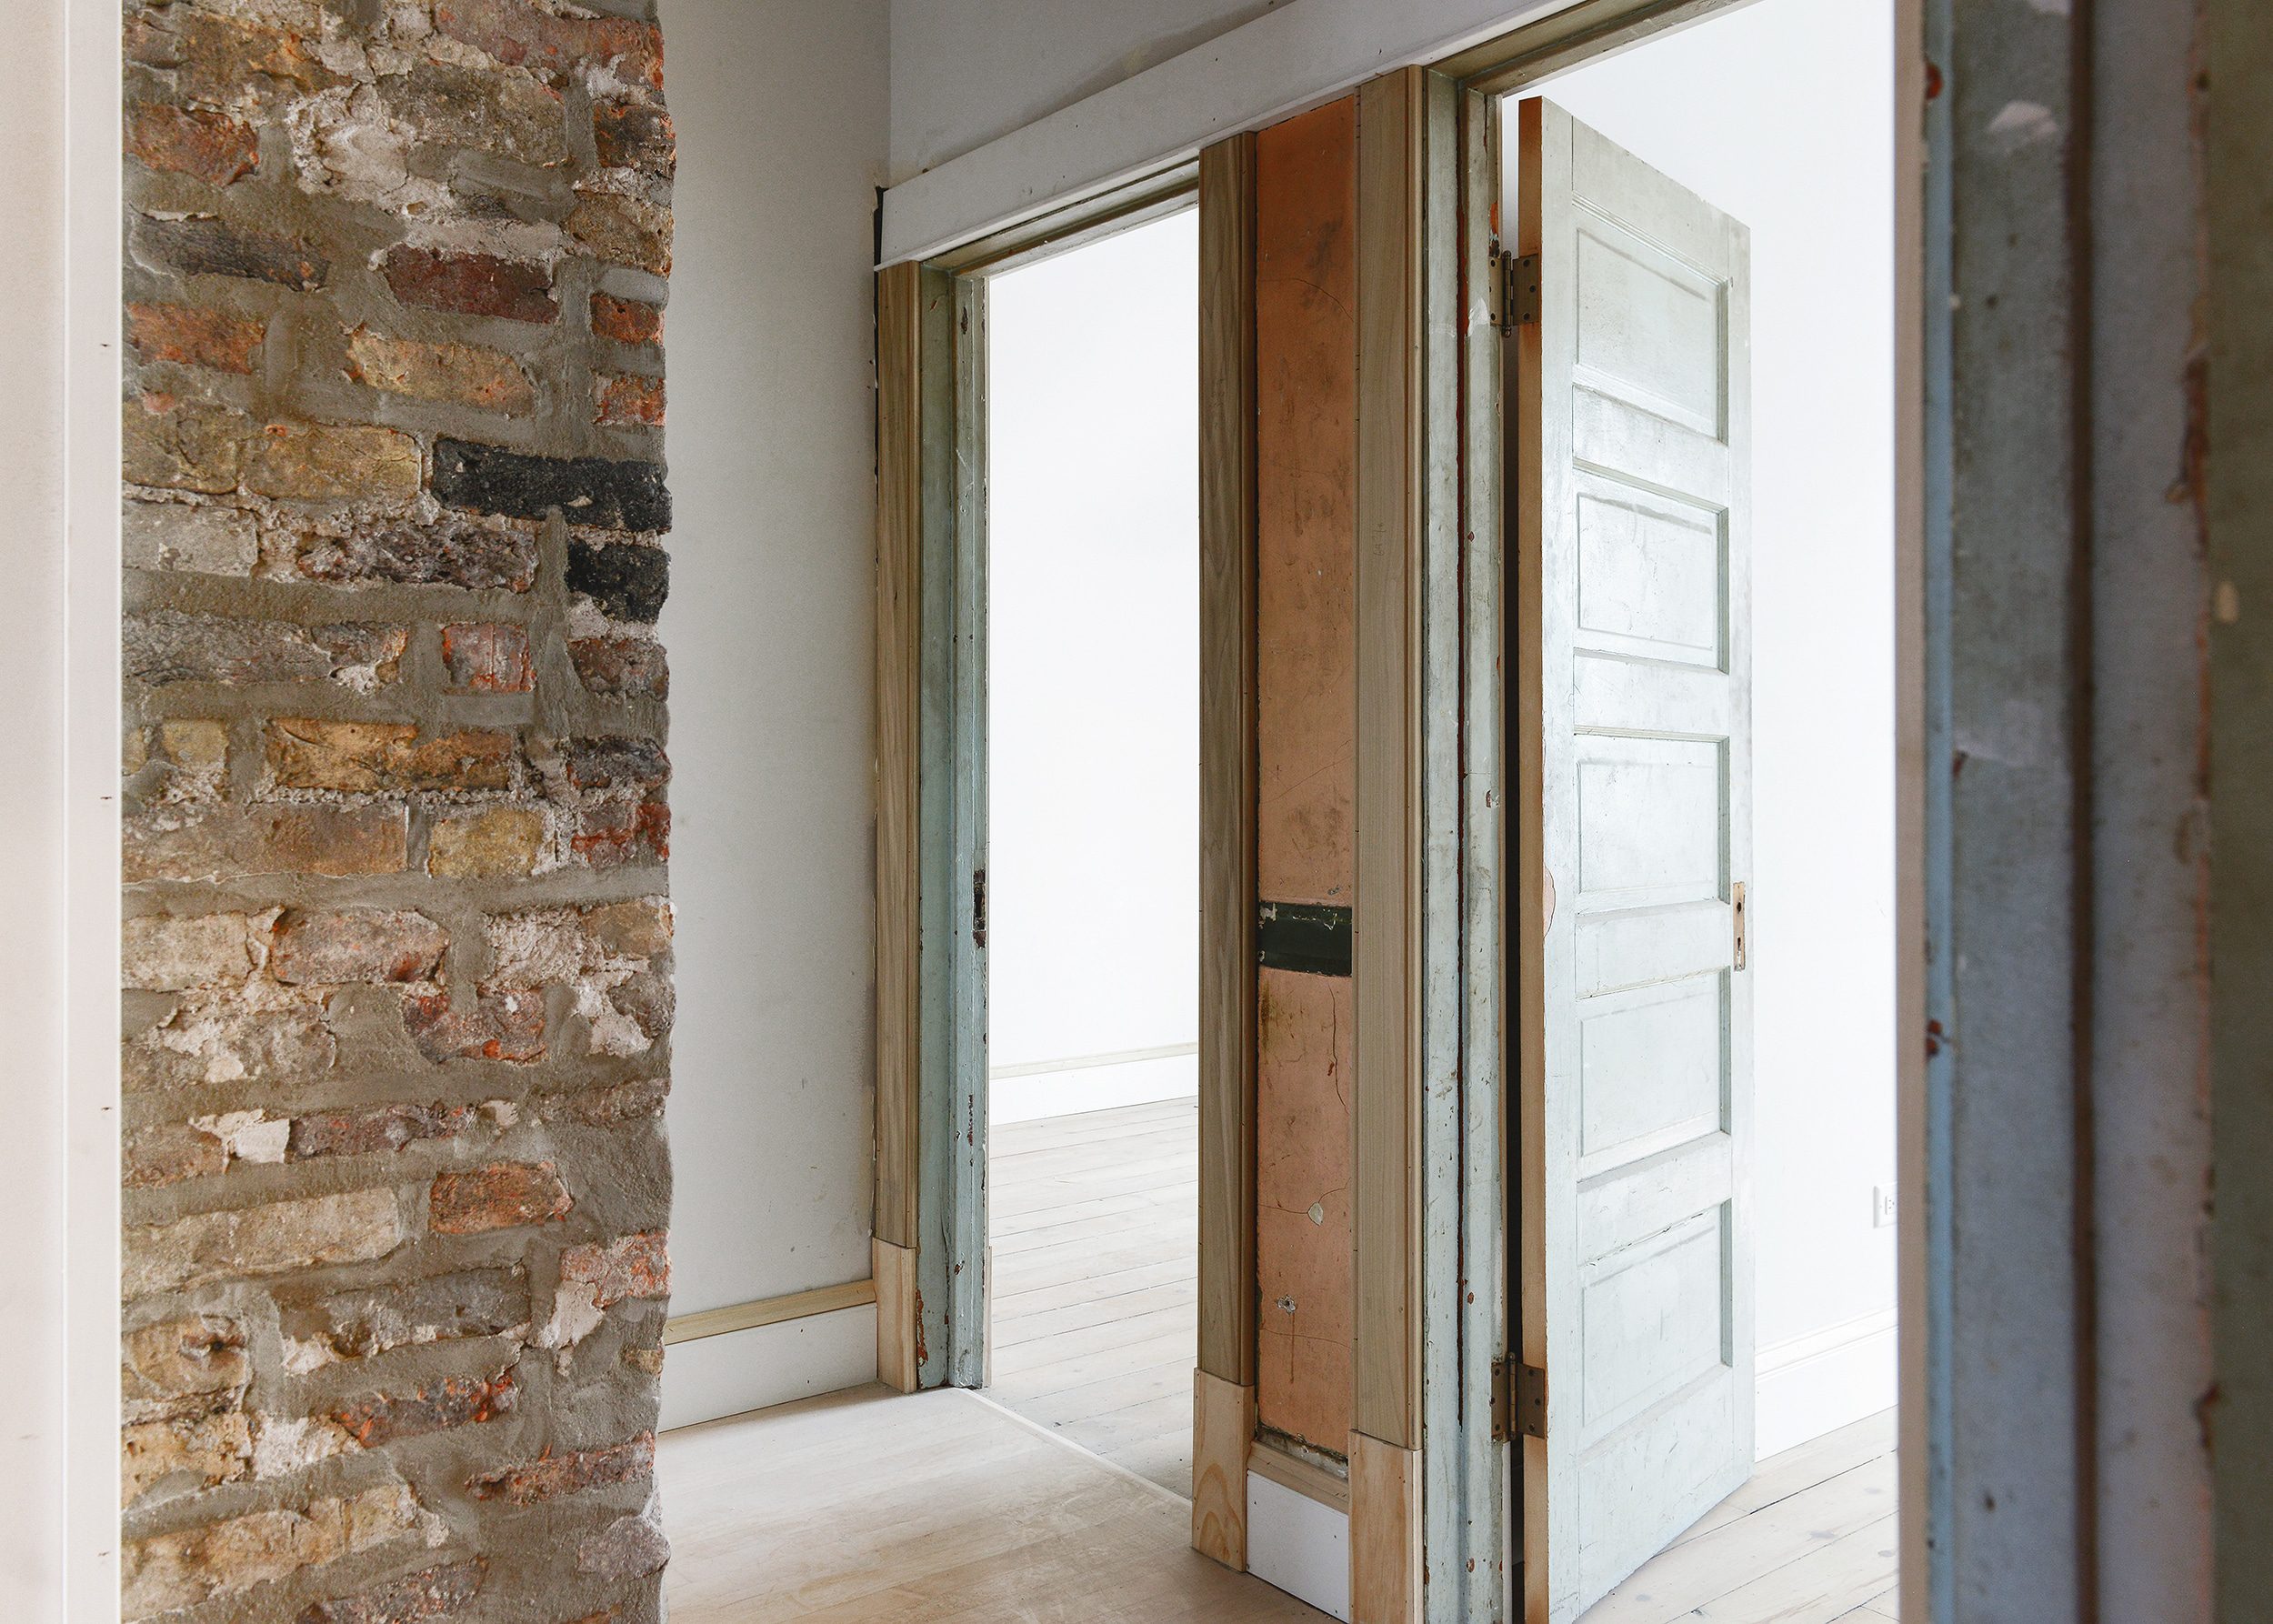
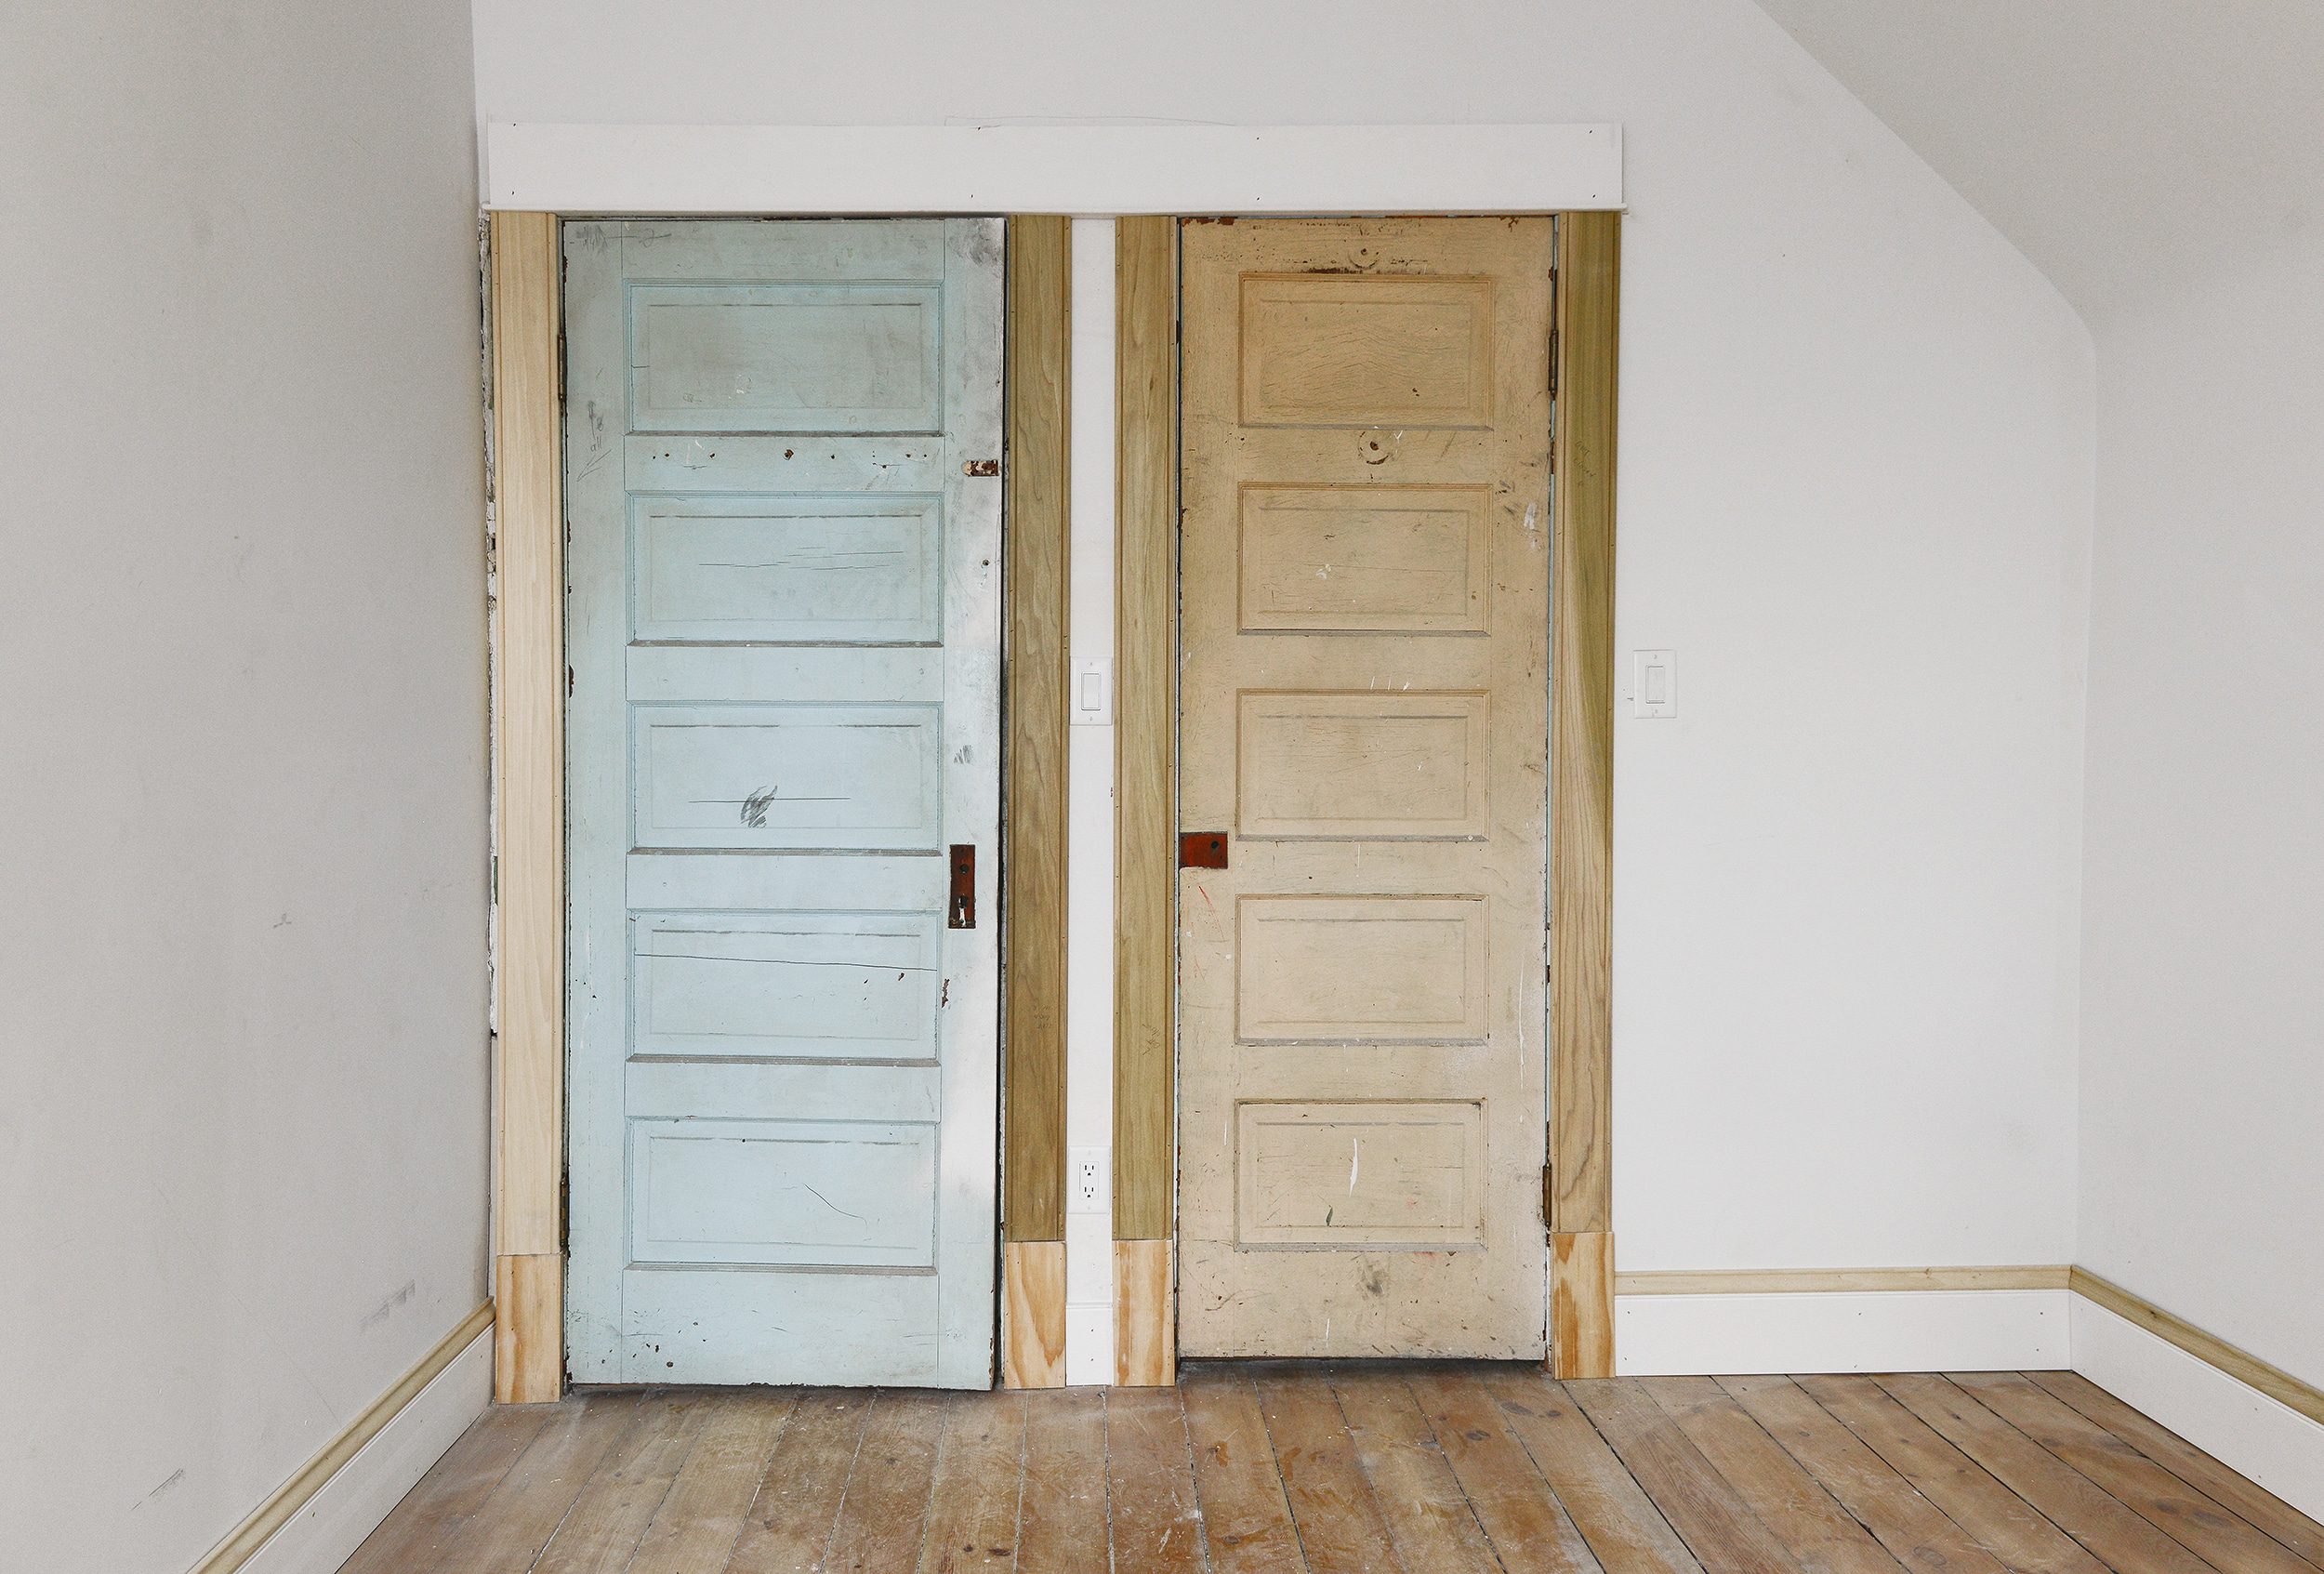
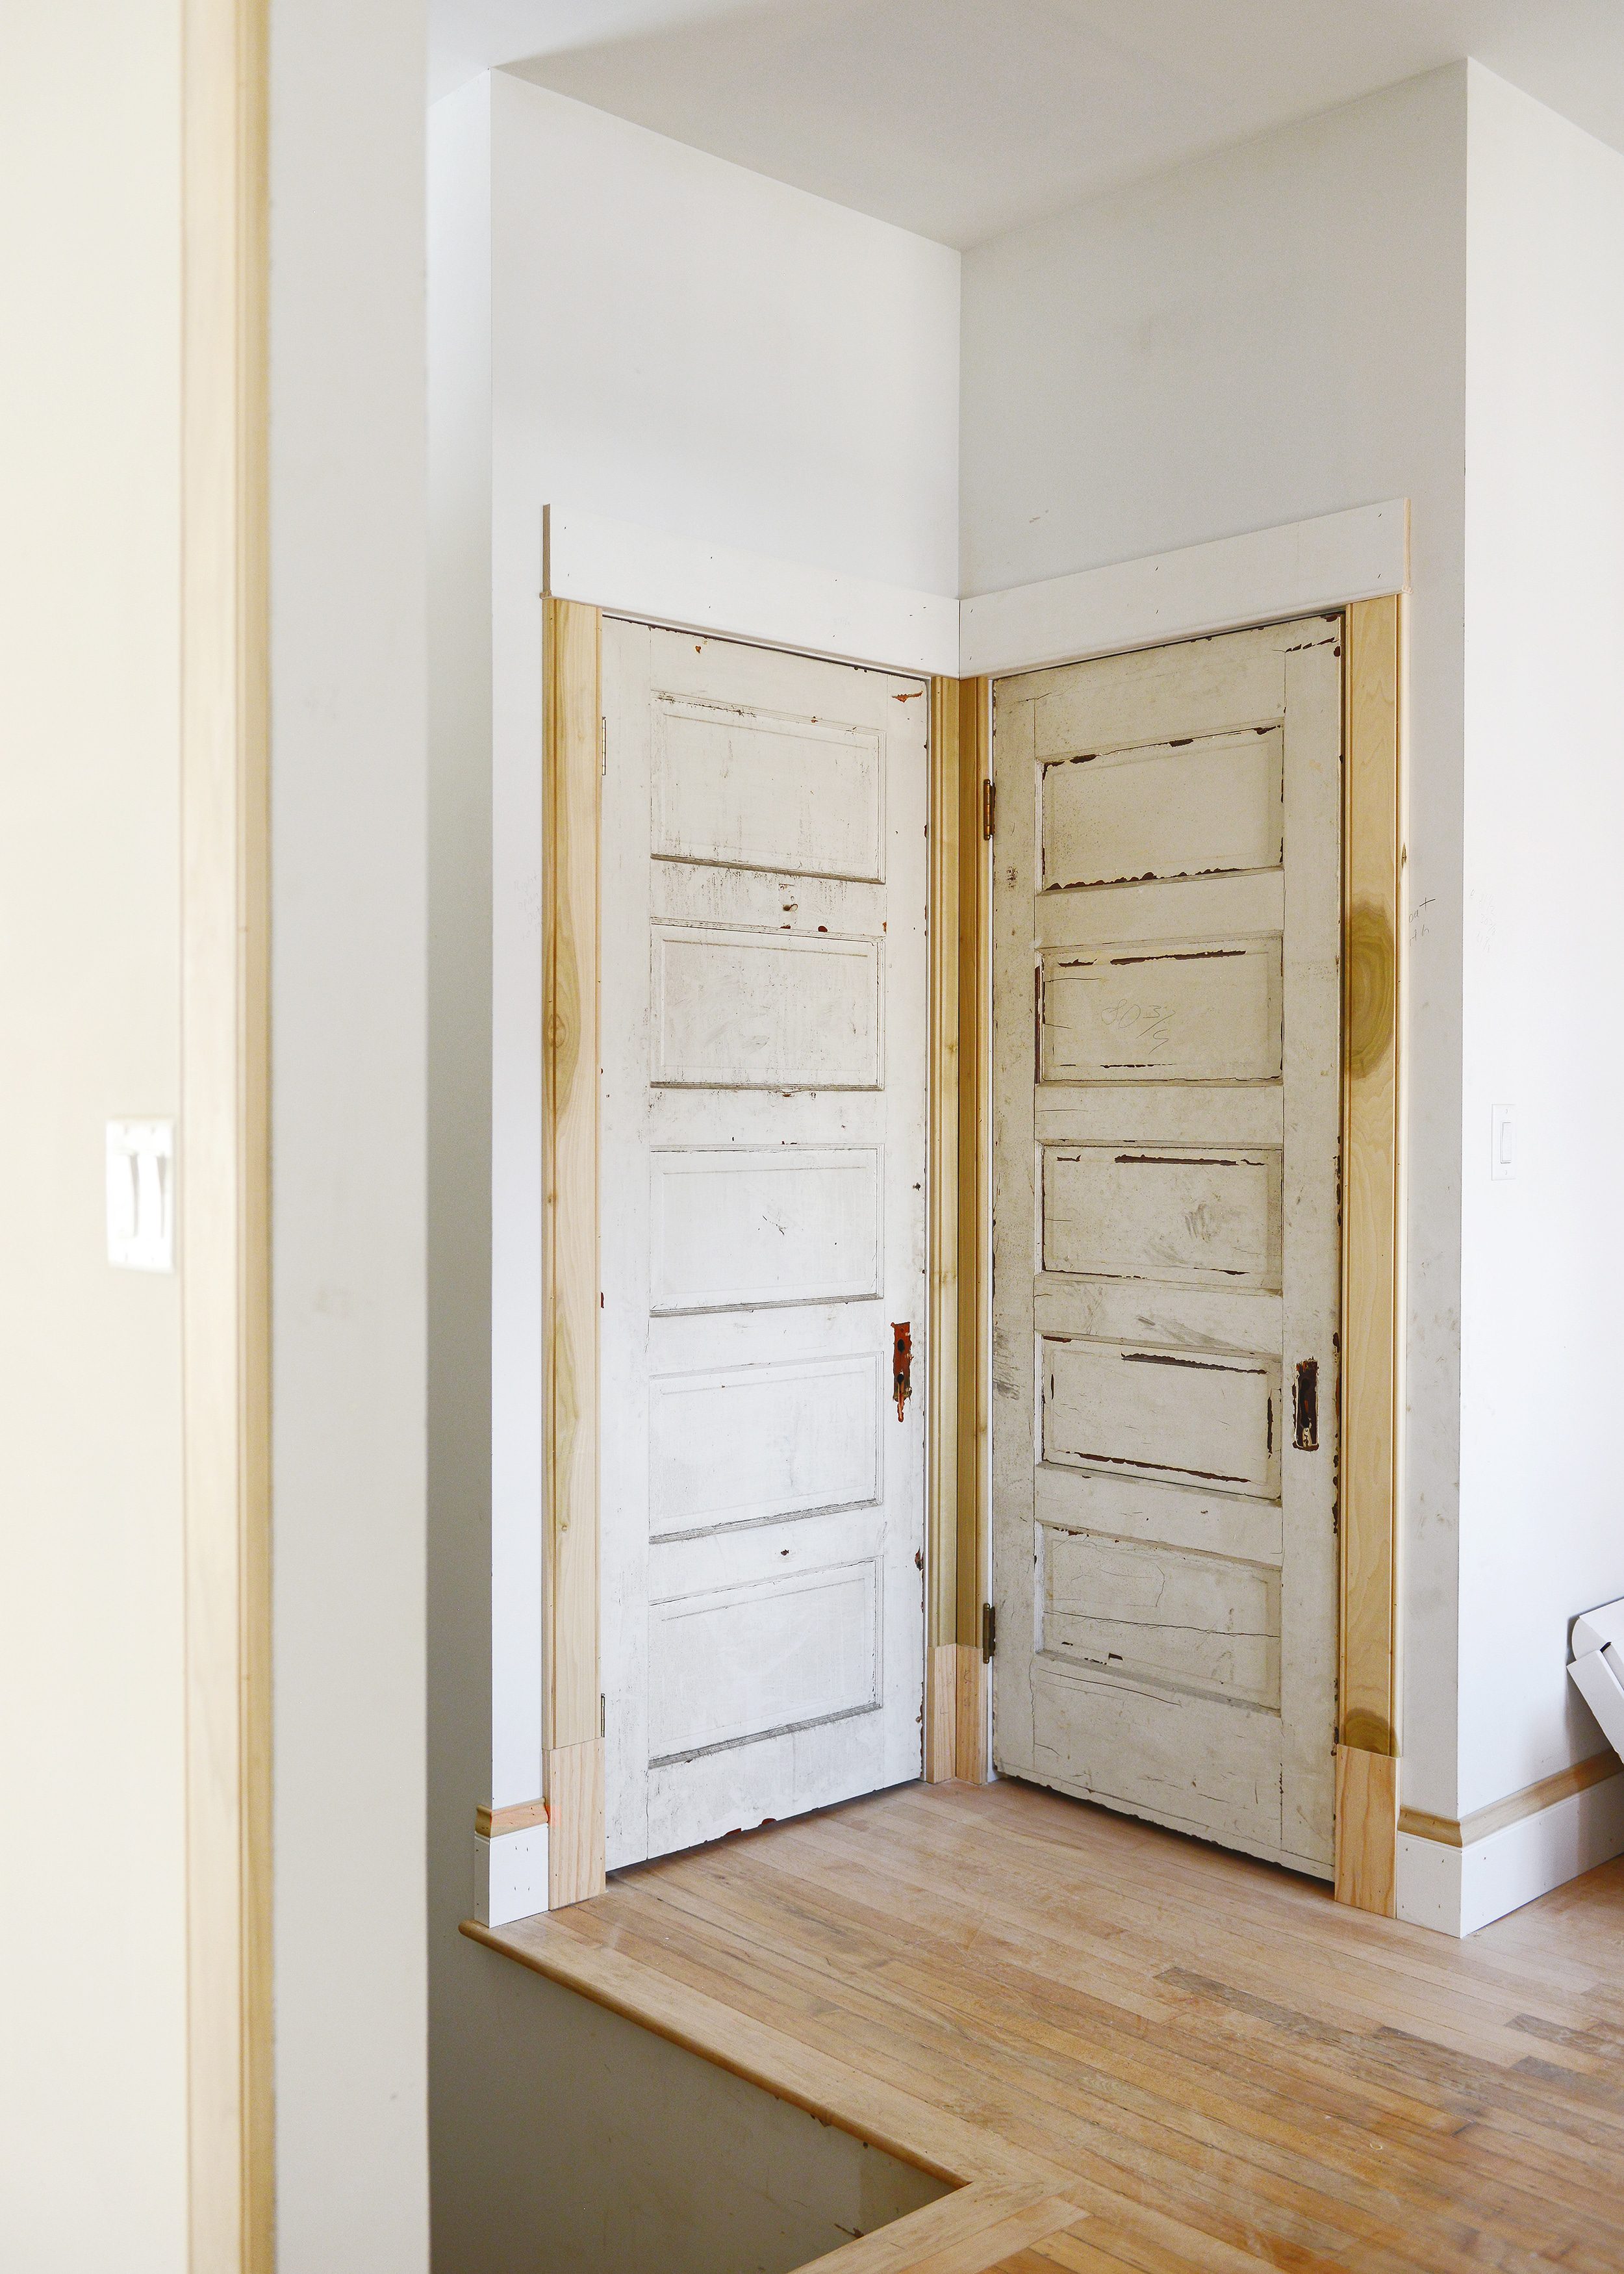
Our installer encountered yet another tricky trim intersection where the bathroom door (left) meets up with the pantry door (right). The guys ripped a piece of door casing down the middle and placed them at a right angle. That’s some quality problem solving right there. We can’t wait to see this exact angle once everything is painted and the stair railing is installed!
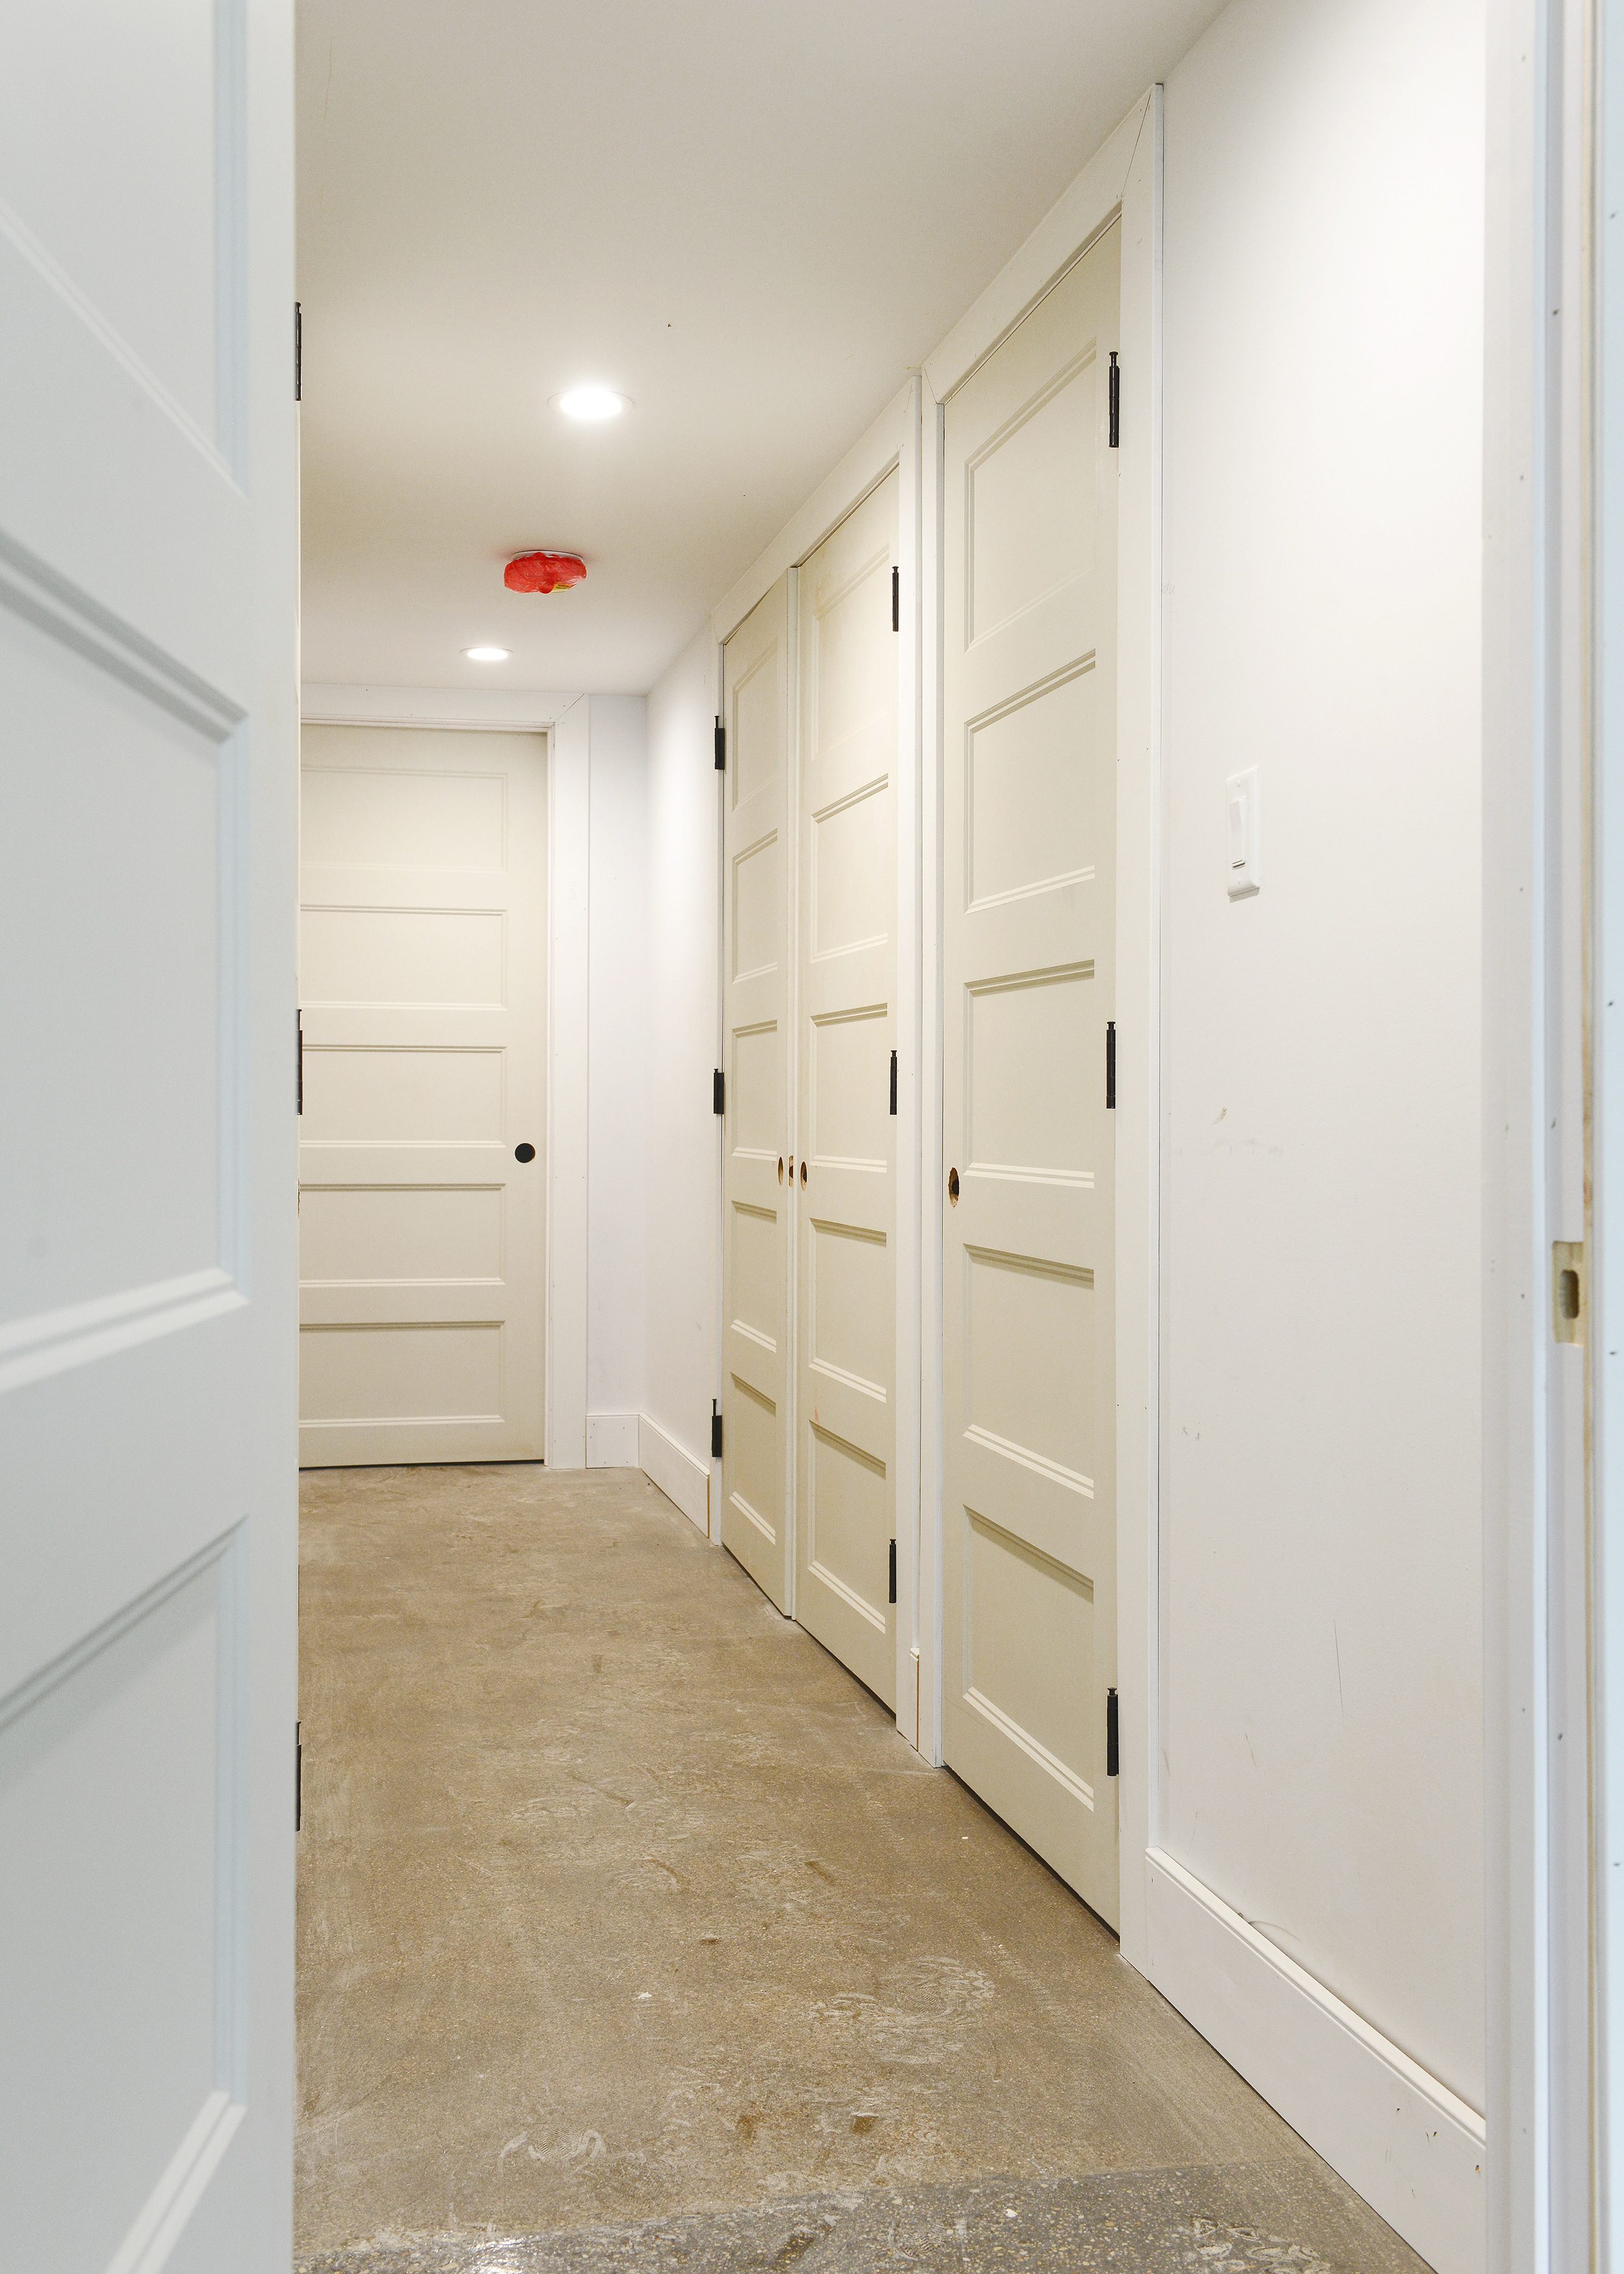
Unit 1 | Ground Floor
Down on the ground floor, where the ceilings are a bit lower and the floors are polished concrete, we wanted to keep things much simpler, so the trim is much less ornate than the two higher floors. Here’s what we used:
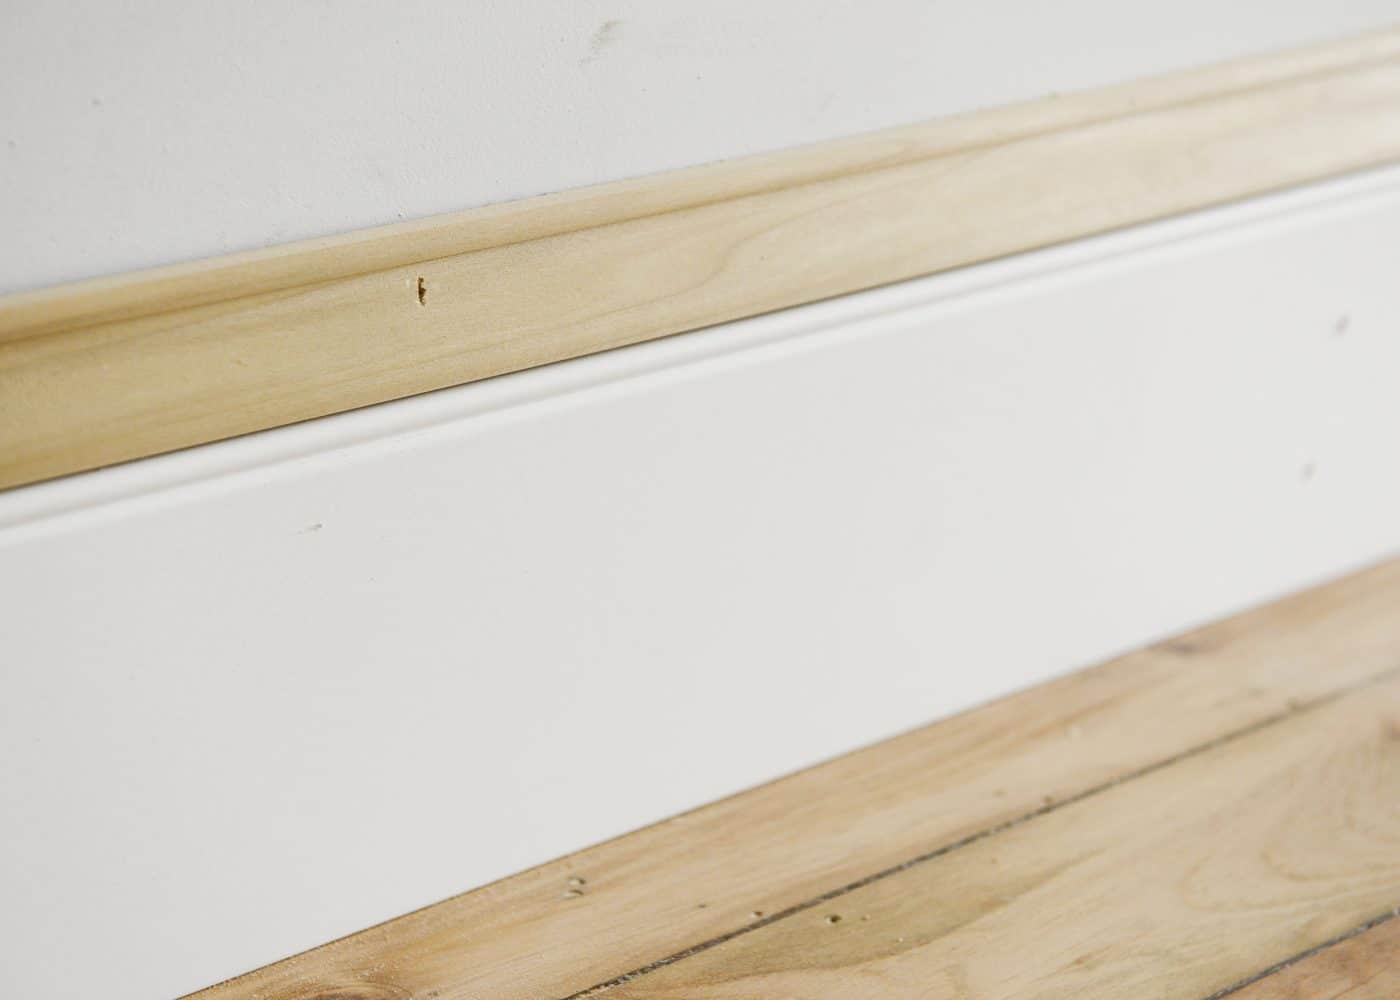
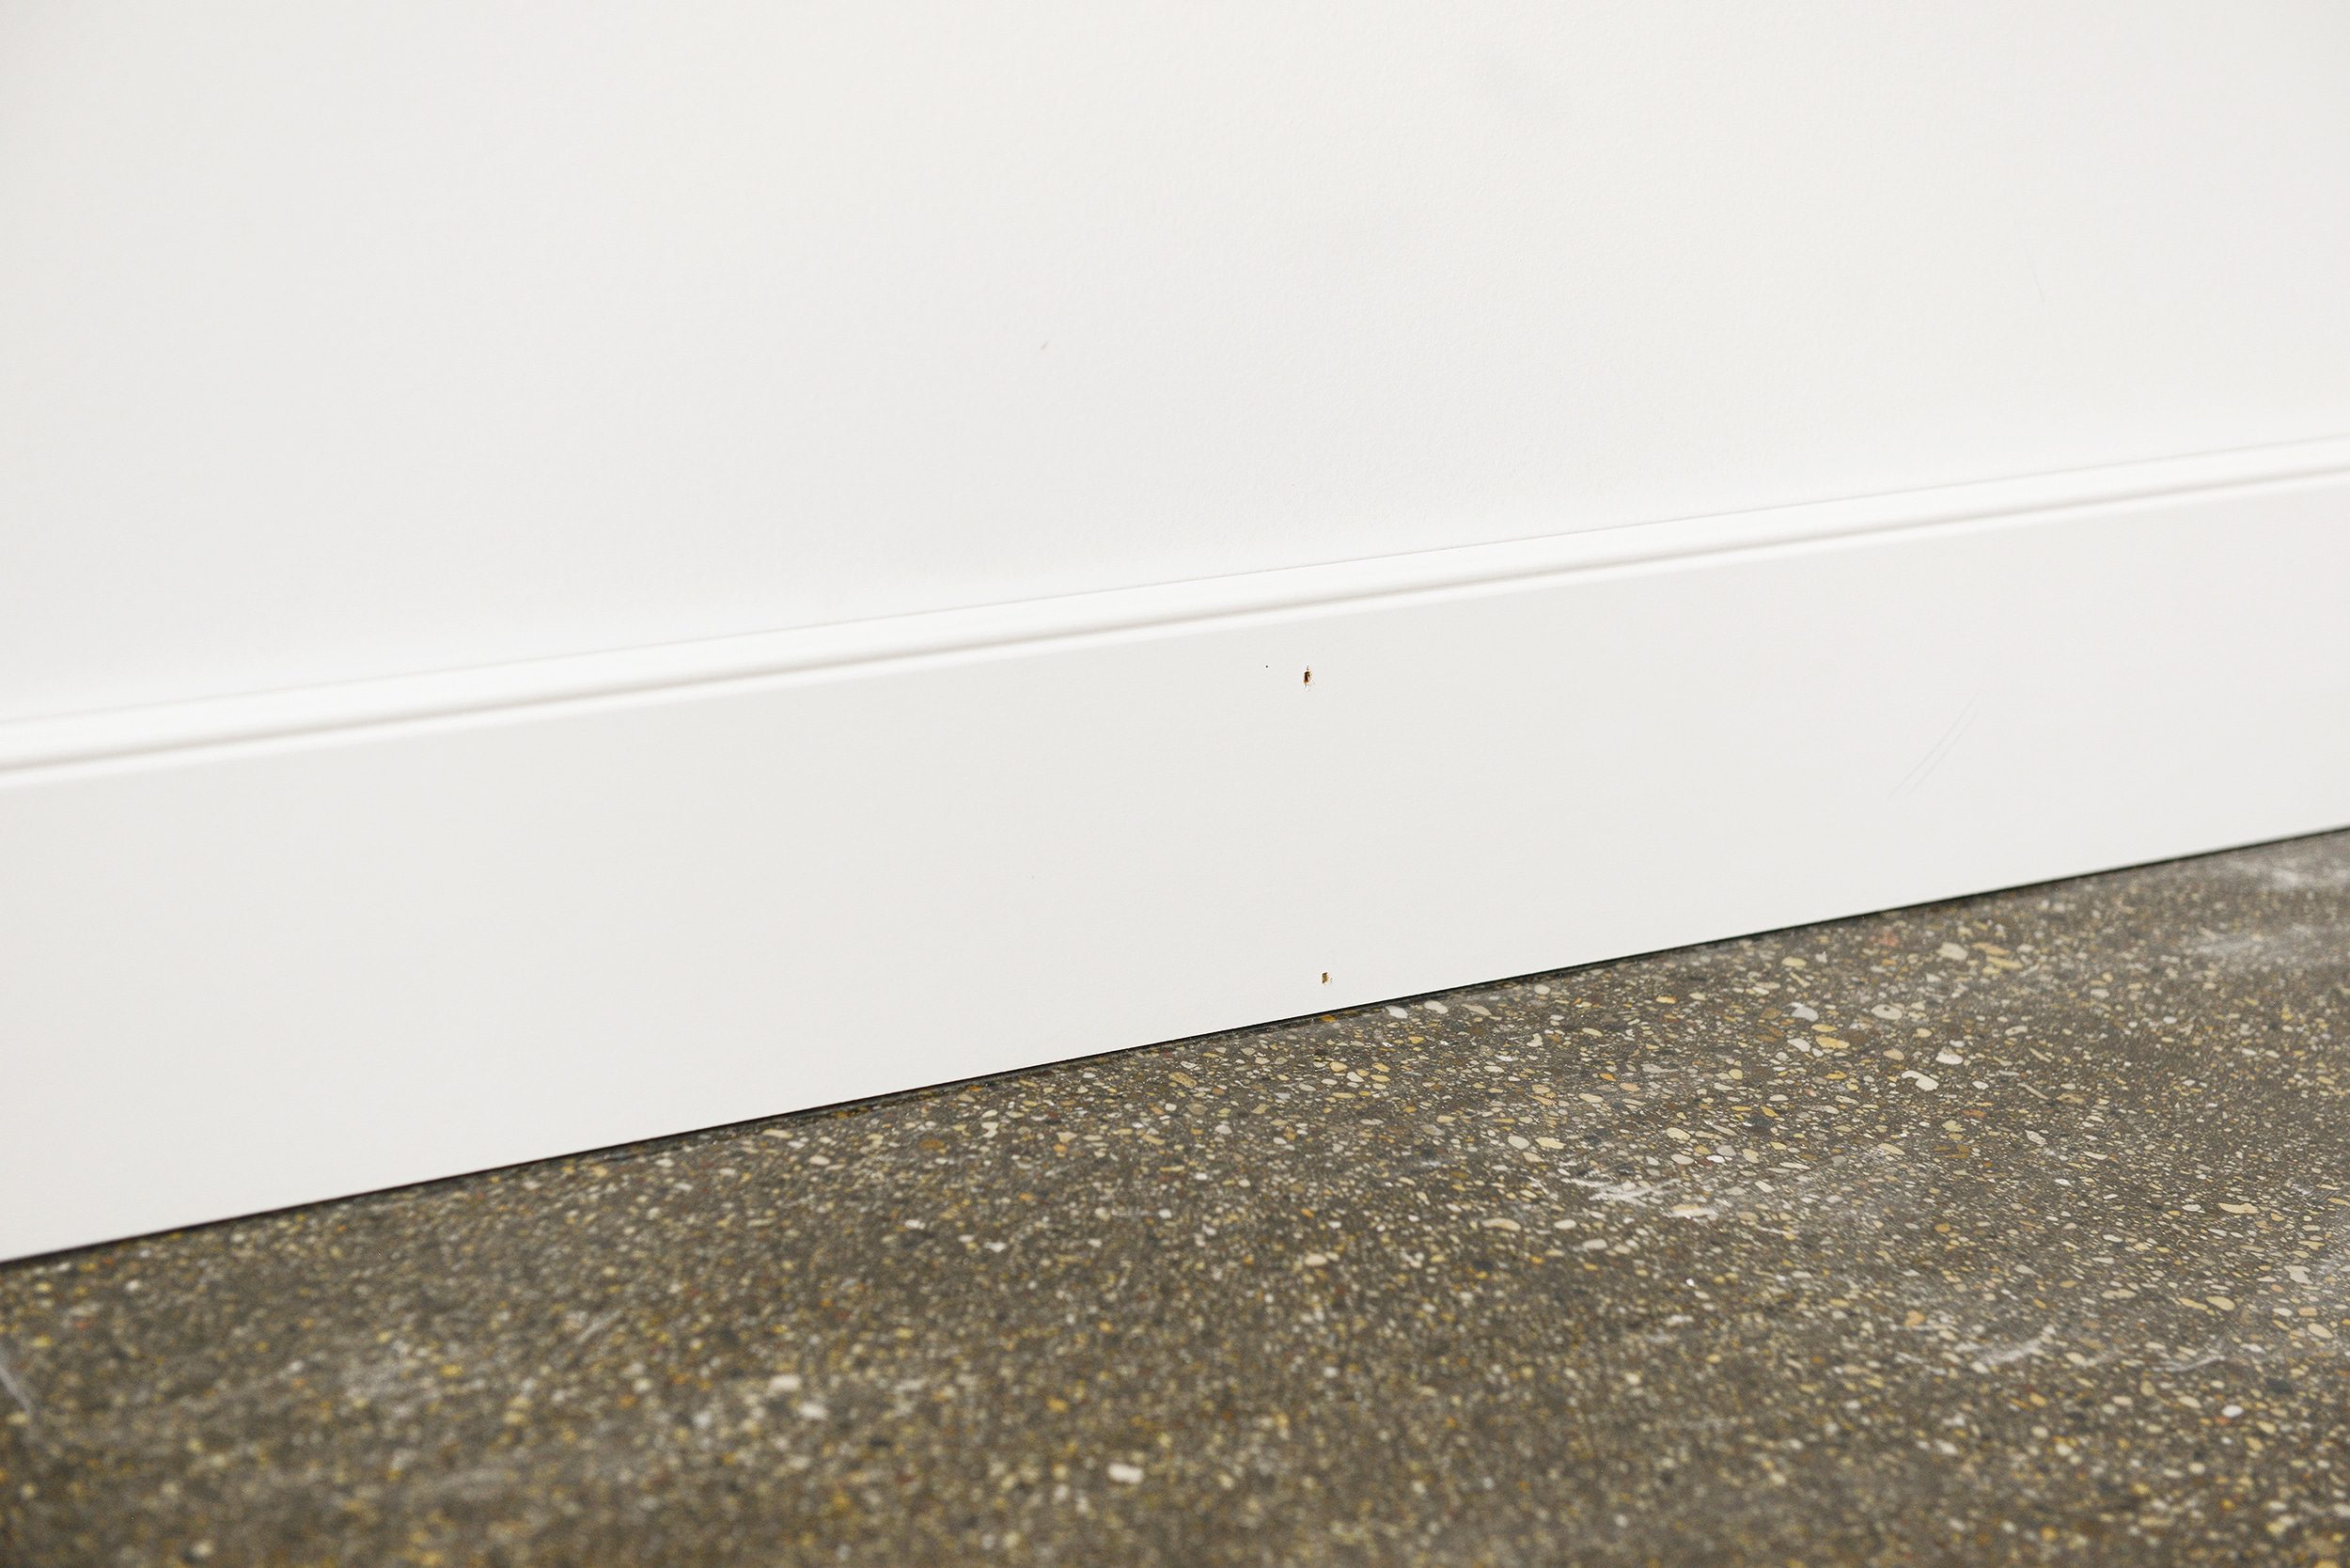
That’s it! The baseboard are the same as on the other two floors, but we chose to omit the baseboard cap to keep things more proportional with the lower ceilings. At the same time, they’re still a mighty 5 1/2″ tall. We absolutely love the small little rounded detail at the top of the baseboard. It’s just enough detail to keep things interesting without being a distraction.
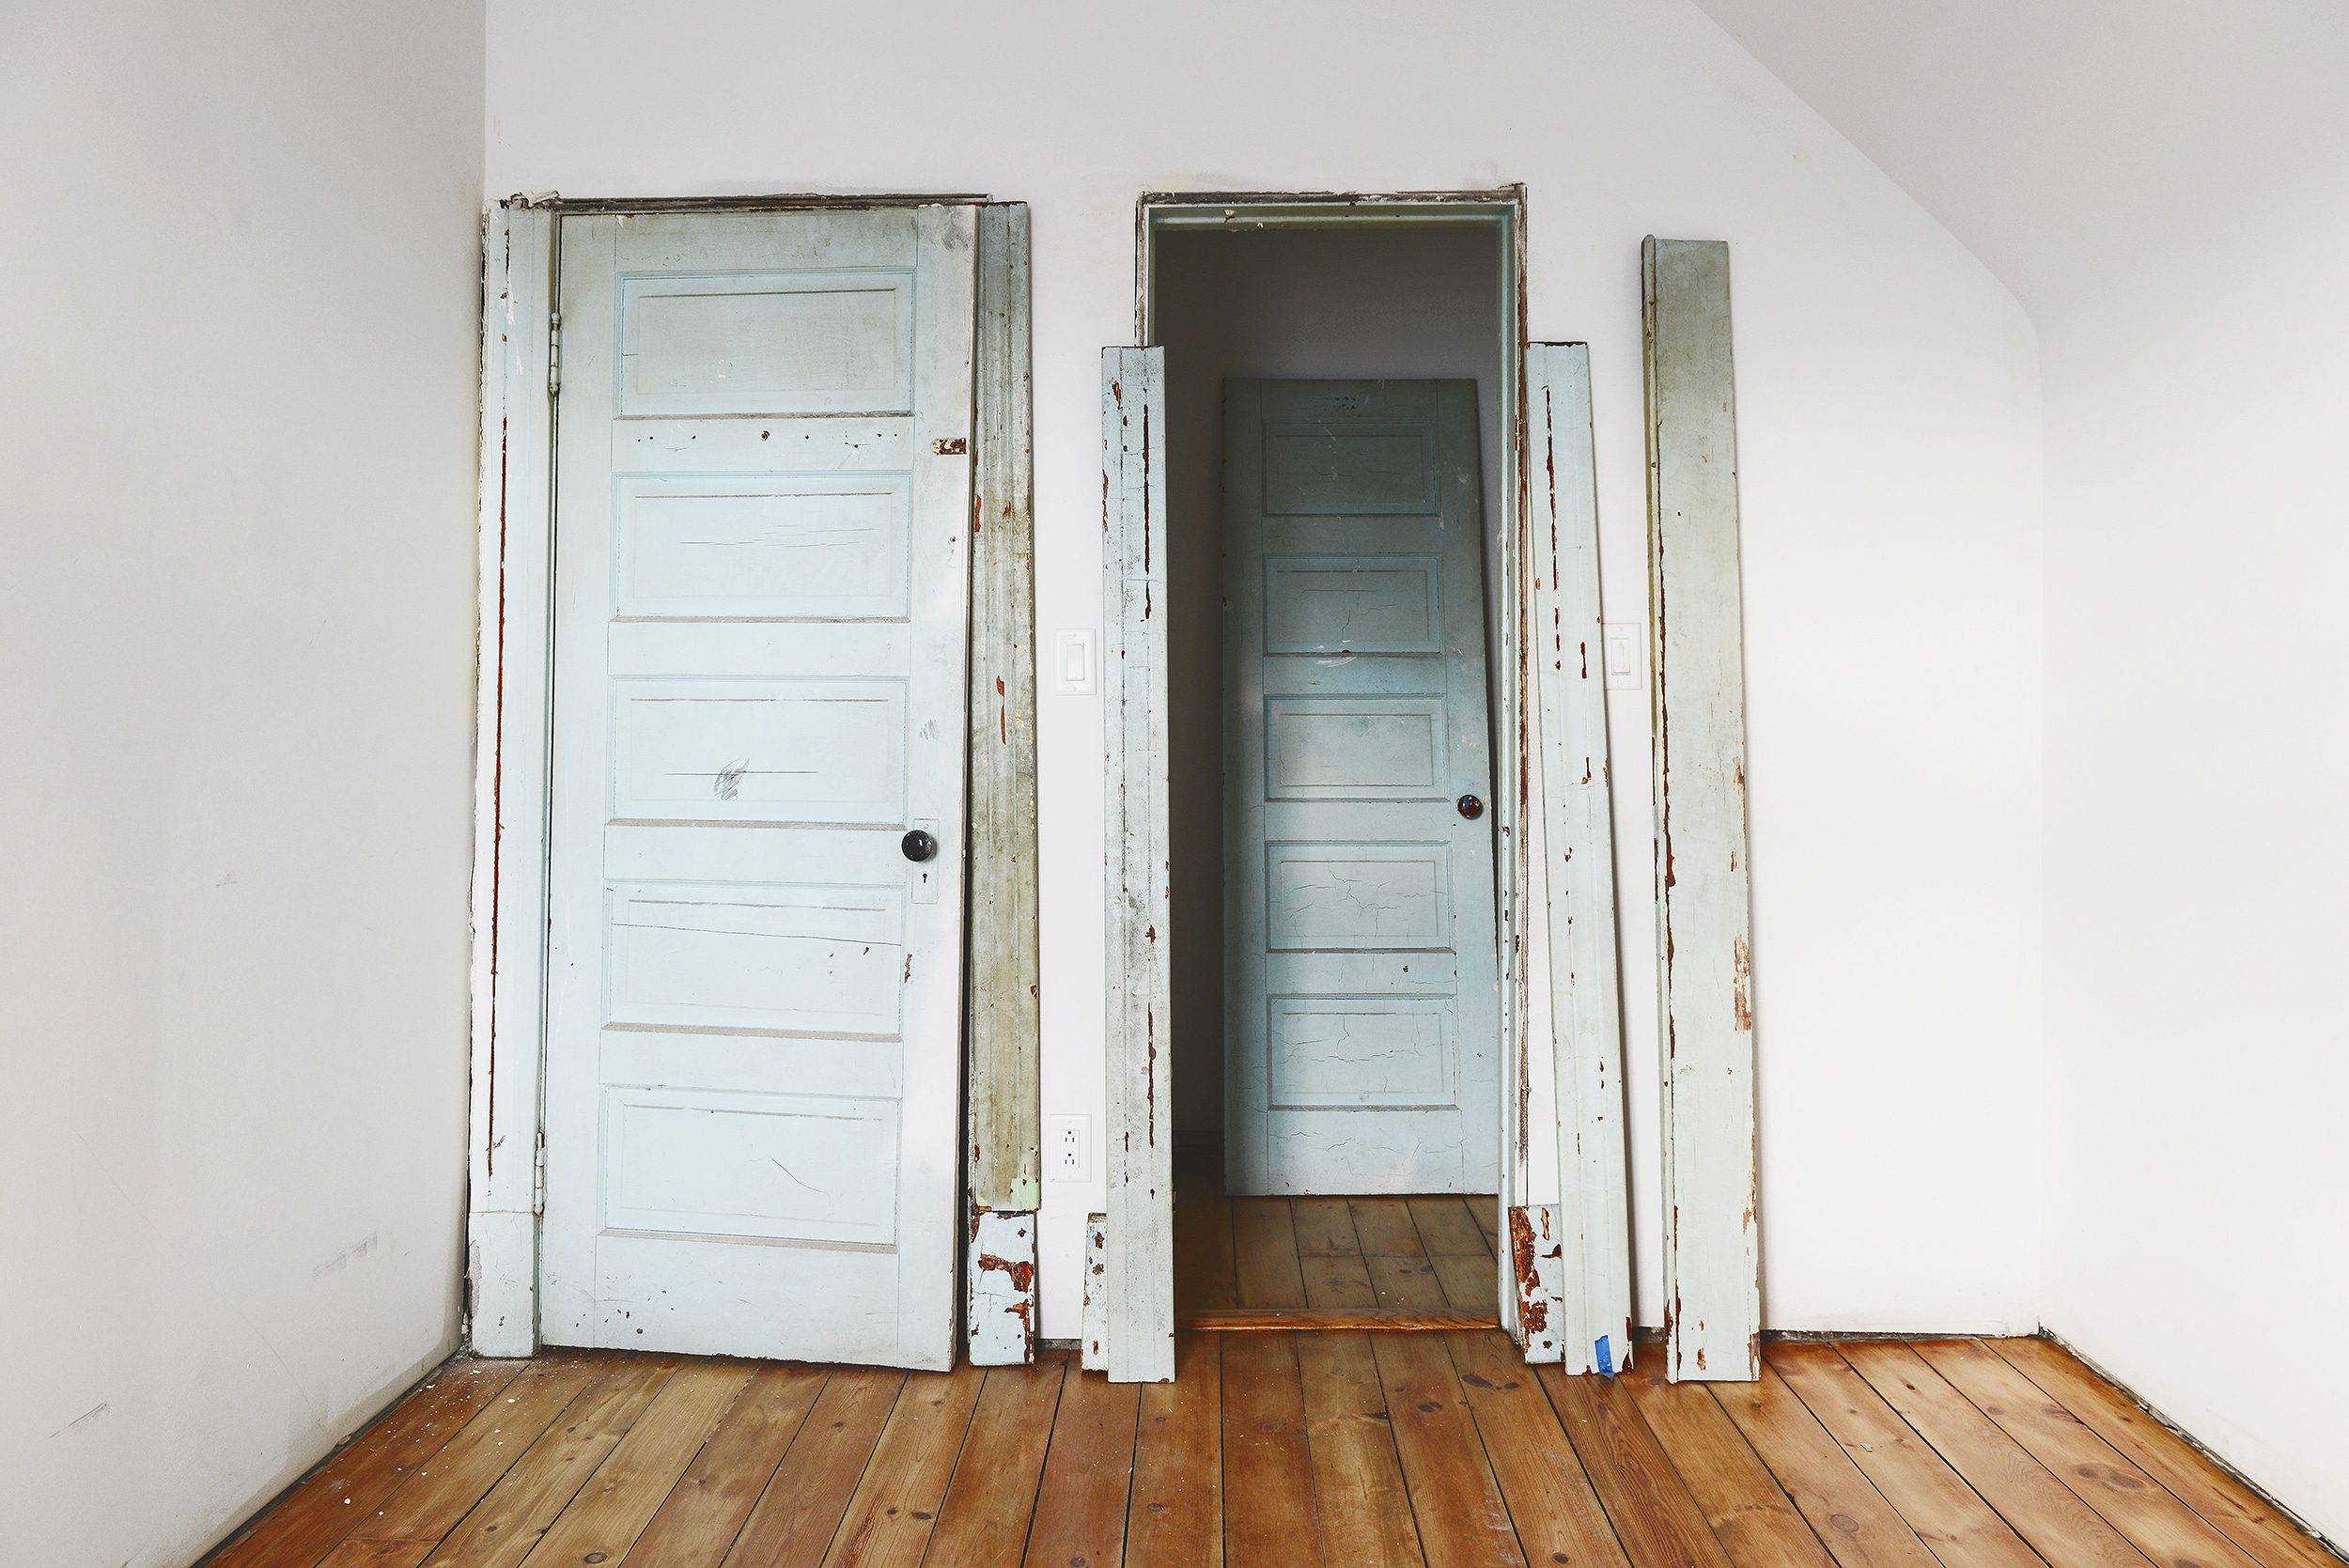
Remember our hall of doors from a few weeks ago? It’s all trimmed out! Again, with the lower ceilings, we wanted to keep the trim as simple and clean as possible. We selected this 3 1/2″ casing that keeps things looking simple and tidy.
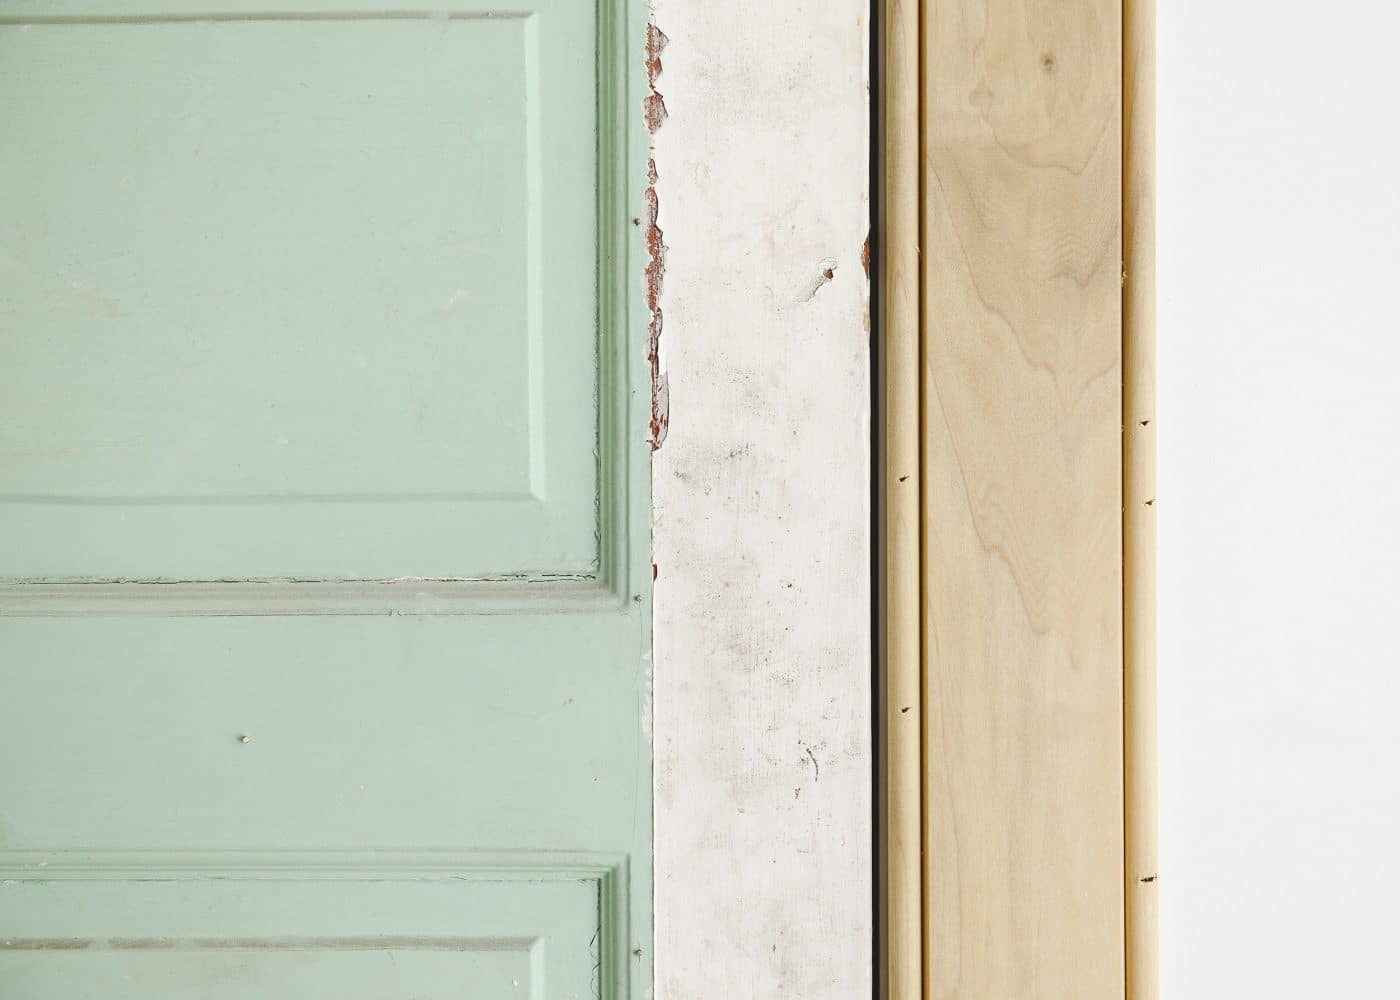
Merging old and new trim doesn’t have to be complicated. The process also doesn’t have to be a prescribed solution for every space! This isn’t the first time we’ve mixed, matched and stacked trim to suit a space and it probably won’t be our last. These old houses know what they need, we just need to listen.
PS: You can follow along with the Two Flat renovation from the very beginning right here, if you’d like! We update this page with every new post about the renovation. Thank you for following along!


It’s amazing the difference trim work makes! Can’t wait to see your next step.
It feels more like a ‘home’ as opposed to a ‘house’ now!
The attention to detail is Awesome! Love the built in hutch, can’t wait to see it painted. The bay window is beautiful it looks like a perfect place to read a book & get cozy. Good Luck
I can’t WAIT to paint that hutch! Hopefully soon!
Interesting. You used modified plinth blocks to join the baseboard to the door casings. That adds to the vintage look.
We mimicked the original casings as best we could, which did the same. ☺️
Looks great, inthe before pictures I saw some pipes in the trim area – did you reorganize these or are they hidden behind the trim?
Hmm, which room did you see the pipes?
Thanks for getting back, Kim! I thought I had seen pipes in the trim area in your recent https://yellowbrickhome.com/our-1-year-two-flat-anniversary/ post (second photo)?
A-ha! I see what you’re talking about now! Yes, we completely redid the electrical in the WHOLE HOUSE. What you were seeing before was exposed conduit, but it’s not all hidden behind the walls (where it should have been to begin with)!
It can be so hard to let go of the original pieces that are just so charming, but if it’s just not working it’s super freeing to let it go. Love how it’s coming along!
It was a tough decision, but seeing everything after the install has made it feel so worth it!
Kim is a true master! Thank you for this very helpful post.
LOVE THIS! I love old houses. So much charm & history.
This may be a silly question but I’m trying my best to learn. We purchased a 1910 home and the trim is a plethora of styles, thanks to the past owners. We are in the process of remodeling and restoring and I’m curious if you have window sill trim as well? It looks like you might but I’m not sure.
Yes, we have trim underneath the sill, if that’s what you mean? And congrats on your ‘new’ home!!