

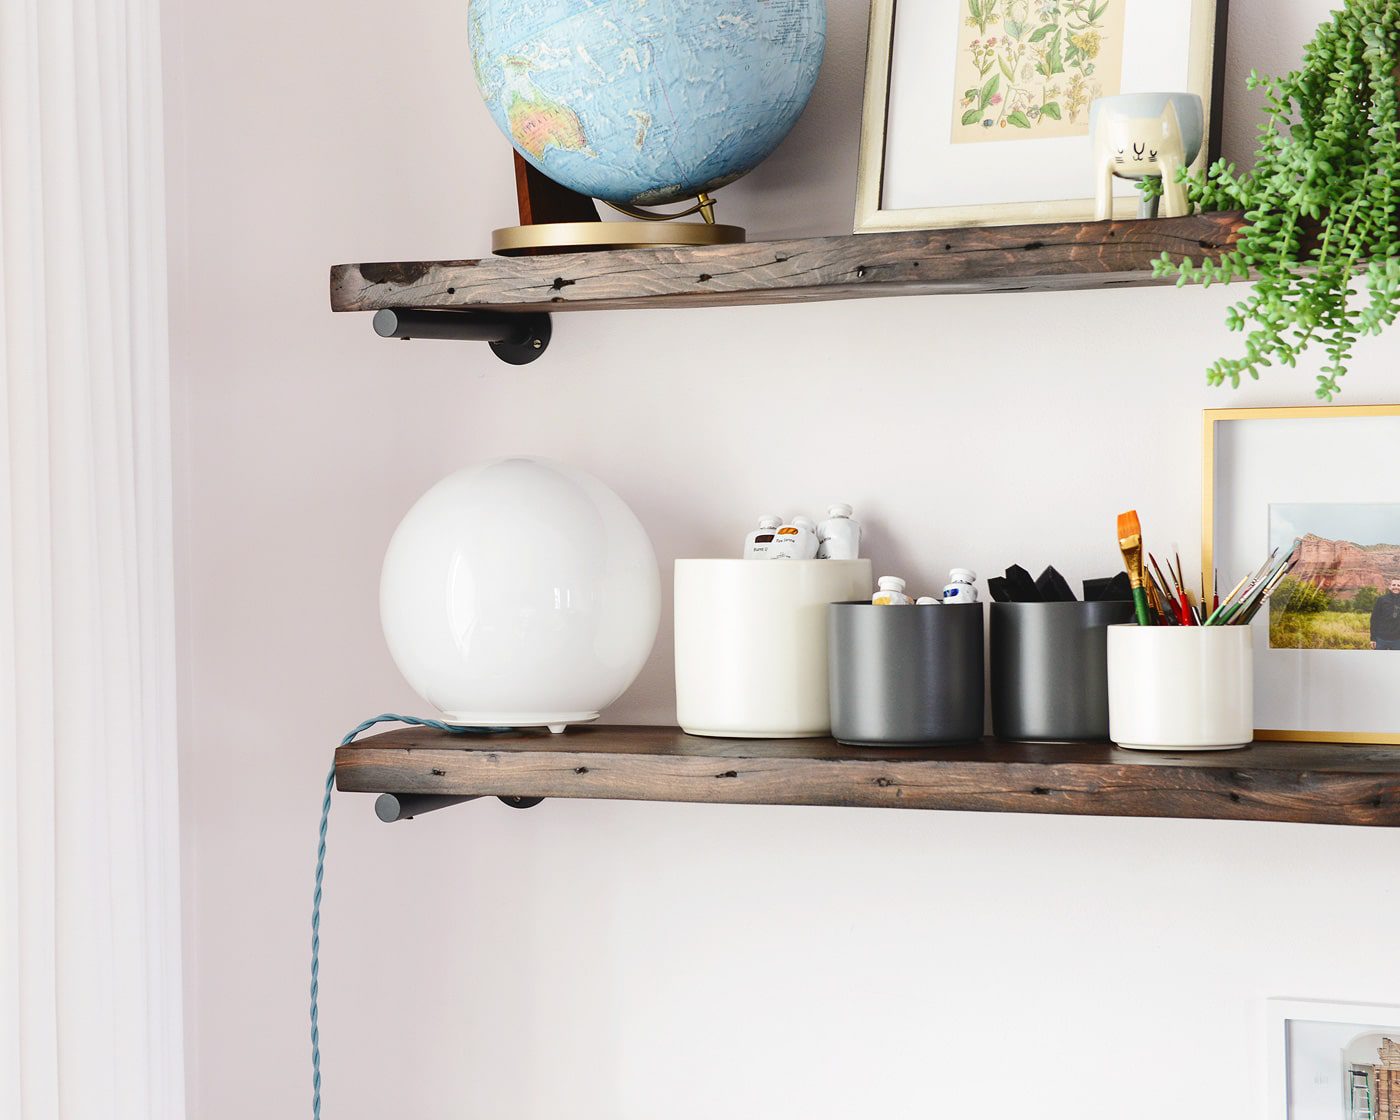
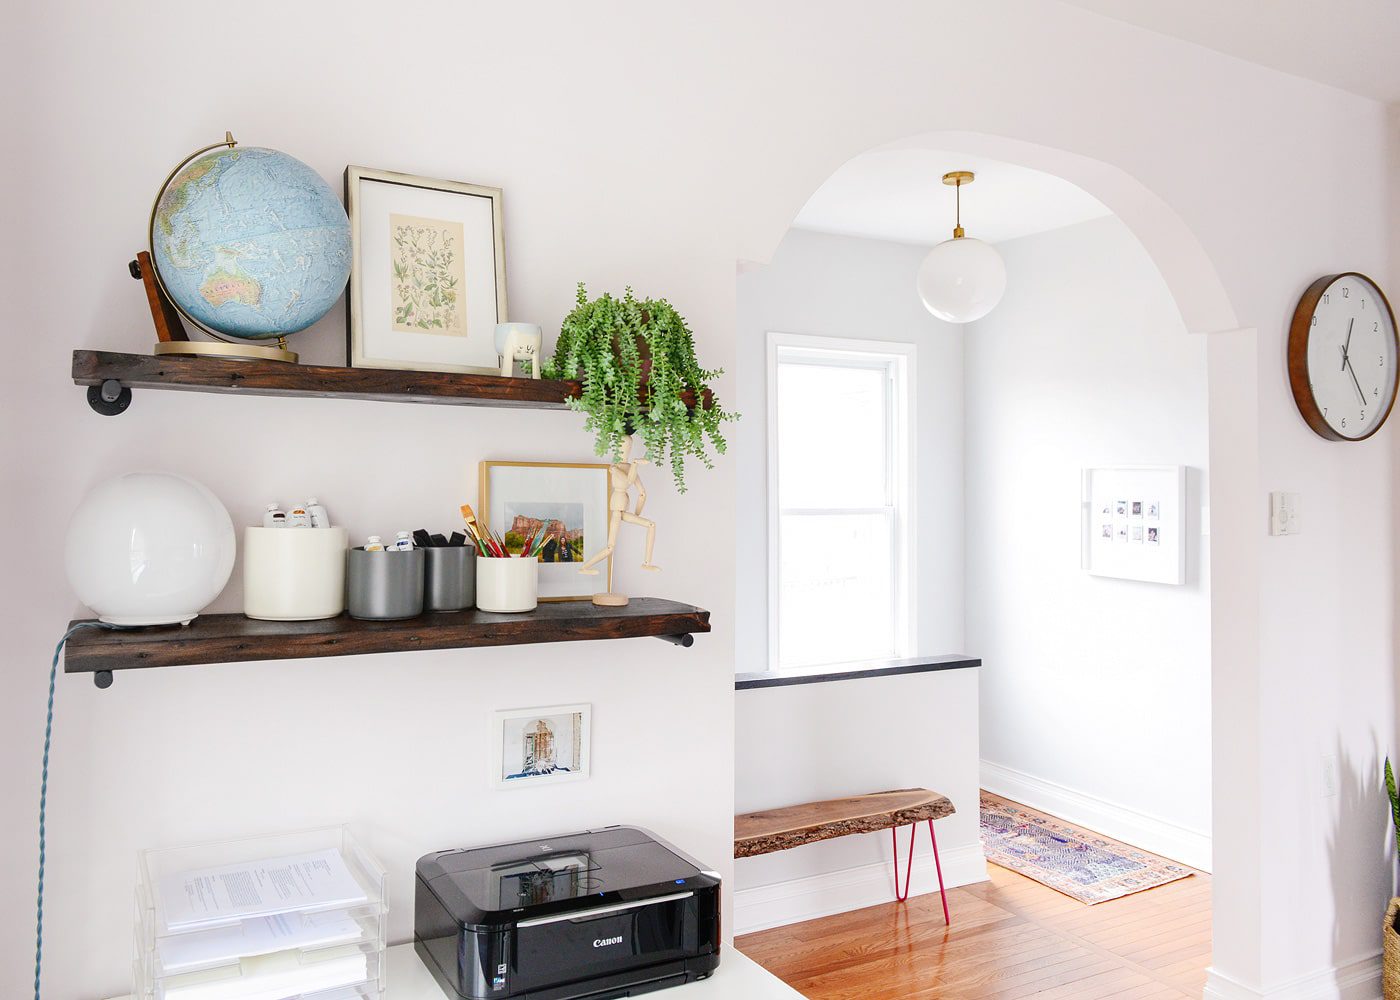
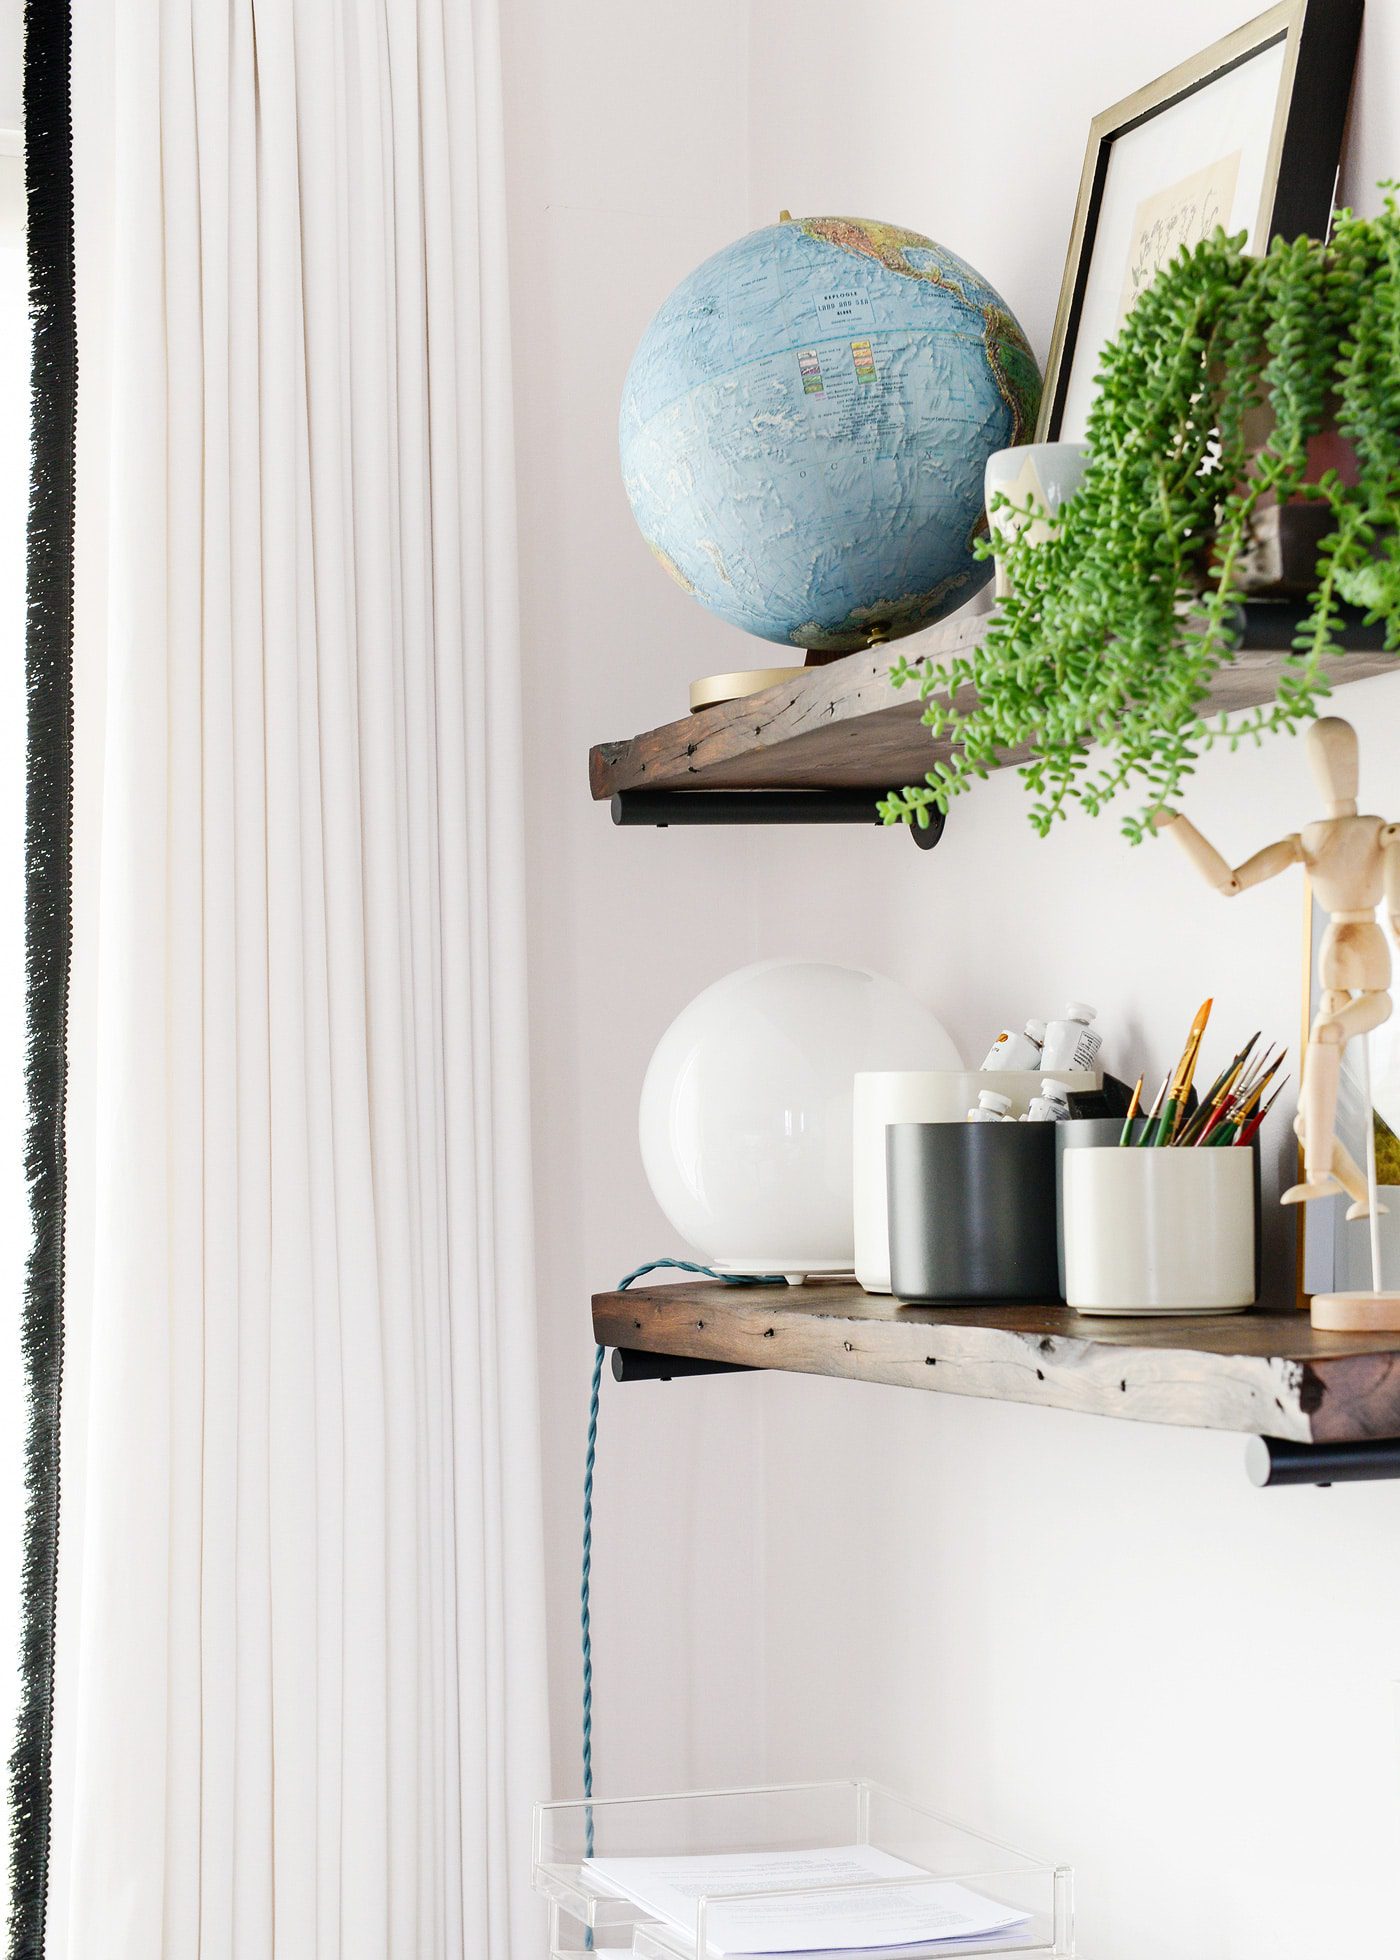
Since we installed these salvaged wood shelves in the studio, we’ve been thinking of an effective way to illuminate that little corner. I’ve always loved the FADO table lamp from IKEA, and the simple globe shape and smaller scale seemed like it would be a good fit. The only downside? Because the lamp would ultimately sit on a shelf, the white plug-in cord would be visible (as opposed to trailing invisibly down the backside of, say, a table). Over the holidays, we made a trip to IKEA during our gift-giving-errands, and we took a closer look at the lamp in person. I asked Scott if a swap to a cuter, prettier cloth cord could be an option – simply because you never know how an IKEA item is assembled – and as it turned out, yes! It could be. This was a quick 20 minute DIY (one of our very favorite kinds!), and it’s simple enough to apply to almost any lamp with an unsightly plug-in cord. Here’s how!
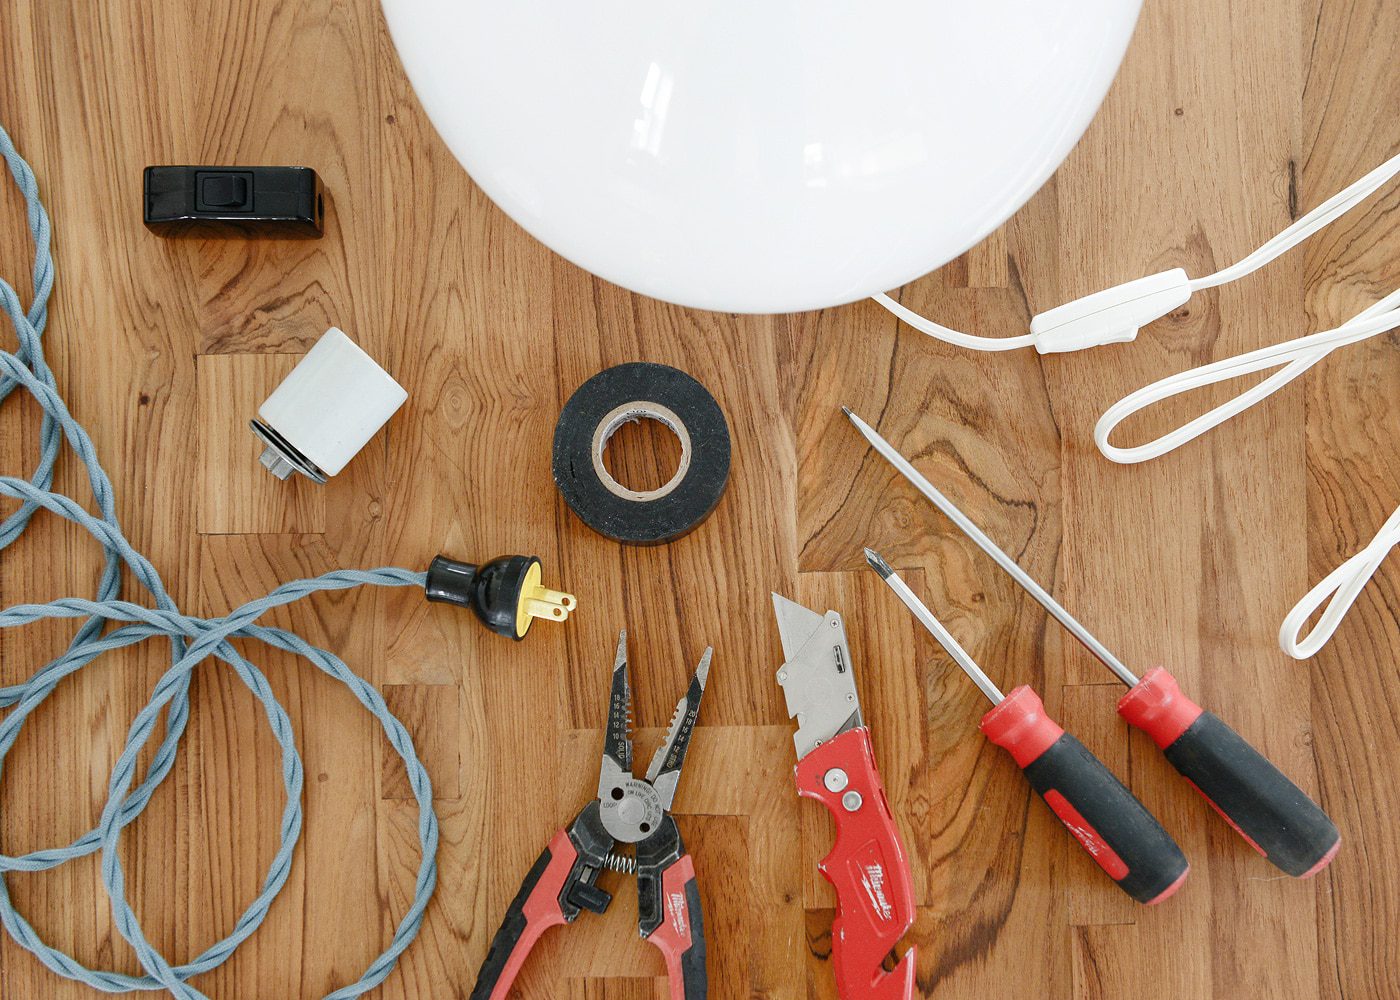
SUPPLIES + TOOLS USED
IKEA FADO lamp
Inline cord switch
Twisted cloth cord + plug set
Socket
Wire strippers
Utility knife (with fresh blade)
Phillips head screwdriver
Flat head screwdriver
electrical tape
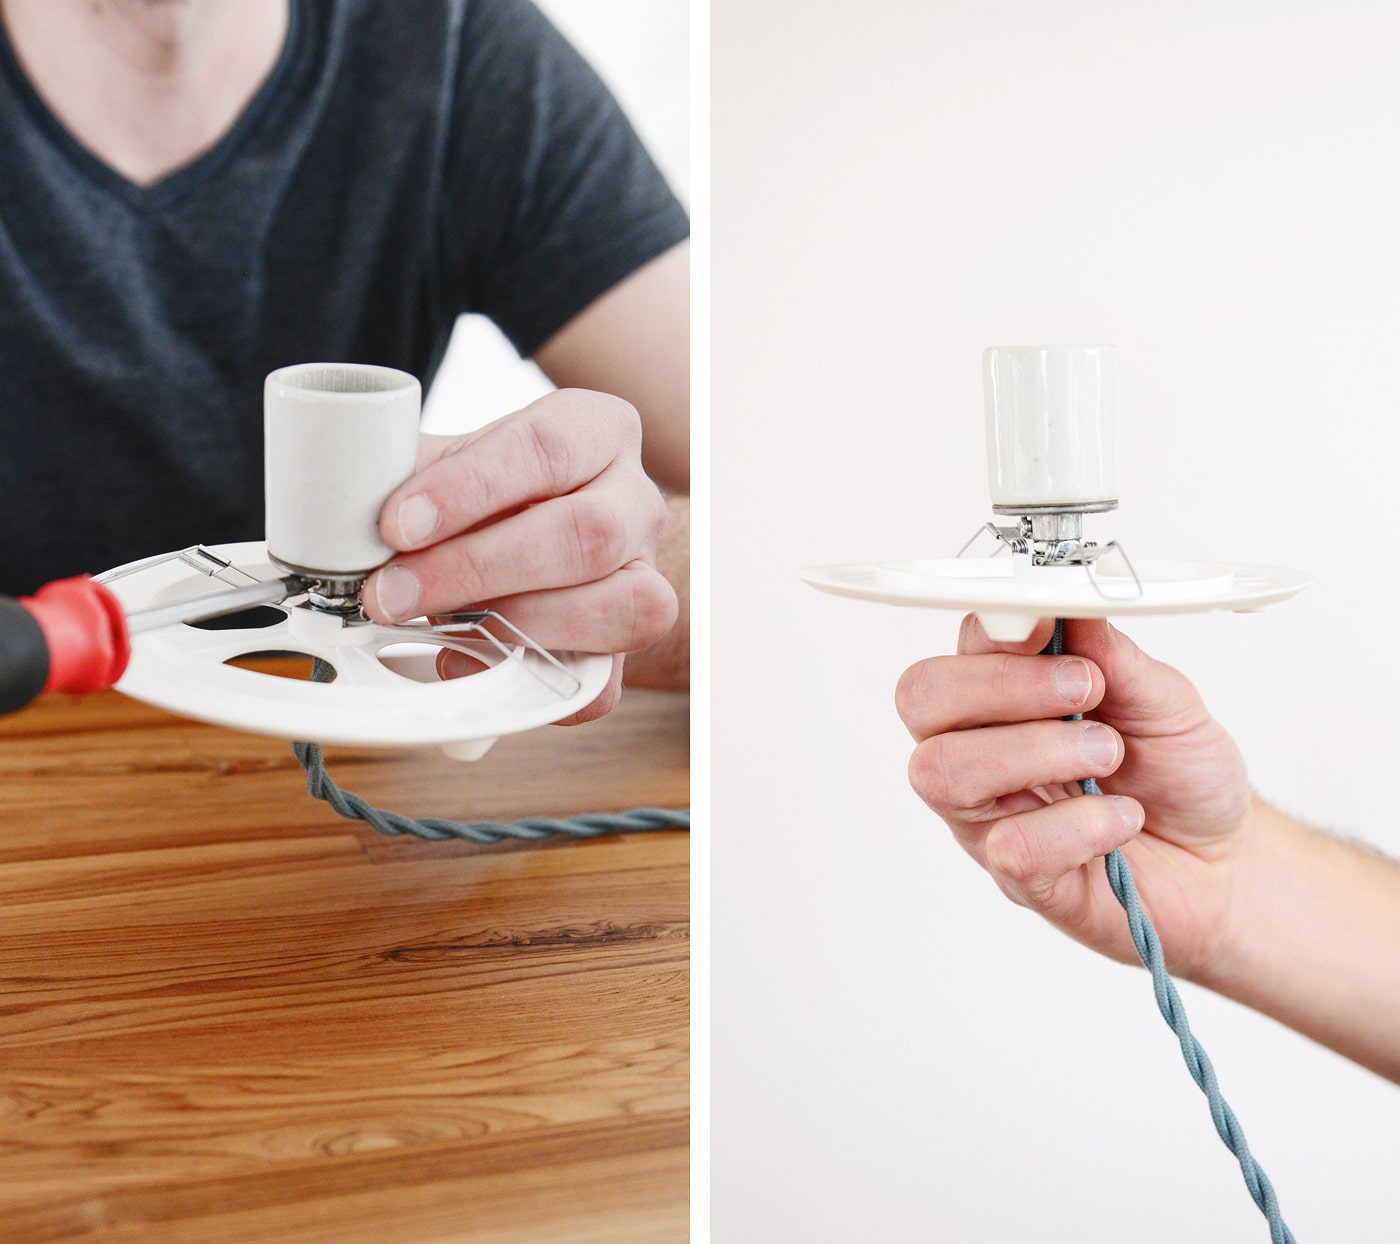
To screw a bulb into the FADO lamp, you need to separate the base from the globe. The first step starts the same way, but this time, cut the white electrical cord in two and remove it – and the socket – from the base plate.
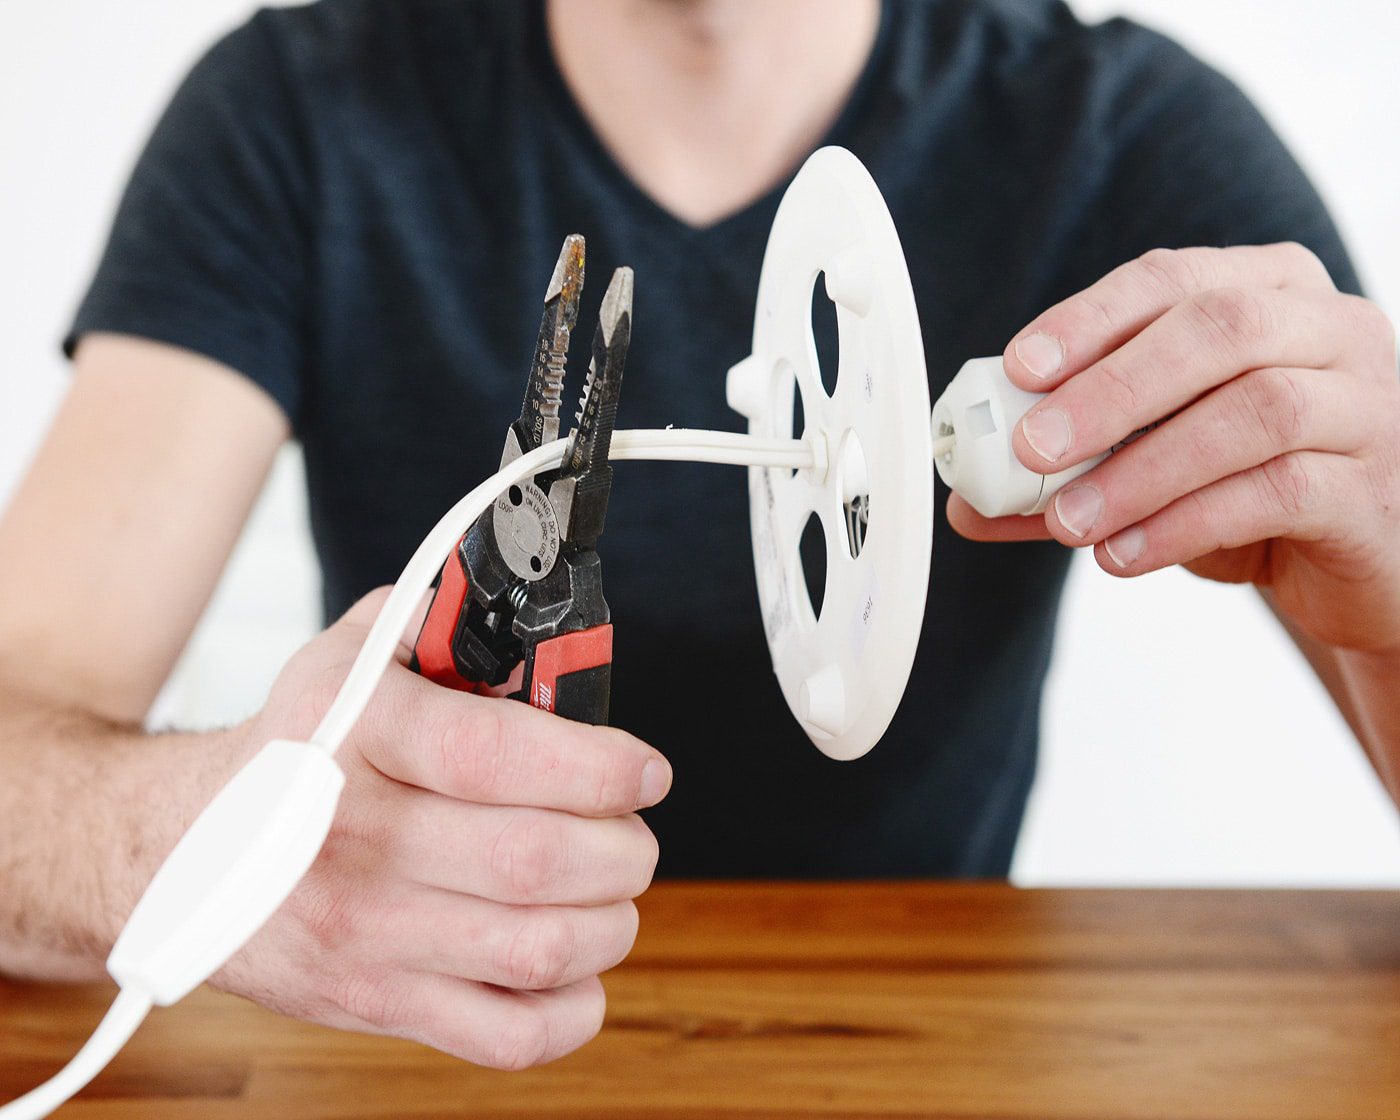
Now it’s time to replace that old cord with a more handsome cloth cord! We’ve been using DIY lighting supplies from Snake Head Vintage for years, as they have one of the biggest selections and the best price points we’ve seen. We purchased this twisted cord and plug set in slate blue, a white porcelain socket and an inline switch. Our cord is comprised of two wires, hot (black) and neutral (white). After pulling the new cord through the base (through the same opening the original cord ran through), use a utility knife to strip back the cloth from the wires. Tip: Wrapping electrical tape around the cloth cord will prevent the cloth from further fraying.
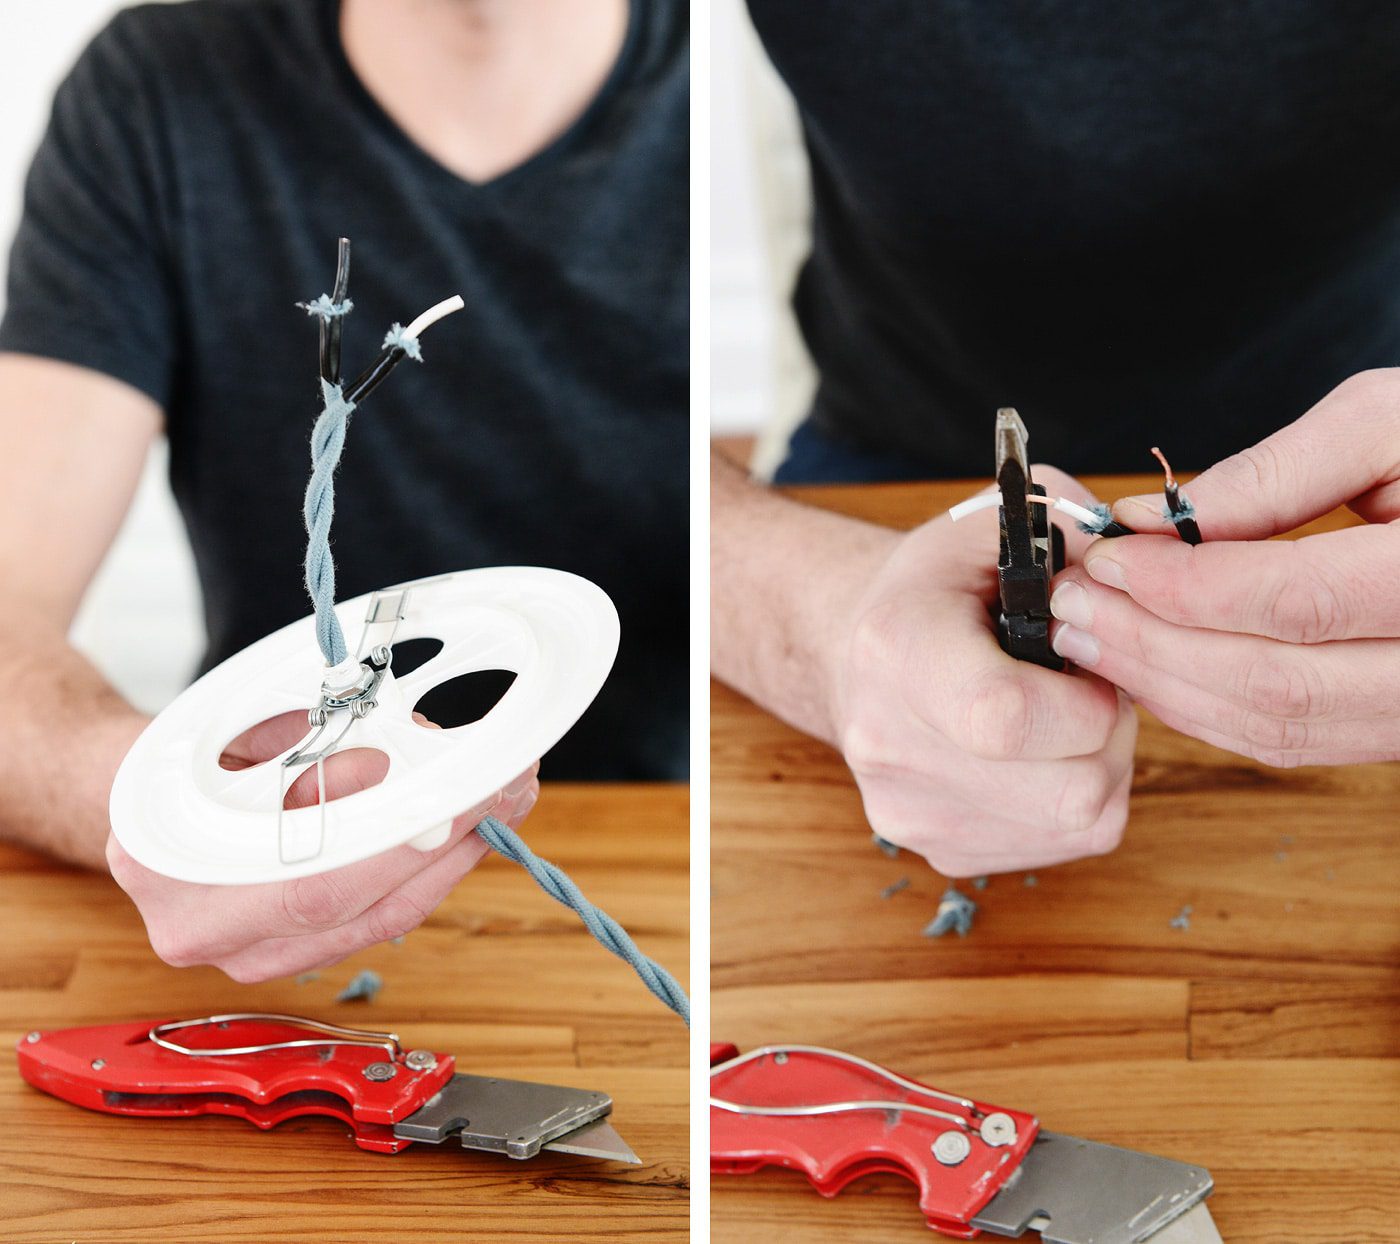
Remove the base plate from the new socket and pull it over the stripped wires. The stripped wires will need to be attached to the corresponding terminal (these are the screws) on the bottom of the socket. In this case, black (hot) goes to gold and white (neutral) goes to silver. By creating a little hook with the exposed wire, the wire will wrap around the base of the screw, and the screw can be gently tightened.

At this point, you can screw the base plate back onto the socket, and then the entire socket can be reattached to the FADO base. Tighten the set screw on the side.
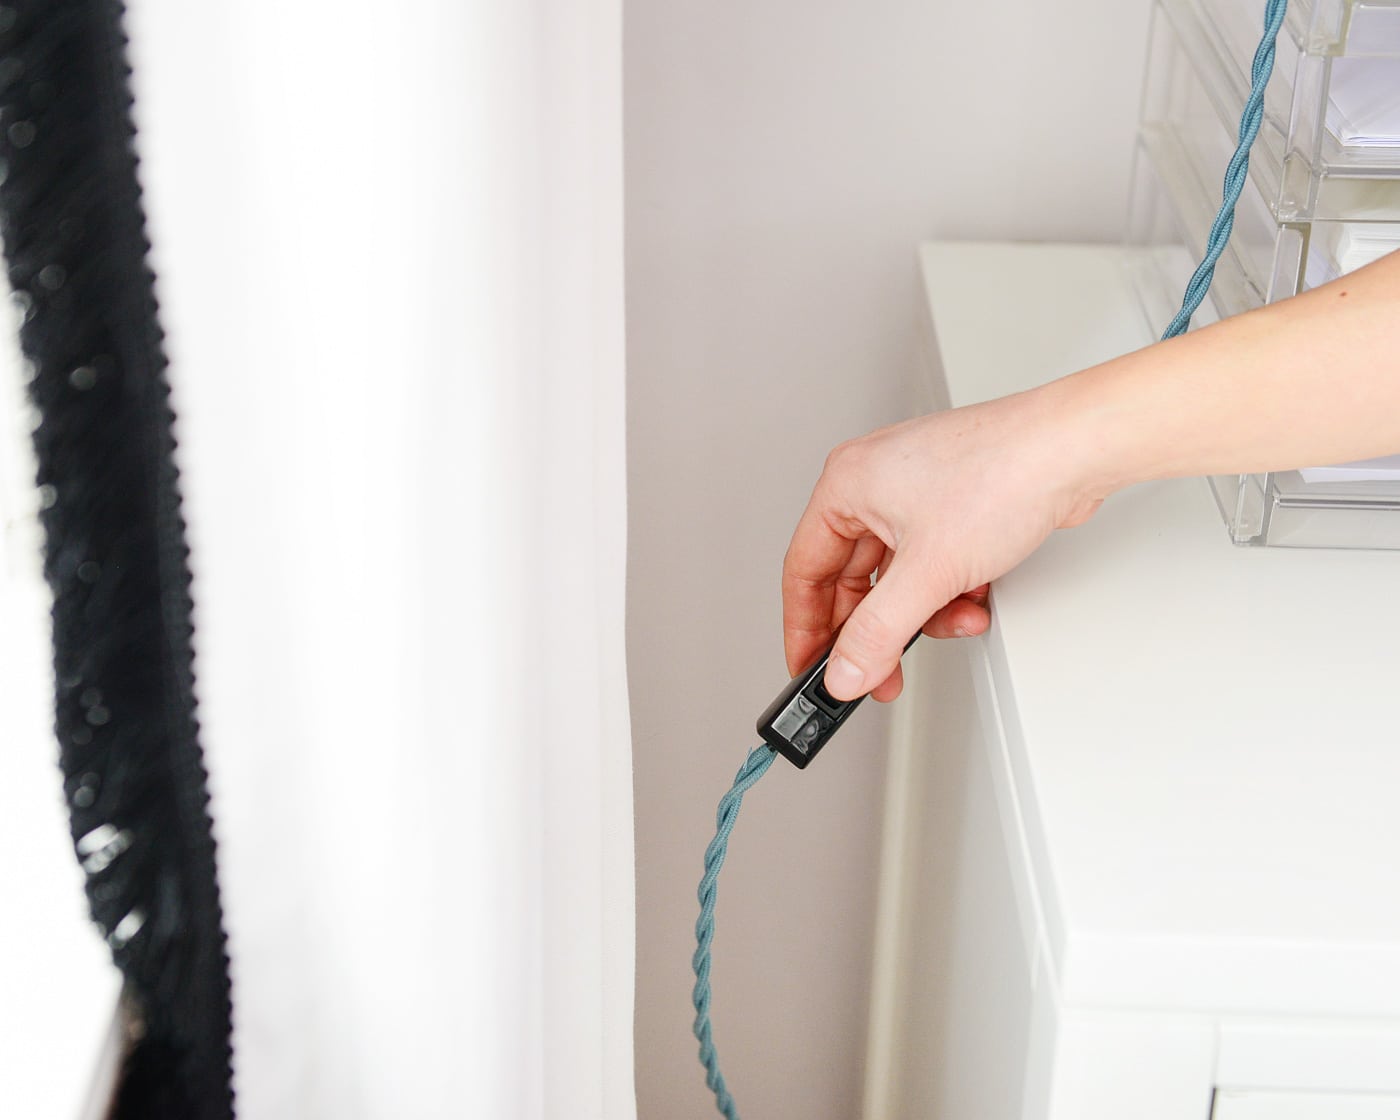
Next, figure out where you want your inline switch. We chose a spot that was about 2′ from the base, which would allow it to hide behind our filing cabinet but still be easily accessible to flip on and off. The inline switch comes apart by undoing 2 screws:
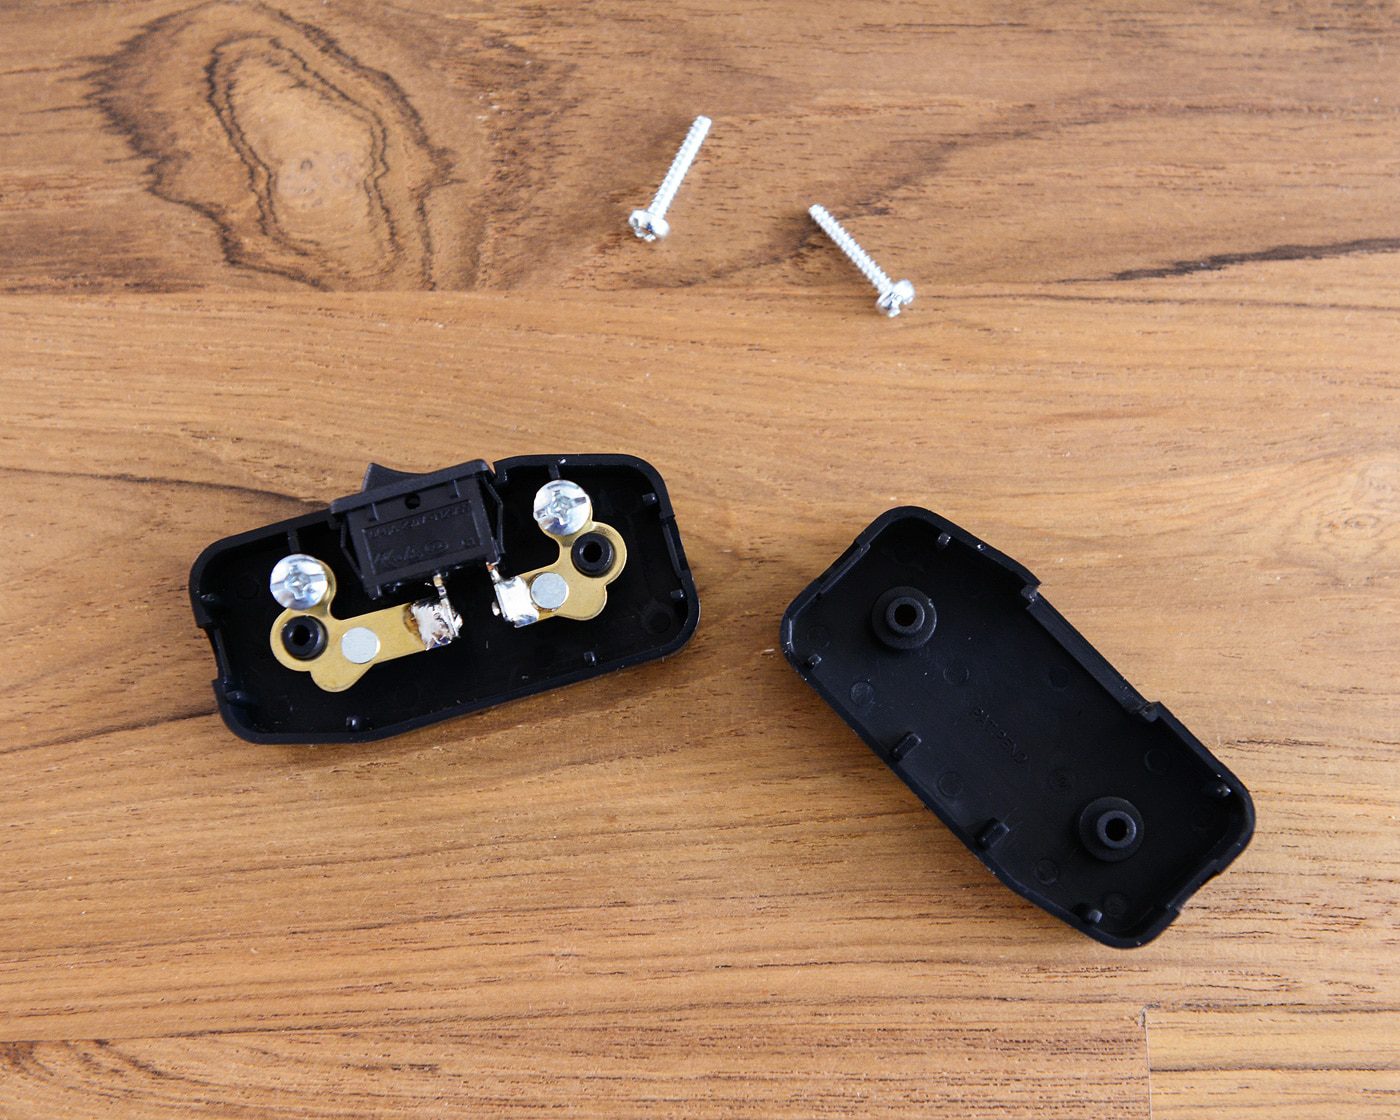
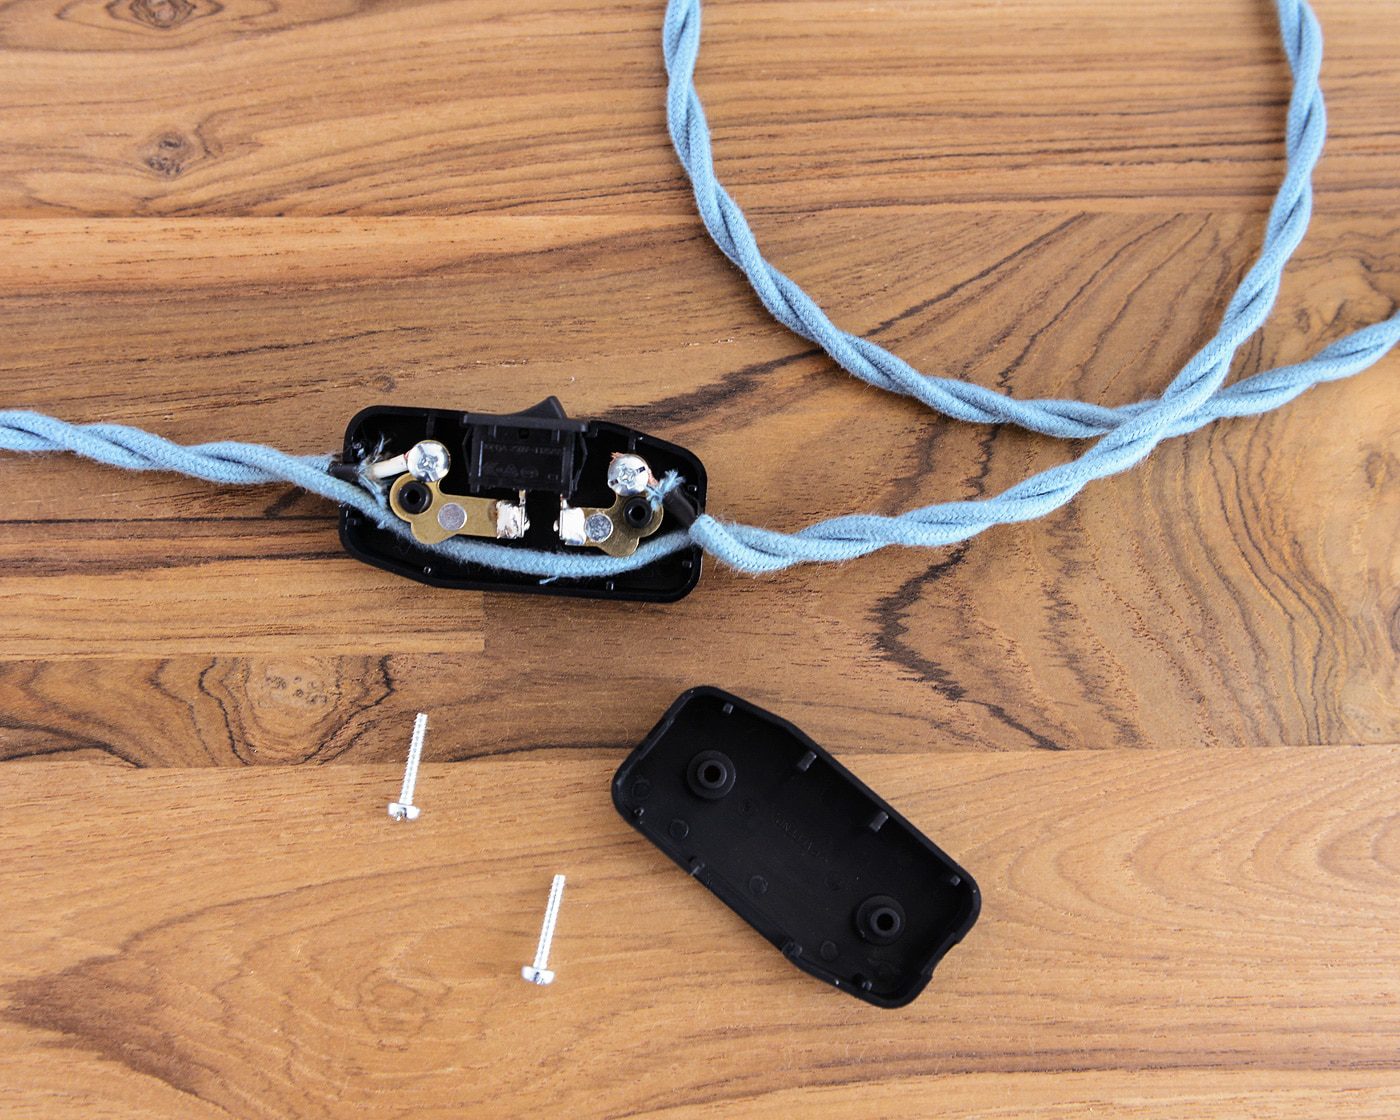
We’ve never installed an inline switch before, but we followed the instructions from the listing, and luckily, it was super easy! Cut back a small section of the cloth to find the hot (black) wire, and once you’ve located which one is which, cut the hot wire in half and use electrical tape to keep the two ends from fraying. The neutral wire will stay untouched – it will bypass the switch and run along the bottom (see below). Just like the socket, strip the ends of the wire insulation to expose the wires, and tighten those ends to the terminals on the inside of the inline switch. Tip: We ended up cutting about 3/4″ from the hot wire to allow for the gap between the terminals inside the switch.
Upate! The photo below shows the white wire tightened to the screws. The black wire should be the one stripped and tightened. Thanks for pointing that out in the comments, Marie! (Ours still works, but do as we say, not as we do, please.)
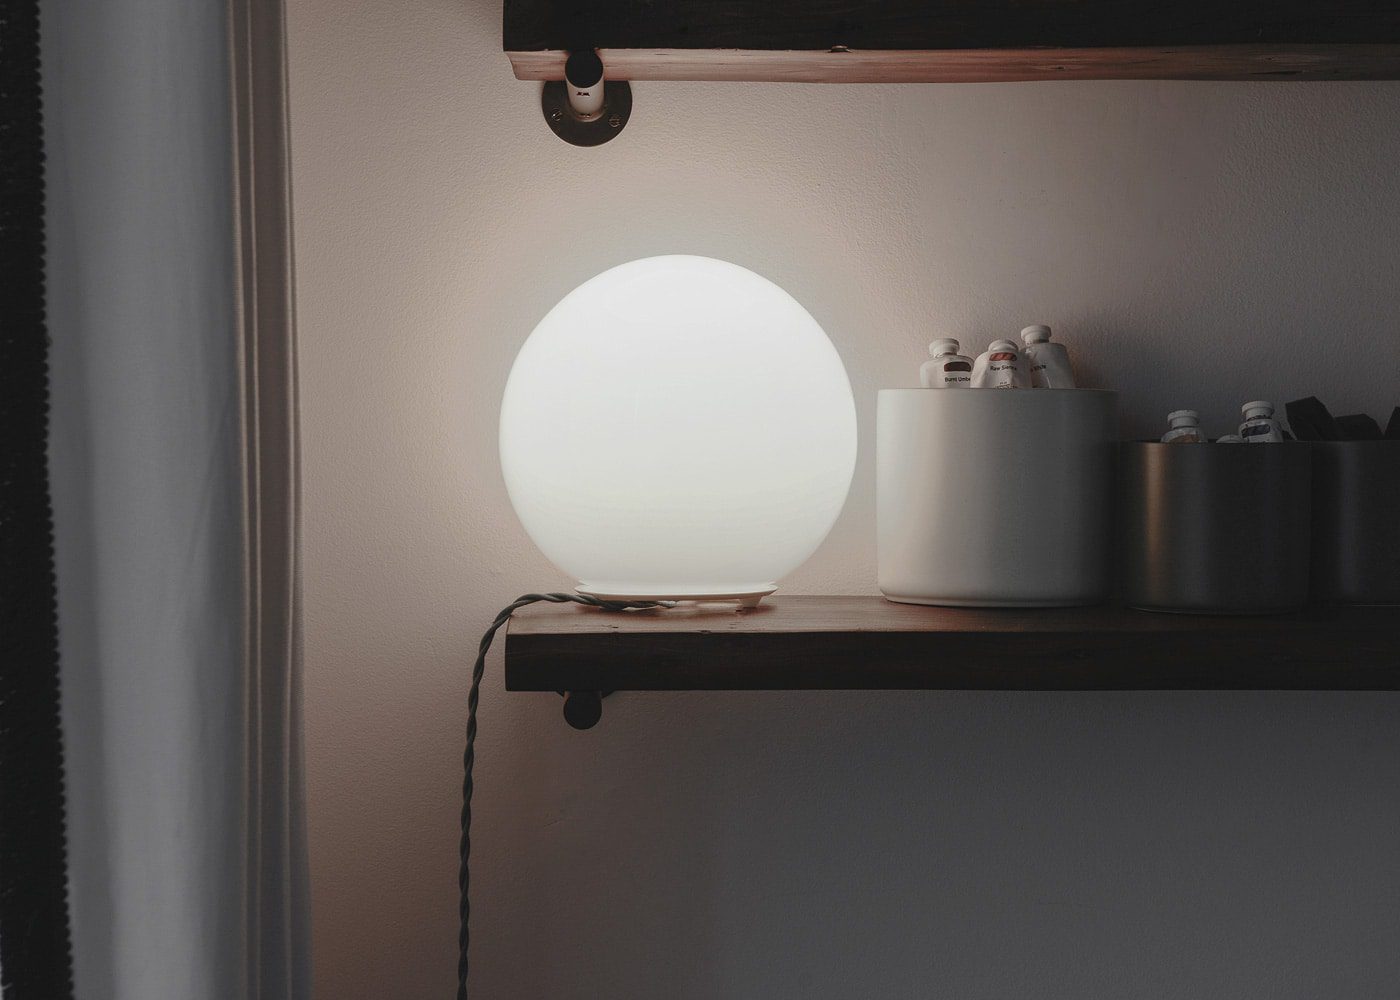
Use the two set screws to put the inline switch back together, and that’s it! Add your lightbulb to the new socket (we used a 40 watt LED equivalent for a soft glow), put the globe back on the base plate, and enjoy.

Little projects like this always feel so good between the larger renovations. Now, go forth and makeover your FADO lamps – or any plug-in lamp, really!
Shop this post:


Thanks for this tutorial. Also, thanks for the links to the lighting stuff! That cloth cord is so much nicer looking than the plastic.
And there are so many color options!
Am I correct that the lamp comes with a candelabra bulb socket? So when you swapped the socket, is it now for a regular bulb?
The original socket fits a regular bulb, which is why the swap to the porcelain socket is so easy!
Literally this came at the exact perfect time. I have been thinking about this light for a similar shelf and had the same concern – seeing the ugly wire. This is brilliant and I am definitely totally 100% doing this. Thanks for posting such thorough instructions!
Cute! I love little lamps like these. Also, what kind of plant do you have on the shelf? I’m trying so hard to find a good plant for our fireplace that cascades more than grows vertically.
Thanks!
I THINK it’s nicknamed a ‘donkey tail.’ That thing just keeps growing and growing! You can see it originally in this post: https://yellowbrickhome.com/2015/05/13/opi-on-the-porch/
We bring it inside after the summer, and then once it warms up, it goes back out on the front porch. I’m thinking it might stay put this year though, because she’s so sweet on our shelves!
Black is HOT and white is NEUTRAL.
You’ve written it the other way around.
Yikes! Thanks for pointing that out. It’s been updated in the post.
Also, here’s a similar tutorial for anyone if it helps: https://yellowbrickhome.com/2014/10/30/re-wire-convert/
What a nice thing to do and now it matches the globe :)
Have a lovely day :)
That turned out super cute.
Thanks, Nicole!
[…] 1. Wooden Ikea Fado lamp hack by Fog Modern 2. Brass Ikea Fado lamp hack by Emilysliv 3. DIY concrete table lamp with the Ikea Fado by Paper n Stitch 4. A DIY wooden beads vase with the Ikea Fado lamp by Mammilade 5. DIY moon Ikea Fado lamp by Charles Ravndal 6. How to rewire the Ikea Fado lamp by Yellow Brick Home […]