

Before we jump into Scary Room progress, we’ve been bursting to share with you that Chris and Julia have asked us and Daniel to help them give a reader kitchen or bathroom a big before and after moment as a part of the Lowe’s Spring Makeover! Applications to submit your space are open right now and close Friday (tomorrow!) at midnight EST. This falls right under a ‘pinch us’ moment, and we can’t wait to work alongside our DIY loving friends. Go here to learn more and apply!
Last week, we had a two man team knocking out the heftier items on our Scary Room punch list – things like new electrical, reframing our closet (and ensuring a proper header was in place), and leveling out the subfloor. What was estimated to take five days, they tackled in four. They came early in the morning and stayed a little later into the evening, and as they left each night, we’d take a peek for ourselves and point out all the changes, feeling drunk on progress. It’s always so exciting to watch a room go from so bad to not so bad to we can work with this!
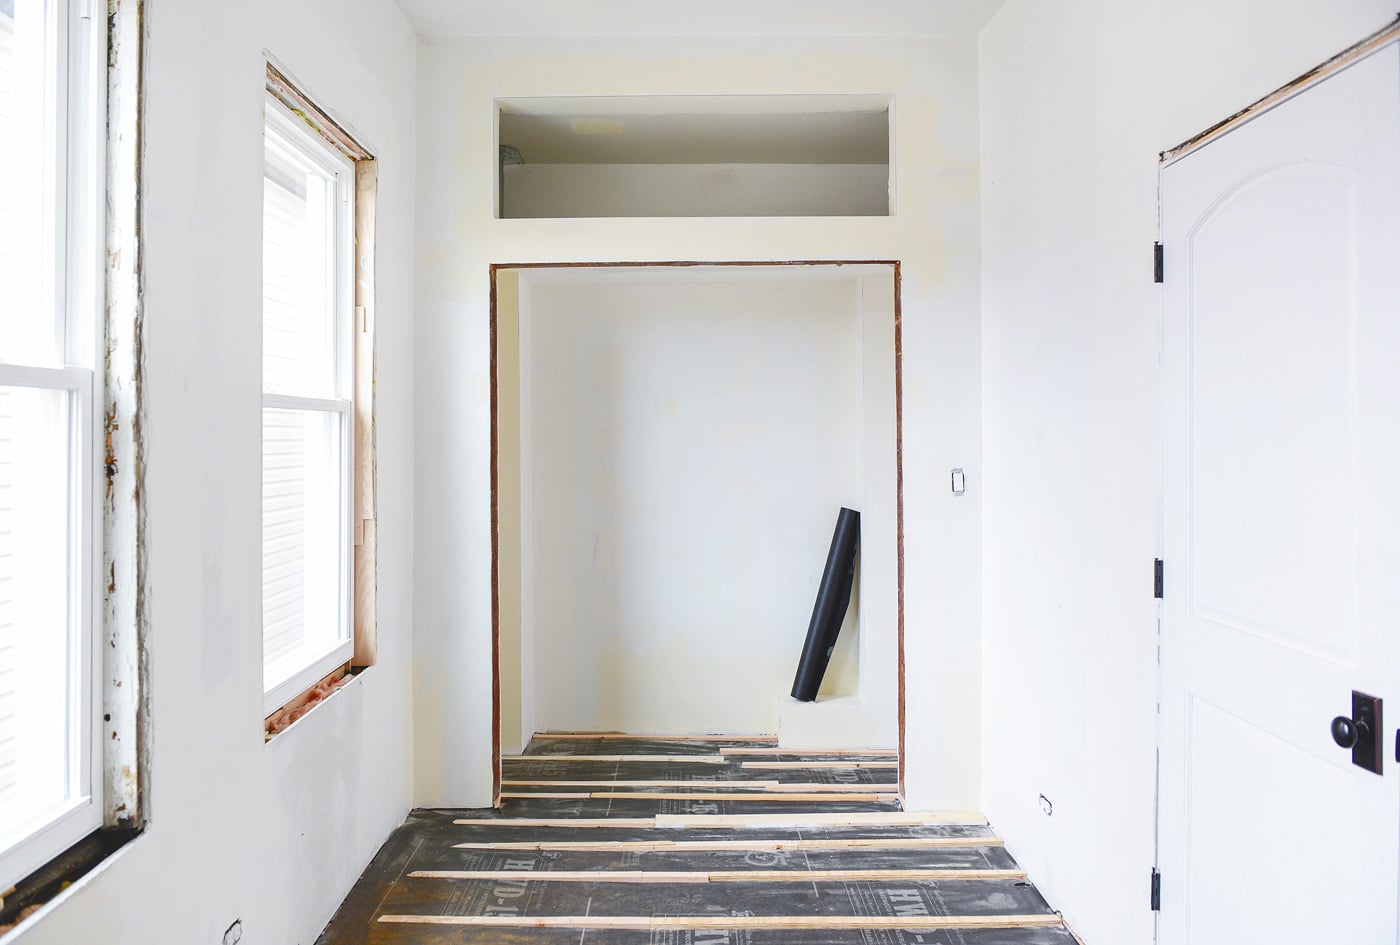
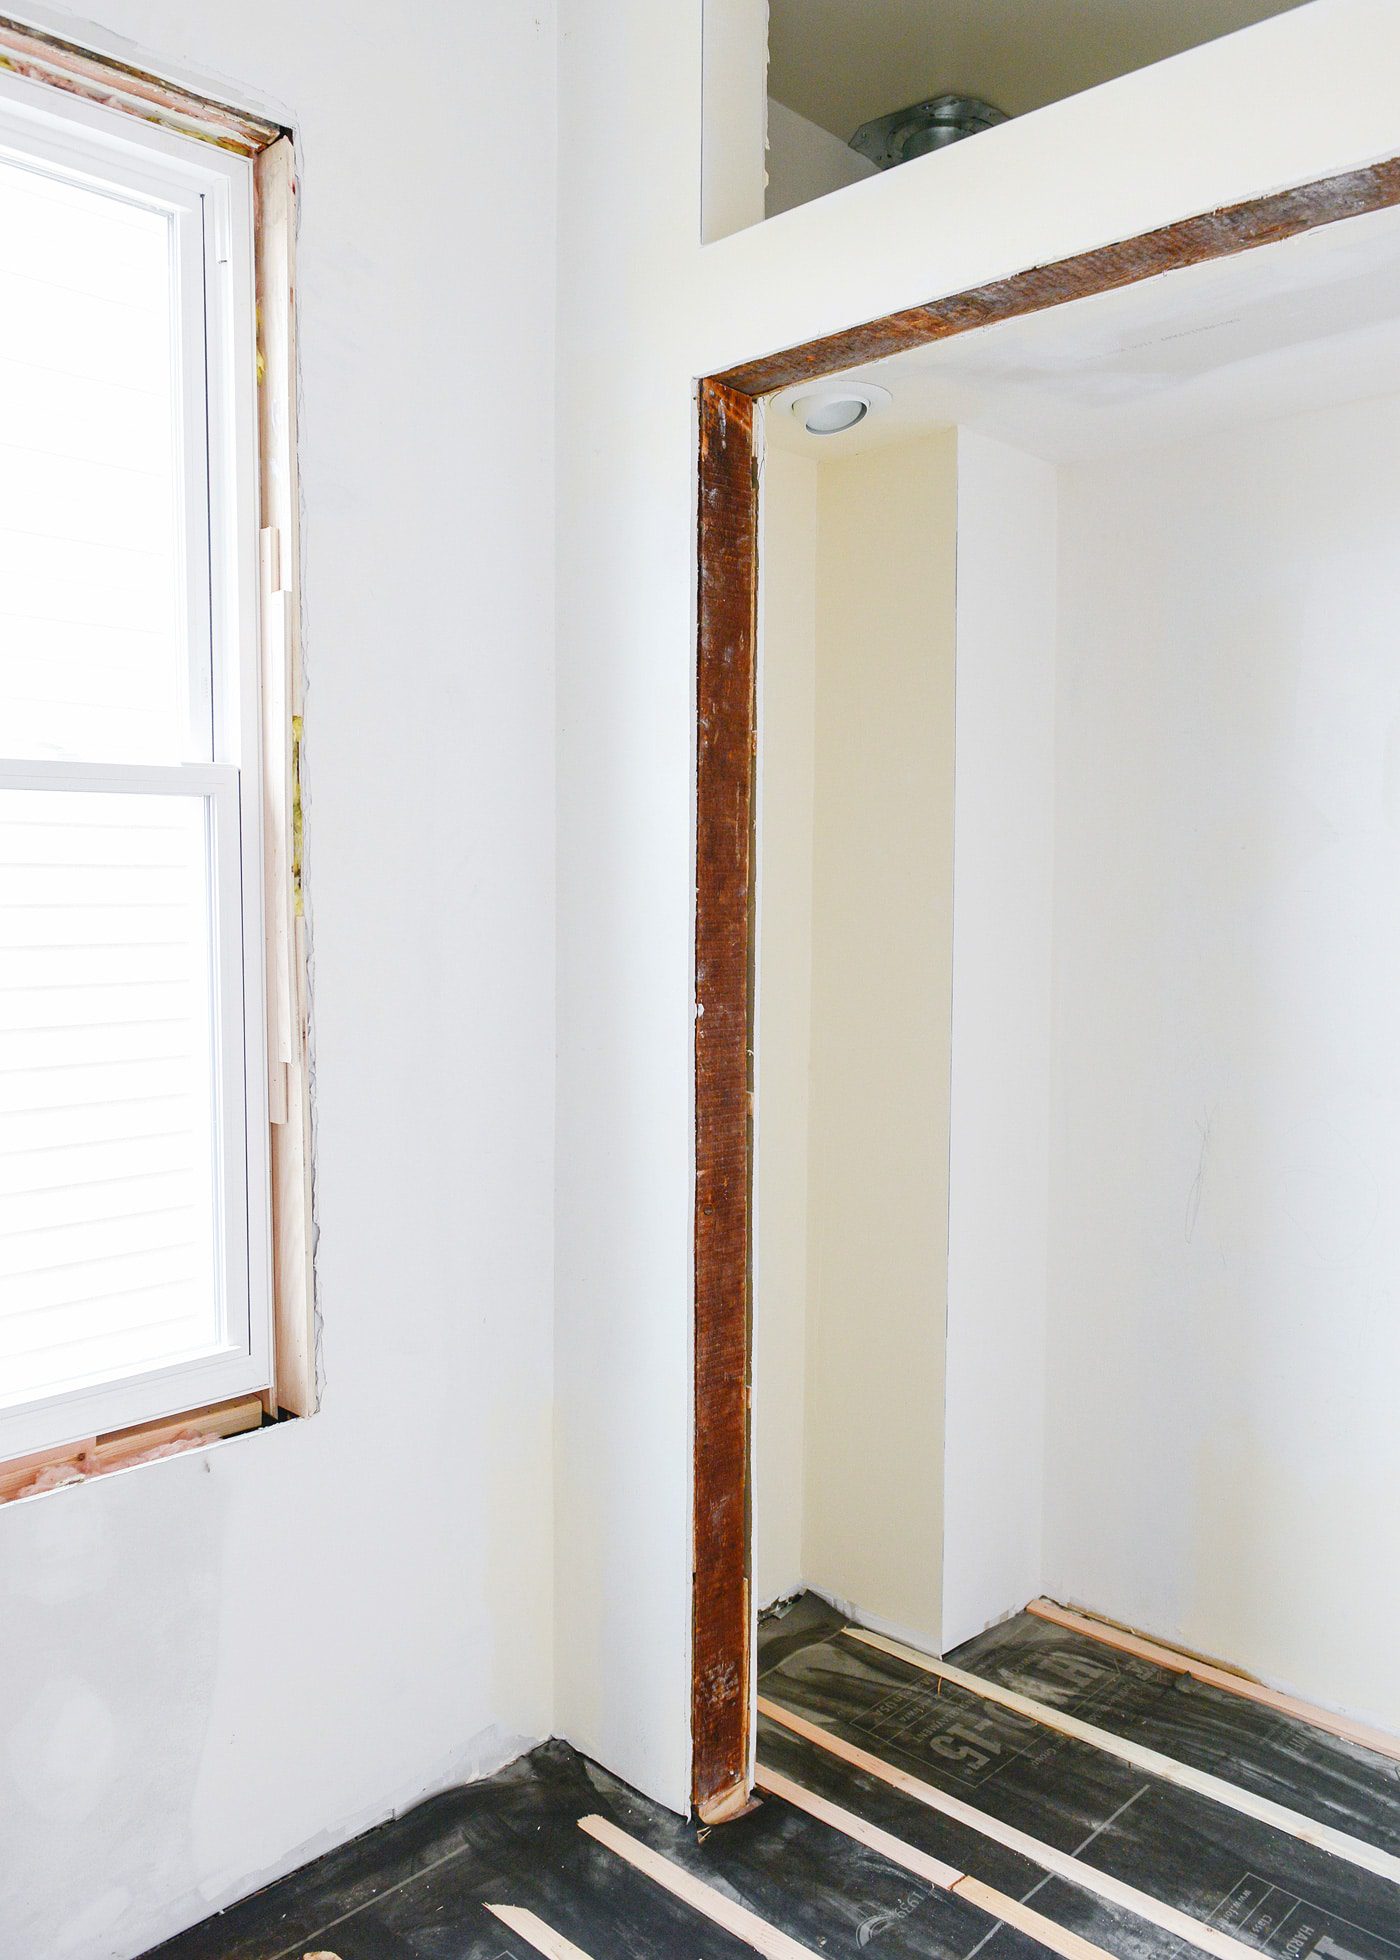
The closet saw one of the most noticeable transformations. What was once an off-centered opening with a crazy tall (and therefore, inaccessible) ceiling is now nice and wide. The furnace vent and gas line were properly framed and drywalled, and we’re taking those lemons and, eventually, we’ll be turning them into deep shelves on either side of the closet. The ceiling was lowered, which makes way for a pair of these 24″ deep cabinets from the Newport White line, and then this whole wall will be trimmed out to look like it’s always been that way!
Because we wanted as small of a gap as possible between the closet open and upper cabinetry, we didn’t have enough height to install closet lighting in the center of its ceiling. Instead, we added two recessed lights on either side of where the cabinetry will sit:
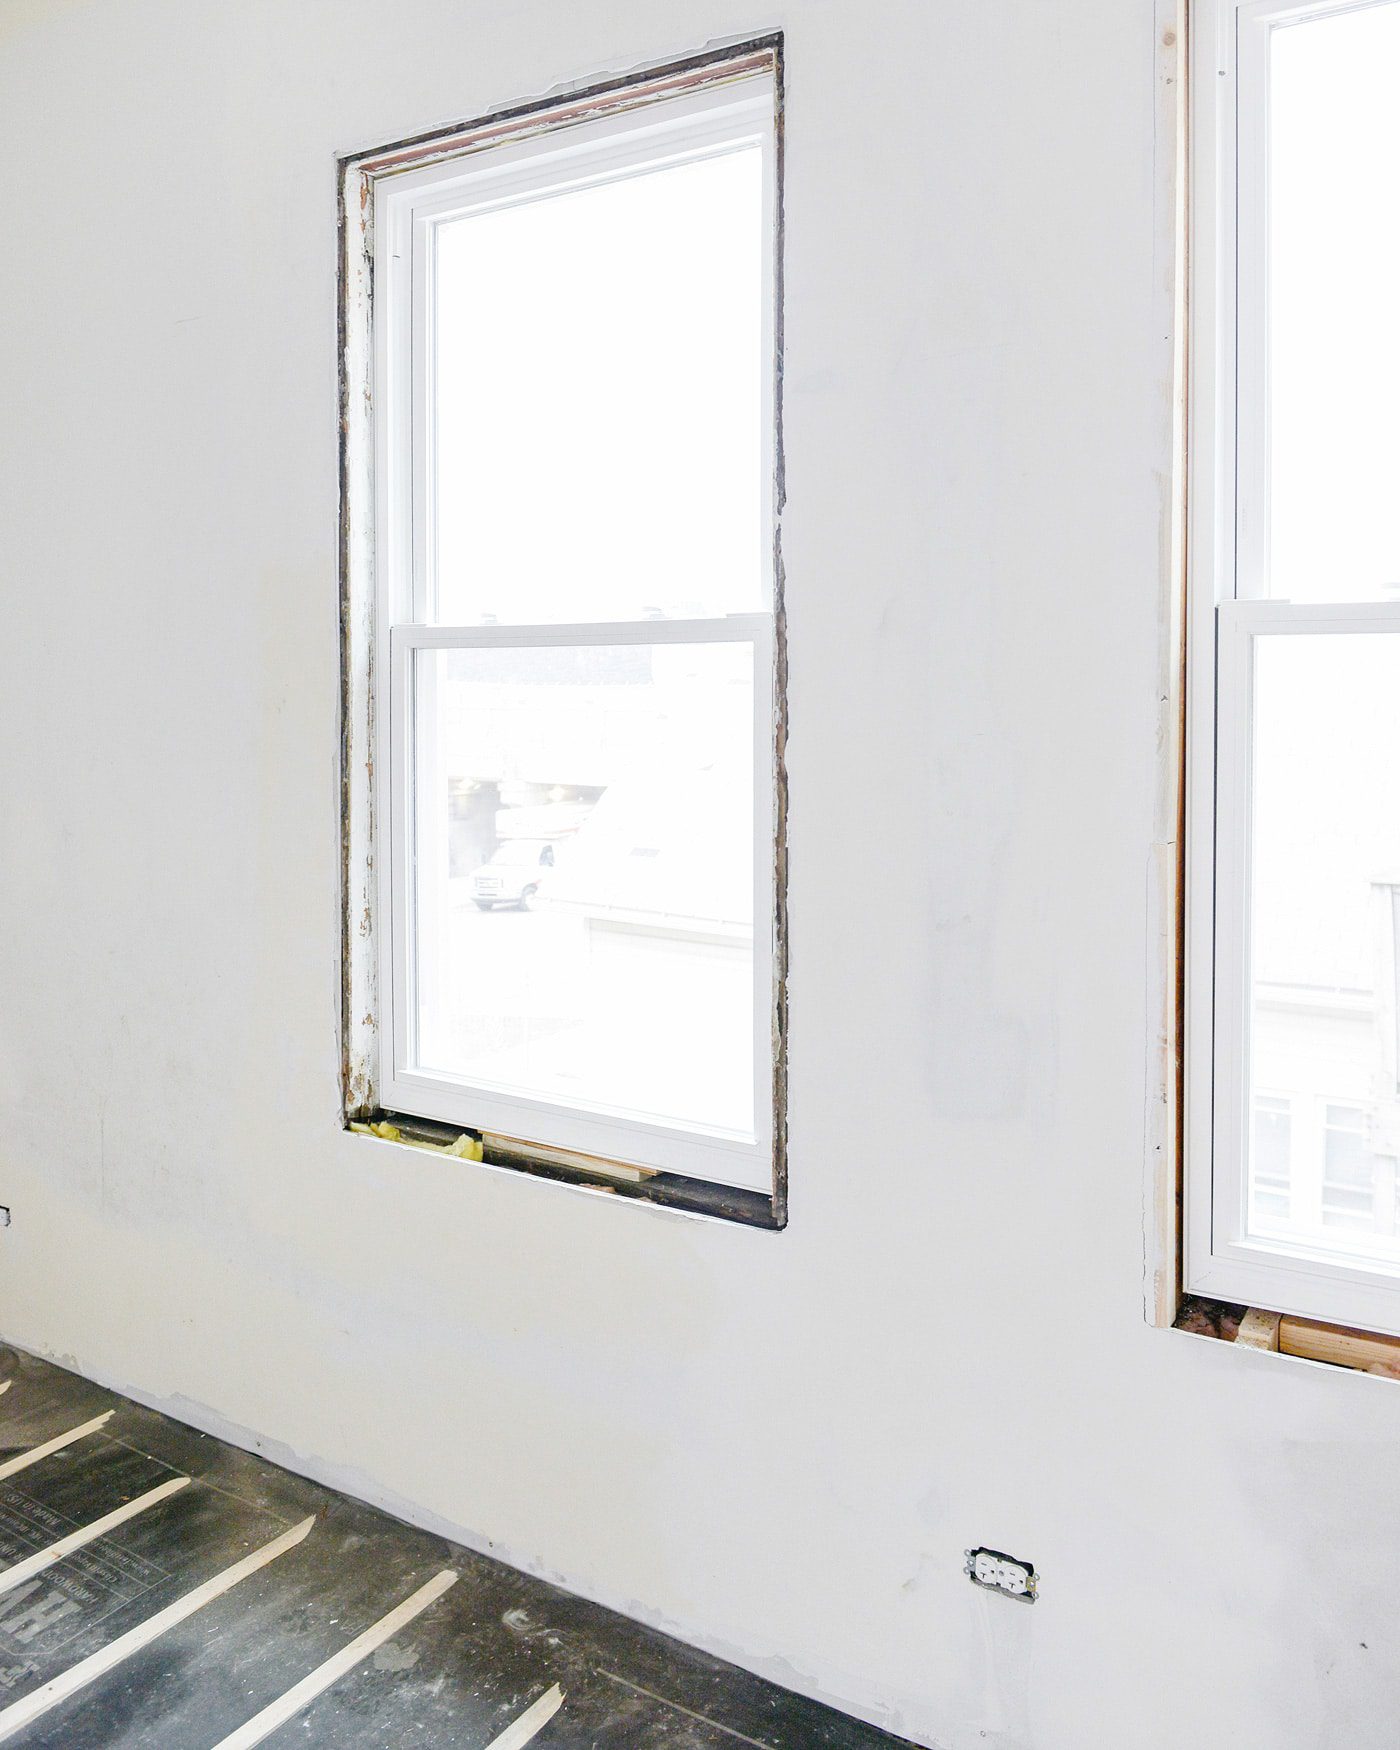
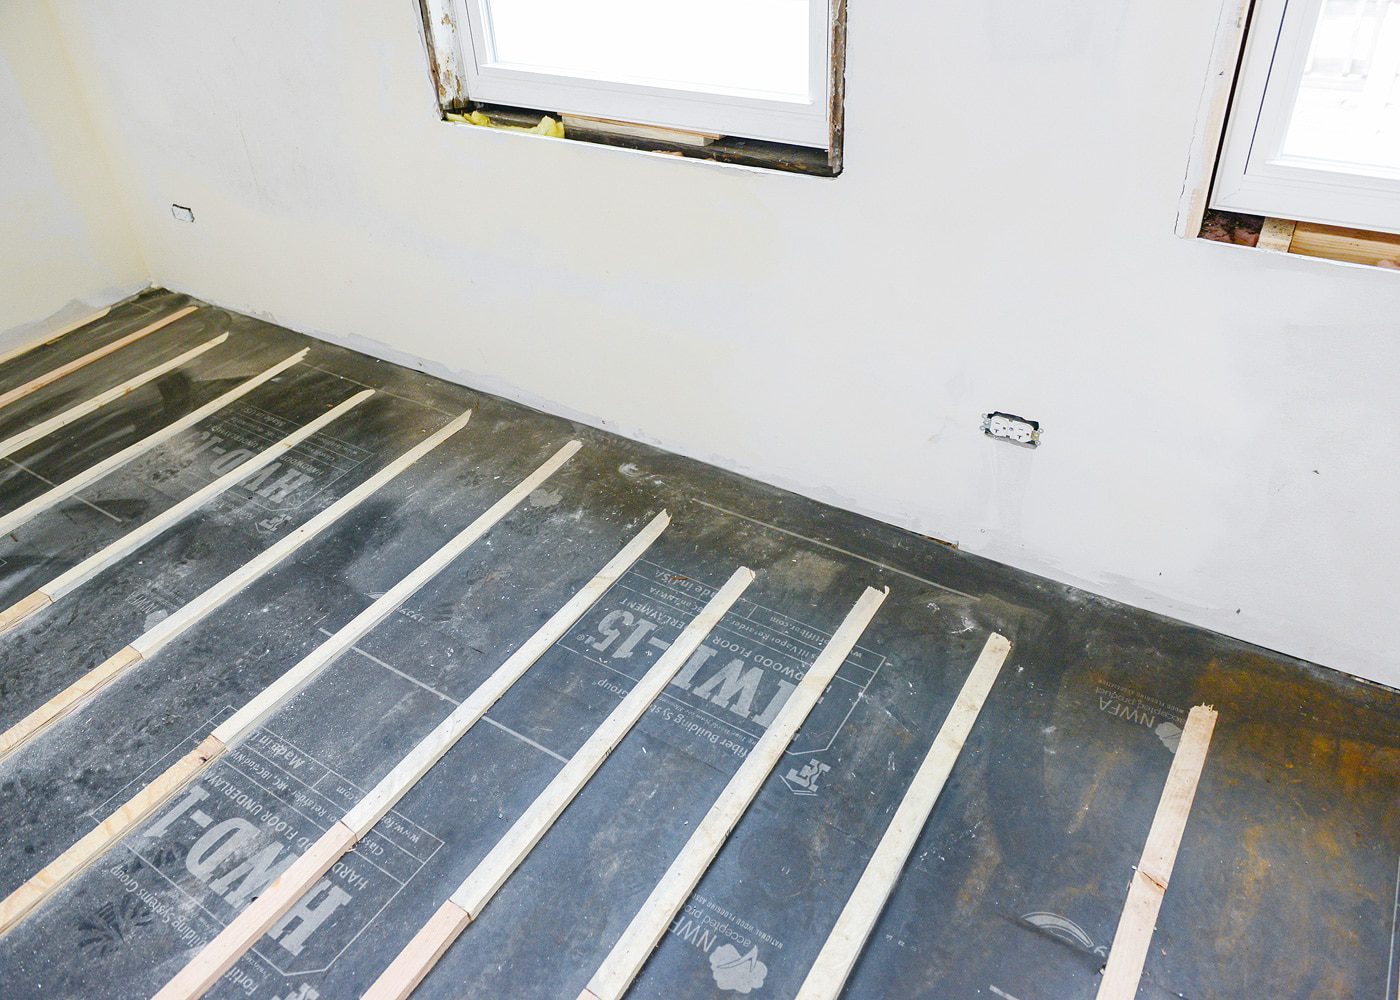
New windows replaced the low quality ones that were once there, and all the drywall was patched where we pulled off the trim. You might remember that the trim was sitting flush against the drywall, due to a drywall-over-plaster job that was done at some point in this home’s history. Now, we have a blank slate that will allow our trim to shine! Throughout the room, holes were patched and rough spots were skimmed over, and the walls are as close to perfect as they can be in a 130-year-old house.
Below, you can see all those glorious electrical outlets! More notably, however, are the shims that run across the length of the room. You can see that on the left, the shims are at their highest, and on the right, they skim down to nothing. (Yes, our room is that unlevel!) In the center of the room, the shims are spaced about 8″ apart, and they taper out to no more than 12″ apart inside the closet and on the opposite wall. When we go to install our hardwood flooring, it should be a pretty close match to what’s on the other side of The Scary Room door.
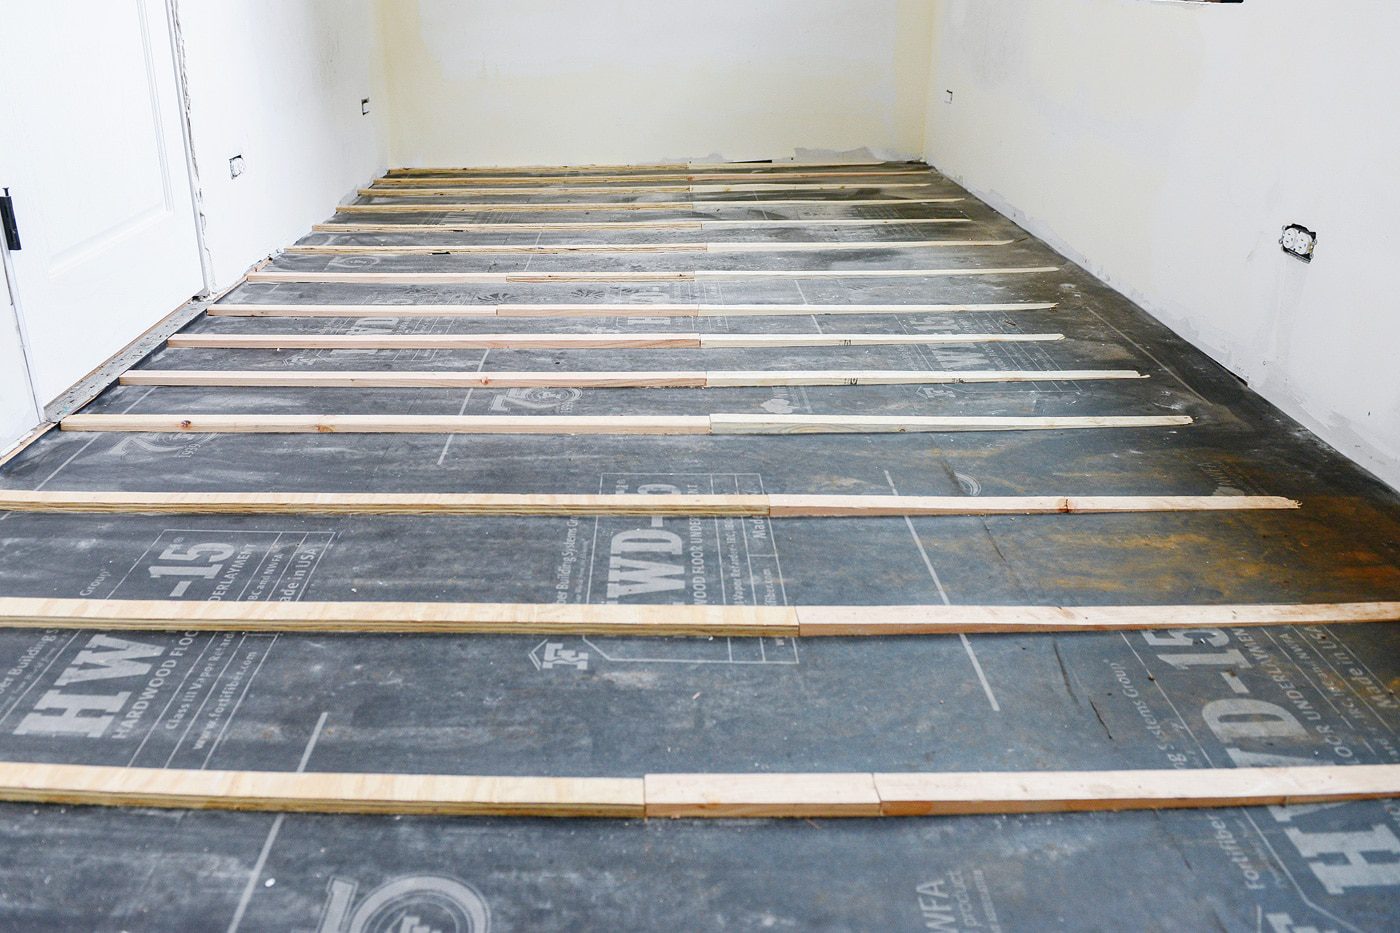
We’d like to give all the walls a fresh coat of paint before we lay down the floor, or at the very least to give us a blank canvas. In the meantime, we’ll be picking up the hardwood flooring so that it can began to acclimate to our home’s temperature. Not to get ahead of ourselves, but soon enough, it won’t be so bad to leave that door open every now and then!


It’s coming along! Our kitchen cabinets are shimmed a sloping 1-1/4″ over 8 feet. If anyone drops a bag of marbles in our kitchen, we will just wait a minute until they all roll over to the low spot by the entry door. They will be easy to collect then. :D
We hear that! This floor was sloped by about 3/4″, which isn’t as bad as the studio – even after the floor joists were raised! Still, you gotta love that old house charm.
This is so exciting! My home projects are stalled until summer when my husband gets a break from nursing school but watching others make such significant progress is helping me make it till May!
Silly question, if we have multiple baths AND a kitchen that could all use a makeover…can we enter multiple times for each space?
Not a silly question! Because we can only do one room, choose the one you think your family needs the most right now. I think it would be better to focus on one space than have too many photos of different spaces, and I don’t believe the application will allow you to apply twice. Good luck!
Looking good! That’s a pretty amazing amount of progress in a short period of time, and I can totally visualize how the room will look finished. One question about the shims– do you need to nail the new flooring right to the shims? I was concerned at first that there’d be flex in the floor because the new stuff would be flush to the subfloor, but then I remembered you were doing tongue in groove solid hardwood and not a crappy product like Pergo.
I am SO excited about your project with CLJ and Daniel! Do you know if something like replacing a bathtub is too big of a job? Trying to decide between kitchen and bathroom. Though honestly, I don’t think five people could even fit in one of my bathrooms, so maybe that makes the question a no-brainer! LOL
Hi, Lori! Yup, the hardwood flooring will get nailed into the shims, and we’ll have to try to have the ends stop/start on a shim, too. Otherwise, we’ll just need to add more shims at a stop/start and level along the way. It’ll make the job a little trickier, but fingers crossed, still doable!
And we’re just as excited! I don’t think replacing a tub would be a big deal at all, if that helps with your decision. :)
This room is coming together fast. It’s looking amazing already!
Paige Flamm
The Happy Flammily
http://bit.ly/2jEd6V2
Thank you for being able to squint through the process and see the potential with us :D
This already looks SO. MUCH. BETTER! I’m so excited to see that closet come to life. You have done some serious problem-solving with that space and it’s going to look so much better, too!
What a difference already! I’m excited to see how this room turns out. (I’m also super excited to submit my guest bathroom for the Lowe’s Makeover!)
Oh, dang. This looks SO GREAT. You guys are seriously making awesome progress.
Also, thanks for the link for the giveaway- I forwarded to my parents. They’ve been living in this house for almost 15 years and haven’t been able to do much of the work they wanted to, and this could be such a good treat for them.
If you can cut into the wall above the closet to add cupboards why can’t you raise the ceiling?
The inside of the closet has a height of 108″, and once we added the support for the cabinets, we were able to juuuuuust fit in within that 108″ allowance. We maxed out every last inch we could!
This looks like it’s coming along beautifully. Can’t wait to see it finished! Just wondering… Why aren’t you doing thinner shims and adding a new subfloor on top to be able to nail your hardwood in easily? Thanks!
Good question, I asked our GC the same thing! Because one side of the room needs NO shimming, if we add a layer of plywood subfloor, that will automatically create our hardwood flooring to be taller than the flooring on the other side of the door, unfortunately. The side of the room with almost zero shim still has the original subfloor underneath that we can work with.
Can’t stump you. You guys think of everything! Which is why you always have s beautiful finished product!!
I love it already! The shims are such a good idea I never thought of that. when I stand in our second bedroom it is noticeably slanted (wish we had done this!)
OMG all 3 of you teaming up for one project!? be still my little design heart! I submitted my kitchen this morning and can’t wait to find out who gets chosen. No matter who it is, it is going to be fun to see the transformation!
I, too, am intrigued by flooring going directly on top of shims! No concern of “bounce” or bowing over time in between, especially where 12″ apart? (I suspect close enough there is no such issue?)
Normally, the shims could be spaced 16″ apart. However, to fully ensure there wouldn’t be any bowing, they’re 8″ apart in the center of the room (where it will get the most traffic), and 12″ max inside the closet and along the wall where a bed would be. I was worried about this as well, but our contractor assured us that this was completely normal in older homes! I even asked our friend Daniel who’s an old-house-master. :) Our flooring is 3/4″ thick, which will help as well, so we feel confident moving forward.
What kind of replacement windows do you guys use?
We purchased ClimateGuard windows, and I believe they’re the UltraView double hung: http://climateguardwindows.com/windows/window-types/double-hung-windows/
Knowing someone else’s house is just as slanted as mine makes me feel so much better, and I will be following along on this project to learn how to fix my own place! Will there be a step down to the studio from raising the floor in the bedroom?
There will be the most minimal transition from the studio to the bedroom, hopefully! The high side should meet up to the studio nicely, due to the shims. Fingers crossed!
I hate hate hate to be that nitpicky person, but you’re using “Punch List” wrong and it’s driving me batty! Punch List is created at the close-out of a project, it’s the list of items that were not completed to contract and need to be addressed before the entire project is considered complete. Things like paint touch-ups, caulking, aligning cabinet doors. What you’re talking about is the Scope of Work.
Sorry to be “that person,” but… you know.
Love your blog, love your work! Things like this just get under my skin!