

There’s a lot happening behind-the-scenes at our Michigan Red House! Here’s what we’re doing to prep for bigger upcoming projects.
In This Post
Behind-the-Scenes
When we left off at the Red House, things were looking much more finished than they do today! The big bathroom was finished at the beginning of the year. The half bath off of the primary bedroom is planned and ready to be executed. The kitchen planning is in the works and we’re finalizing the layout as we speak. Which leads us to… breaking some eggs (cutting open a wall and smashing up the foundation) before we can make an omelette (finish the kitchen)!
The Kitchen
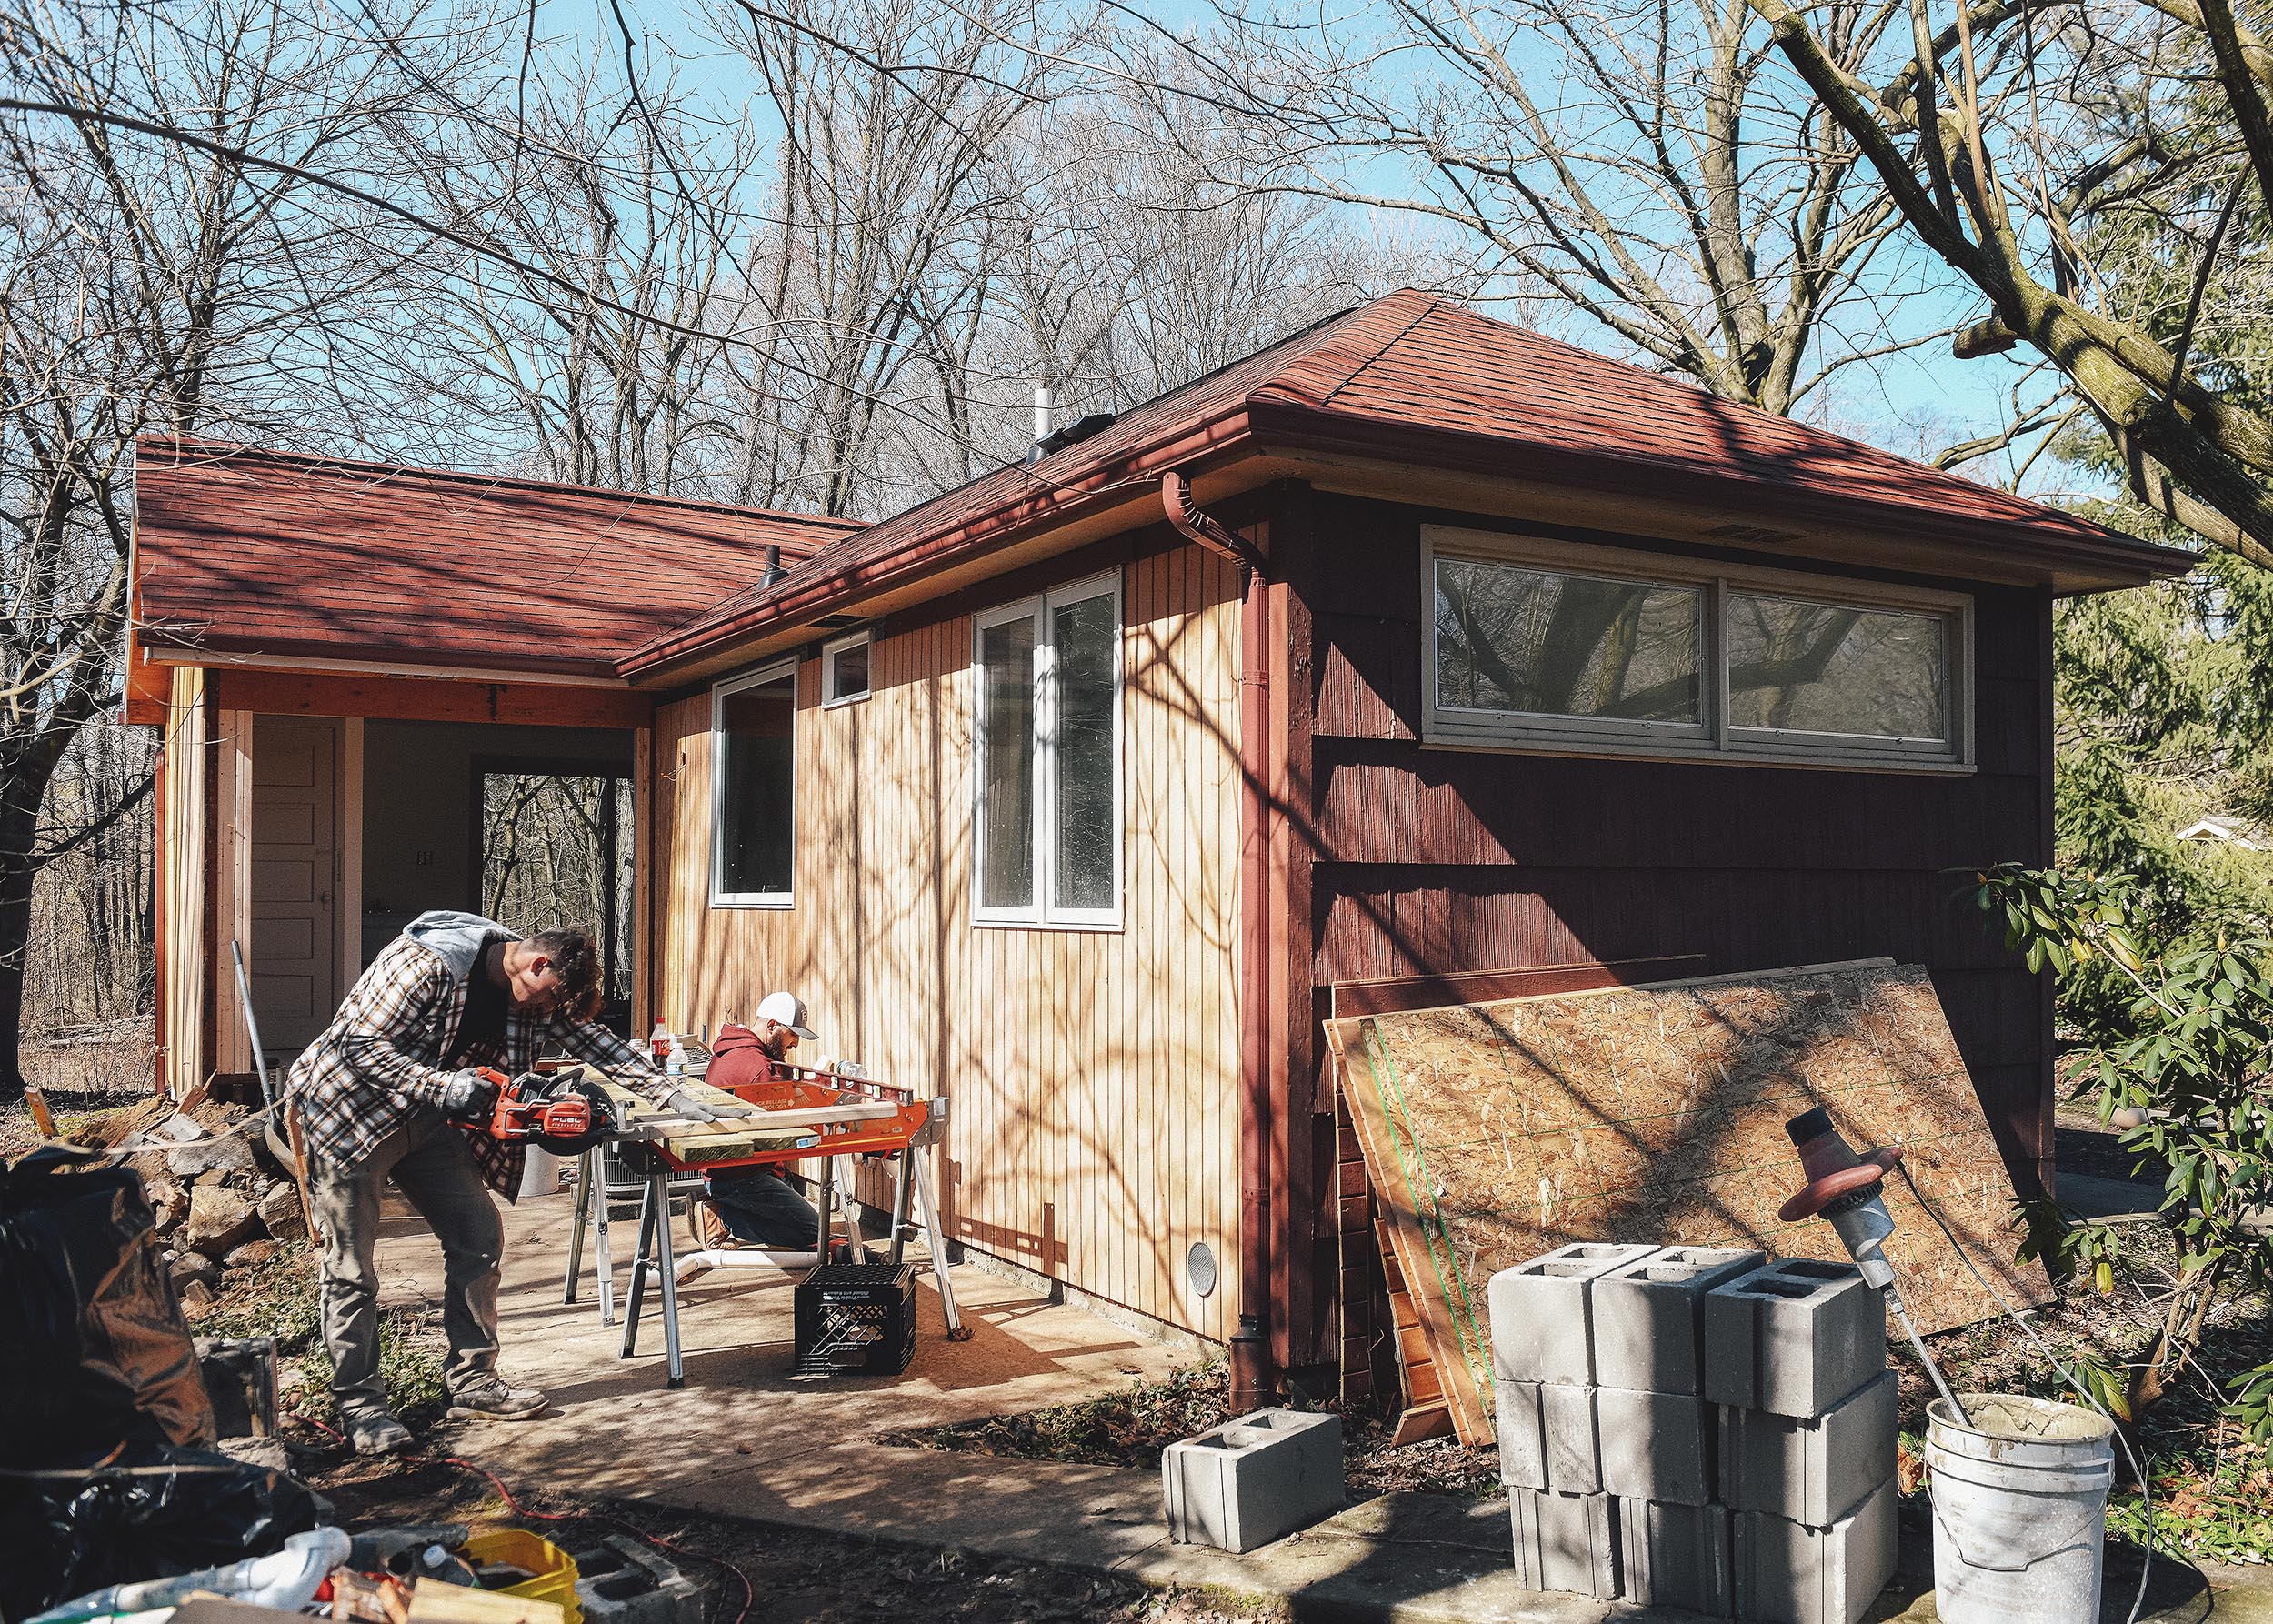
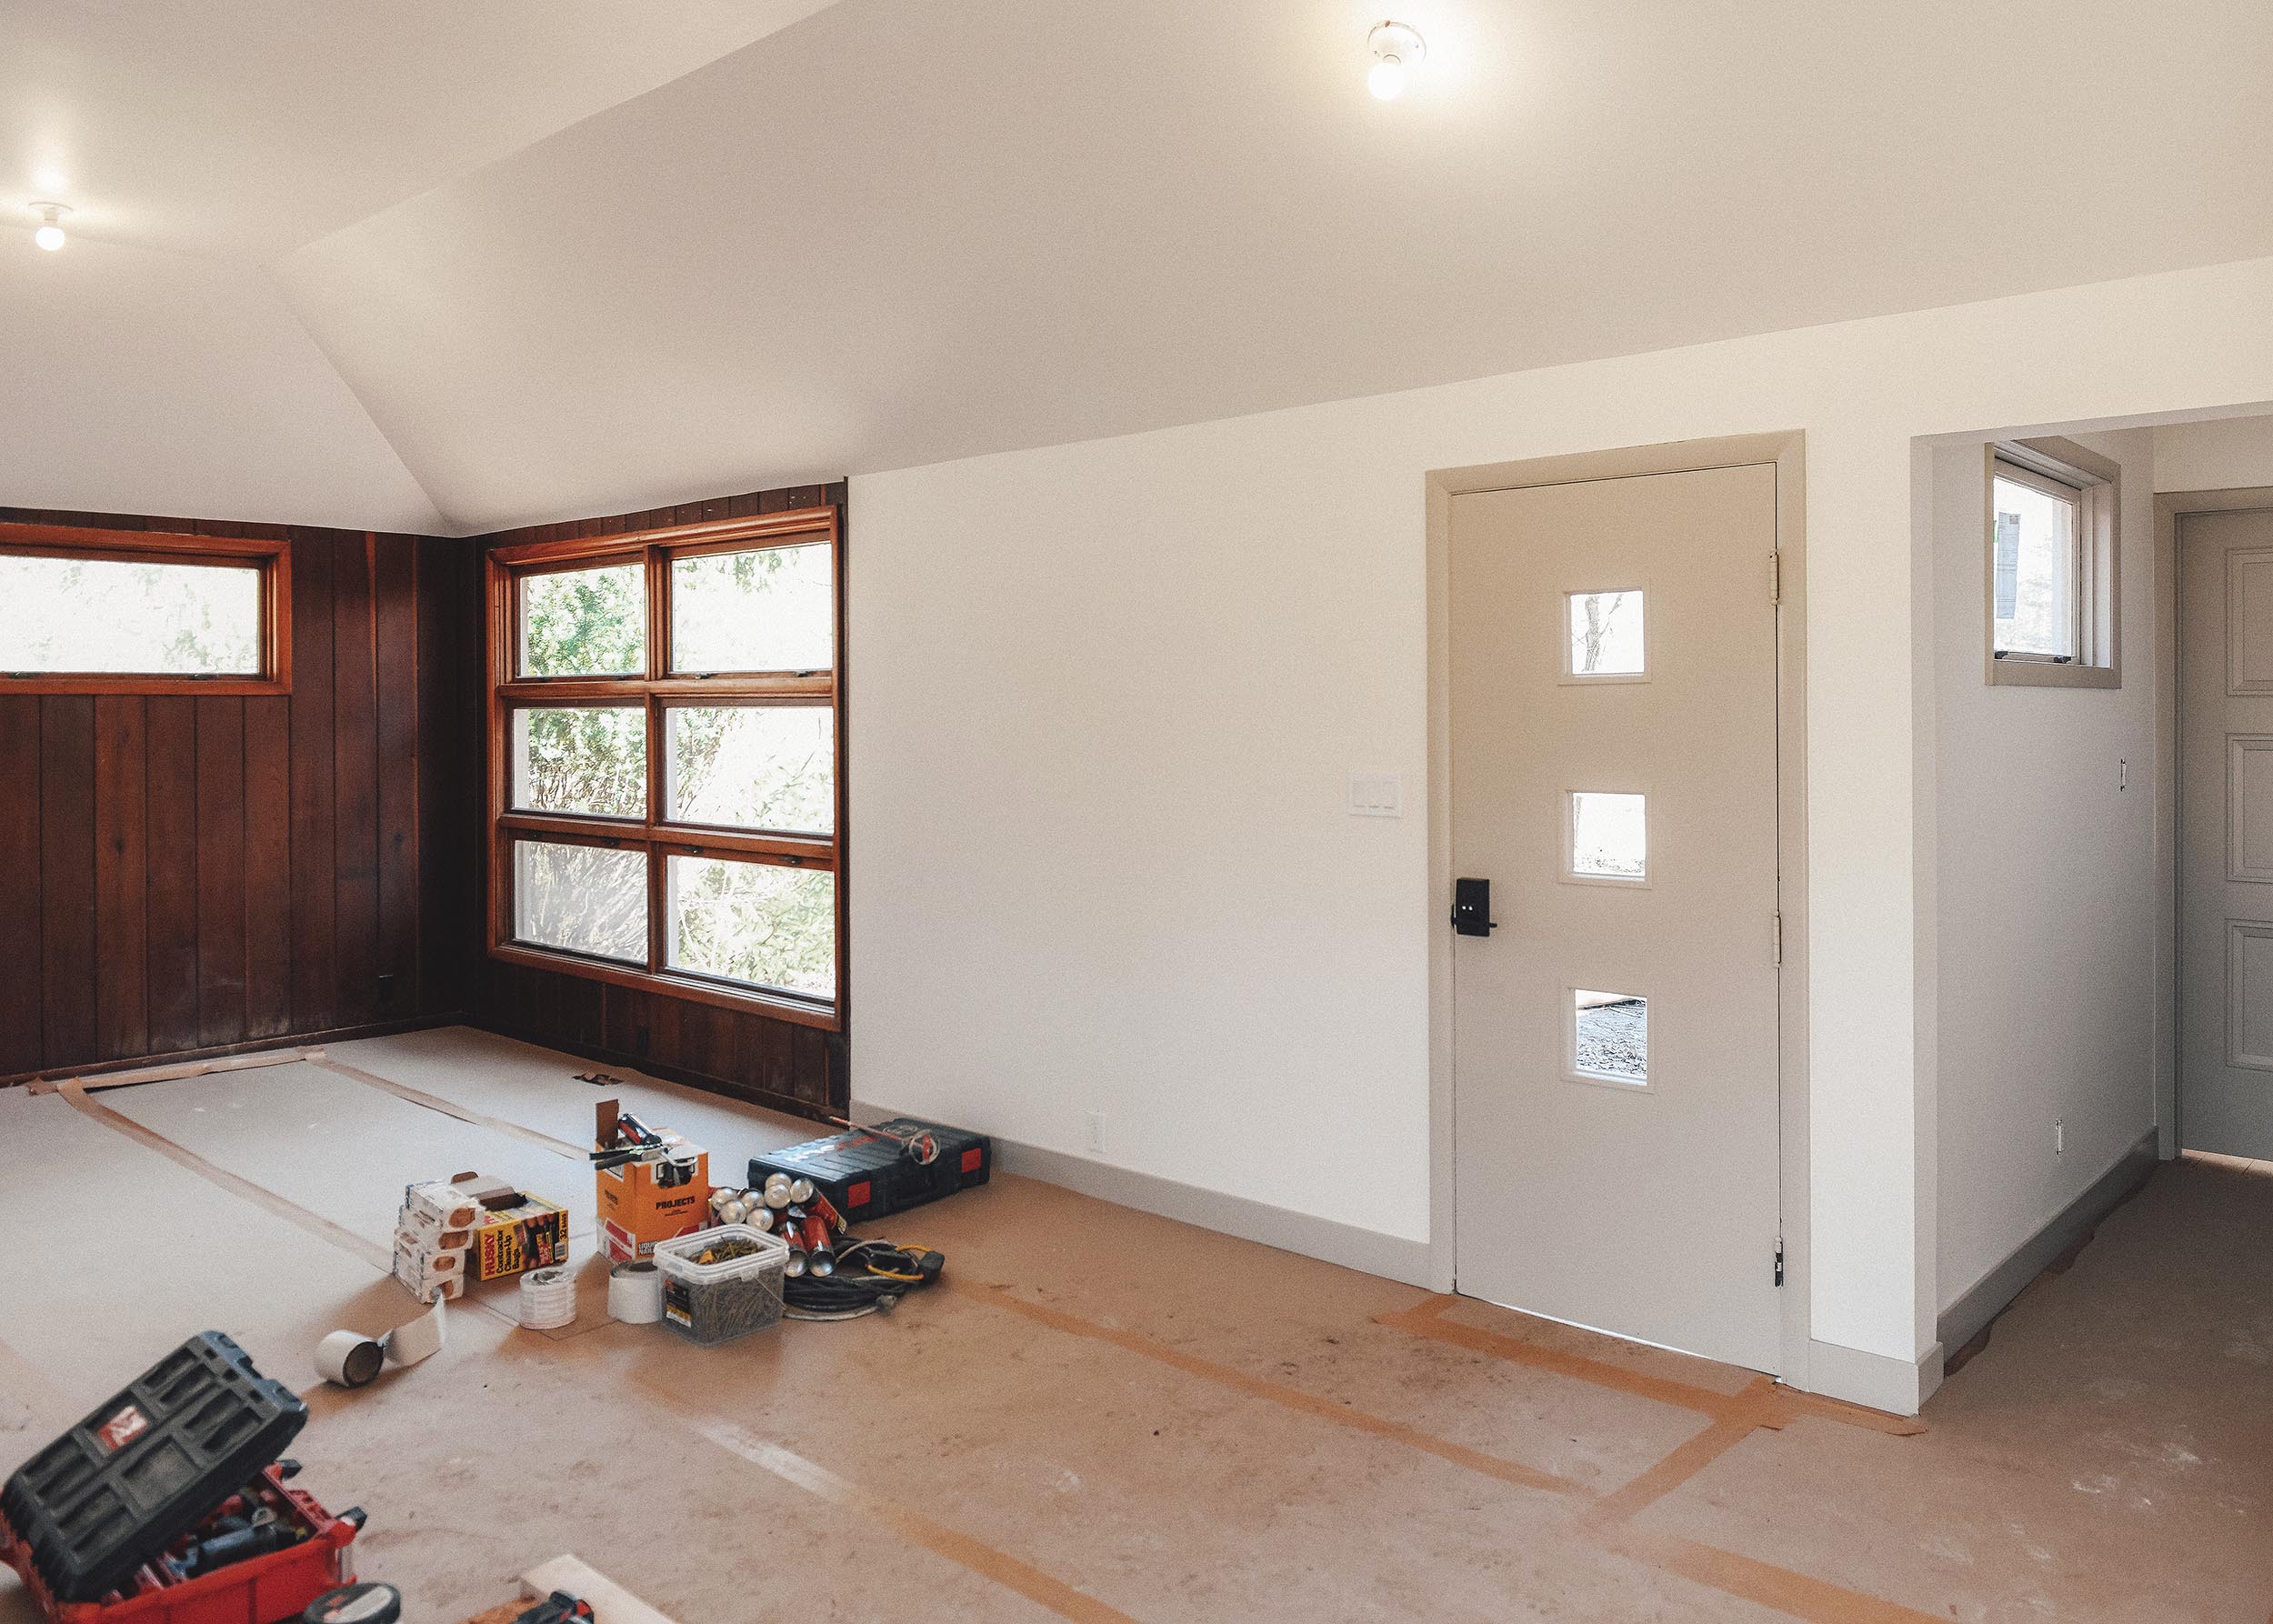
Since we installed the big sliding door at the rear of the house, we now have two points of egress, which is required by code. That shift allowed us to eliminate the awkward door at the end of the kitchen, which means that we can run a length of countertop from the shallow pony wall (foreward of the fridge) all the way to the end of the home.
While it’s not ideal to have the entire corner of the house opened back up with so many finish materials in place, it was always part of the long-term plan. This is the value of working with a reliable, communicative contractor. Our GC understands how we work and helps us plan out the phases of the overall renovation!

The huge opening on the left will house a pair of large, roughly square awning windows in place of the old small window/awkward door combo. The opening on the right will house a third awning window allowing for even better views of the forest outside. We can’t wait to brew our morning coffee at the beverage station in this corner!
Unfortunately, as we did our final walkthrough, our contractor took a bunch of measurements and we realized that this corner of the house had some significant foundation issues that required multiple courses of cinderblock to be removed and re-built. While it’s never ideal to uncover a surprise like this, we’re glad we caught it early and could address the issue promptly and more cost-effectively than if we caught it later after windows and finishes were in place. Now we’ll be building on a perfect foundation that will properly support the weight of our kitchen design.

Again, a big part of the value that an experienced contractor brings to the table is advising on the overall health of the home and providing guidance on recommended repairs in the appropriate order. We’re forever grateful to our guy, Jeremiah, for being one of the best contractors we’ve ever worked with!
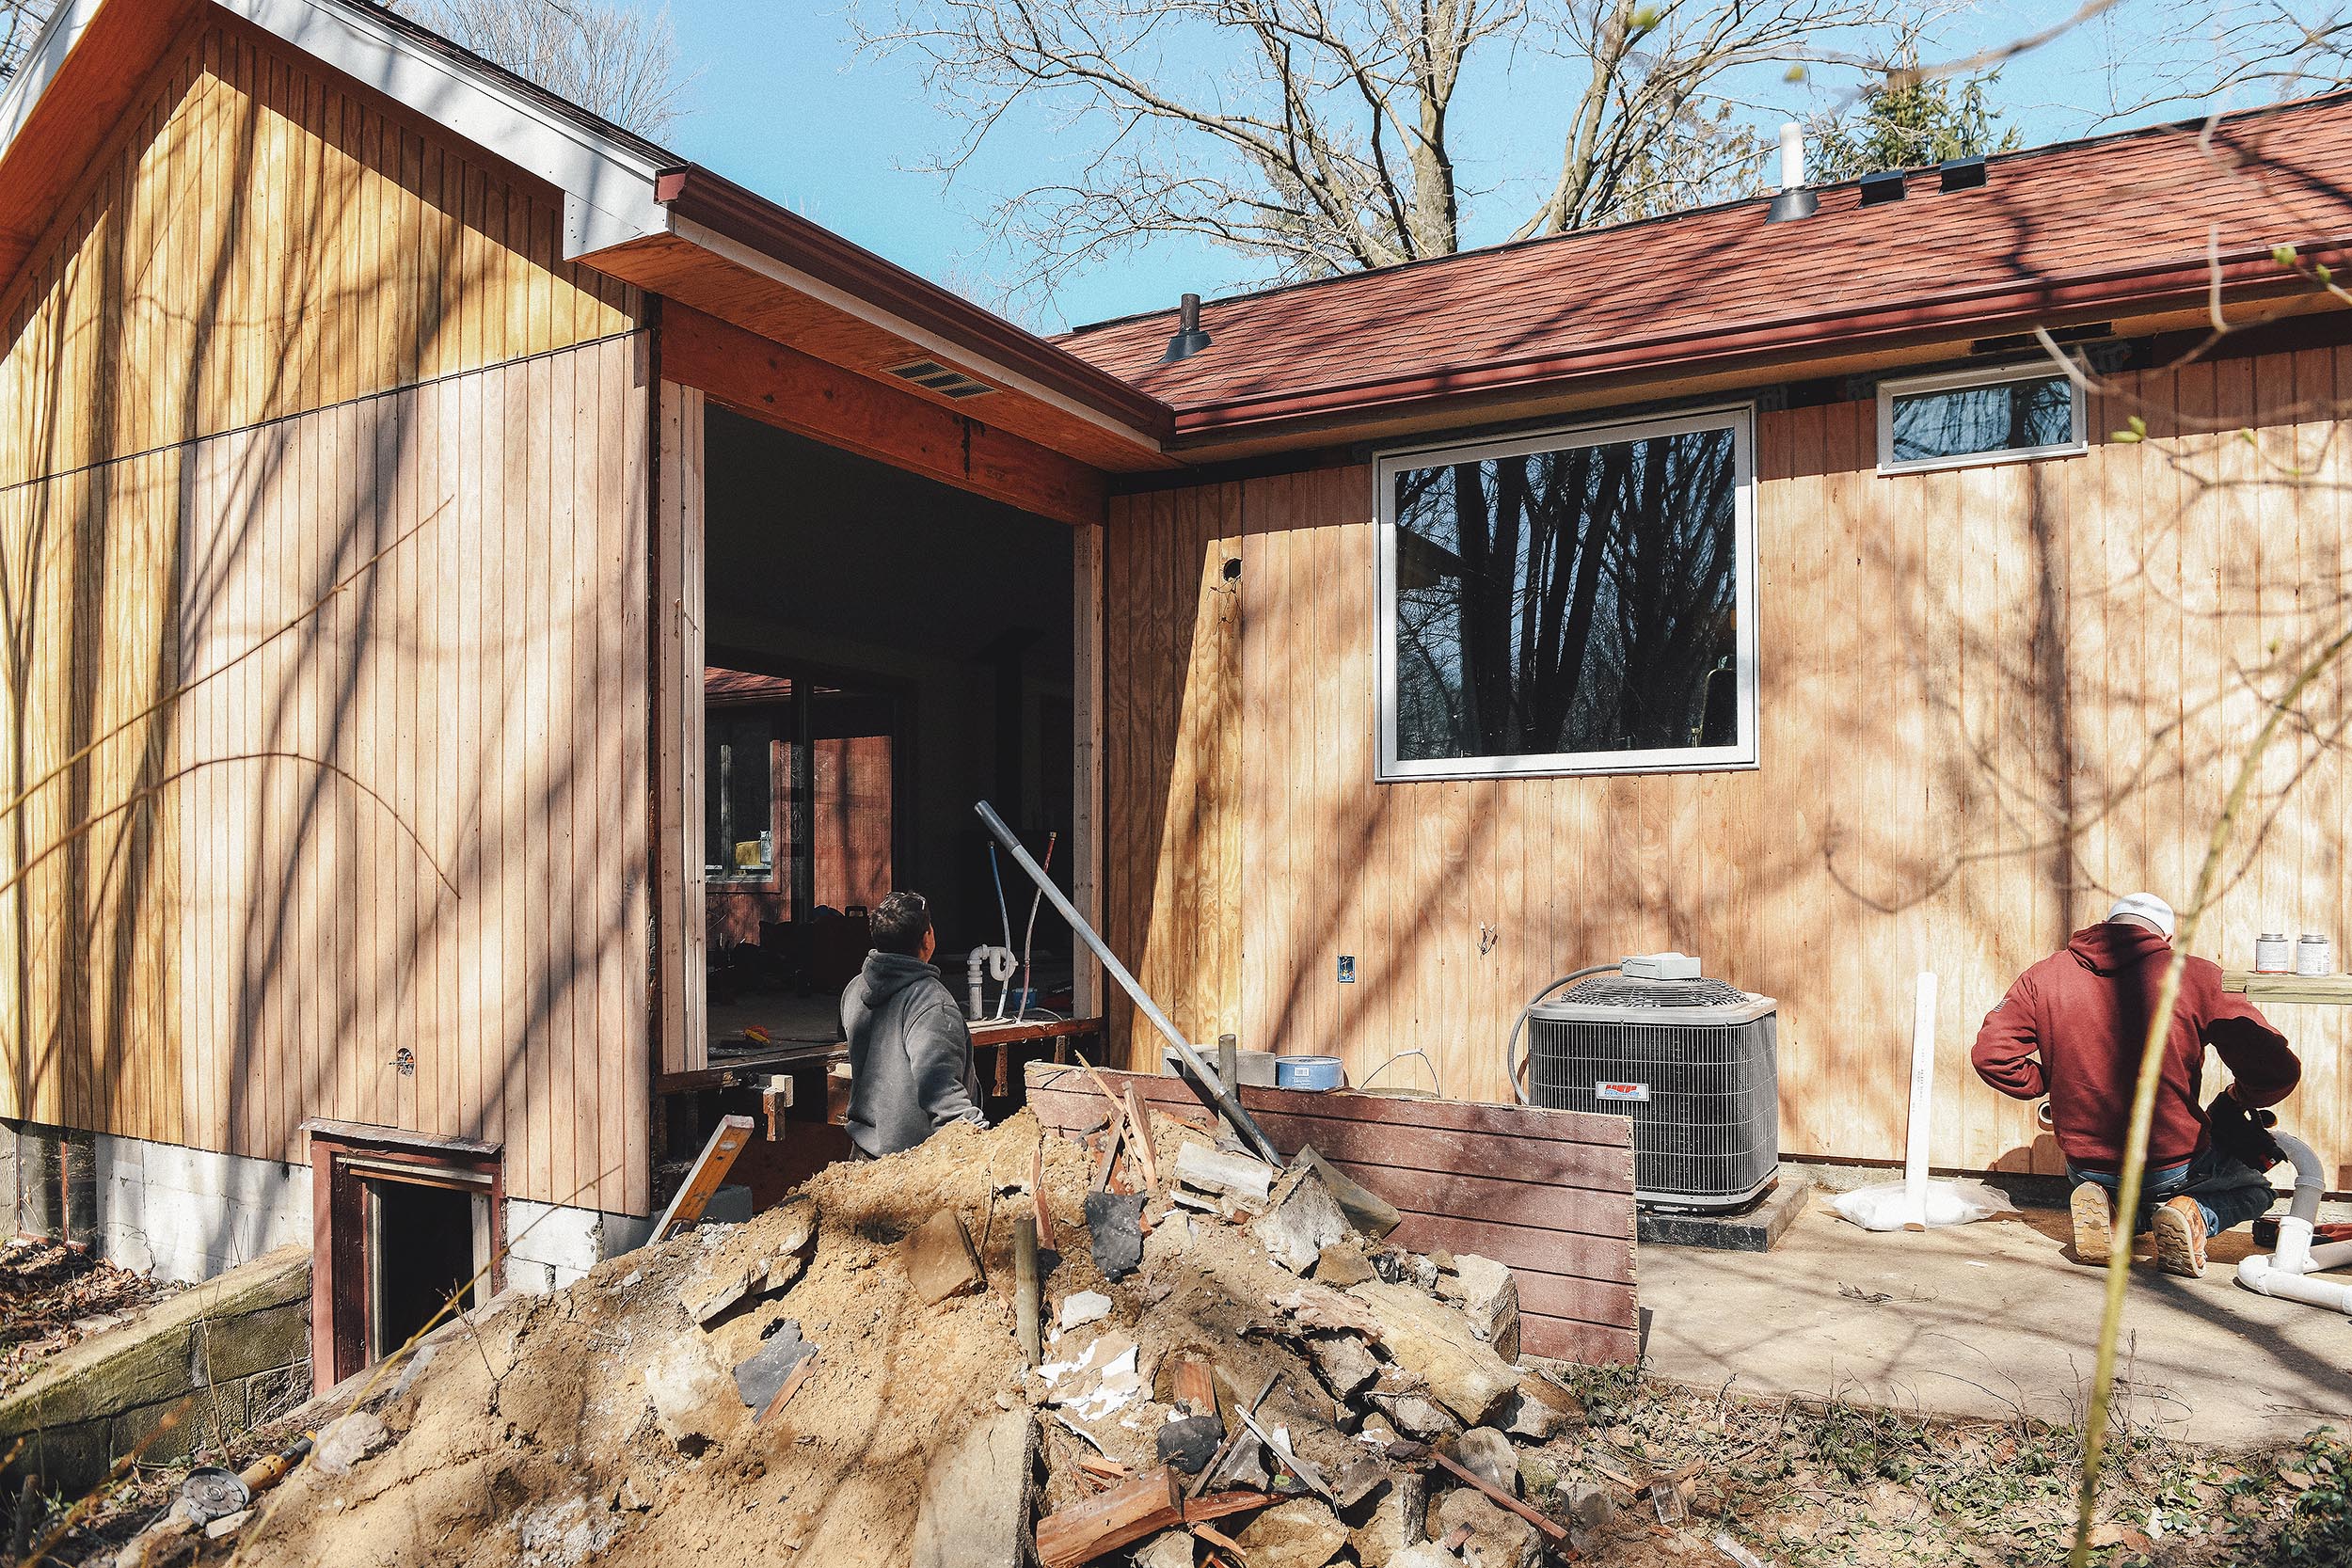
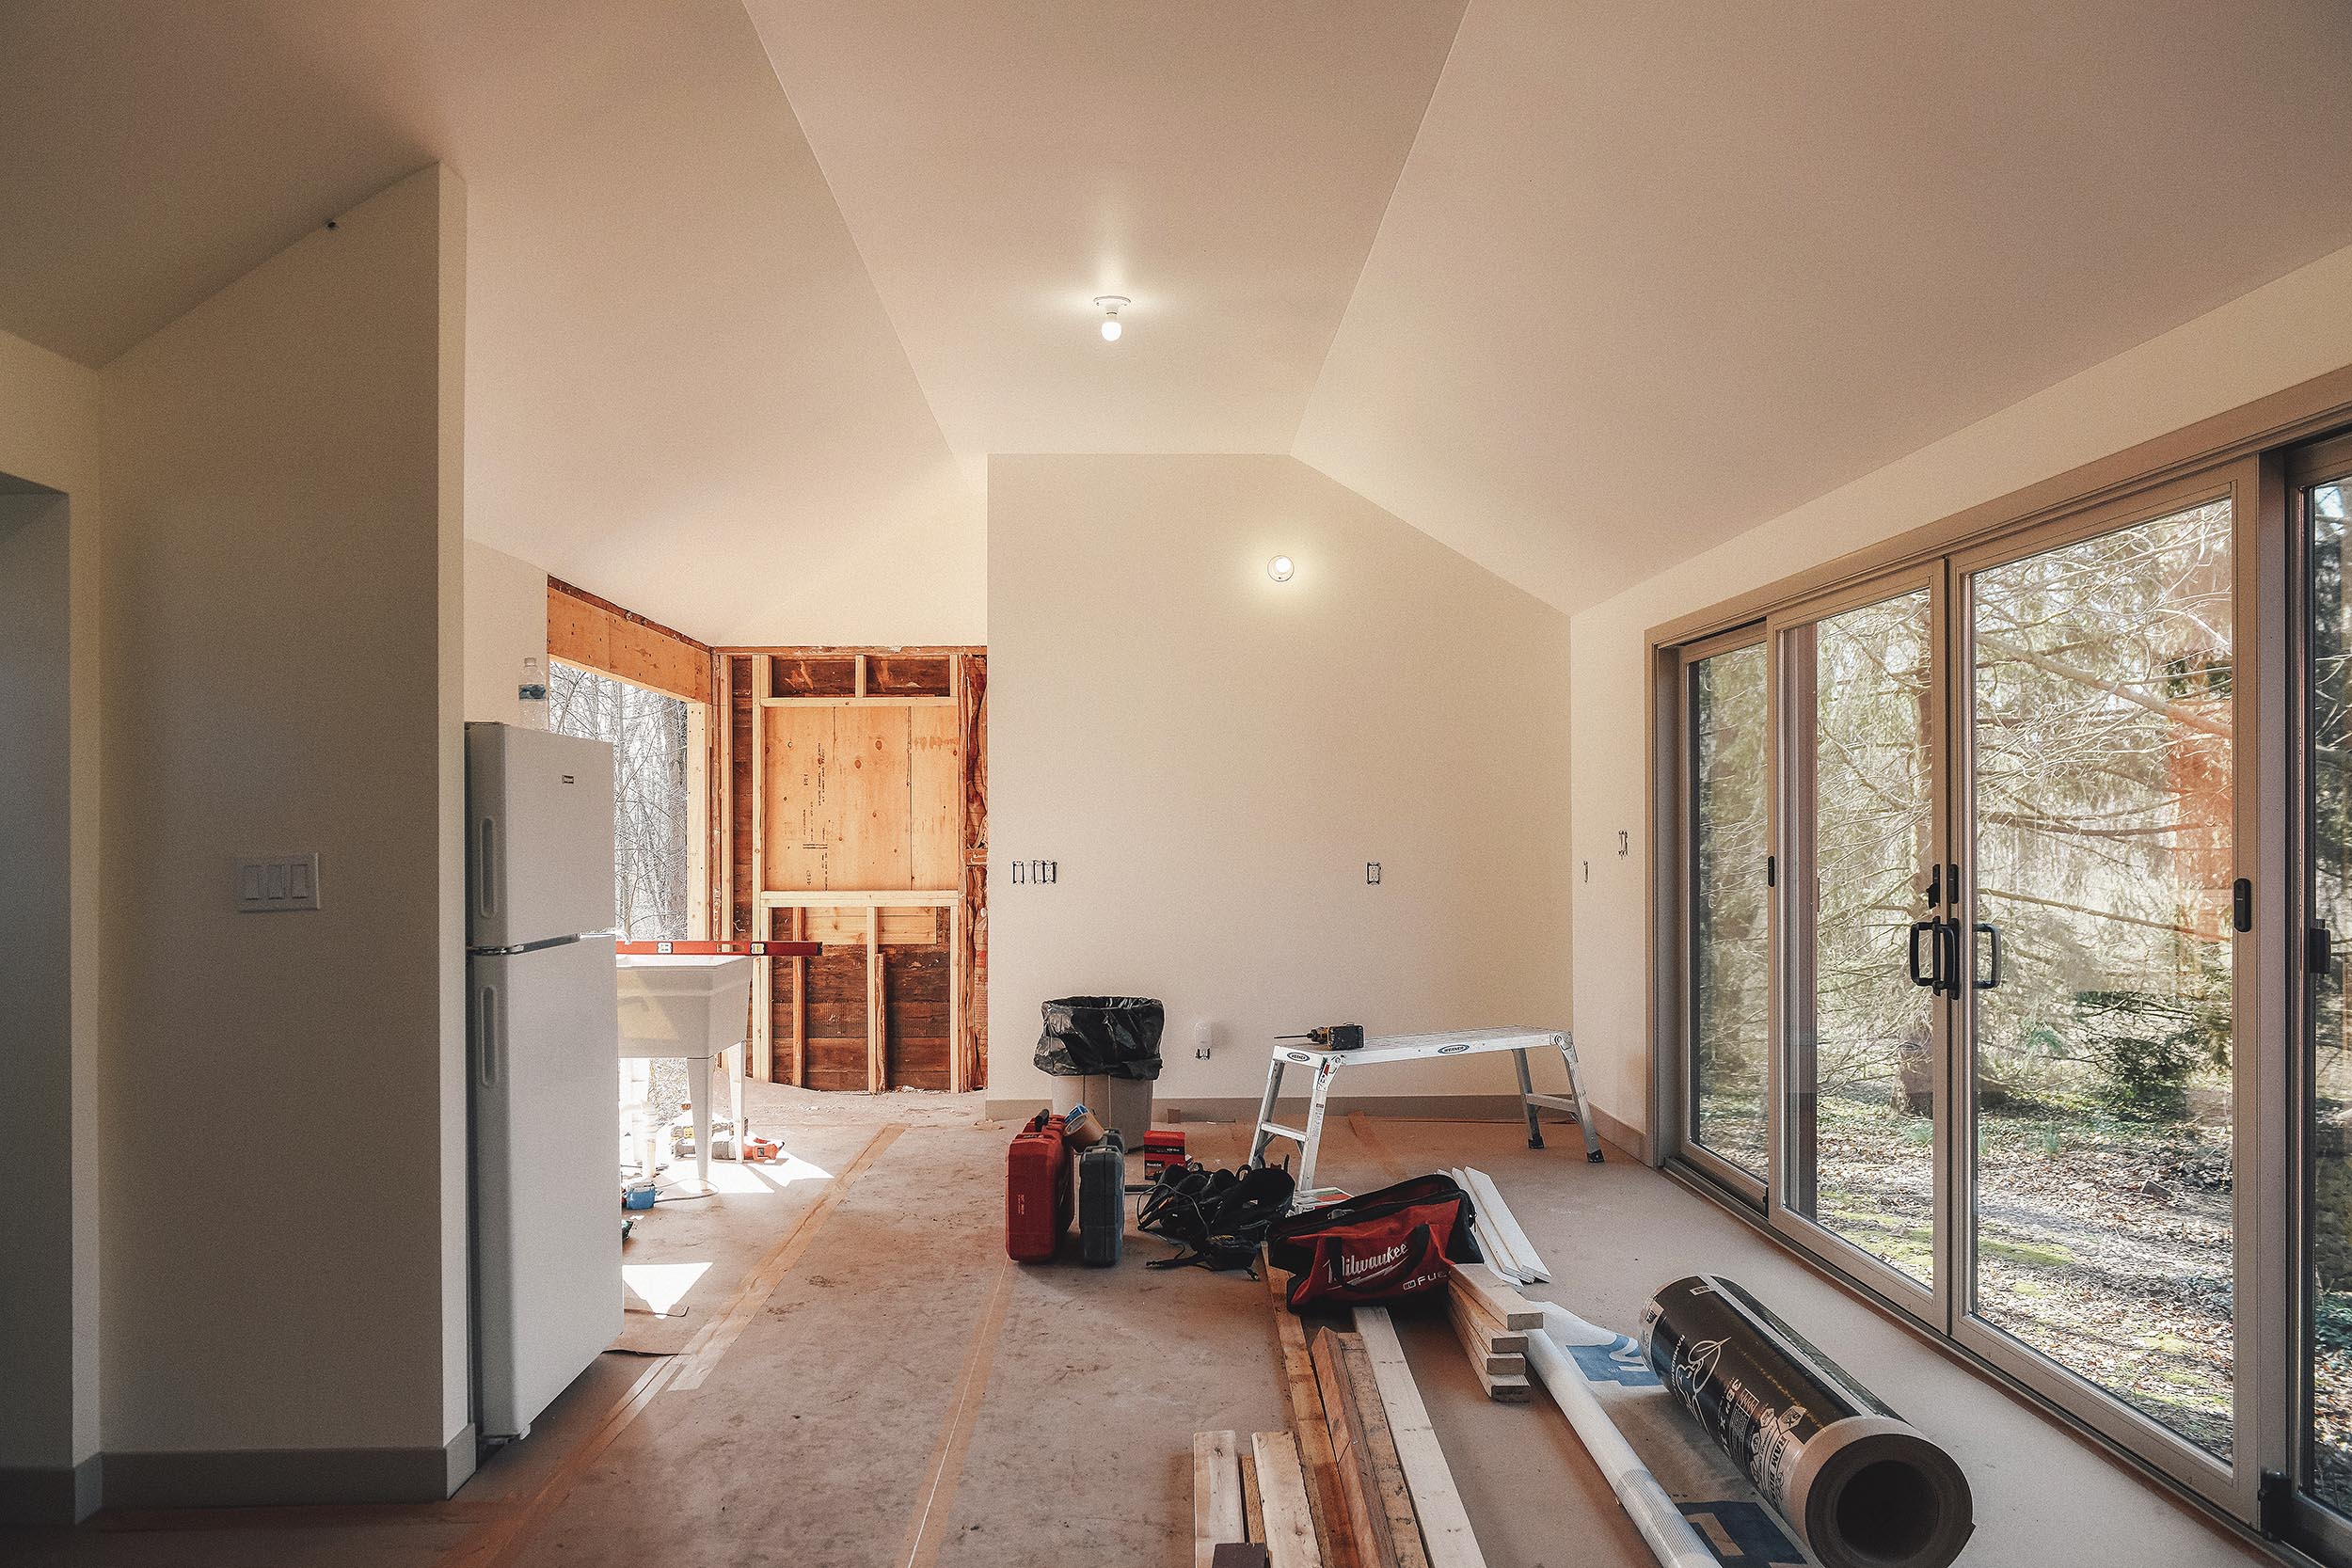
While this excavation and foundation repair wasn’t part of the plan (or the budget!), it was necessary and we’re glad we did it. This step also involved removing the poured concrete stairs that led out from the former kitchen door, which will open up the space behind the house significantly. The goal of the Red House renovation has always been to embrace the mid-century ethos of bringing the outdoors in and all of these changes will contribute to that goal.
Wood Paneled Ceiling
Once the windows are in, the drywall goes back up and the kitchen cabinets are installed, the final step of the process will be the installation of wood paneling across the entire common area ceiling! We’ve chosen a gorgeous walnut veneer product that will bring an incredible amount of warmth and texture to the space. Prior to installation, though, we’ll need to be 100% confident that all of our light fixtures are precisely where we want them. It’s not exactly easy to patch walnut tongue and groove, so we need to get it right the first time.
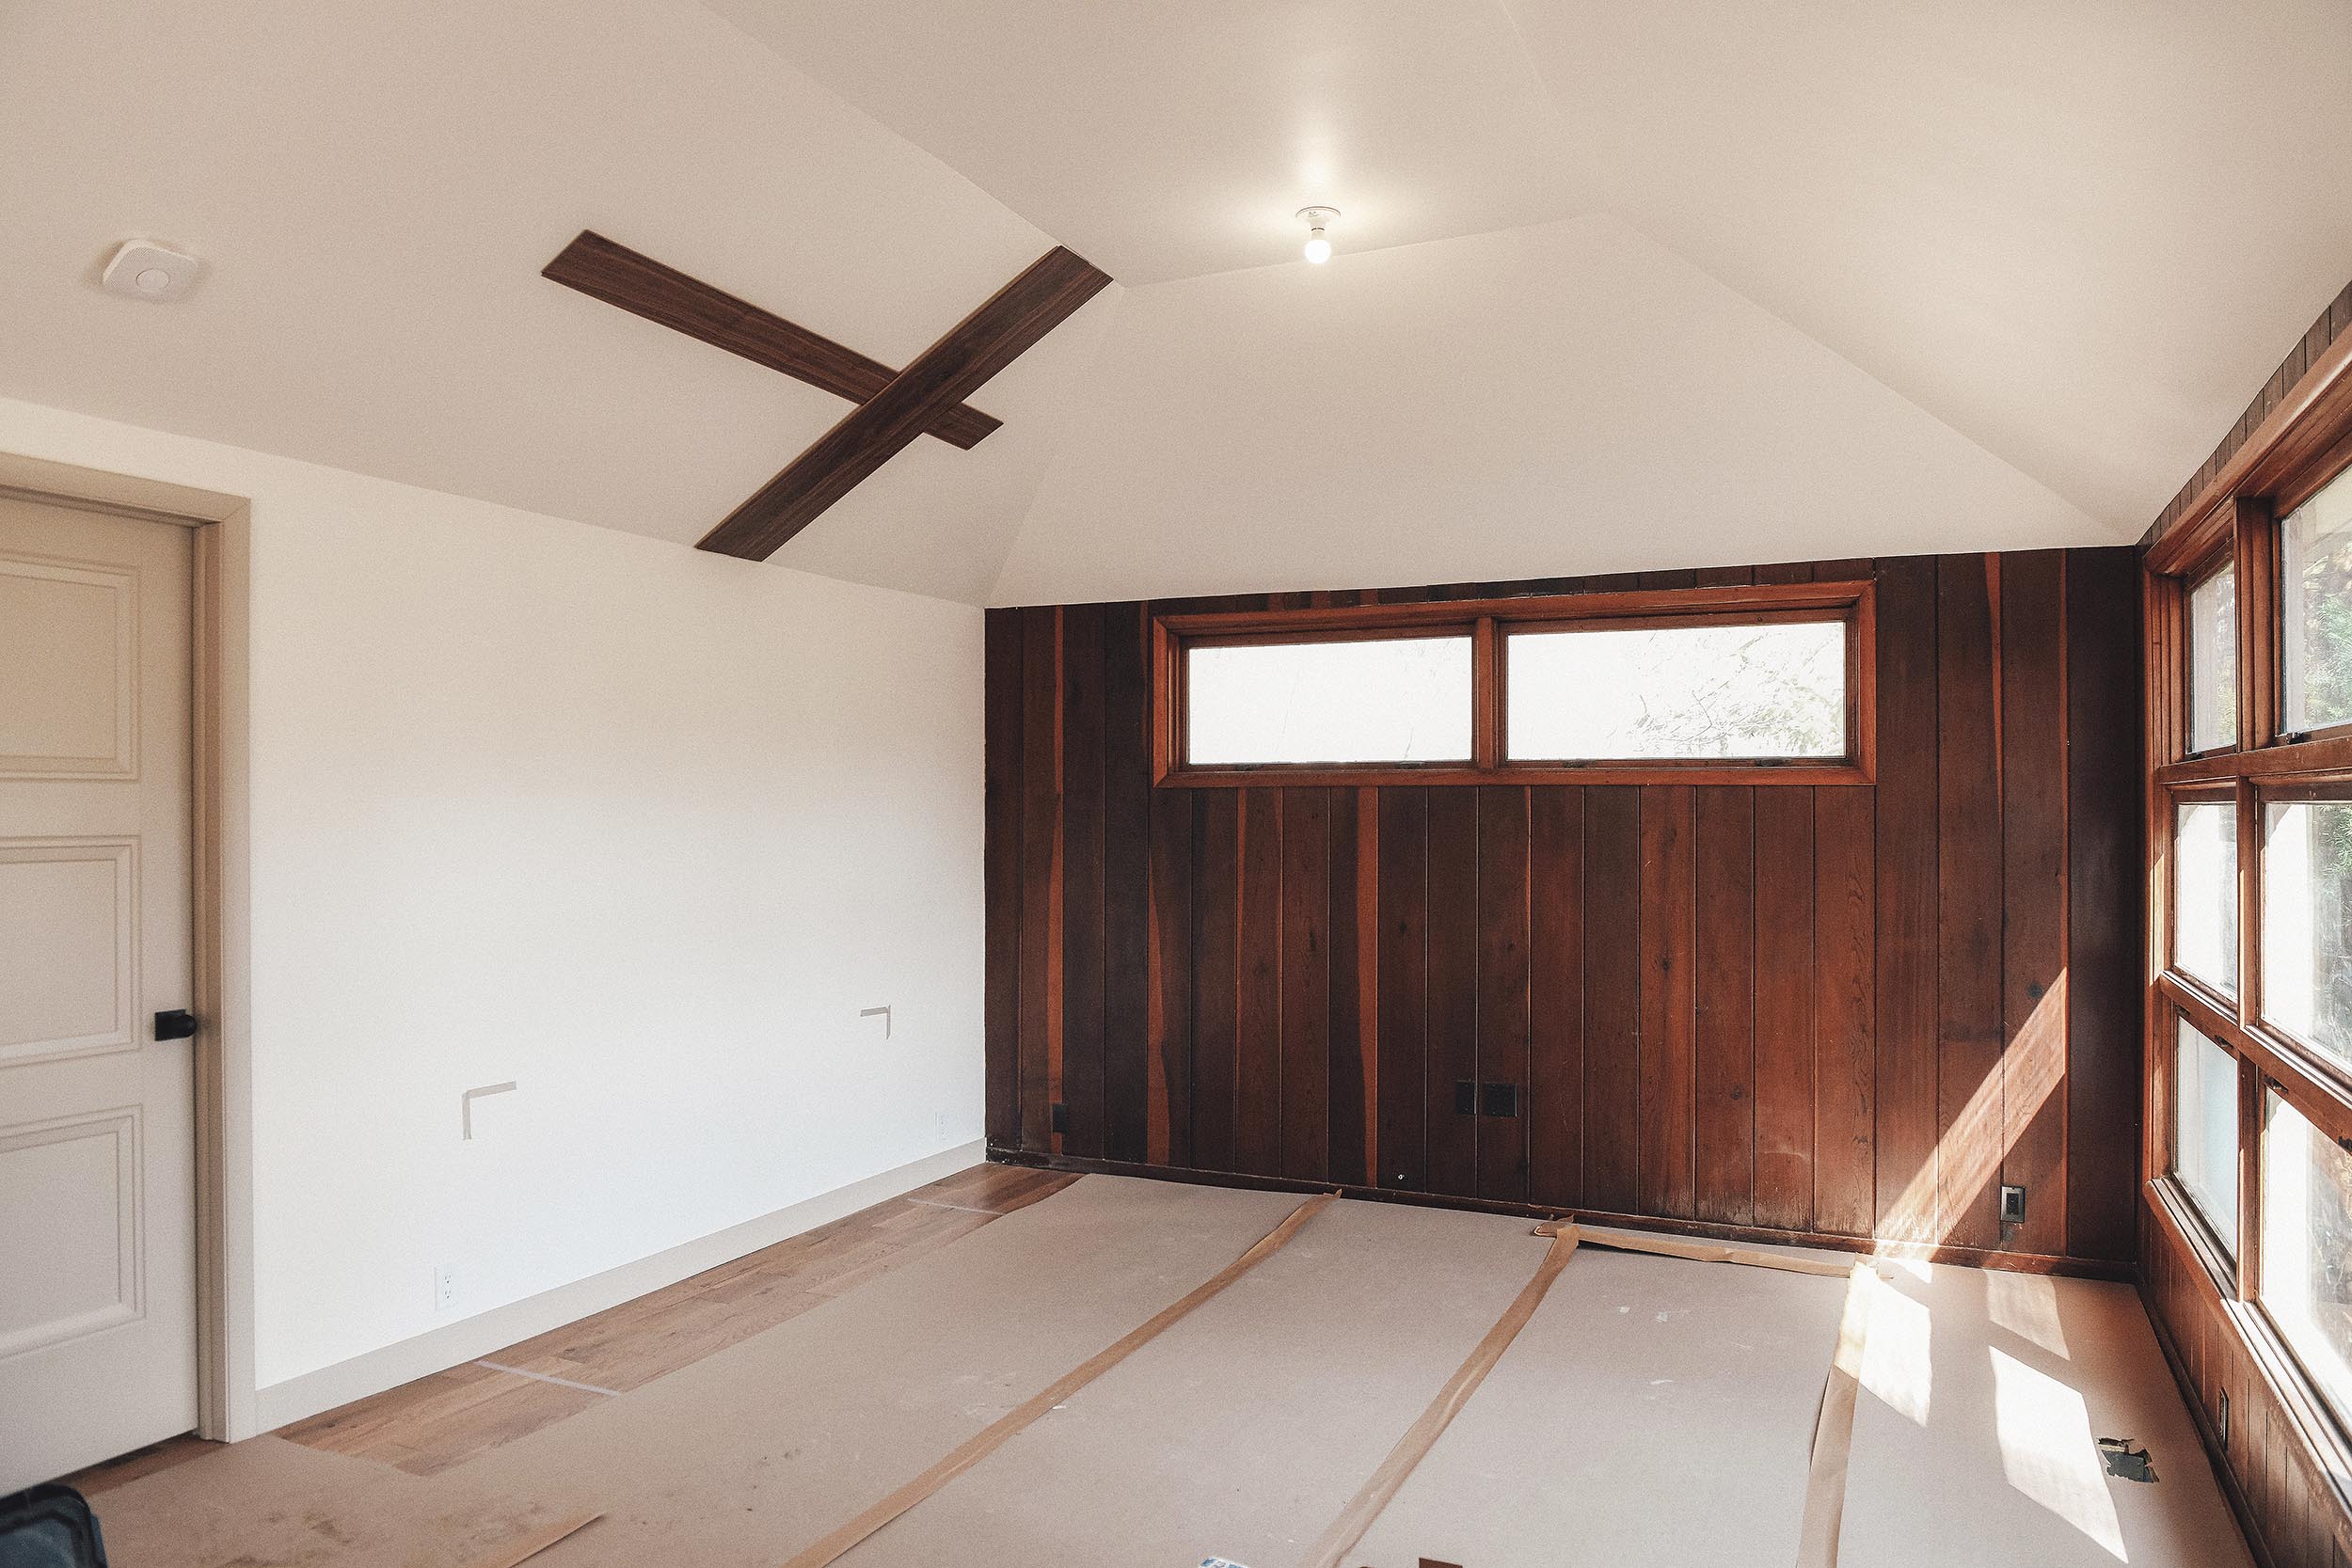
As much as we tried to avoid covering the redwood panel wall, it simply wasn’t possible to tie the deep red tone of the wood harmoniously into the rest of the space. The feature wall will remain intact, however, and the walnut veneer will be installed over it as an homage to the original detail.
The Front Door Switcheroo
At the front of the home, we’ll be swapping out another original detail that we love. As much as we’re obsessed with this little vintage 3 lite door at the front of the home, it must be replaced. Our intent from the beginning was to save the door, but after giving it a thorough once over, we realized that it’s actually a hollow core interior door that’s significantly damaged.
We’re replacing it with this modern take on a vintage beauty that will play off of the home’s other details and still provide Catfish with a window to peer longingly out of. This new door will bring a touch of black to the exterior (unless we eventually decide to paint everything red like the rest of the house) and will bring much-needed insulation and weatherproofing to the interior. We’re sad to see it go, but will donate it to our local building material salvage shop in hopes that it can find a new life elsewhere.
What are the Next Steps?
In summary, the next few steps are as follows:
- Install windows and replace all exterior siding and trim.
- Finalize kitchen plan and adjust electrical as needed.
- Plumbing repairs in prep for new kitchen install.
- Reinstall drywall and millwork around new windows.
- Install new front door.
- Install walnut plank on ceiling and over existing feature wall.
After this existing work is complete, we’ll be ready to install the kitchen! In the meantime, we may even be able to get the half bath wrapped up! We realize that this project is a little bit scattershot, but that’s how things go sometimes when you’re renovating an old house! Thanks for following along and let us know if you have any questions about the process!


Thanks for sharing the nitty-gritty of a project. Is that basement space usable or accessible? Seems like there’s something going on down there, and now that the foundation is fixed the house will be sounds, and that’s worth it. I’m still on edge waiting for the amazing kitchen!
The unfinished basement has 7 foot +/- ceilings throughout and matches the floorplan of the entire house exactly! The wing under the bathroom and small bedroom is the mechanical room with the furnace and tankless hwh. The main space under the common area will remain largely open with some options for storage. Under the kid’s room is a big workshop with a workbench, more storage and a walkout staircase that leads over to the big barn, which we’ve barely shared!
Love all the details and that you have such a great GC – I’m still trying to get three to call me back to do an estimate :-/ This house is going to be amazing – I can’t wait to see every last bit of it.
I empathize with trying to preserve original wood tones while updating others! It’s a bummer that original wall wouldn’t play nicely with the new stuff, but I sincerely hope you’re able to cover it with very minimal damage. I delight in the idea of a future owner discovering it and it working beautifully with whatever modern life requires in 2075.
That’s exactly the plan! The redwood wall is currently in good, but not perfect shape, and would have needed some patching and TLC regardless of our decision to cover it. We’ll use the thinnest pin nails possible to secure the new paneling to the wall in hopes of avoiding additional damage.