

We’re talking through the simple process of turning a vintage lion figurine into the cutest table lamp ever! As a bonus, we’re also rounding up 20 cute + quirky animal lamps if you don’t prefer the DIY route!
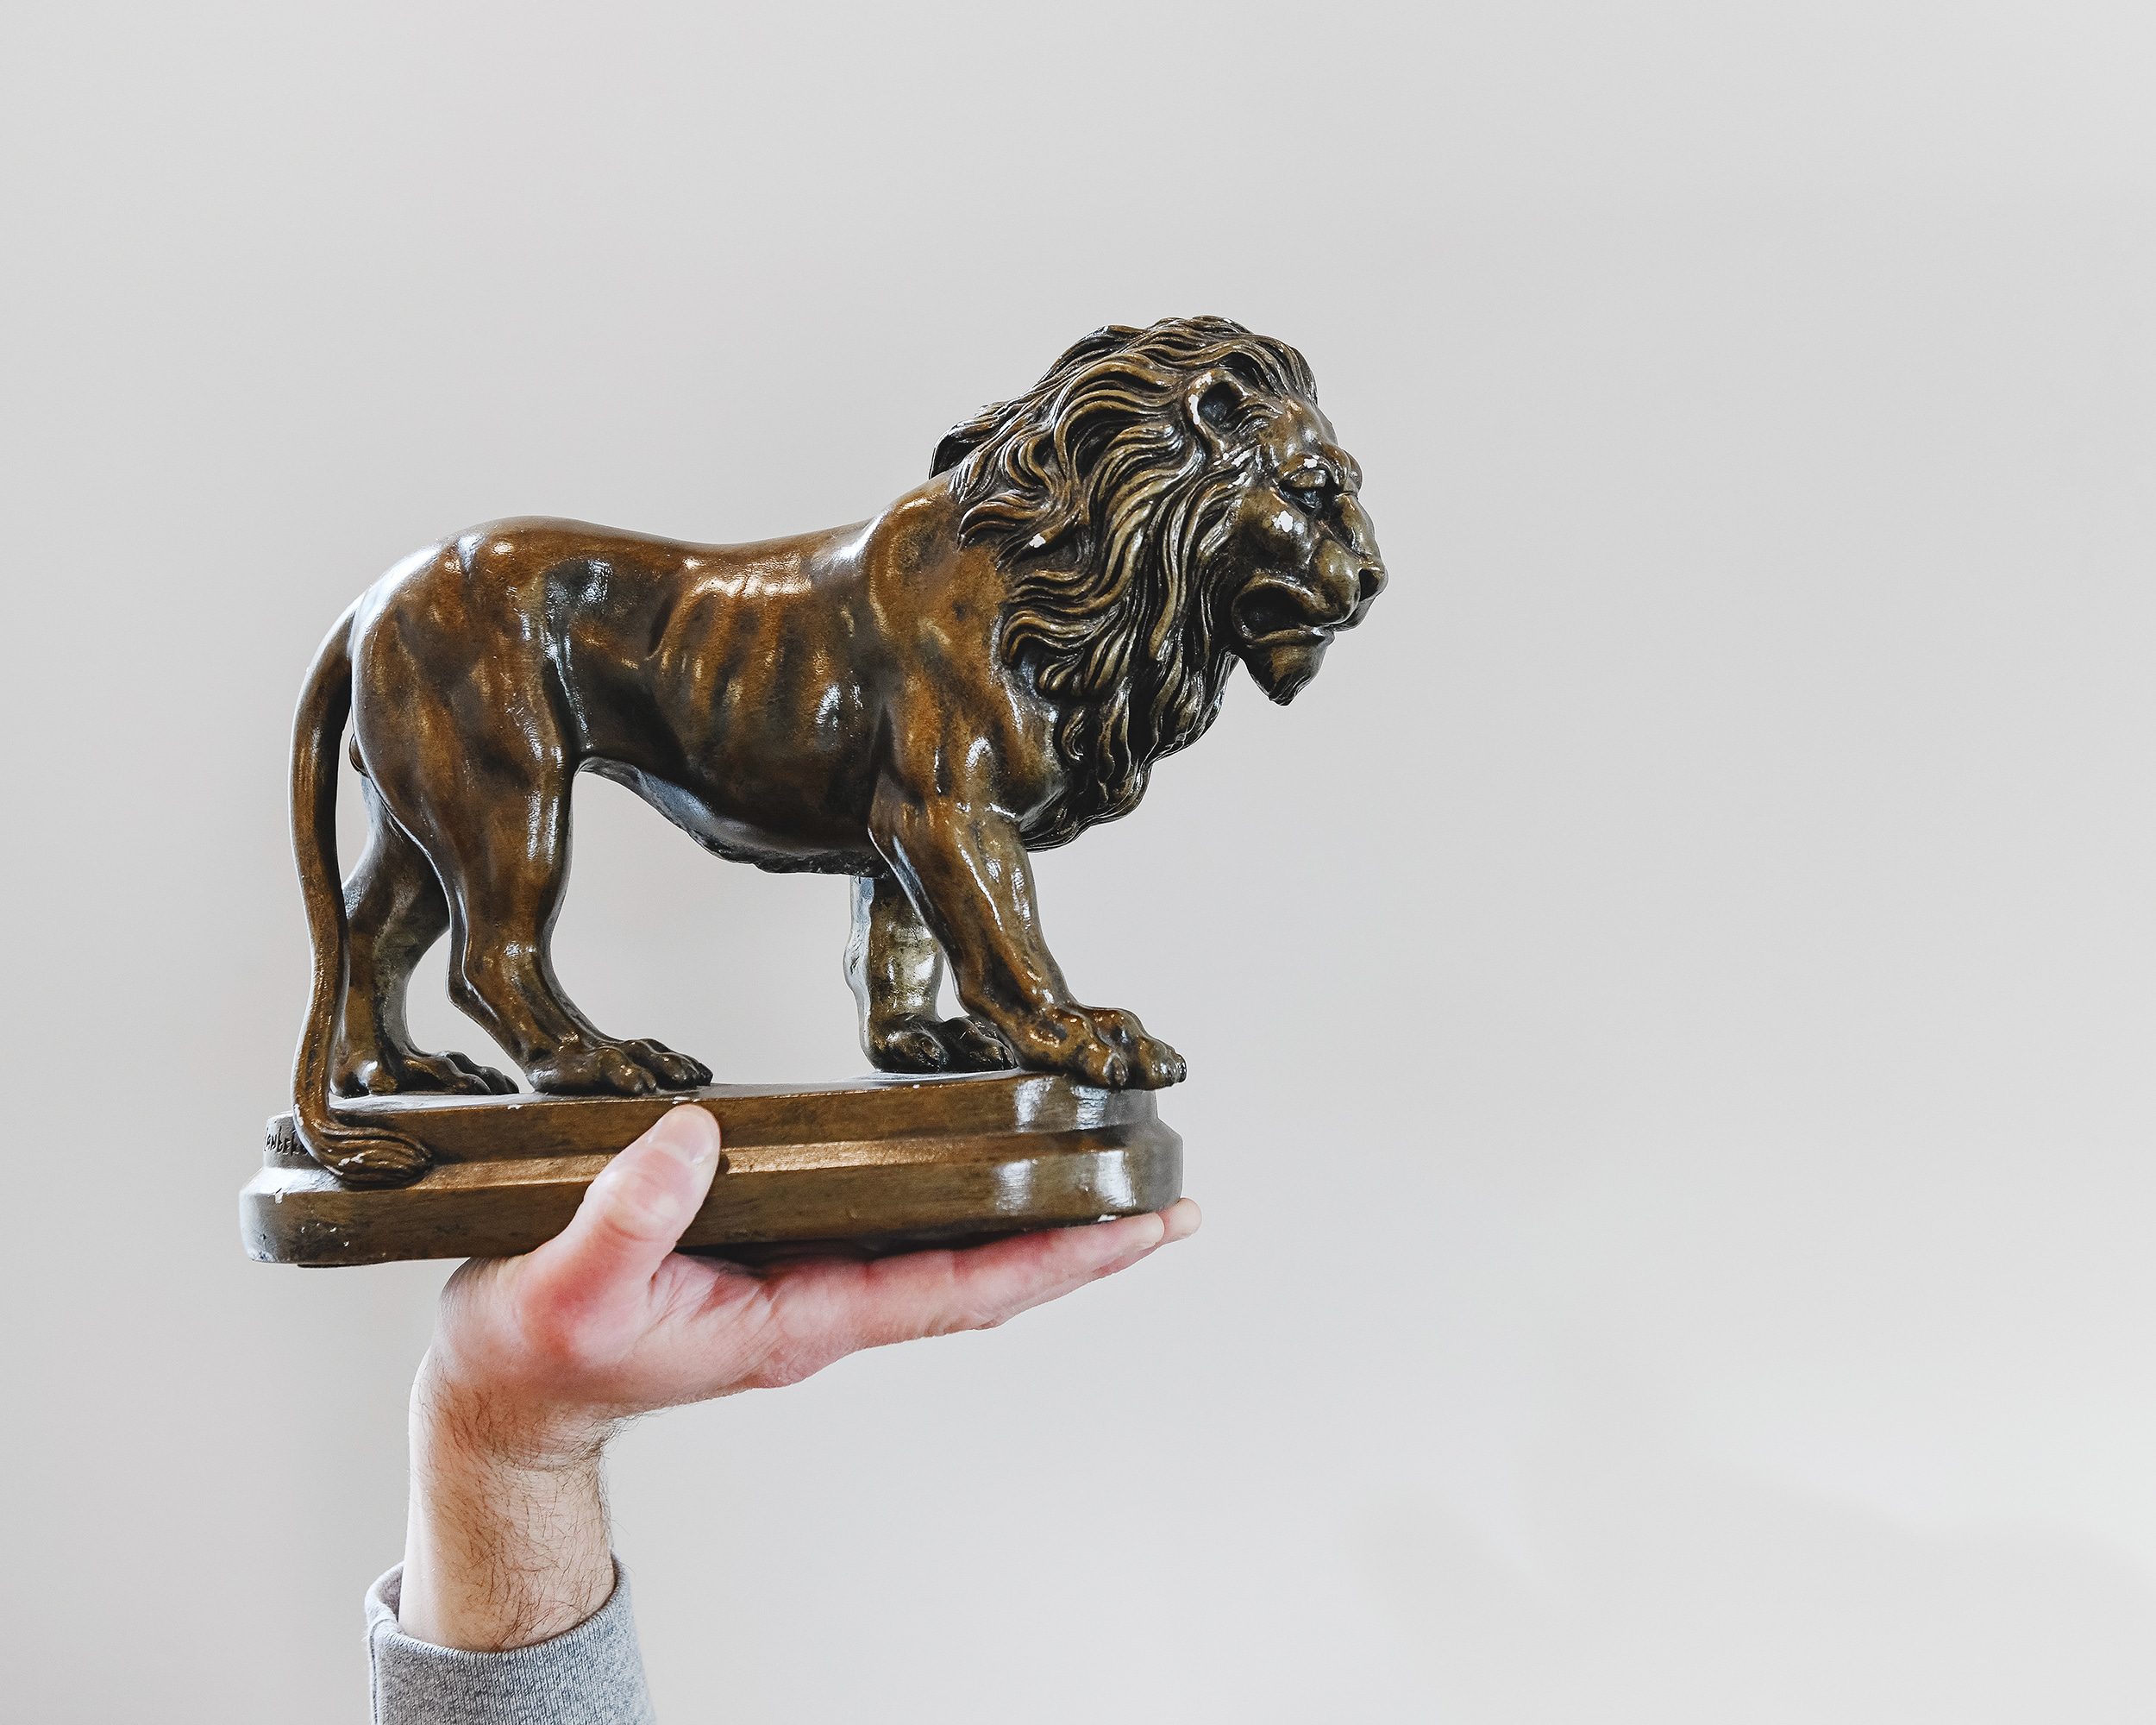
We found this handsome, heavy plaster lion at a vintage warehouse sale years ago. Since then, he’s bounced around our home from shelf to shelf ever since. We never quite found the right place for him to reside – until we decided that he needed to fulfill his true destiny and become a table lamp! We knew this would be the cute + quirky touch that our playroom needed.
The lamp conversion project was quite simple and only took about 45 minutes from start to finish once we’d assembled all of the necessary supplies. Here’s how it came together!
In This Post
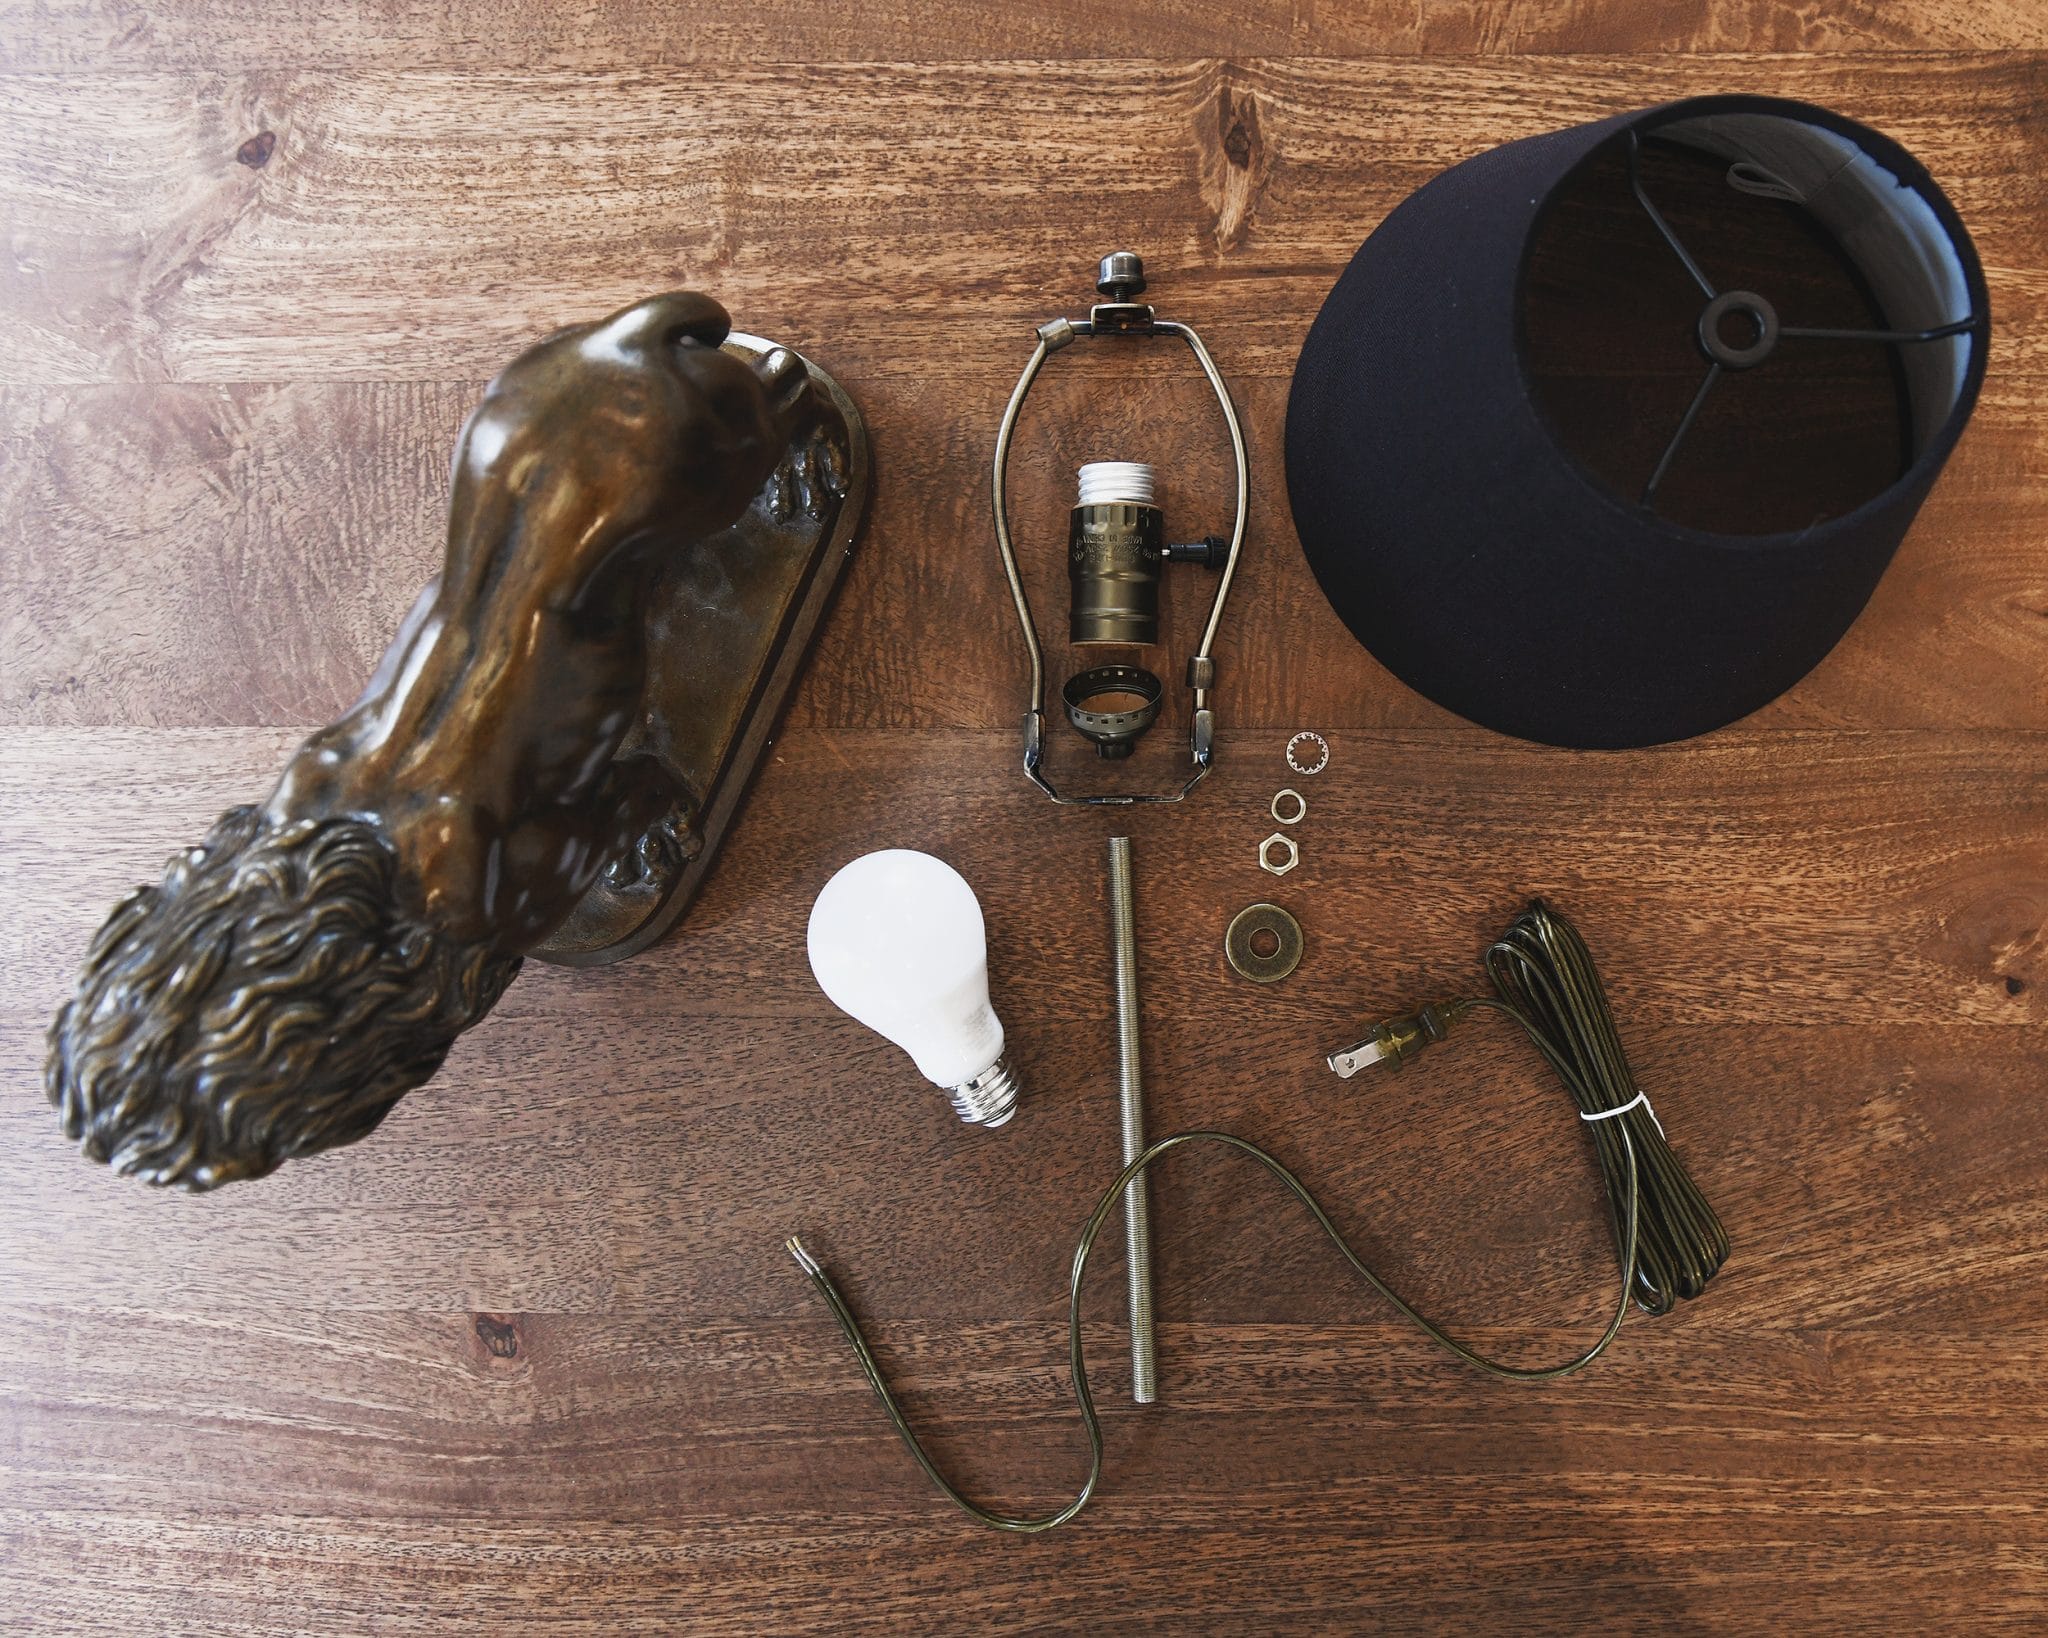
Tools + Supplies Used
- Any plaster or wood animal, vase or vessel that can be drilled through. The sky’s the limit on what can be made into a lamp!
- Lamp wiring kit
- Lampshade (any small lampshade should work)
- Set of lamp rods with multiple lengths
- Drill with appropriate bits for material to be drilled (masonry bits worked great in our case!)
- Dremel tool with metal cutting wheel (optional)
- Screwdriver
1| Find Your Lamp Base
The first step of the project is finding the item that you’ll use as a lamp base. It can be pretty much anything that you can drill through! Go nuts, and have fun!
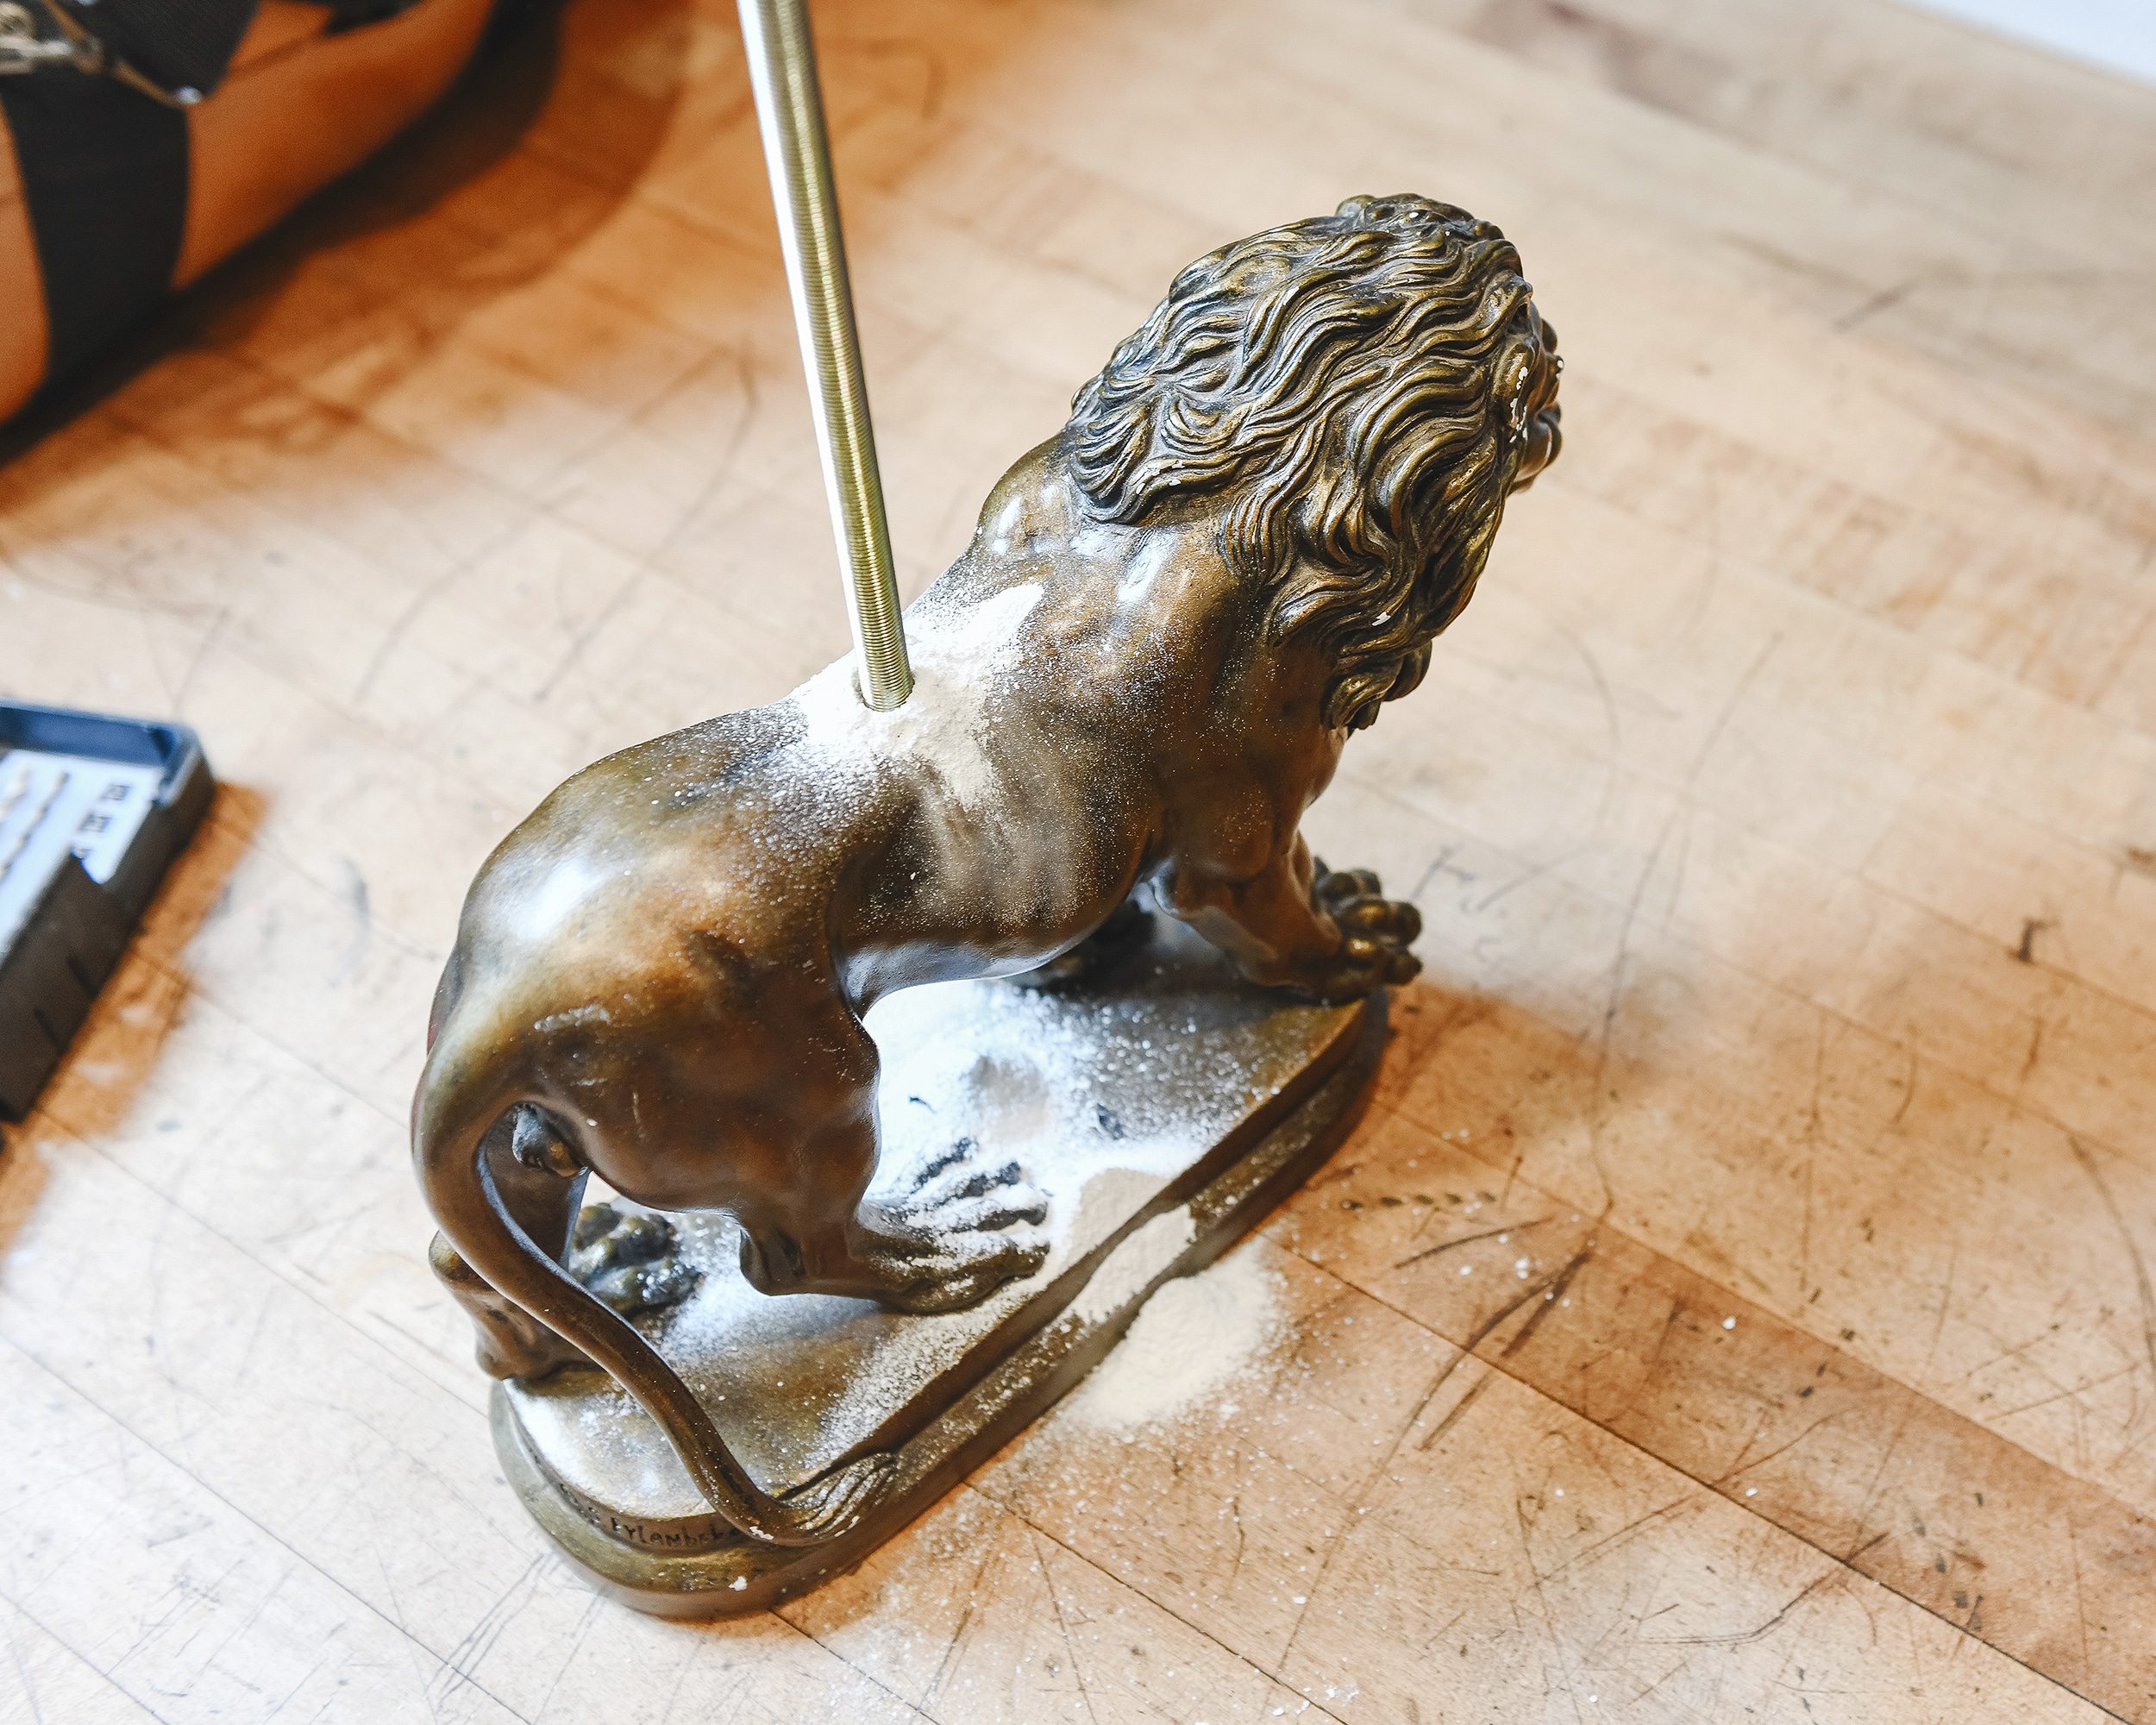
2| Drill Your Hole
Depending on the shape of the animal or vessel you’ll be using for your lamp, this step will look different for every project. Our lion’s plaster body measured about 3 inches tall from top to bottom and the negative space below his belly allowed for a convenient place to run the lamp cord out through the bottom. Remember to keep the cord path in mind as you plan for hole placement! We started out using a 1/8″ masonry bit, then gradually stepped up to larger bits until the hole was appropriately sized for the 3/8″ lamp rod.
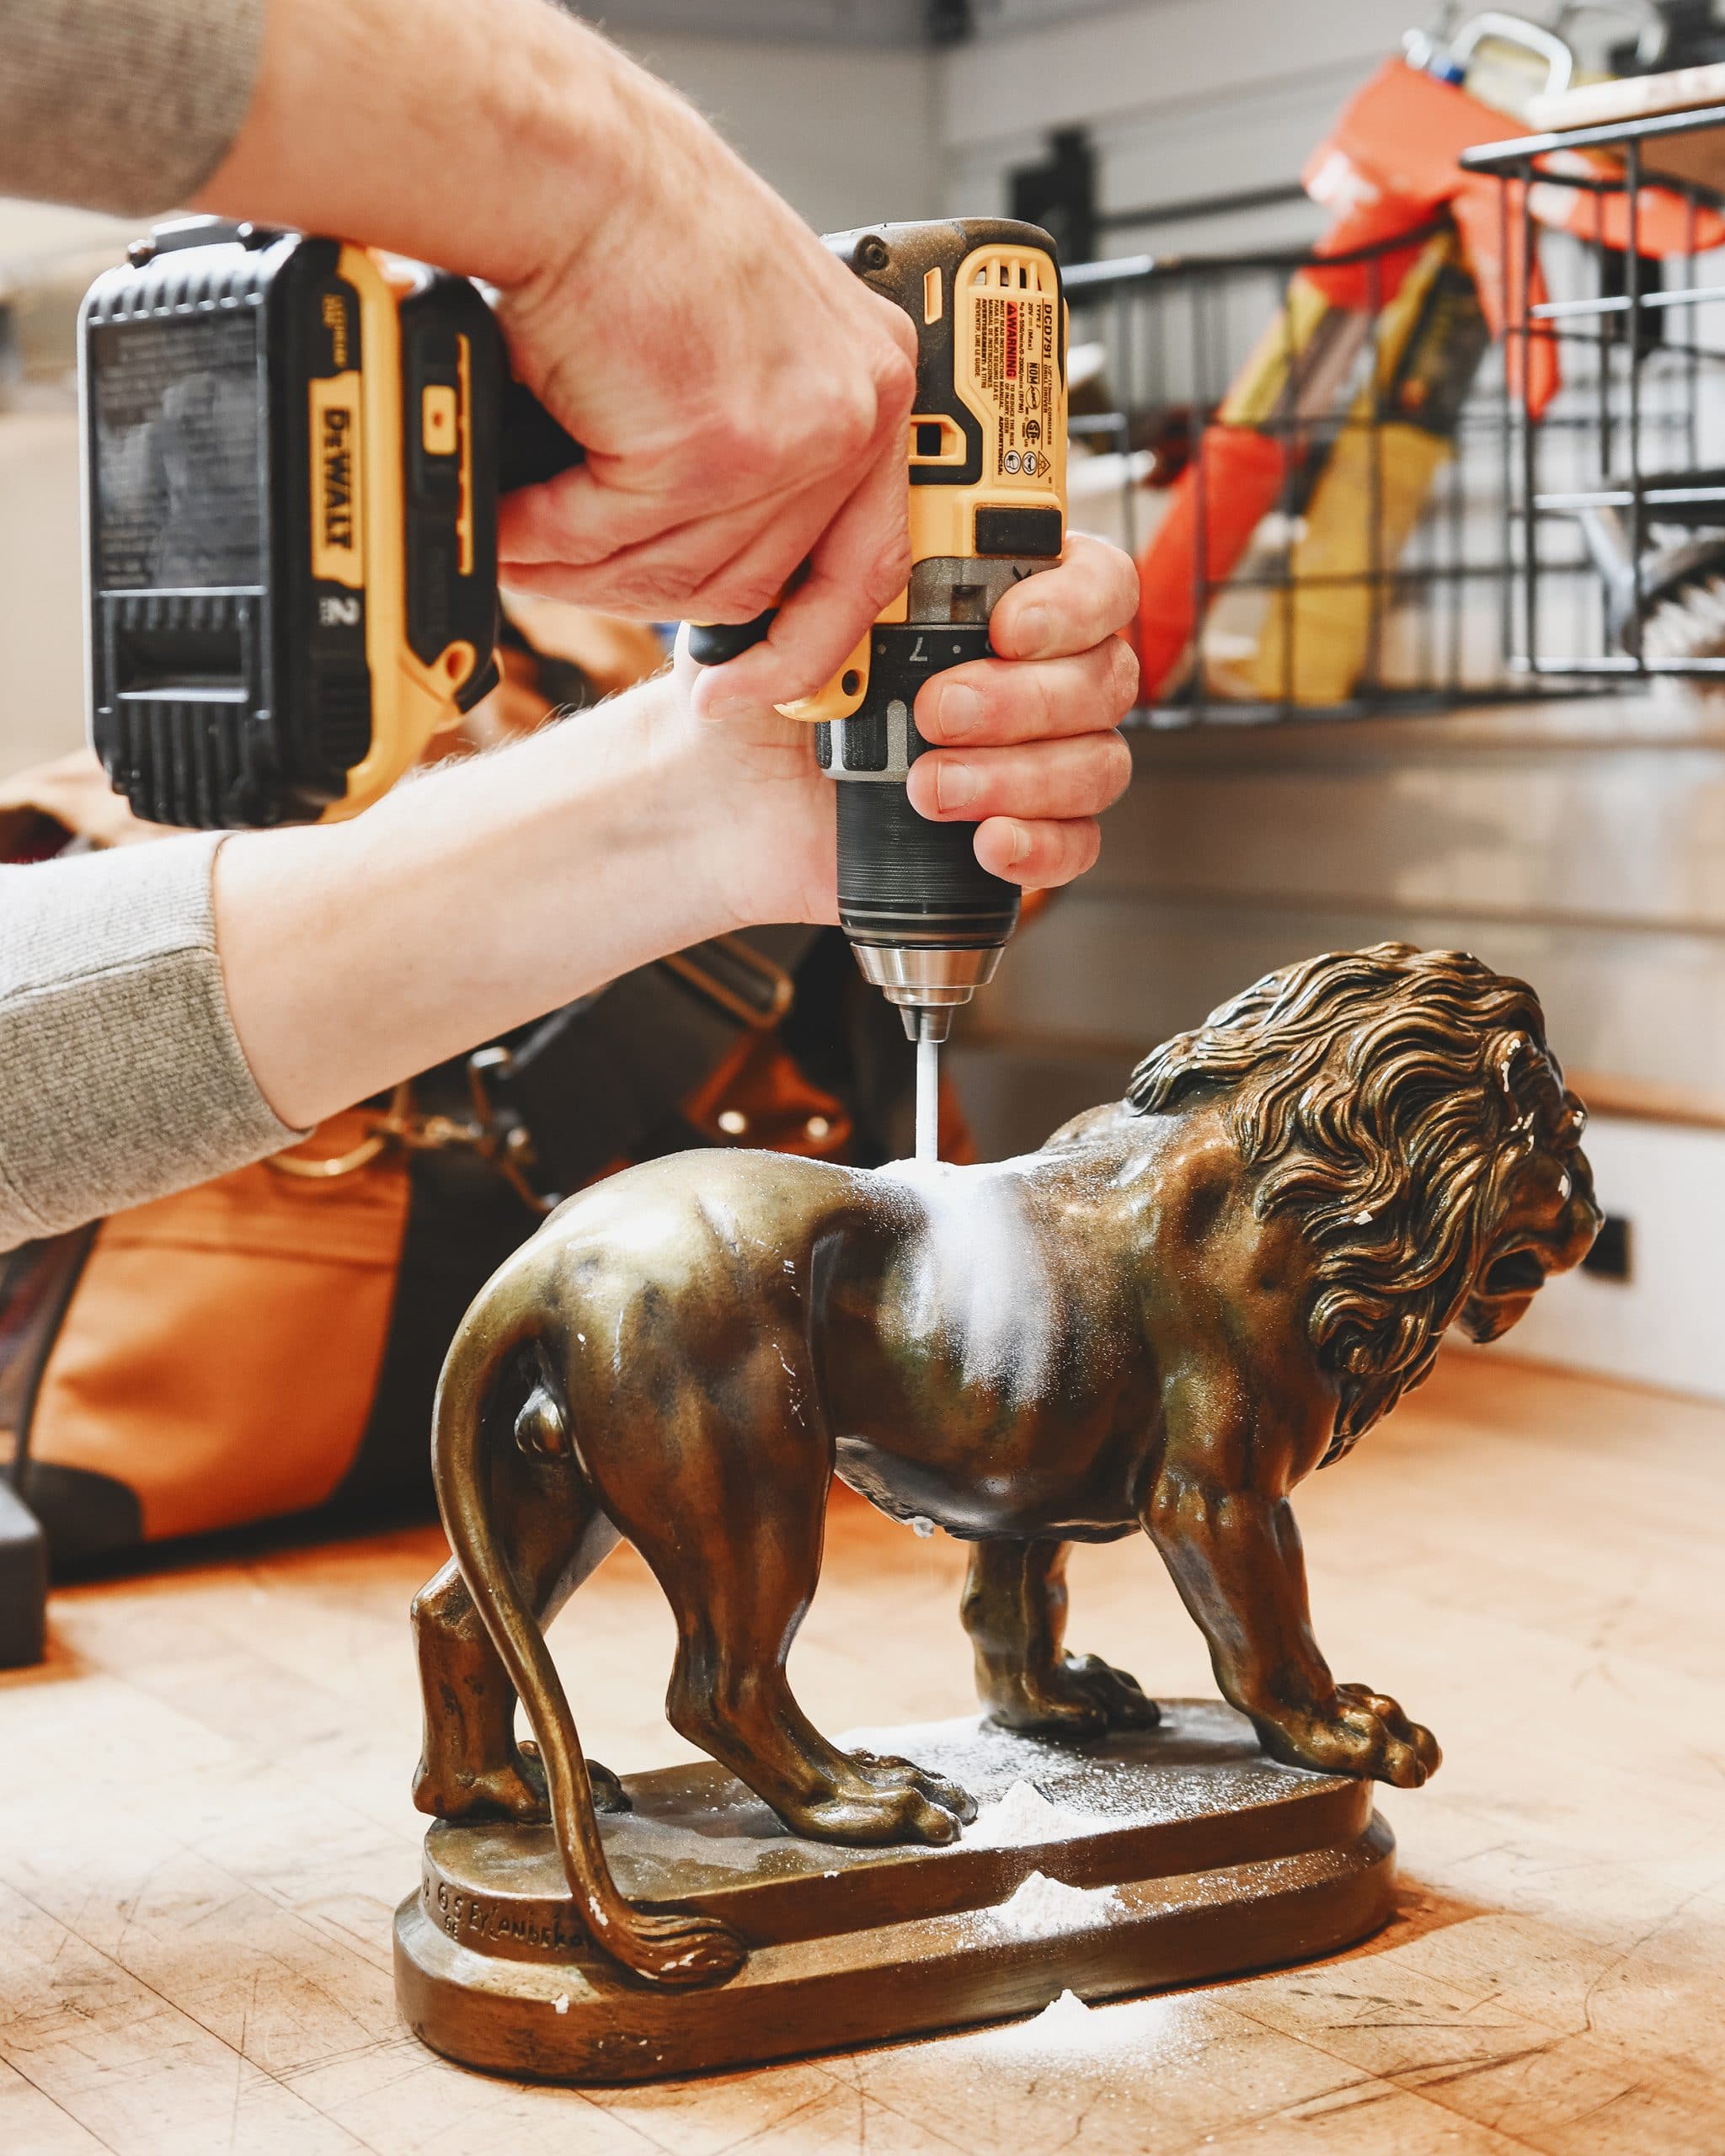
Our final hole was 15/64″, which left enough wiggle room to align the rod perfectly. Assuming you’re using the rod kit linked above, this size should work well for most materials. If you’re uncertain, step up in tiny increments until the rod fits the way you want. Remember, you can’t un-drill!
3| Determine Length and Cut Rod Accordingly
Once the hole was drilled to the appropriate size, we did a quick dry fit to determine the appropriate rod length. Keep in mind that you’ll need at least 1/4″ of rod at the bottom to affix a retaining nut (supplied in our lamp kit).
Once we had determined our length, we clamped the rod in our handy clamp-on bench vice and cut the rod down with a dremel and a metal cutoff wheel. With some very careful planning, cutting the rod might be able to be completely avoided, but we weren’t sure where we wanted the overall height of the lamp to end up, so we purchased a rod longer than we thought we’d need and cut it down accordingly.
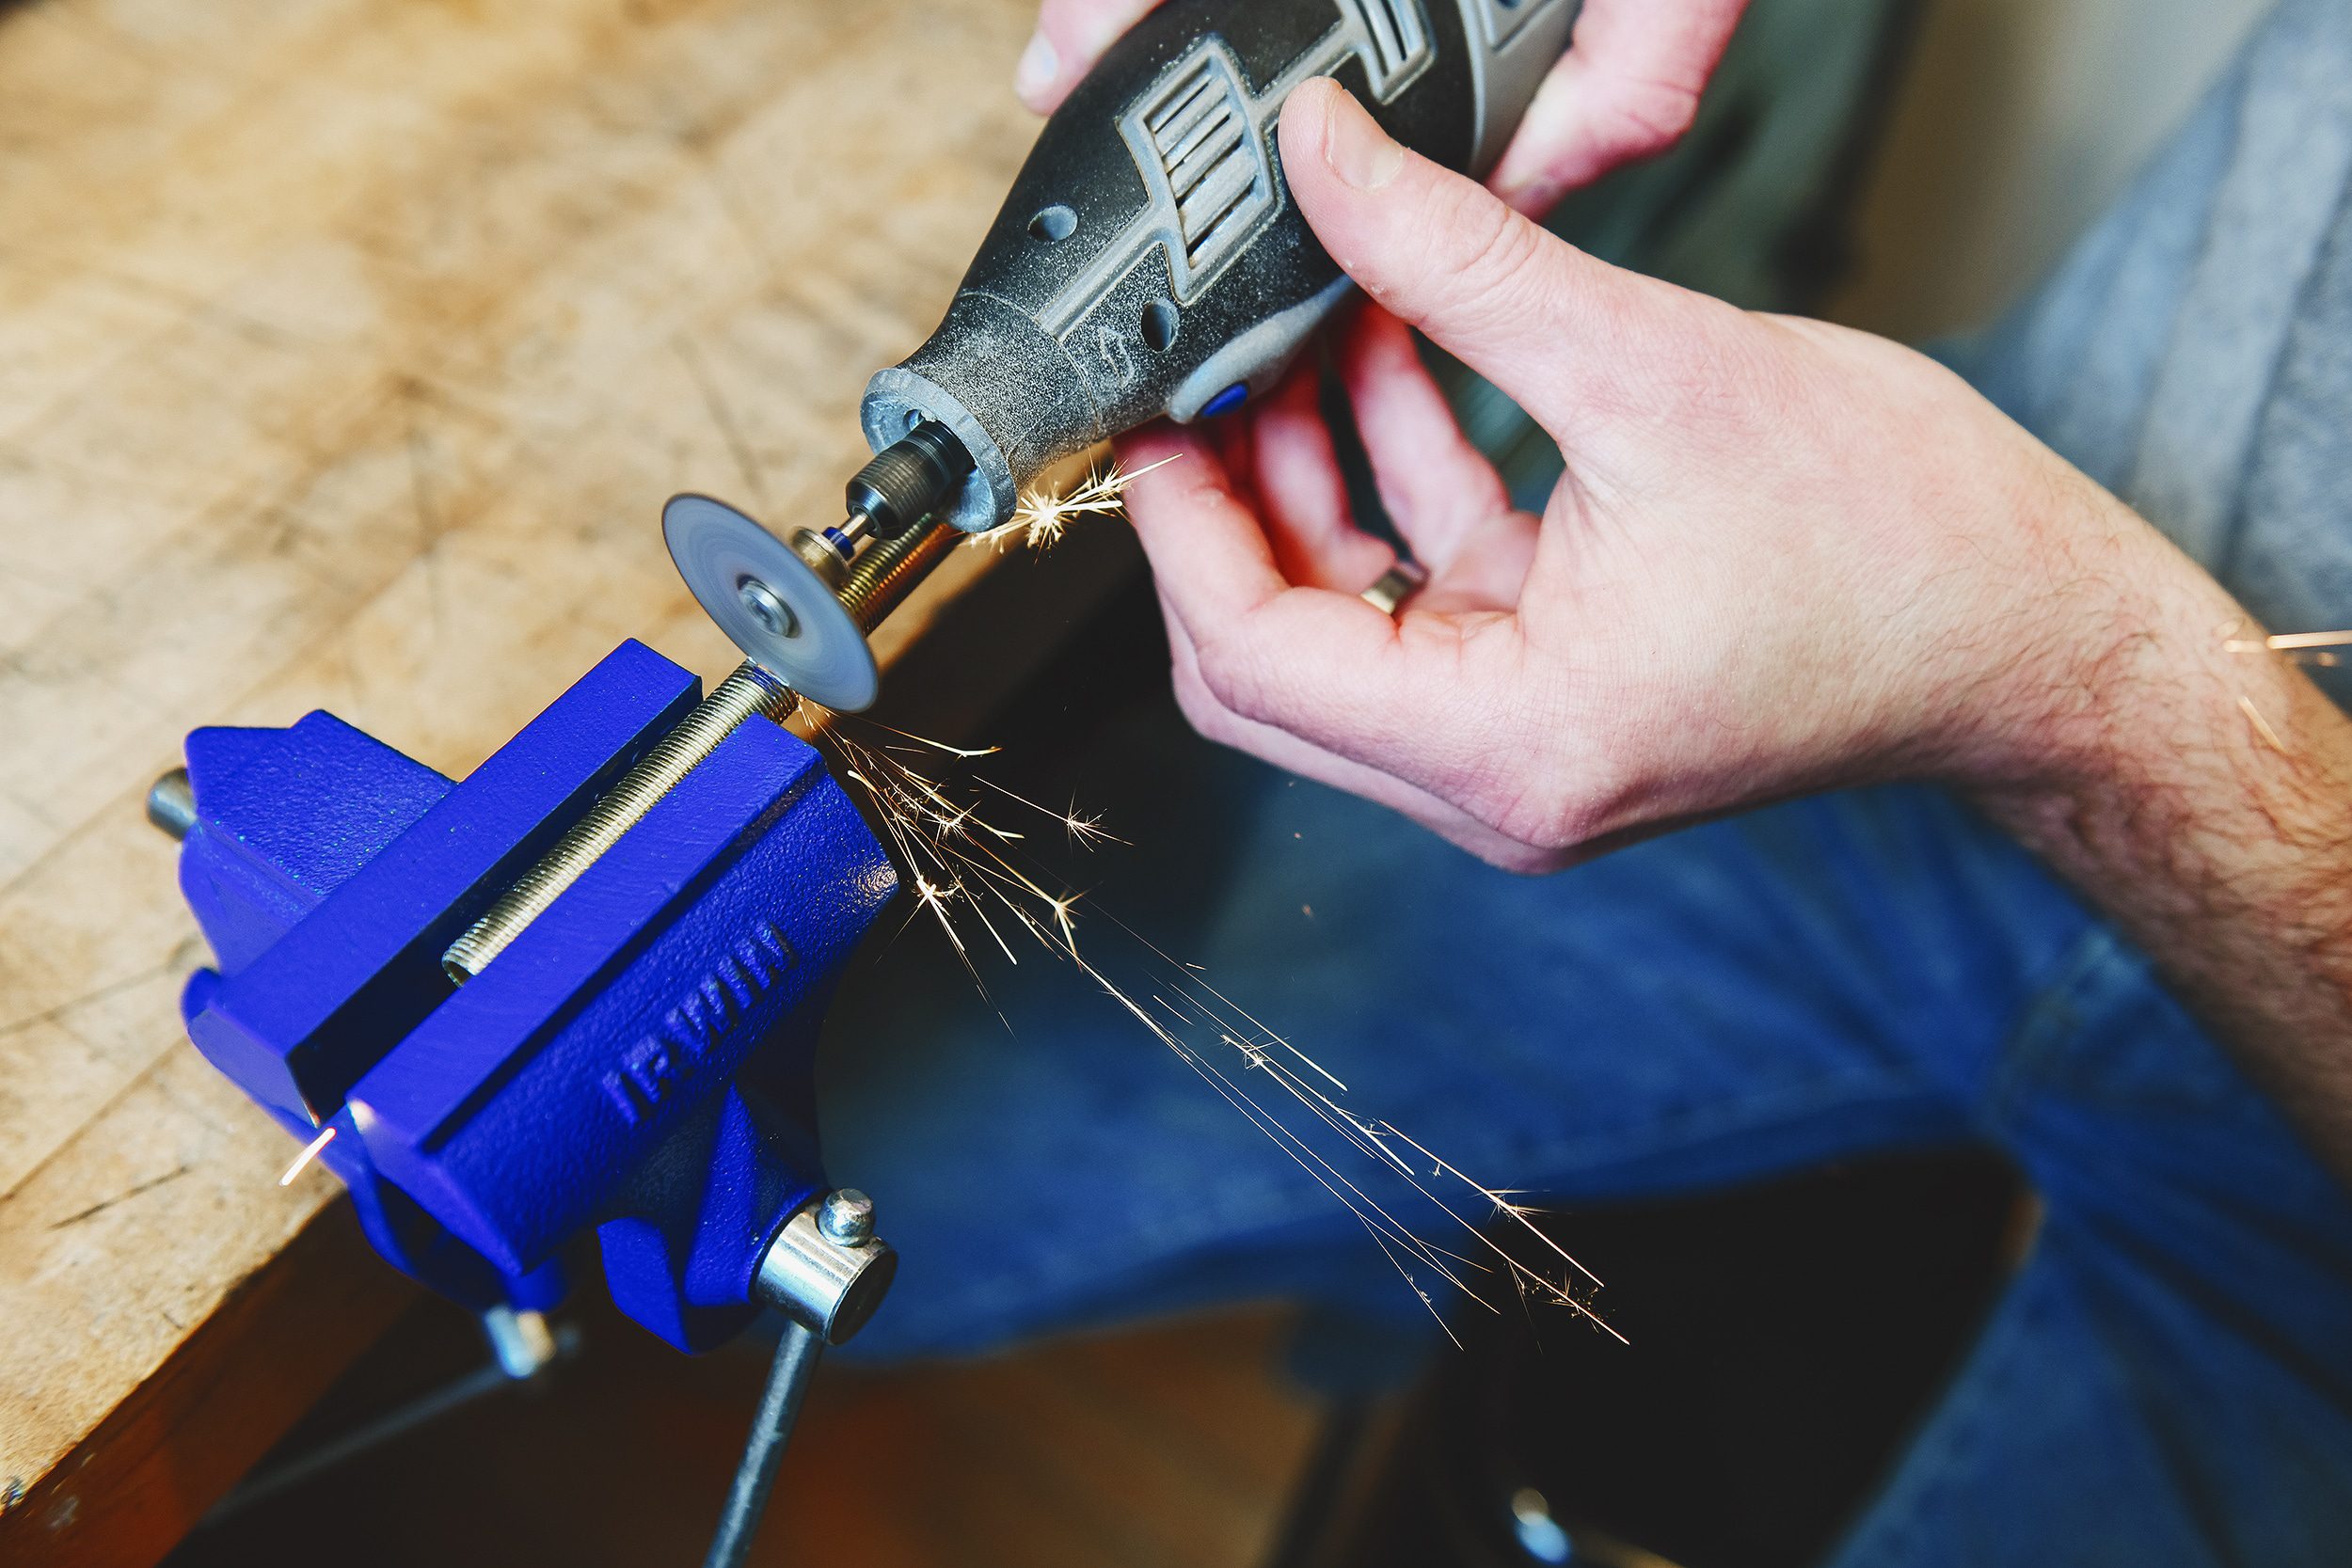
clamp-on vice | dremel
4| Assemble Lamp
With the rod cut to the correct length, we simply followed the instructions on the lamp kit and assembled the final product. The kit includes an exploded view of how everything fits together, and we had it all built and wired up in about 5 minutes!
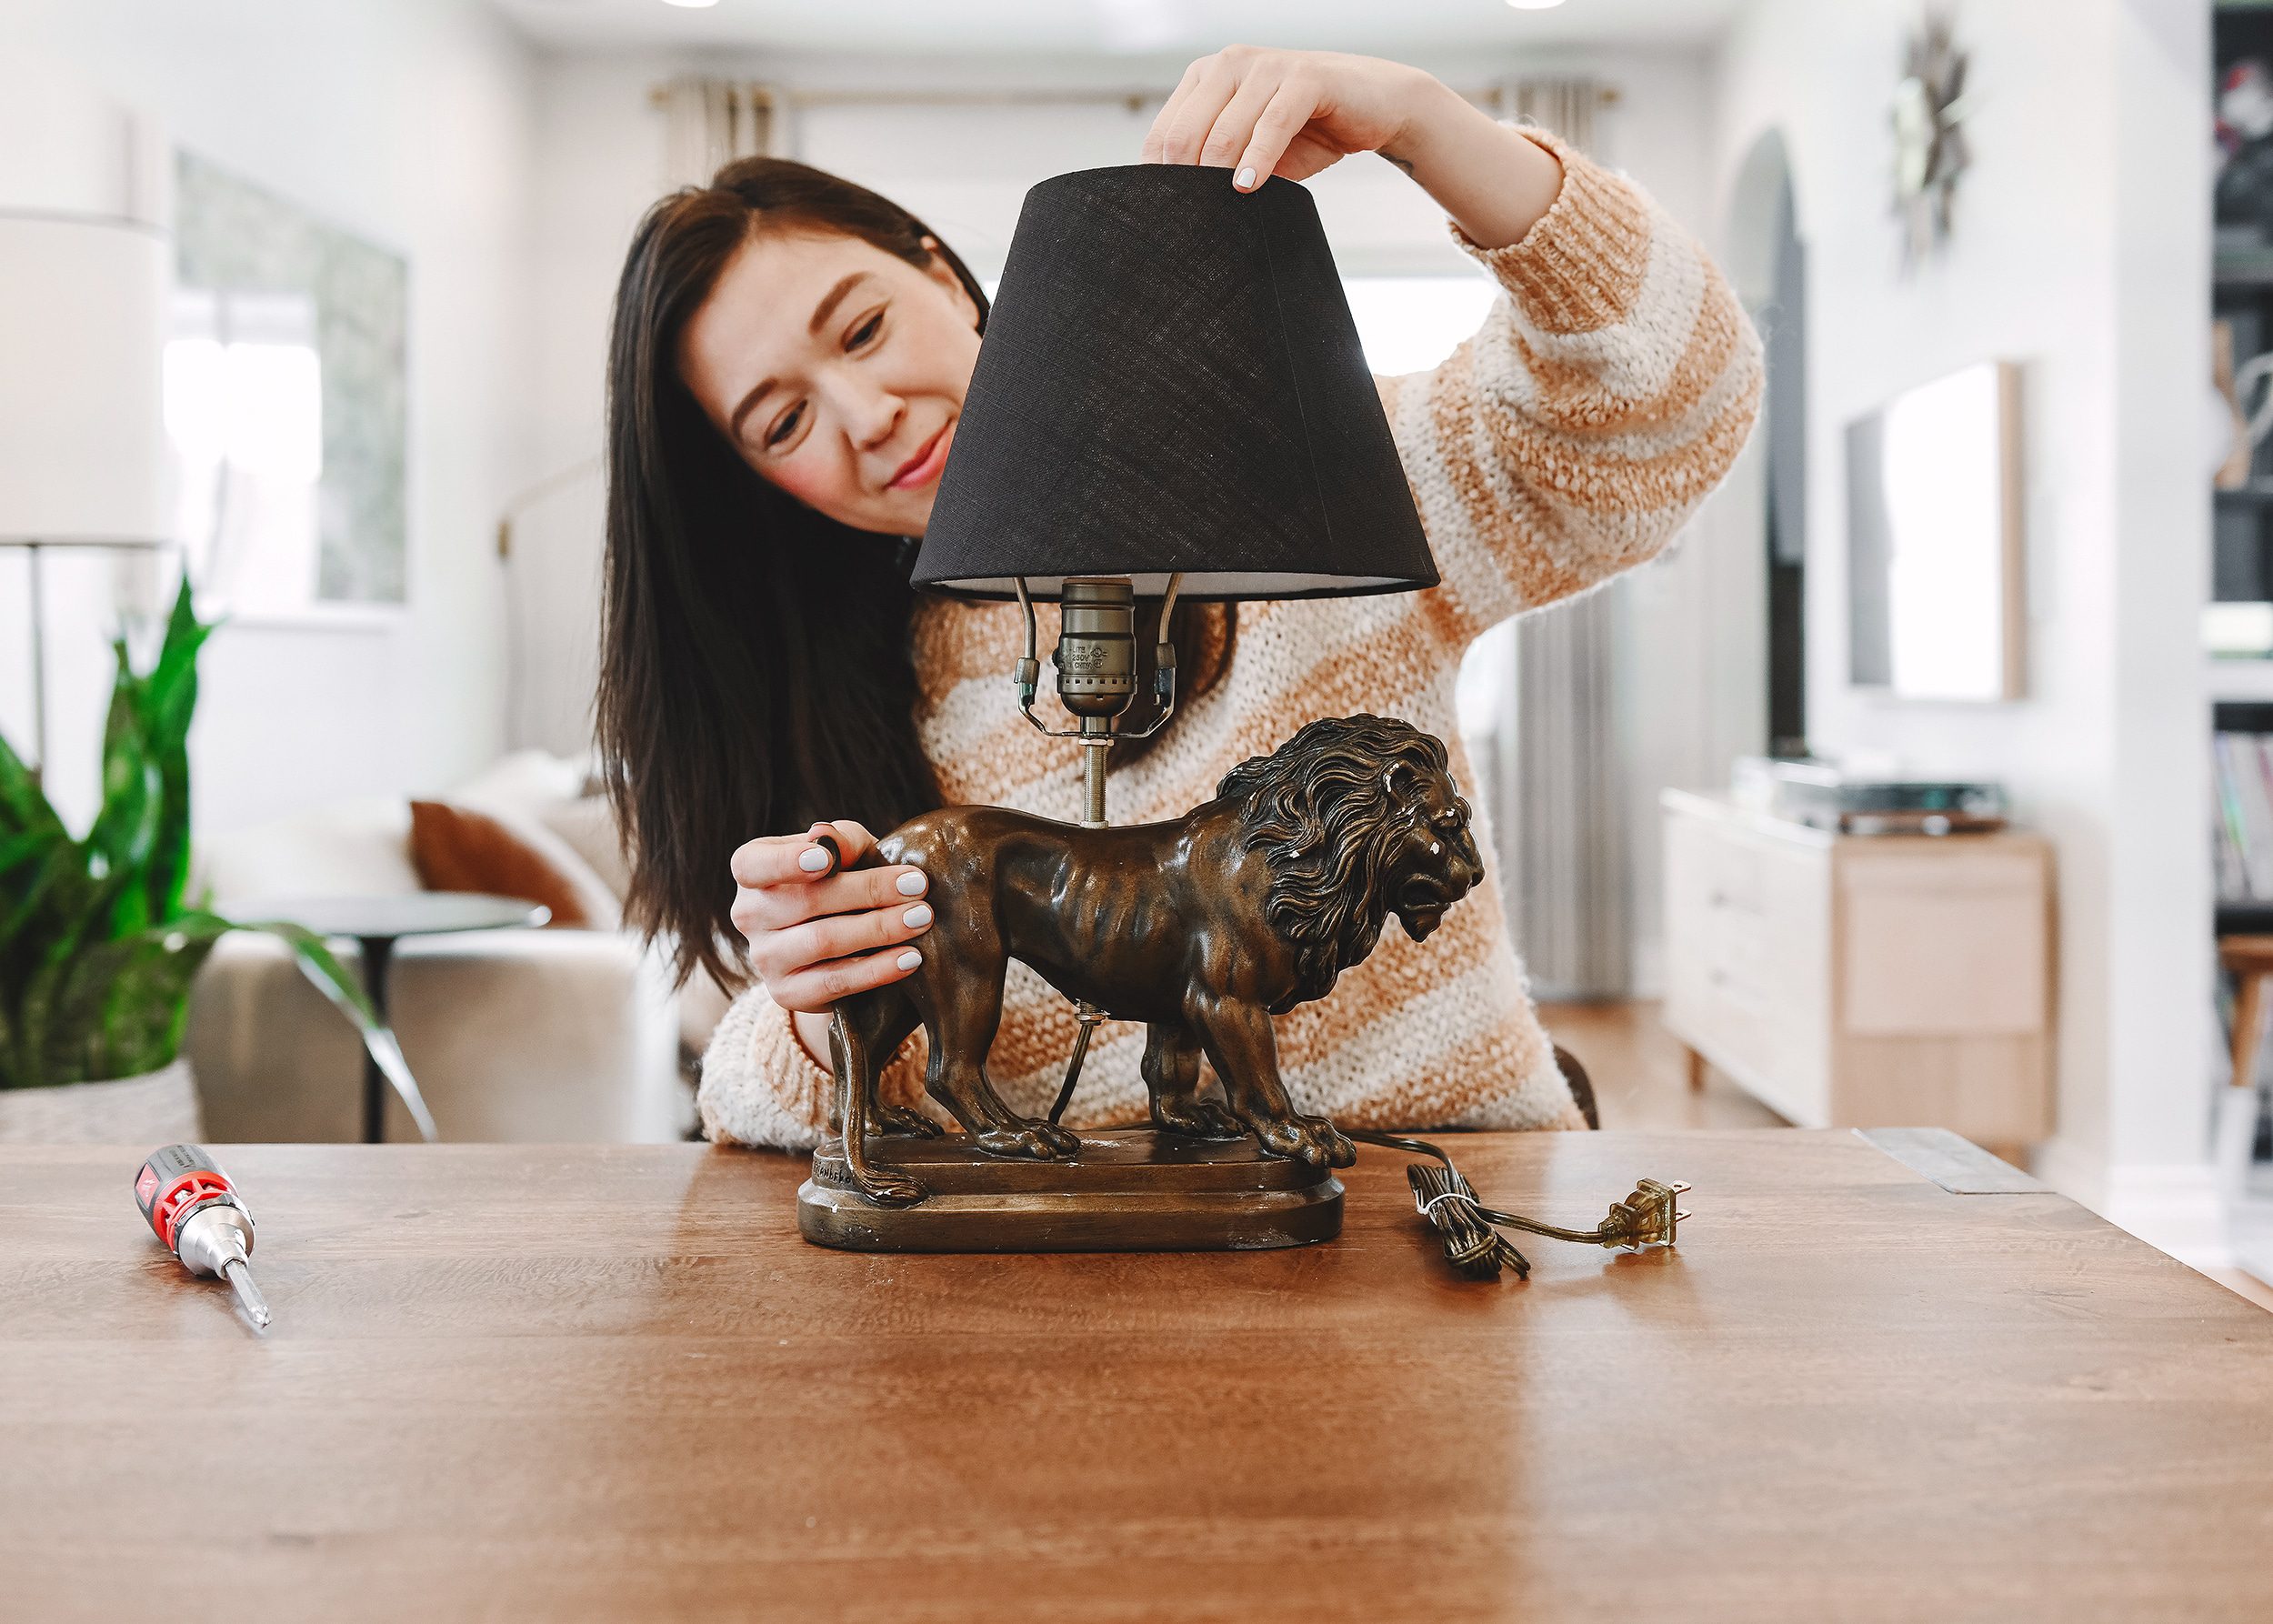
We love the way it lights up our living plant wall from below and casts beautiful plant-shaped shadows on the ceiling!
Since we suspected that our lion was made of plaster, but we weren’t 100% sure, we dove into this project with a tiny bit of uncertainty. Would everything go smoothly? (Yes!) Would we crack his poor body in half, rendering him useless? (No!) In the end, the masonry bit was the perfect tool for the job and drilled cleanly through the lion’s solid plaster body, but we were prepared for the very real possibility that irreparable damage would be done.
A big part of DIY is taking risks, and this one paid off.
If you’re not quite ready to potentially destroy your favorite animal figurine, we got you. Here’s a list of 20 cute + quirky animal lamps that are ready to purchase! Before we decided to DIY, the dinosaur and leopard were on our wishlist.

1. fox | 2. snake| 3. owl | 4. regal dog | 5. bulldog | 6. llama | 7. llama w/tassels | 8. mouse | 9. leopard | 10. unicorn | 11. white bunnies | 12. gold bunny | 13. raccoon | 14. flamingo | 15. dinosaur | 16. incognito bunny | 17. fox + butterly | 18. giraffe | 19. wiener dog | 20. pig
If you decide to take this project on yourself, but sure to tag @yellowbrickhome and #YBHDIY. We’d love to see your creations!


I MUST have that dinosaur light!
I think lamps are a fantastic beginner electrical DIY, I was shocked (ugh, puns) the first time I had to rewire one and realized how easy they are. Your lion is so cute!
Thank you! The dinosaur kills me. It also comes in a puppy version!
This looks adorable
I purchased a lamp years ago that I love! It’s two birds on a branch. I painted them gold (I don’t even recall what they looked like before) but have always worried about the wiring. Thanks for linking the kit and for demonstrating in the video. I’m adding this to my list!
It’s easier to repair a lamp than you’d think! You got this.
Your lion lamp turned out so cute and I loved looking at the others. The snake gives me the willies and some of the animals look unpleasantly impaled but others are adorable. The mouse and raccoon crack me up!
I love these lamps. Especially giraffe and raccoon
Love this so much! I am a Leo, so your DIY lion lamp totally has my heart. I have a pair of the snake lamps in my living room, and they are gorgeous in person! (Btw, I think the “pig” lamp is actually a corgi! :D )
Haha! Good catch on the Corgi. Either way, it’s real cute.
It really is!
Love this idea! You have so many great ones!
The only thing that makes me a little “twitchy” is seeing the hardware/harp sticking out from the bottom of the shade. Have you considered a taller spindle that connects to the base, or narrower shade to cover the hardware? or a different sized harp? Visually something just seems off.
We though about other options, but this was the end result that looked the cleanest.
I love the rat lamp. It’s so difficult but I think I can handle it wish me luck.