

The variety of choices when selecting and installing tile can be overwhelming! We’re talking through a quick list of our top 5 considerations before starting any tile project.
In This Post
1| To Heat or Not to Heat?
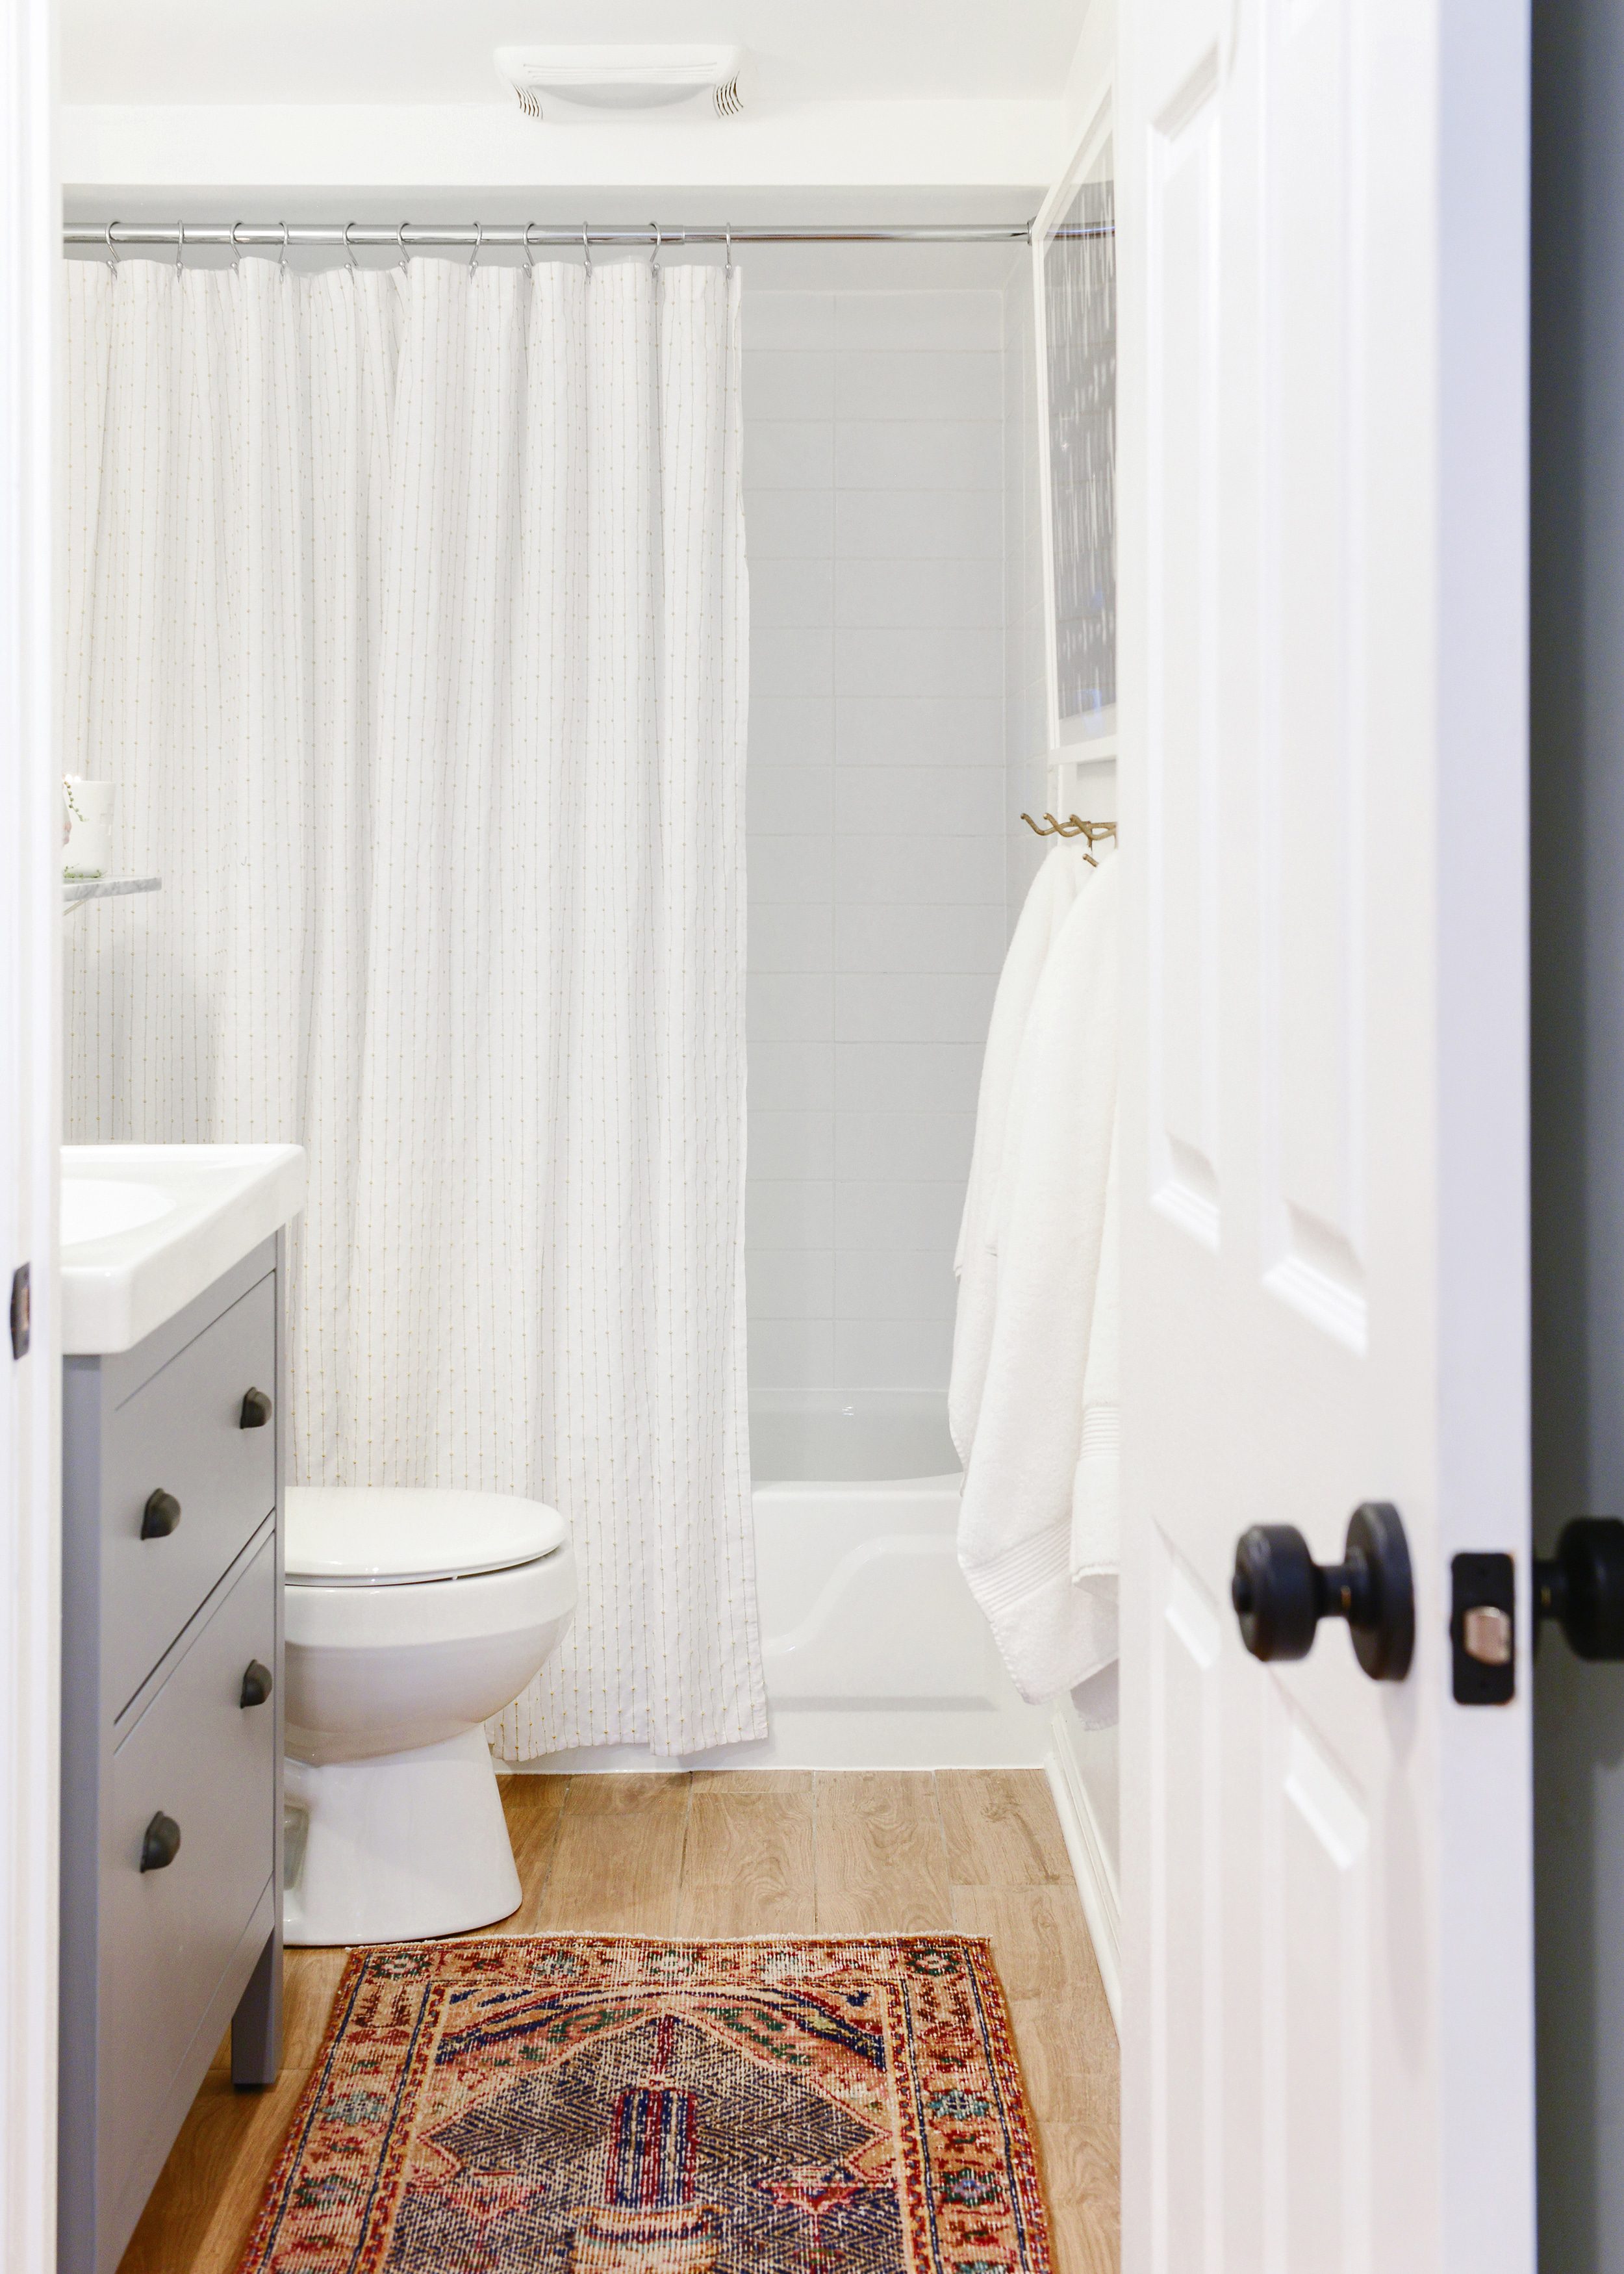
Before the first tile is laid, there’s an important invisible decision to make. Will the floors be heated?! We were always under the impression that heated tile floors were too fussy – until, that is, our contractor pretty much insisted that we install them in our first floor bathroom! Heated flooring is a luxury that may not be as expensive as you’d think. In an average size bathroom, keeping floors cozy through the coldest of seasons often adds less than $1000 to the cost of a renovation and can lower the heating costs of said bathroom.
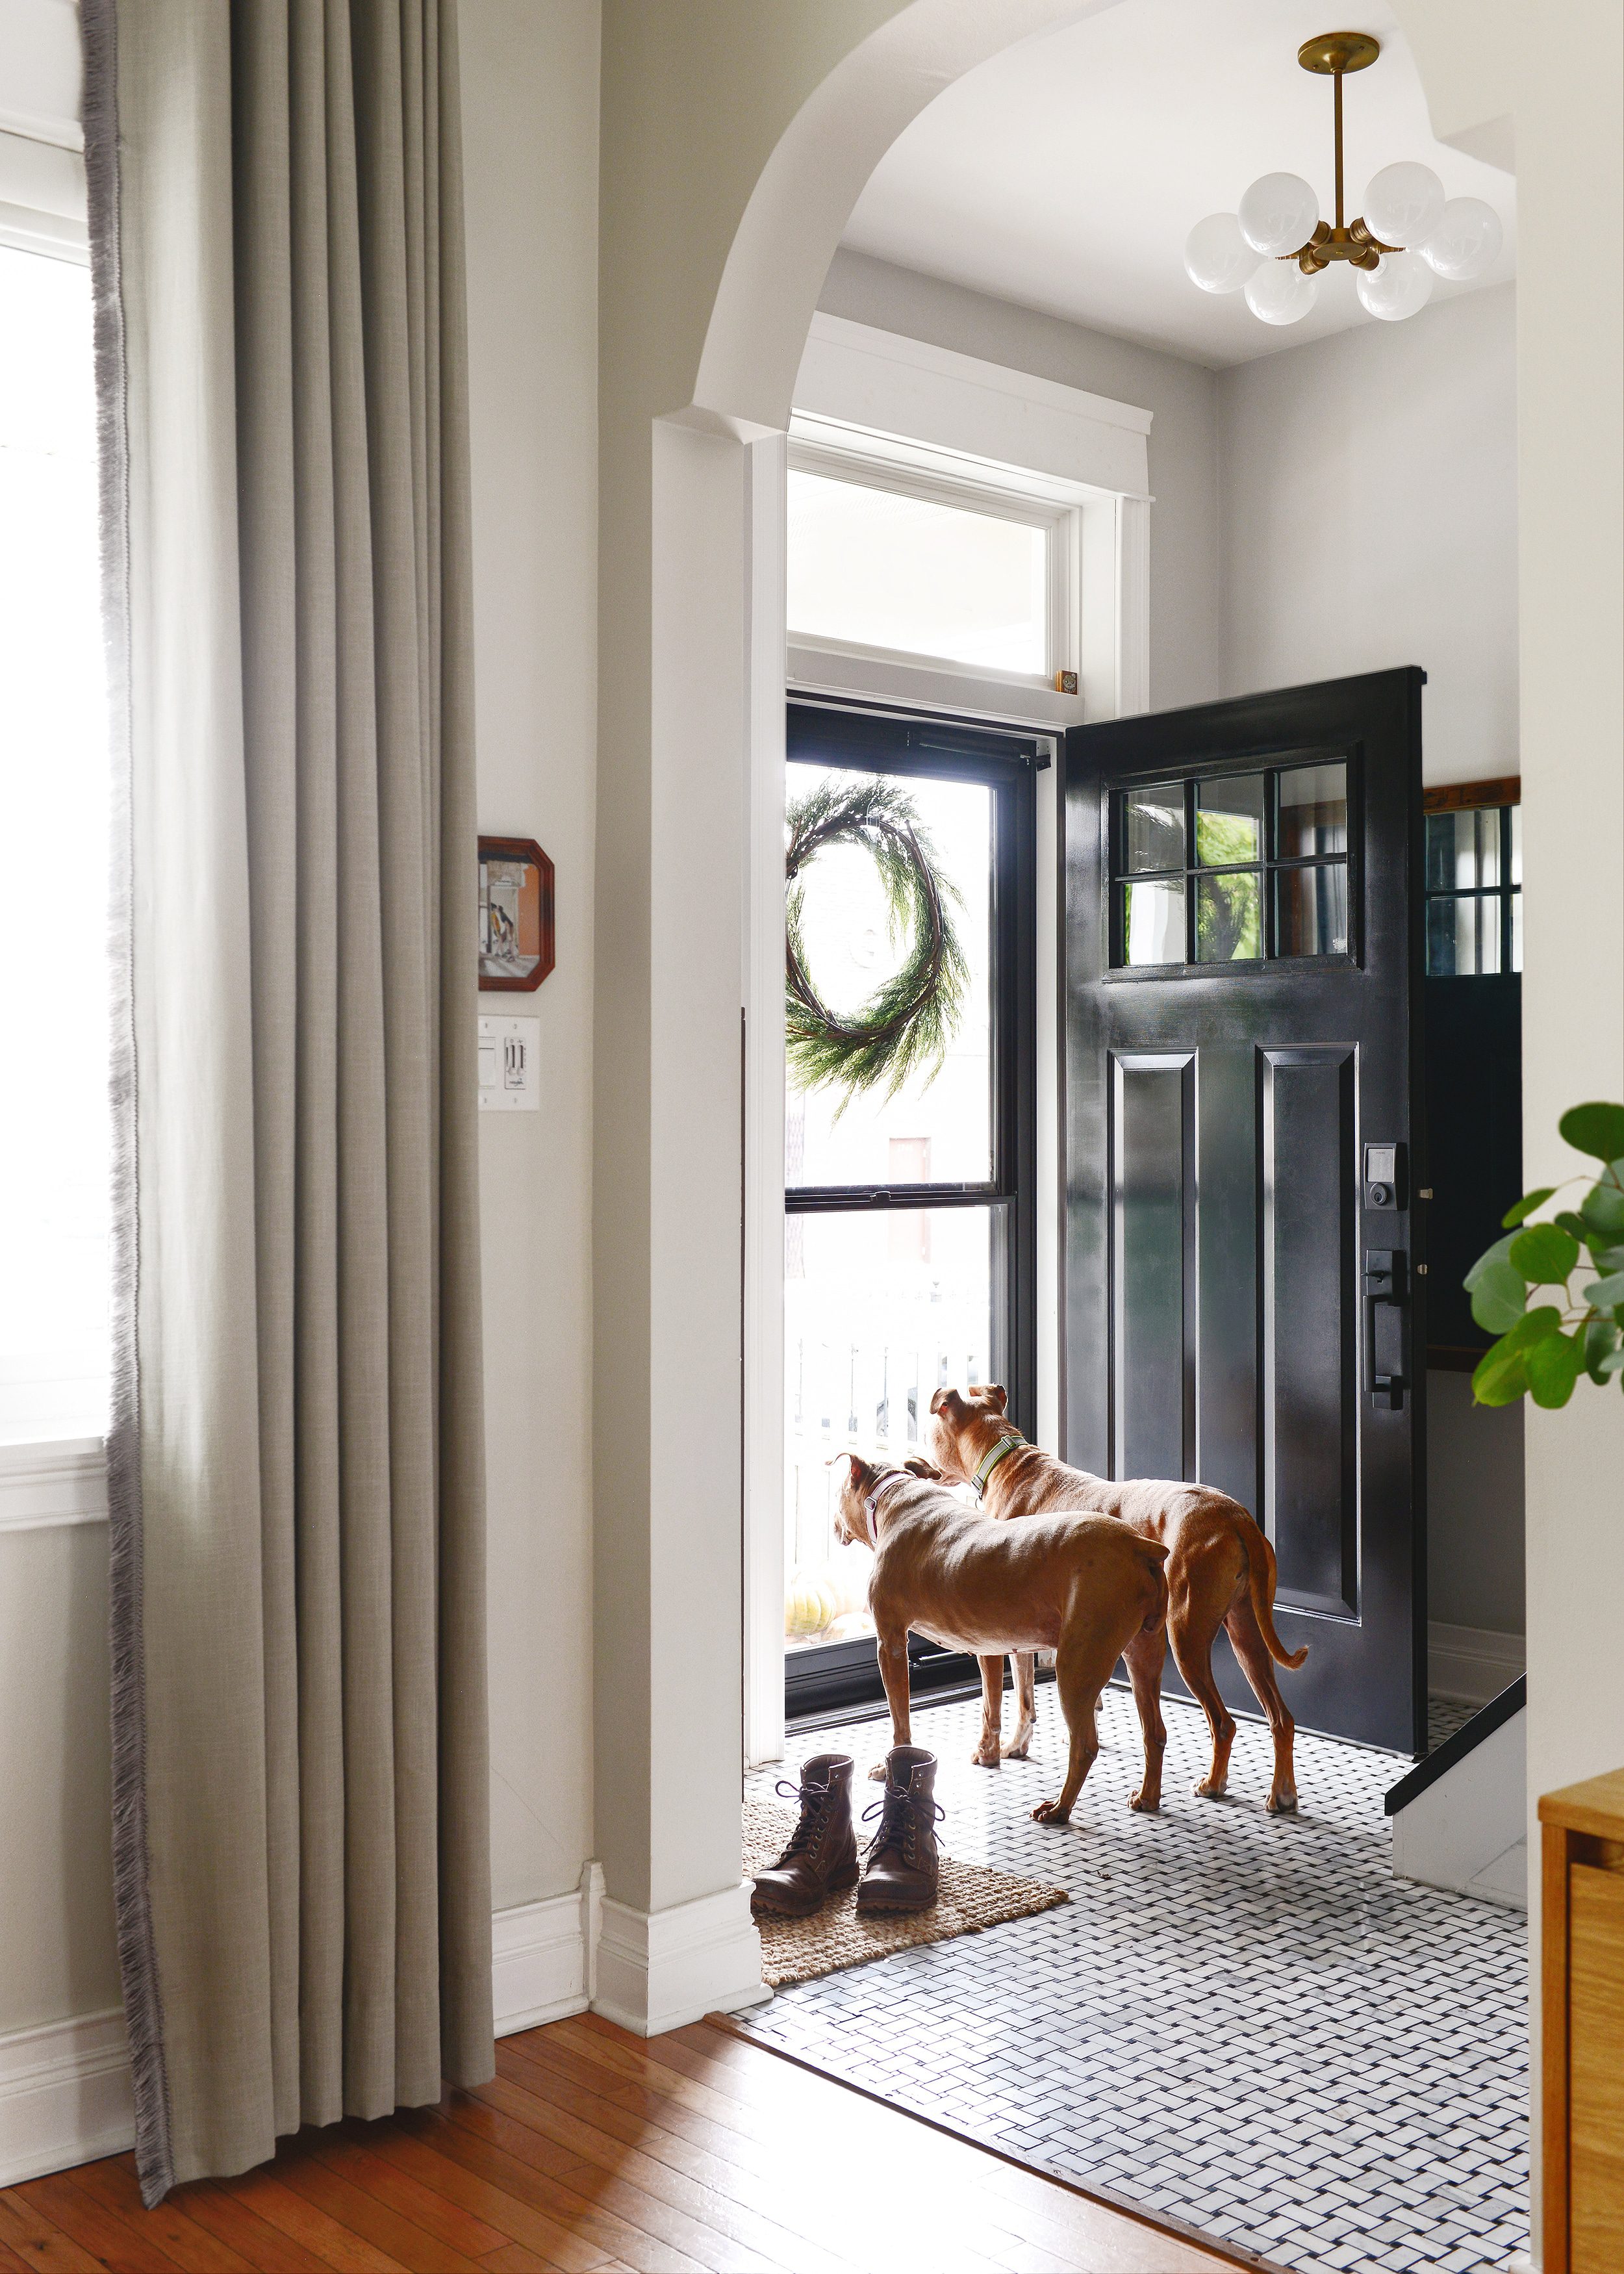
In both the bathroom above and the bathroom at our Michigan Tree House, the tile flooring had a tendency to get extremely cold in the winter months. In Michigan, the home sits above a crawlspace, so the flooring is left more exposed than usual to outside temperatures. Here in Chicago, our 130-year-old insulation is not exactly up to modern standards, so any assistance keeping the floors warm was welcome. After living with heated floors in two bathrooms, we’re not sure we’ll ever go without them again, but climate and budget are big factors in deciding if they’re right for you. Either way, make sure the decision is made before the project begins! An unexpected side effect? The pets love it just as much!

2| Tile Material
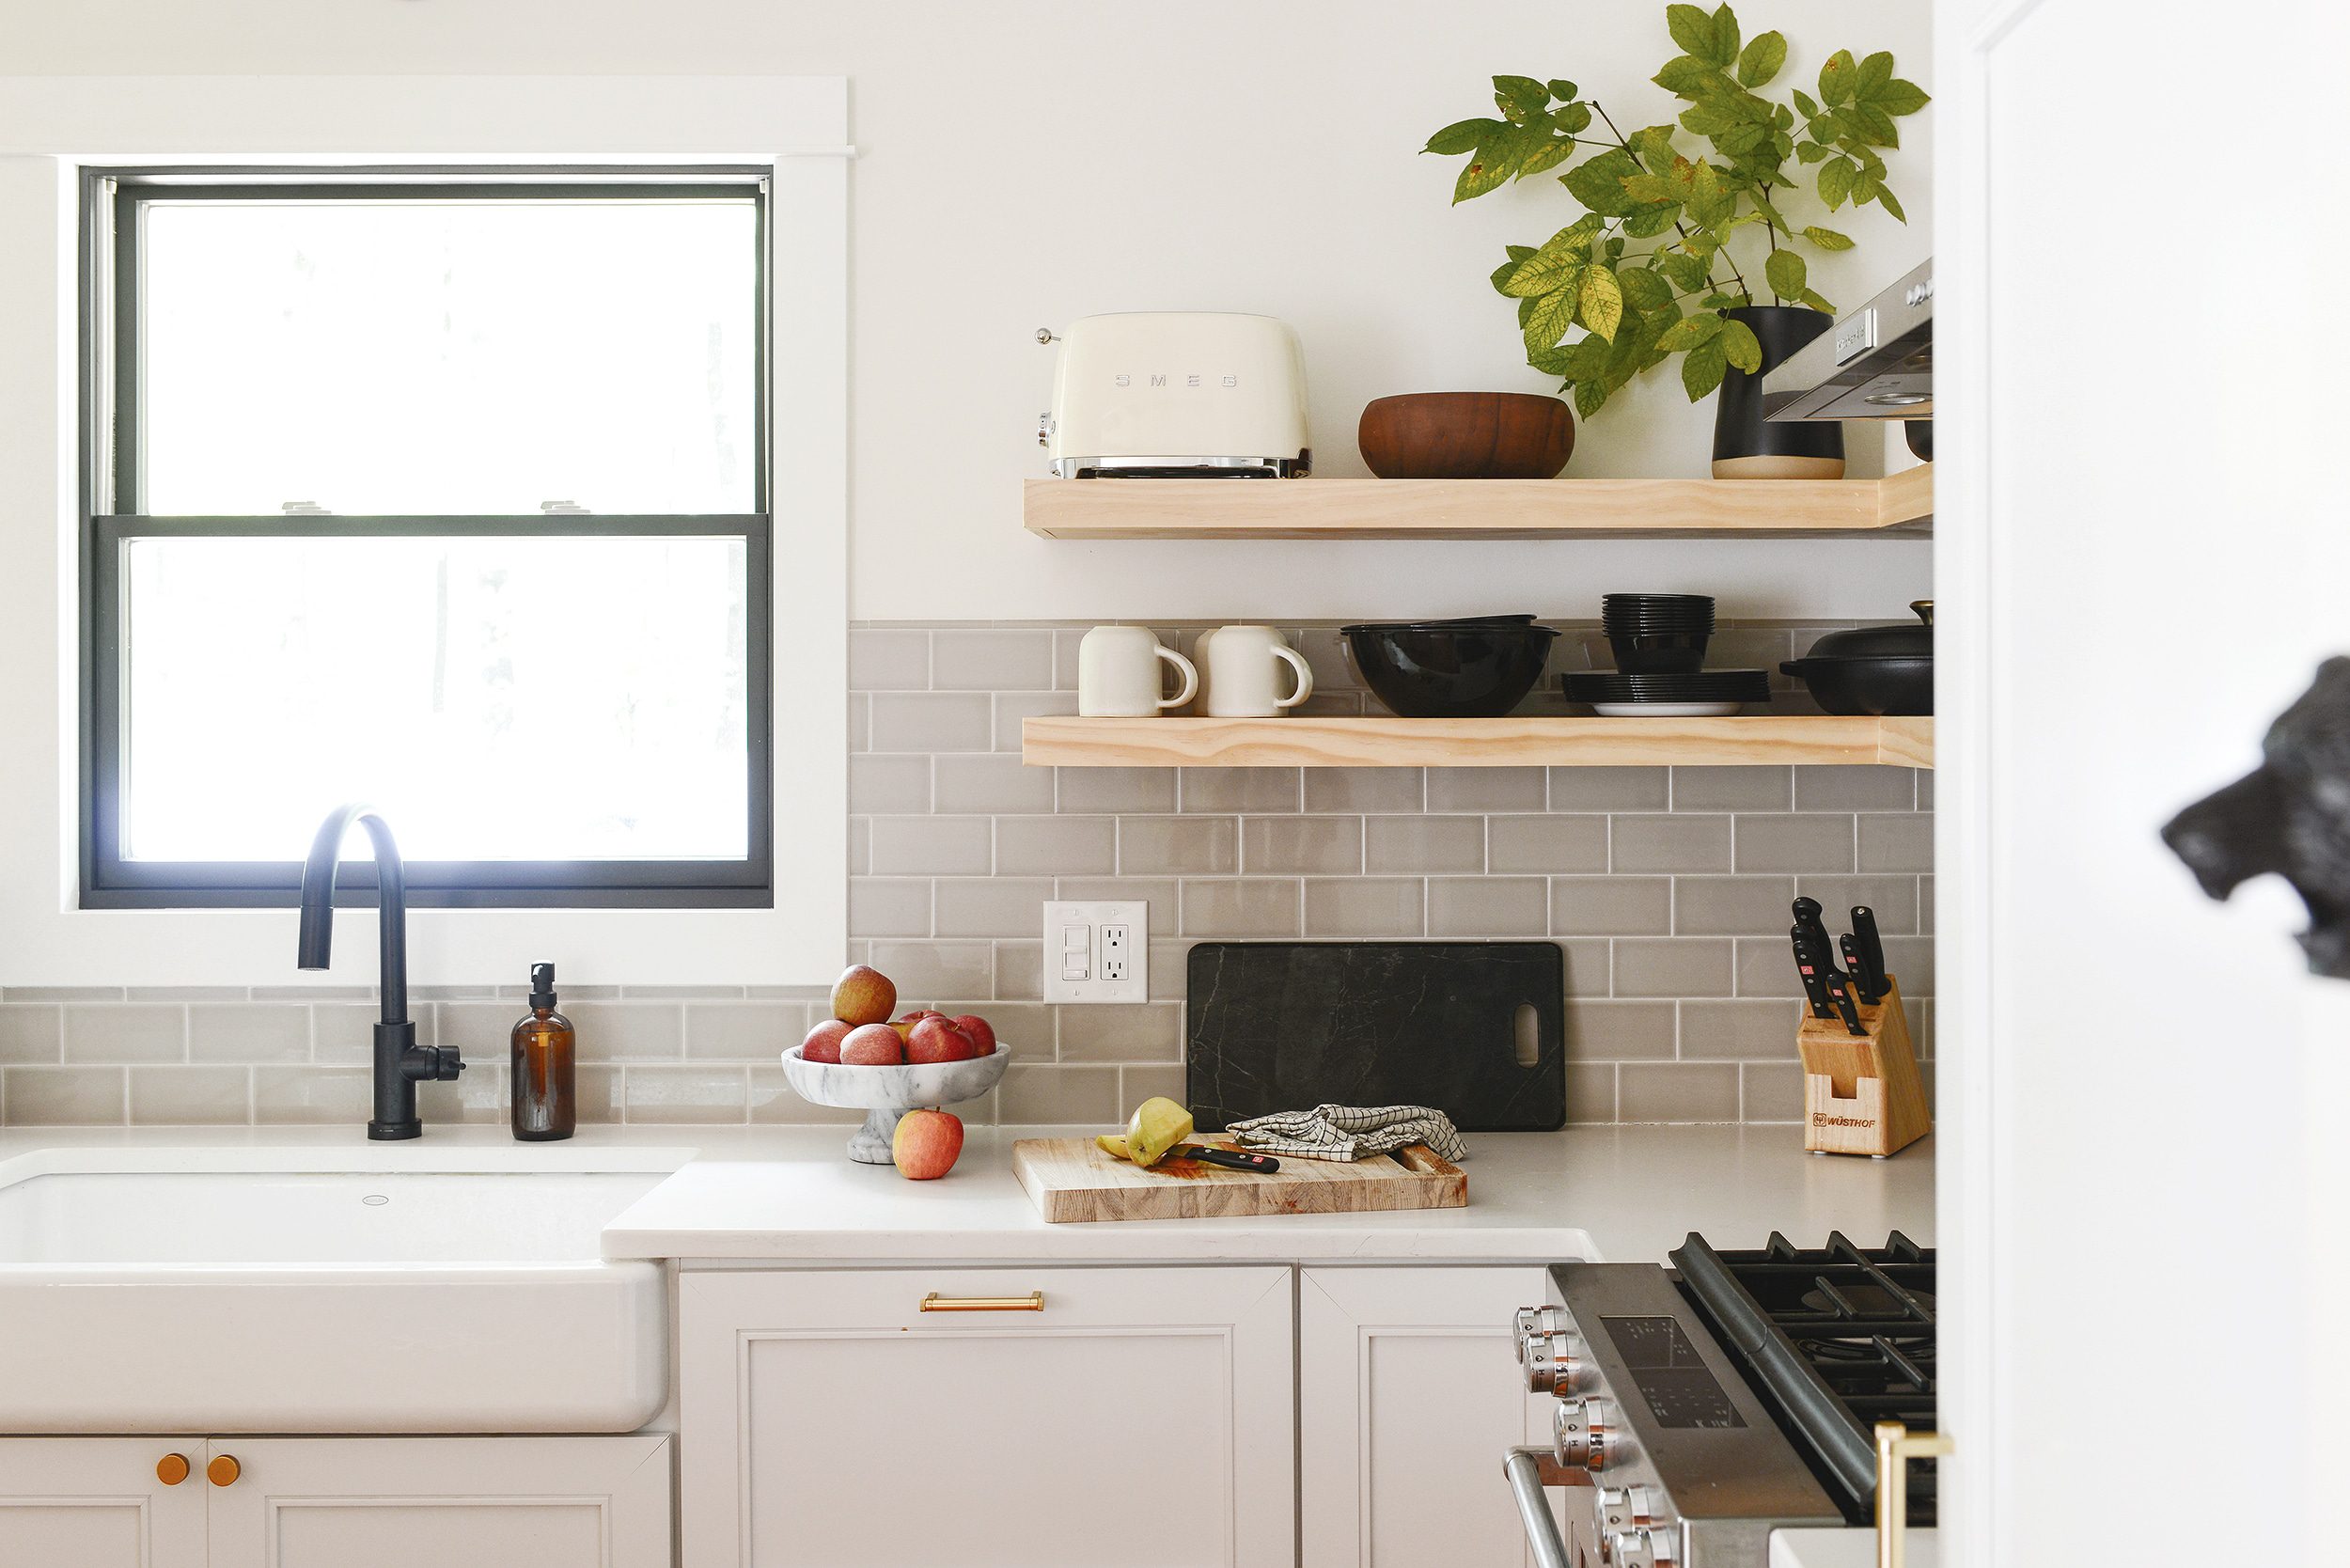
The three most common tile materials are porcelain, ceramic and natural stone. Consider whether you’re tiling the floors or the walls, a shower or a kitchen backsplash. Next, you’ll want to factor in the durability of the material, as there are pros and cons to each. Porcelain is stronger than ceramic, so we opt to use the former for flooring. On the other hand, we’re content to use ceramic for a backsplash and even marble in the entryway! Here are a few pros and cons to each:
porcelain
- Pros: Very durable and ideal for heavy traffic areas and water resistant. Less porous than ceramic. Can be used outdoors.
- Cons: Heavier and generally more costly than ceramic.

ceramic
- Pros: Budget-friendly, easy to clean, and lightweight
- Cons: Less moisture resistant than porcelain, cannot be used outdoors.
natural stone
- Pros: Beautiful natural variation, and no two tiles are exactly alike. High-end look and feel.
- Cons: Porous, which makes it prone to staining. Can be costly. Will need more maintenance over the years with sealing.
3| Tile Size + Pattern
Larger tiles can make small spaces look more grand due to the larger format and relative lack of grout lines. On the other hand, smaller tiles can make an area feel more intimate. For example, we selected long planks of wood-look porcelain tiles during the renovation of our garden apartment. The tile and color-matched grout lines (more on those later!) help the floors to look uniform, and by carrying the tile throughout the entire space – including the bathroom! – we were able to make the small apartment feel larger.
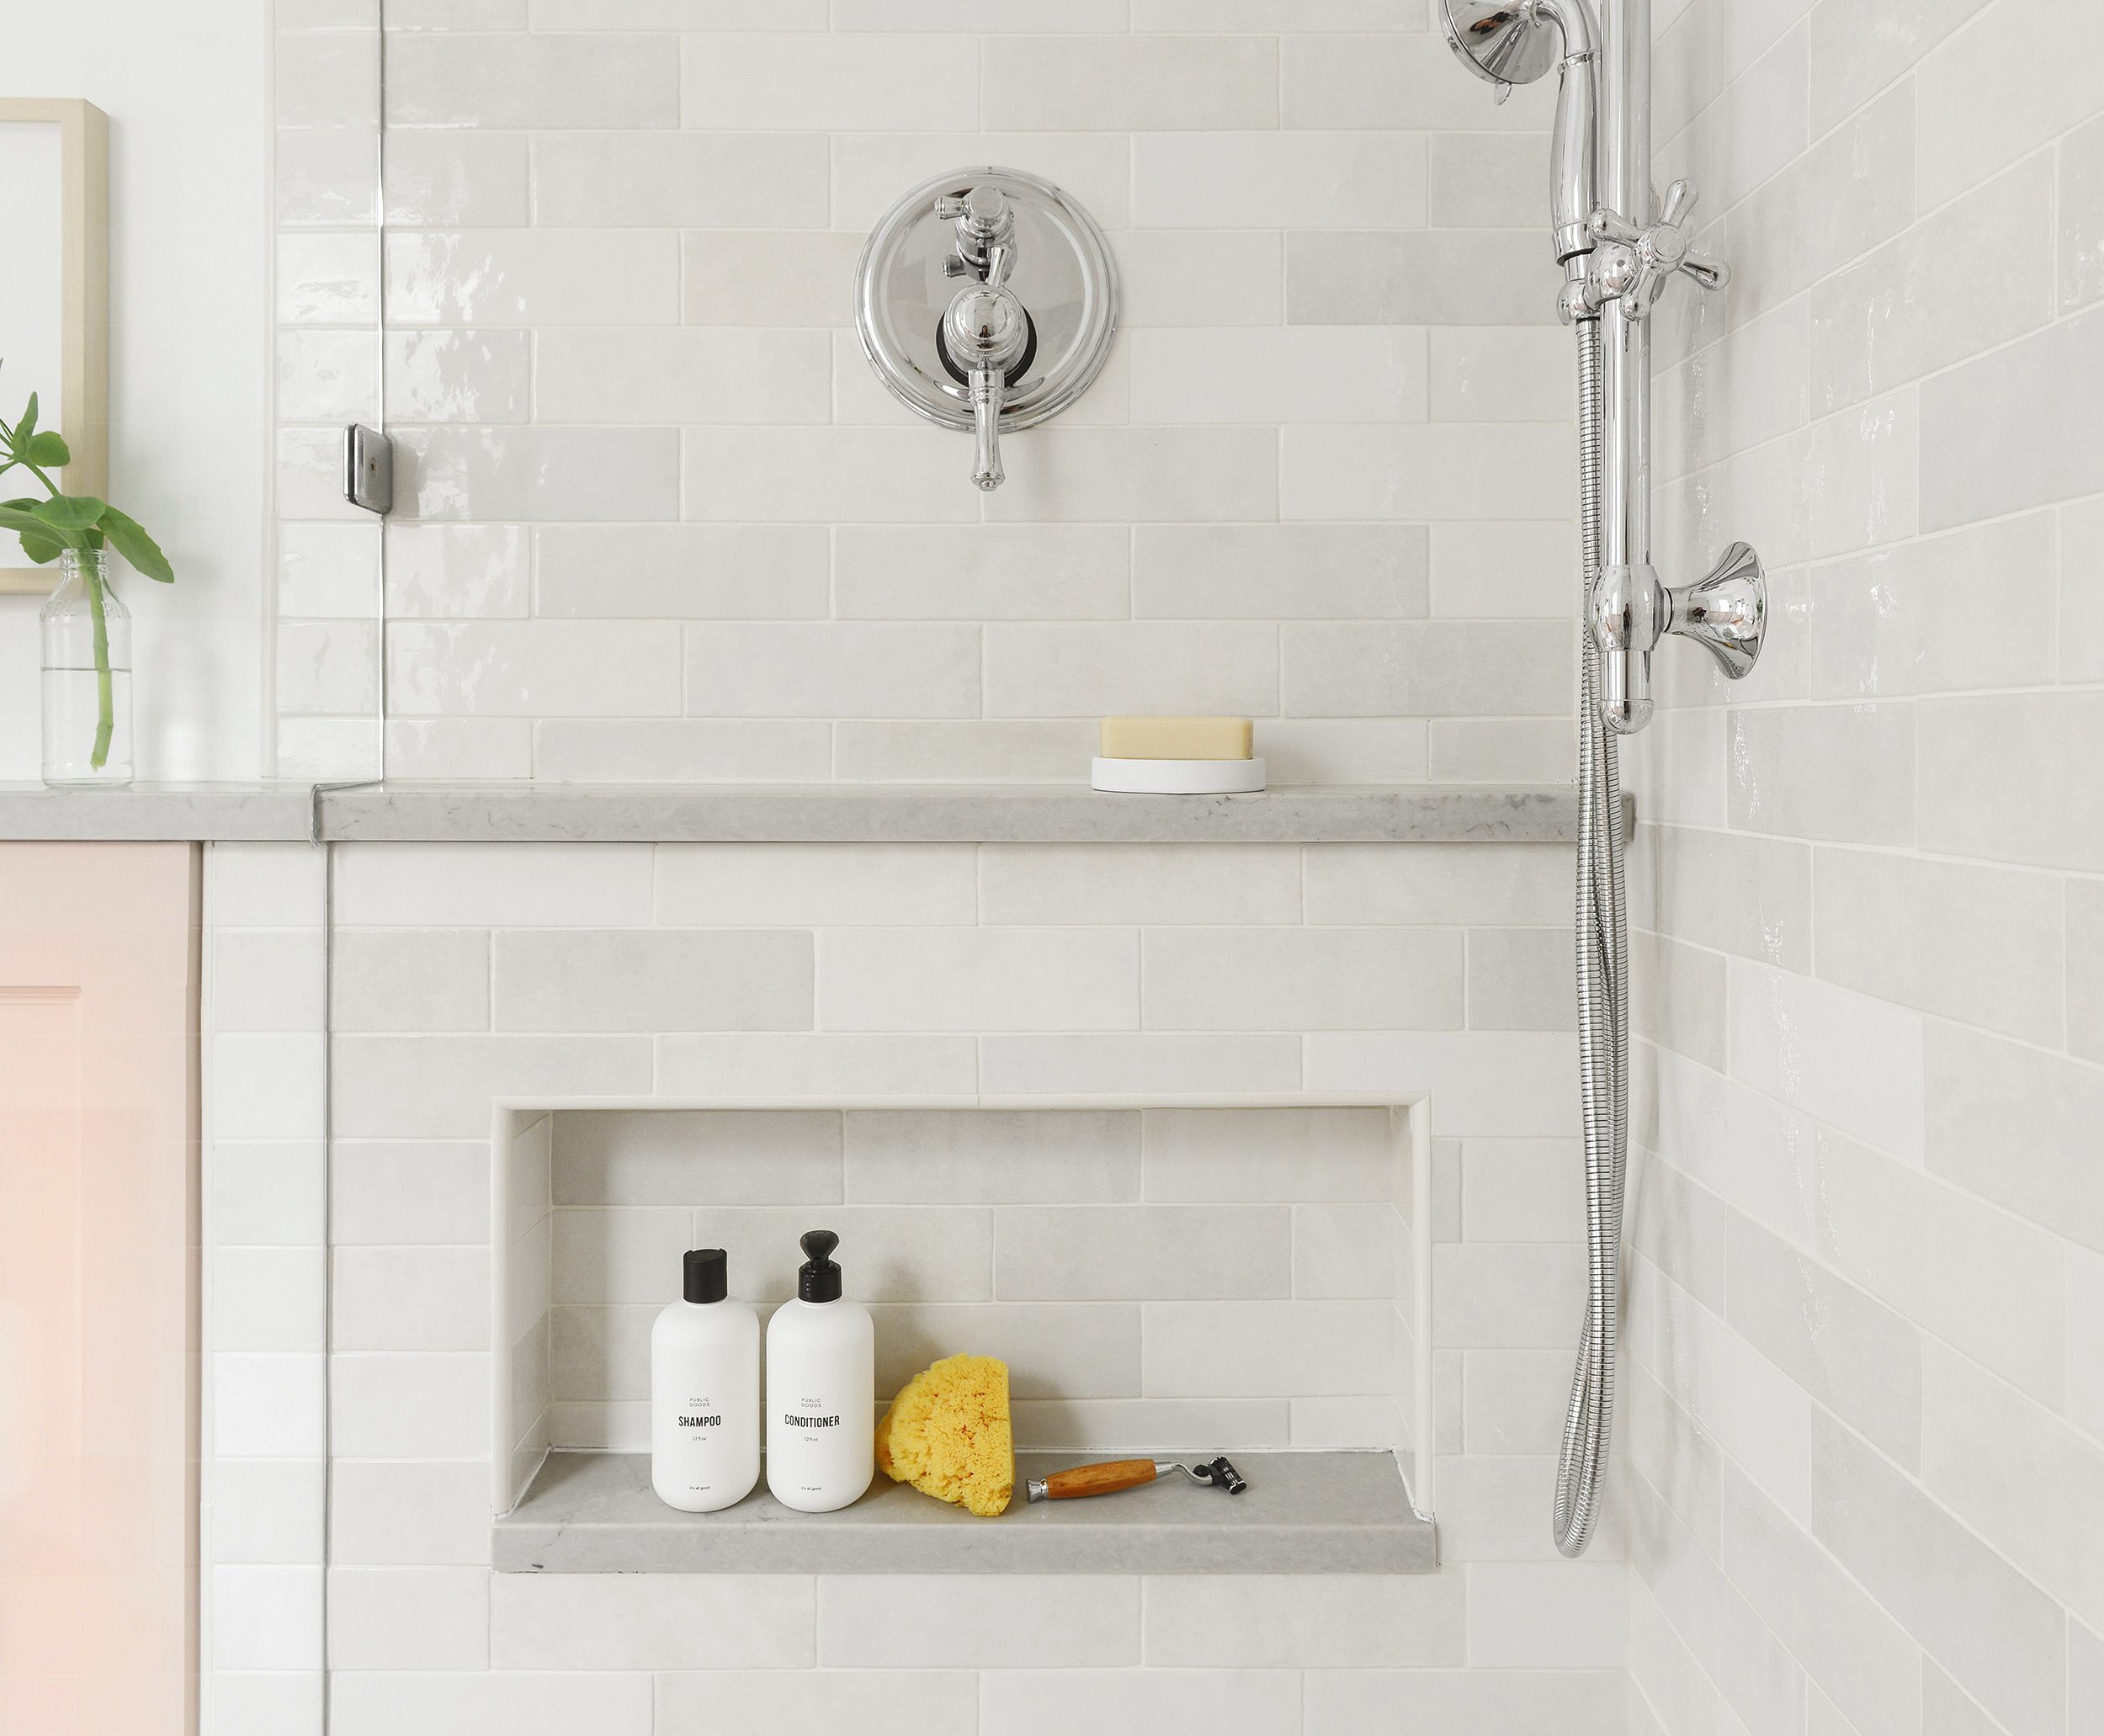
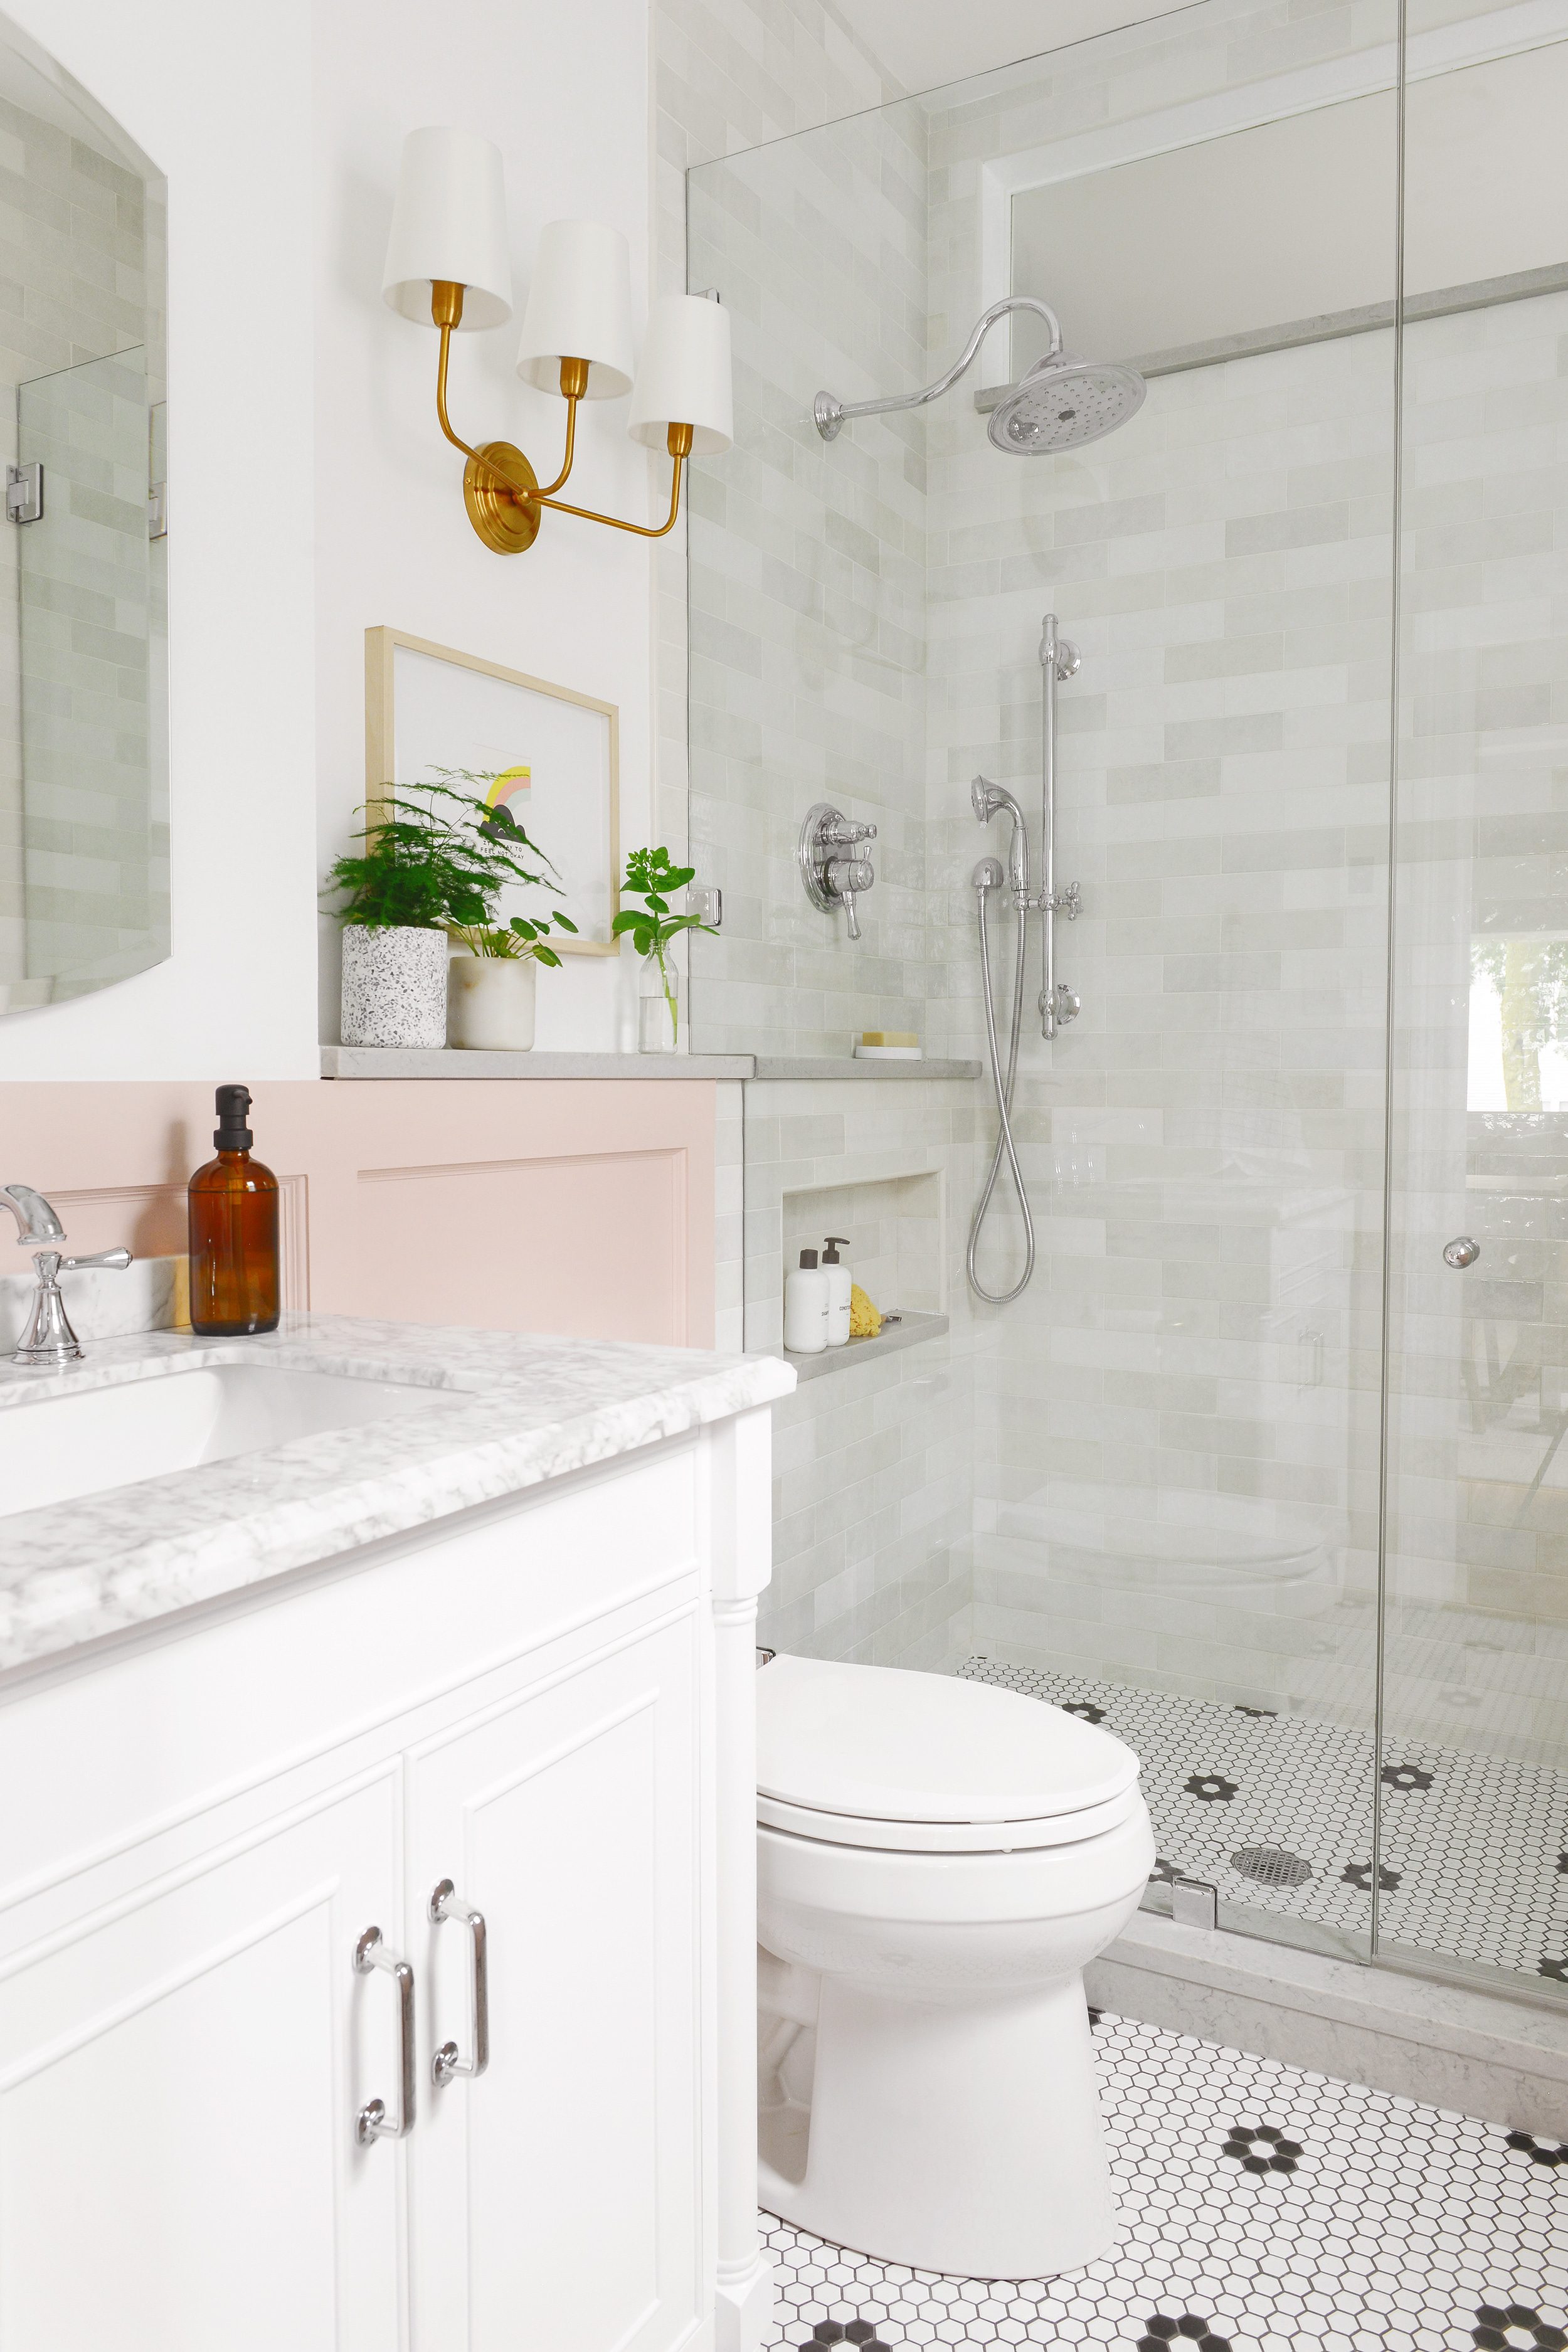
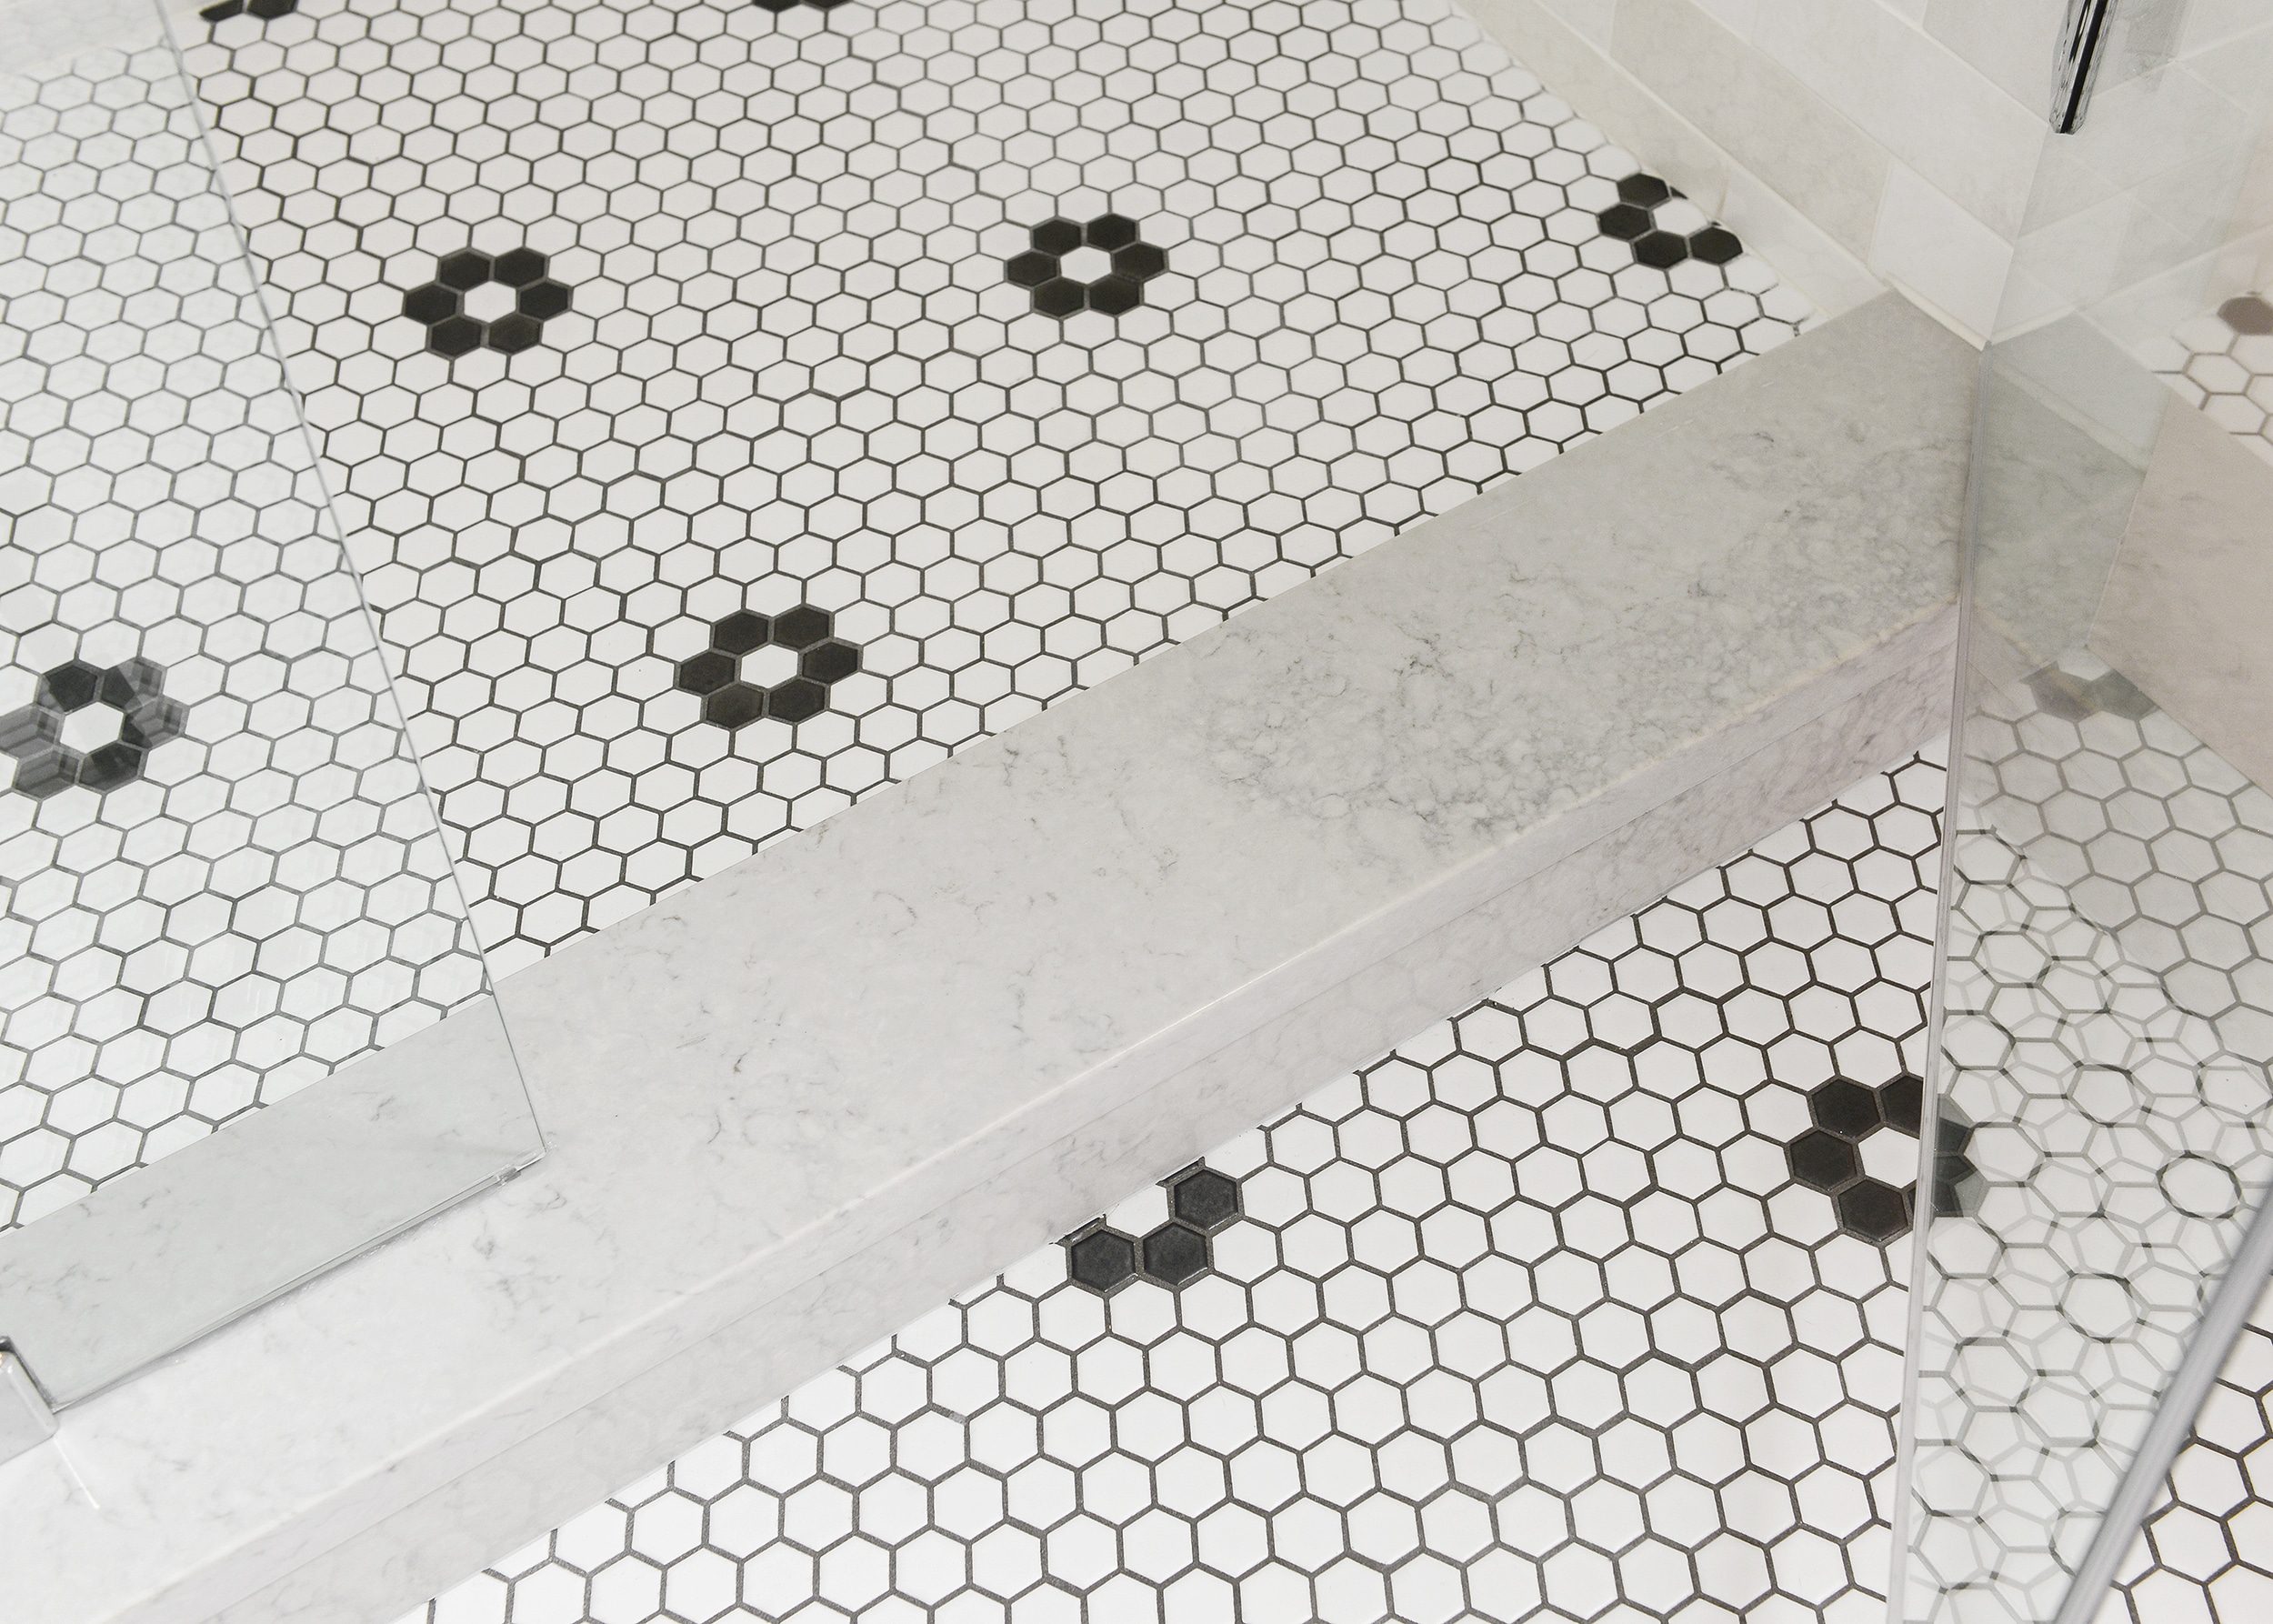
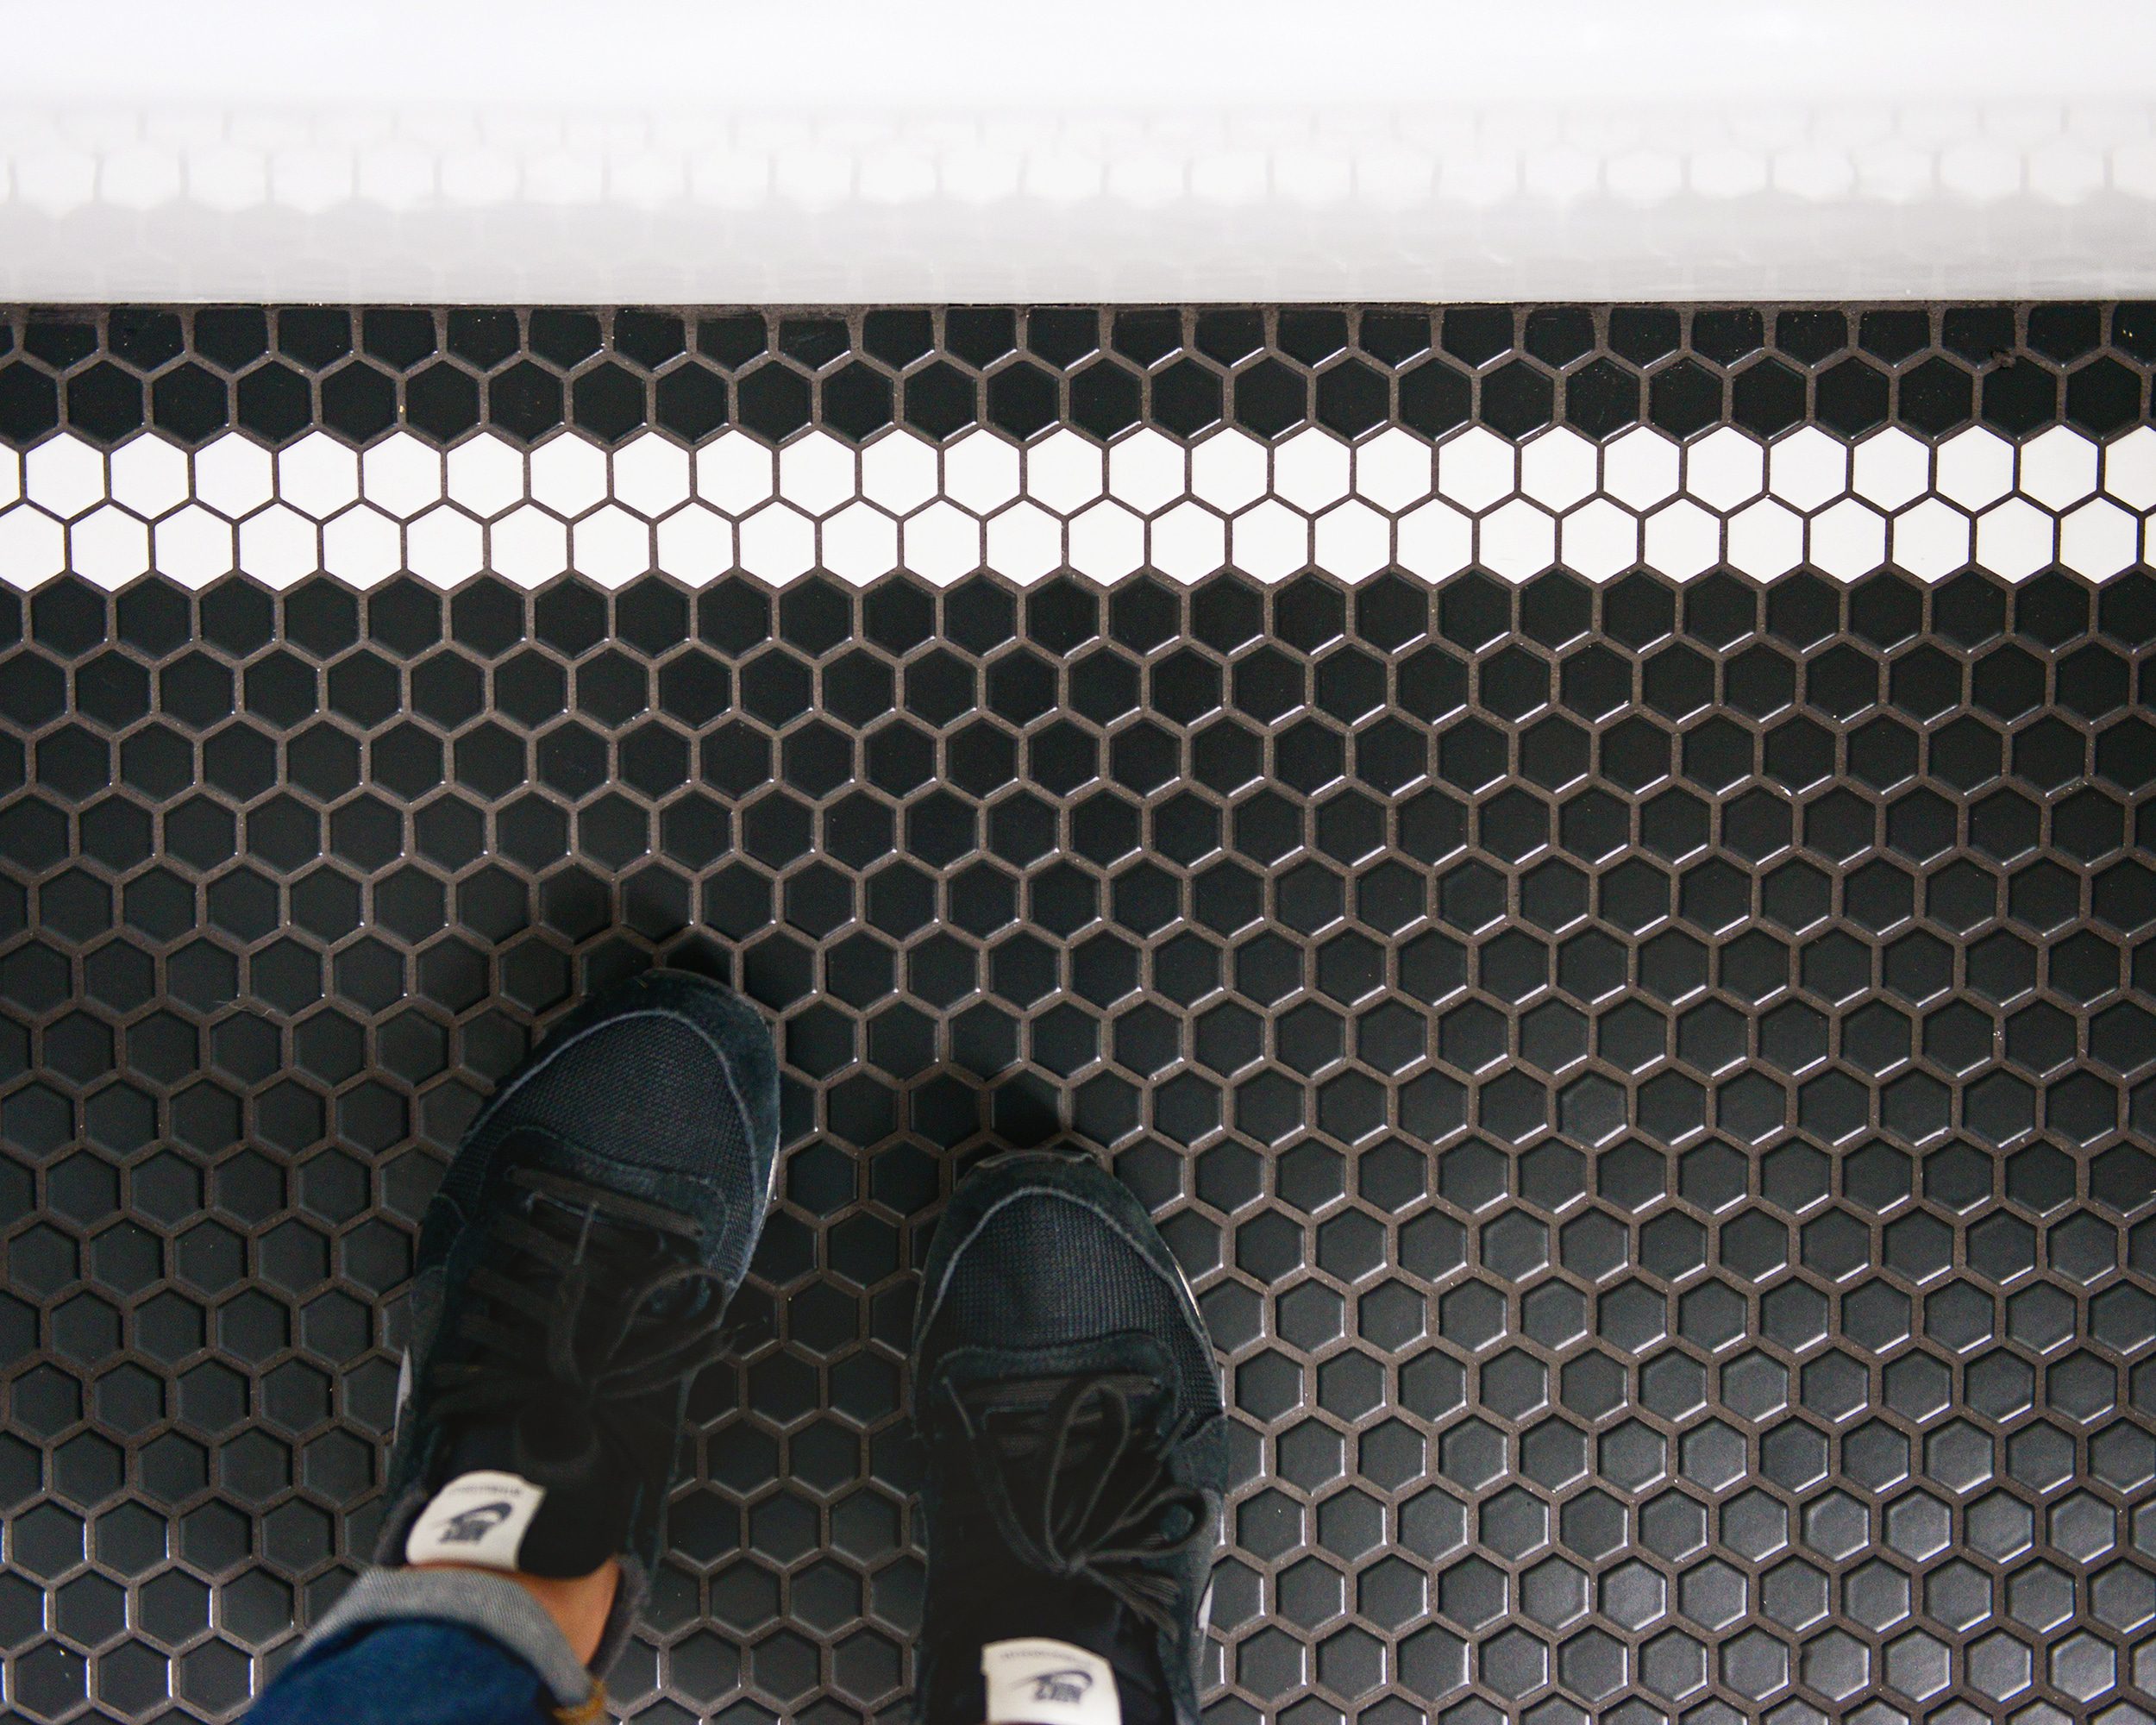
In addition to the size and scale of tile, you’ll want to keep pattern, if any, in mind. In the case of the wood-look tile above, we ensured that the pattern was kept random to maintain the look of natural hardwood flooring. And in our recent bathroom renovation, we chose the exact opposite – a perfectly stacked pattern. And if you consider our small pink bathroom renovation, we decided to add black rosettes to our white hexagon tile!
4| To Space or Not to Space?
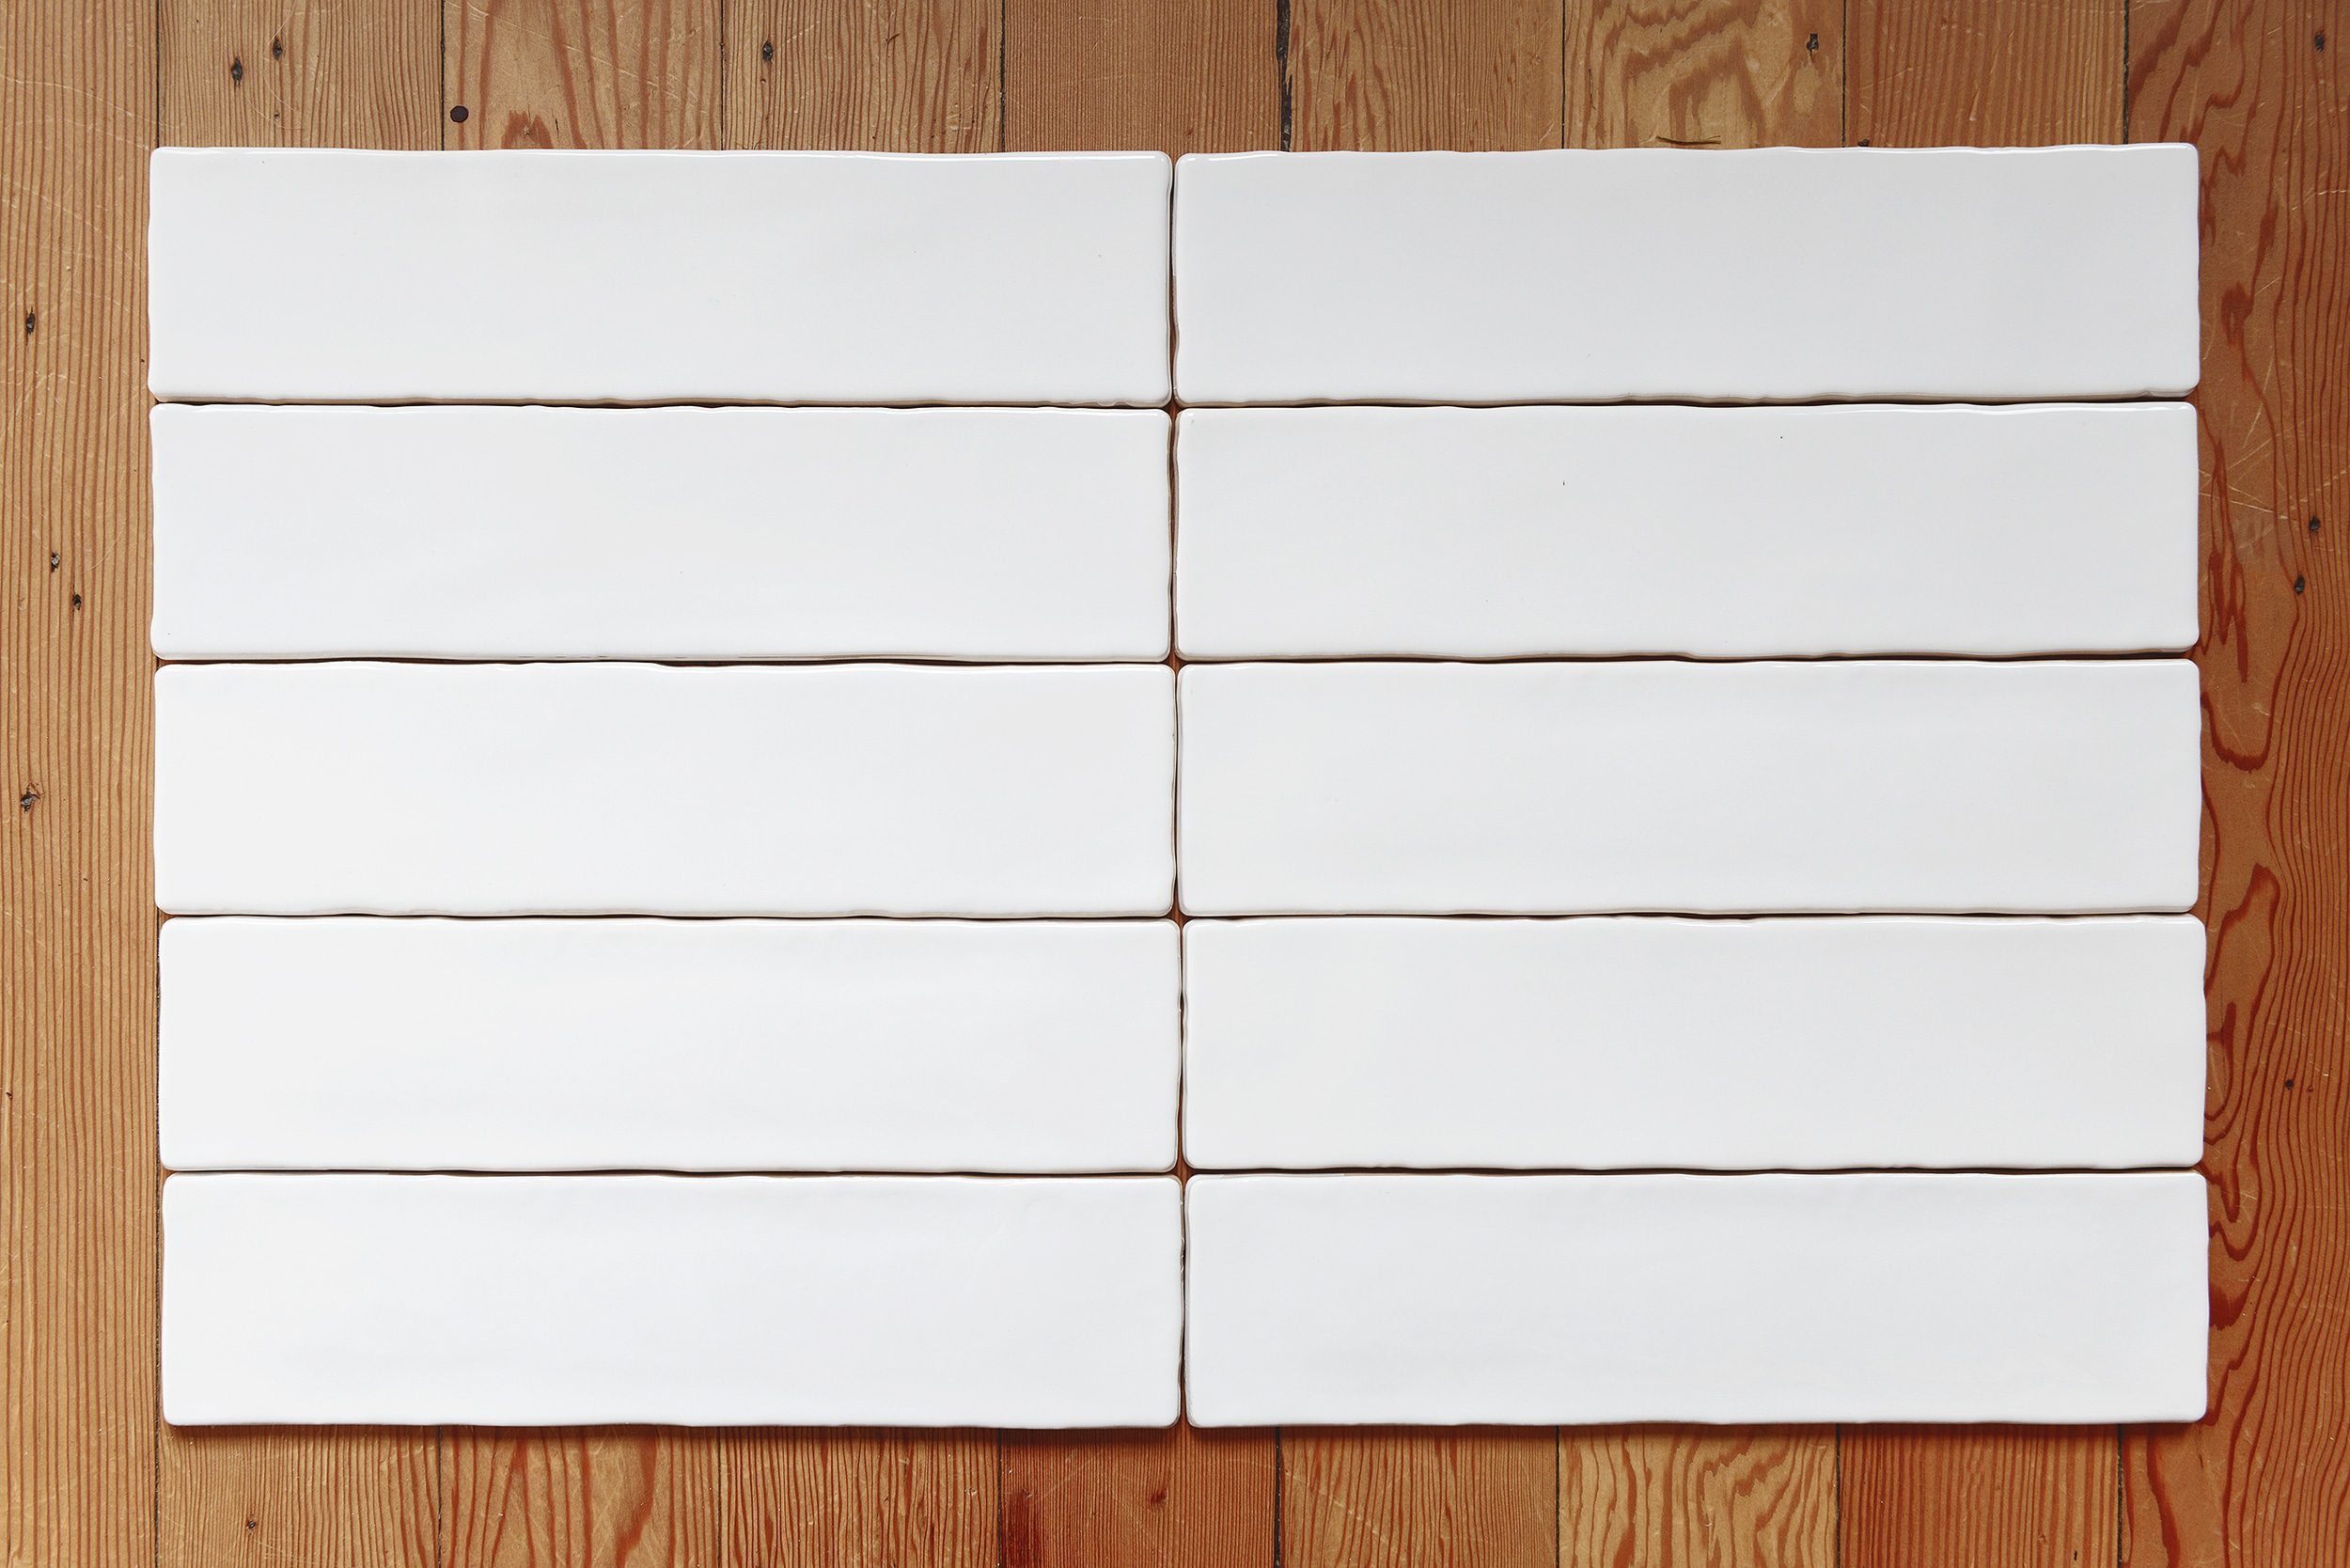
Tile spacers can be used to ensure that the space between tiles is even and consistent throughout the room. Spacers can be had in sizes as small as 1/16″ and as large as 3/8″. If spacers are going to be used, the size is often left up to mere preference. But did you know that many ceramic and porcelain tiles have built-in spacers or ‘lugs’ that don’t require the use of additional plastic spacers at all? For example, let’s look at the tile below (laid on the floor while we brainstormed possible patterns – see #3!). While it appears that there’s a small gap between the tiles, they’re pushed as close together as possible! The small easement or lug leaves a thin space, ready to accept grout.
Natural stone tiles, on the other hand, may be cut with a square edge and will require spacers for a consistent gap. This is especially important when installing small format or mosaic tile on sheets! Since the sheer quantity of grout lines makes them a more noticeable portion of the finished product, spacers are necessary to ensure consistency. You’ll also want to ensure that the spacers used between sheets of tile are equal to the spaces between the tiles on the sheets – i.e., a sheet of hexagon tile with an 1/8″ space between individual tiles will require an 1/8″ spacer between sheets.
5| Grout Type + Color
If you’ve shopped for grout, you probably learned quickly that there are two types: sanded and unsanded. Here’s the cheat sheet:
- Unsanded grout is generally used on walls (think: kitchen backsplash and bathtub surround). It’s ideal for grout lines that are 1/16″ or smaller and results in a very smooth line.
- Sanded grout is generally used on floors and for grout lines larger than 1/16.” It has a grittier texture (because sand!), giving it better resistance to cracking and shrinking.
While the type of grout used for any project is determined by the gap between tiles, the color of grout is completely subjective. Contrasting color grout can help define tiles and make them pop, where tone-on-tone grout colors can keep things looking seamless and uniform. Grout color can completely transform the look of a room, so choose carefully!
When in doubt, we turn to inspiration photos and examine the tile in a space closely. What color is it? What color is the grout? Does it contrast against other items in the room? Does it recede into the background? Is it a statement? Take note, and run with it.
Regardless of whether you’re tiling yourself or hiring the work out to professionals, these are decisions that will be faced in any tile project. (And if you’re doing it yourself, here’s a step-by-step tutorial for you!) We hope that these tips were helpful if you’re considering a tile project in your own home! Is there anything else you would add?


I love the marble look in your entryway! It’s so classic ????
Thanks, Ashley! We’ve never once regretted going with marble in that high traffic area.
Do you seal the grout in your projects? Is there a need to? Can you discuss the pros and cons?
We have and haven’t for different projects. I think lighter grout needs to be sealed, otherwise it darkens up when wet. We just sealed the bathroom floor at Tree House, and the water beads right up, which is great! I can’t think of any cons, honestly!
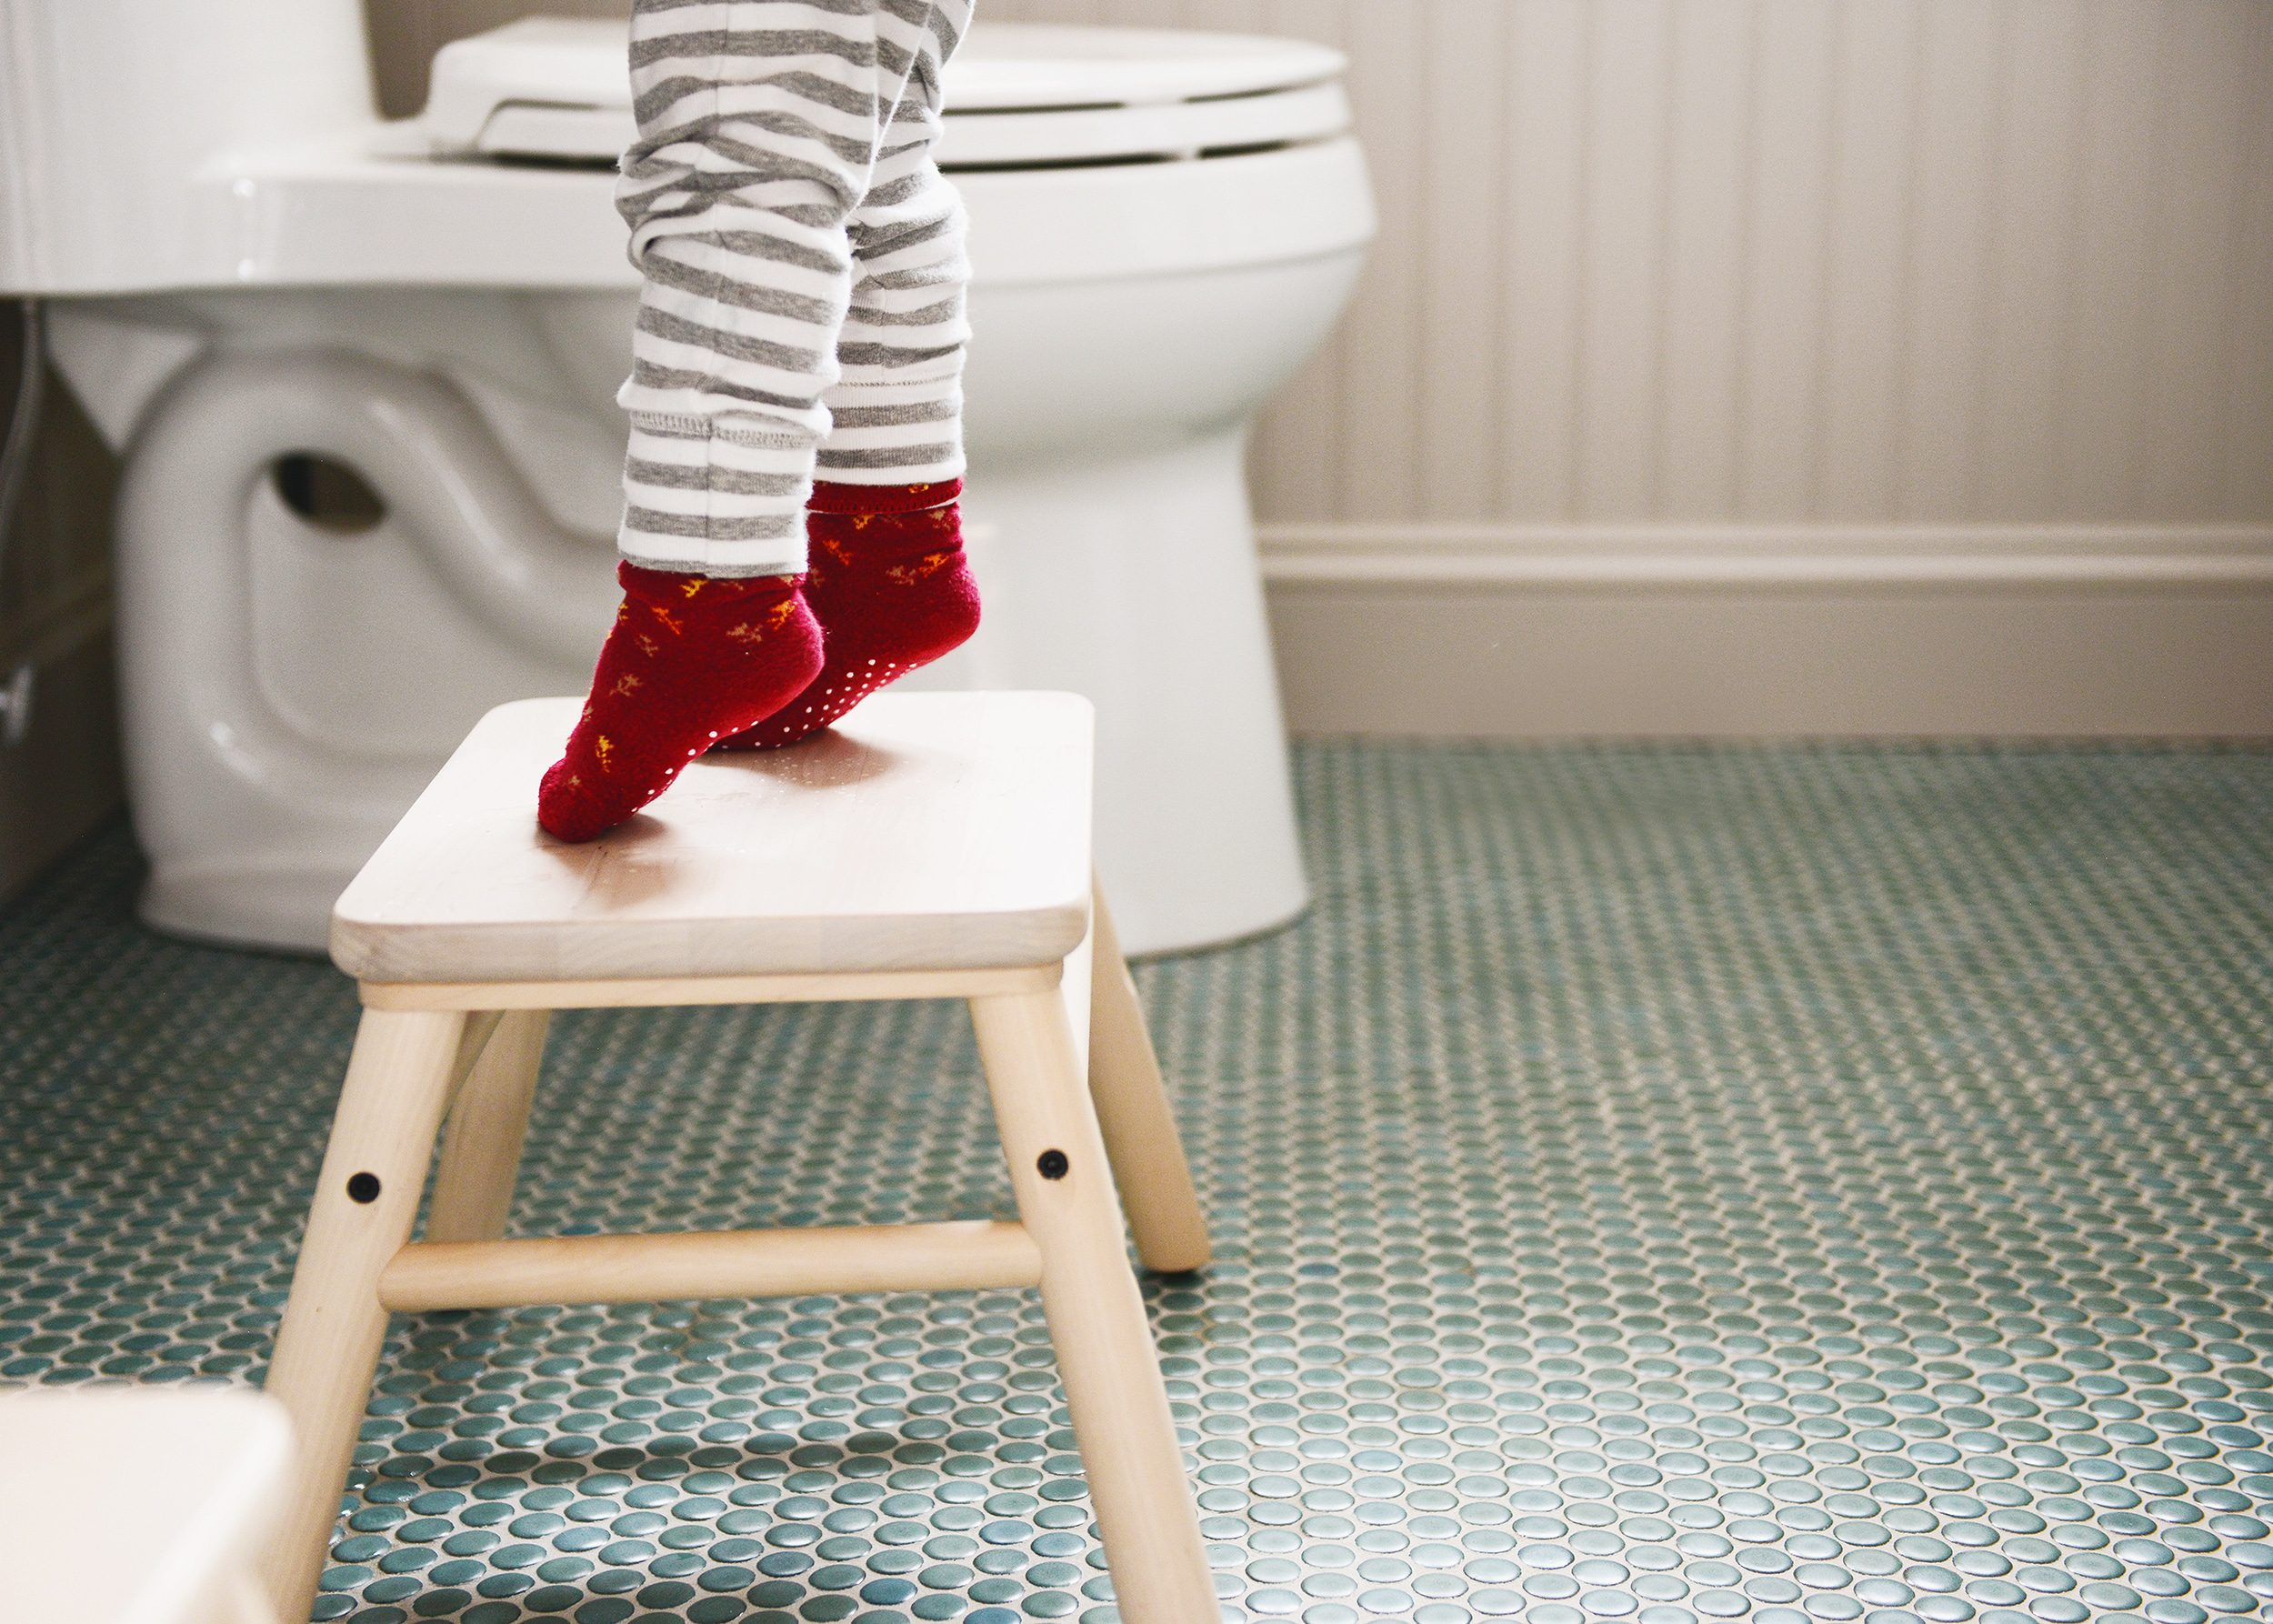
I am curious how you installed penny tile on a heated floor. I imagine that would be really difficult to ensure the sheets are level because of all the heating cables getting in the way.
A leveler is laid on top so there’s an even surface!
This is such a helpful post for starting out! Thank you.
Is it okay to lay tile over tile on a floor to save cost? And have you ever used limestone as a floor tile?
Bob Vila says yes! We’ve never used limestone flooring, but it looks like a great option.