

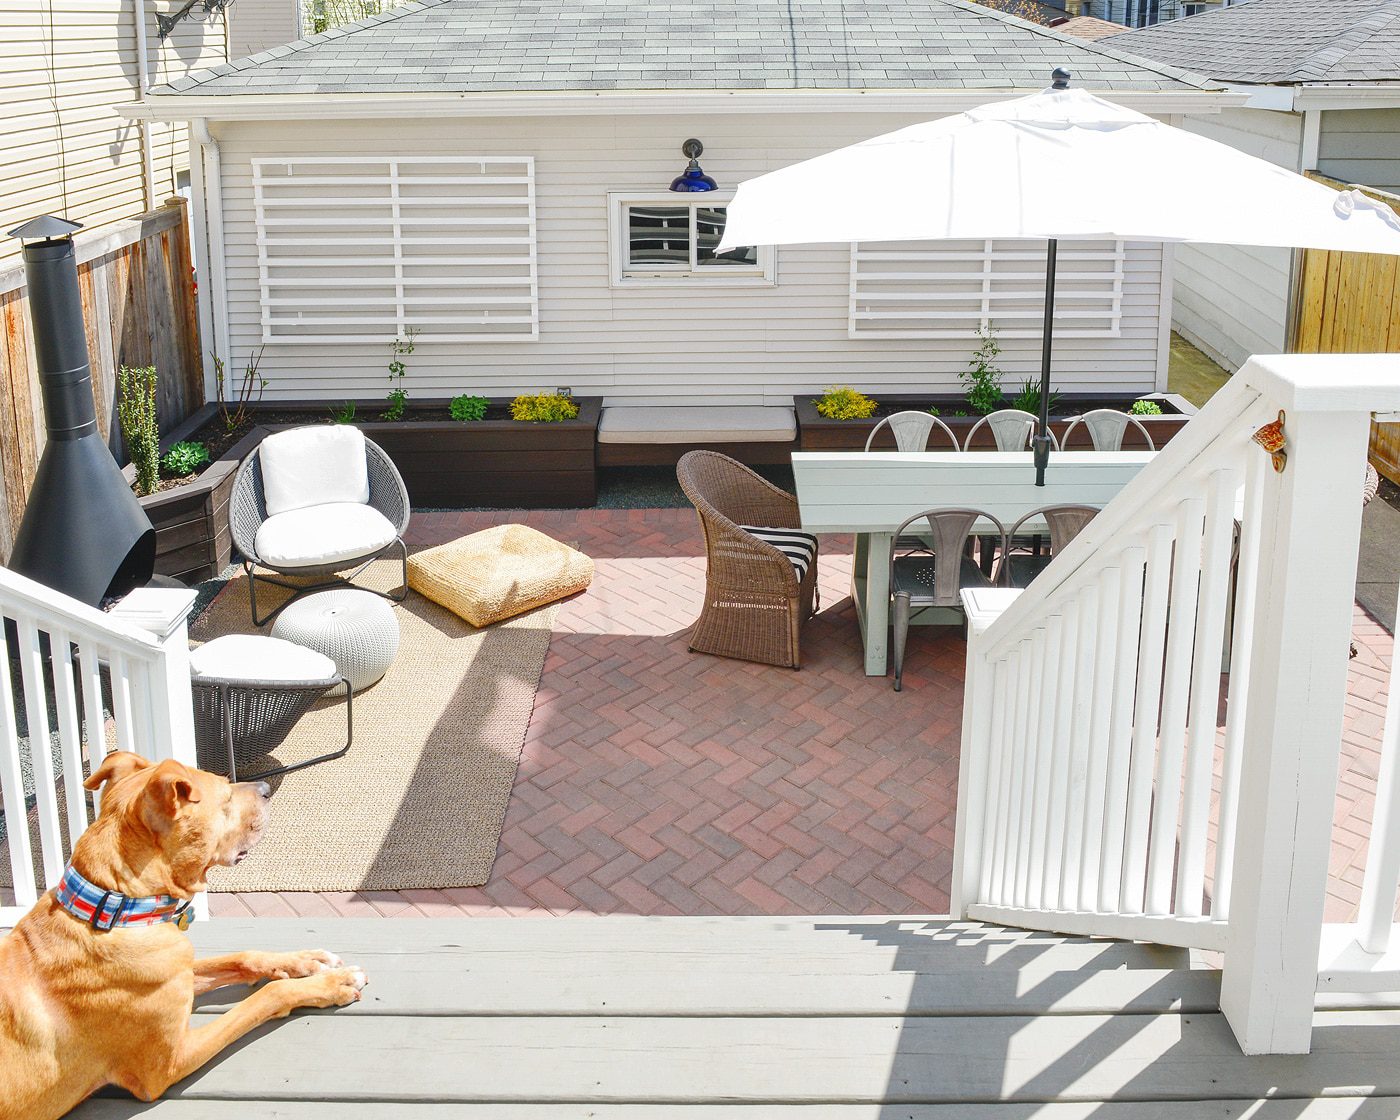

Our back patio is as steamy as it gets in the summer, and it’s sunny for the majority of the day (it’s hot-car-hot in the mornings especially!). At the same time, we’re surrounded by really close neighbors and high fences, blocking any cool breeze. The ‘someday’ plan is to add an awning above the French door sliders leading into our kitchen, but in the meantime, we needed shade in the yard, too. When we built our DIY patio table last year, we knew we’d eventually want to bring in an umbrella, but at the time, we weren’t sure of style – for example, cantilever versus middle-of-the-table (that’s definitely a technical term, by the way). In the end, we landed on this pretty 9′ rectangular umbrella, which meant we also needed to add a hole to our table.
Not surprisingly, you can turn any regular ol’ table into one that can accommodate an umbrella with just a few simple tools – an umbrella for every table, we say! So, here’s how we DIYed an umbrella hole (because there’s really no other way to say it!).
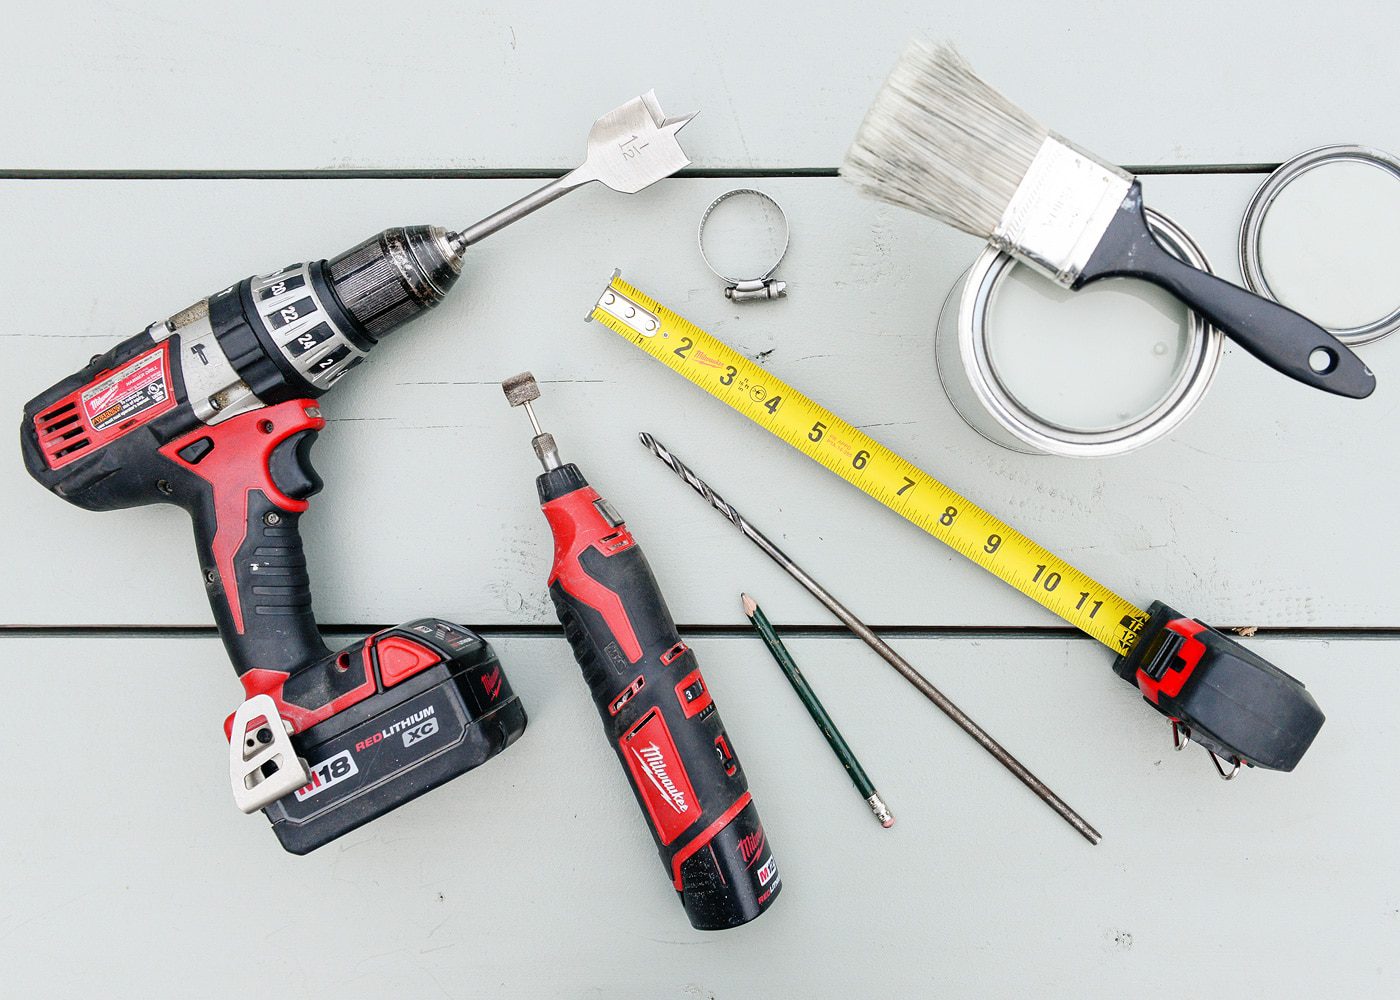
Supplies + Tools Used
Umbrella!
Drill
Extra long drill bit
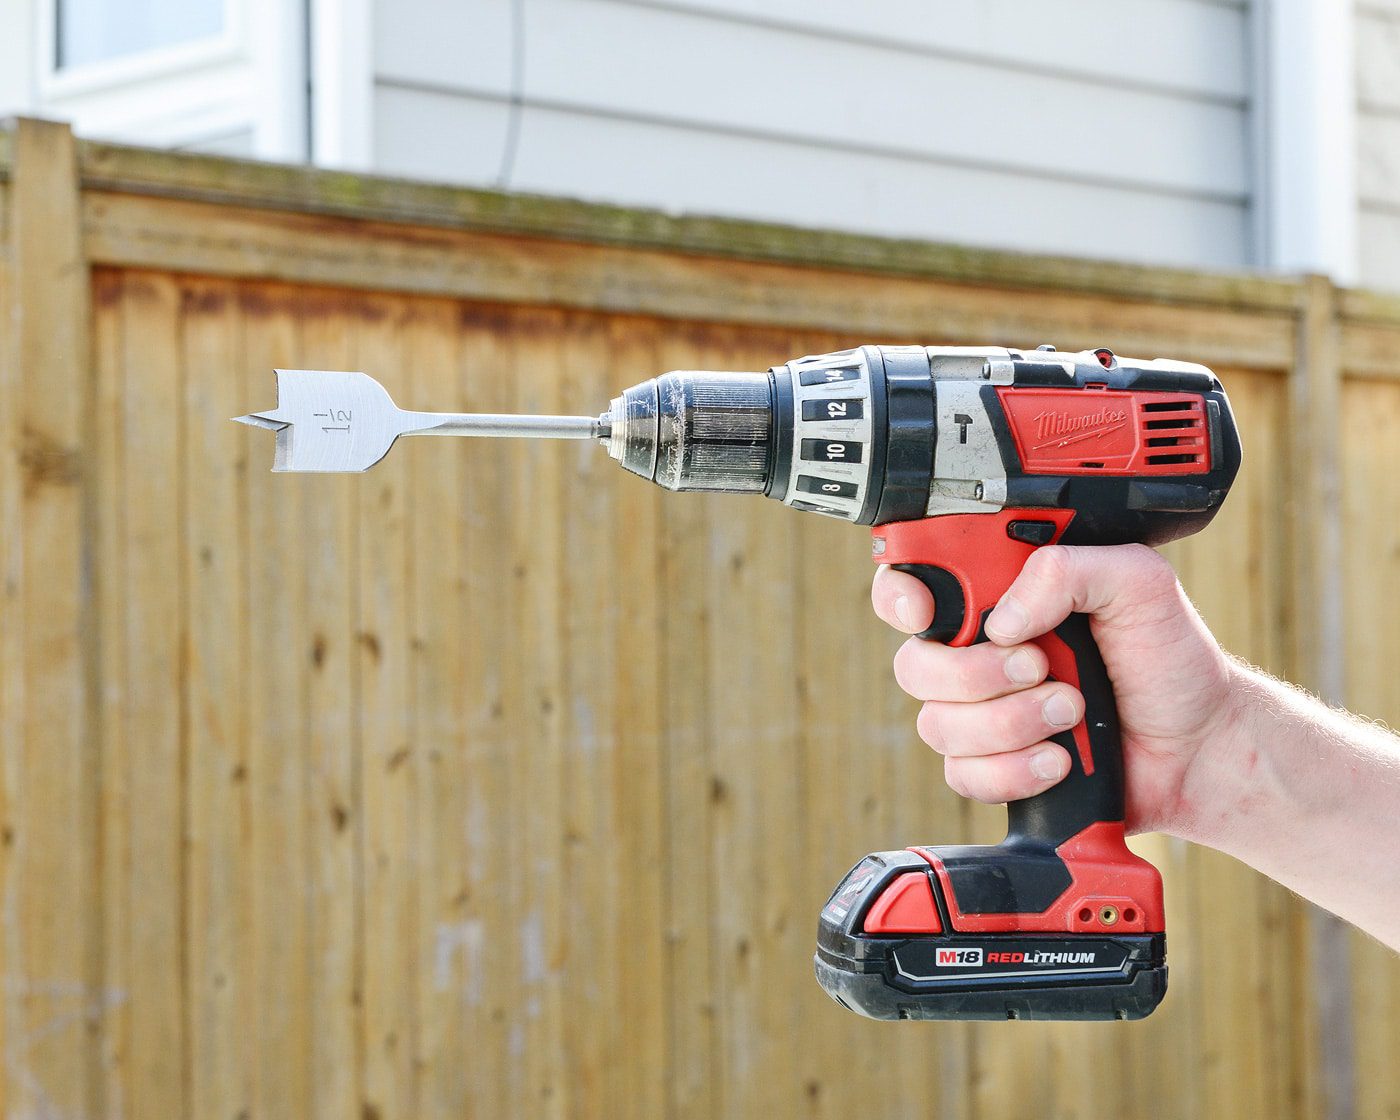
1 1/2″ Spade bit
Dremel w/ sanding band (or sandpaper)
Wood filler (optional)
Touch-up paint + brush
Hose clamp
Measuring tape
Pencil
What We Did:
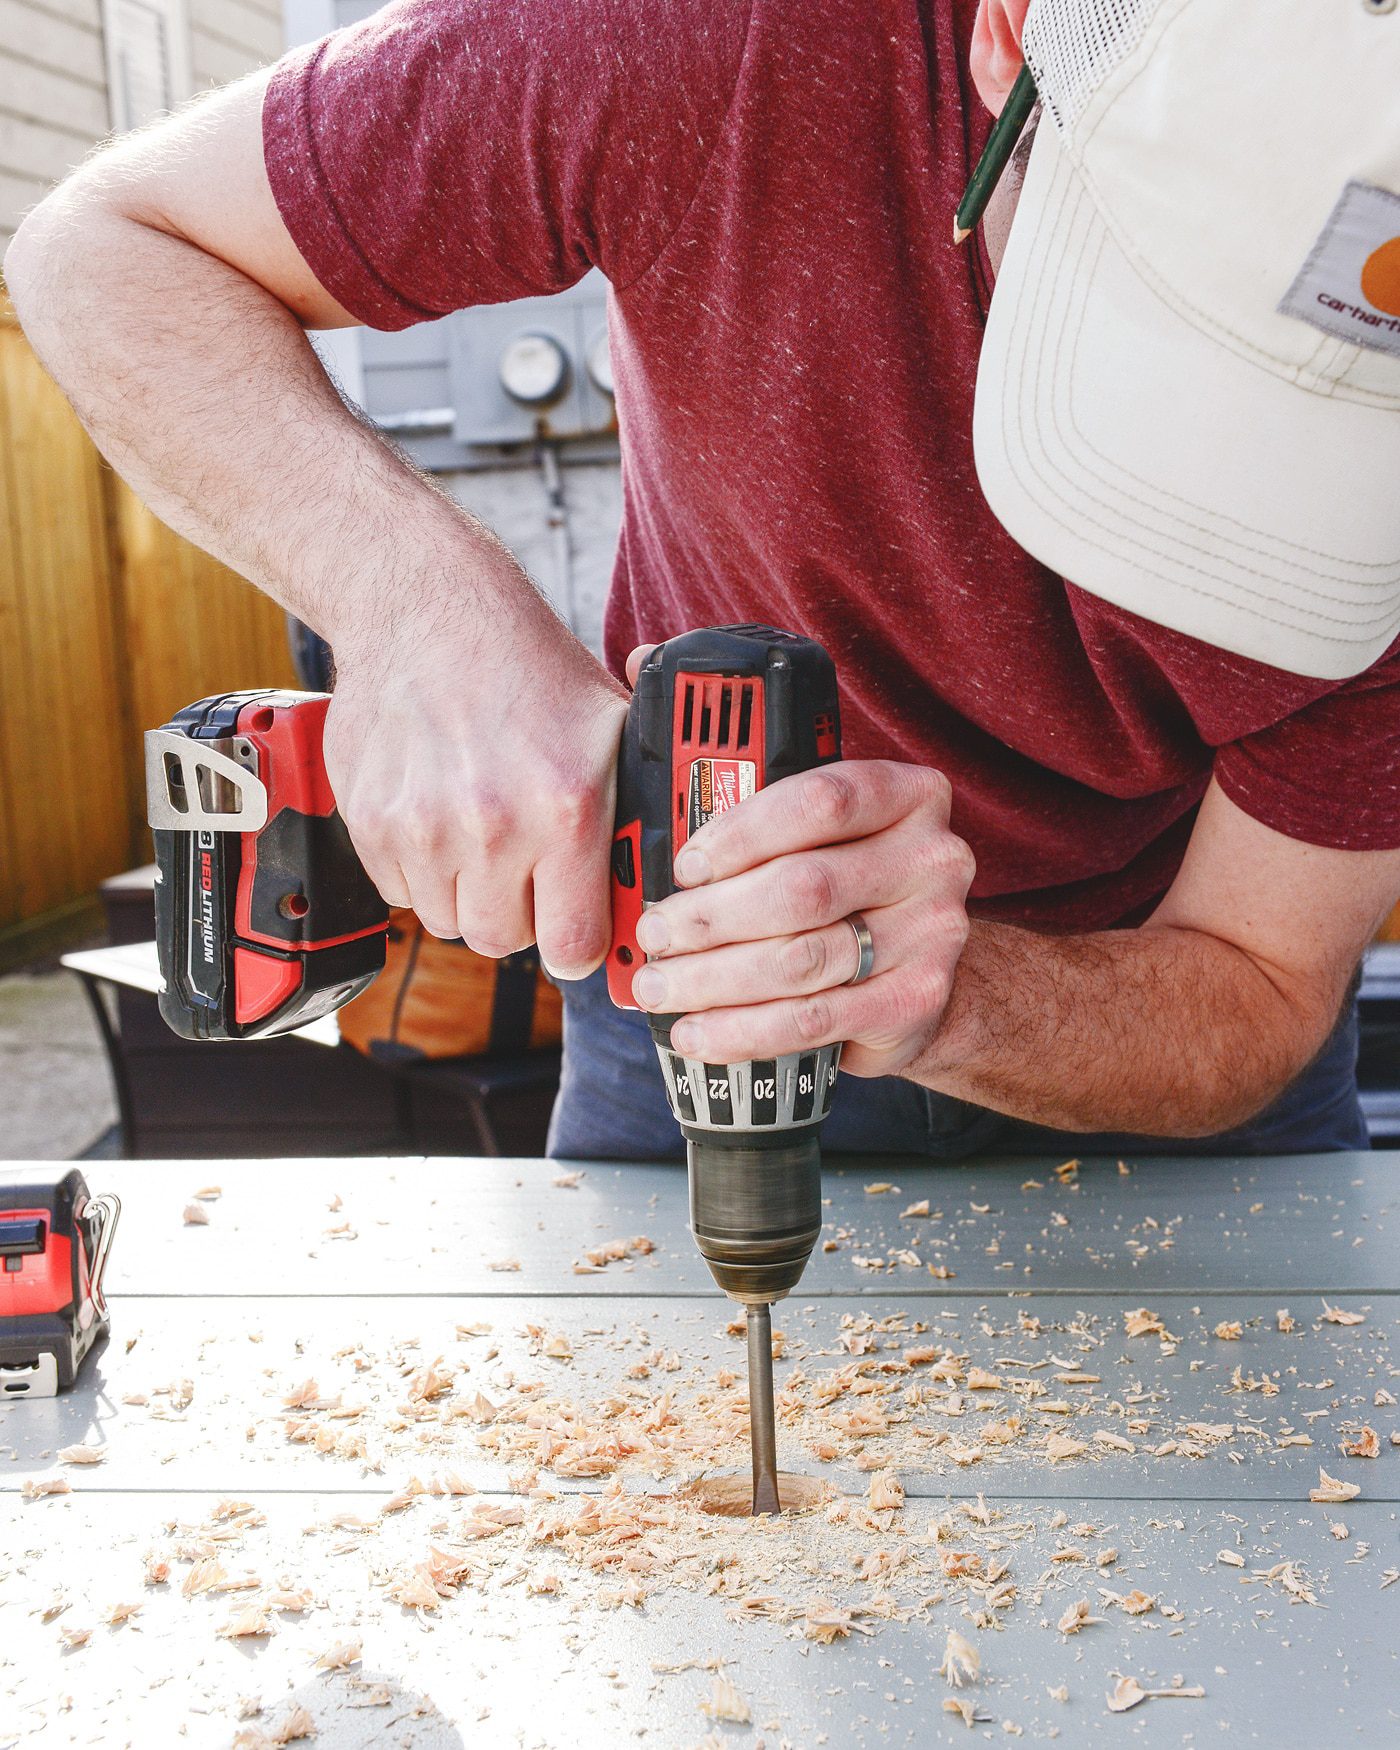
After measuring and marking the center point of our table, we used an extra long drill bit to get through the two layers of 2x4s that made up our tabletop – the frame underneath is one and the finished 2x4s lining the top are another. This was used as a preventative guide only; if your table is made from one layer, you could likely skip this step.

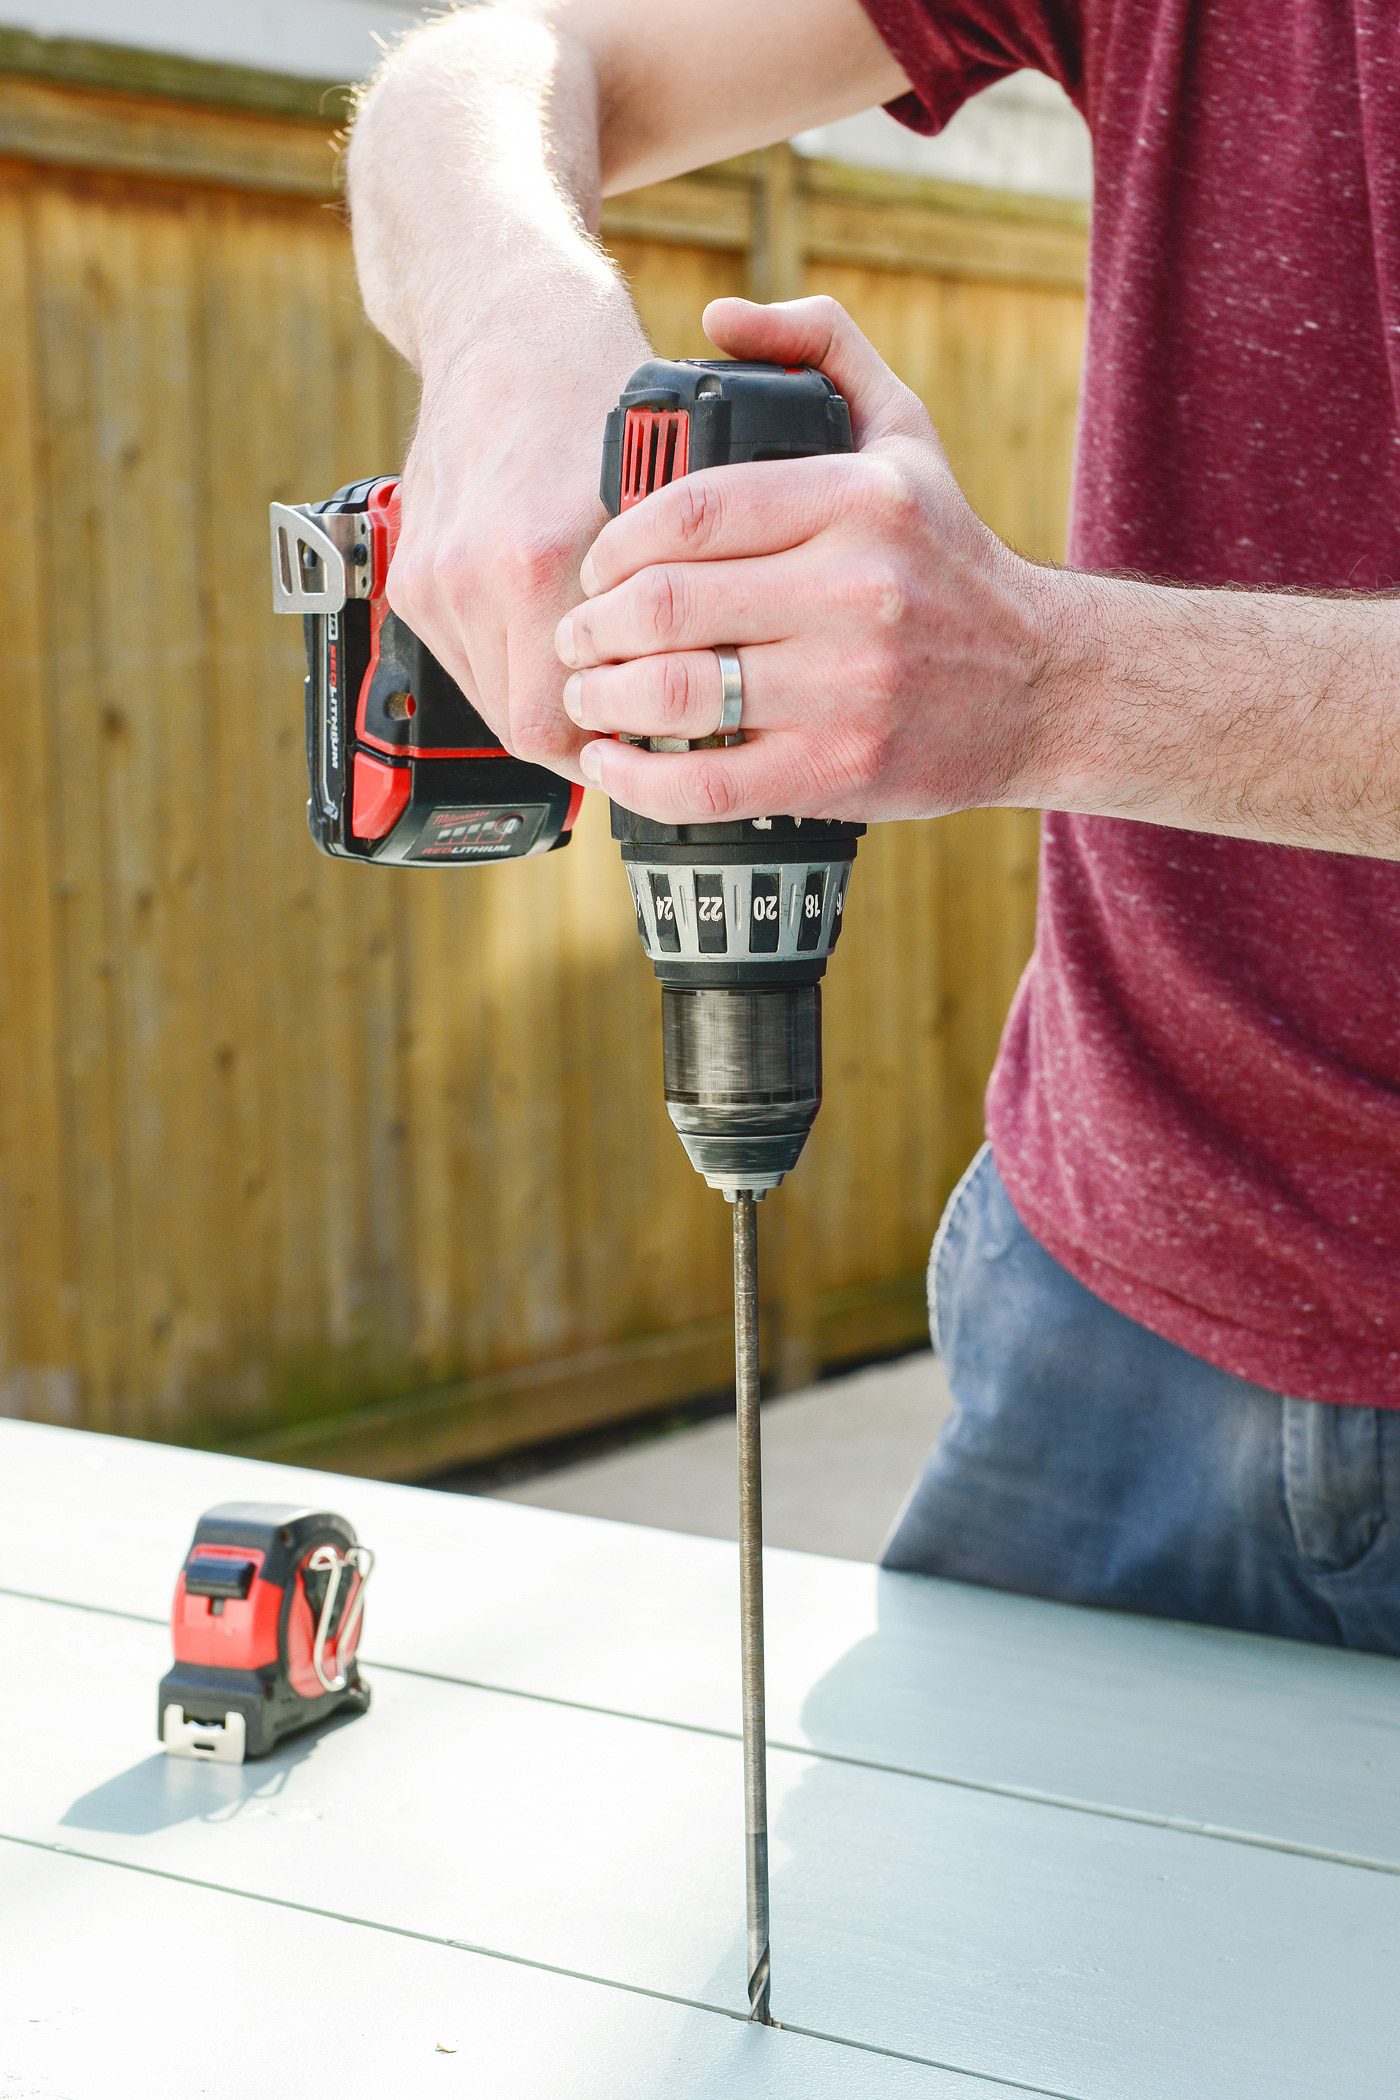
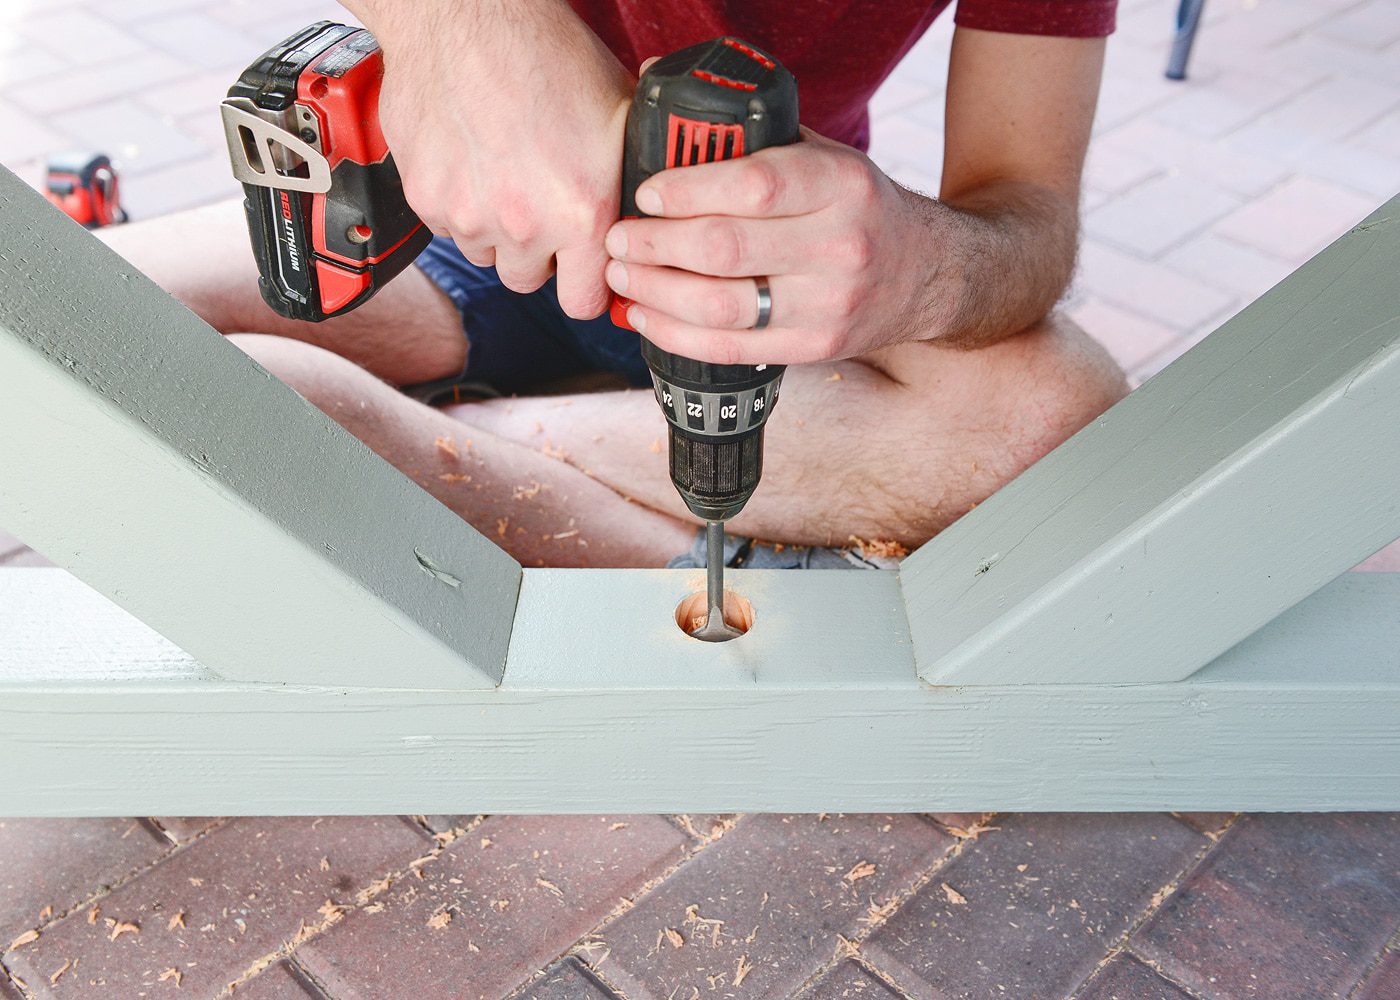
Our umbrella pole has a 1 1/2″ diameter, so we picked up – you guessed it – a 1 1/2″ spade bit from the hardware store. Carefully using the pilot hole as a guide, Scott used the spade bit to go through the tabletop. The bit initially jumped around at first (largely due to going through the drainage line), and although it was’t the cleanest cut, it’s an easy enough fix with a bit of wood filler:
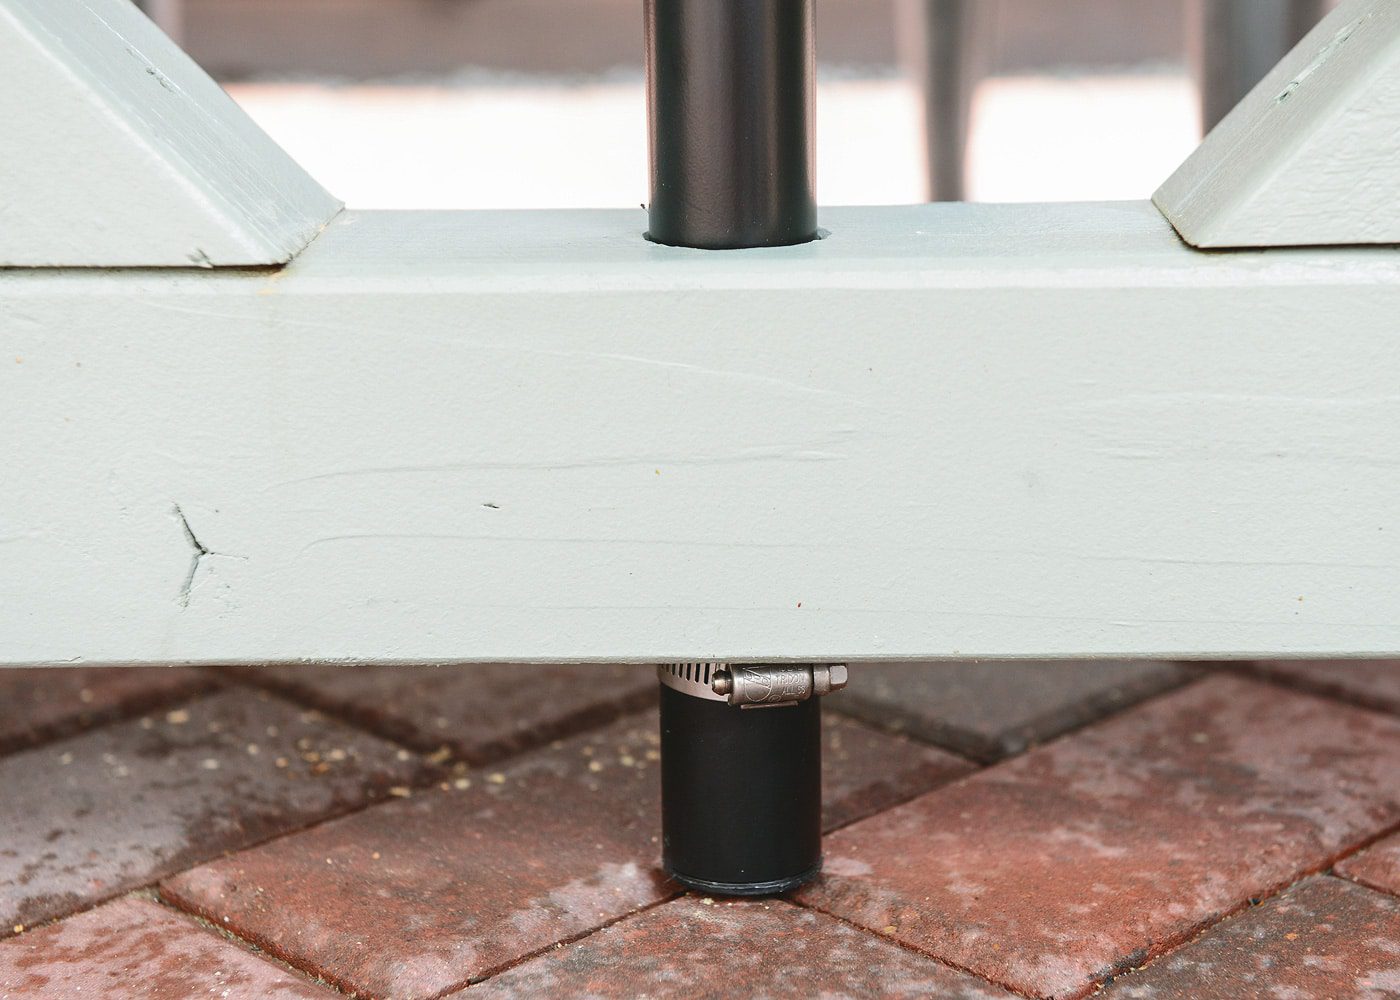
In our case, we also had a bottom support to go through. You know how I just said you could skip the pilot hole if your tabletop is made from a single layer? This bottom support is a solid 4×4, so we nixed the pilot hole altogether, and the spade bit went all the way through like butter!
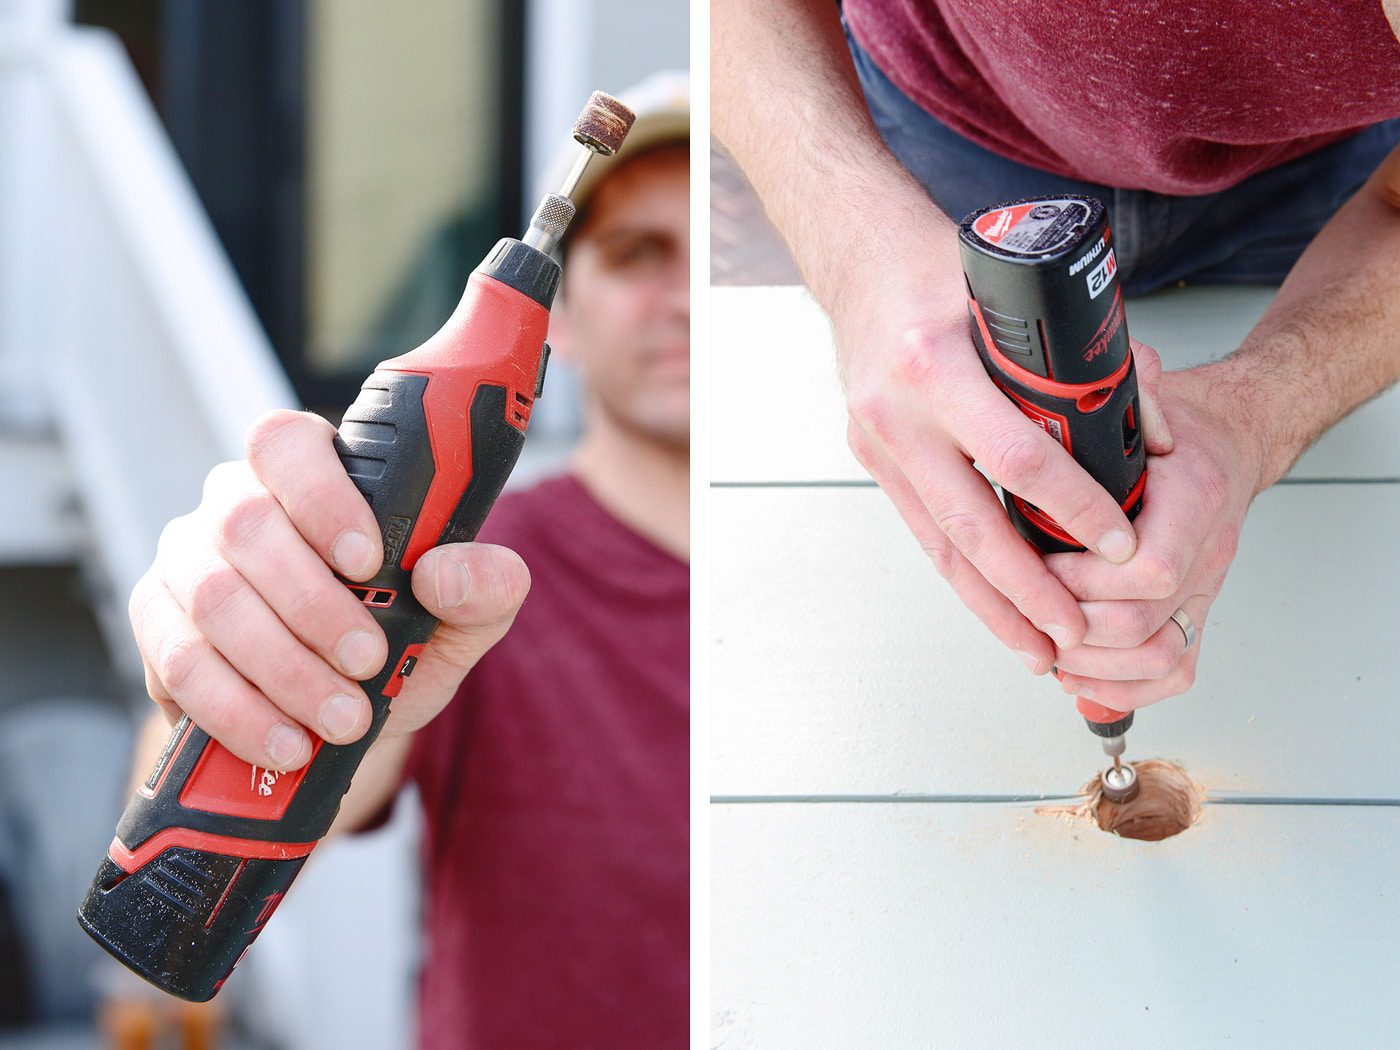
We used our Dremel with a sanding band to quickly clean up the rough edges, but a sheet of sandpaper – and a bit of patience – would do the trick, too! Afterwards, I touched up those splintered areas with wood filler, sanded that down, and I finished up with a paintbrush to smoosh touch-up paint into the umbrella holes. Side note: our table color is Thorntree by Sherwin Williams.
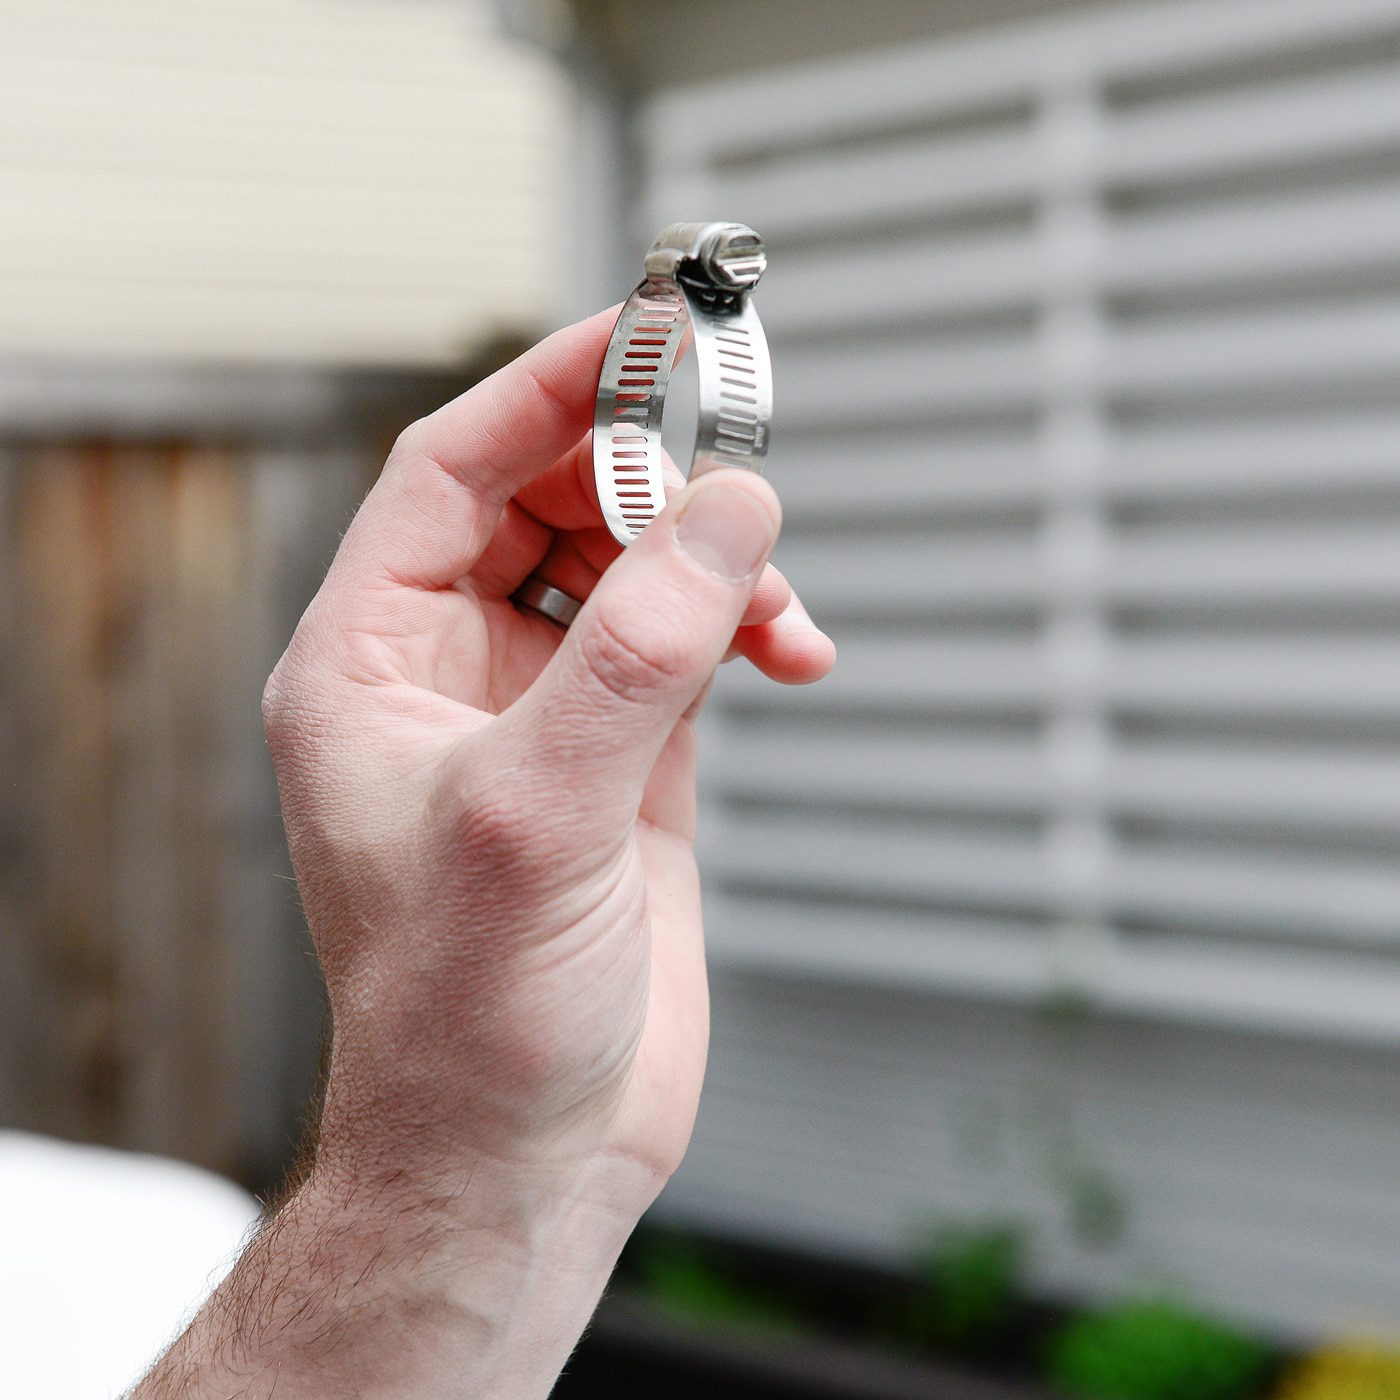
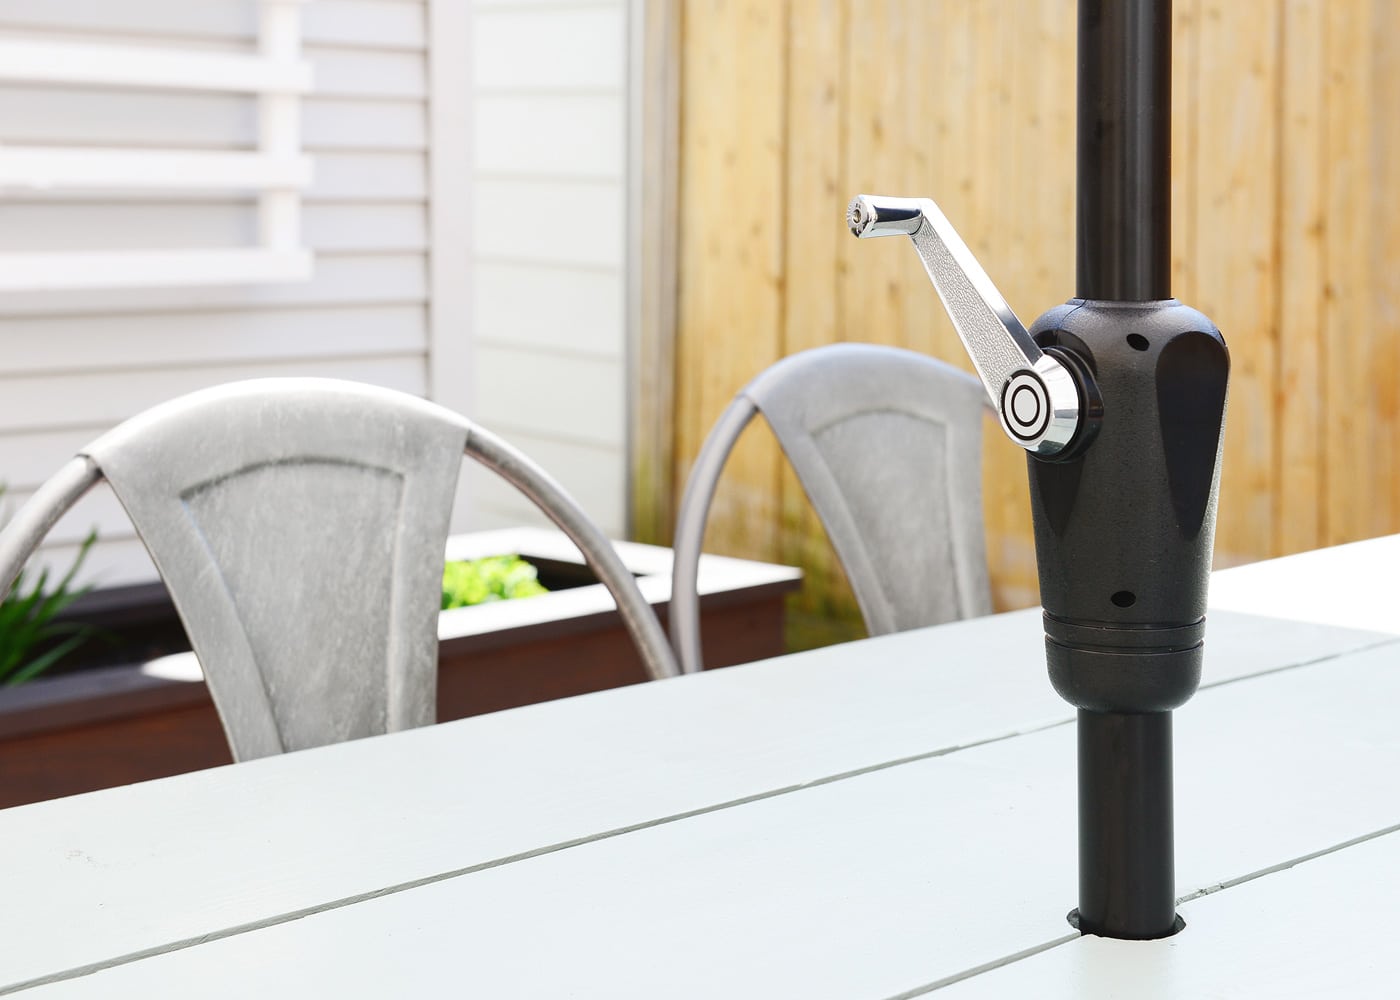
For the last step, we slid the umbrella through both holes, and Scott secured a hose clamp around the pole and underneath the bottom support. If your umbrella comes with a heavy, solid stand, this step could be skipped, but in our case, we wanted to make sure there was absolutely no way our umbrella could sail away in a strong gust of wind!
Once it was in place, we excitedly cranked up the umbrella! The height, the texture and that clean white shade instantly brought in the coziest vibe.
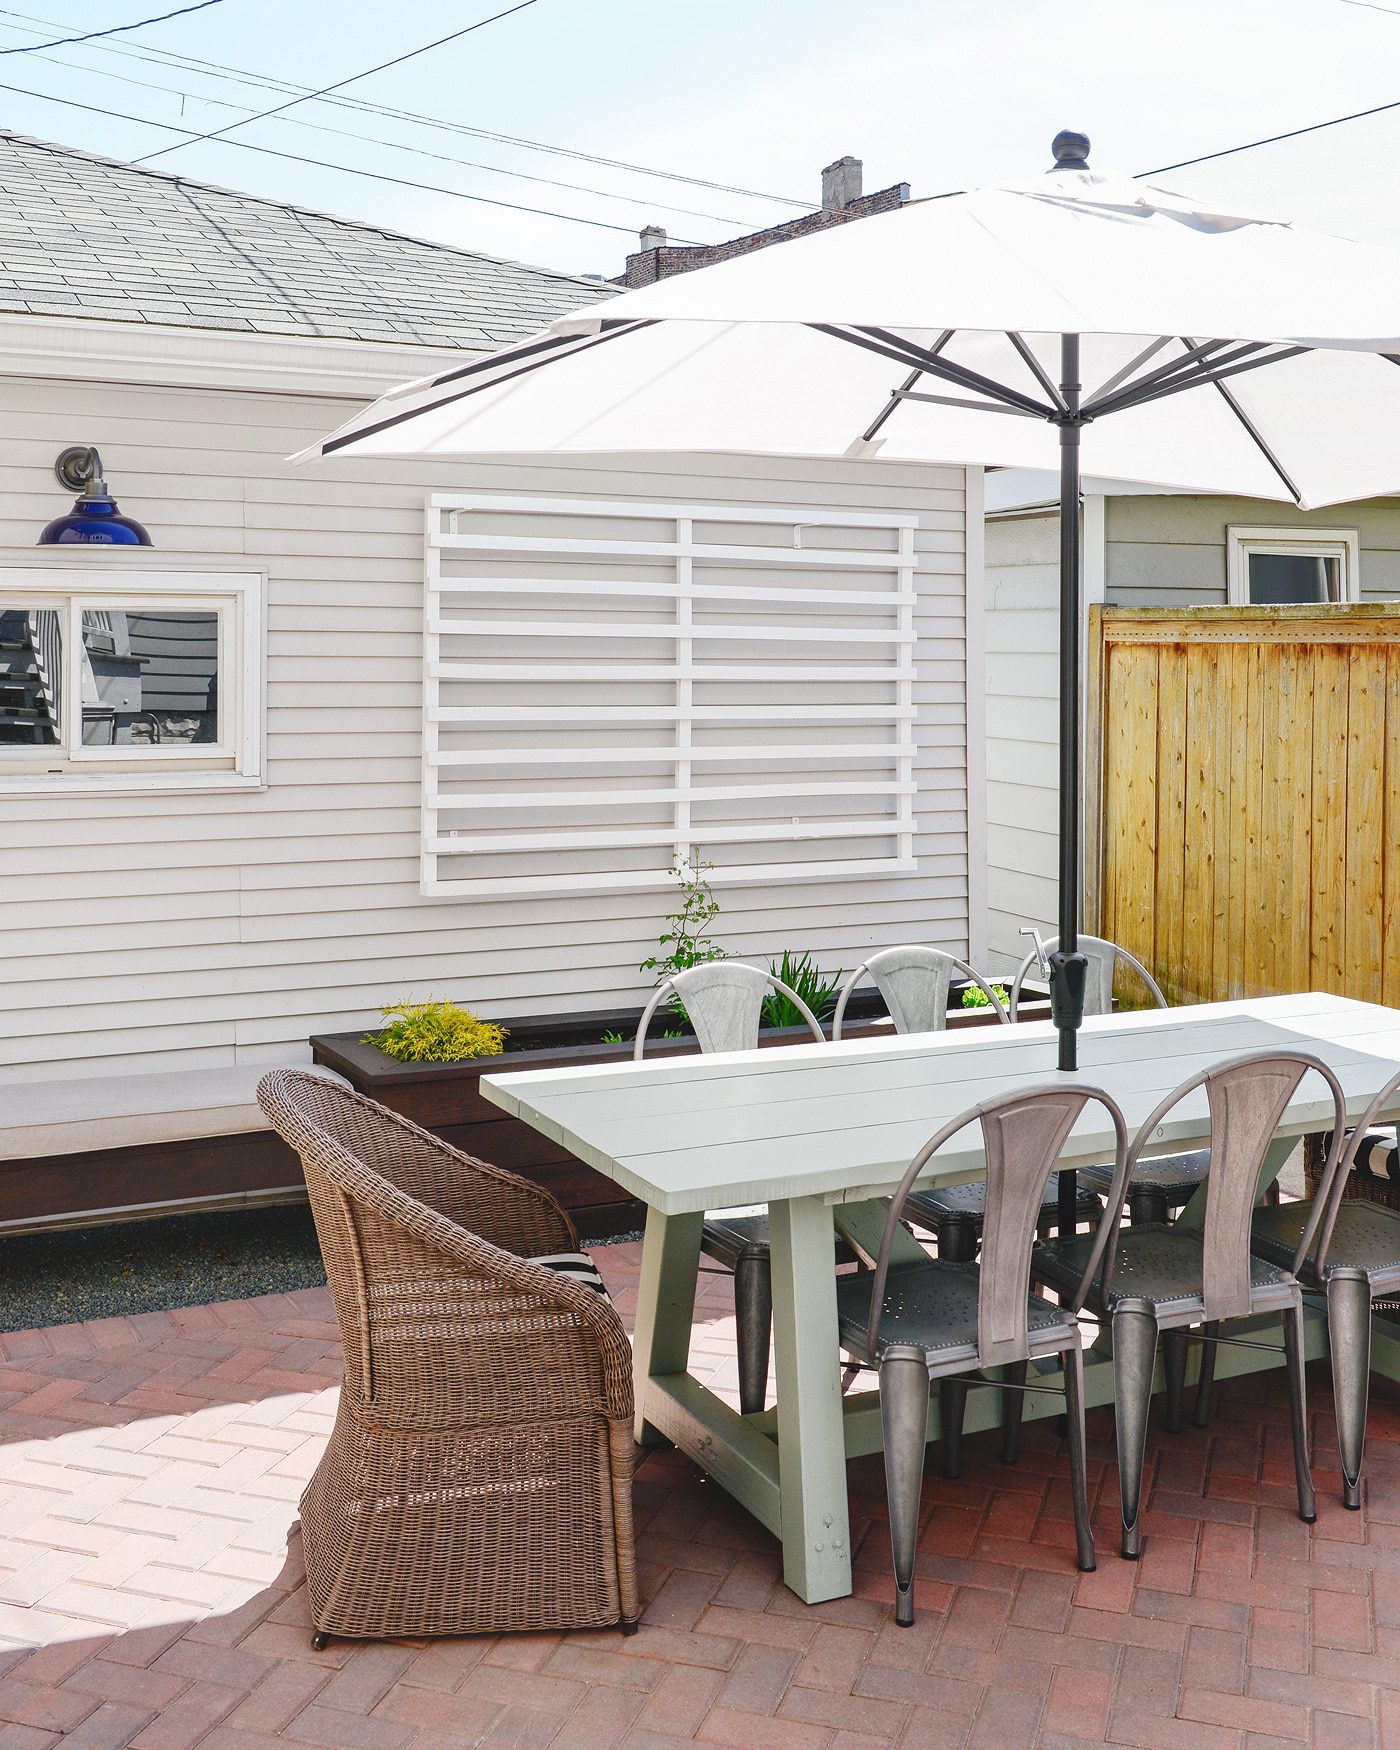
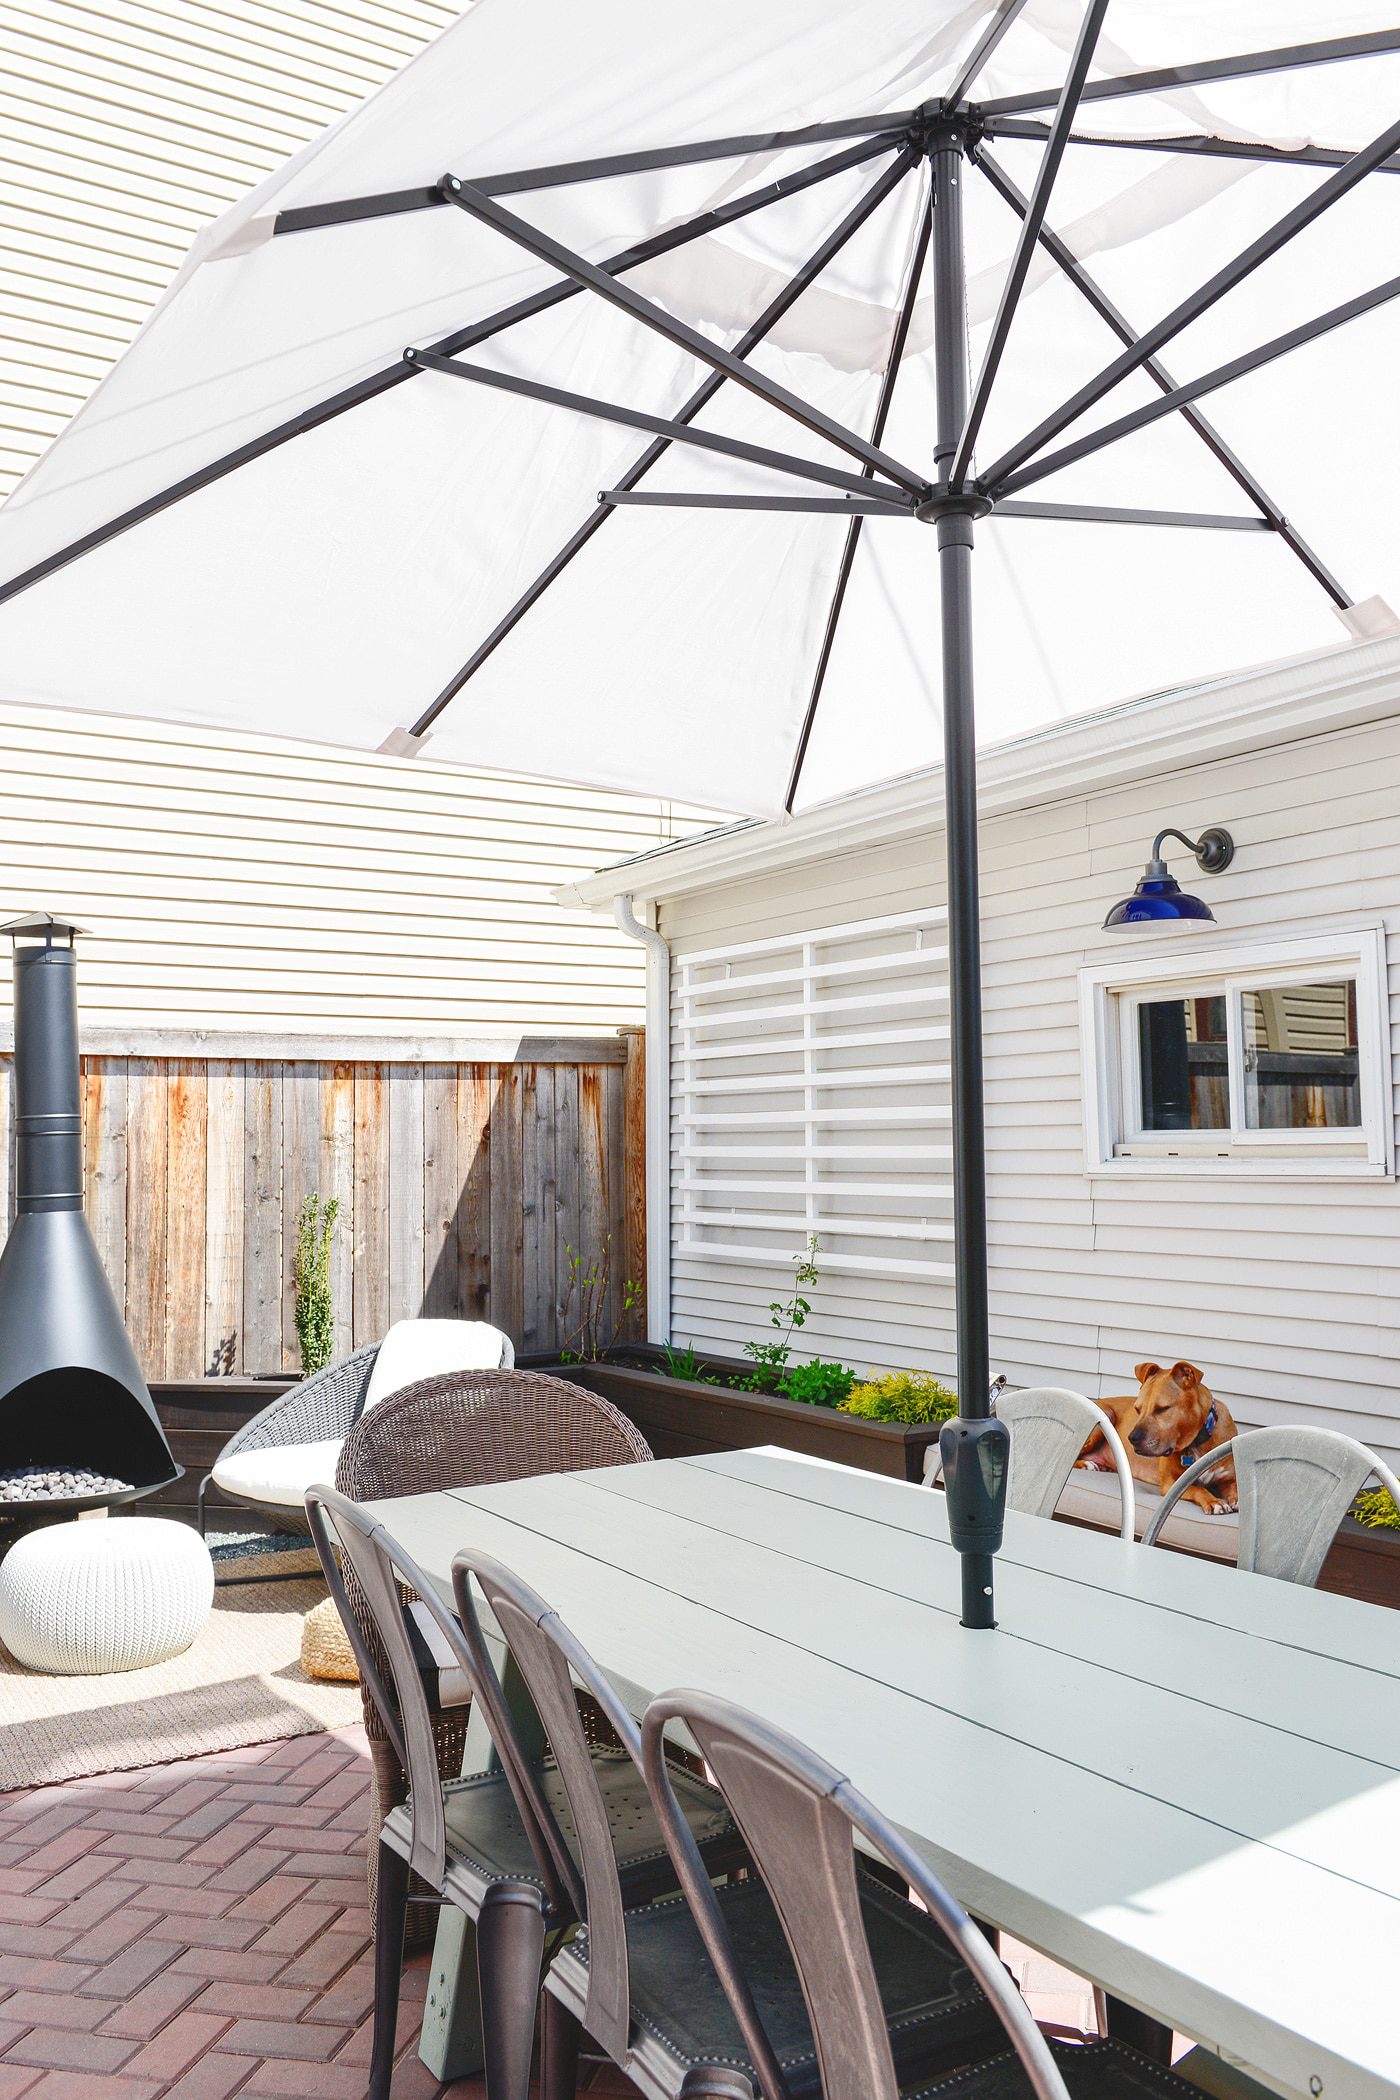
Al fresco dining begins… now!


I LOVE IT! it looks so fun in your backyard.
me and my fiancé might be building these tables for our reception. we’ll see how much we want to take on as it gets closer! haha
Ooh, a whole bunch of these would be so pretty in a group setting!
That is the perfect low-maintenance patio.
Can you recommend a drill? I have an old black and decker but the battery is not charging anymore and it’s so old I don’t think I can find a replacement battery.
I don’t need a high end but something moderate priced. But would love to know what you would recommend.
Thanks.
We are die hard Milwaukee fans! Scott recommends this one: http://www.homedepot.com/p/Milwaukee-M12-12-Volt-Lithium-Ion-3-8-in-Cordless-Drill-Driver-Kit-2407-22/204300706
How ’bout “Umbrella Retrofit” or “How to Retrofit an Umbrella” . . . although, to be honest, “umbrella hole” made me giggle and I appreciated the laugh, so you should probably keep it.
Haha, I tried to word it in 10 different ways before I exclaimed, let’s just call a spade a spade! :D
I have a similar fireplace to yours. I painted it similar the way you did, however, it did not weather the winter well. Did you experience this? It looks great, so I’m guessing yours came through well?
Ugh, bummer! We had a tiny bit of rusting, so we ended up taking it to get powder coated over the winter. We didn’t want to risk it getting worse with Chicago’s crazy weather! I imagine the spray paint method would be fine for dryer climates, but I still updated the original DIY post as a bit of a warning.
Where did you take the fireplace to be powder coated?
We went to Fox Valley based on a reader rec! http://www.blastandcoat.com/
It looks super great! We have a similar setup, but find that the umbrella rotates in the wind (making me bananas) — did you do anything to keep it from doing that? I’m brainstorming ideas for ours & can use all the help I can get. Thanks!
We haven’t experienced that, but the opening for our umbrella is REALLY tight.
It looks super great! We have a similar setup, but find that the umbrella rotates in the wind — did you do anything to keep it from doing that? I’m brainstorming ideas for ours & can use all the help I can get. Thanks http://kanzinteriors.ae/service.html
I love your table and am thinking about making one of my own. Wondering if you could share how it’s held up and what you did to protect it from eventually rotting or having damp wood. Thanks!
Thank you! We used exterior grade paint and applied several coats with a spray gun to ensure it was completely coated – every last nook and cranny. Over the winter, we used an outdoor cover, and so far this spring, we haven’t covered it (even during rain), and it’s held up beautifully! We are so happy with how it’s wearing… it still looks just built and freshly painted. :D
Hi Kim! Just wondering where you purchased your fireplace. It’s beautiful! How tall would you say it is? Looking forward to hearing from you. Thanks!
It’s vintage! Here’s the story: https://yellowbrickhome.com/our-mid-century-fireplace/
Just finished making this table and what helped me get the cleanest hole is to use a hole saw first, until you get through the table top, then finish going through the support under the table top with the spade bit.
all you need is a hole saw for the end of your drill in the diameter you wish. so much less work! they are at menards home depot lowes walmart, everywhere! they are cheap and easy, and they make the hole perfect. they are used for doors for extra lock hole too! you just put it on the end of your drill and it is shaped in a circle with teeth and does a perfect hole in seconds! the bit he is using is too small doe an umbrella hole without a lot of pain. use a hole saw next time!