

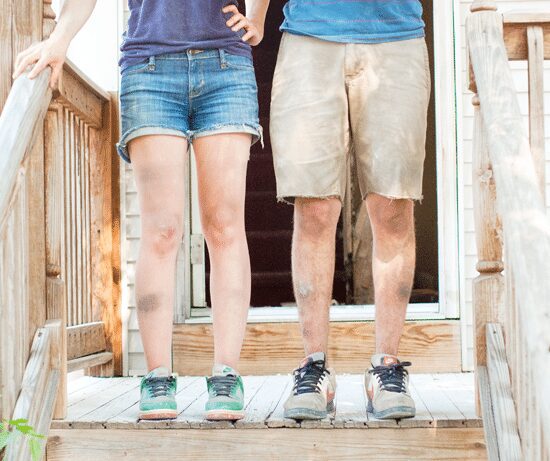
Before we shared the tour with you, Scott and I did some serious damage to that house. And by serious, we mean serious good. Our bones are sore, our backs hurt, and we’re still finding bruises that we don’t know how we got – wait, when did I get this one? – but it was worth every ache and pain. We took the long holiday weekend to knock through drywall, run to the hardware store every day and eat more fast food than we’d like to admit. We had a lot (like, a lot) of fun, sweated off 10 lbs each (okay, maybe not really) and drank an ocean of water between the two of us. (By the way, that’s dust and old-home-dirt on our legs – not bruises!)
We’ll be moving into the new house in less than 2 weeks (where in the world did the time go?), and in between packing up our own home and trying to find an hour of down time before we hit the sack, our goal is to accomplish three things:
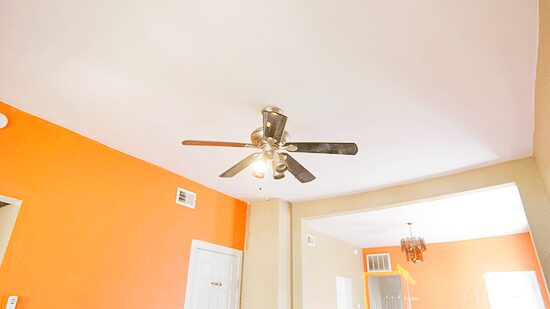
- Repair the sagging ceiling on the first floor, which will also level the second floor
- Open the entryway (taking it from a closed off two-flat to a welcoming single family)
- Knock down those crazy crooked room partitions – one on each floor
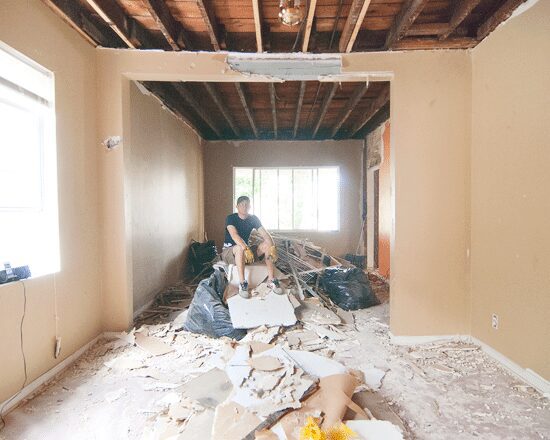
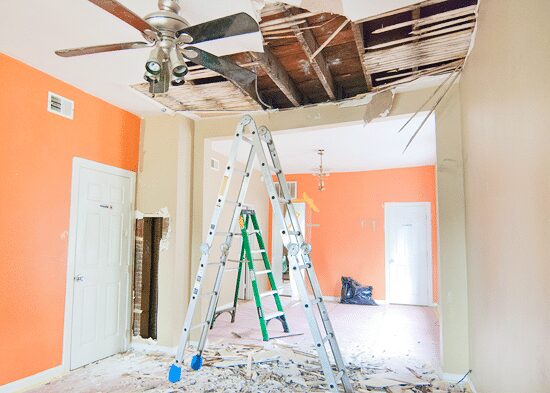
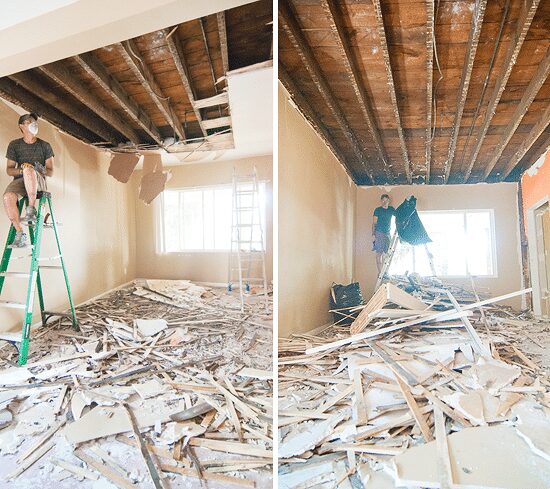
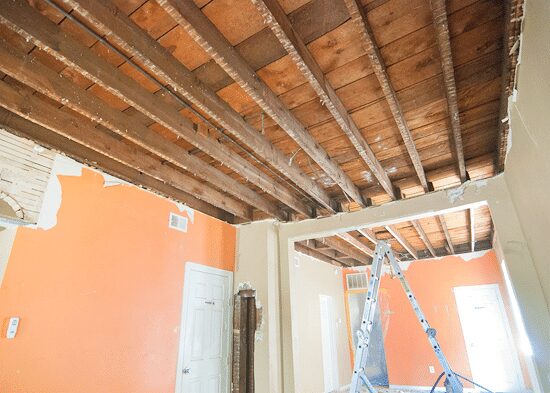
THING ONE: THE CEILING. After the a few swings of a sledgehammer through the first floor ceiling, we were welcomed with lath (and crumbling plaster) – thin, obnoxious strips of wood hidden behind the drywall, quickly becoming our worst enemy. In order to repair the sagging ceiling, the joists need to be straightened out, and in order to do that, the ceiling had to come down. The lath turned it into an almost-2-day job, but Scott knocked it out of the park!
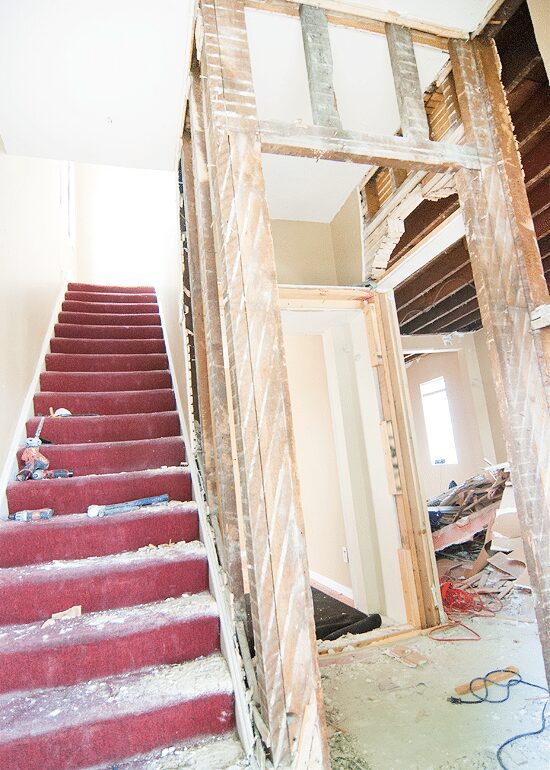
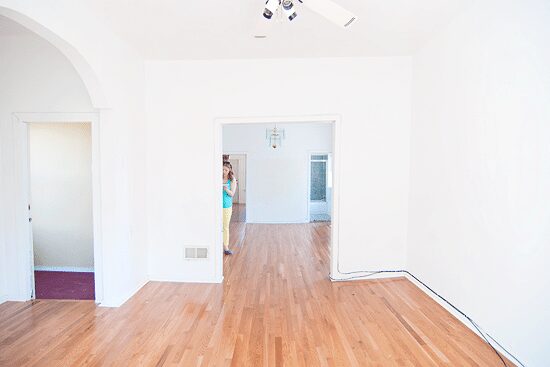
THING TWO: THE ENTRYWAY. While Scott sledged away on that ceiling, I took a hammer and reciprocating saw to the entry. (The saw, by the way? It’s my new best friend.) Down came the first floor door, the nook room closet (opening it to the entry, which will soon become a much needed coat closet), and a partial section that closed off the stairs. All that will help us to keep an official entry, but we’ll create the warm welcome to the whole home – rather than the closed off feeling it once had.
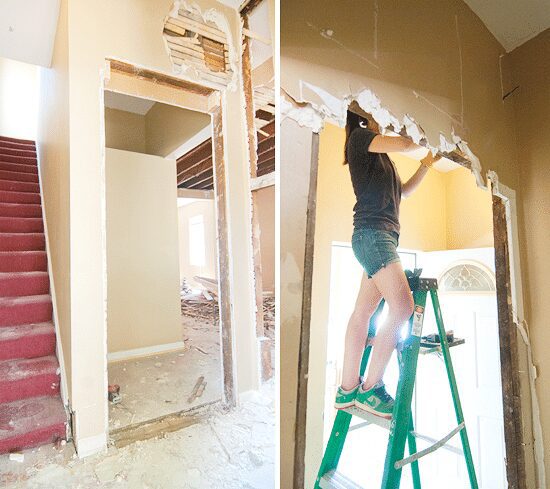
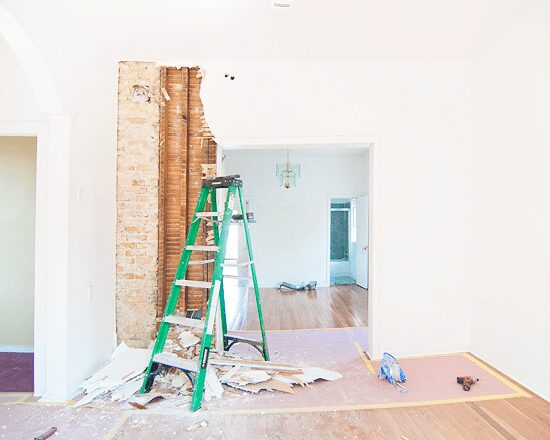
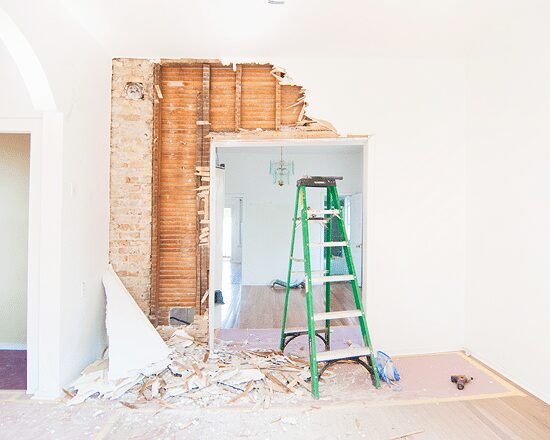
During the demolition, we uncovered an original archway – an arch! While it’s not the same shape as the arch on the second floor, it’s just as adorable. Unfortunately, the arch would make for a very narrow opening (the only downside to the nineteenth century design – well, that, and the f*@!ing lath), so we’d like to recreate it on a larger scale (going wider and taller), as an ode to the architecture.

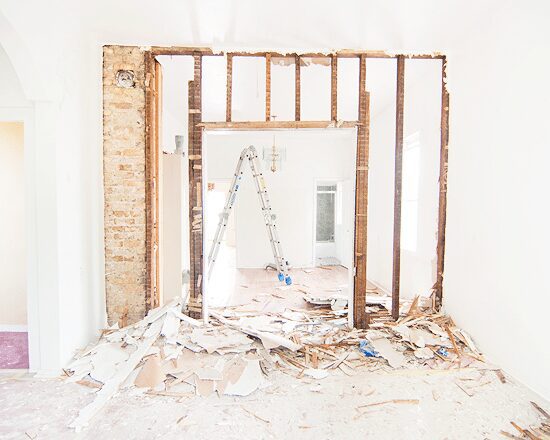
THING THREE: THE PARTITIONS. Remember this crooked room partition on the second floor? During the last (cheaply done) renovation to the home, the first floor partition was blasted open without being properly supported. (The first floor partition, by the way, will also need to open completely to correct the issue.) Over time, this doorway – and the floor beneath it – drooped. To get to the root of the problem, we opened it up, and found…
… a brick chimney! My heart is set on keeping the chimney there (the pale brick is calling to me!), but after discussing options with contractors, there’s a slight chance that the chimney could also be pulling the floor down. (We actually discovered that the chimney was lopped off halfway down, and it’s currently being supported from the middle of the first floor, up. It’s not being supported at all from the basement – womp, womp.) Further digging from professionals will determine its fate, but fingers crossed it can stay – somehow.
So, what’s next? Now that we’ve spent several days demo-ing the drywall, lath and cracked plaster (with a few more nights of work on the agenda), we’ll be turning towards the professionals to correct the joists, properly move the studs and replace the drywall the right way. By demolishing most of the walls ourselves, we’ll be saving a big chunk of change (not to mention, learning a few things along the way), and while we’re still in talks with contractors, they’ve been supportive of our decision to take on some dirty work with these four hands. They’ve even gone so far as to point out other punch list items we can knock out – literally – to further line our pockets.
With our moving date right around the corner, we know we’ll be walking around contractors while the ends are properly tied up, but that’s okay. Our only concern is the unknown – what other issues might they find? What can we afford now, and what will need to be a “someday (soon!)” to-do?
What we do know is that we’re sort of in love with the sledgehammer. And reciprocating saw. And this challenge, you know, in general.


Can’t even describe how giddy this makes me. Go team Vargo, go!!!
Wow, amazing that you did this much yourselves! You guys are on fire!
How cool!! I love your new home and you both have accomplished so much in such a short time. I hope the contractors come back with good news about your chimney (I love chimneys also so I really hope it can stay :-)).
Rachel, waiting has been so excruciating!
That arch and that brick!!! I hope you can keep it, and if you can’t keep the chimney, I hope you find a way to salvage it and repurpose it somewhere else in the house. It’s beautiful!
You guys are amazing! So much work in such a short time! I really hope the chimney can stay, and I can’t wait to see the recreated arch!
This demo is really impressive! I’ve never used a reciprocating saw, but now I want to.
Thanks, guys. Wish you could all be here to help – ha!
Laura, I had never used one before either, but it’s my new love. (Second to Scott and Jack and the girls.)
Wow, you guys are amazing. I would be so scared to take that on. Old houses are amazing…so many fun things hiding in the walls. I wouldn’t be surprised if there are more buried chimneys…and that little arch is to die for!
Awesome work guys! Man, plaster is the worst! We have more than our fair share at the firehouse, except it’s plaster on top of a metal lathe, which is fairly impossible to patch. Long term I think you’ll be happy that you’re replacing it with drywall (and that your roof/floors don’t sag, obviously ;) )
Woooo!! This is awesome!! Way to go guys!
Now, why the heck would anyone cover that arch and chimney?! People are nuts! Glad you’ll try to salvage/replicate if you can!! :)
Shannon
Smashing! I am serious when I say I will lend a hand for some sweet DIY handy-type-people learning opportunities. Let me know!
Angela, that is a seriously dangerous thing to say!
Wow, you have accomplished a ton already! Nice work, and keep the pictures coming!
Oh what memories this brings back! We renovated an old house, room by room, down to the studs. We had sagging floors, buckling plaster walls and doors that no longer fit into their jams. Our friends really thought we were crazy! Enjoy!
Wowza you guys are on a roll! Good luck!
This is so exciting to see!!! Congratulations! I’ll keep my fingers crossed for you guys that things go smoothly, I’m looking forward to seeing more of the process.
Cheers!
I love that chimney! Boy, do I wish there was a wall in my house I could tear down. Ha!
Of all things discussed, the one thing that really stuck out to me was that contractors are helping you guys by pointing out other items you can take care of yourself to save some money. It’s so rare it seems to find people who will be honest with you on what you can do on your own versus just doing the job to earn the bucks.
Our current landlord is going to be the contractor for our new home, and he’s been open and honest from the get go on what we can and cannot do, so it’s been nothing but inspiration and giddy feelings! Yay! for nice people!
I still have a hard time picturing the layout or your plans for the house, but I’m loving watching all of it come together!!!
Lilea, I’m sure our friends think the same of us!
Tina, I really need to make a floor plan, huh? It’s actually a pretty simple layout, but I understand that the photos (and the angles from which I shoot) can make it a little confusing.
But you’re right – YAY for contractor’s understanding our situation and not trying to suck us dry. YAY for nice people!
They chopped off the bottom of the chimney?! Insane. Well, if you can’t save it in the house you could still keep the bricks and use them in the yard. We tore down an old and dangerous(although awesome) 1940’s outdoor fireplace, and used the bricks as edging around our gardens. If we had enough I totally would have used them to make a little patio or something. I’m so excited to see how you fix up this house! Old houses are the best. :-)
Michelle, GREAT idea!
So many treasures to uncover! That arch is downright dreamy. We hope that the fun finds make the hard labor not feel quite so grueling!
[…] working on them since we moved into this house last summer. After taking down a handful of walls to open the foyer (the first step to transition our two-flat into the single family home it is now), ripping up the […]
[…] USED: 1 – 6′ section of stud, saved from our entryway demolition Hairpin legs (we used 9″ legs from Cream Street Shop) 2 – stainless bowls 4″ drywall screws […]