

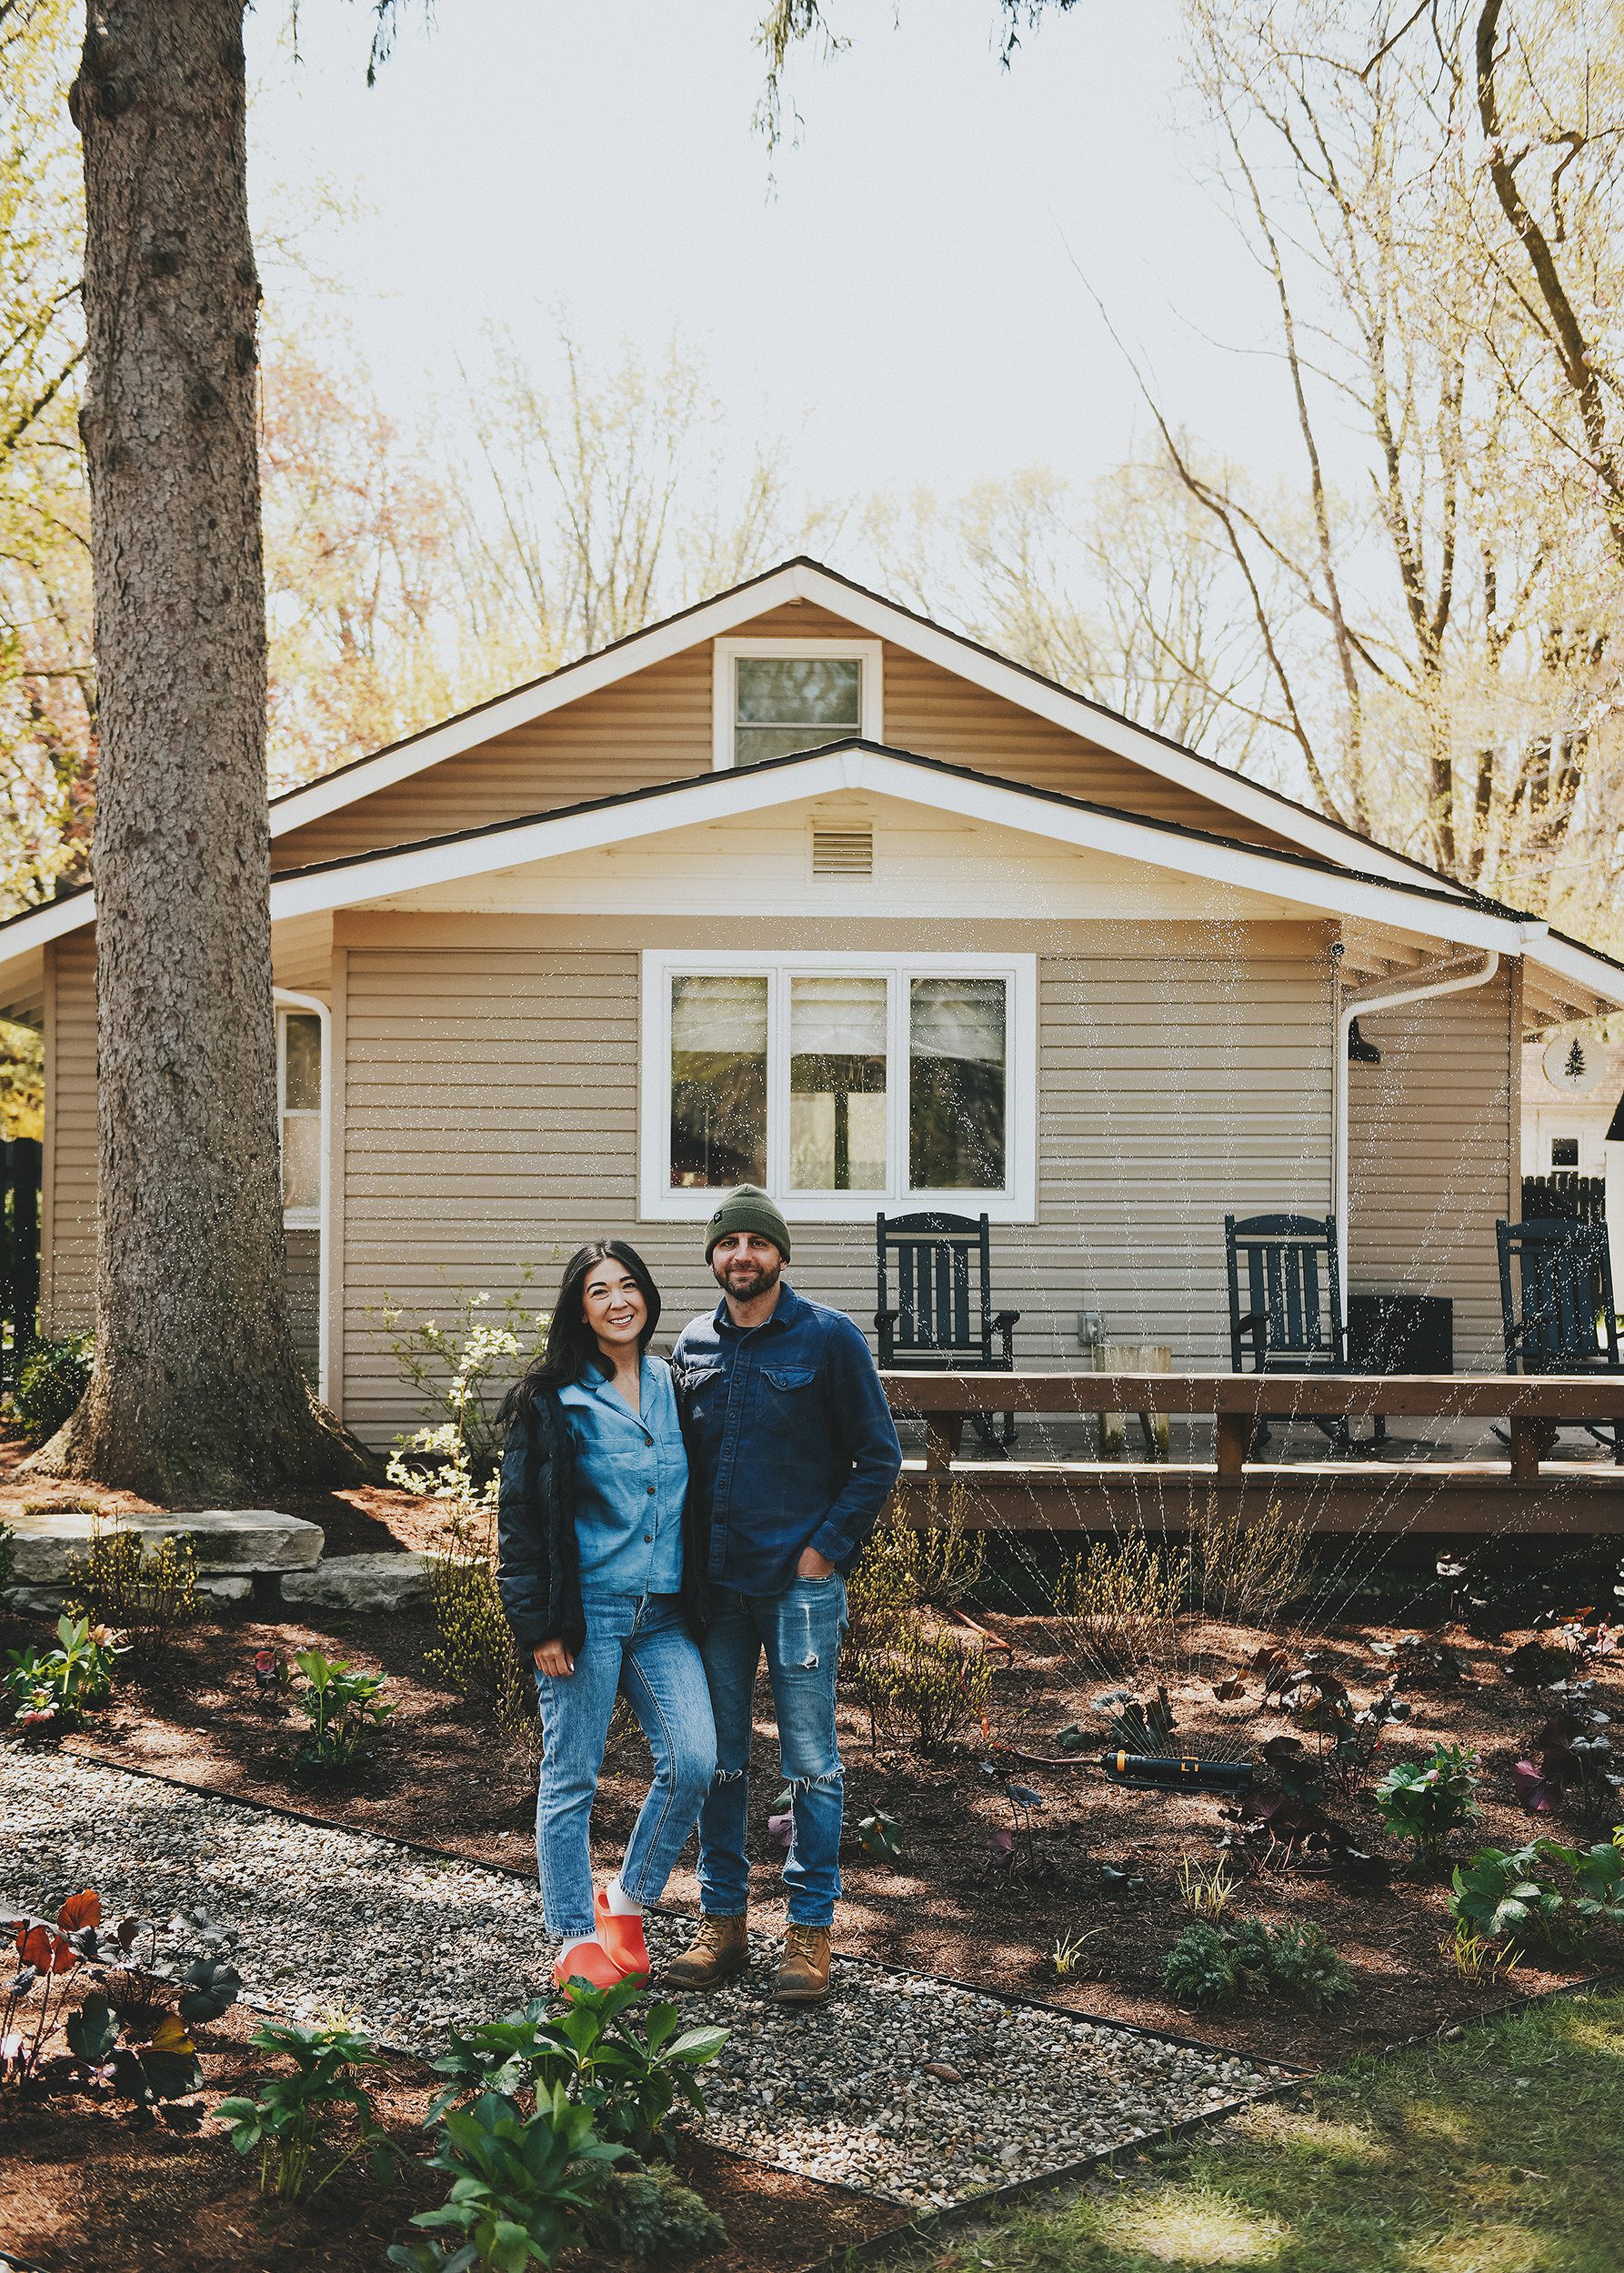
Today, we’re revealing the completed landscaping renovation in the front yard of our Michigan Tree house!

In This Post
A Quick Background Refresher
Last August, we hired the Lani Woodruff and the team from Rootbound to design and implement a full renovation of the front yard of our Michigan Tree House. The behind the scenes planning and fine-tuning took months to complete and we officially announced the project including the inspiration, wish list and final design back in December. From there, the hired team from CR Lawn Service worked closely with Lani to break ground on the project and take care of the first wave of work. This initial wave of work included:
- Running the gas line for the new fire bowl (completed by our HVAC contractor)
- Sod removal and edging of all new landscape beds
- Creation of 18″ berm at the left property border
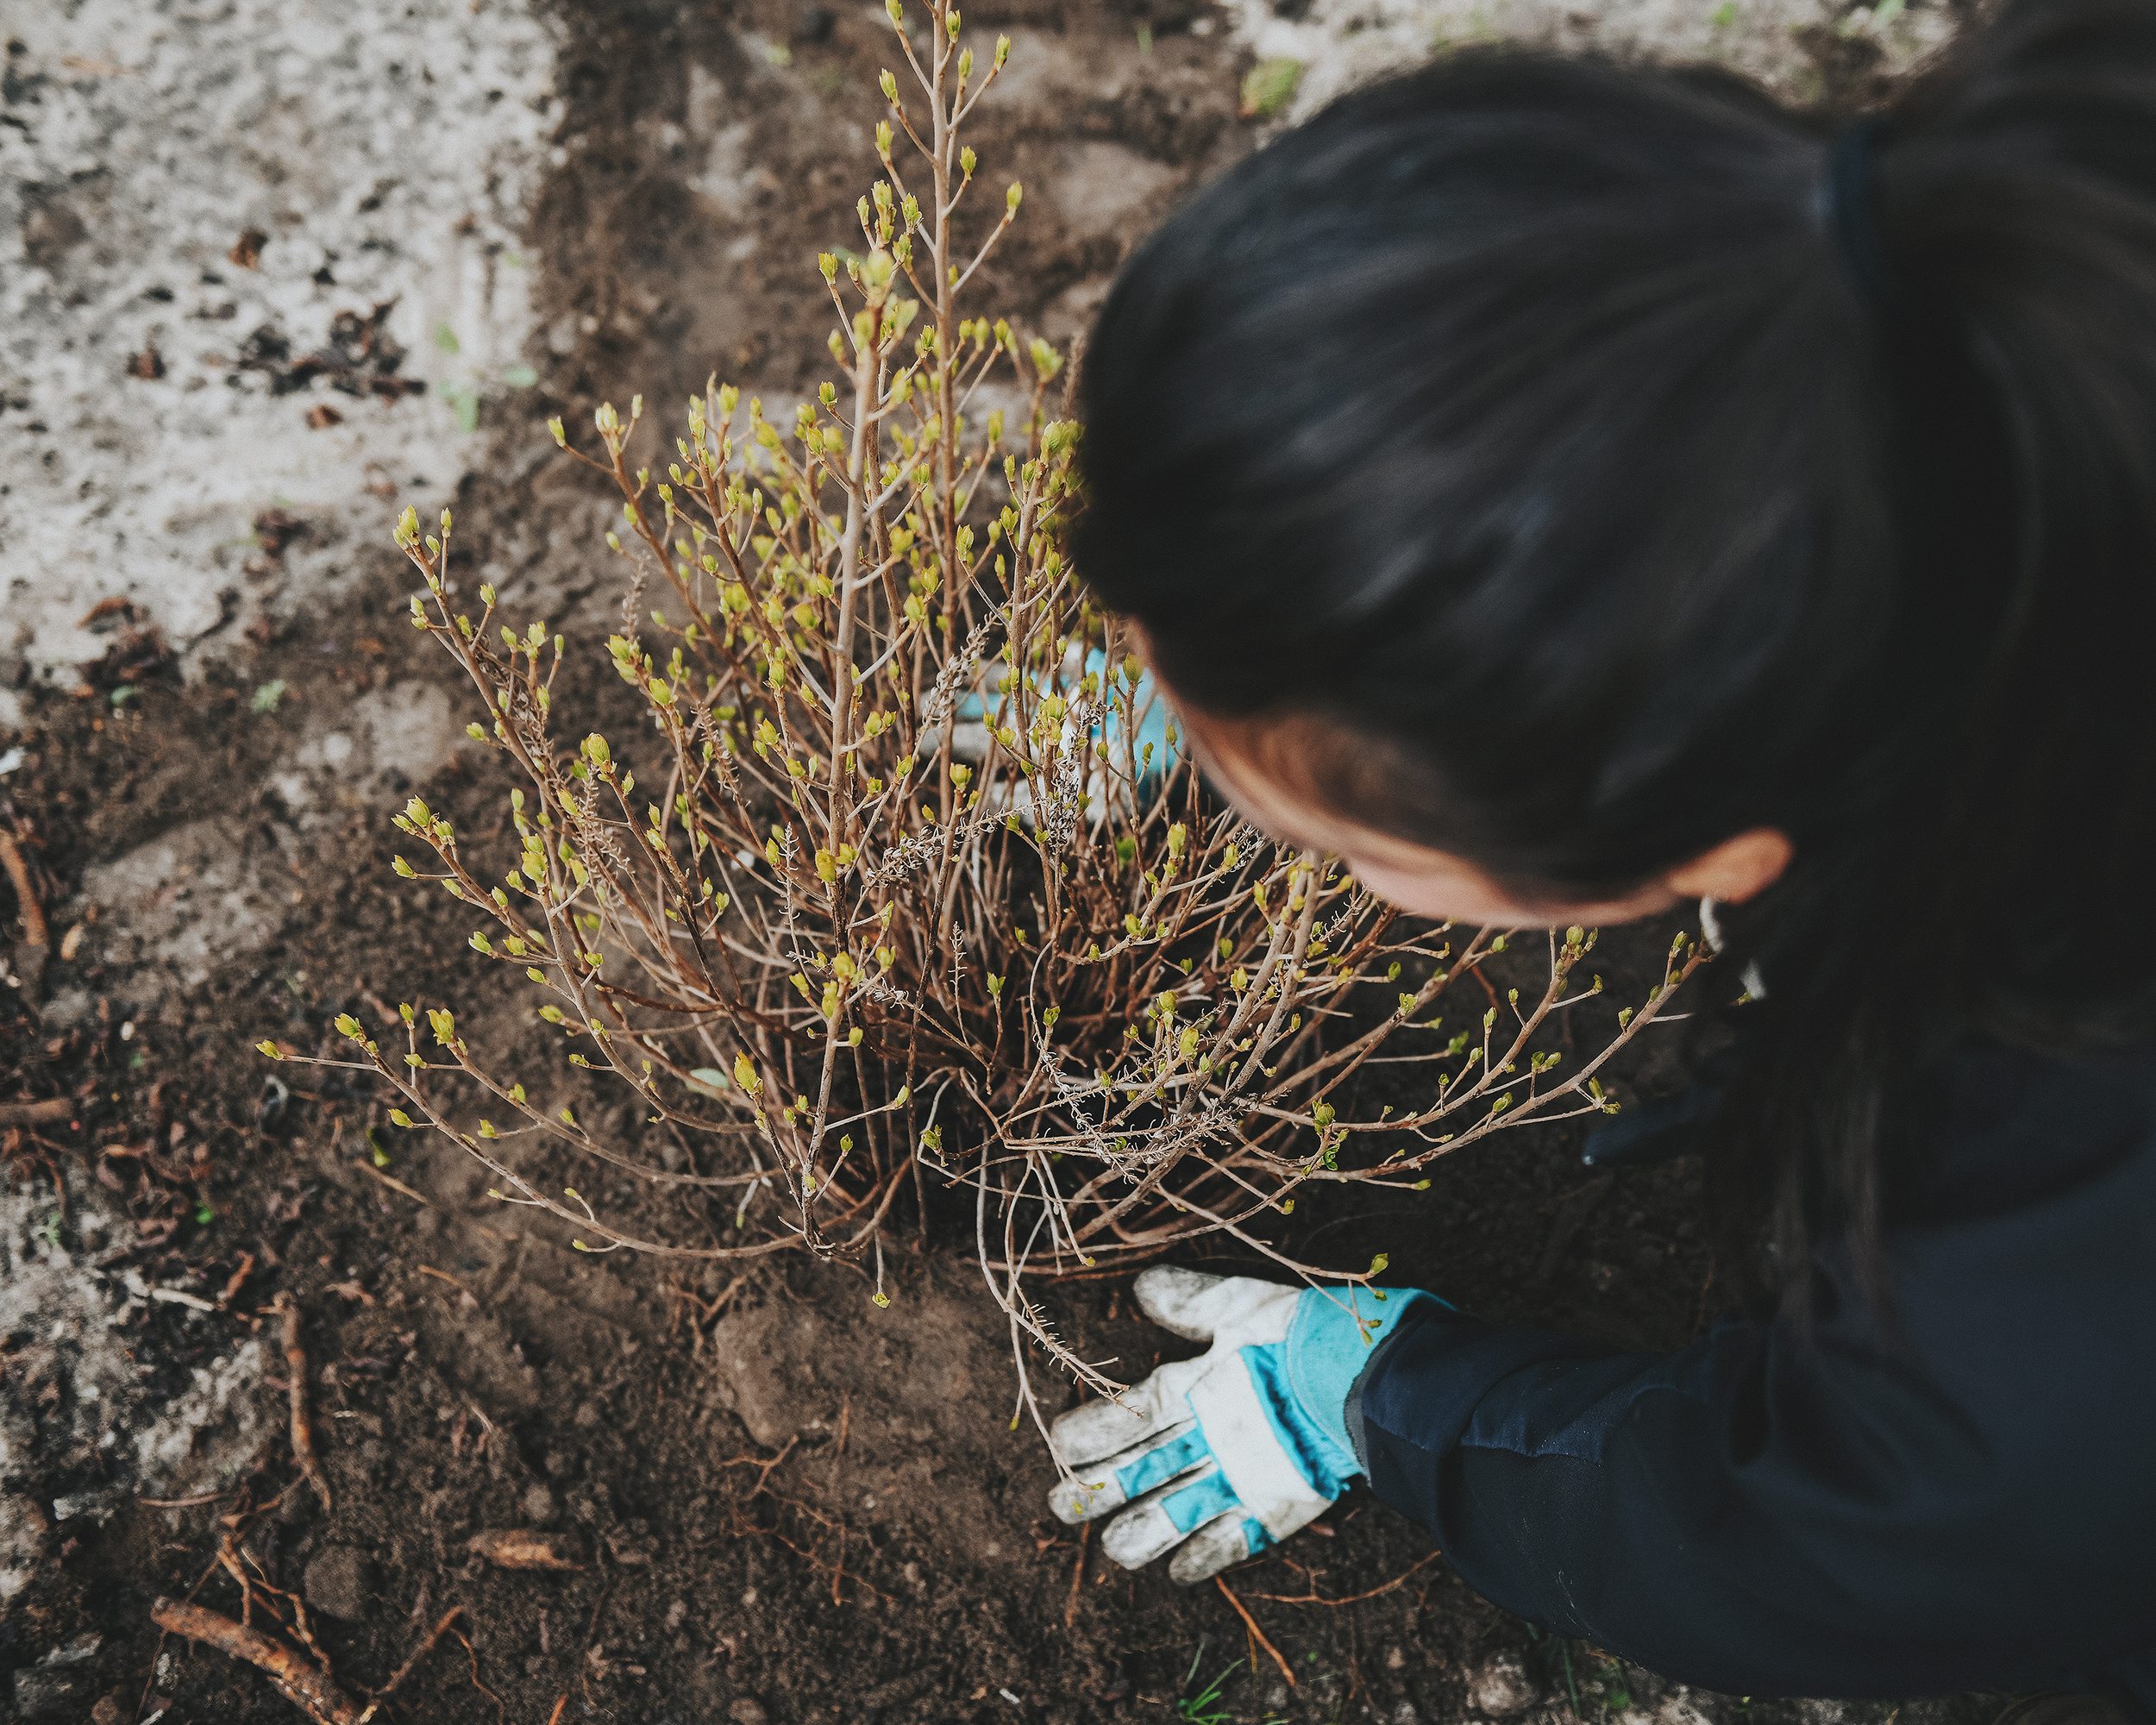
- Transplanting and repurposing of many existing plants
- Creating the gravel path to the backyard and the gravel fire pit area
- Redefining the gravel border at the end of the driveway
- Planting of larger ‘woody’ trees and shrubs
This work was largely completed by January of this year, and we were left to wait until plant nurseries had the plants on our list in stock, which brings us to April.
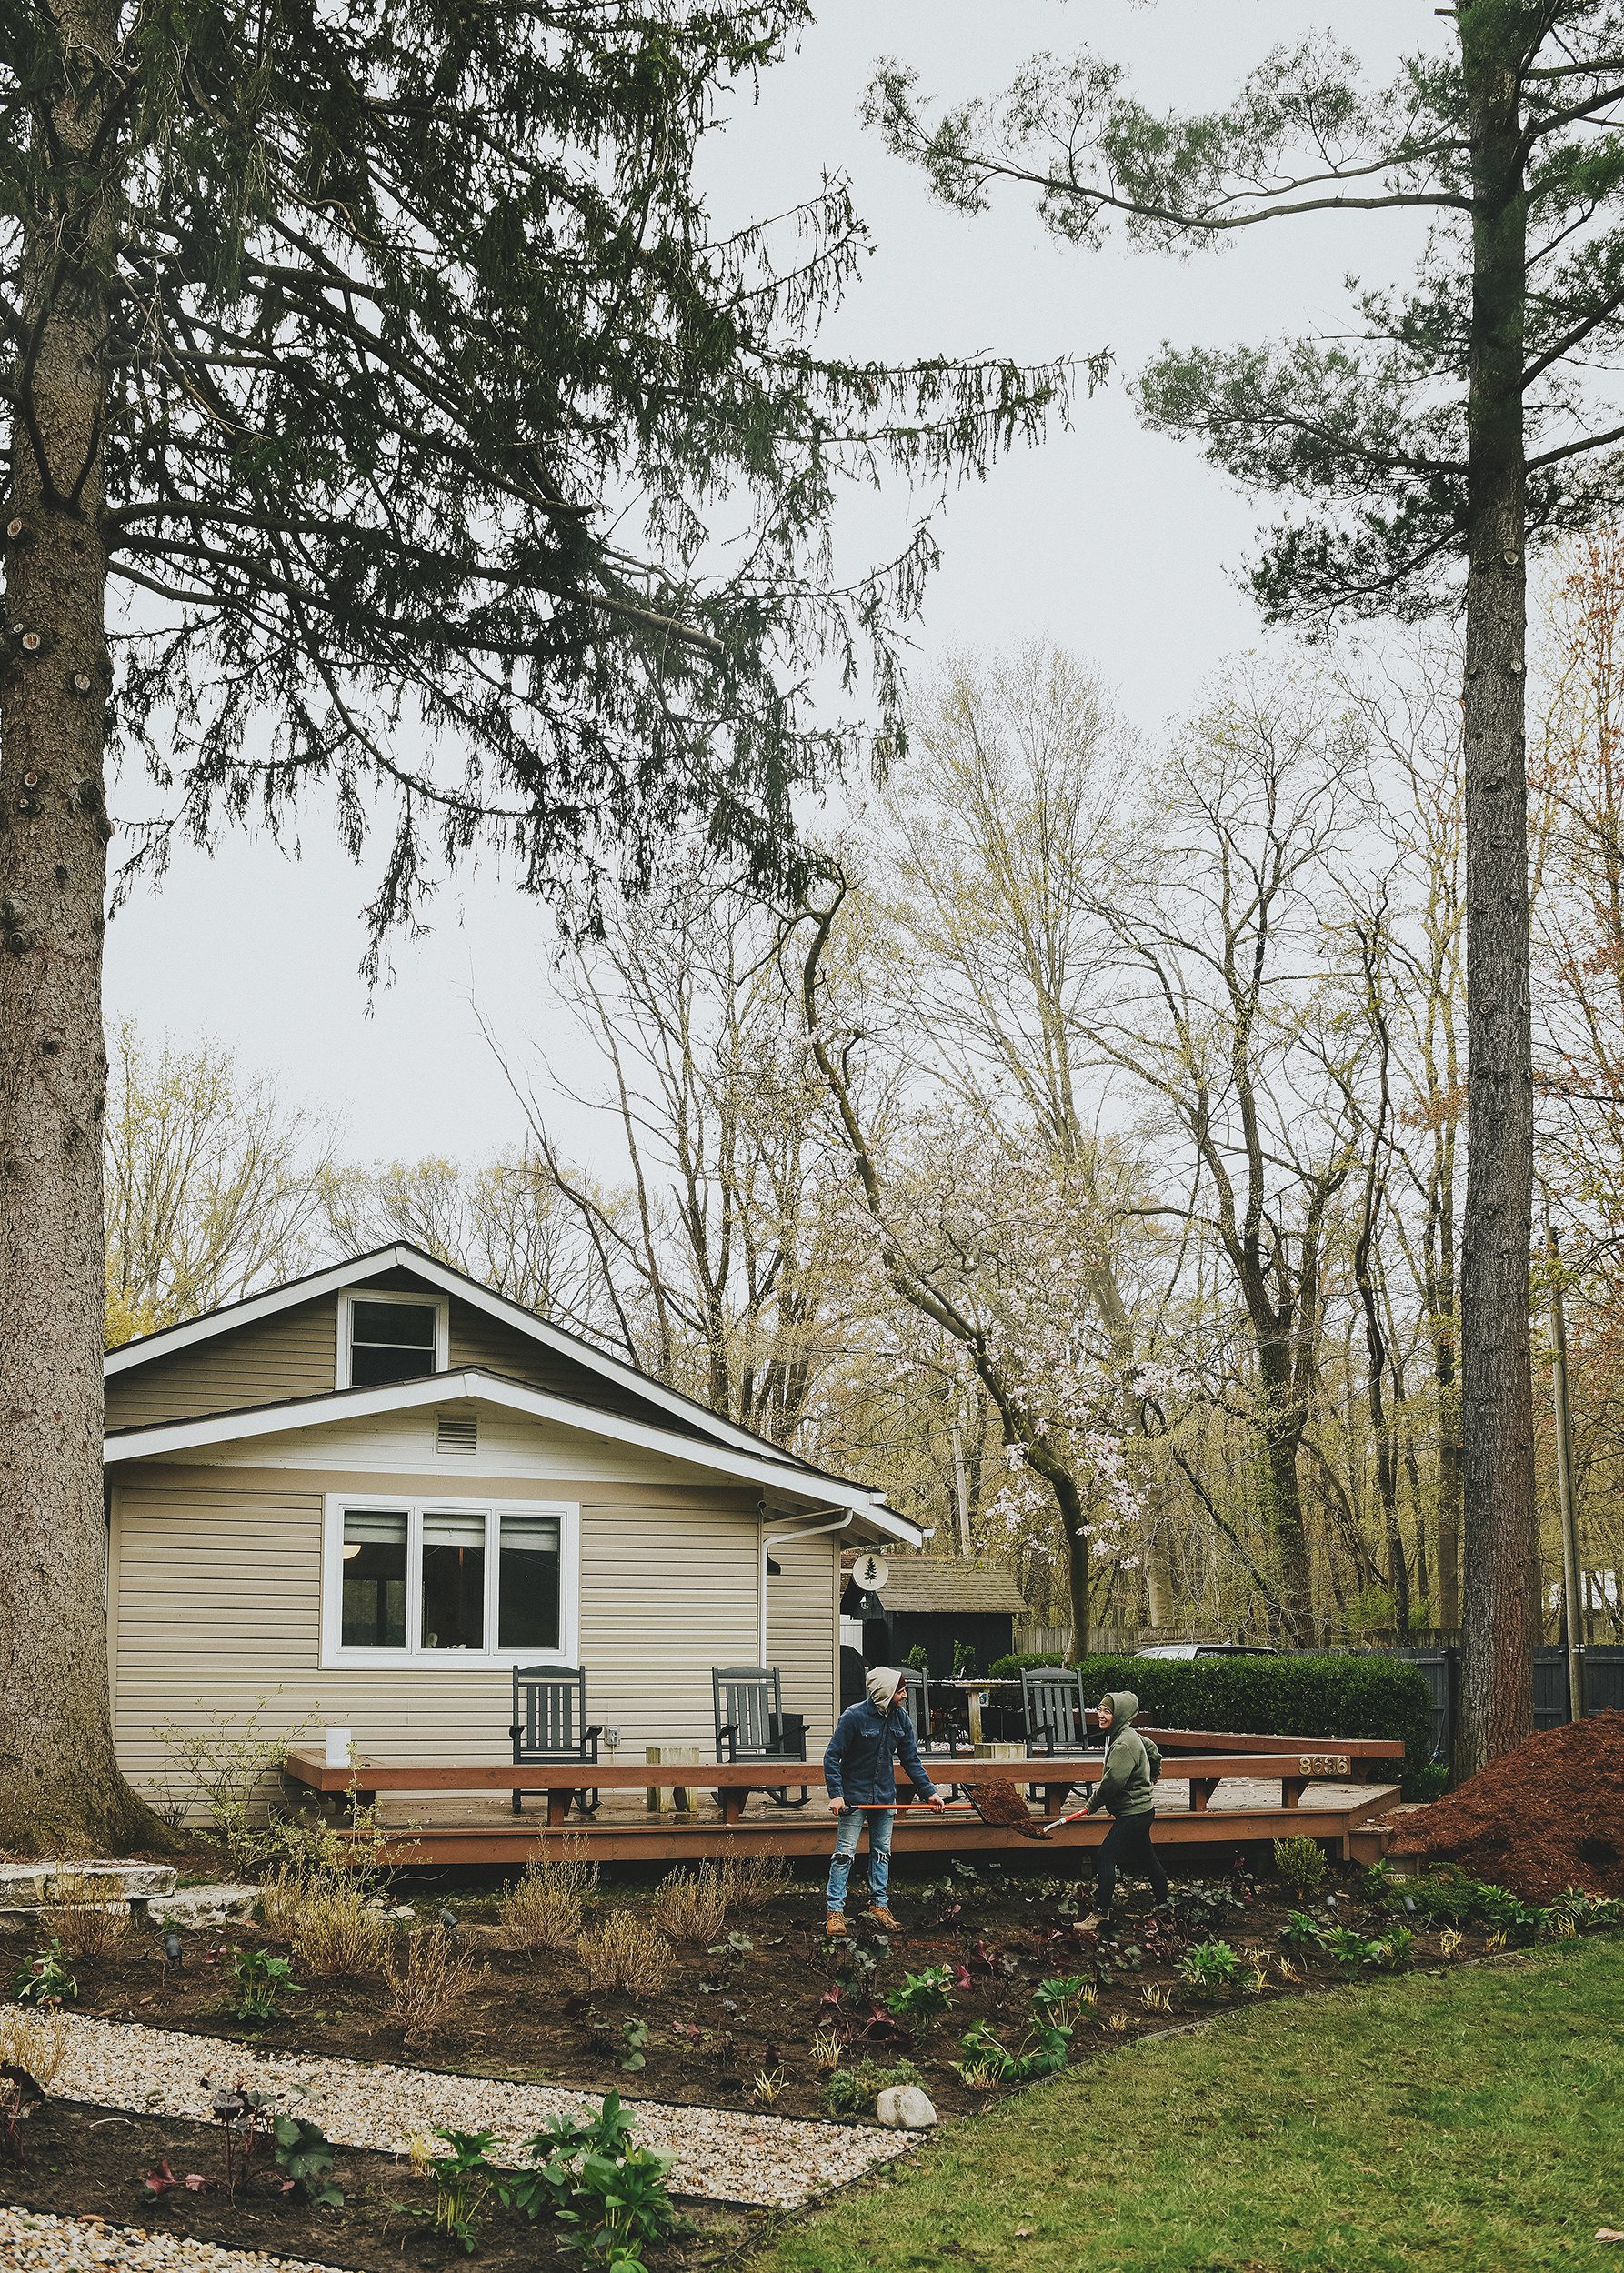
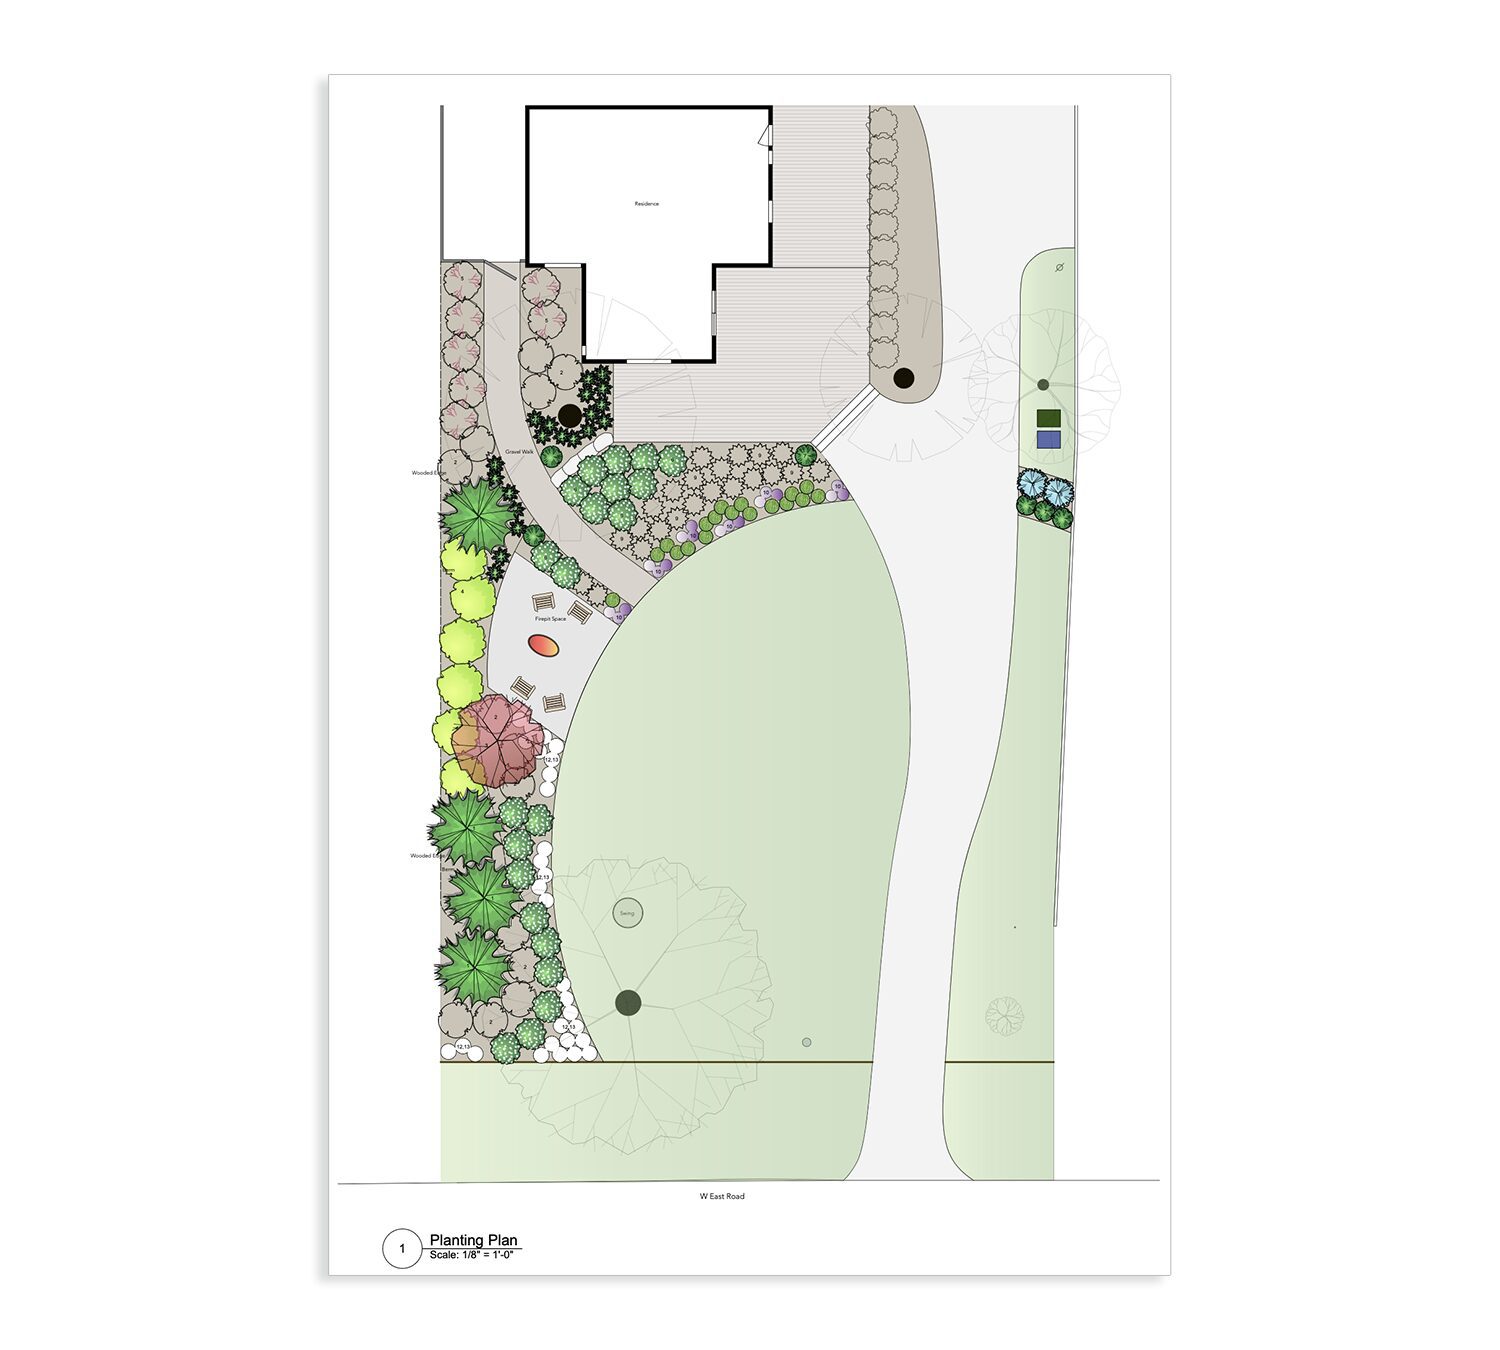
The Plan
While we could have hired the CR/Rootbound crew to plant and mulch the space, labor isn’t cheap and we think of ourselves as pretty capable when it comes to landscaping duties. That said, we opted to save thousands of dollars by planting the remaining 140 plants and spreading all of the mulch ourselves. In hindsight, this was a questionable decision.
We gave ourselves an entire long weekend to complete the project and we used up every last minute of our it! What we estimated to be 1.5 to 2 days of work ended up taking us nearly 3 full days to complete. It was fully worth it in the end, but there are some things we probably would have done differently if we did it all over again.
The Auger Fiasco
With 140 plants to place into the ground, we decided that renting a single-person auger would be a great way to lighten the load of physical labor. Augers are designed to dig large holes quickly and efficiently for fence posts, structural supports and in our case, lots and lots of plants. We picked up the auger without issue and quickly got to work testing it out. Unfortunately, the unit we were given had a fueling issue, so it wouldn’t function properly. We called the rental place, who was kind enough to deliver a replacement machine about an hour later. While we waited for the second auger to be delivered, we got to work digging by hand and fell into a quick rhythm. I dug the holes and Kim followed behind and planted the plants.
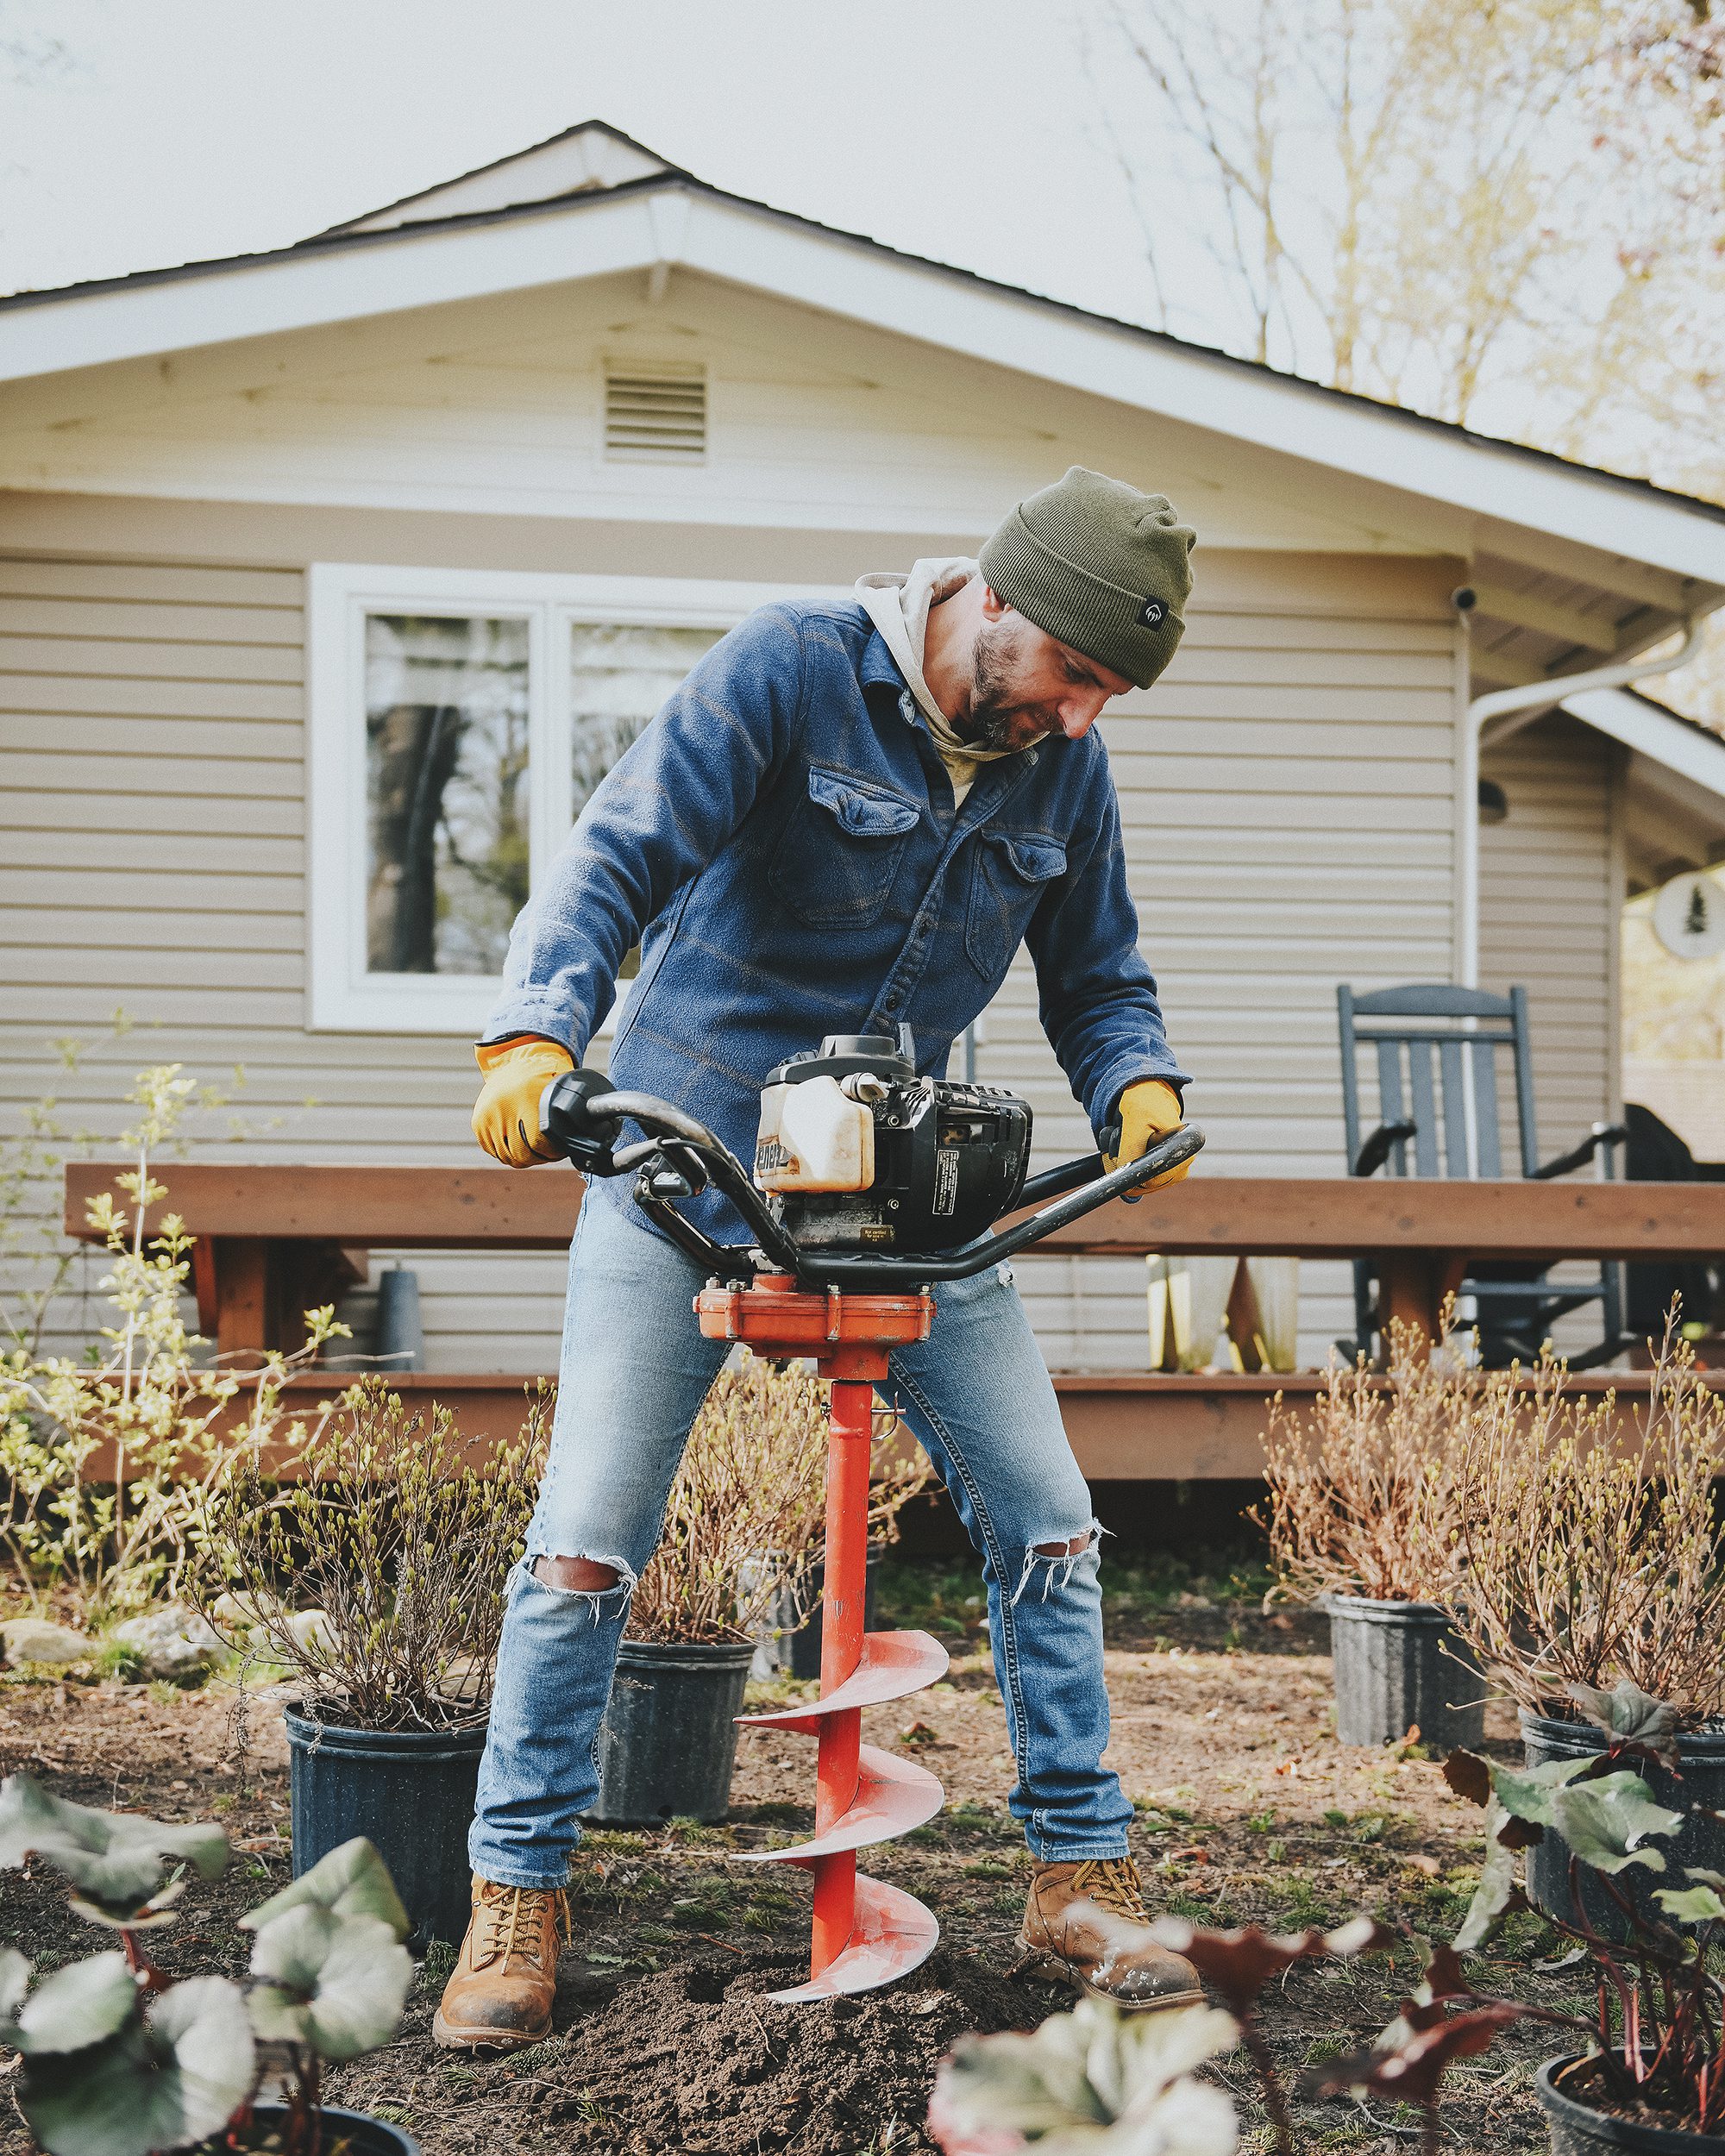
By the time the second auger arrived, we had already completed more than a third of the planting. In addition, the employee from the rental place informed us that augers have a tendency to get tangled up in roots. Doh. At this point, we abandoned the auger completely and continued digging by hand with an axe at the ready to tackle tough roots.
In all, the auger was a waste of time and money in our insanely root-filled front yard. That said, it would be an incredibly useful machine an an open area lacking mature roots. Learn from our mistakes, folks!
Mount Mulchington
The other thing we would have done differently involves the quantity of hardwood mulch we purchased. Based on the design plan, the square footage of our landscape beds called for around 15 cubic yards of mulch. That felt like… a lot, so we ordered 12 cubic yards to play it safe. It was still an absolute mountain of mulch that we dubbed ‘Mount Mulchington’. On delivery day, it was almost 6 feet tall and spilled over every edge of a 12′ x 16′ tarp. Aaaaaand we moved it all by hand.
When it was all said and done, we still overshot the landing and were left with 2-3 cubic yards of extra mulch at the end of the weekend. We offered it for free to friends with homes in the area but had no takers. Everyone had a use for it, but the prospect of loading the mulch into a vehicle and then having to spread it all over again was definitely not a value add for anyone.
In the end, we used up as much of the excess as we reasonably could, then taped a neon pink ‘FREE MULCH’ sign to our trash bin and put it out by the curb. A nice neighbor stopped by a few hours later and explained that his son owned a landscaping business and he would stop by later to scoop it all up and deliver it down the road to his house. It was gone by the next morning and our problem was solved with wins all around!
Shifting Fence Plans
A quick sidebar that we haven’t mentioned much up to this point – You may have noticed that the initial plans called for a low fence along the front edge of the property, between the road and the large tree. Last summer when we received the plan, we were told to reach out the the county road department and the township for guidance regarding fence size and placement. Both organizations told us that with the low proposed fence height of around 40″ and the open design, we didn’t need to worry about permitting. We were glad to hear it and immediately put down a deposit with our trusted fence company.
Unfortunately, when the fence company finally arrived last month to install the fence in the agreed-upon location, the crew balked at the location. Apparently, in the many months between our initial conversations with the governmental agencies and the installation date, attitudes toward fences had shifted to include a strict permitting process. The proposed fence was now too close to the road and would likely not be approved for a permit. We decided to nix the fence all together and may opt for a small hedgerow in the future, but the proposed fence line will remain bare for the time being. Every project, big or small, will require shifts in plans and quick decisions and we’ve learned to take them in stride.
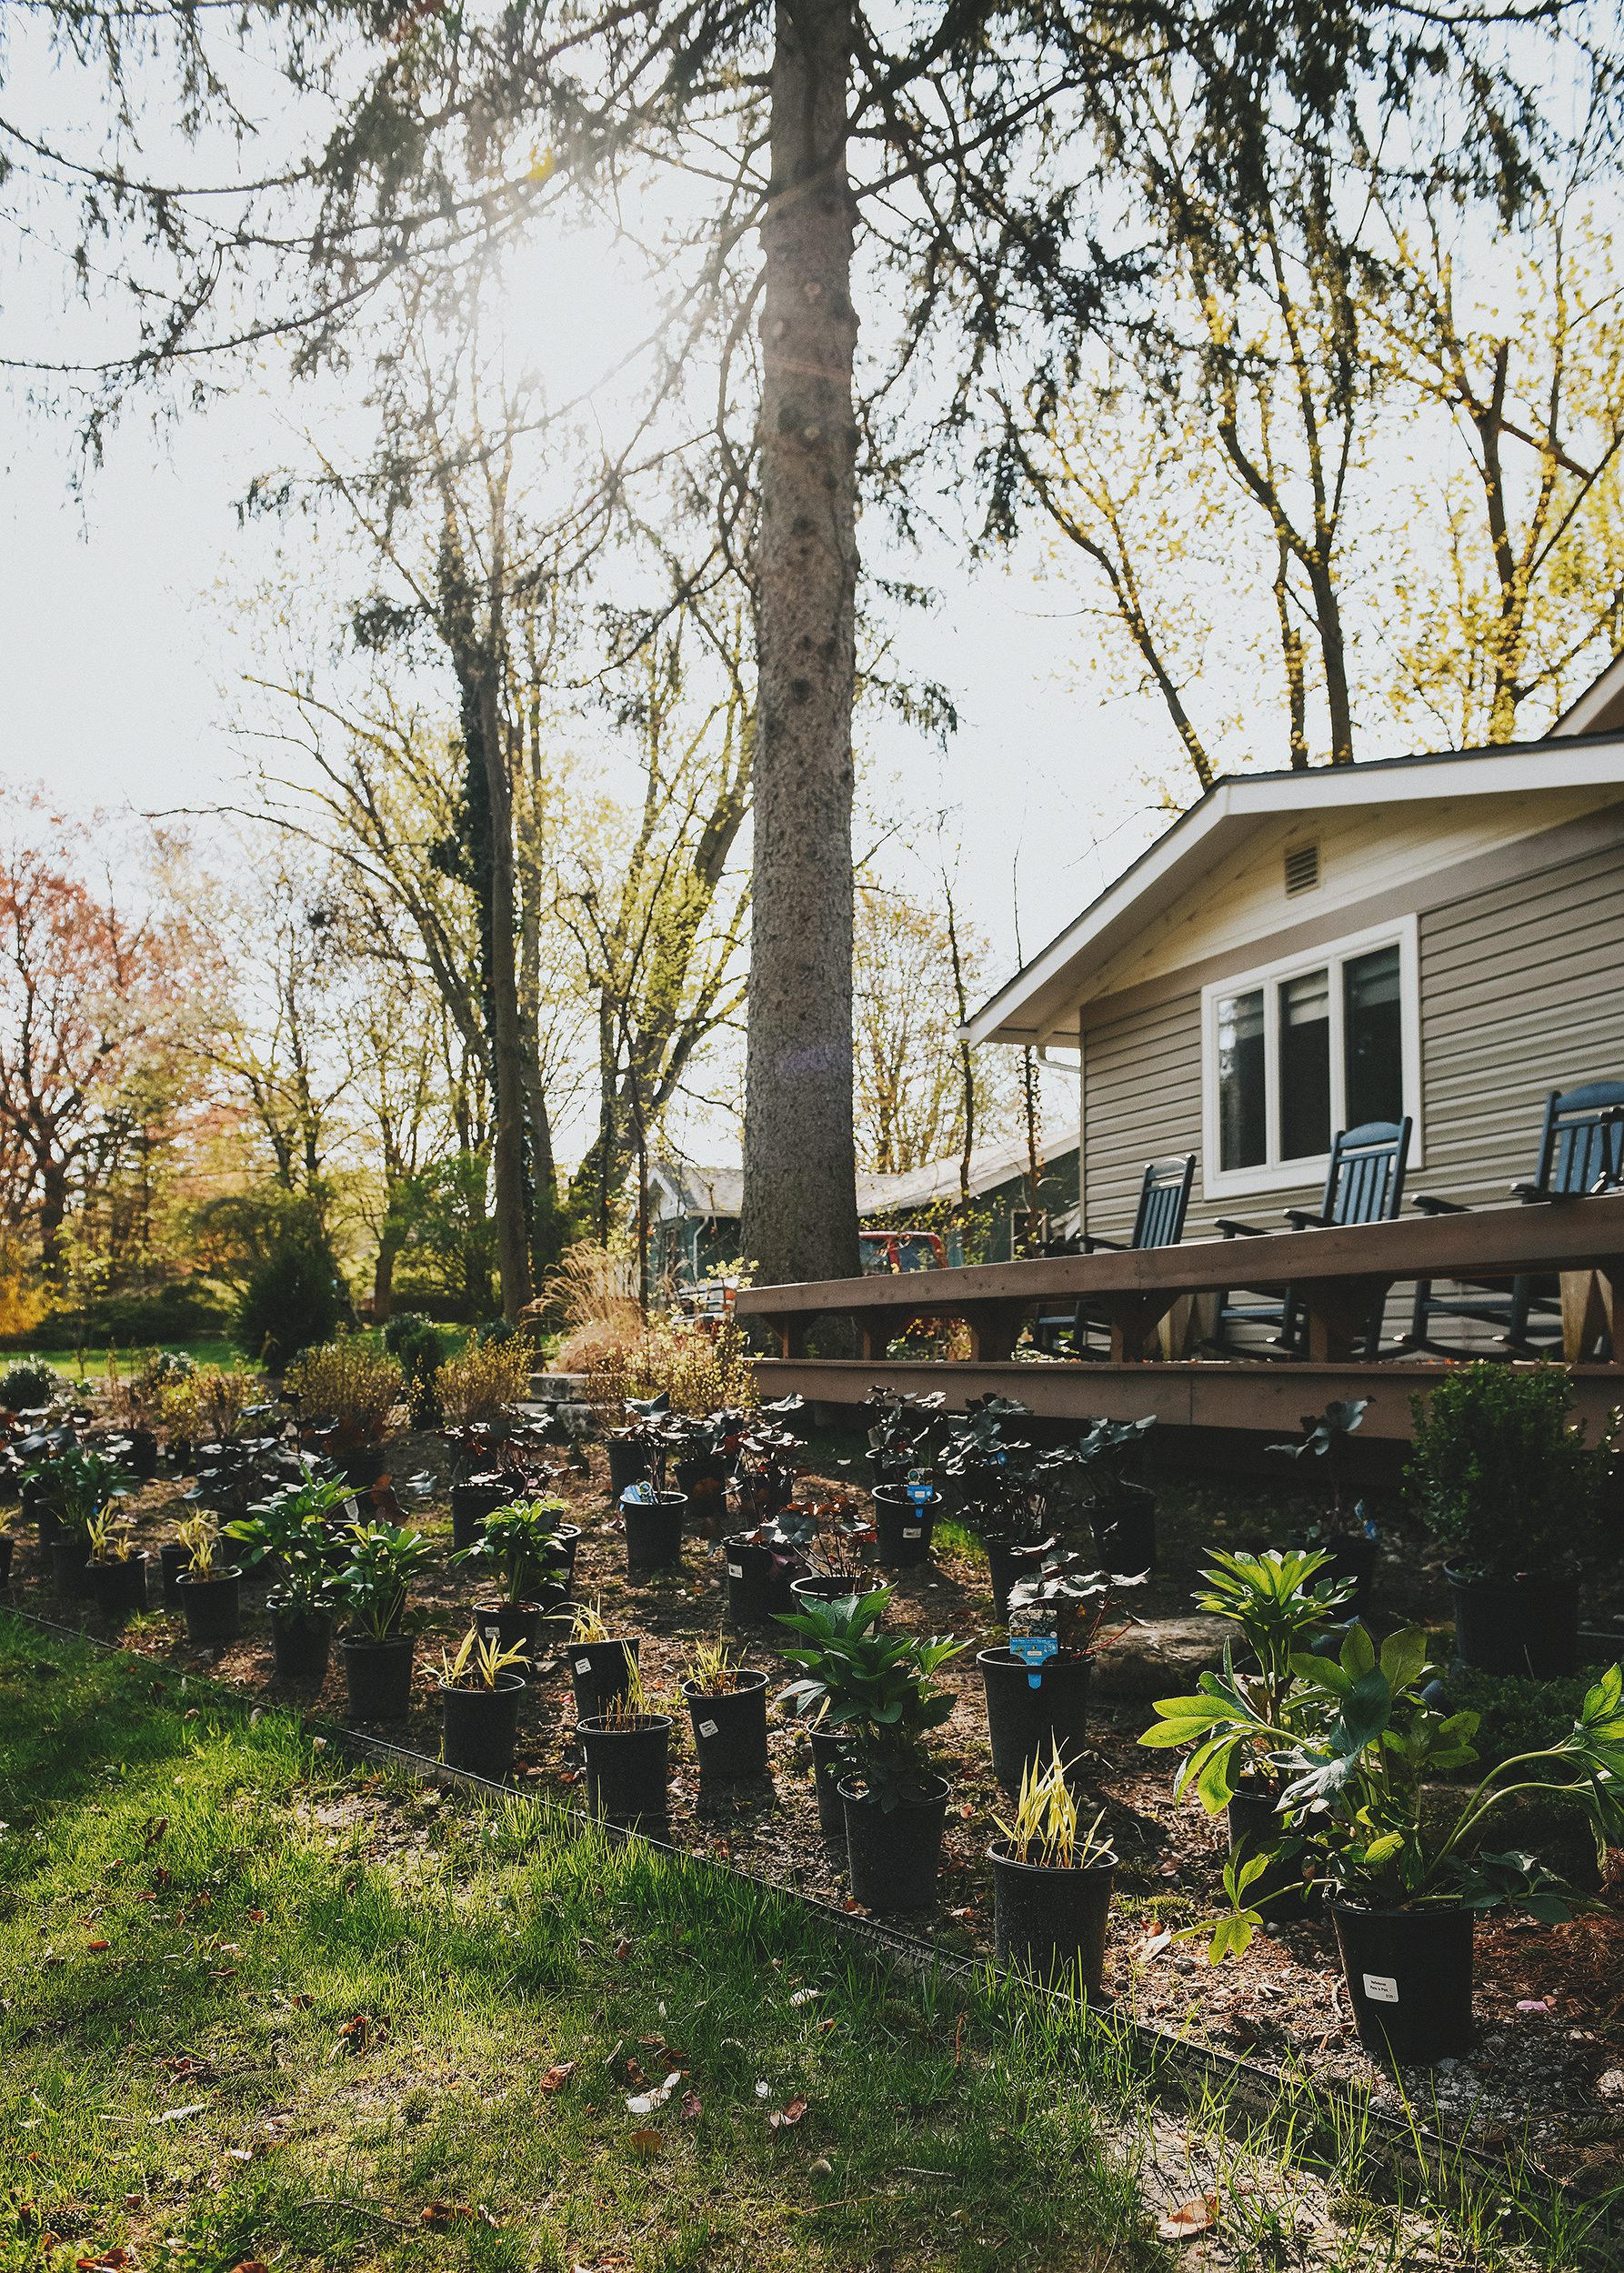
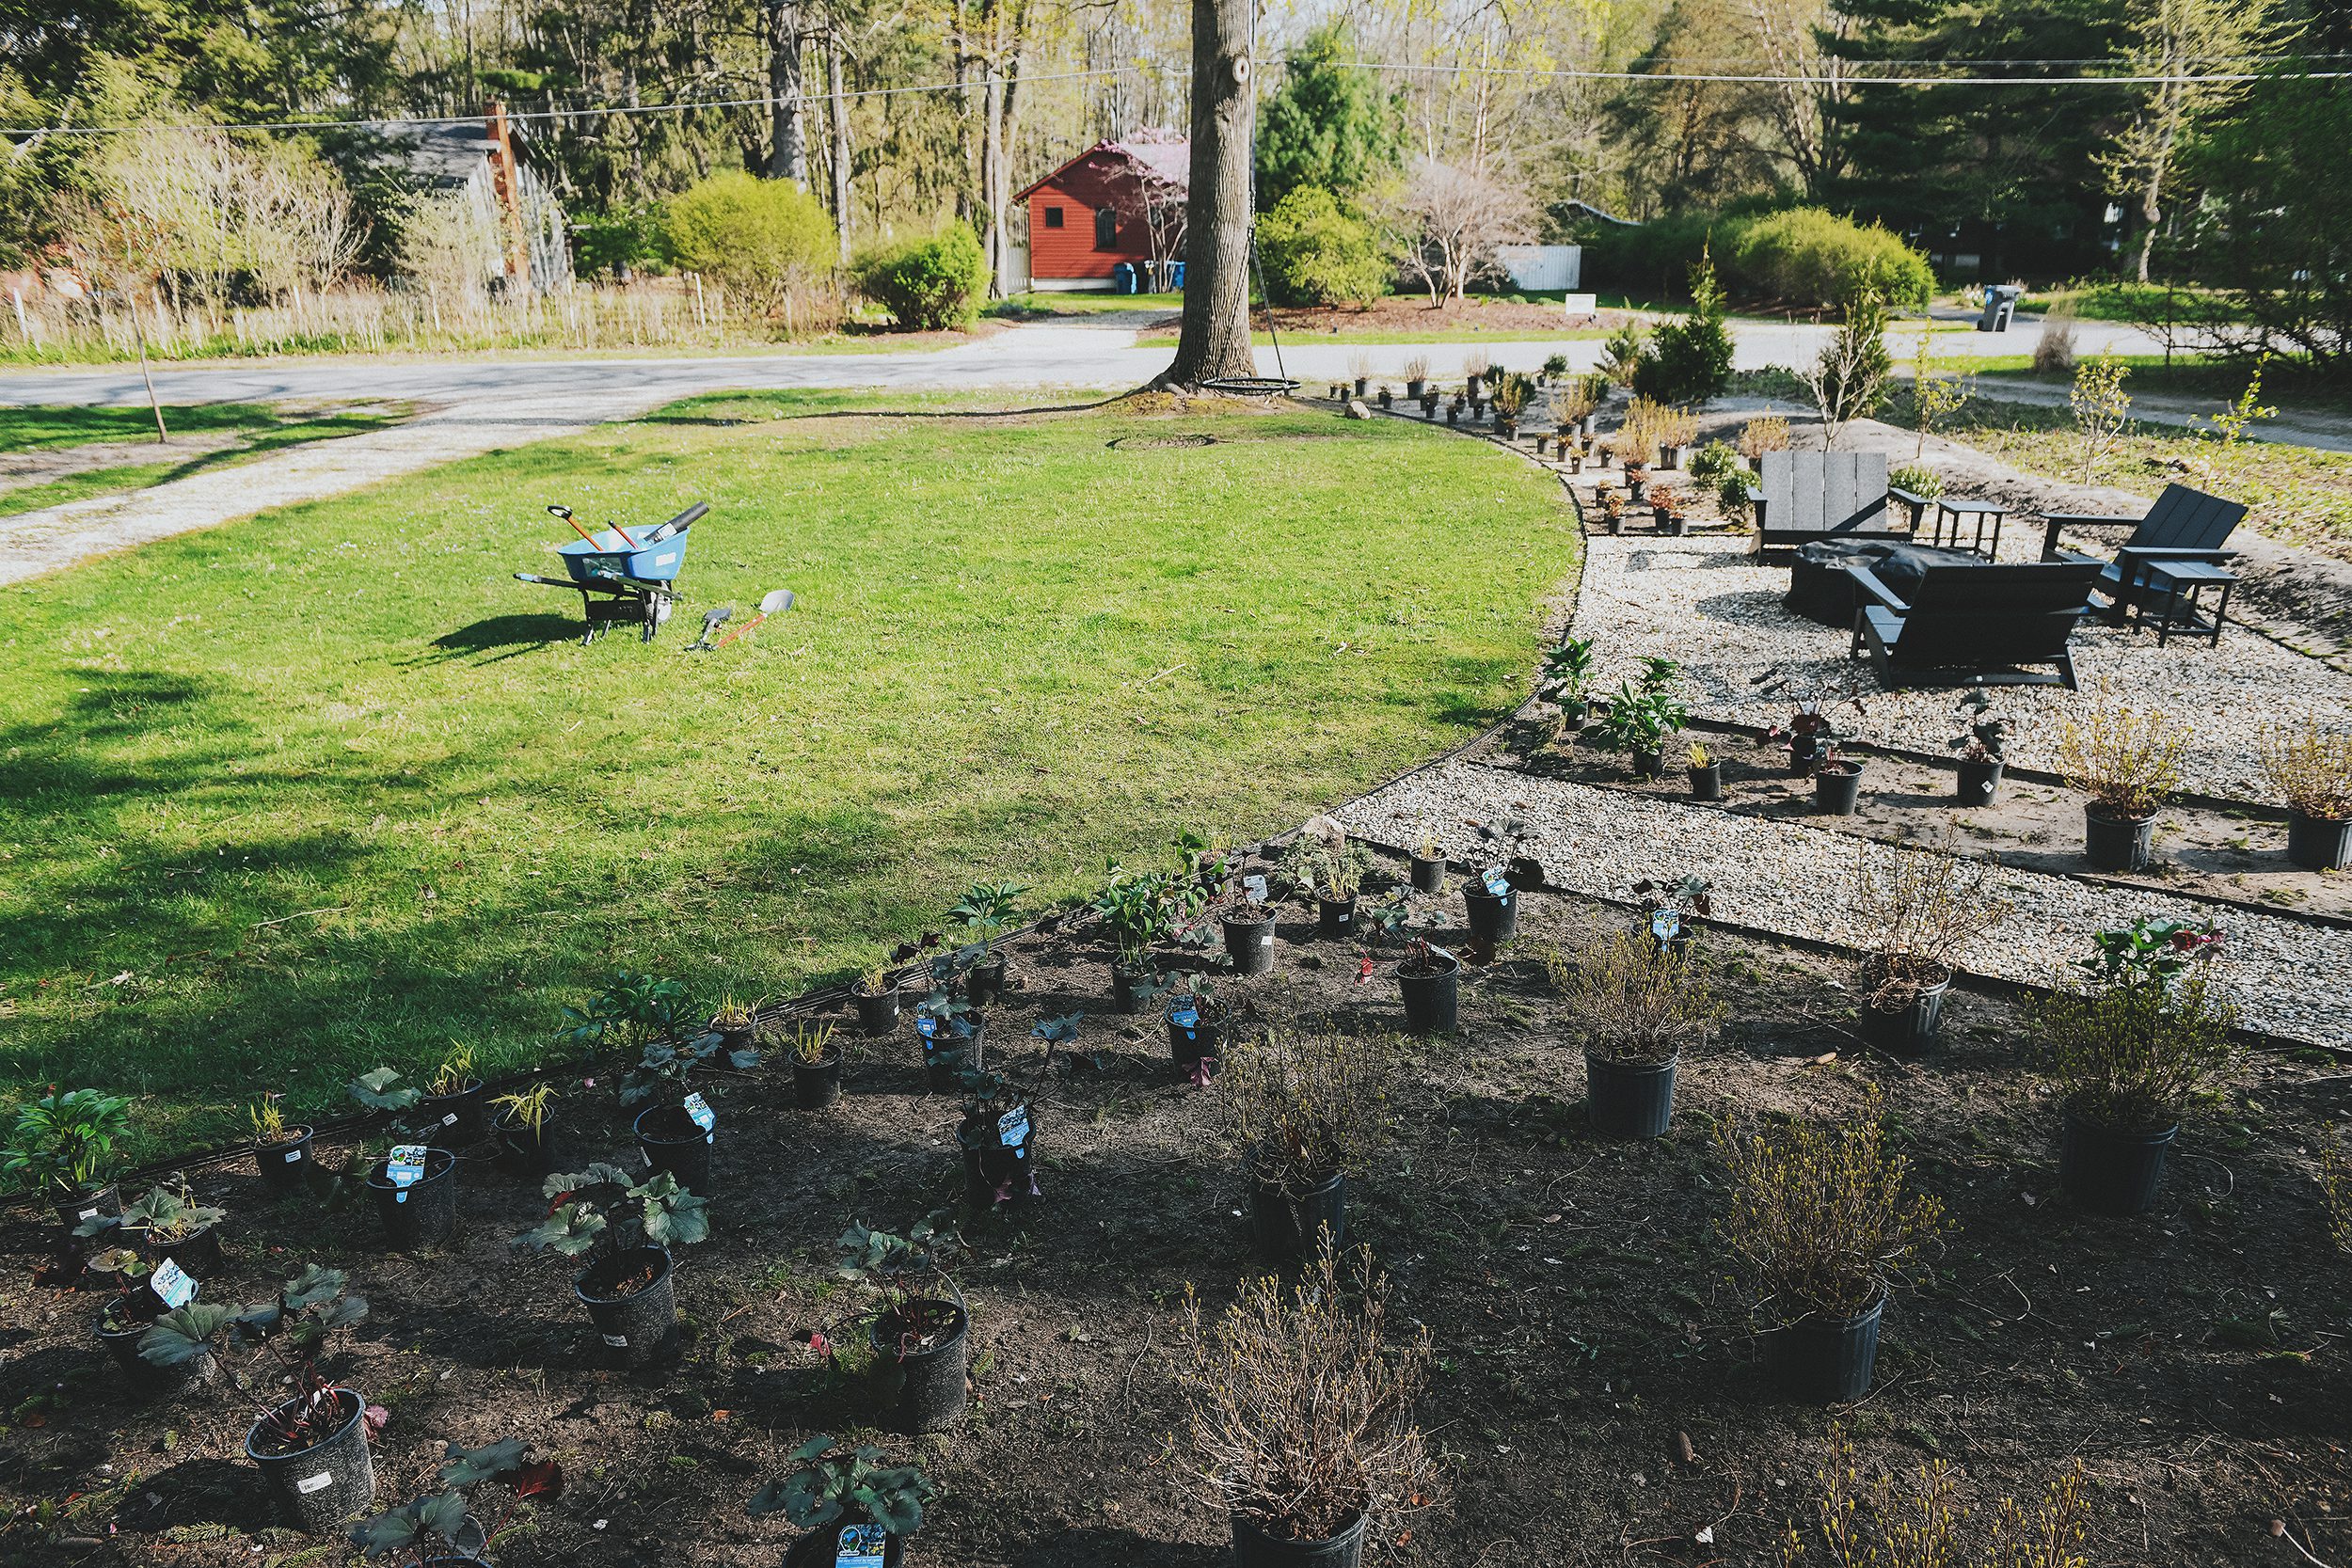
The Plants!
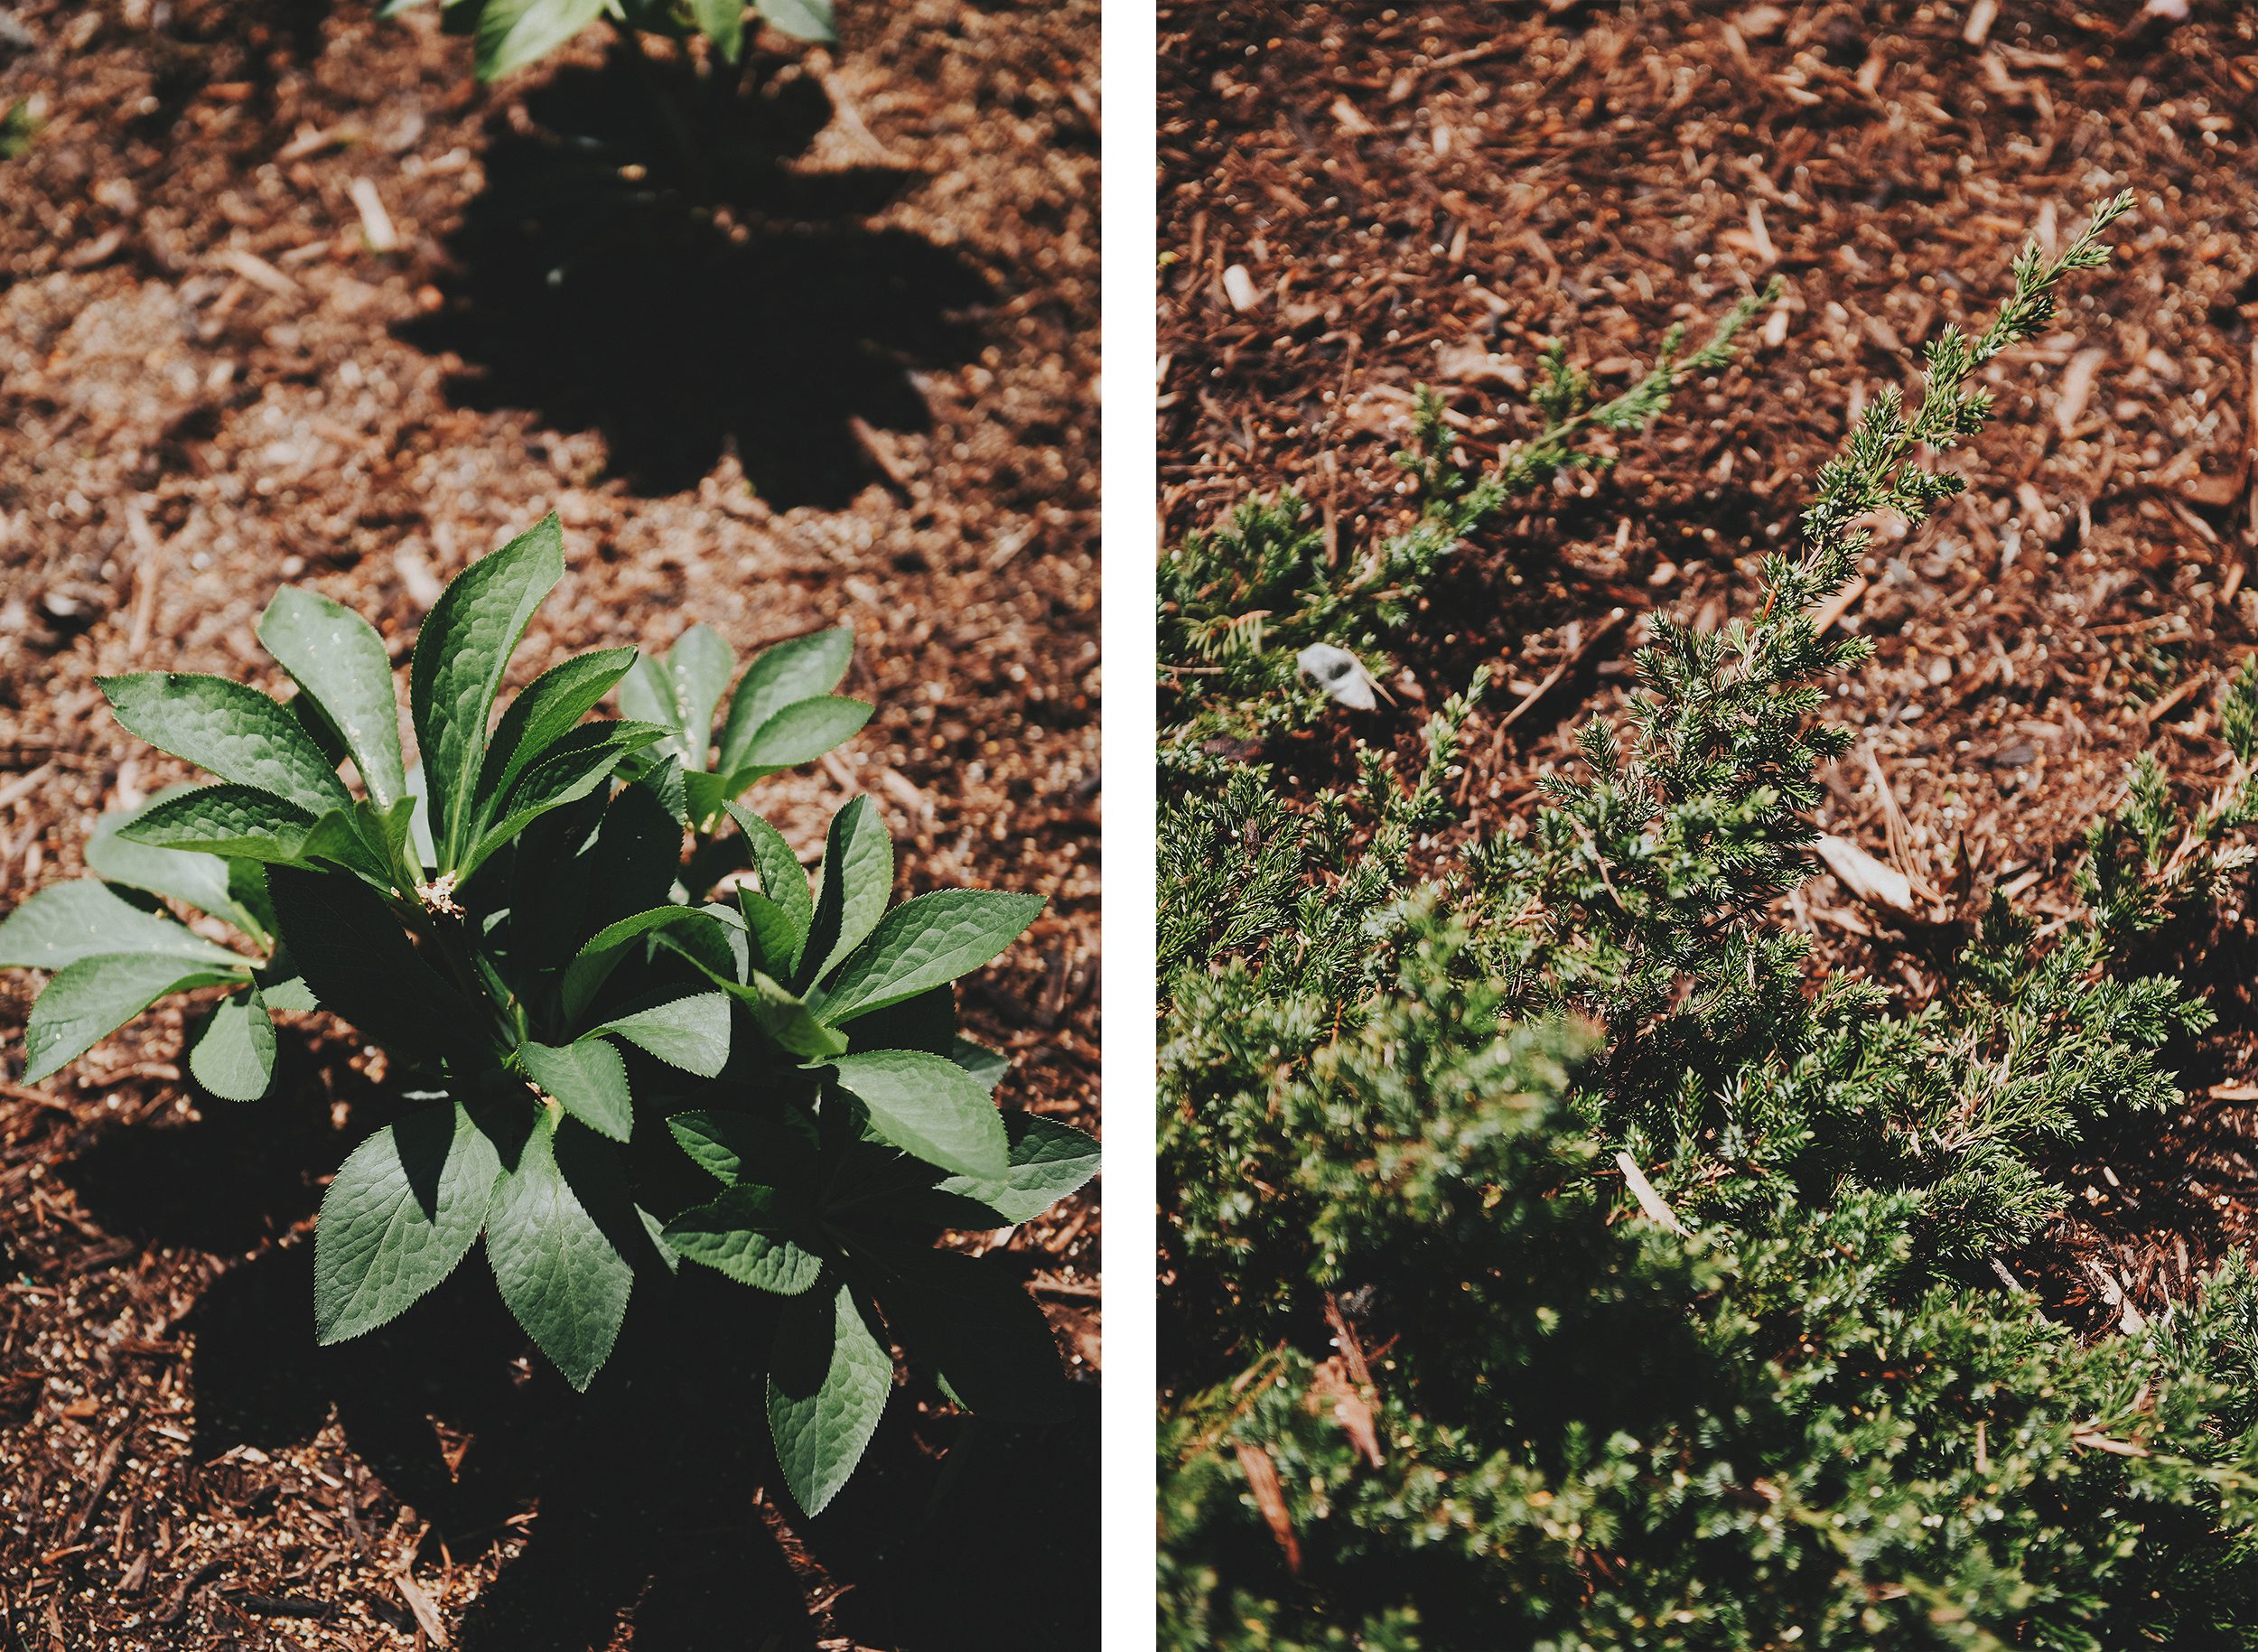
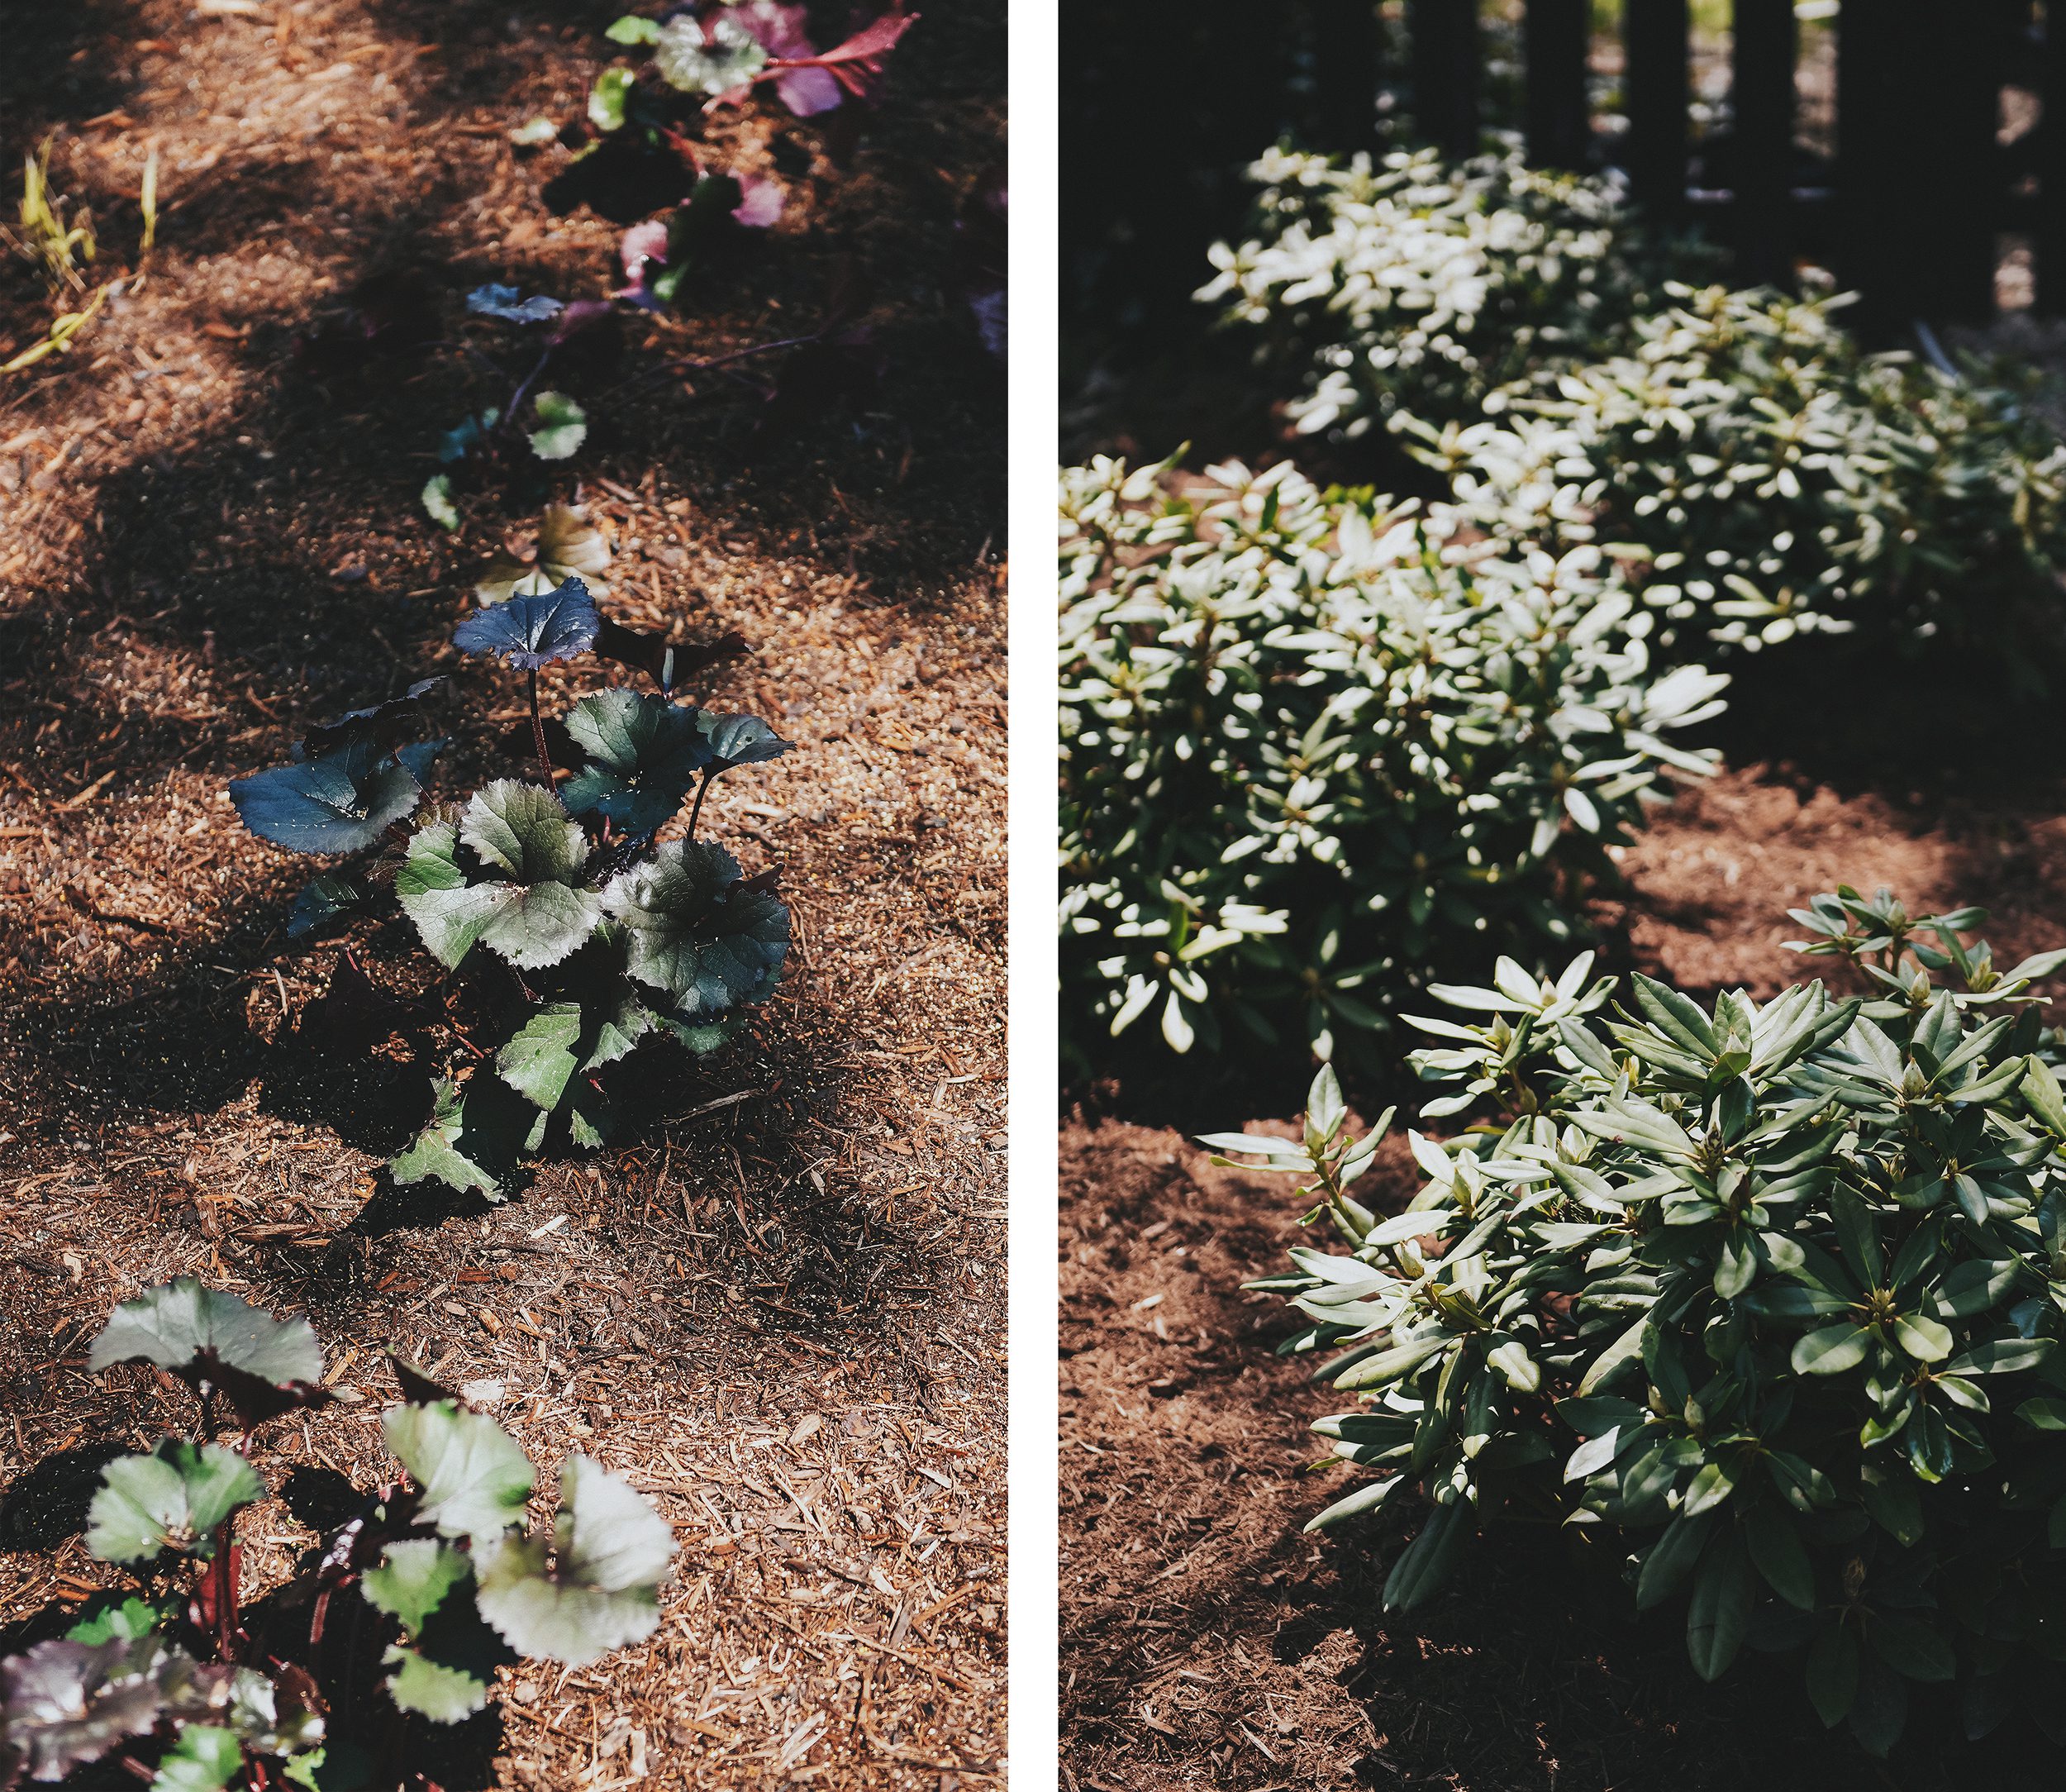
As we mentioned earlier, we planted around 140 plants in this final wave, which is in addition to the existing varieties that were already in place. All in all, there are over 200 new plants in the front yard and we absolutely cannot wait to see them grow and fill in! (Feel free to refer back here for the full notated list of plants)
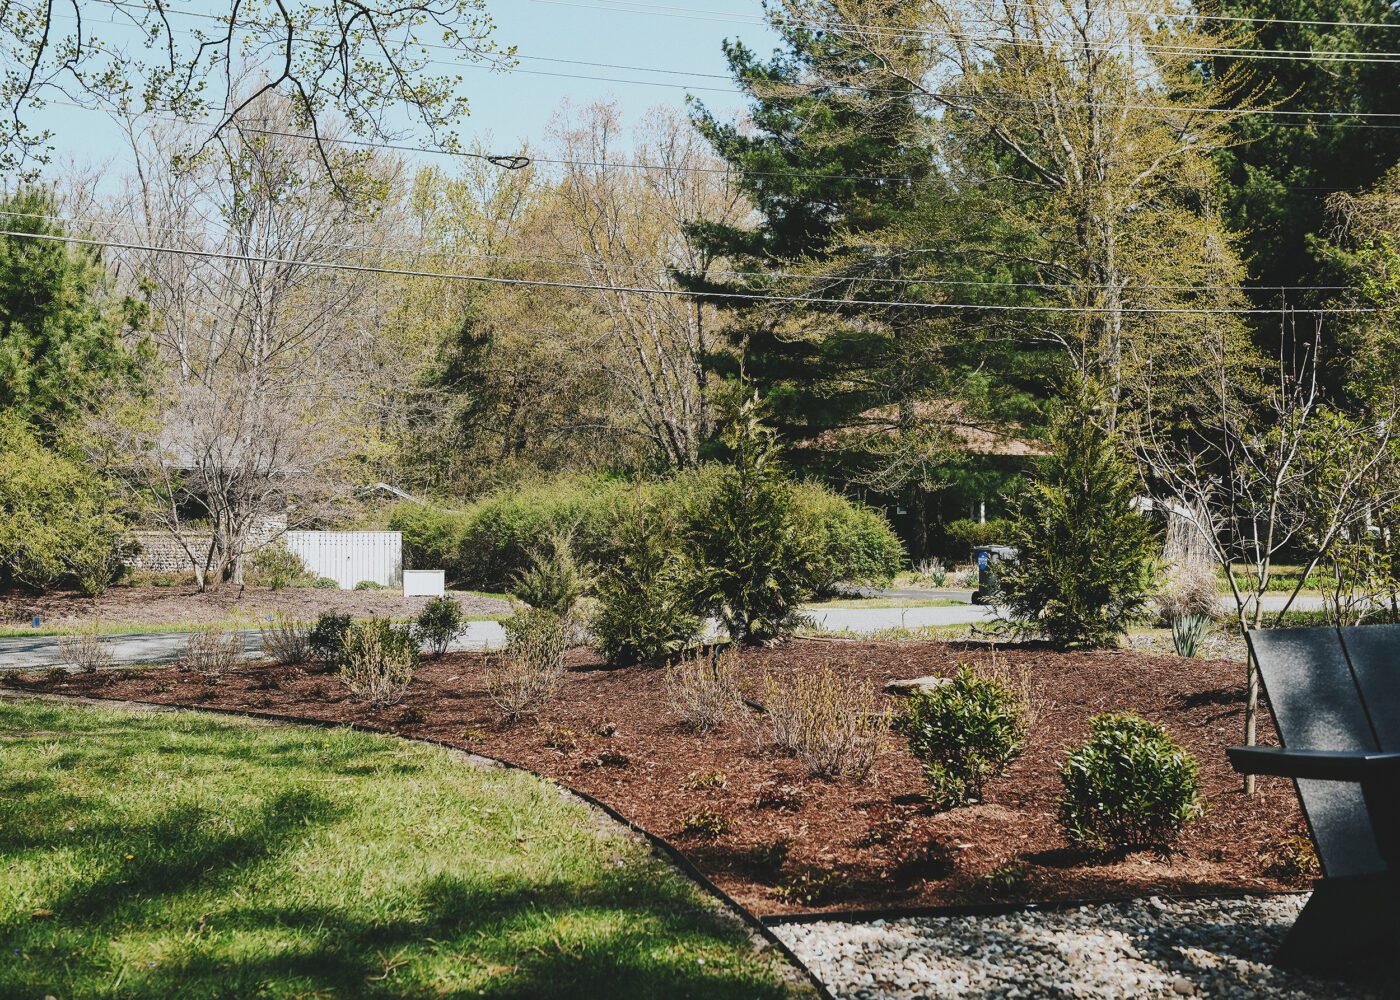
Many of the plants along the berm and front portion of the yard are evergreen, which will keep things colorful throughout the year. The largest plants are along the berm, which will eventually mature into a textural green wall of privacy.
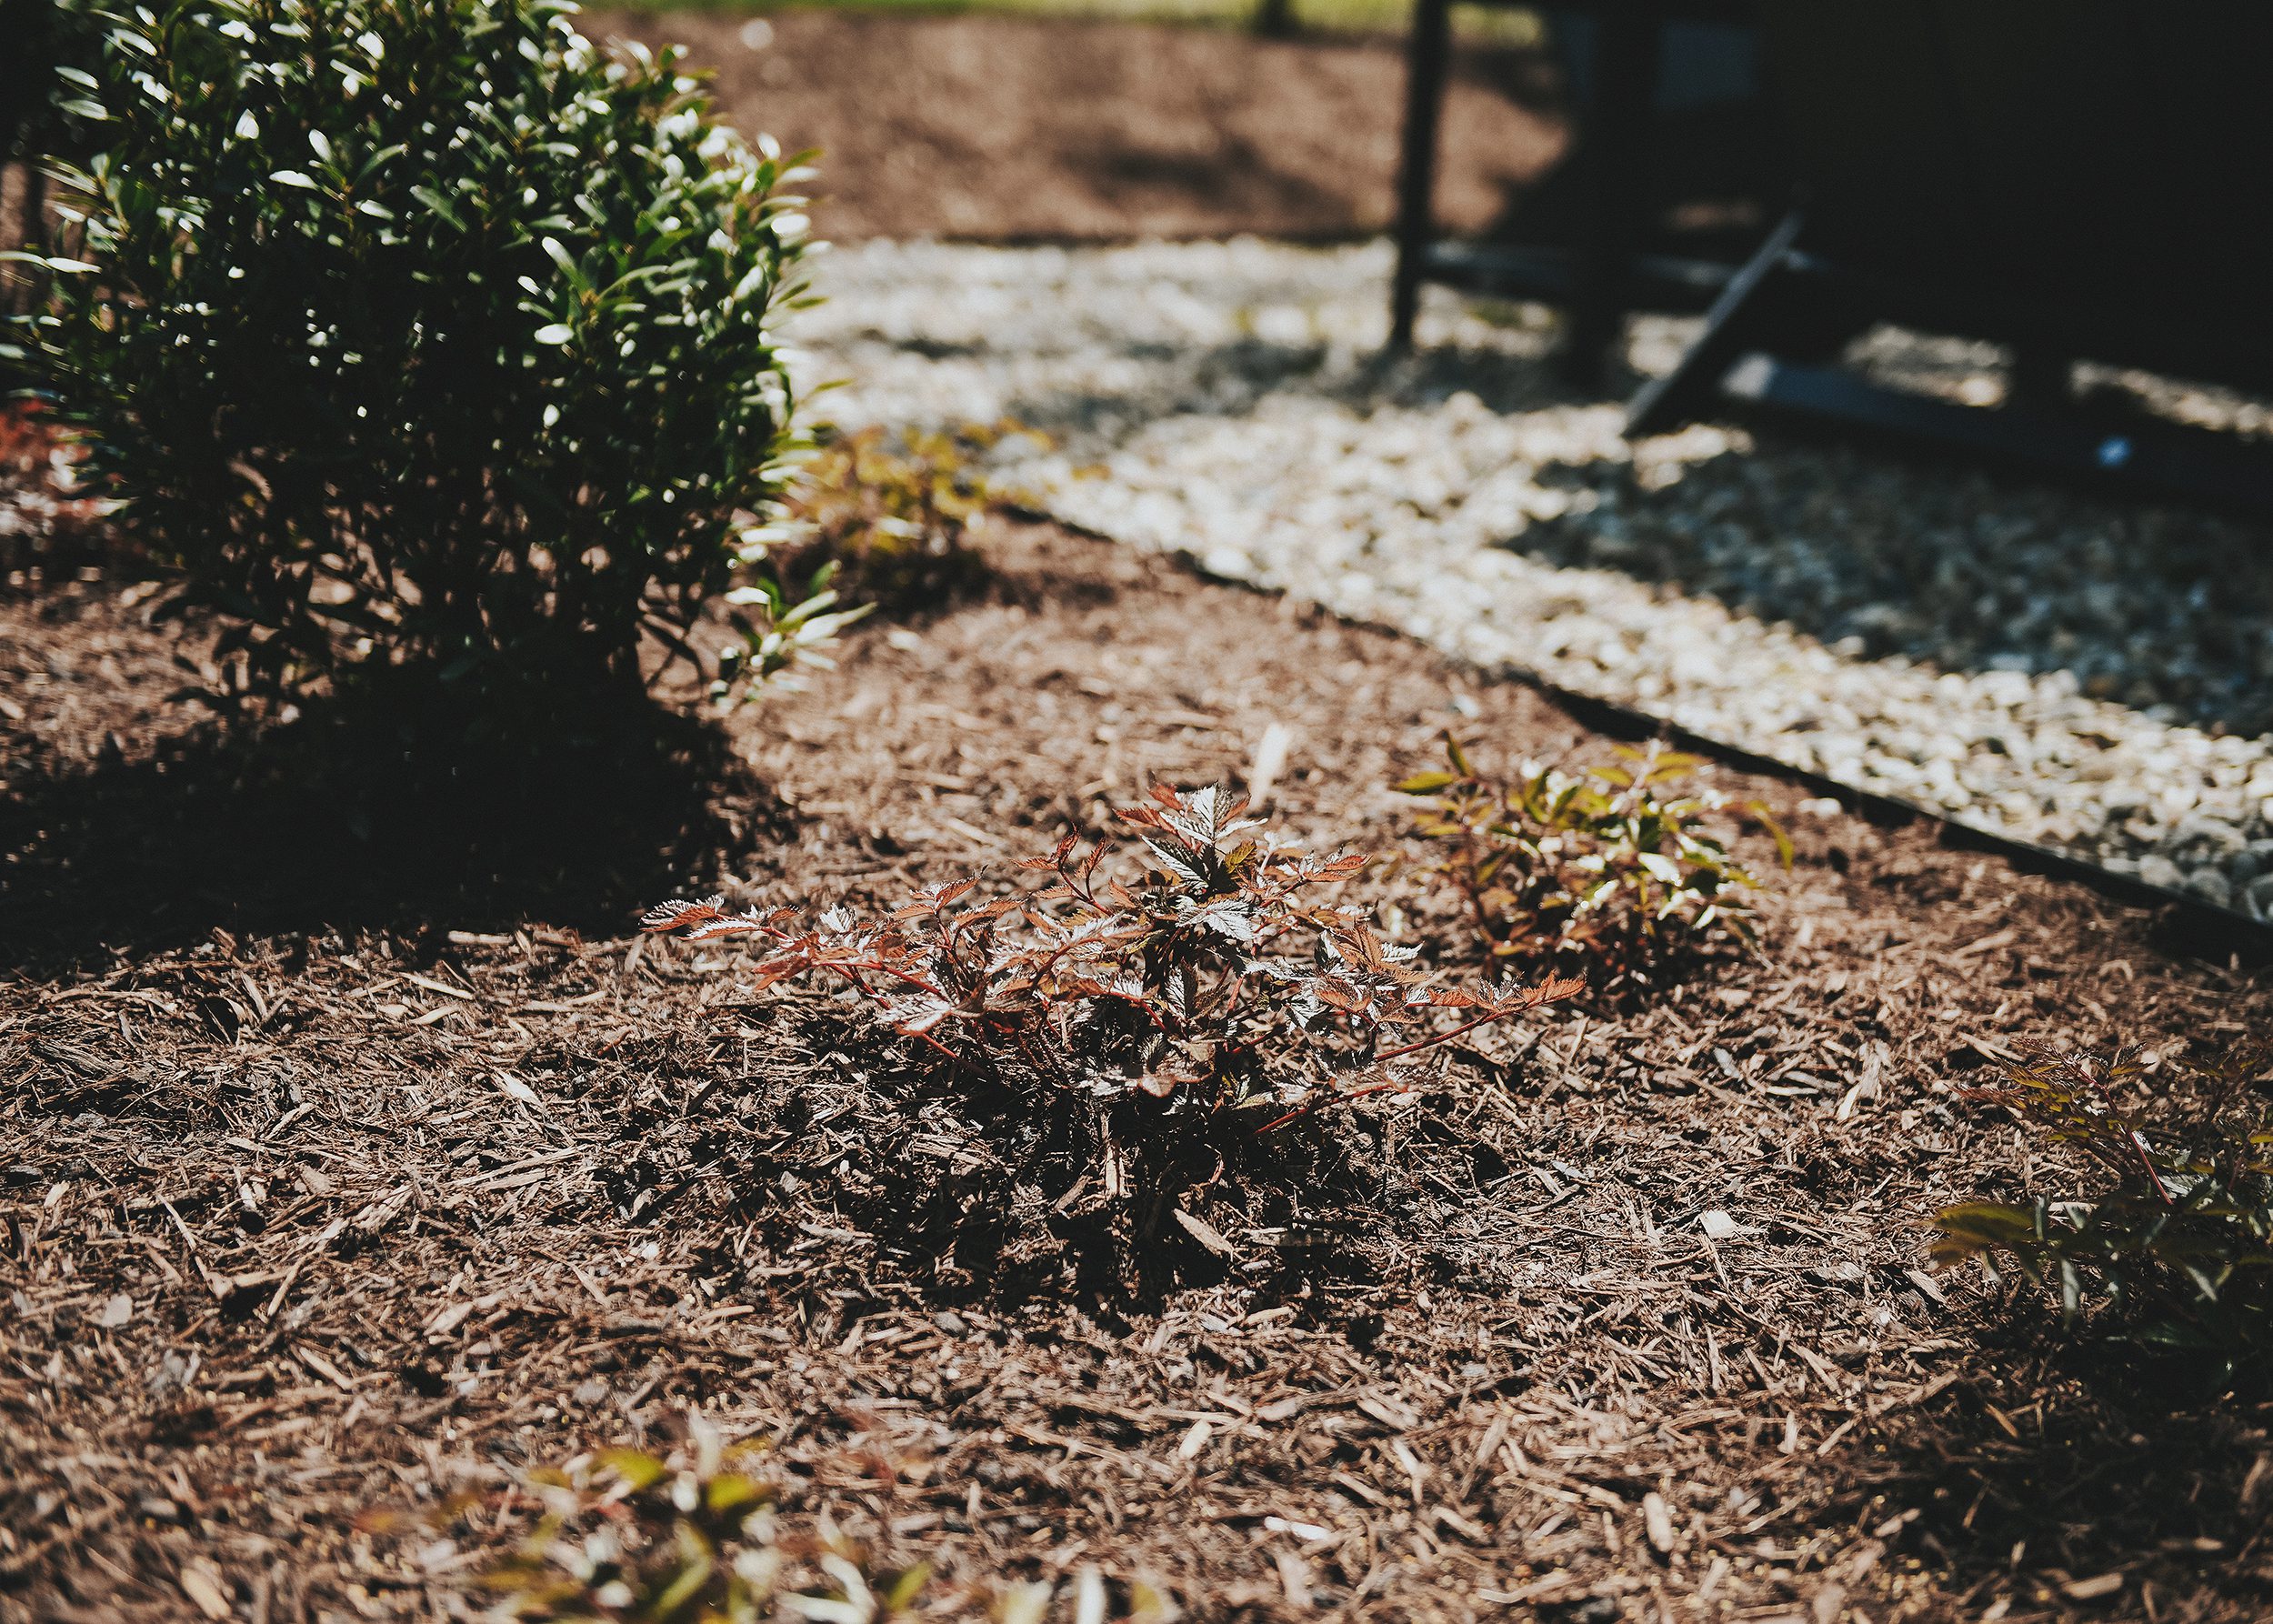
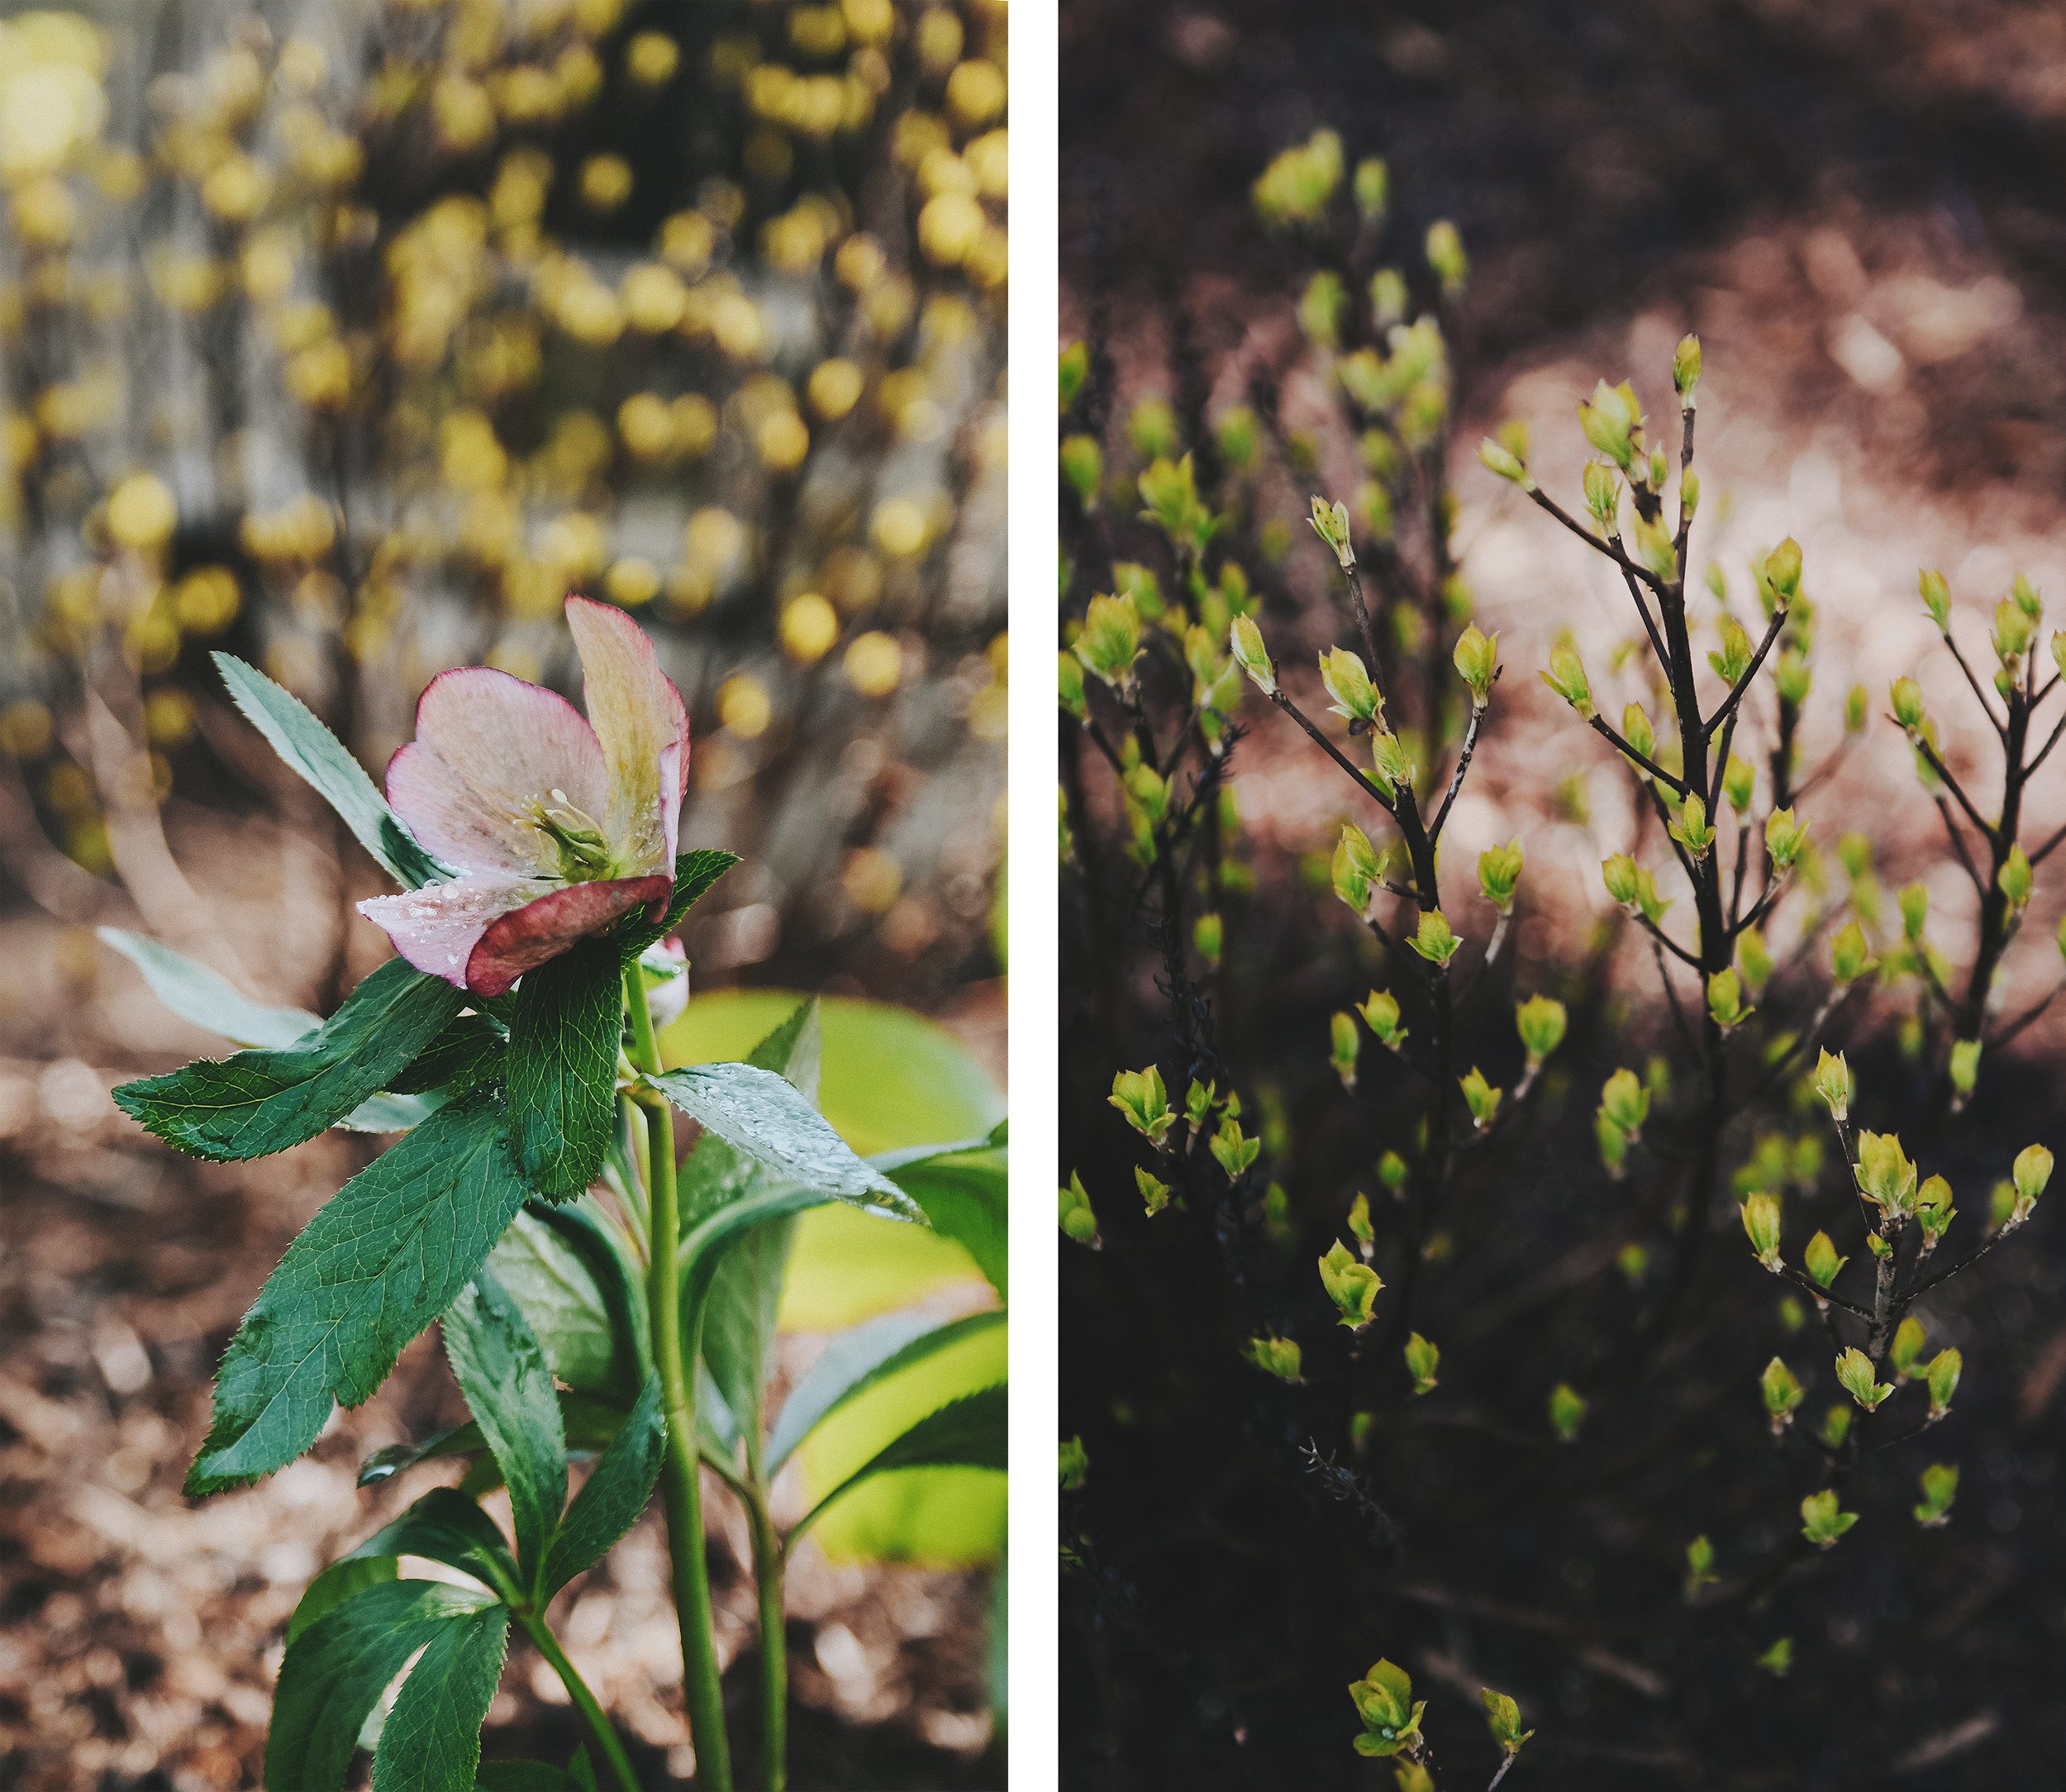
Throughout the process, Lani and the Rootbound team helped us to select plants with varying and complementary foliage. The design also ensures that something will be in bloom almost constantly, bringing color and interest throughout every season.
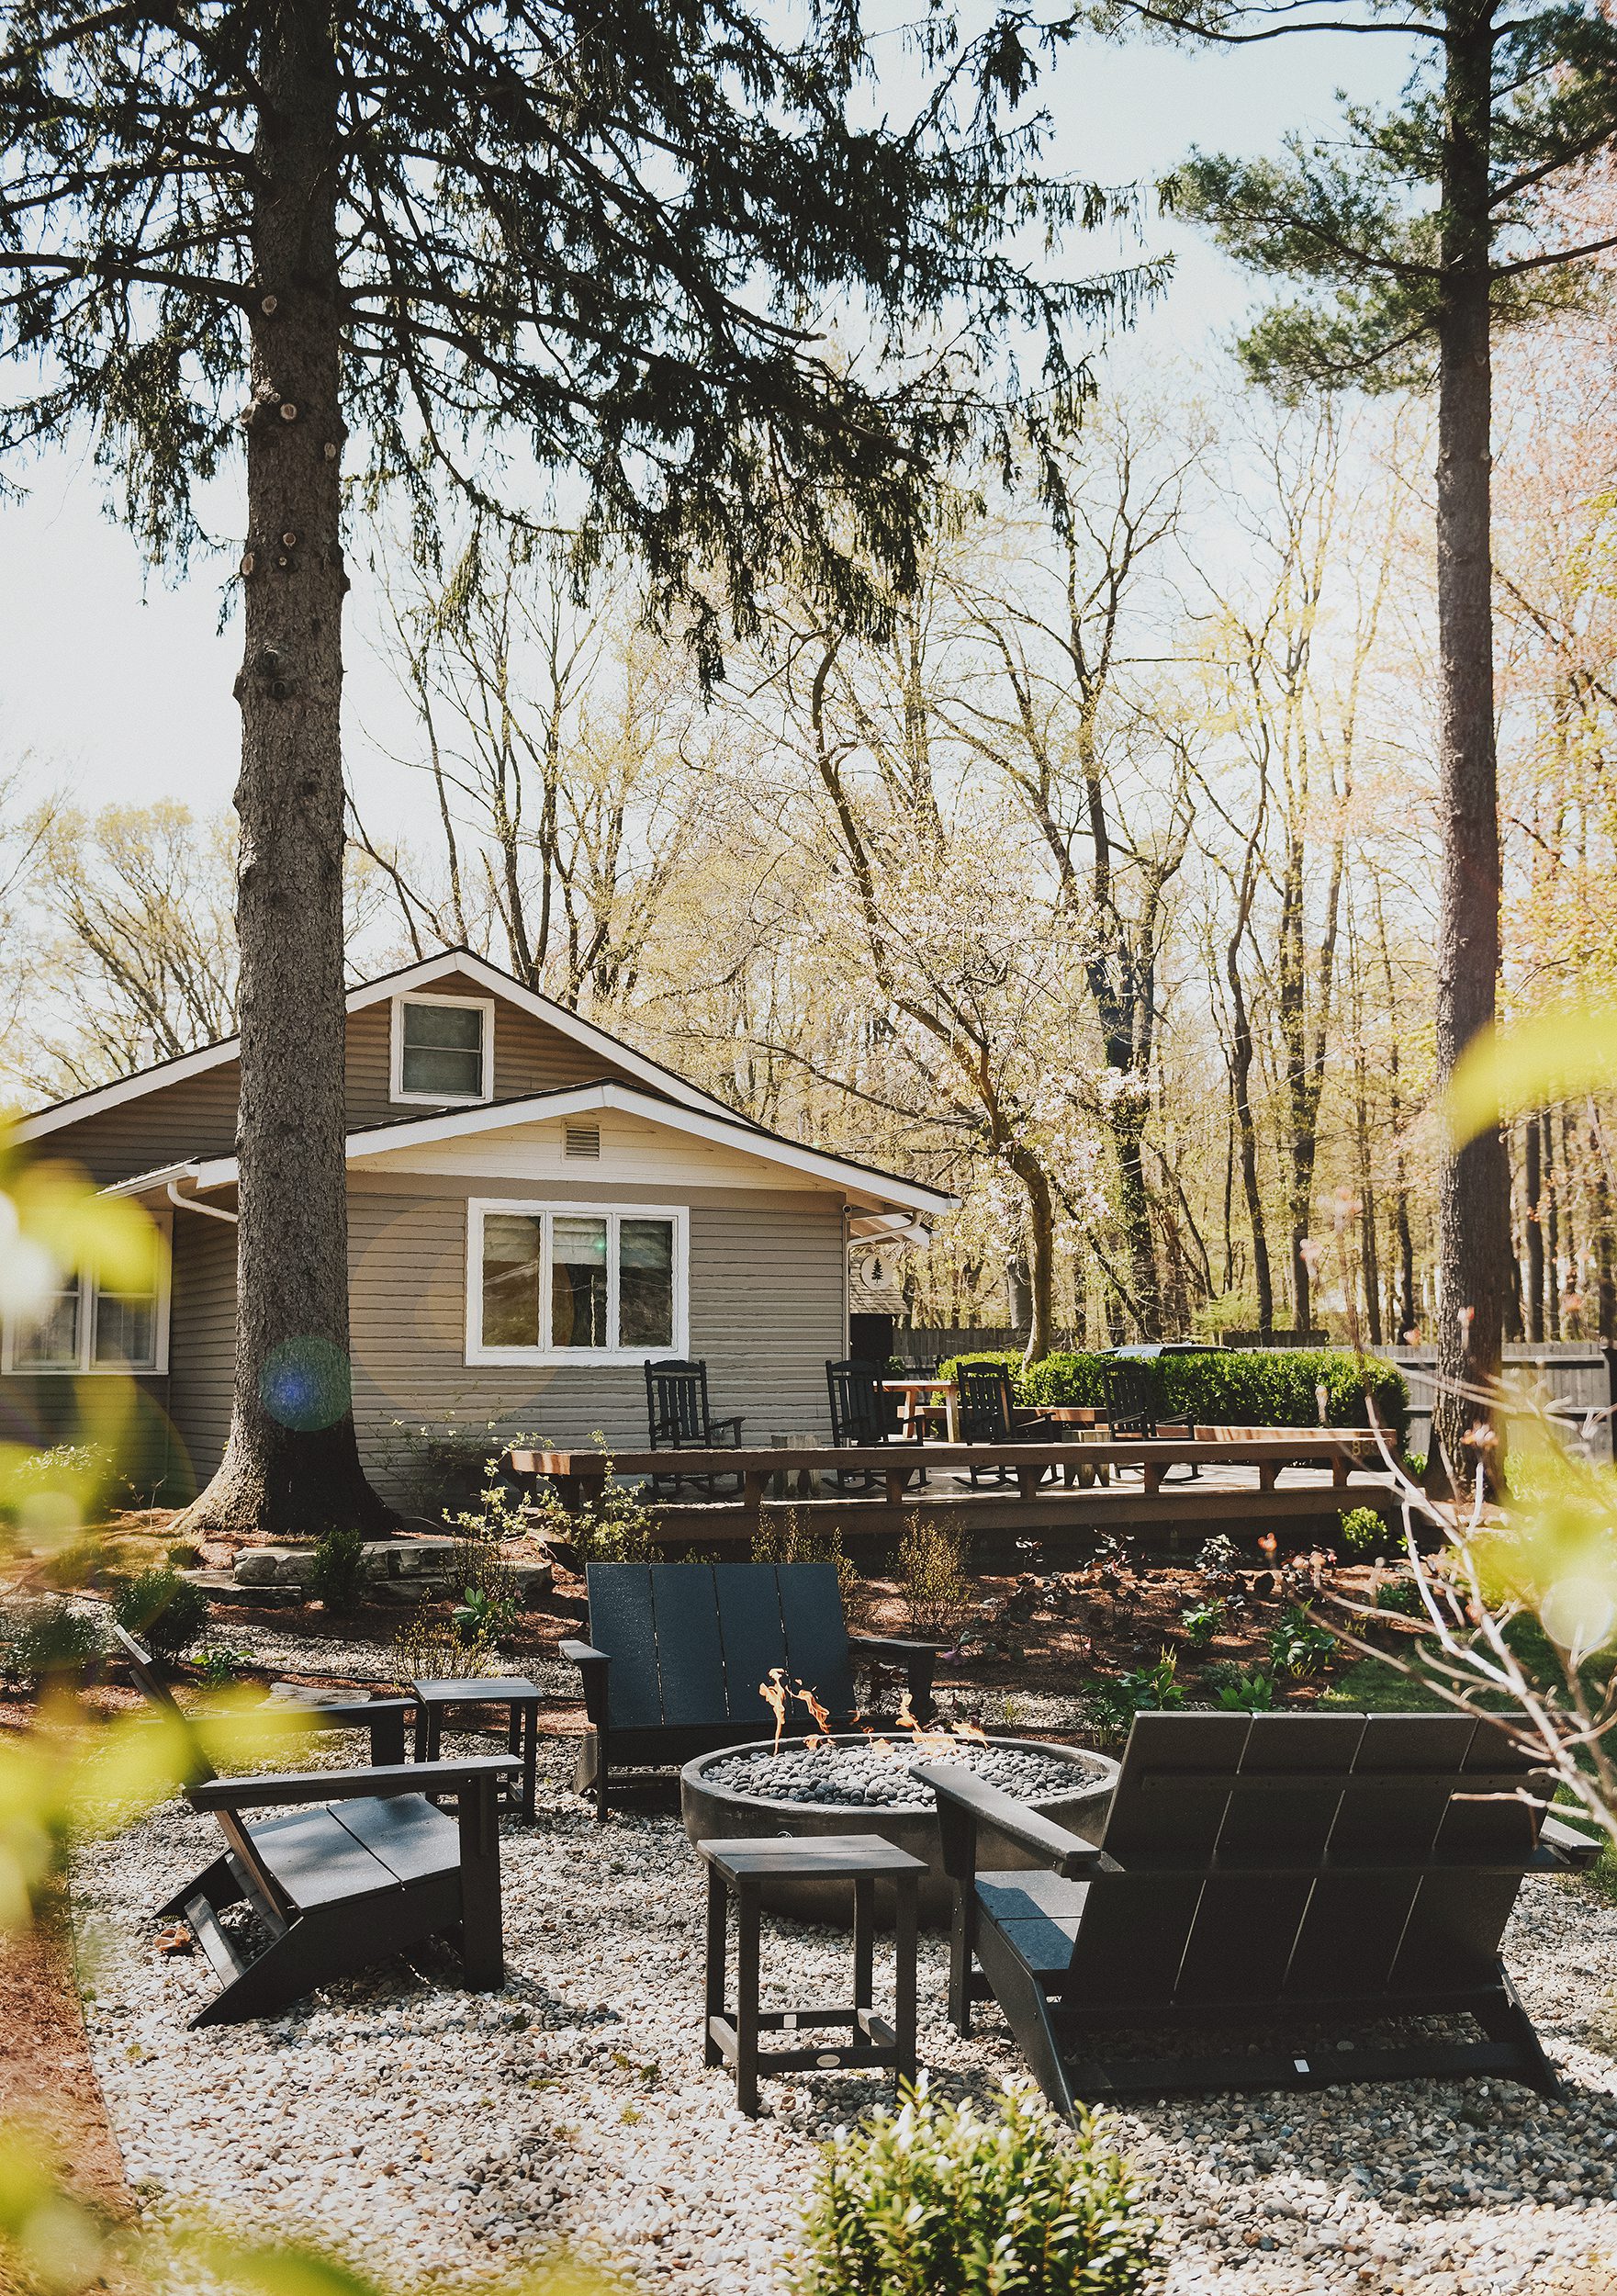
The Completed Project
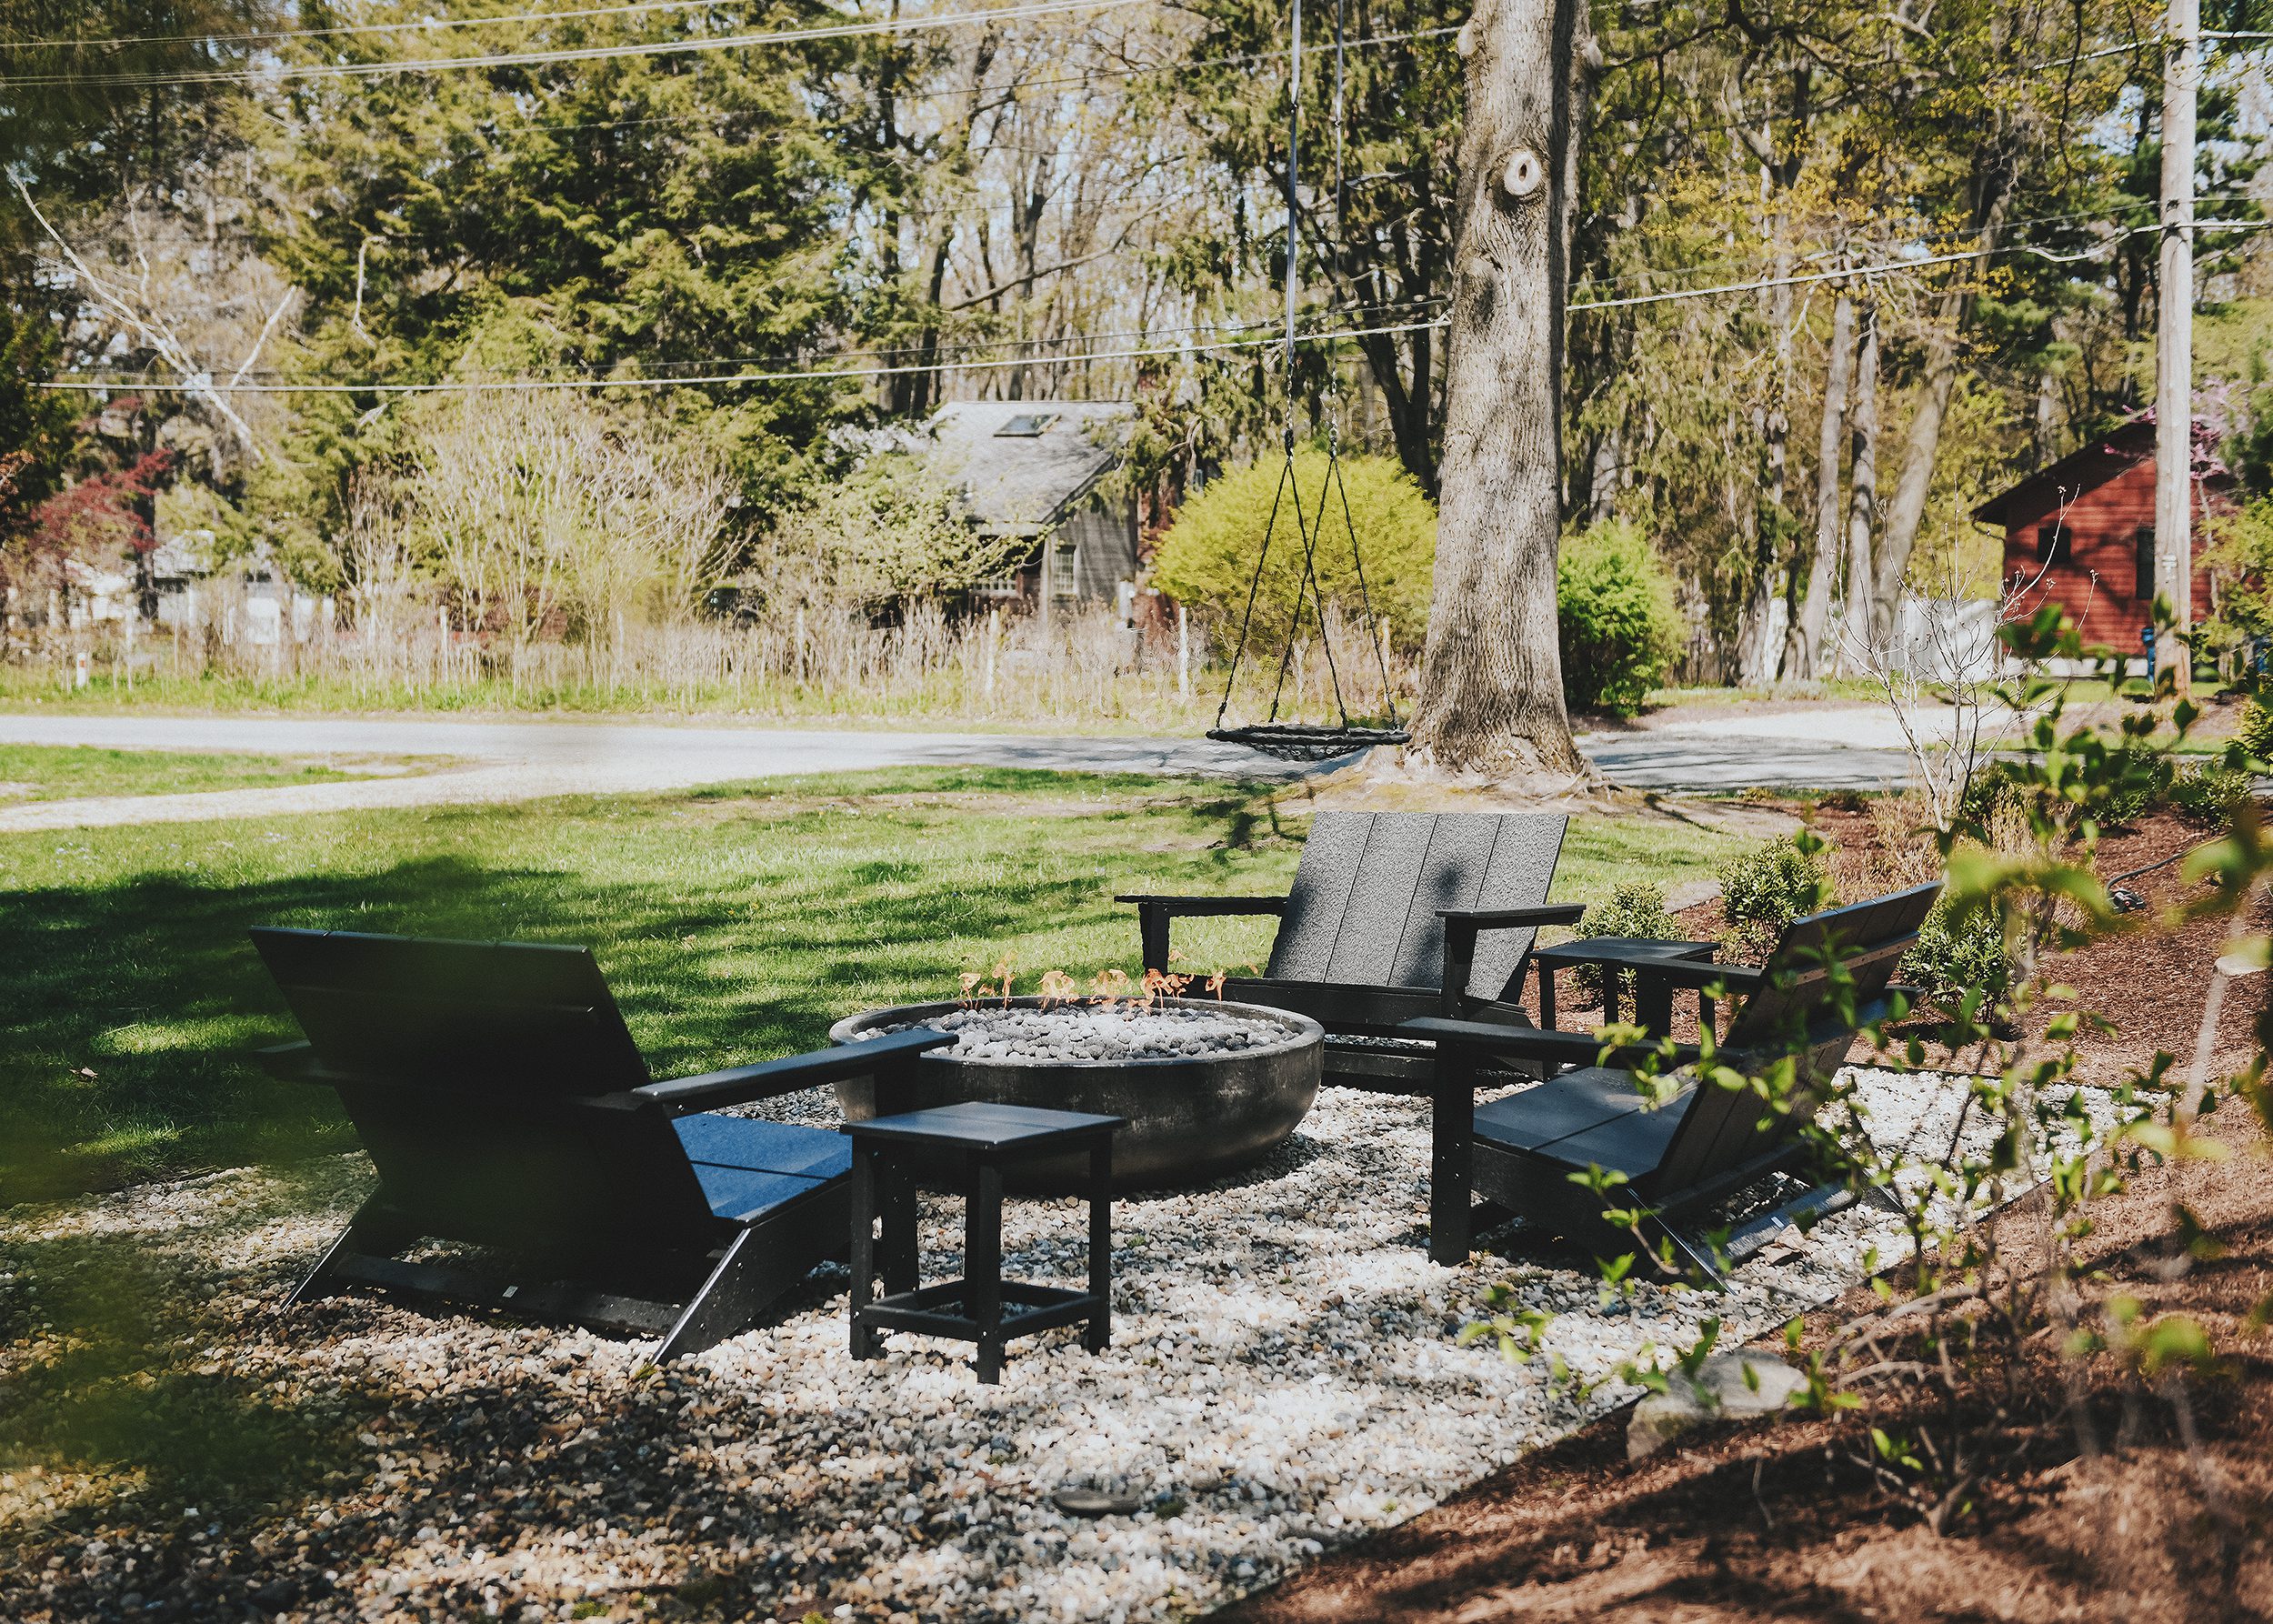
This project was an absolute labor of love that took the better part of a year to complete. The planning, tweaking, site visits and ultimately three days of absolutely back-breaking labor resulted in a front yard that has exceeded every one of our expectations. Lani and the Rootbound team delivered on every item on our wish list and more. The 48″ natural gas fire bowl ignites with the turn of a valve and the flick of a lighter and has extended the comfortable outdoor season at tree house by months.

The tree swing has long been the star of the show out front, but it always felt disconnected from the deck. The fire pit area was designed to fall exactly between the swing and the deck, and it provides the perfect spot for adults to kick back and enjoy the fire while the kiddos swing, play lawn games or ride bikes around the yard.
We’ve always worked to design our outdoor spaces with different zones for different uses and this yard is no different! The backyard is perfect for intimate, laid-back hangs around the traditional wood-burning fire pit. The outdoor dining space is perfect for casual meals adjacent to the kitchen. The rocking chairs on the front deck are a wonderful place for morning coffee or evening cocktails while the world moves slowly past. Now, the completed front yard serves as vibrant, lively area to spend time outdoors at any point in the day during almost any time of year.
We sincerely appreciate everyone following along and offering encouragement as our bodies grew weary and our enthusiasm waned throughout this project a couple of weekends ago! We kept reminding ourselves that the pain we were feeling was temporary and that this yard would only get better with age. If you’d like to experience Tree House for yourself, we still have a handful of summer slots open on our Airbnb calendar. We’d love to host you and show you why this area is so special to our family and worthy of our efforts!


That is an incredible amount of work you tackled with the planting. Kudos to you both for your perseverance and ability to pivot when things don’t go as planned. So many projects have that wall that needs to be pushed through to completion, knowing that the reward will come. Can’t wait to see more photos as the plants mature. Outstanding work you guys!
Thank you, Lak!
Love the constantly blooming yard with less grass to mow! A inspiration to what we should try at our cabin. May the Forth be with you!
Looks so great and how rewarding it will be as it matures! The back breaking labor part reminds me of 2020 when I was 6 months pregnant and deemed it necessary to remove large beds of lava rock and plant the entire area with the rationale that I would never have time after baby. That may not have been my smartest idea as it left me nearly crippled several weekends in a row! There is just something so satisfying about transforming a yard though.
Ooof, there is no willpower stronger than that of a nesting mom-to-be!
It looks awesome! I love watching a yard mature and settle after a big transformation. I hope your new plants bring you many years of joy as they grow.
Thank you, Michelle.🙂
What a labor of love! I can’t wait to see pictures as it matures. Quick question – will the OG fire pit remain as well?
Yes!!
Hello – It turned our beautifully! Are you able to share the details of the rocks/gravel you chose for the fire pit area? Size? Color?
Hi Kristi! The stone we used is 6A. Typically 3/8”-1” size and a mix of grey, blue, and tan. Hope this helps!
This came out so great! Do you mind sharing which metal edging you used for the gravel?
Thank you! Unfortunately, we don’t have the name of the brand since our Landscape company sourced and installed it.
Kudos and beautiful photography