

 vanity | bin pulls | faucet | brass toilet paper holder | floor tile
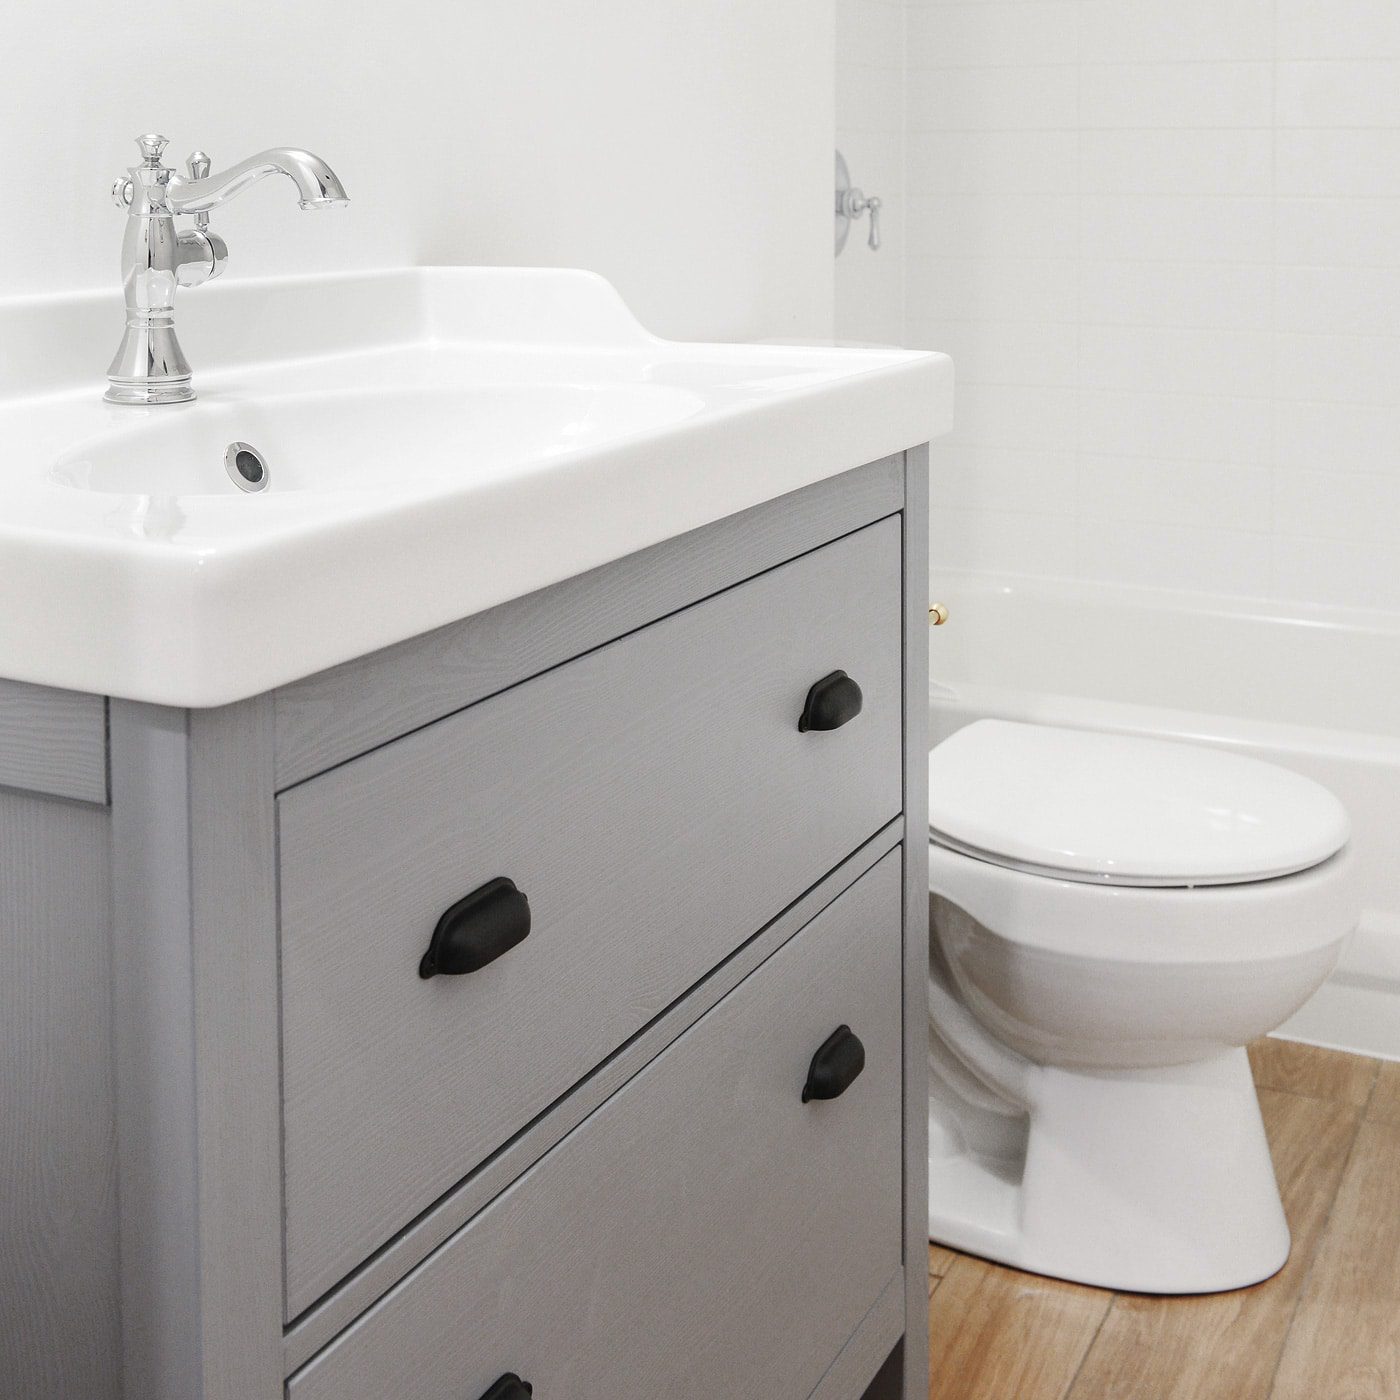
As we’re making (slow, but) steady progress in the garden unit, it was an exciting day to finally get to the point where we were ready to install the vanity! While the reglazed tub, new fixtures, and re-installed toilet were starting to make the space feel like a bathroom again, it wasn’t until our adorable new vanity went in that it was actually ready for hand-washing duties.
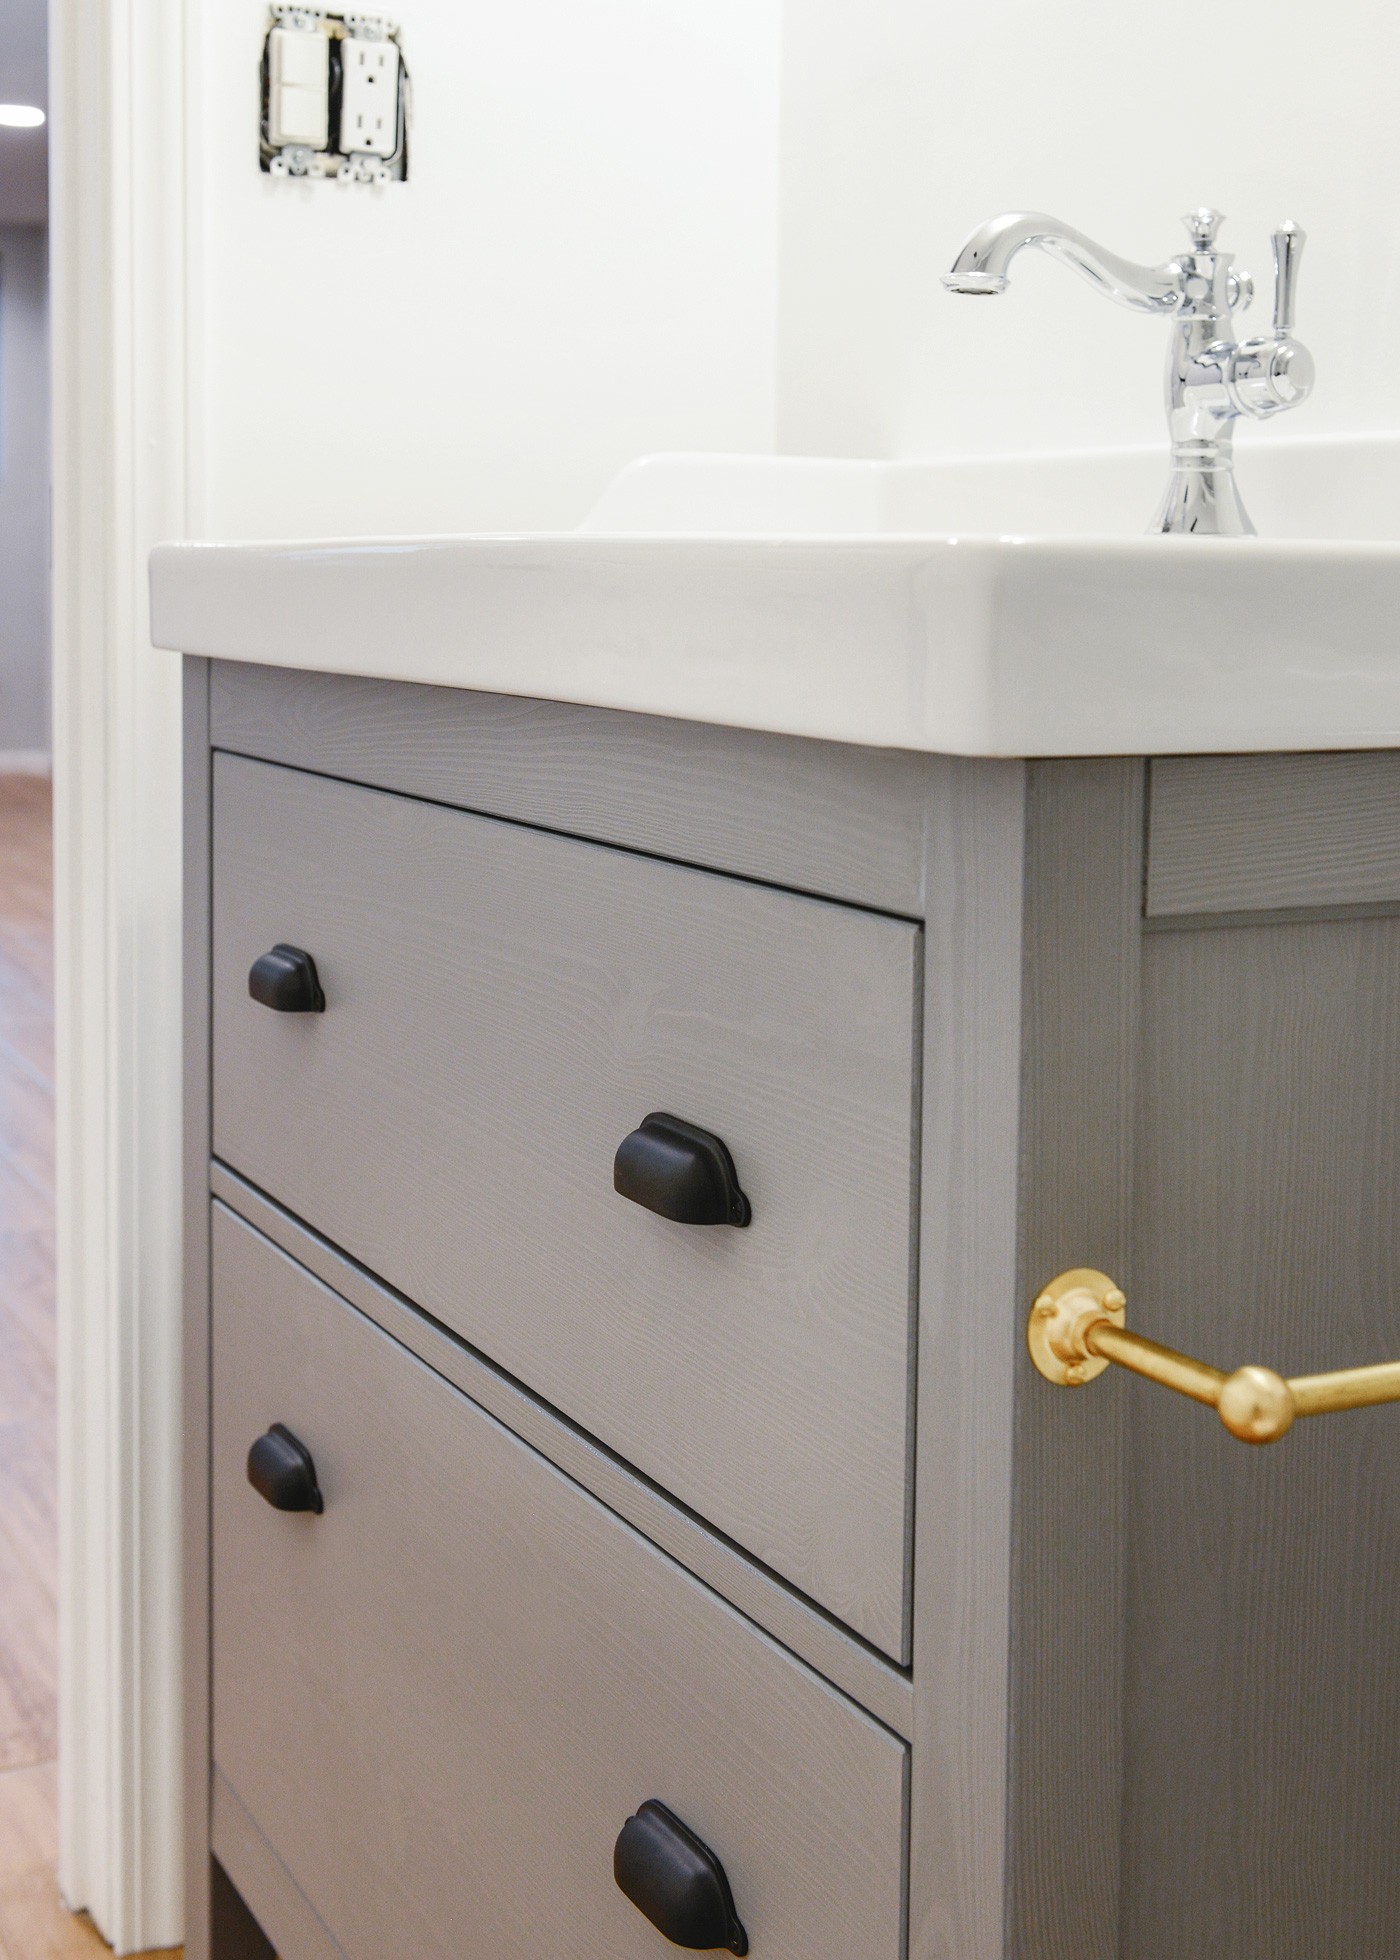
IKEA vanities feature a unique plumbing configuration that allows for extra-deep drawers and TONS of efficient organization options. We’ve been super happy with our GODMORGON vanity in our master bathroom, so we decided that a slightly smaller IKEA unit would be the obvious choice for the garden unit. We landed on the HEMNES in gray, which has more of a color washed effect; the grain of the wood still shows through, and it was just enough contrast to stand out against the white walls.
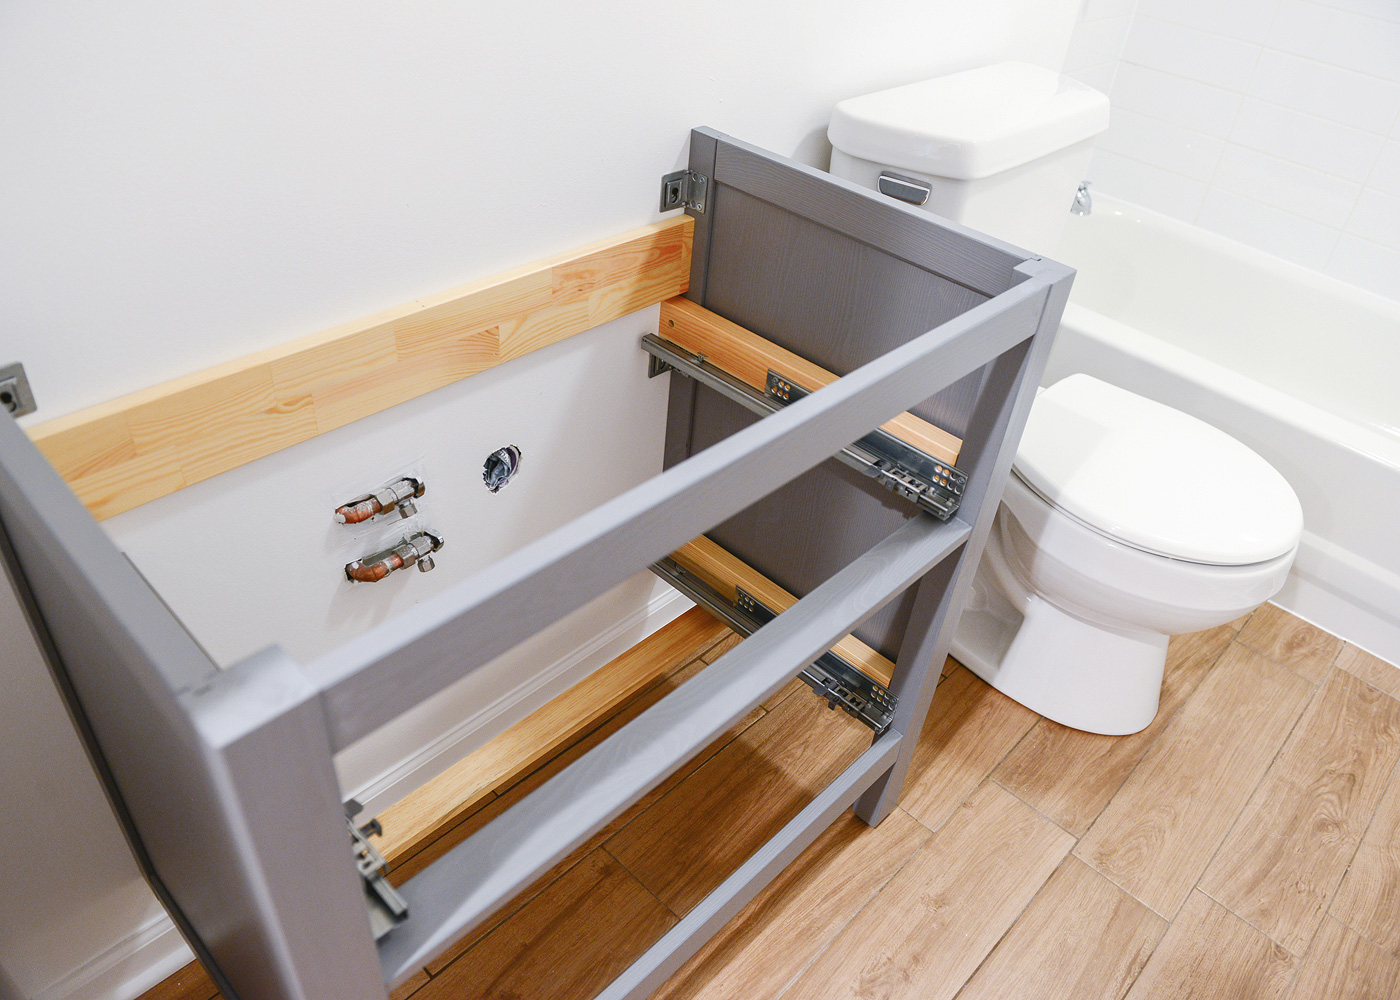
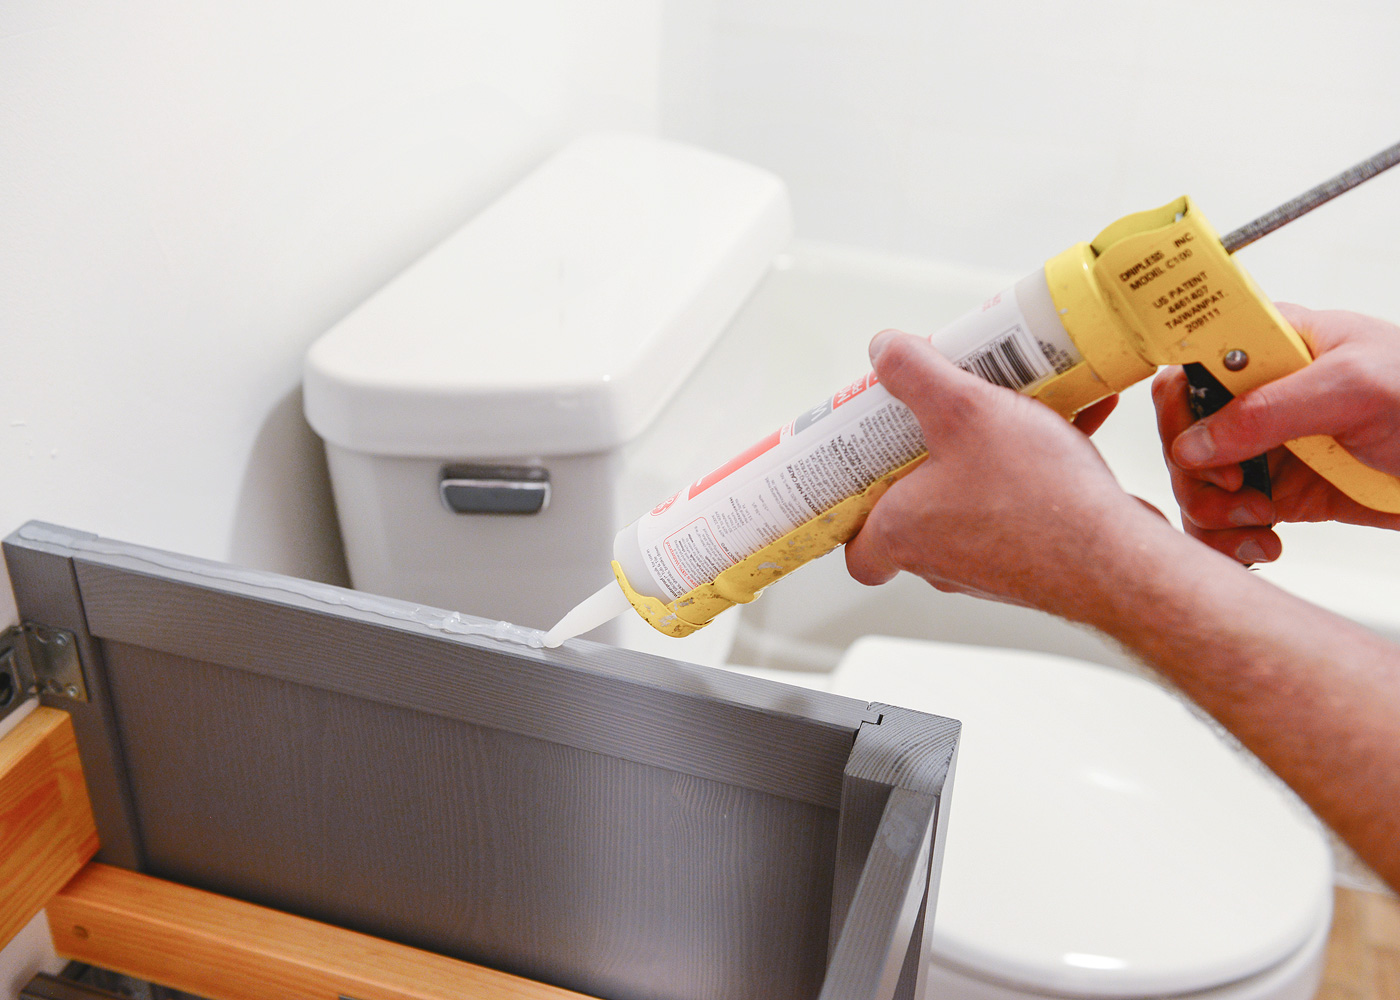
The cabinet base attaches simply to the wall with a couple of adjustable anchor points, and the front legs help to bear the load of the sink/backsplash combo. A thick line of clear silicone caulk holds the sink in place, and after 24 hours of cure time, we caulked the seam between the sink and the wall with white silicone.
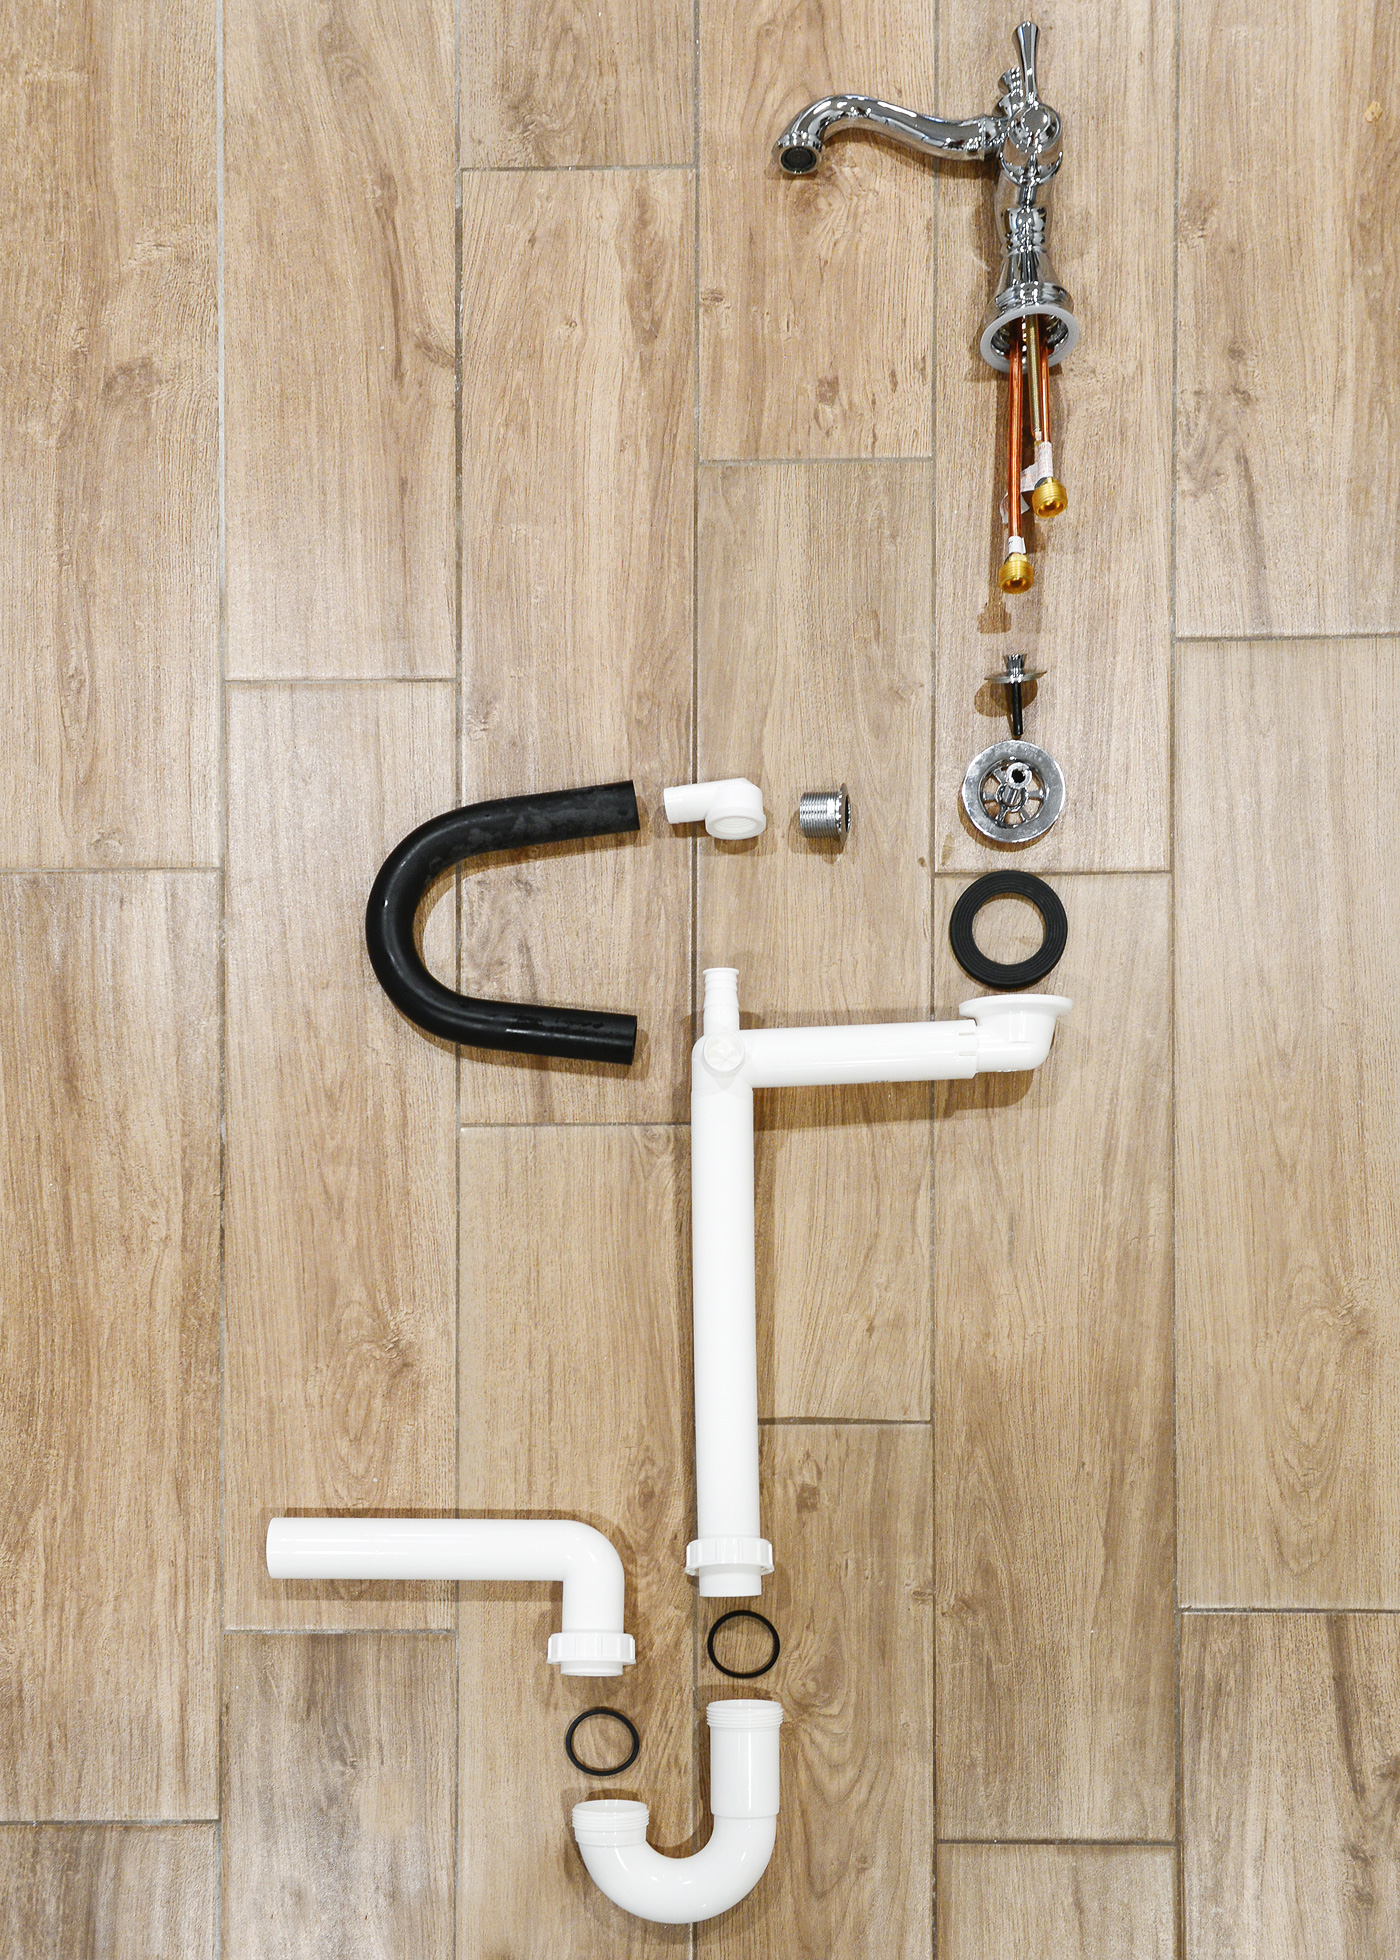
As I mentioned earlier, IKEA vanities utilize a unique waste line and p-trap that hugs the underside of the sink from front to back and allows for the full length and depth drawers, allowing for maximum storage (a huge plus in this small bath!). The included plumbing kit also utilizes a sliding horizontal tube (pictured underneath the large black round gasket below) to help eliminate tricky measurements and avoid unnecessary cuts. Here’s an exploded diagram of how everything will hook together top to bottom:
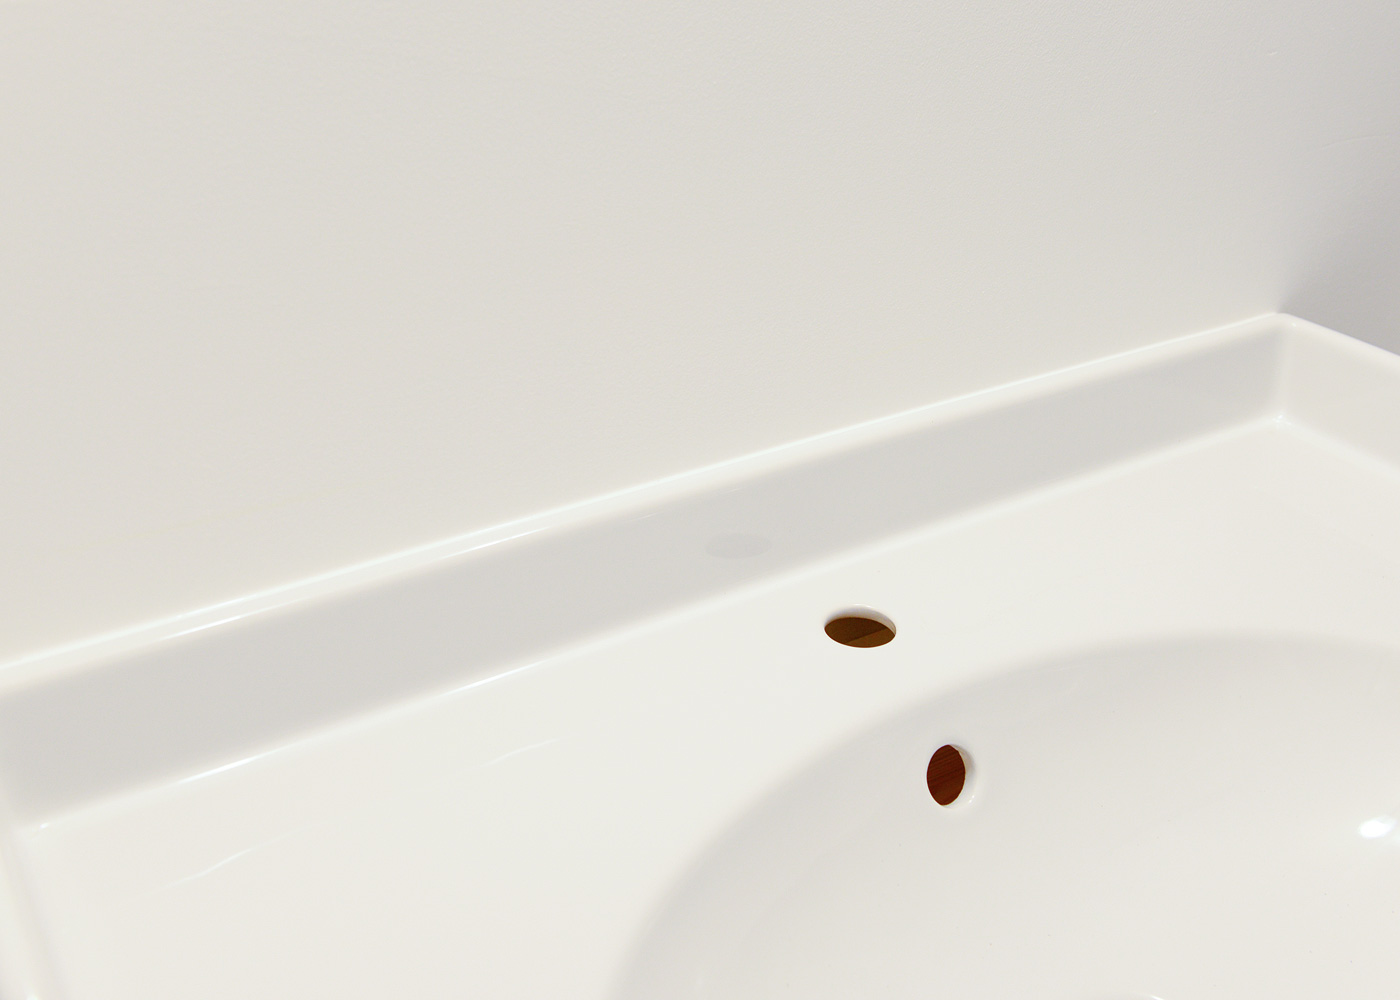
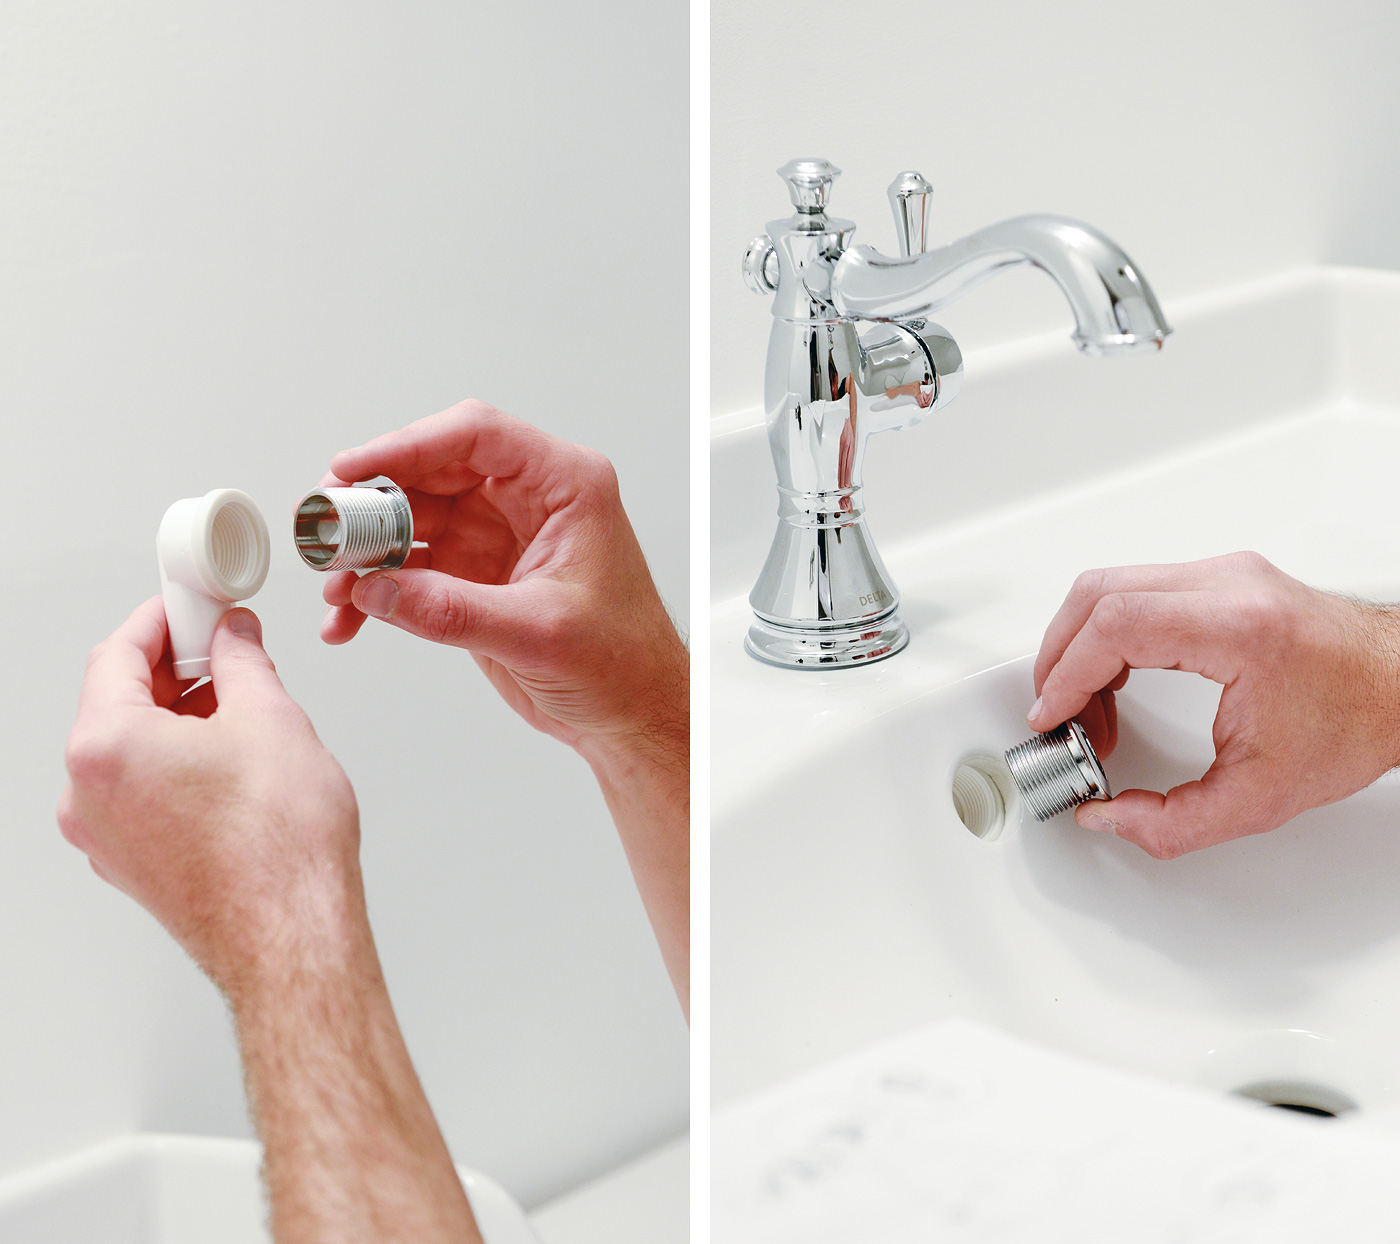
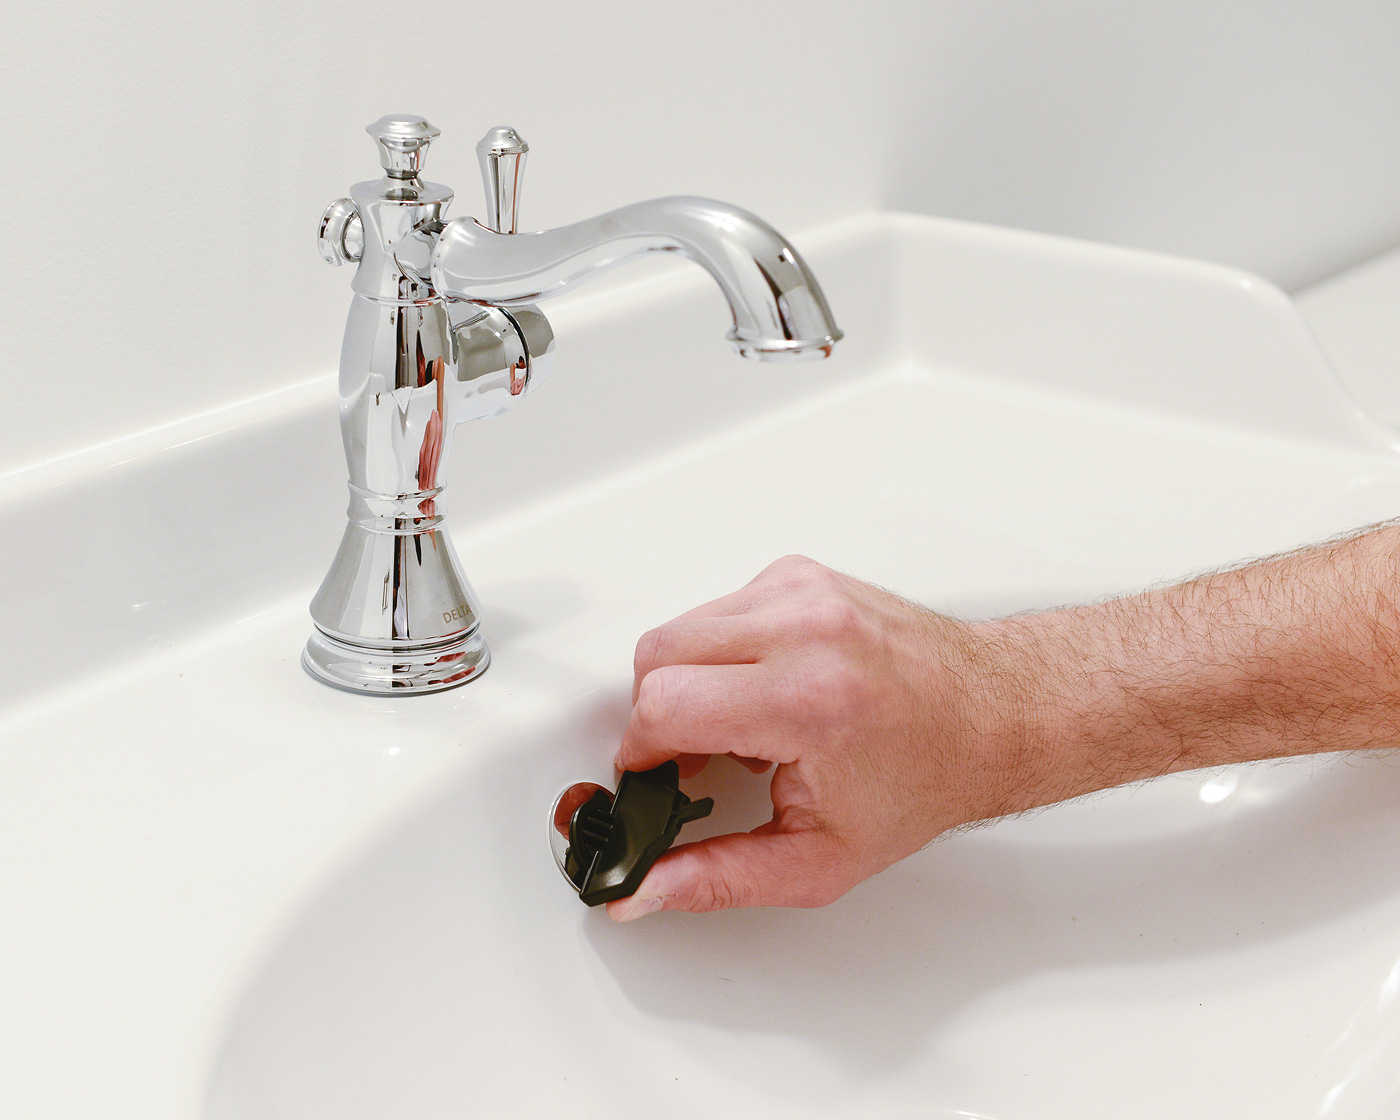
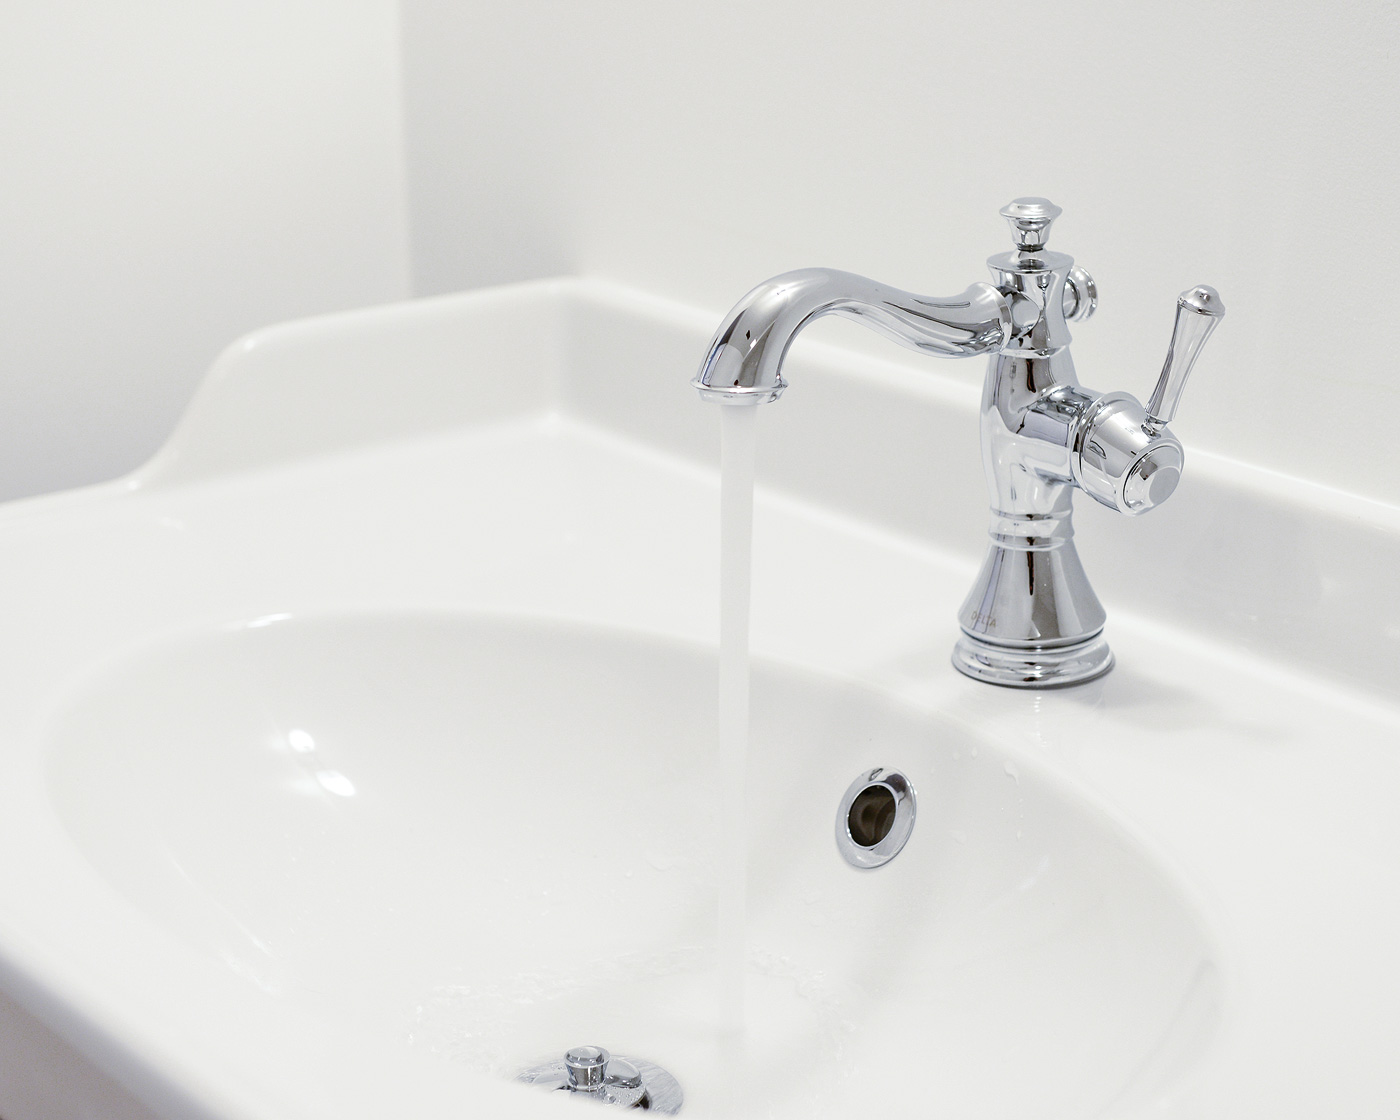
We began by working from the top of the sink surface and dropping in our faucet (IKEA units are compatible with any brand) then threading in the overflow elbow and trim ring. A rubberized key tool is included to help you snug this contraption up extra tight!
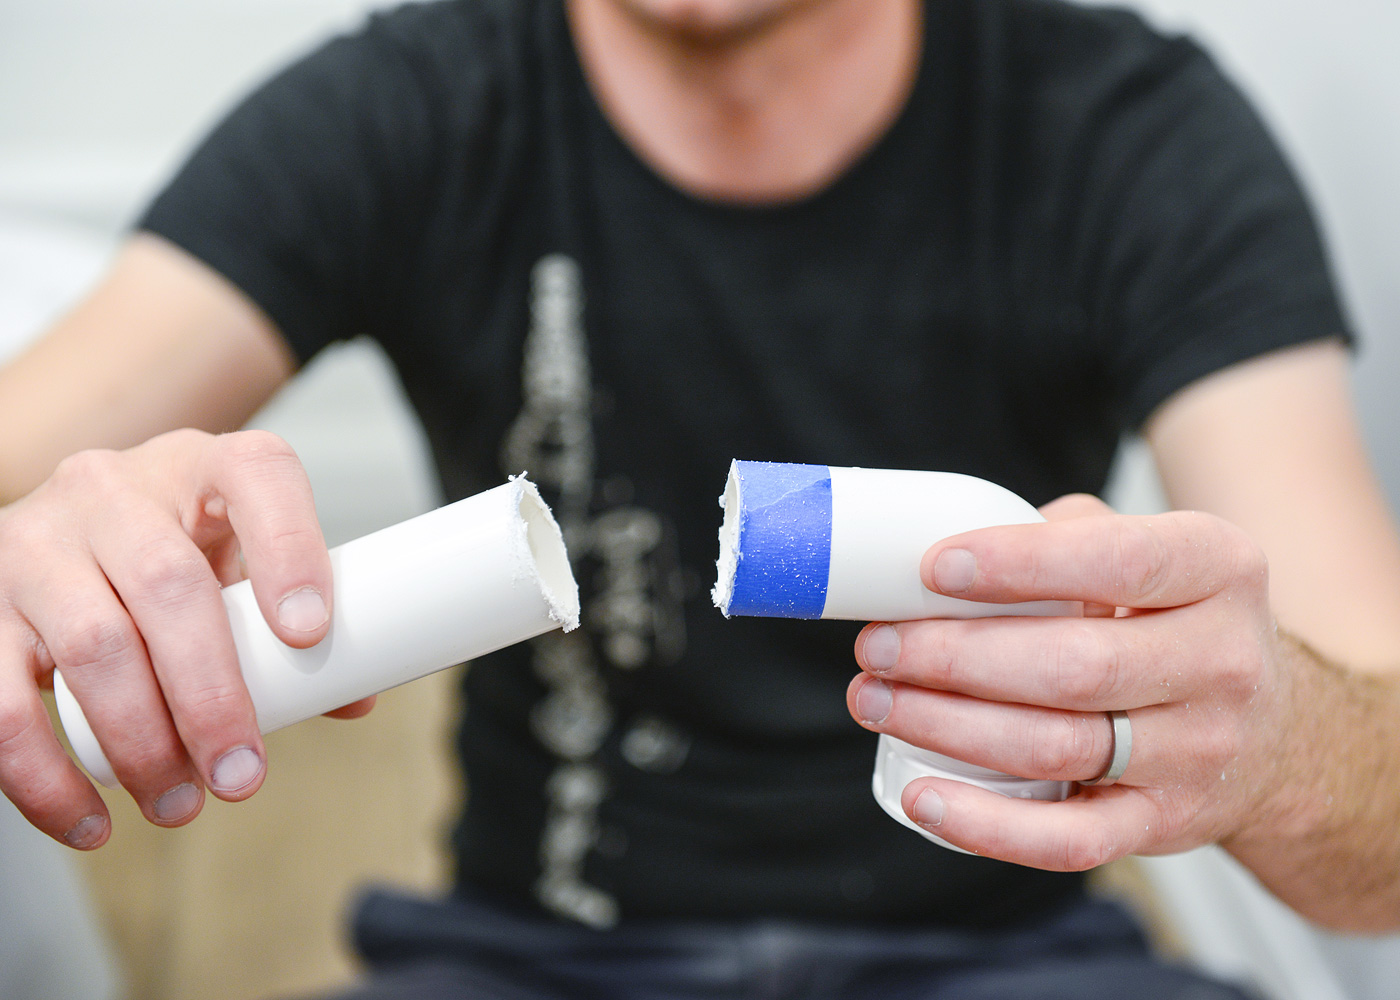
Following a quick dry fit, I made some measurements to ensure that the plumbing would line up, then I marked our cuts with blue tape. I used a rotary tool with a plastic cutting disc, but nearly any saw or serrated blade will make short work of the thin PVC pipe. Make sure to sand down any rough edges for a watertight seal.
Even Kim was surprised at how quickly it all slips together! I’m confident that if you can read IKEA directions and have a small serrated blade on hand (almost any configuration will require minimal cuts), anyone can complete this task. Promise! As you can see below, the slim profile allows the waste lines to snug right up against the underside of the sink and back against the wall. The extra drawer space this allows for is a huge perk! Since living with the deep drawers in our master bath for well over a year, we personally find units with drawers a heck of a lot more convenient and organized than an open cabinet free-for-all.
Now for the test! Once our supply lines and waste line are connected, I always let the water run for a few steady minutes to check for leaks.
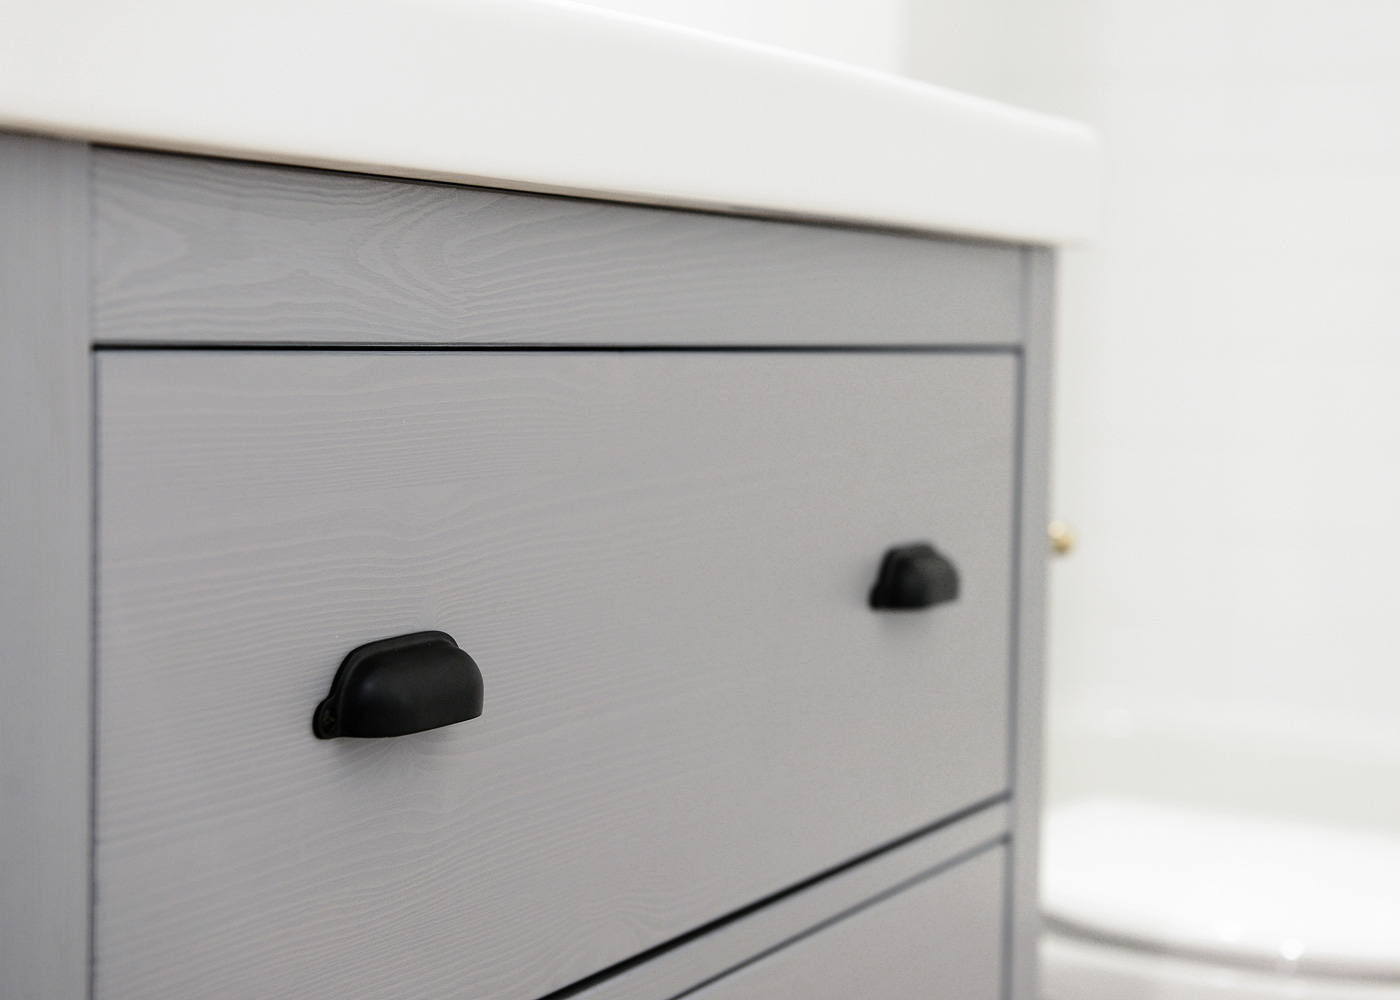
To add a bit of our own flavor, we nixed the small plastic knobs that came with the vanity, and instead attached these bin pulls for a classic look. Kim ordered the brass TP holder from Etsy, but just a heads up that it looks like the shop will be taking a break in July. (This guy is similar!)
Now that the bathroom is finally usable, it’s incredibly handy to have a place to wash our hands and help keep dirty fingerprints off of newly painted walls and door knobs. (You can only imagine how happy this makes Kim!) The bathroom is nearly complete and after a few more finishing touches, we’ll be ready for the final reveal shortly!


Perfect timing, Scott! I’m going to be installing one of these in the next few weeks, and I’ve been feeling a little nervous. As always, having you or Kim walk me through how you did it reminds me to slow down and look at each step. I’m also glad to hear you would use the Godmorgen vanity again! It gives me confidence in my choice.
Also that bathroom is looking fantastic. Sigh. Wish I could rent from you!
You can do it! I typically leave all the plumbing stuff to Scott, but I wanted to document this one to see if it really was easy (and it totally is!). And yes, we still love, love, love our GODMORGON and all the storage it provides, with one caveat on the double vanity – you’ll need a leg support in the middle. See this post where we address that.
Good luck with your vanity!
I remembered that! I’ll be sure to refer to the older post about reinforcing it. (And I did have the moment after I posted when I thought “wait, this little guy is a Hemnes, which one are we using again?”) I’m so excited to see how the garden apartment finishes; it’s looking beautiful.
Thanks for bringing this deep-drawered vanity to my attention! The lost space under the bathroom sink has always been one of my small bathroom pet peeves. I’m curious, though; why I’d you choose a brass TP holder when all your other fixtures are chrome? Didn’t you just swap out all your two-tone fixtures? Just curious from a design perspective!
We love mixing metals, but not on the SAME piece, exactly. :) (You can see how we did so in our master bath last year!) And we have plans for a few other brass touches once we’re done in here!
I don’t see the link -where are the bin pulls from? I’d love to update our ikea vanity with something similar. I’d also love to see how you guys organize the inside of yours!
Oops! Just updated the post with this link.
We won’t be organizing this one since it’s for our rental unit, but we did a big post on how we organized the one in our master bath here!
I’ve just ordered the same vanity, but I’m having trouble finding a faucet I like. I see that you didn’t go with the IKEA faucet. Any tips?
Can I also ask what size for the bin pulls? Since I have the same vanity, I’d like to order those same handles!
We just got the 3″ and love ’em.
You can choose any faucet you wish, as long as you choose a single hole faucet with a single hole IKEA vanity, for example. The only thing to keep in mind is the little stopper on the back of the faucet – IKEA uses a hand held plug to stop up the sink, rendering a stopper on any other faucet useless. So you could buy a faucet that doesn’t have the pull up stop, and you’re good to go! The one we chose DOES have a pull up stopper, but we simply didn’t install it, and it still works great!
I love the vanity’s from ikea!
Paige
http://thehappyflammily.com
Looks great! And is something i’ve really wanted in my own bathroom.
Did you have a plumber create the 90 degree turn for your water intake pipes so they hugged the wall? Or was the bathroom already plumbed that way? I’m pretty sure my bathroom water pipes just jut out a few inches into the under-cabinet space, which makes me think they’d get in the way of the drawer closing.
Our bathroom was plumbed this way after our contractor took a look at the vanity. If you had any concerns about the angle of the plumbing, you shouldn’t have an issue finding a 90 degree adapter at any big box hardware store!
Oh! and also, I’m curious what the point of the black tubing is in your gif. Does that go within the PVC piping? Is it to create a better path for the water to flow since it’s such a sharp turn out of the sink? I plumbed my kitchen sink and don’t remember the need for anything like that.
Thanks!
Ah! You won’t see that in a kitchen sink. It’s attached to the overflow drain and goes back into the PVC waste line. It came with the IKEA kit!
thanks for the extra info! It’s really helpful to me.
The vanity looks great! Love the upgrade on the pulls.
I did want to mention that I’ve had issues on your blog lately with some photos not loading. I’ve looked on 2 computers, in Chrome and IE, and on this post, the photo between the one with the blue tape for the cut, and the one with the water running in the faucet, just shows as a endlessly spinning circle. Are those gifs or otherwise different from other photos?
Oh, bummer! They are gifs. Can you view them on your phone? I’m not sure what could be causing that.
Is anyone else having those issues?
I just pulled up on my phone (android/chrome) and it shows as a broken image symbol. iPad/Safari has been attempting to load that pic for like 5 minutes. Laptop/Microsoft Edge browser & laptop/Firefox just spin and spin as well. Strange. (also, geez I have a lot of internet devices.)
This is SO helpful, thanks, Emily! I’m going to keep digging why this might be an issue, although this is the first I’ve heard of it. Fingers crossed we can get this figured out!
Update: gif is now working on my phone (android/chrome), but still not on my work computer in either chrome or IE. Not sure if something is being blocked at work, but I’ll try to check out my personal computer and iPad later.
You’re the best. I’m still trying to figure out why it’s working for some, but not others! I keep coming up empty handed, but it’s still on my sleuthing list. So frustrating, thank you!
I know this is an older post, but I have a question about the Hemnes vanity — do you know the leg height? I’m considering this vanity for one of our bathrooms, but we have a poorly-placed air vent near the floor, and I’m hoping the gap between the floor and the bottom of the vanity will be big enough! Thanks!
Hmmm, I don’t remember exactly (and because this was installed in our rental unit, I can’t measure it!), but looking at the photos and considering the height of our baseboards, I’d say the legs have about 5-6” of clearance. If you need more height, you could always stack rubber feet on the bottom of the legs and mount it higher that way!
Thanks, Kim!!
Do you prefer one vanity over the other? We need to get a couple for a remodel and I saw you had issues with your Godmorgon.
We do love our Godmorgon now that we’ve added a leg to the middle! We chose the wider one, and I just think it couldn’t stand up to the weight without that leg. We’d choose the Godmorgon again in a heartbeat, and we also love the little guy we installed in this bathroom too. IKEA vanities are just so clever with their use of space and the way that they’re plumbed, so if you’re big on storage, they’re a great option.
I am loving your blog as I read through for inspiration during our home remodel. I was curious if you would ever consider a Godmorgon again but rather than a single wide one purchase 2 smaller ones and them install with a quartz countertop & two sinks to tie them together.
We’d absolutely consider a Godmorgon again and given the same space, would probably make the same choice! If our bathroom had a larger footprint, we’d definitely consider spacing two units apart with one countertop to create a small seating space in the middle!
Just came across this post – debating on the same vanity – how has it held up? What is the top made of? From where? Thx
Have you ever replaced the drain or over flow fixing for another like black or gold?
We actually haven’t for any of our ikea sinks, since we use polished chrome hardware. But I’m sure there are replacement kits you can buy!
Love the post! I was just thinking about updating my pedestal sink to this vanity, but my drain pipe runs to the floor. Do you think I’d have any problem installing it if I kept de pipe close to the wall?
You might need to drill a hole through the bottom, but otherwise, I think it could work! IKEA pieces are so adaptable, so I’m sure there’s a way to make it happen.
We just discovered the Ikea vanities, but are considering buying a sink from Floor & Decor that offers more space on the top surface for toothbrushes, soap, etc. We know we will need to buy the plumbing from Ikea for depth purposes, but do you know if it is possible to fit a sink from somewhere else on the Ikea vanity base? Thank you!
[…] If you are looking for a more thorough breakdown of Ikeas bathroom plumbing system, I found a blog post that does a superb job of taking you through the individual plumbing pieces. They also installed the Ikea Hemnes/Rattviken vanity in the colour gray, and have great photos in that post (click here to view that blog post). […]
Hi I’ve just come across your post. I love the tap! Just wondering is this from ikea too or somewhere else?
Thanks! It’s a delta faucet.
Awesome upgrade! I got this vanity and was looking for flooring ideas. Could you please let me know brand, name and color of your tiles? They look fab with this setup. Thanks!
Hi Ruhi! They’re a simple gloss white 4″ x 4″ subway tile. You should be able to find them at any big box store or tile supplier. Hope this helps!