

Most Requested Photography Topics: 6 Things You Can Do for Better Interior Photos | The ABCs of Using Your DSLR | A Look Inside My Camera Bag | Take Awesome Photos With Your Smart Phone
I’ve received such thoughtful and wonderful feedback as I’ve shared the photography topics that have been most requested by you. Thank you! Over the last month, I’ve held an open form to Ask Me Anything about the topics I’ve been covering – or even topics that I haven’t. Today, I’m pulling up that form, and I’m back to cover a broad range of topics, from my personal budget picks to favorite editing techniques. I’m answering your questions that will allow me to take a deeper dive into the content that left you asking for more. Here we go!
In This Post
On Editing
If you follow the steps in this post, how much editing do you need to do to your photos? If you get your camera setting right do you not need to edit or do you always edit? Thanks!
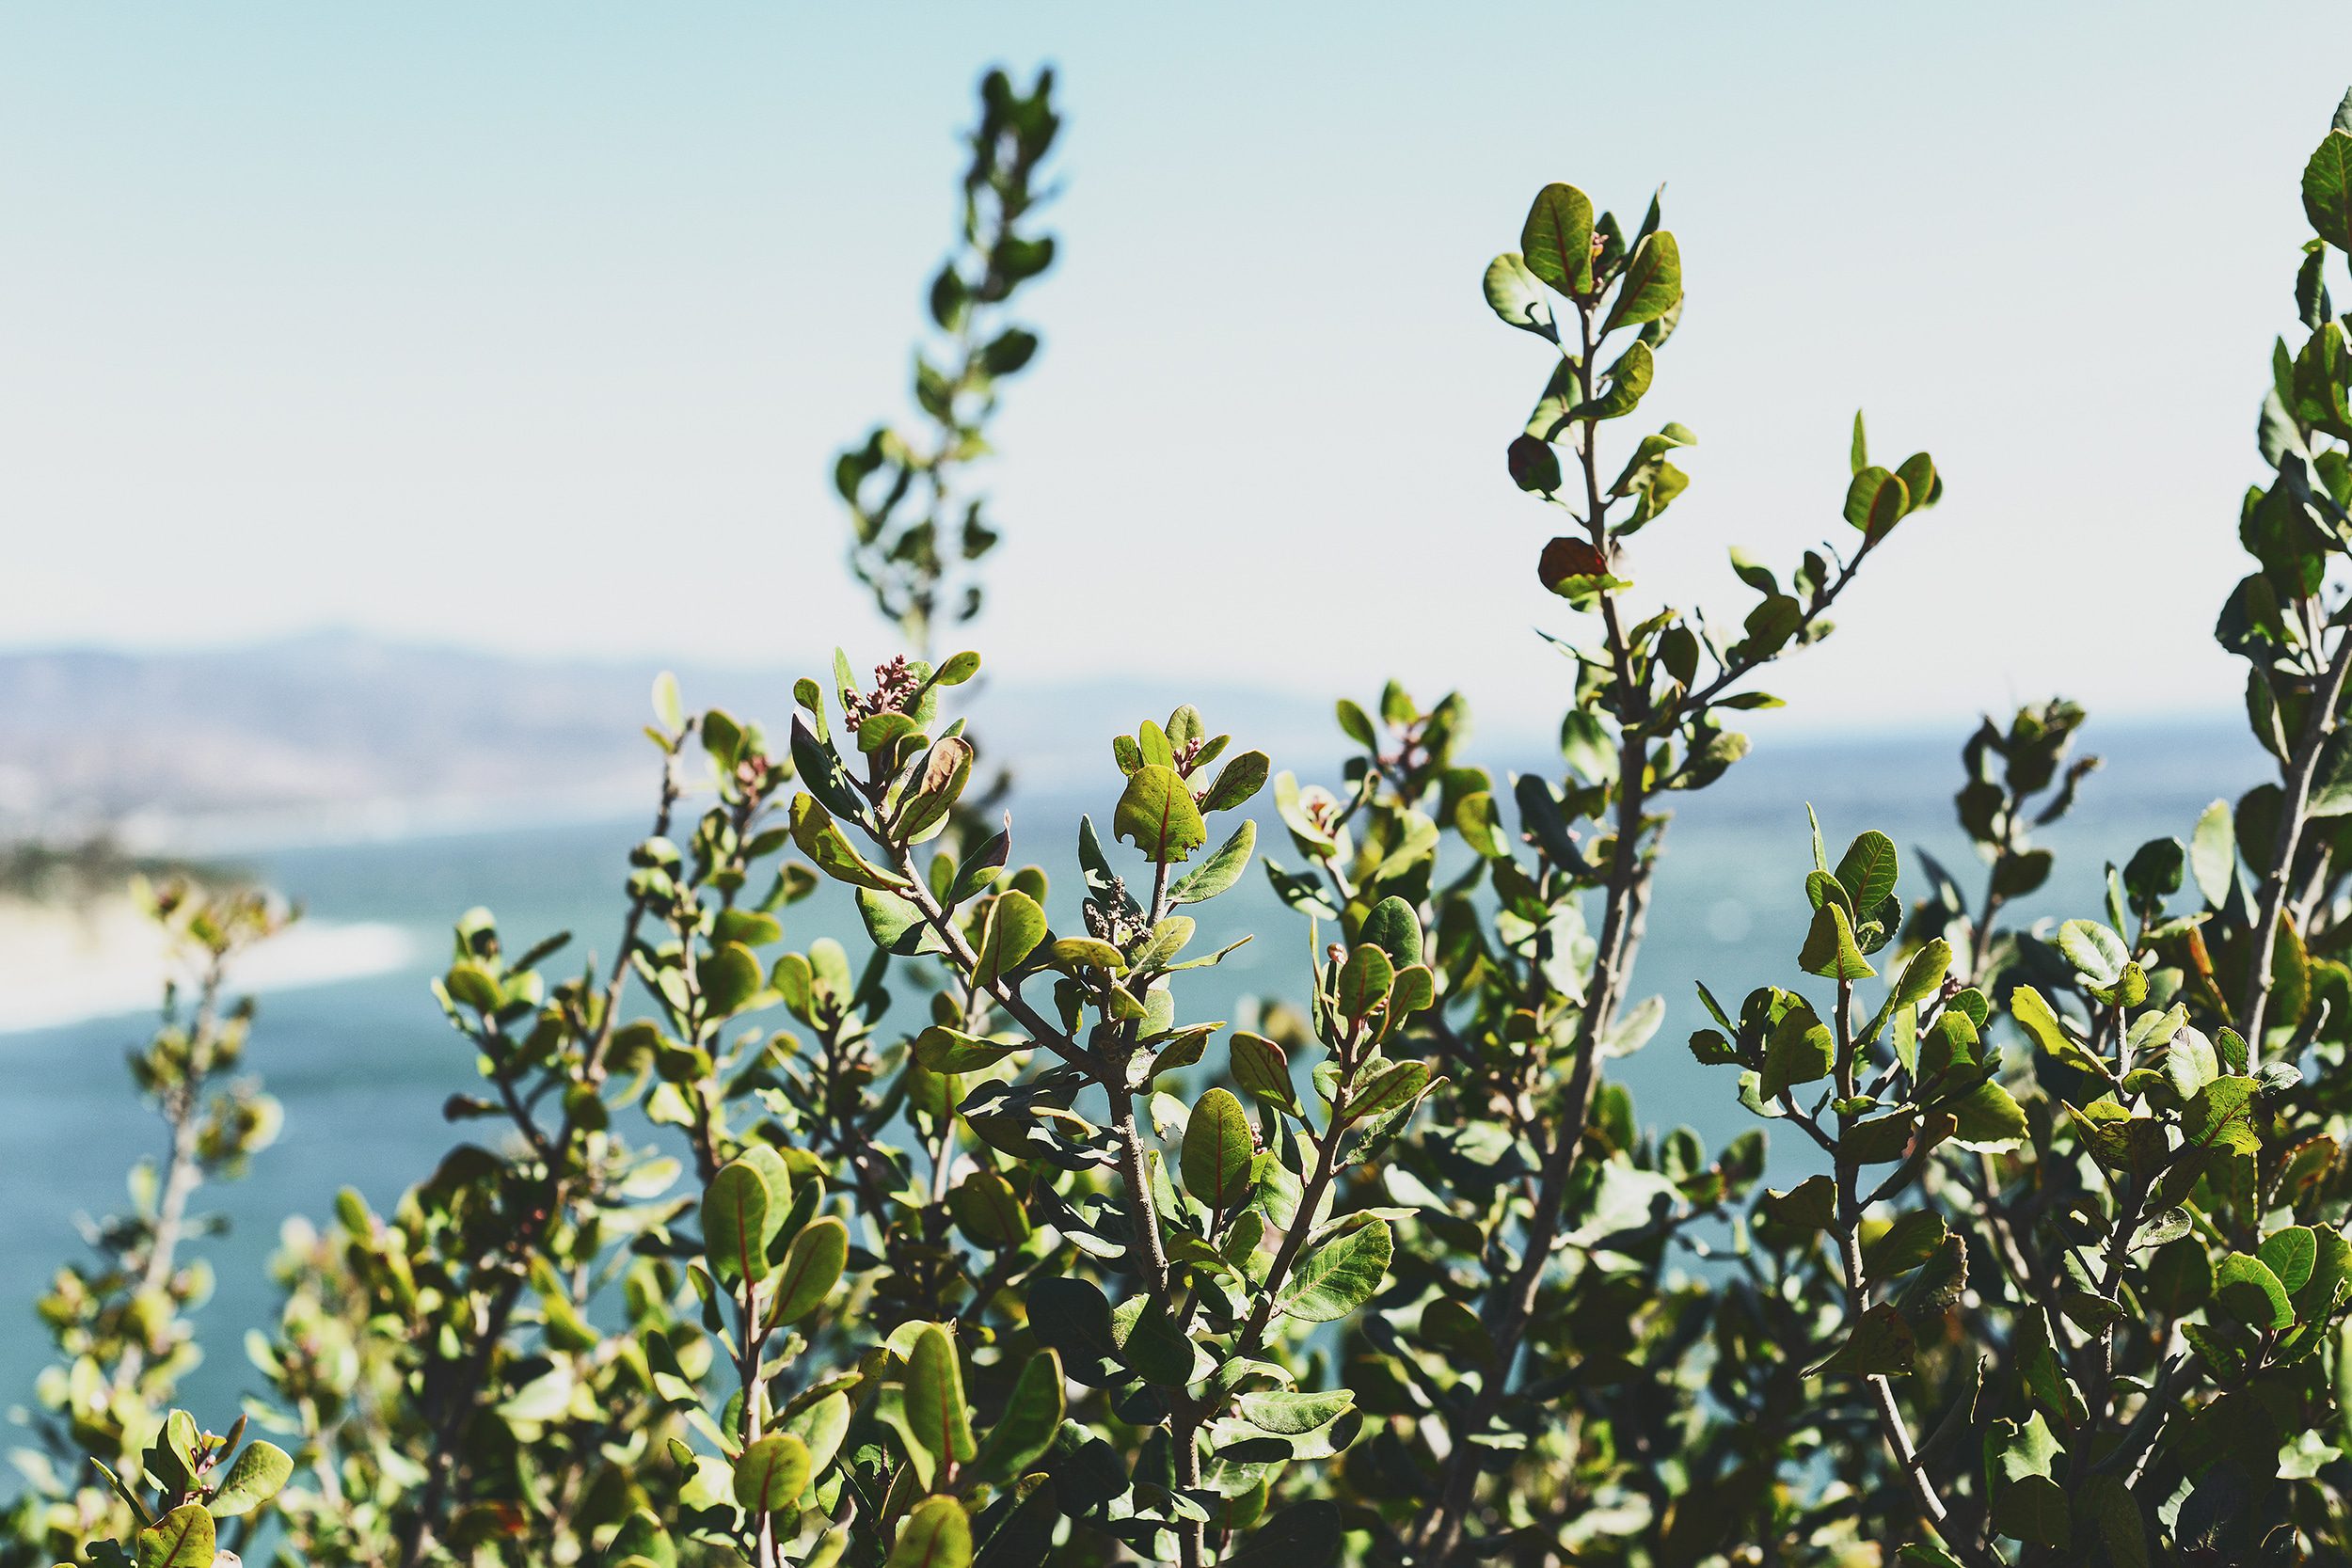
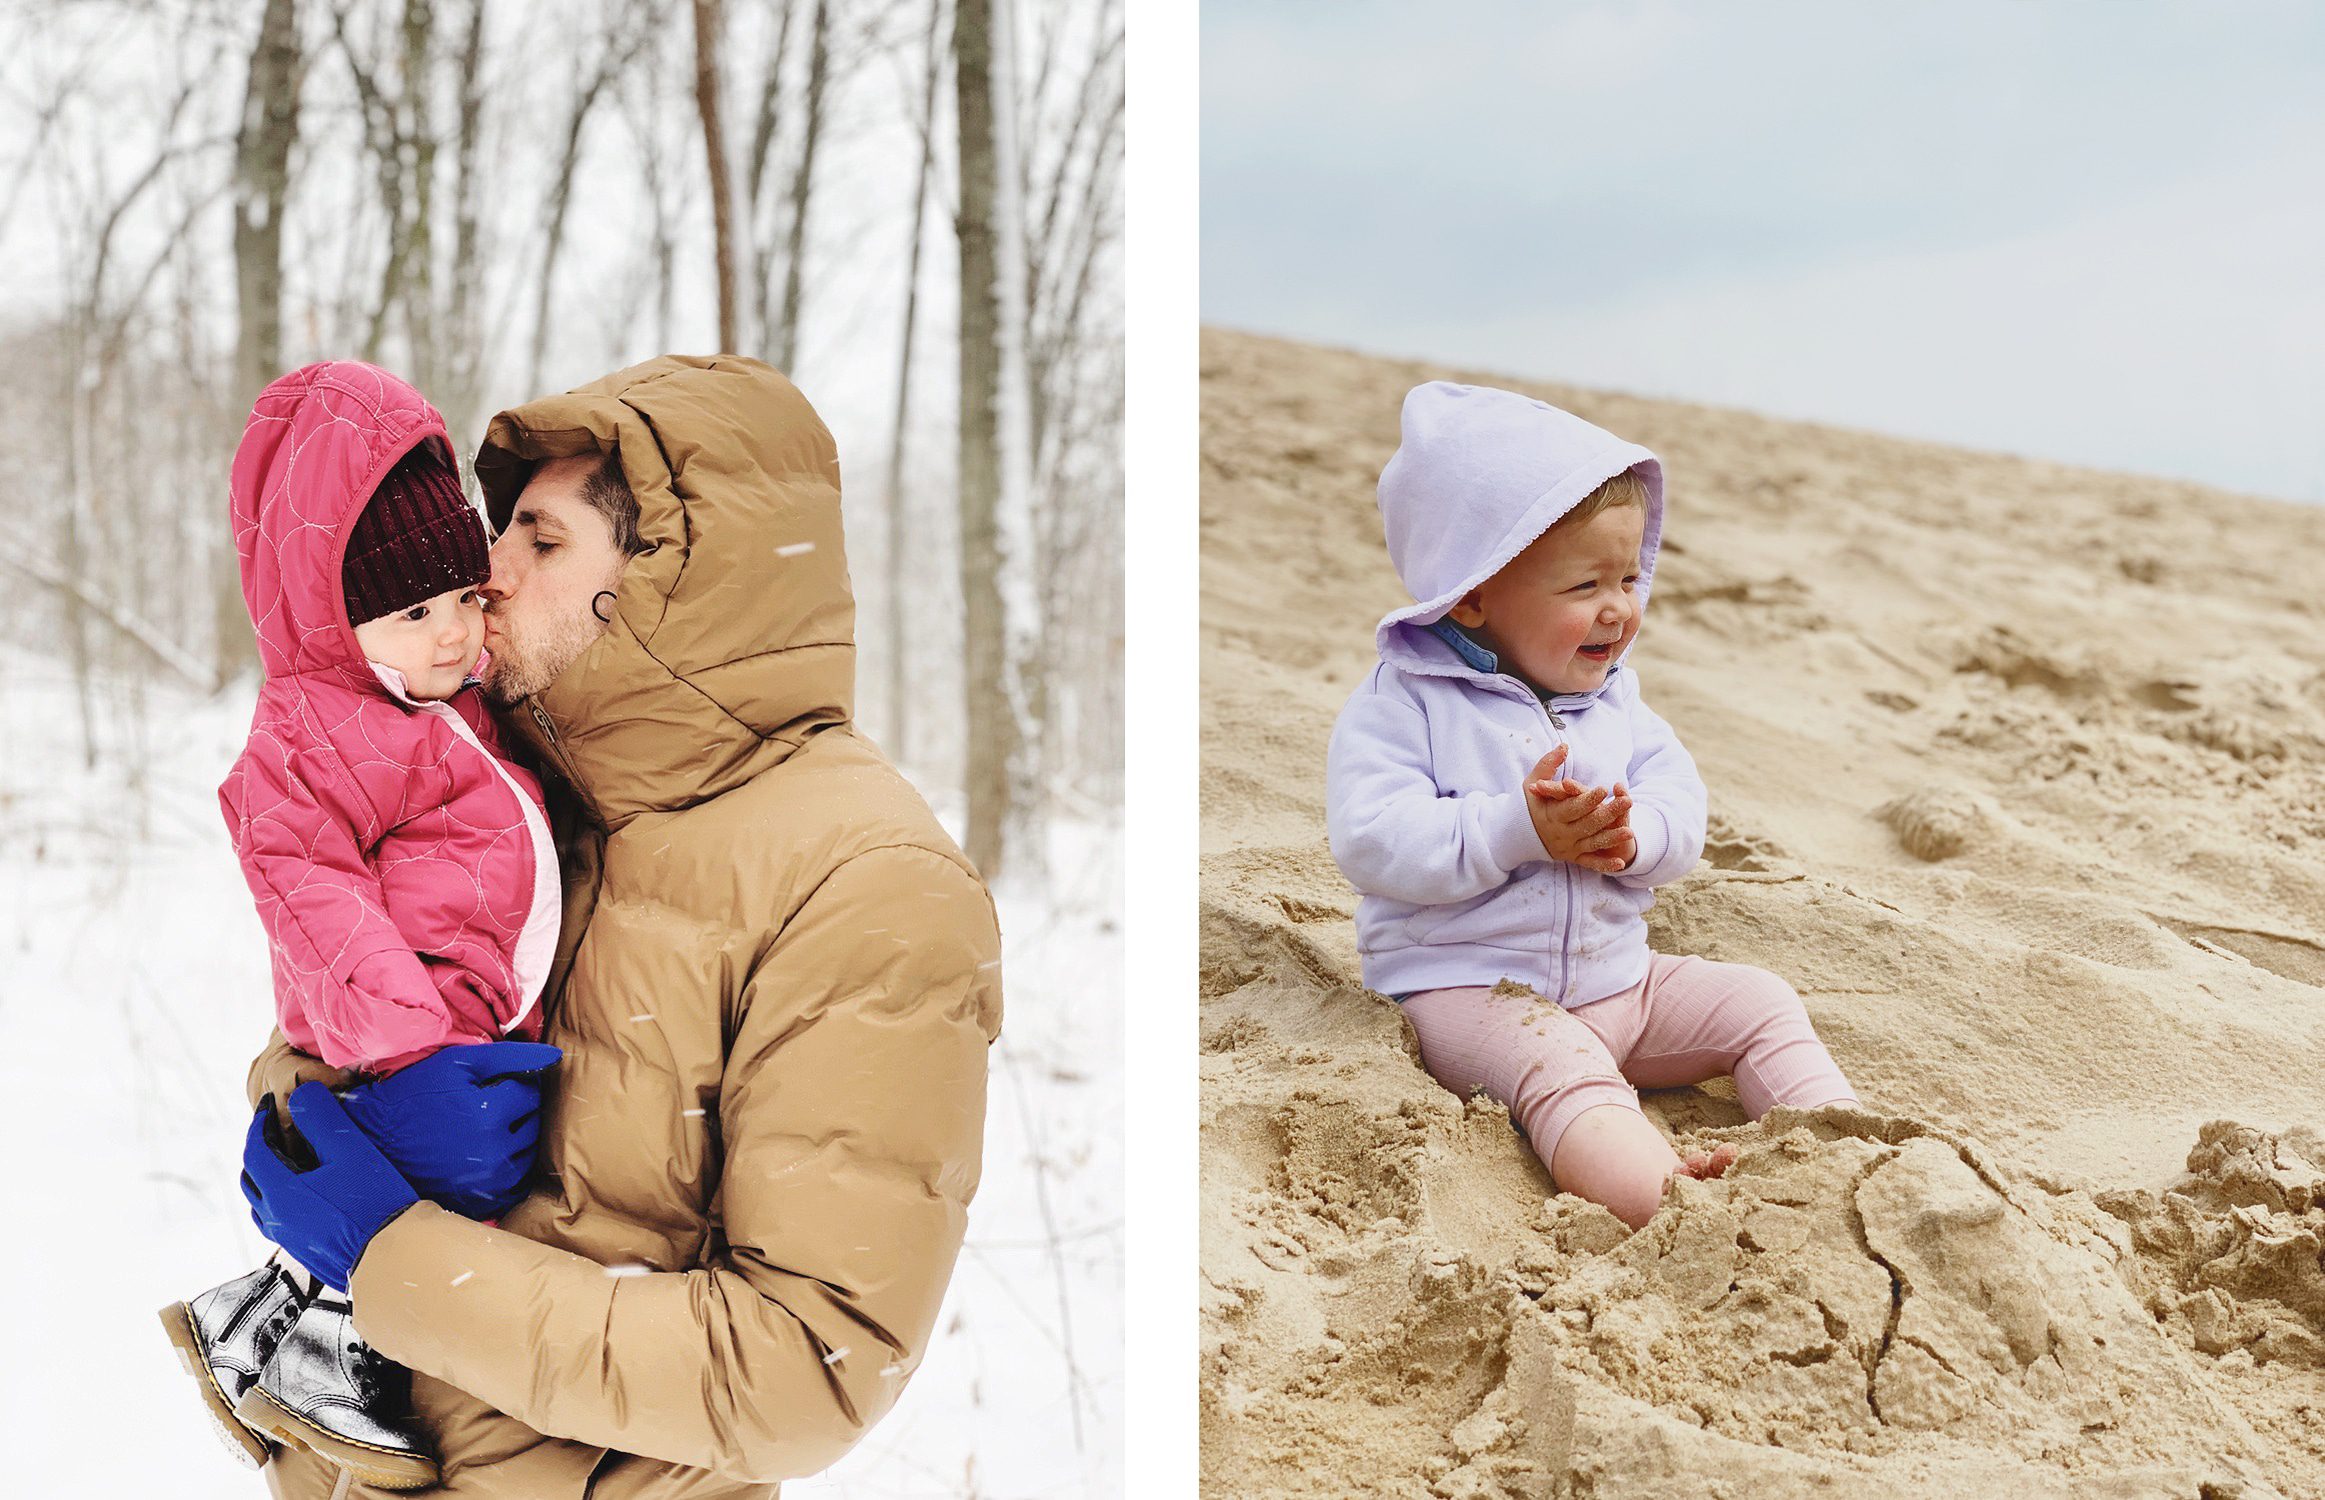
I always, always edit. Always. (Always!) I think that getting your camera settings right is a crucial first step to set you up for success, but a final edit is still a great idea. Truth be told, if I’m shooting a tricky low-light situation (such as a dark, rainy day), I tend to rely a bit too much on editing – but I set my camera so I’m starting off on the right foot. Here’s an example from yesterday’s blog post:

I shot the photo above on a gloomy morning, which you can probably tell with the moody shadows and edges. However, I used my tripod, and I was sure to use an ISO of 400, which would give me more power during the editing process; I knew I would be able to lighten up the shadows and tone down the highlights without adding to the digital noise. Tip: If ‘digital noise’ is a fuzzy concept for you (no pun intended, ha!), I encourage you to read this post and understand why ISO matters.
What editing tools do you use for desktop?
I use Adobe Creative Cloud desktop apps for everything: Bridge to review and sort my photos, Lightroom for rough edits (such as lifting harsh shadows, softening harsh light and removing lens distortion) and Photoshop for running actions. I’ve been editing this way for so long, that it has become second nature! Regardless of what you’re using, become a master at it. The more you practice, the quicker you’ll become, and the less daunting it will be.
What are the most common edits you make to photos?
I think a lot of editing is a personal preference, but there are three things that I correct right away using Lightroom: shadows, highlights and lens distortion. I like the look of lower contrast (soft blacks) as well as crushed whites (wherein whites lean slightly soft grey, rather than bright white). Once I’ve exported my photos from Lightroom, I’ll pull the photos into Photoshop and run actions on them, and then I’ll adjust the opacities of the layers until I like what I see. If the photos are for the blog, my final step is to run an action that sharpens, resizes and save them ‘for web’ all in one step! Tip: Because that’s something I’m doing often, I created my own action for that last step. This video tutorial is straightforward if you’re interested in learning how!
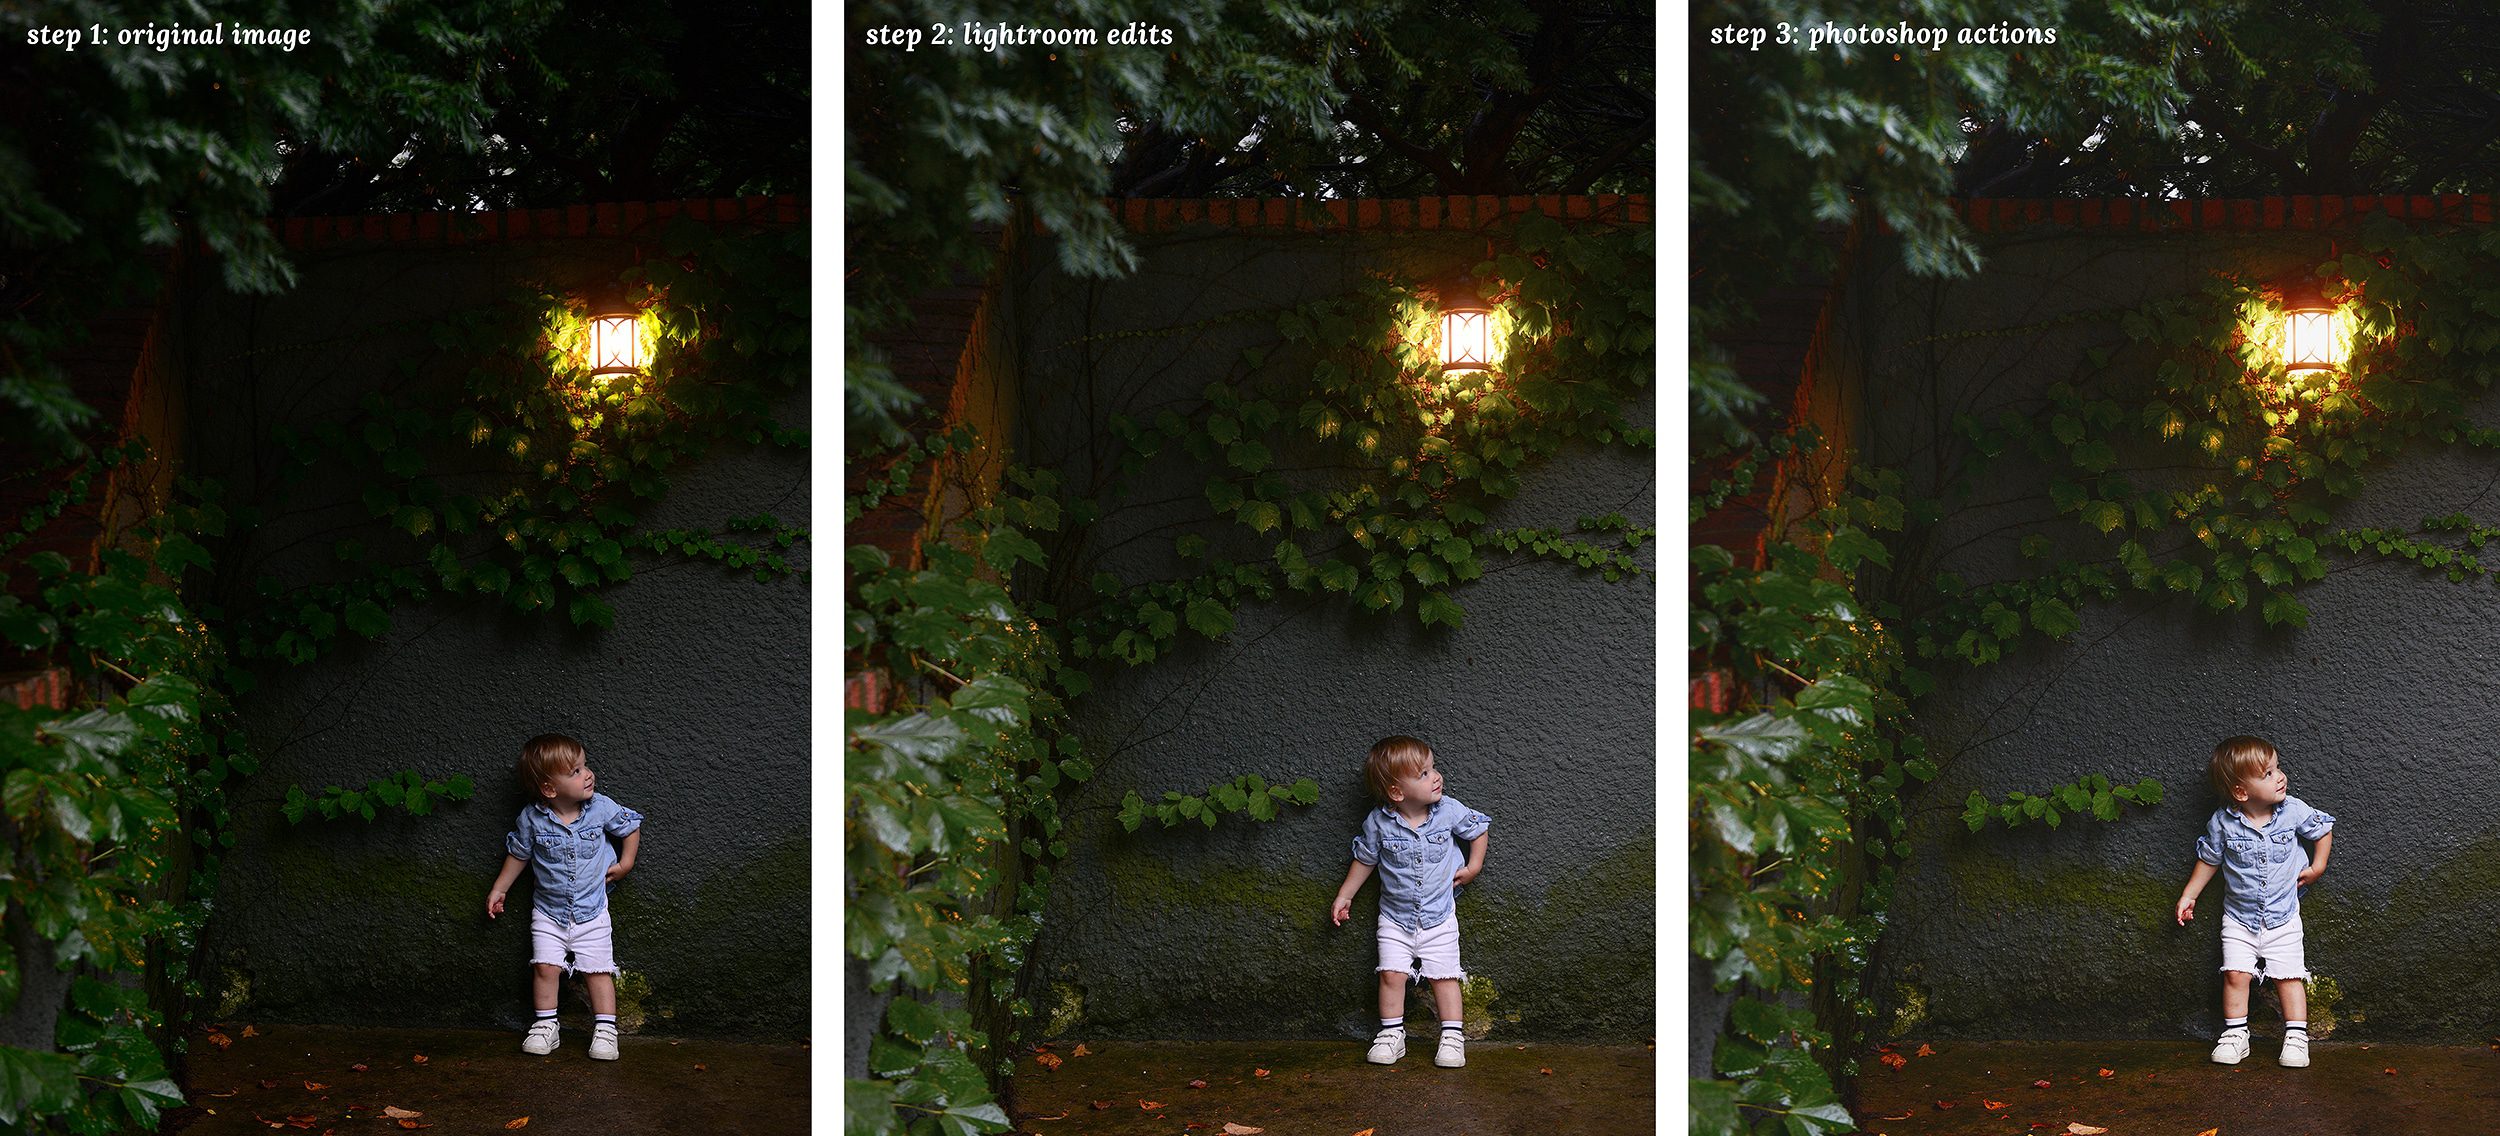
The photo above is an example of a photo through all the stages: original (from Bridge), mid (with Lightroom edits) and final (with Photoshop actions). I used this FotoRx Portland modern + moody action set, but I toned down the opacities of the layers. Tip: I love all of the actions from the FotoRx shop!
Do you use a gimbal for your phone videos? (Or do you just really stand that still?!)
Yes! I use a gimbal with this little vlogging camera. They go together like macaroni + cheese.
On Digital Storage + Prints
What is your process for getting the photos from the camera to Instagram?
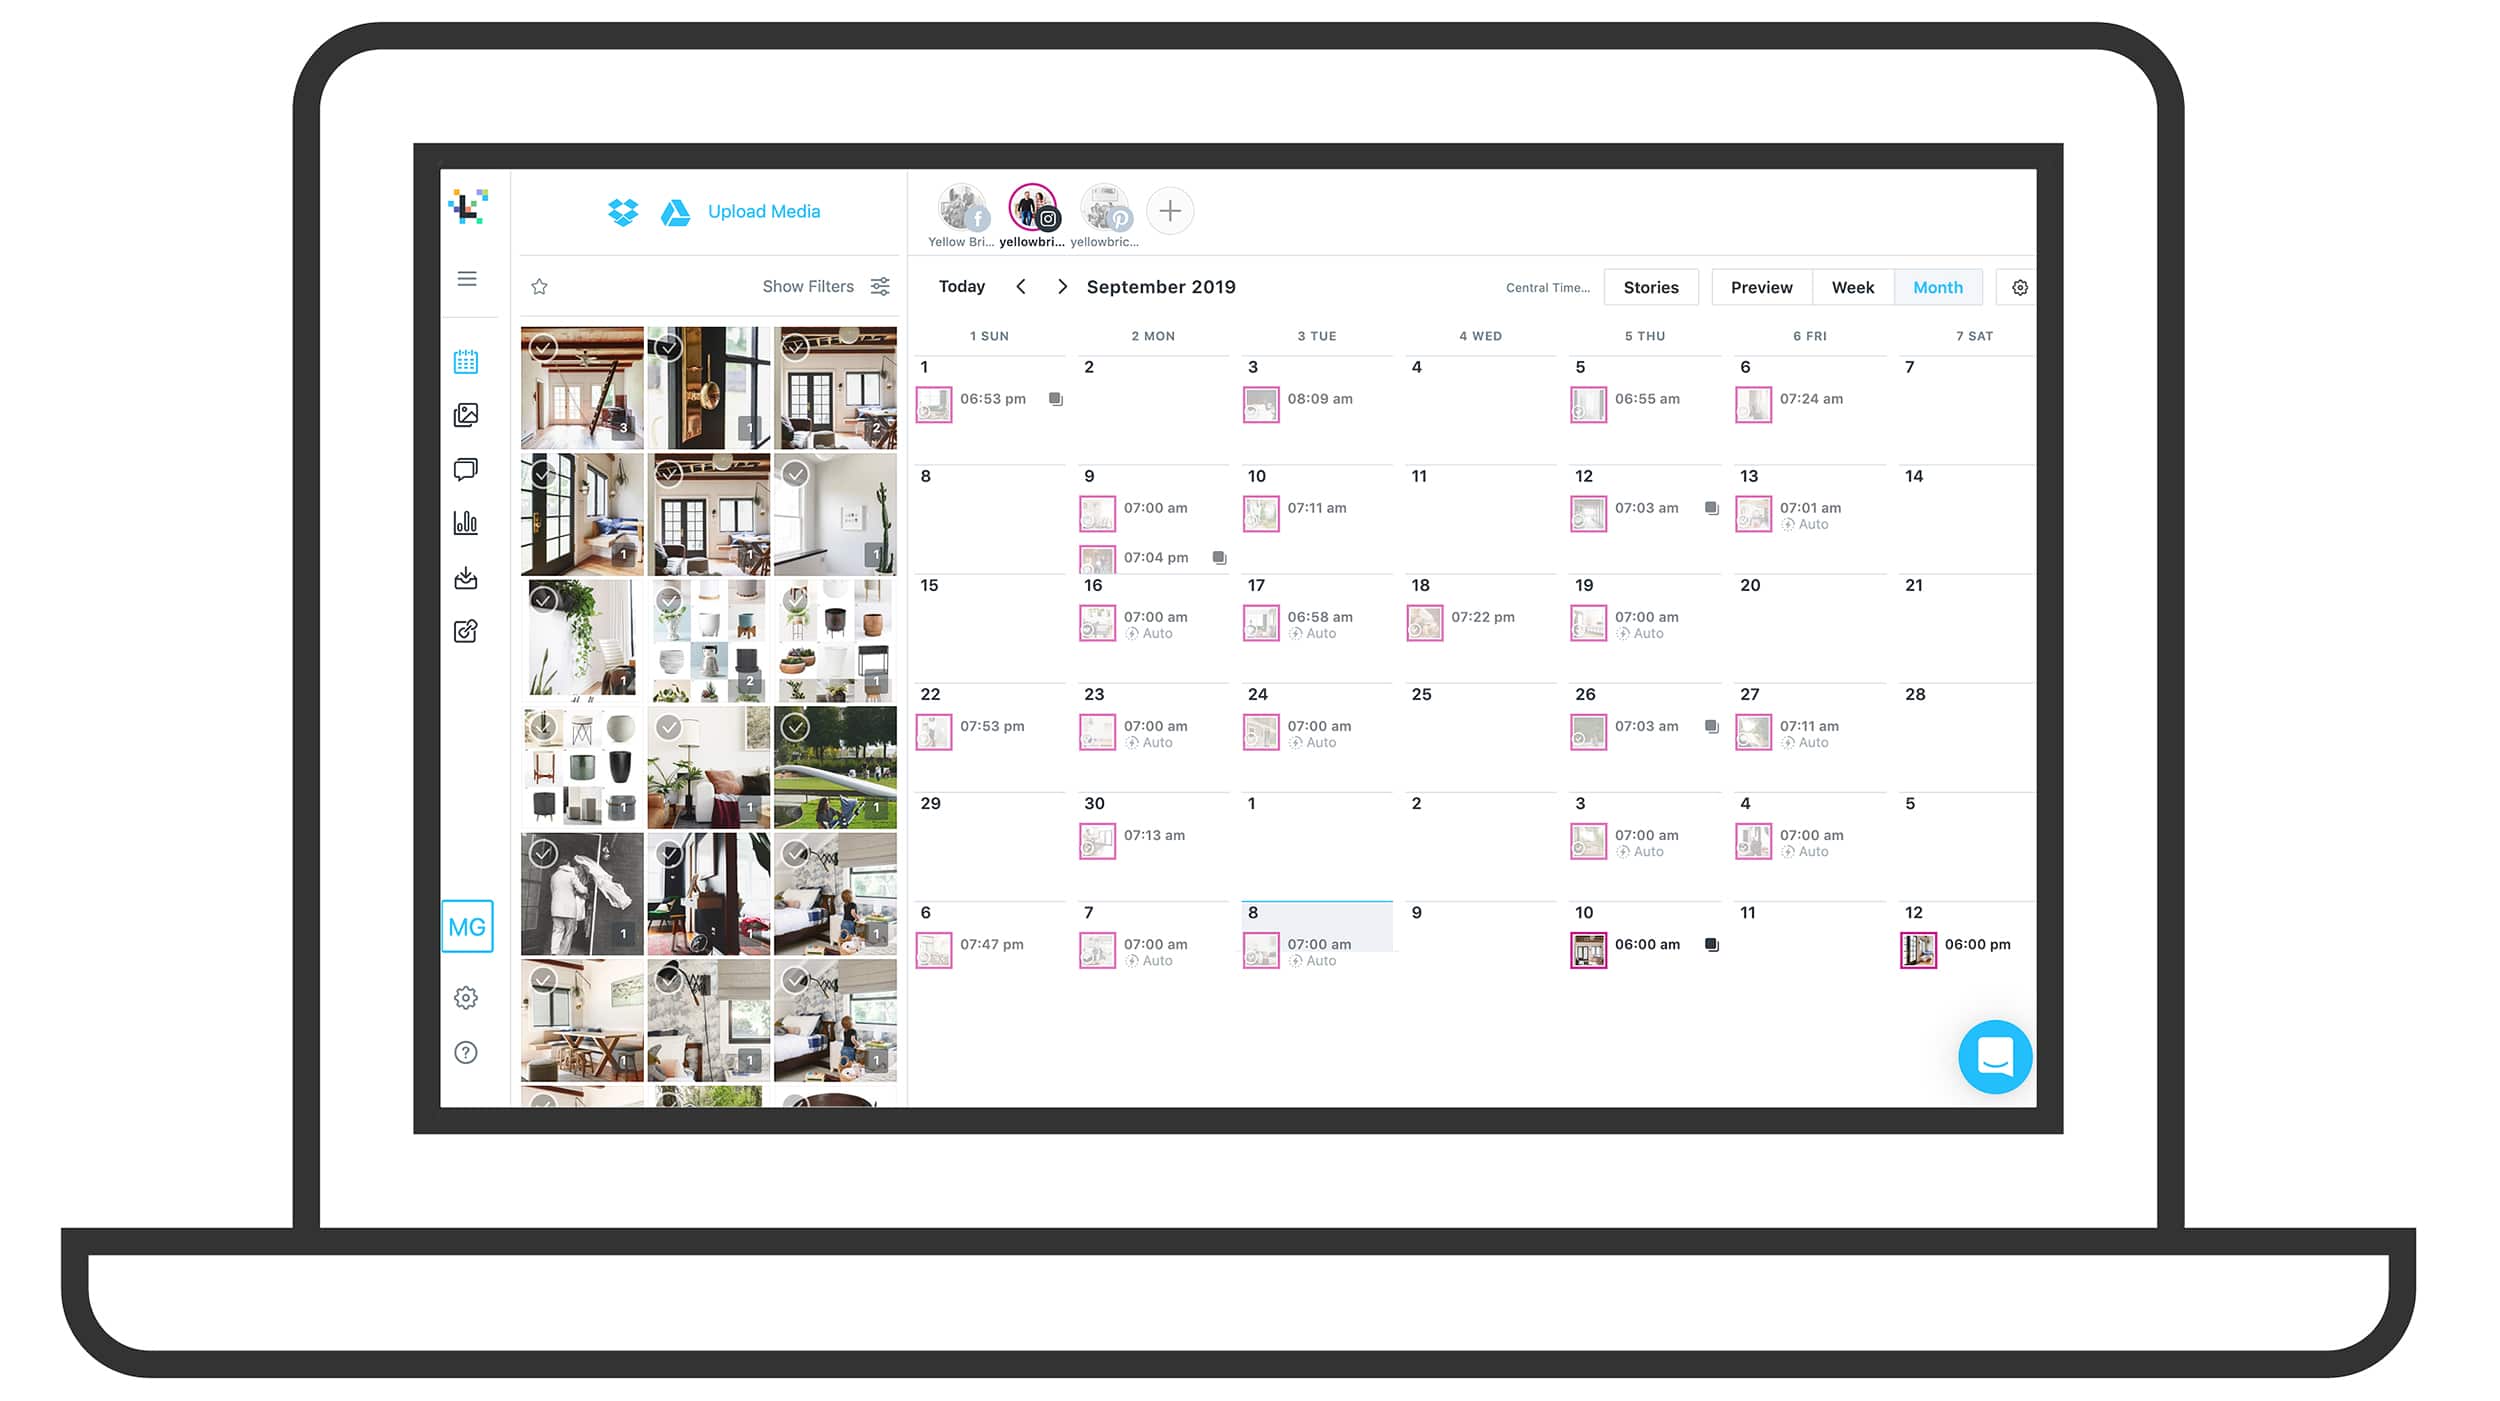
If I took the photo with my DSLR: I’ll go through the same editing steps I outlined above – Bridge > Lightroom > Photoshop. I resize all blog/social images to 2500 pixels wide, and then I save them as a web image. (I’ve found this size to be the sweet spot for great looking photos on Retina displays without losing quality or speed.) At that point, I’ll either text the image to myself using the Messenger app, but most likely, I’ll upload it to the Later app on desktop and schedule it:
If I took the photo with my phone: I’ll edit the photo with A Color Story and/or Retouch (here’s that cheat sheet), and I’ll upload it to Instagram manually or use the Later app on my phone.
Speaking of the Later app: I’ve been using it for a few years now, and I’ve been really happy with it! I use it solely for Instagram (since that’s our most lucrative platform), but it also has the ability to schedule posts to Facebook and Pinterest.
How do you store your digital files?
Here are all those details for you!
Who makes the best prints from iPhone photos? I’ve been disappointed with the quality of prints in the past, especially when they look so good on the phone.
I have had some of my best experiences with Framebridge and Artifact Uprising. Did you know that you can get Instagram Mini frames from Framebridge for $39 (frame and all)? We’ve done this as gifts for family – even uploading photos to their site directly from my phone – and it’s always a hit! You can see one that we have in our laundry room, below:

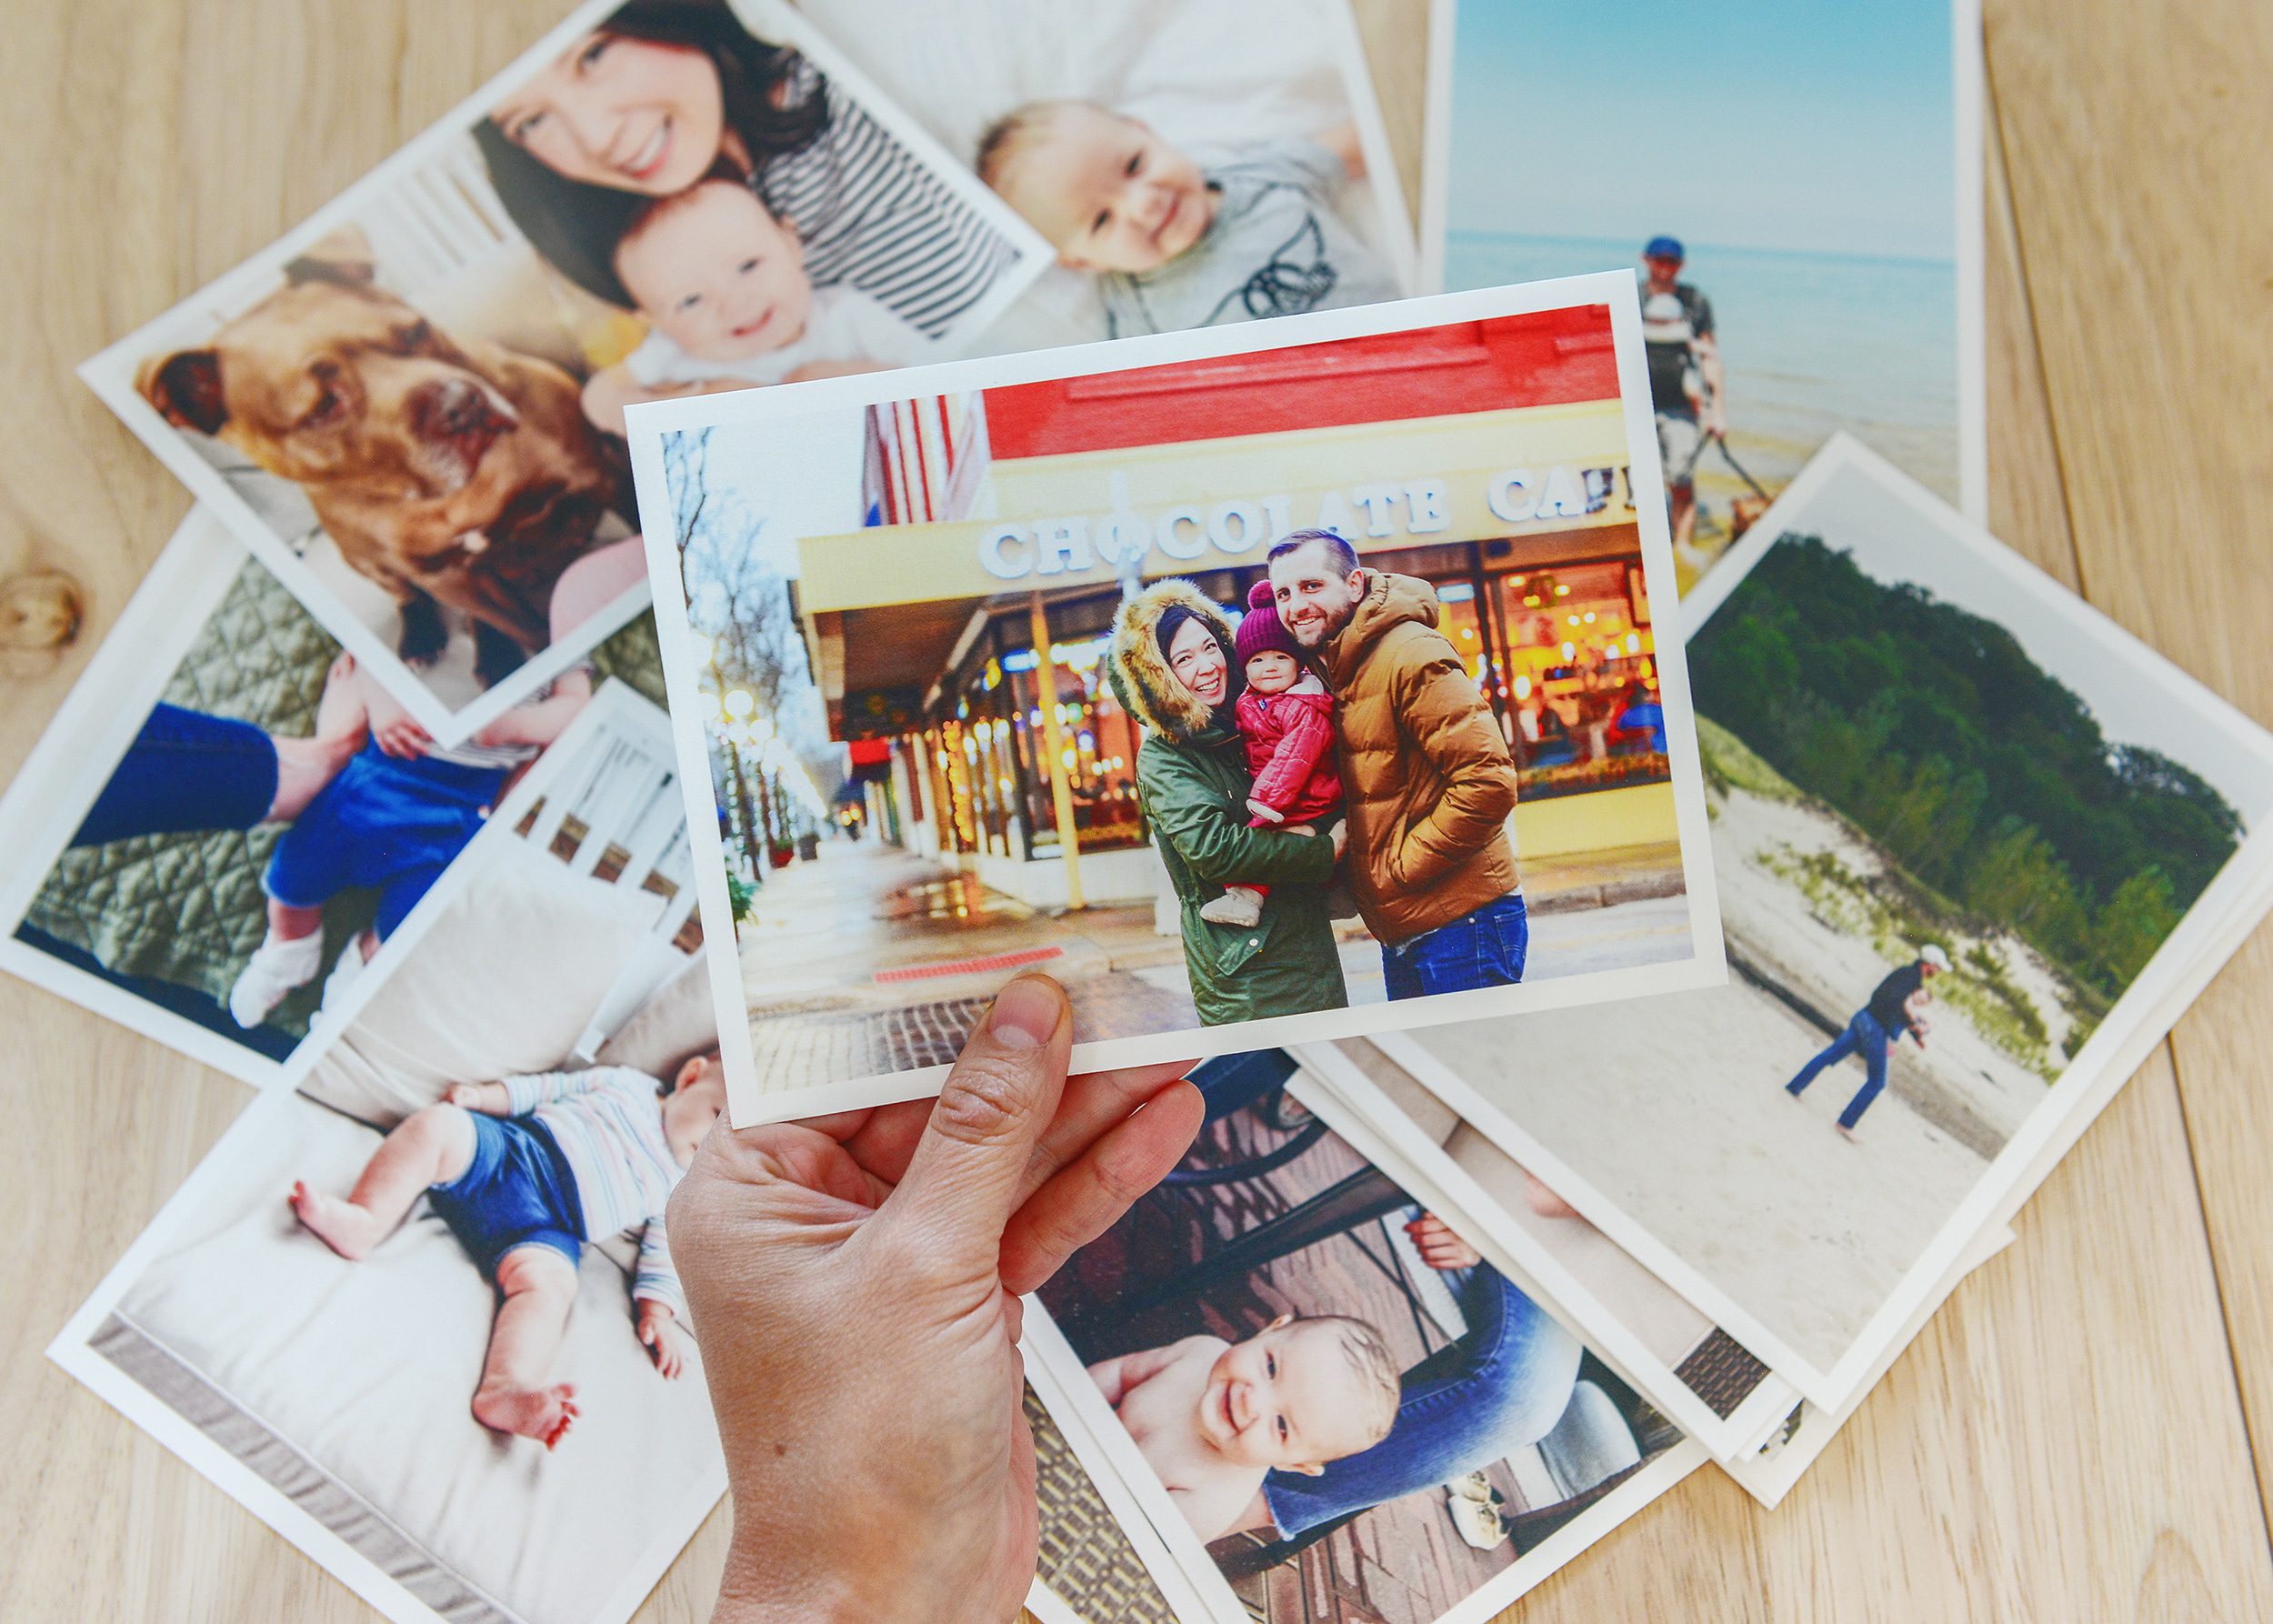
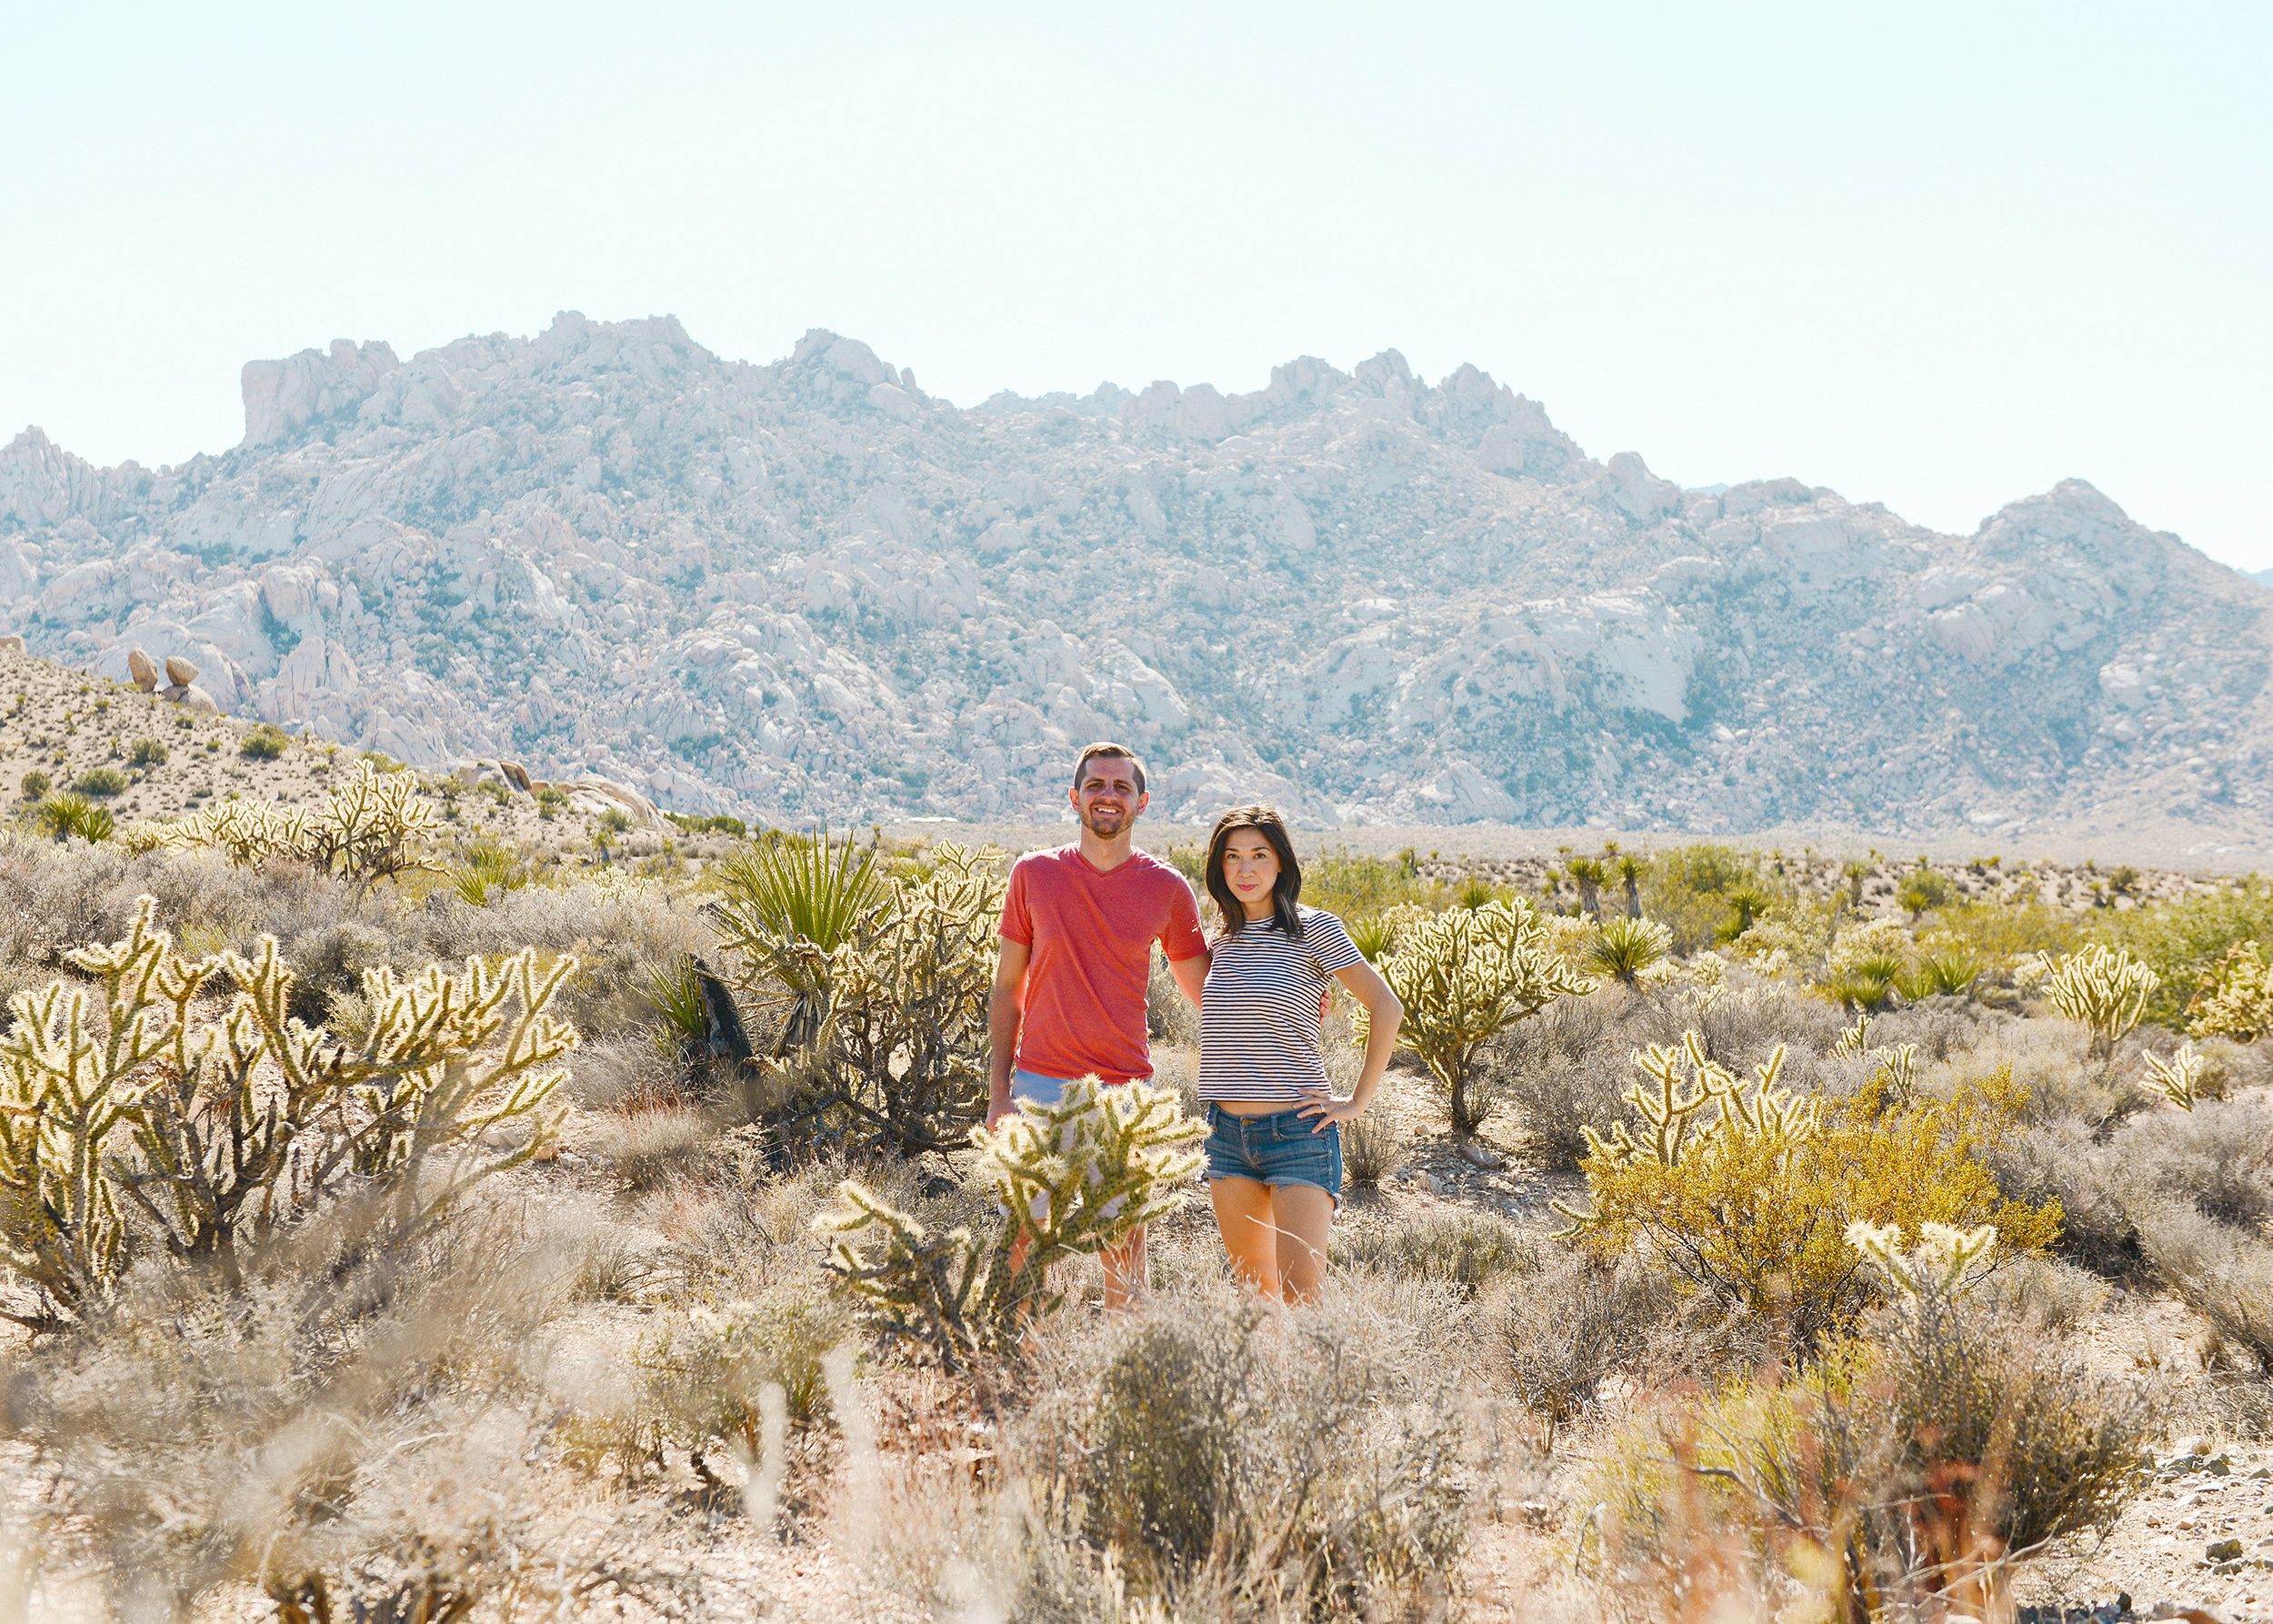
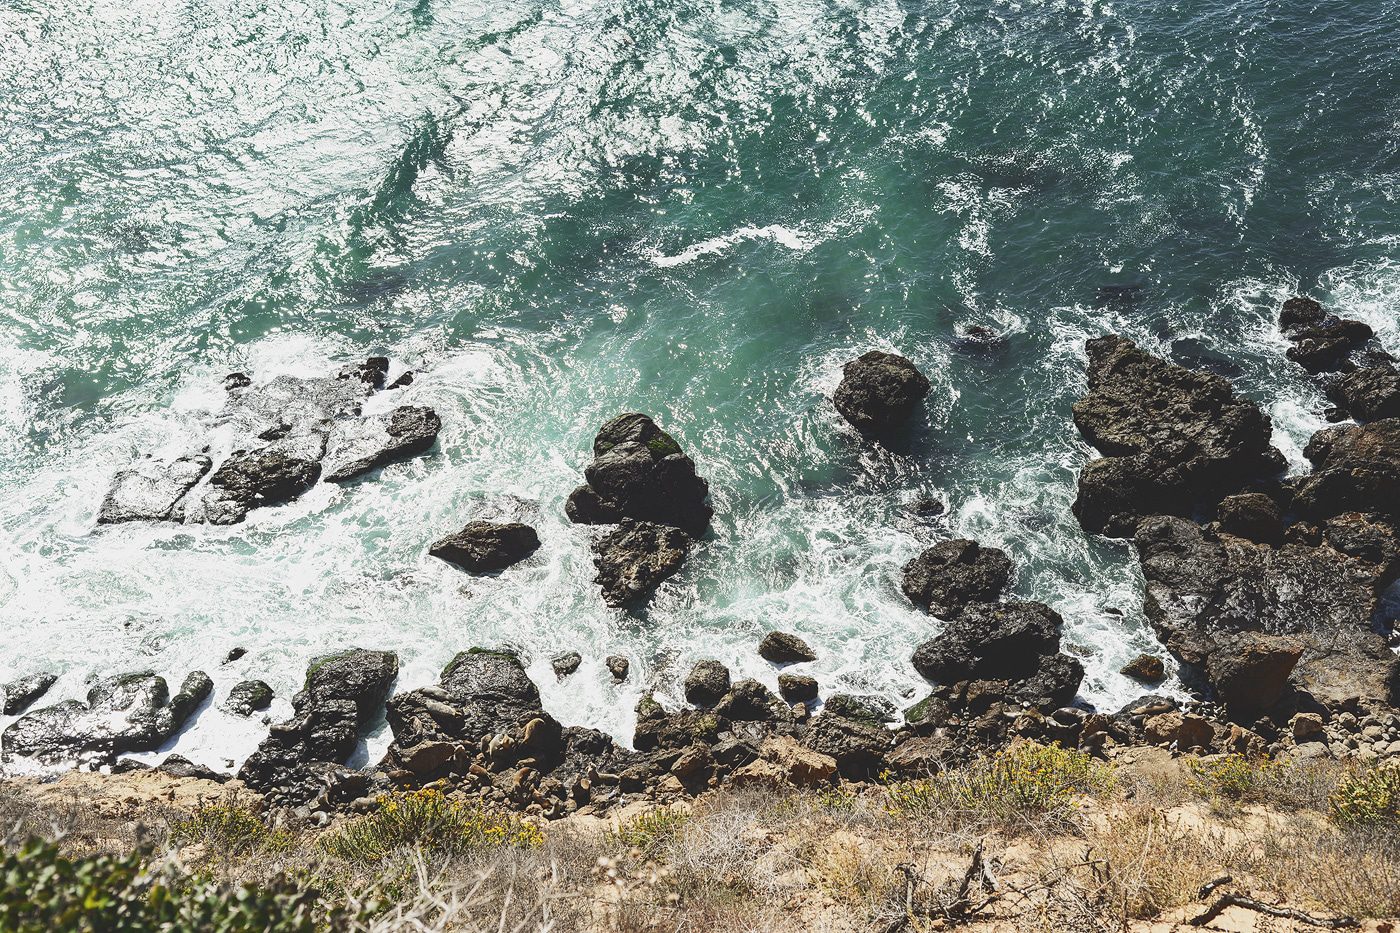
For loose prints, we love and use Artifact Uprising. Their matte stock paper gives everything a high end feel. We’ve trusted them with so many memories (like Malibu, below!). My mom and dad love the loose prints we send them so much, that they now continue to upload and buy their own photos from Artifact Uprising!
Do you make family photo books? If so what website do you use?
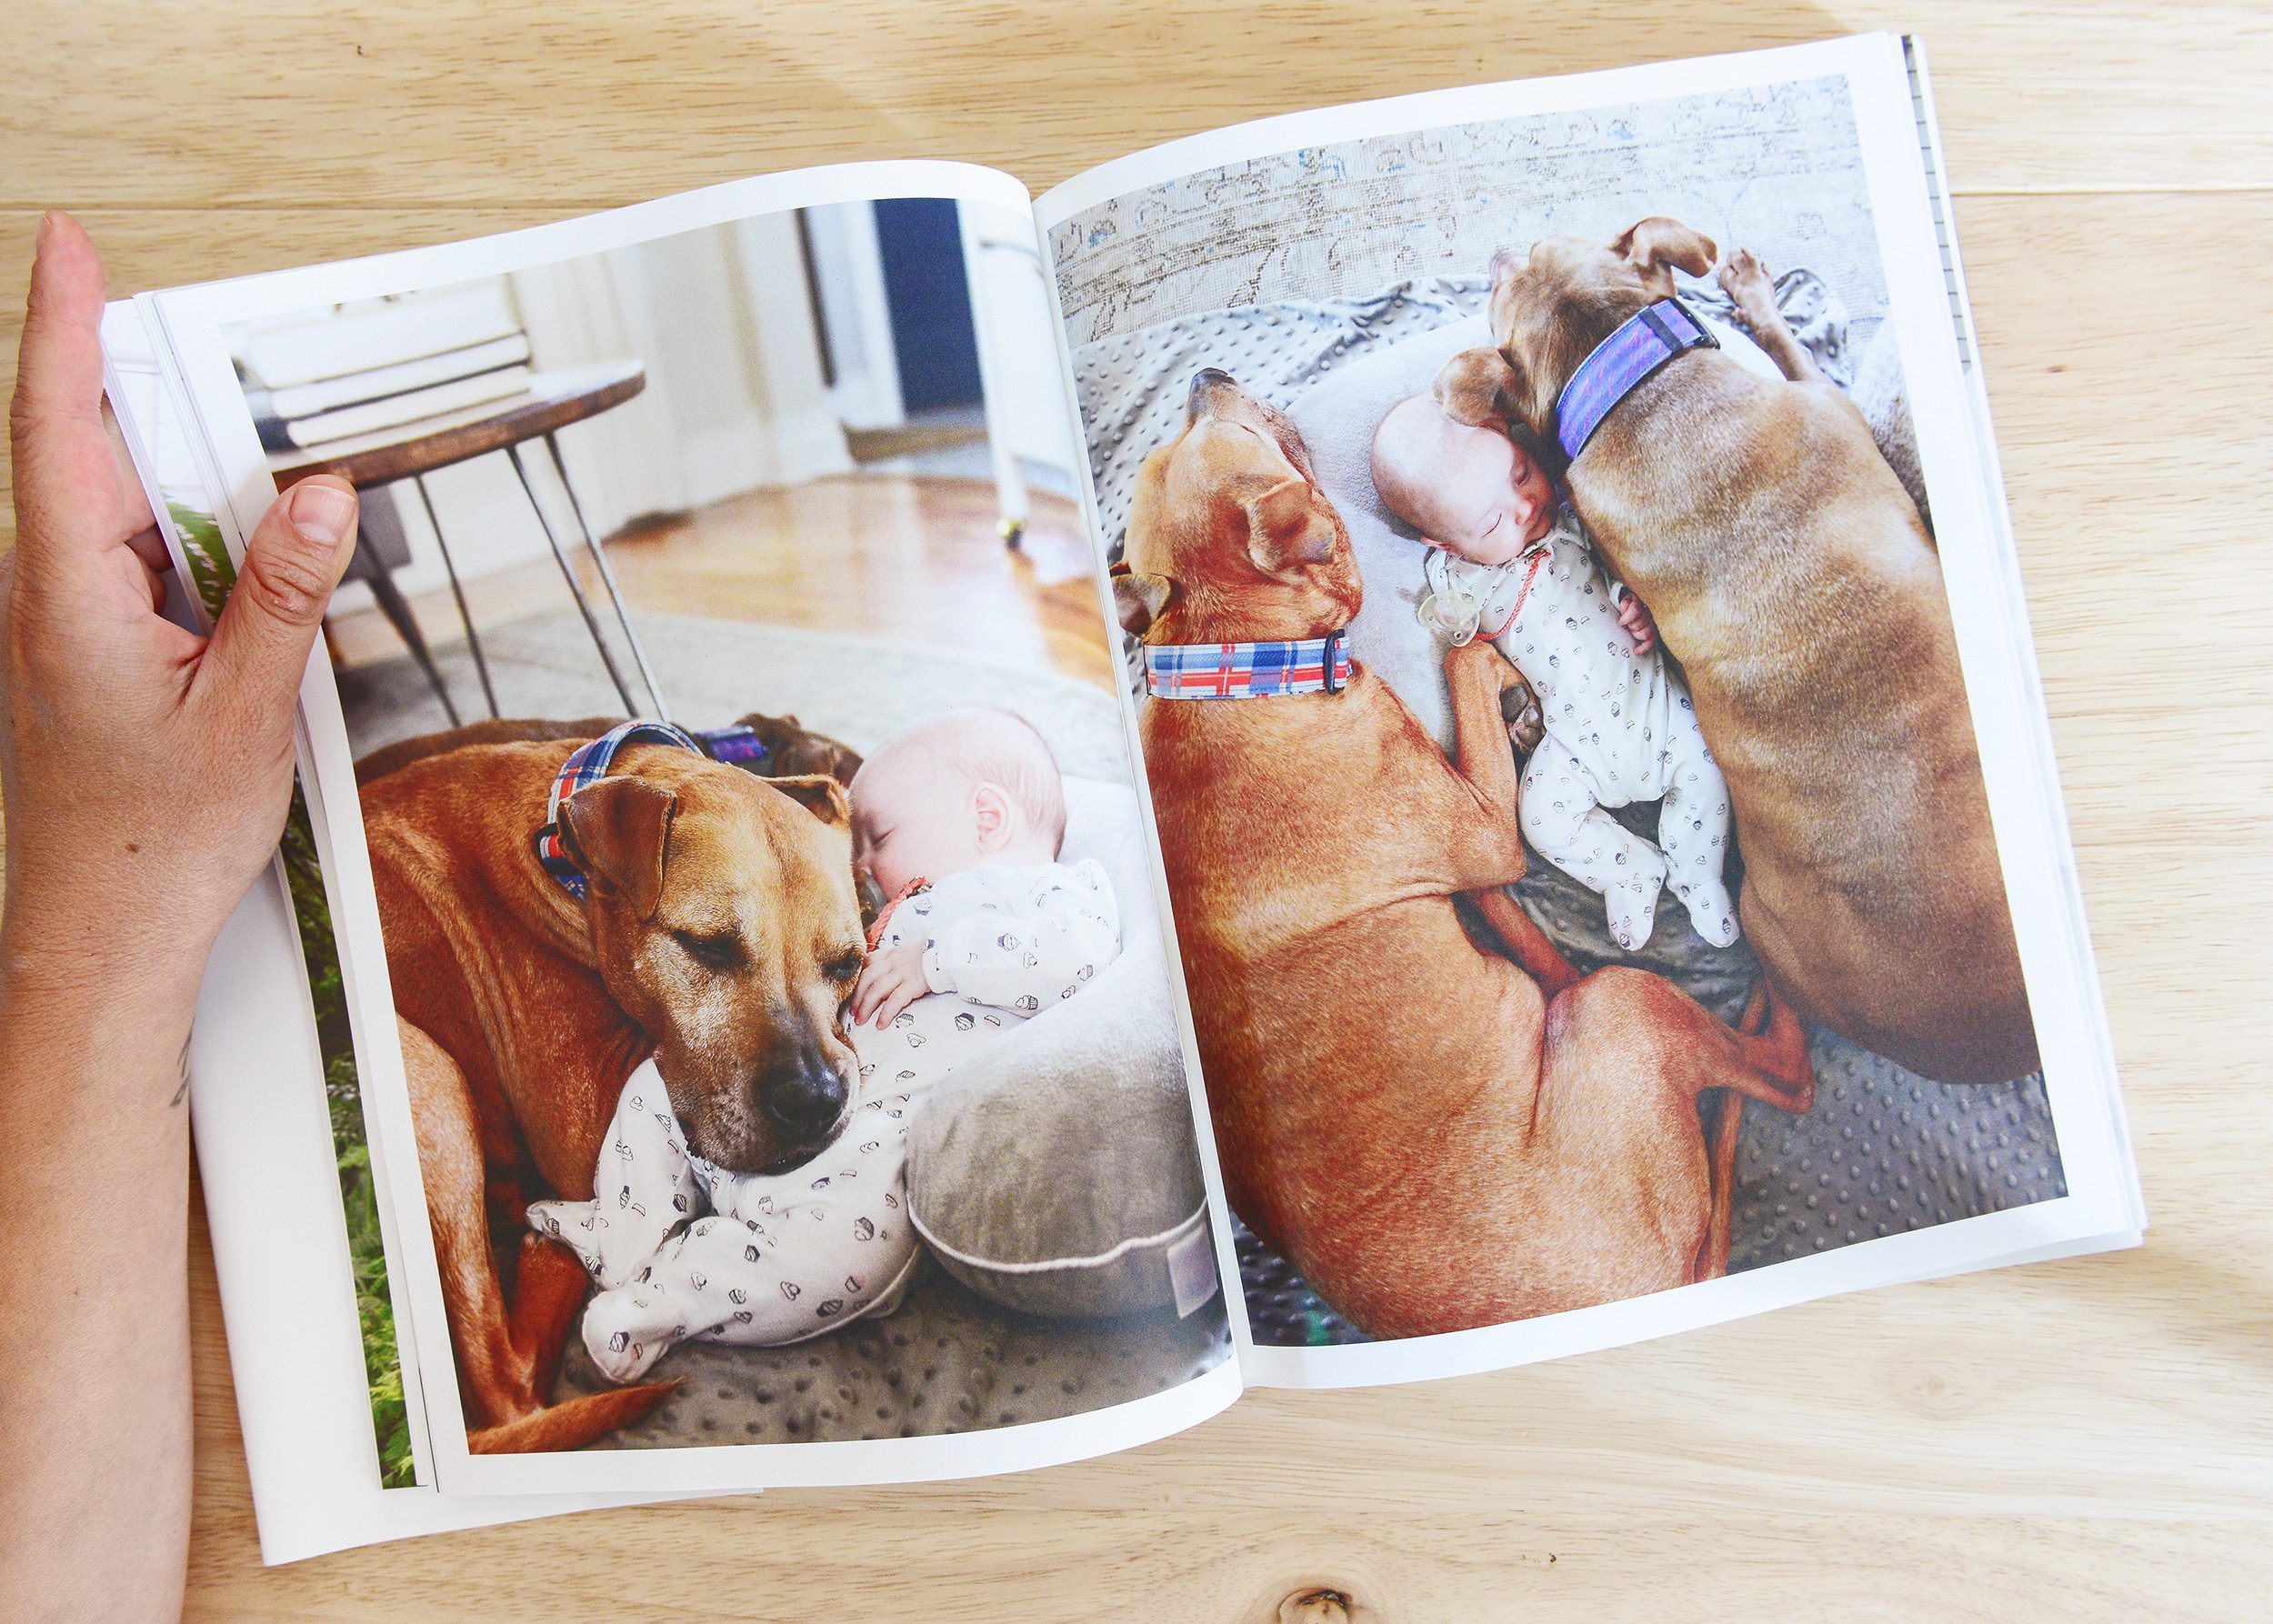
I’ve made albums from past vacations, but with Lucy, I knew I wanted to create a book of her first year + family albums for every year after. I also wanted them to be the same (same style, shape, etc), and after a lot of research, I decided on the Artifact Uprising hardcover books! They have a beautiful cloth cover and dust jacket, and the pages are matte yet vibrant. I’m looking forward to creating our 2019 album!
Tip: Other popular online options for creating prints + photo books are Chatbooks, Blurb, Snapfish, MPix, MixBook and Pinhole Press (which I’ve used in the past and have loved!).
Technically Speaking
I love the bokeh I can get with my 50mm, but I feel like when I shoot two people “wide open” I always have one person out of focus. What am I doing wrong?!
I’m going to guess that one of the two people is either standing behind of or in front of the other person. Even if they’re only a step behind (or ahead), if you’re using a really wide aperture – say, f/2.8 – the depth of field will be so shallow that it will only focus on one equally shallow plane. However, imagine a straight horizontal line across your friends’ noses. If both noses are touching that line, they’ll both be in focus with a wide open aperture, because they’re on the same horizontal plane. Keep in mind that it’s not about proximity; they could be standing 5 feet apart, but if they’re on the same plane, they’ll both be in focus. The same is true for the vertical plane.
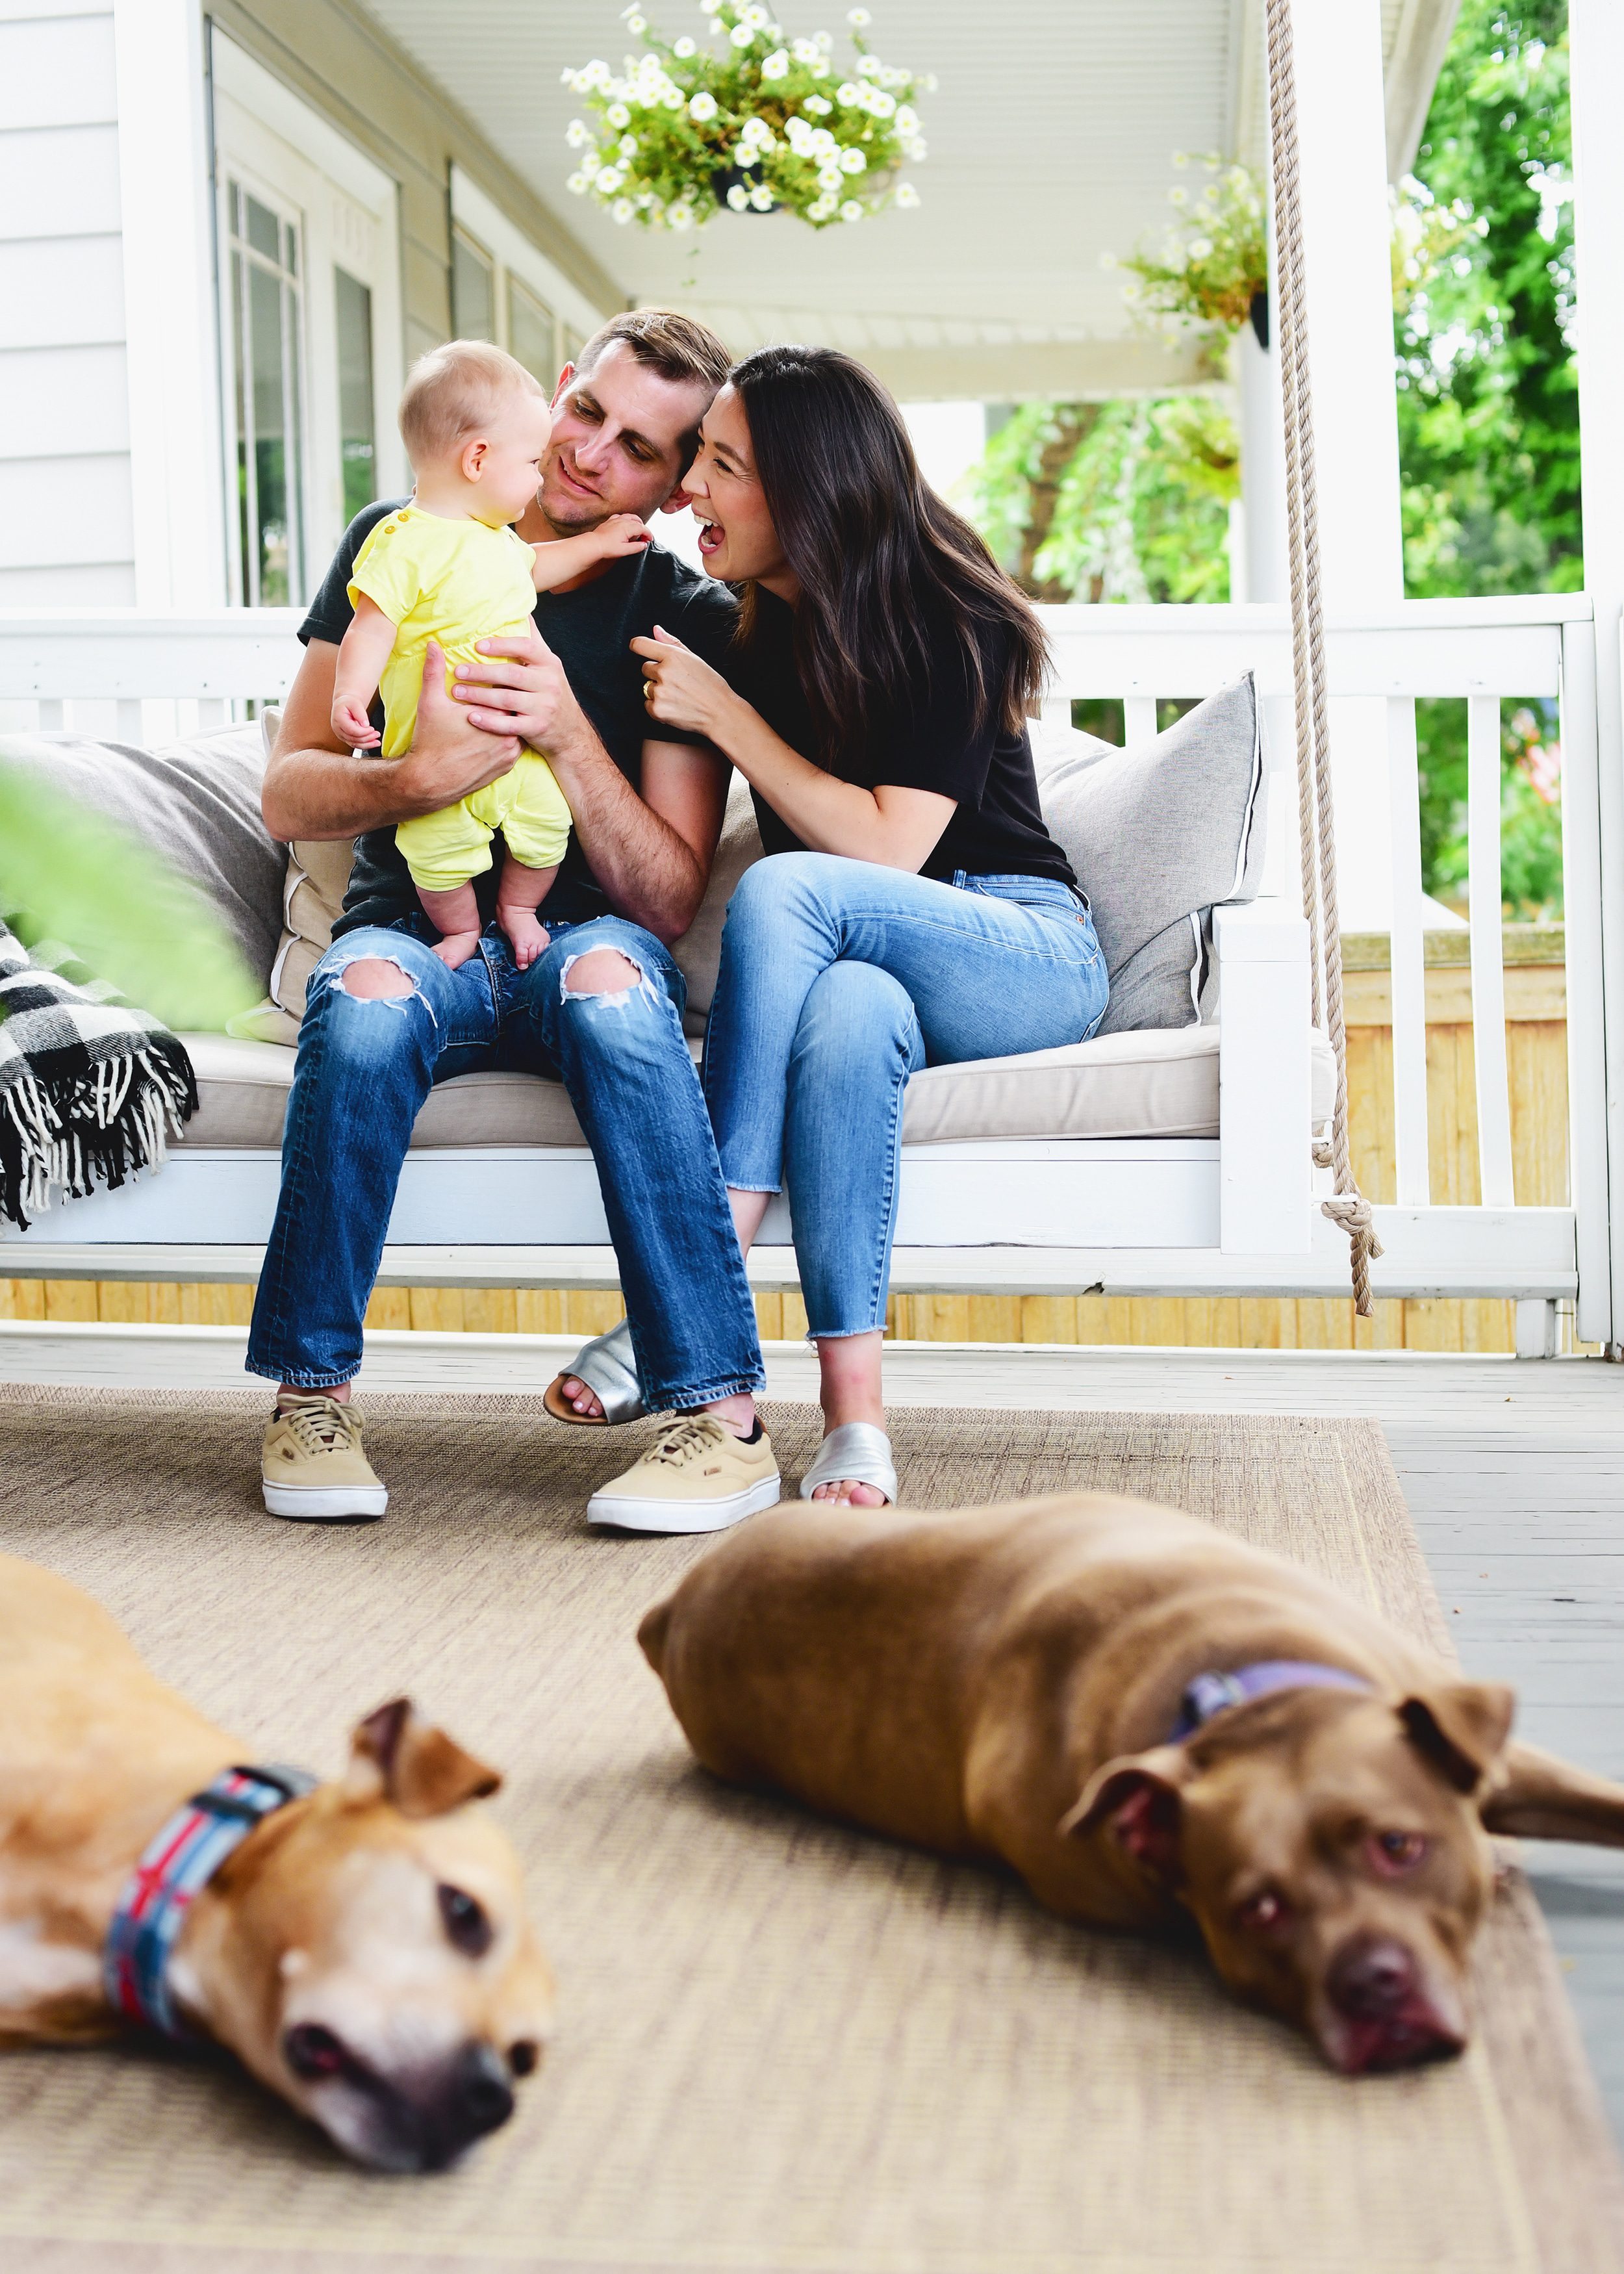
Here’s an example of a family photo by our friend Renee. It was shot at f/3.2, and you can see that all 3 of us are in focus, whereas the dogs are not. You’ll also notice that directly to our left and right, the rope on the swing and the checked blanket are also in focus, as well as the rug directly beneath our feet! Everything I’ve just mentioned is on the same horizontal and vertical plane:
Try this: Next time you’re shooting more than one person, trying using a higher ISO, such as 800, which will allow you to use a smaller (higher numbered) f-stop. In turn, this will give you a larger depth of field so that more of your subject(s) will be in focus! I will always bump my ISO up before I consider shooting with a larger (smaller numbered) f-stop.
How do you get such good spontaneous looking family pics with everyone in it? Do you use a timer? I have to admit I’ve checked to see whether anyone could be holding the remote shutter trigger!
I use the timer on my camera! I typically set my camera to take 10 photos, 2 seconds apart, and I cross my fingers that we can get The One within the first three tries, ha!
I find shooting bathrooms extremely difficult, light wise. I use a tripod but it can get pretty tight in some loos!
I’ve been using this lens for ev-er-y-thing for at least 4 years now, and it’s been worth every last cent. It’s wide enough for tight spaces, but not so wide that people and places become unrecognizable. It’s also great for vignettes and detail shots! As far as tight spaces, I get creative with my tripod and adjust the legs to some pretty awkward angles. I’ve also been known to get in the tub and stand on the toilet for the sake of a photo!
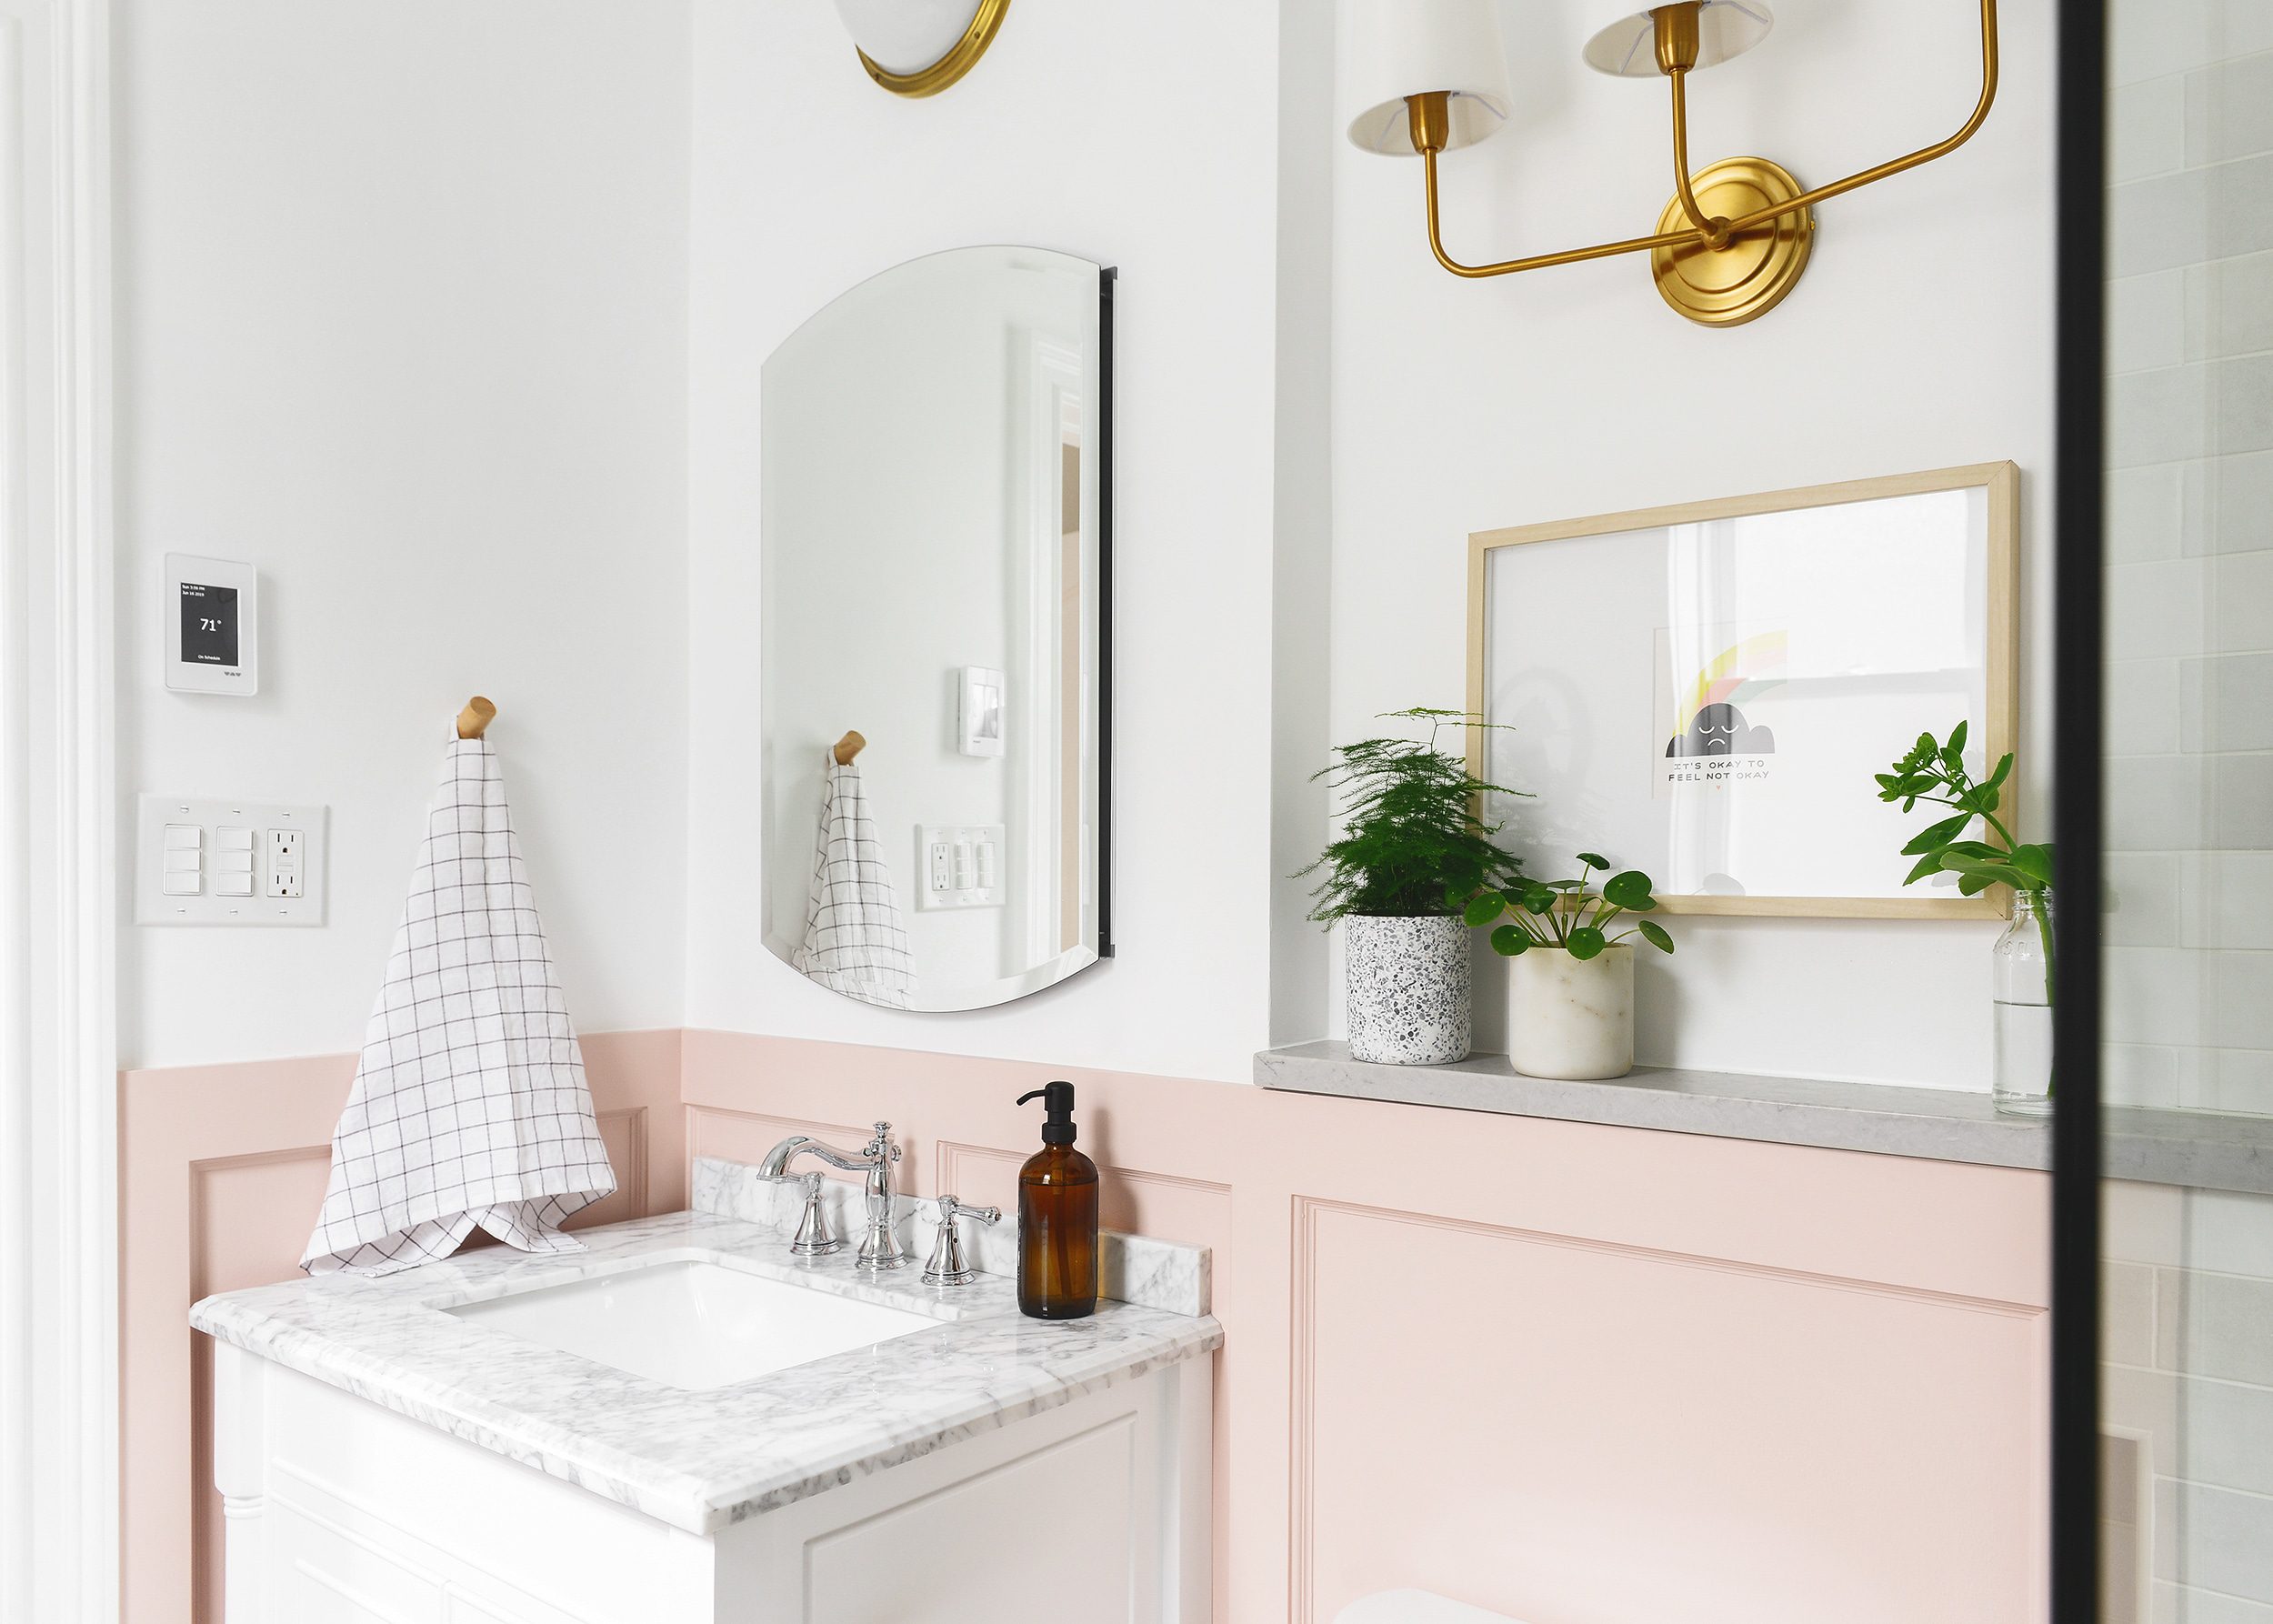
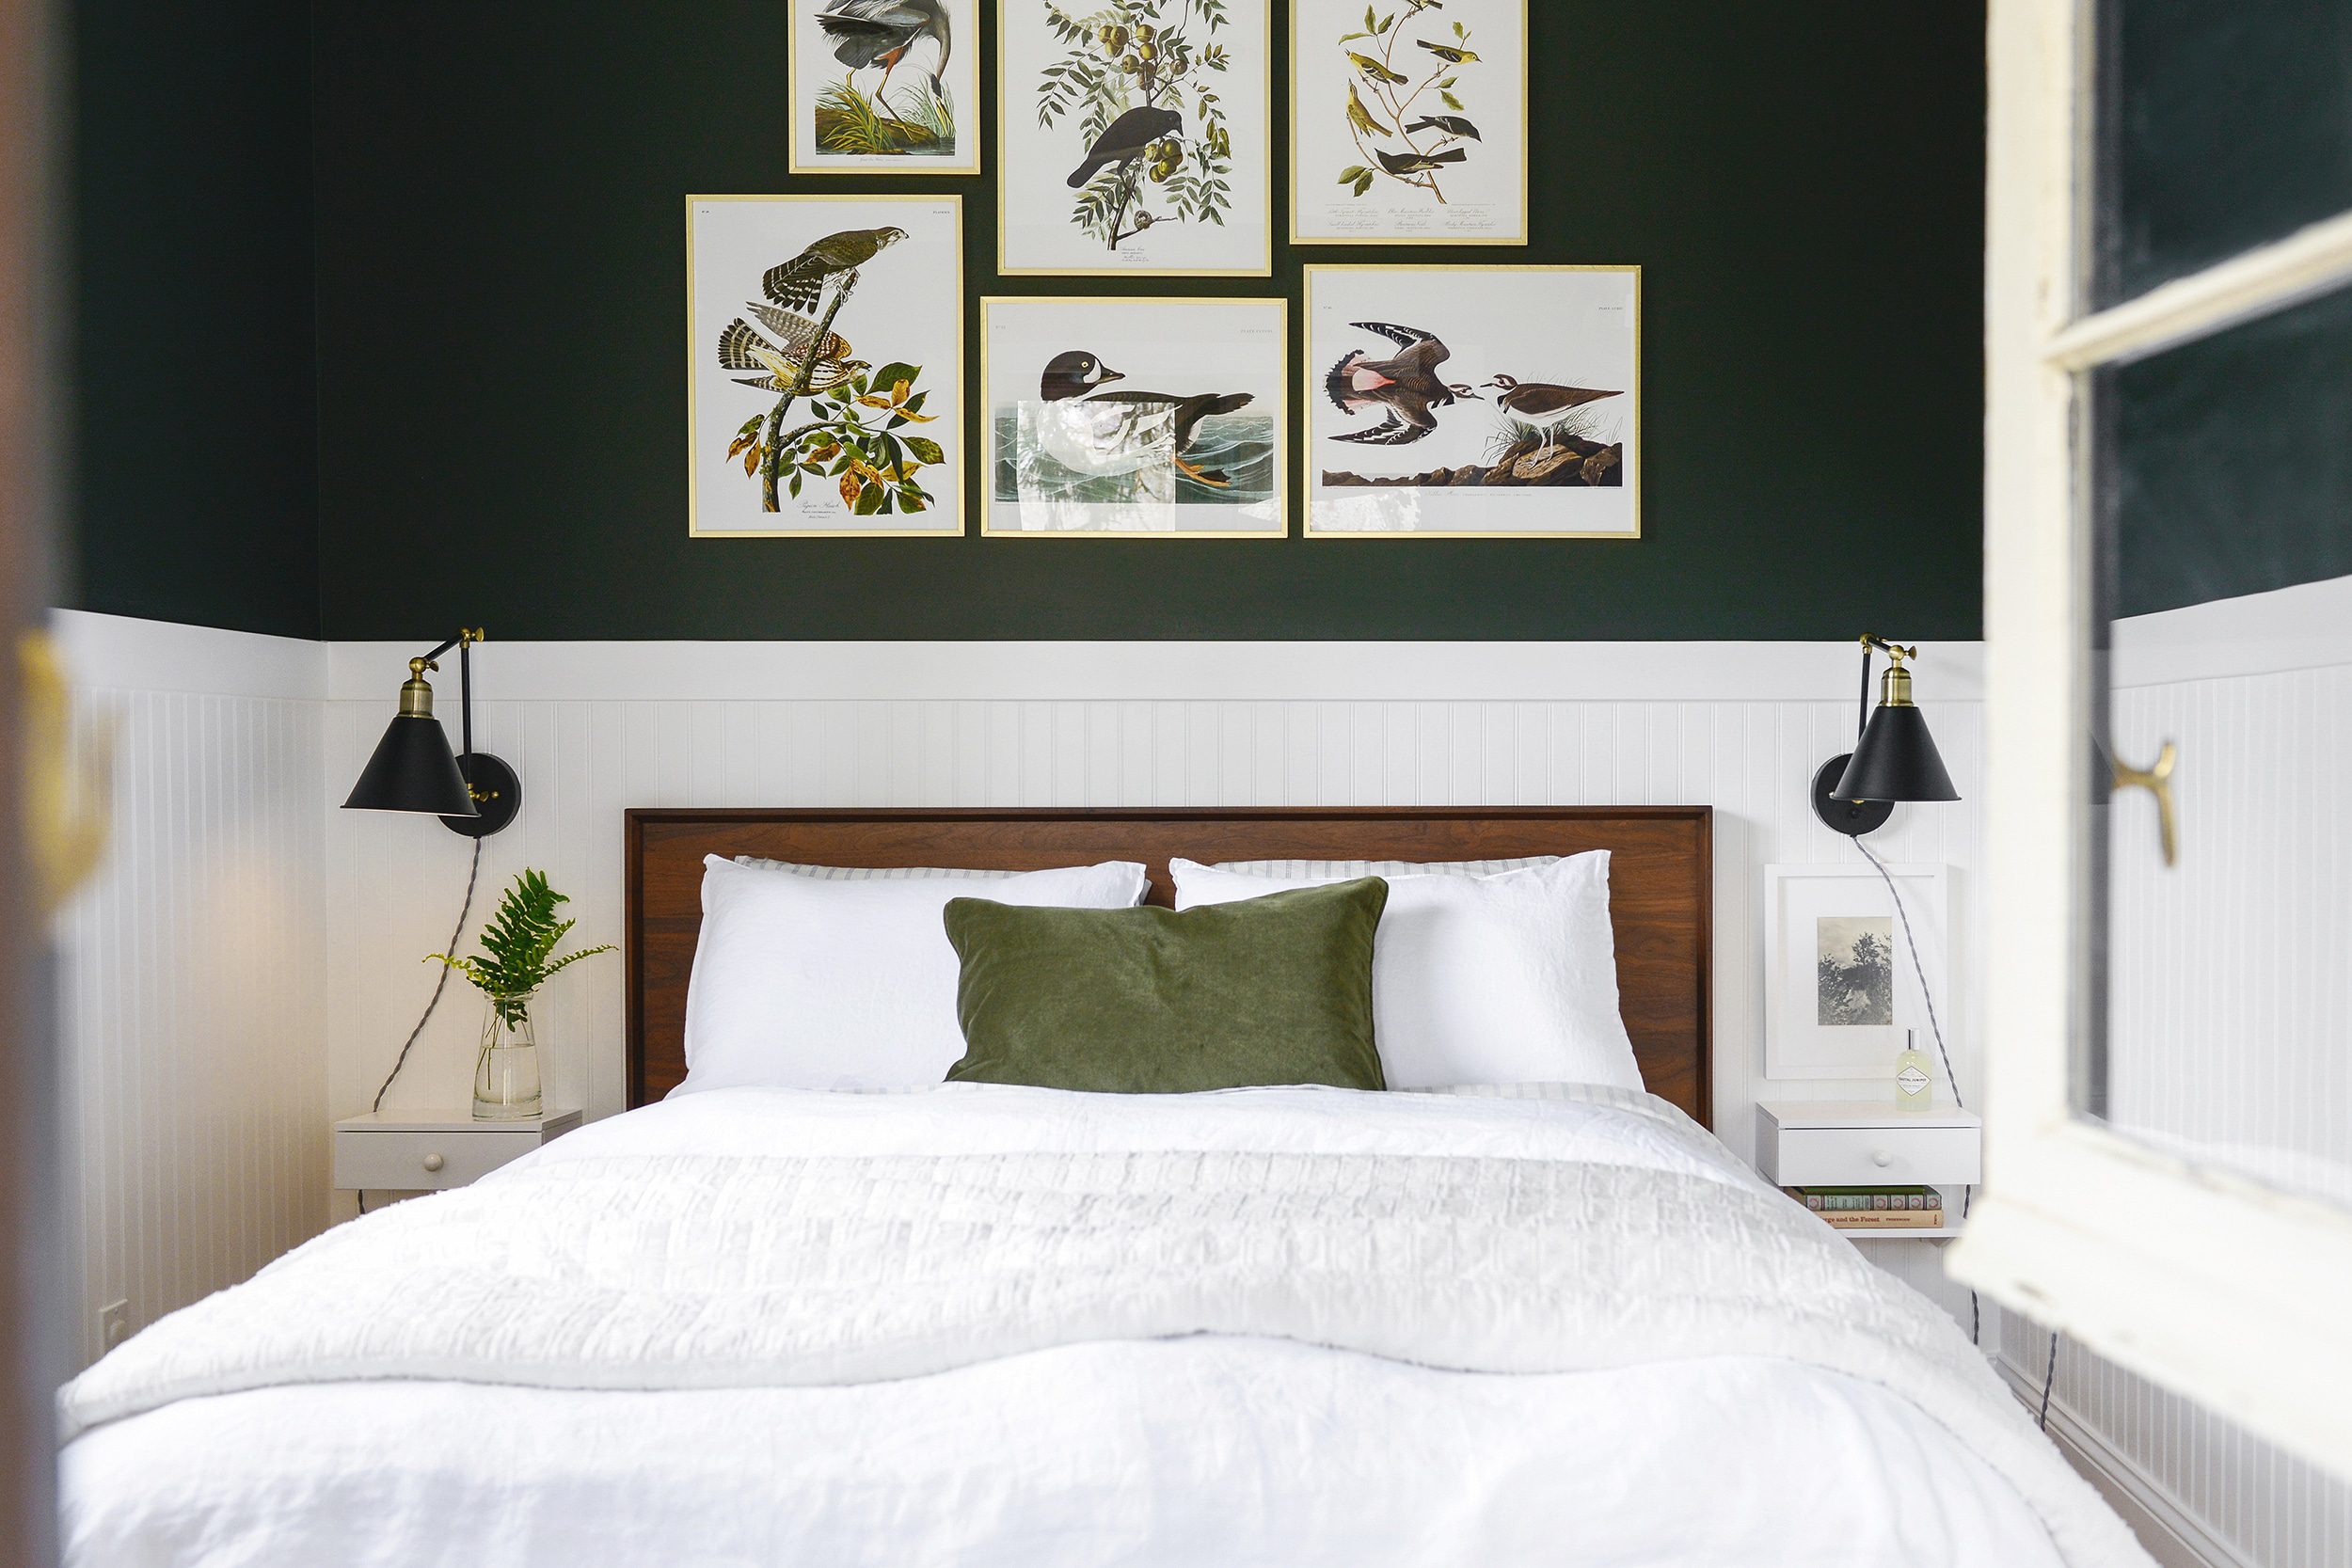
Something else you may want to consider is standing outside of the small space and shooting in, with the door frame (or wall, etc) in the foreground. It’s an instant way to lend a sense of place – almost comforting. Here’s an example from our teeny, tiny guest room:
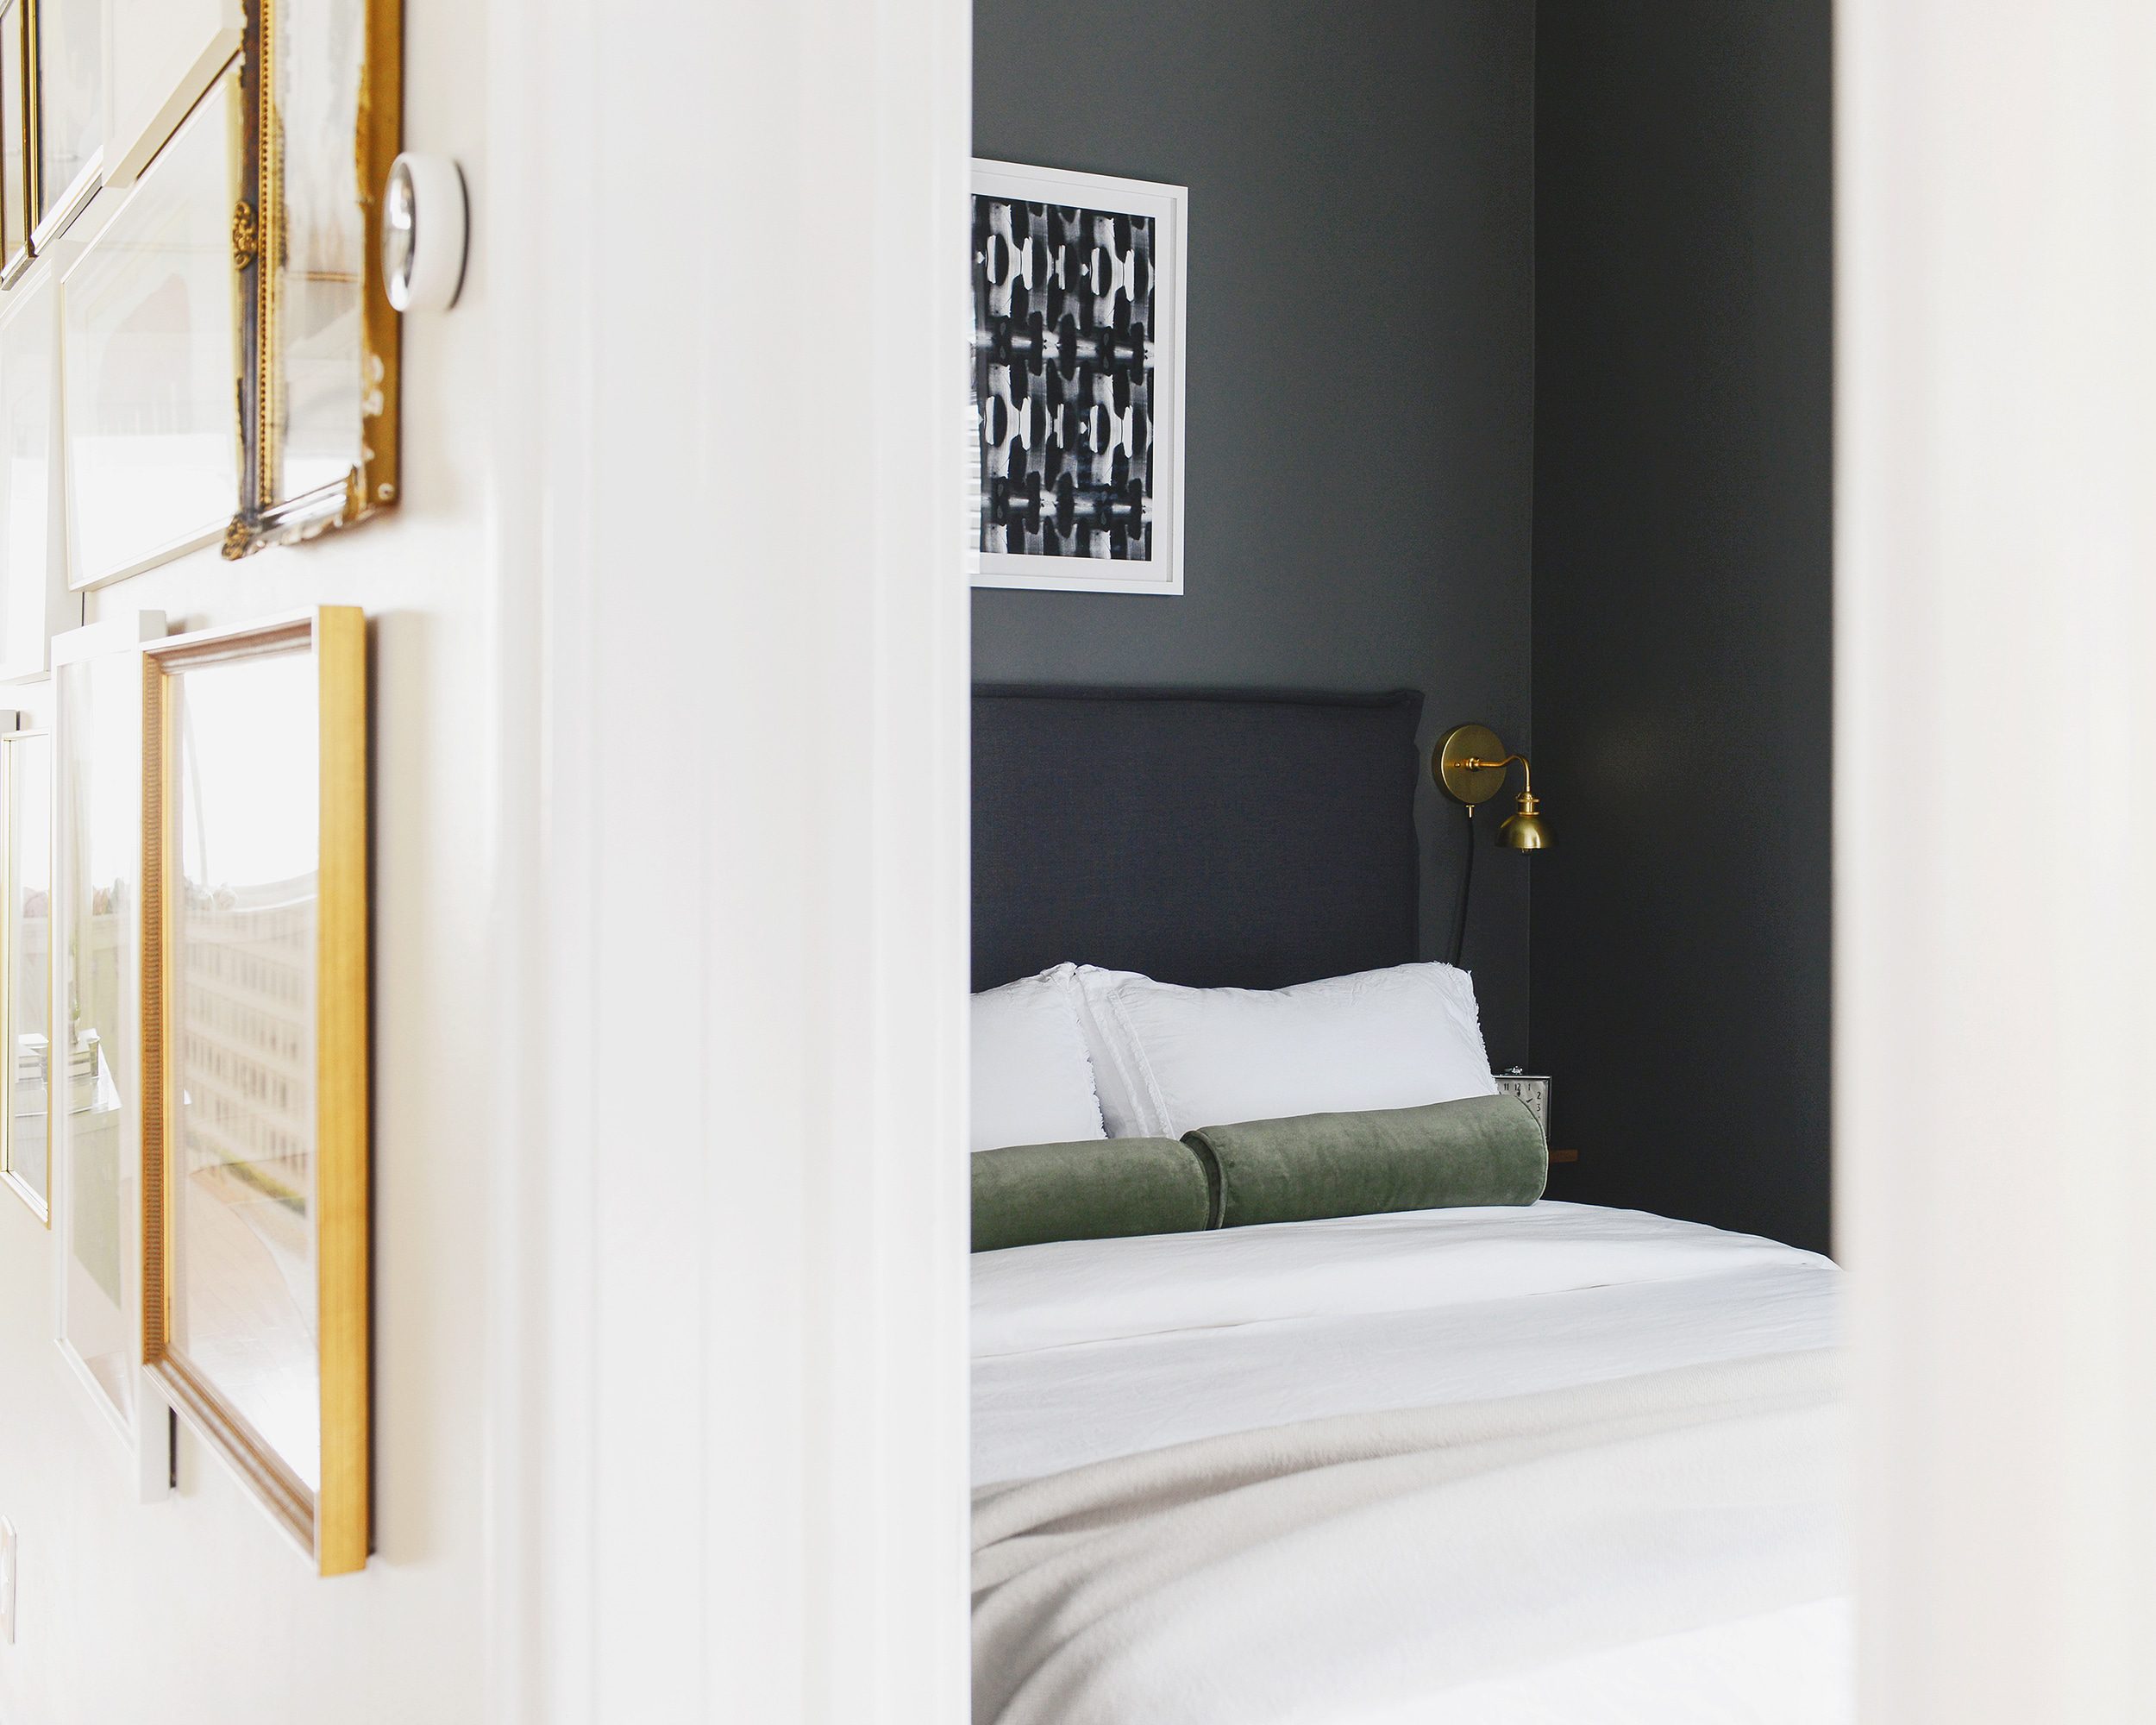
And in the photo below, I was actually standing outside of the bedroom and shooting in!
If you adjust one manual setting, is there one that must always go in tandem (in a semi-equal adjustment)?
Not necessarily. If you’re adjusting for light to get the right exposure, you can choose the single element that will help you achieve your results. For example, if you’re taking photo at f/2.8 because a shallow depth of field (and ‘bokeh’) is important to you, but your photo is coming out too dark, you could adjust for either 1) a slower shutter speed or 2) a higher ISO.
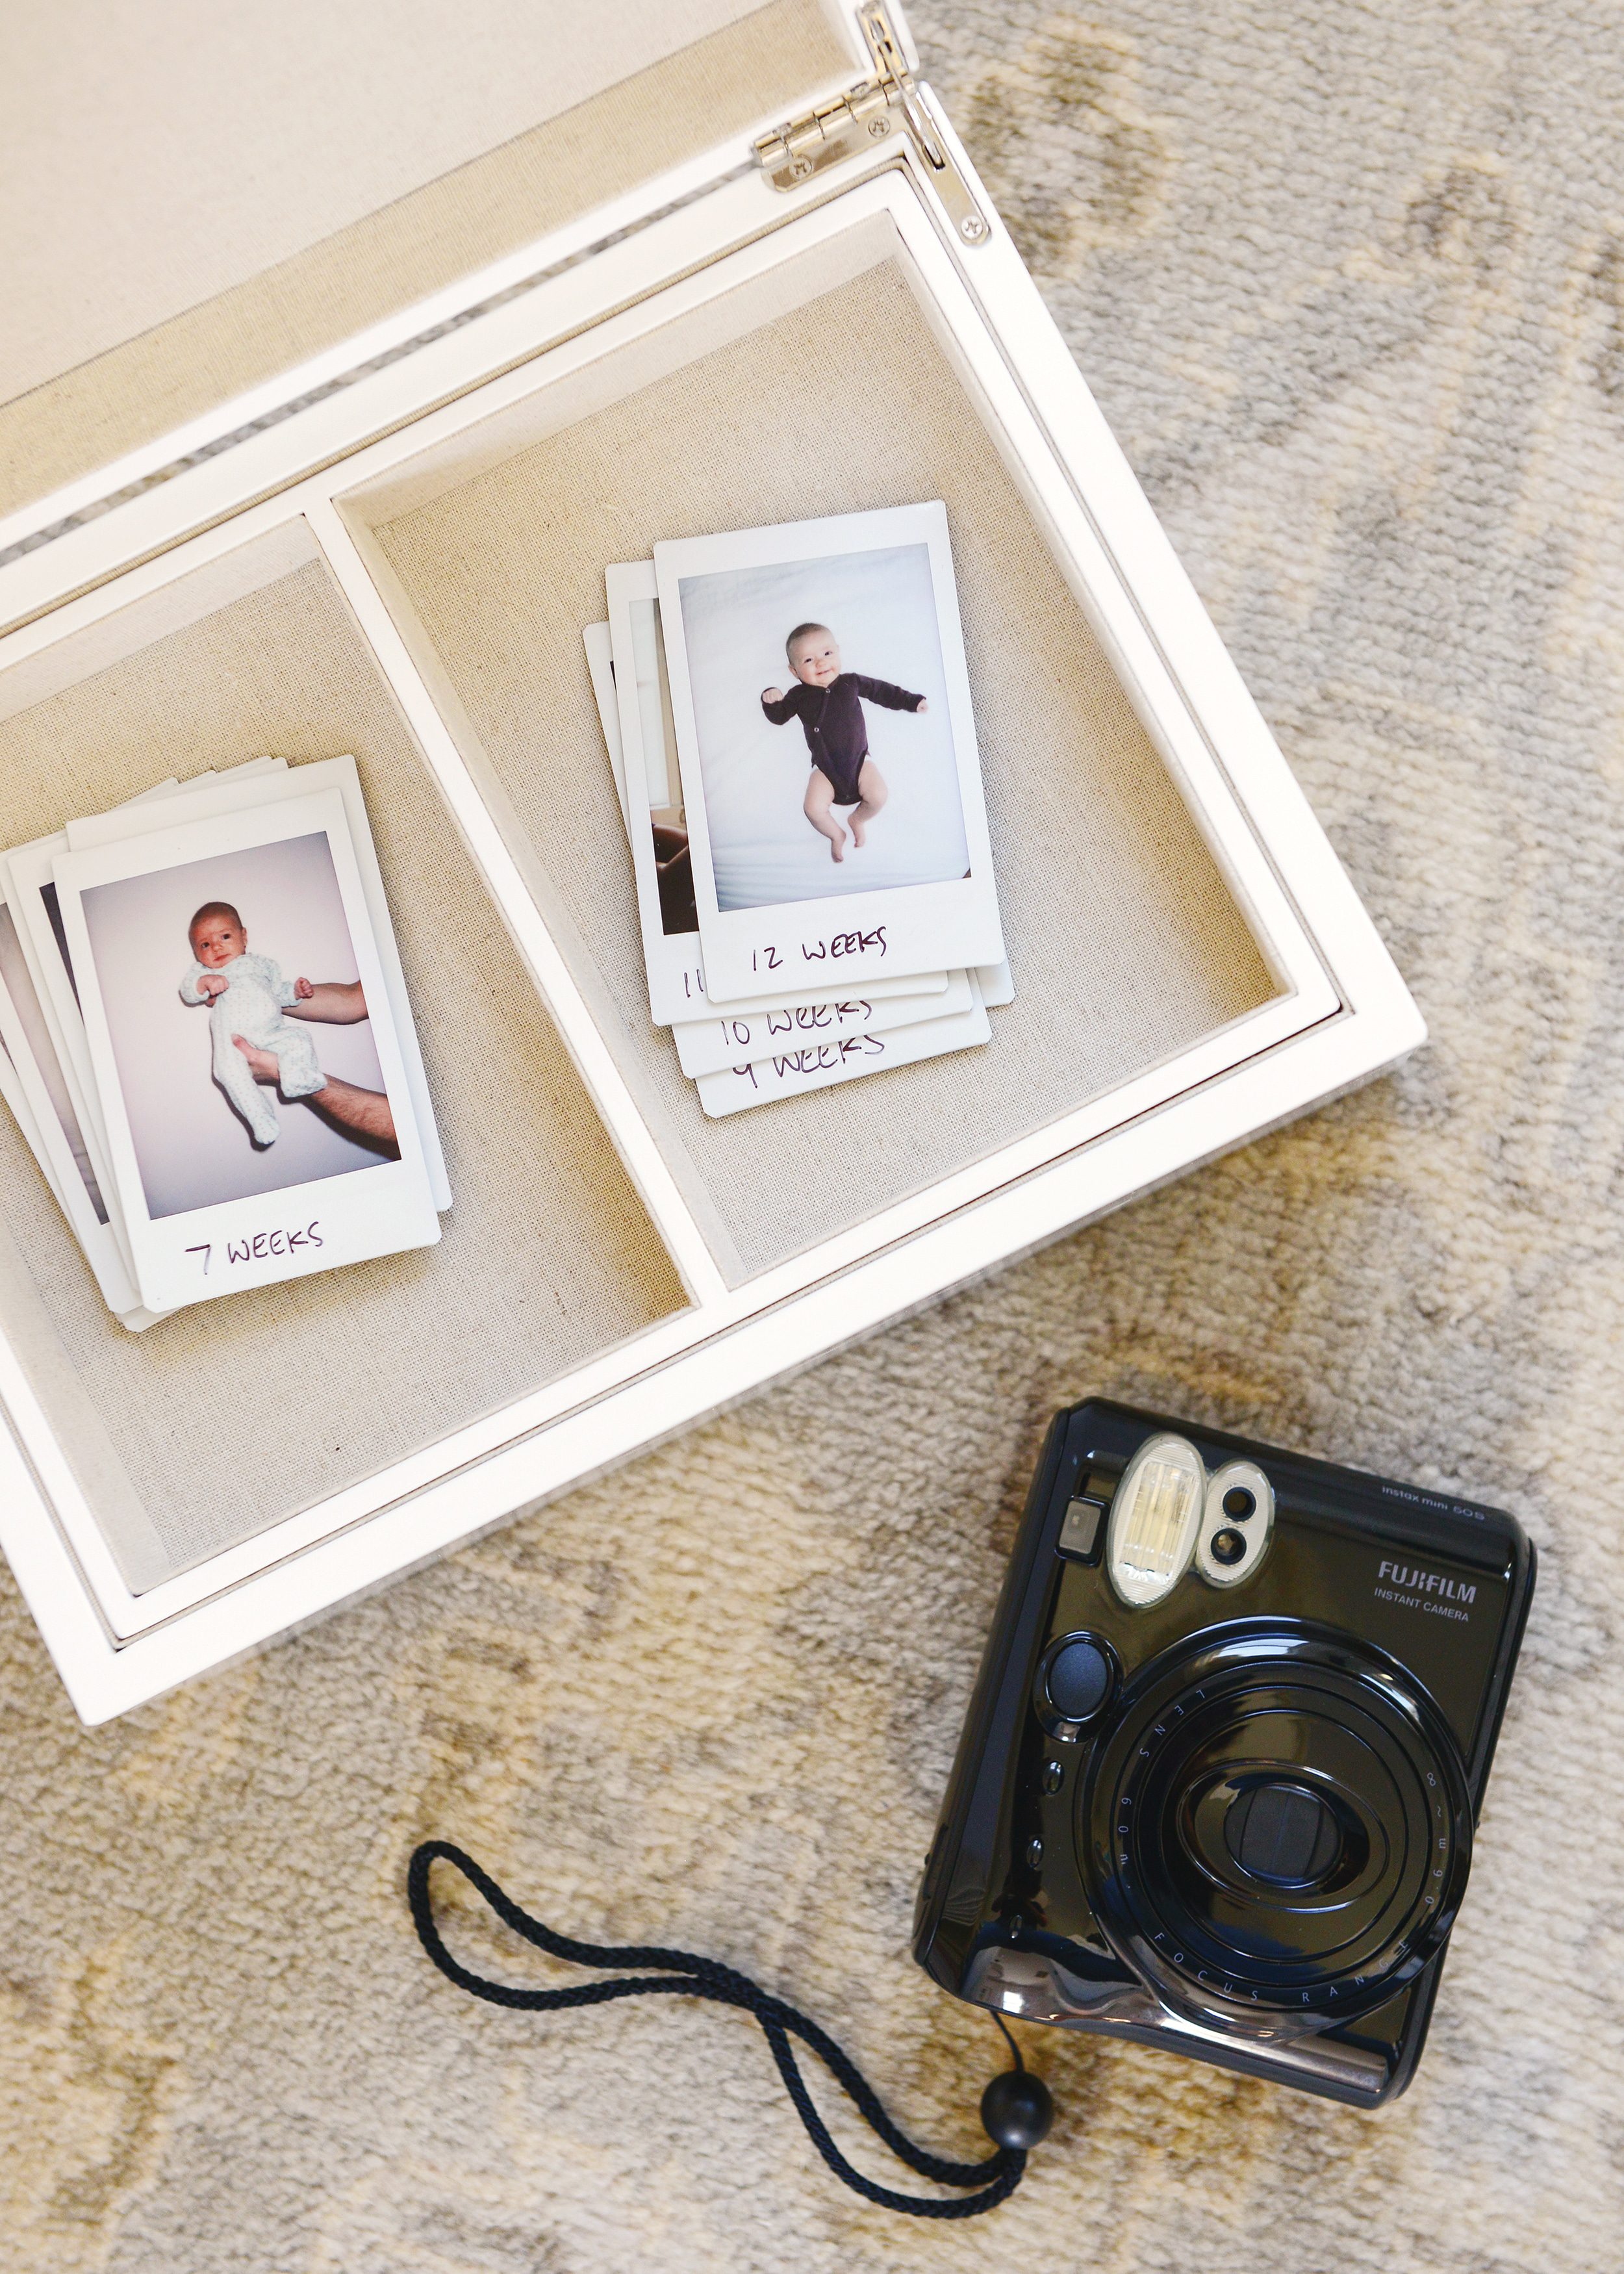
I have an Instax camera also, and I can’t get the images sharp. What’s your secret? I don’t expect perfect photos but sometimes they are just so blurry. Help!
It’s not just you – it’s the charm in them! We love Instax photos for the instant gratification and nostalgia, so much so, that we documented Lucy’s entire first year with them! (It’s a fun, stress-free weekly photo idea!) Even still, I can understand how overly blurry photos can start to feel like a waste of money. My advice? Avoid shooting in the evening or with a flash. Opt for naturally bright times of day for the best results.
I’d love to hear more about shooting in raw vs. jpg.
I shoot purely in jpg. I do this partially to save on file size, and partially because I do my best to shoot my photo correctly from the beginning without needing too much editing. I used to think that I wasn’t a ‘photographer’ unless I shot raw images (boo, hiss!), but here’s the truth of the matter: Technology has come so far and has gotten so good, while I’ve also been practicing and gaining more experience myself. With those things together, I can create a better photo straight from the camera.
If you’re wondering what a raw image is, this line from Wikipedia is more helpful than all the thousand-word articles I’ve found:
Raw image files are sometimes described as “digital negatives” […] that is, the negative is not directly usable as an image, but has all of the information needed to create an image. Likewise, the process of converting a raw image file into a viewable format (aka, a jpg) is sometimes called “developing” a raw image.
I don’t have an iPhone with portrait mode, is there a way to achieve it on an iPhone 8?
Did you know you could use an app to help achieve this? I’ve checked out a few, but Phocus looks to be one of the better ones.
My Budget-Friendly Picks
Could you recommend cameras for different budgets?
Truthfully, I may not be the best person to ask! I’ve been using Nikon for as long as I can remember, starting with a Nikon D80 DSLR back in the day. My suggestion would be to ask friends and family, and if someone is very enthusiastic about theirs, read the reviews on that model. Ken Rockwell is a great resource for reviews (and all things photography, honestly), as is B&H Photo. So now I ask you…
Friends, is there a camera you would highly recommend? All budgets and skill levels welcome!*
*Please leave your suggestion in the comments so that we can learn from one another, along with why you love it!
Are there any other lightweight tripods you would recommend?
I’ve tested so many, and this one still tops my list. It goes everywhere with us! Everywhere.
Favorite lenses, please! (I’m looking specifically for portraits and for nature photography.)
I’m a Nikon girl, and my f/2.8 24-70mm lens is my baby. I mean, she truly is like a baby – I clean her up regularly, I spend as much time as possible with her, and I tuck her into her bed bag every night. I use her for portraits, landscapes and interiors. I’ve yet to come across an occasion where I’m not reaching for her! However, there’s one hitch: She’s heavy (but worth the discomfort, I think).
That said, the nifty fifty is a handy little lens to keep on hand, too! It’s lightweight and affordable, free of distortion and small enough to tuck into any bag!
What are your ‘must-haves’ for an amateur photographer?
A decent camera body with an even better lens. In fact, skip the ‘kit’ lens that comes with most cameras, save the money, and pick up the nifty fifty to start! Aside from that, I think the biggest thing you need when starting out is a fearless attitude. If you see a shot, do whatever it takes to get it. Keep your eyes open, notice the small details. Ignore the looks from the passersby, line up your shot, and keep that trigger finger active. Sometimes overcoming the self-fear of looking idiotic can be the hardest part. Push past that. You got this!
PS! Here are some other photography posts you may have missed: How to edit evening photos, how to create a unique composite photo and how to take better photos of your pets.


I love following your photo 101 series (and everything else – I read your blog and find myself on Amazon buying whatever you recommend :D ). I was also wondering is there a way one can make the iPhone photos larger for print without losing its quality? And following Photo 101 series, maybe a Video 101 series in the future?
I’m still trying to get better with video! But thank you. :) As for making photos larger – if you make a photo larger, whether that’s a phone photo or one from any camera – you’ll always lose some of the quality. My advice would be to make sure you’re saving the HIGHEST file size available when you’re sending it off to print!
What a great roundup! My husband is a purist in that “all lenses must be prime” so our go-to’s are the Nikon 50mm f/2.8 and the 28mm for a wider lens when shooting home and family. We always make sure to spend the money for the lowest aperture we can as well.
I used to think prime lenses were the best… until I switched to my 28-70mm. It’s just all around my favorite lens for every application!
Hello, thank you so much for this content!!! I love a great photo, but have little experience. Reading all your tips have inspired me. First, cleaning the lens has vastly improved my photos! Who knew?!? My daughter with special medical needs was just named homecoming queen. I read your last post the night before the parade and dance. Using the InShot app you suggested, I was able to put together a video for her. Thank you so much for sharing your vast knowledge.
Oh my goodness, I couldn’t love this more! Thank you for sharing.
I want to be like a photographer like you, so I appreciate all your help here. What I love about your blog the most is your great pictures, then to find out you are a photography major, so it makes sense. I’ll be here all day learning from the best
Oh, wow, this is so kind, thank you!
So good! Your content is gold to me. Friendly, approachable, and always hunky. ;-)
Hubba hubba!
Thank you so much for these posts! I’ve always loved your photography aesthetic.
Thank you so much!
I love your photo tutorial posts so much. This one was especially helpful. Thank you for sharing your knowledge!!