

This post is in partnership with Lowe’s. We’re overhauling our kitchen and mudroom with Lowe’s and sharing our experience with you! Here’s our initial design meeting, how we pieced together panels + fillers, how we shopped for durable countertops and how we built thick floating shelves.
Renovation is a funny thing. It starts out exciting; you think, oh, the possibilities! You demolish something, and you’re buzzing with energy. You build it back up, and your muscles ache. You and your partner don’t agree on X, Y or Z, and you’re frustrated. At some point along the way, you see a glimmer of what the room will be. You get excited again, but then doubt creeps in. (Ugh, that doubt.) You say out loud, should we have chosen option B? And you think to yourself, I hope we know what we’re doing.
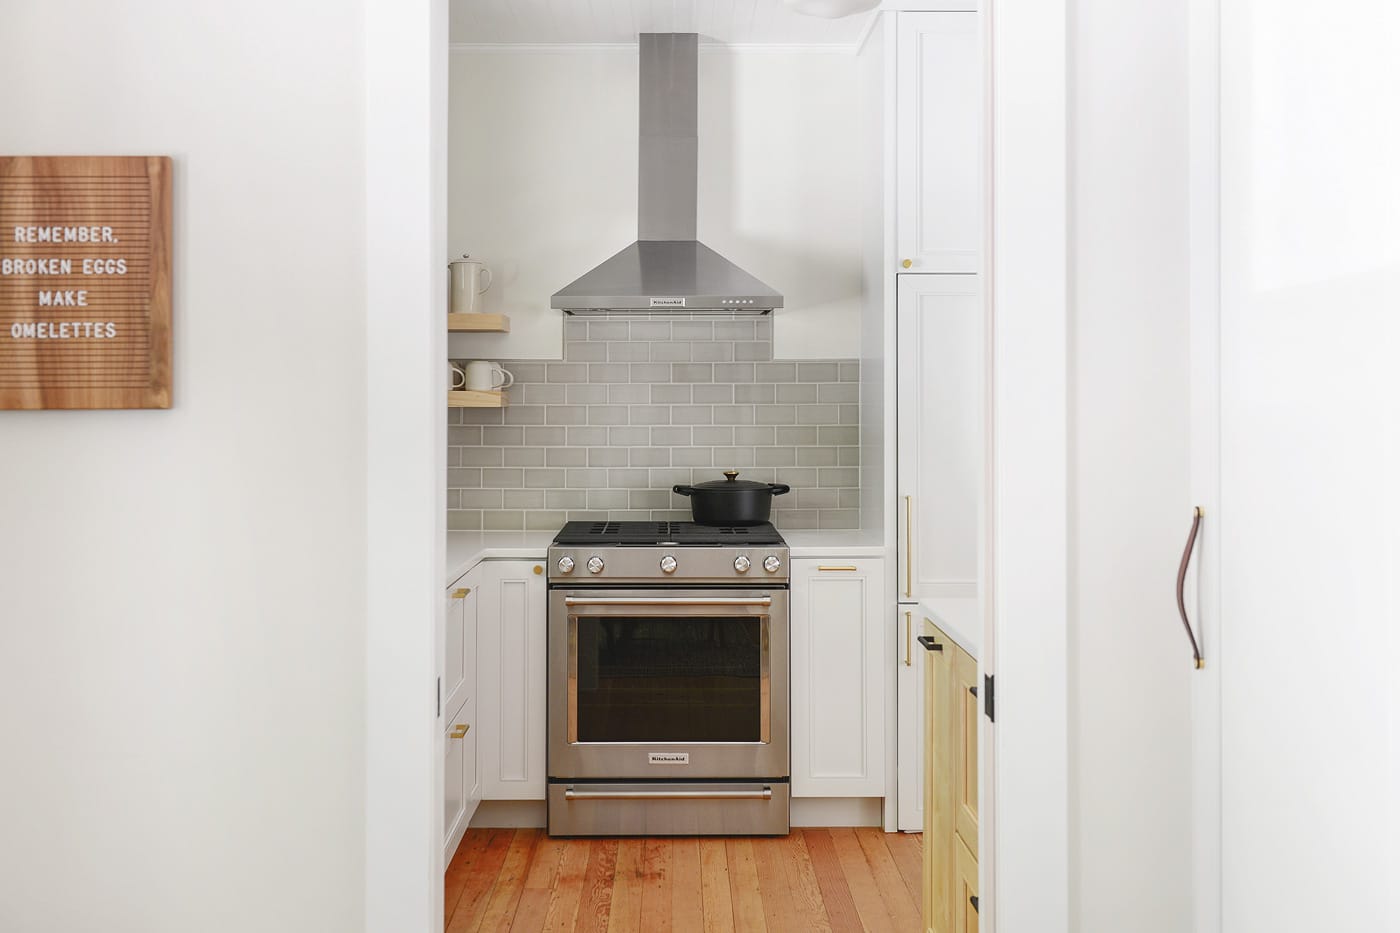
Only a few weeks ago, we were in the latter stages of the renovation roller coaster. We had white cabinets, light countertops and off-white walls. It was all so … white. We had painted the windows black and the front door pink, but it wasn’t until we tiled our backsplash that everything started clicking. The first row of tile went up, and click. Then the second row and the third row, and click. By the time we had rounded the corner of our L-shaped kitchen, we couldn’t stop smiling. Click, click, click!
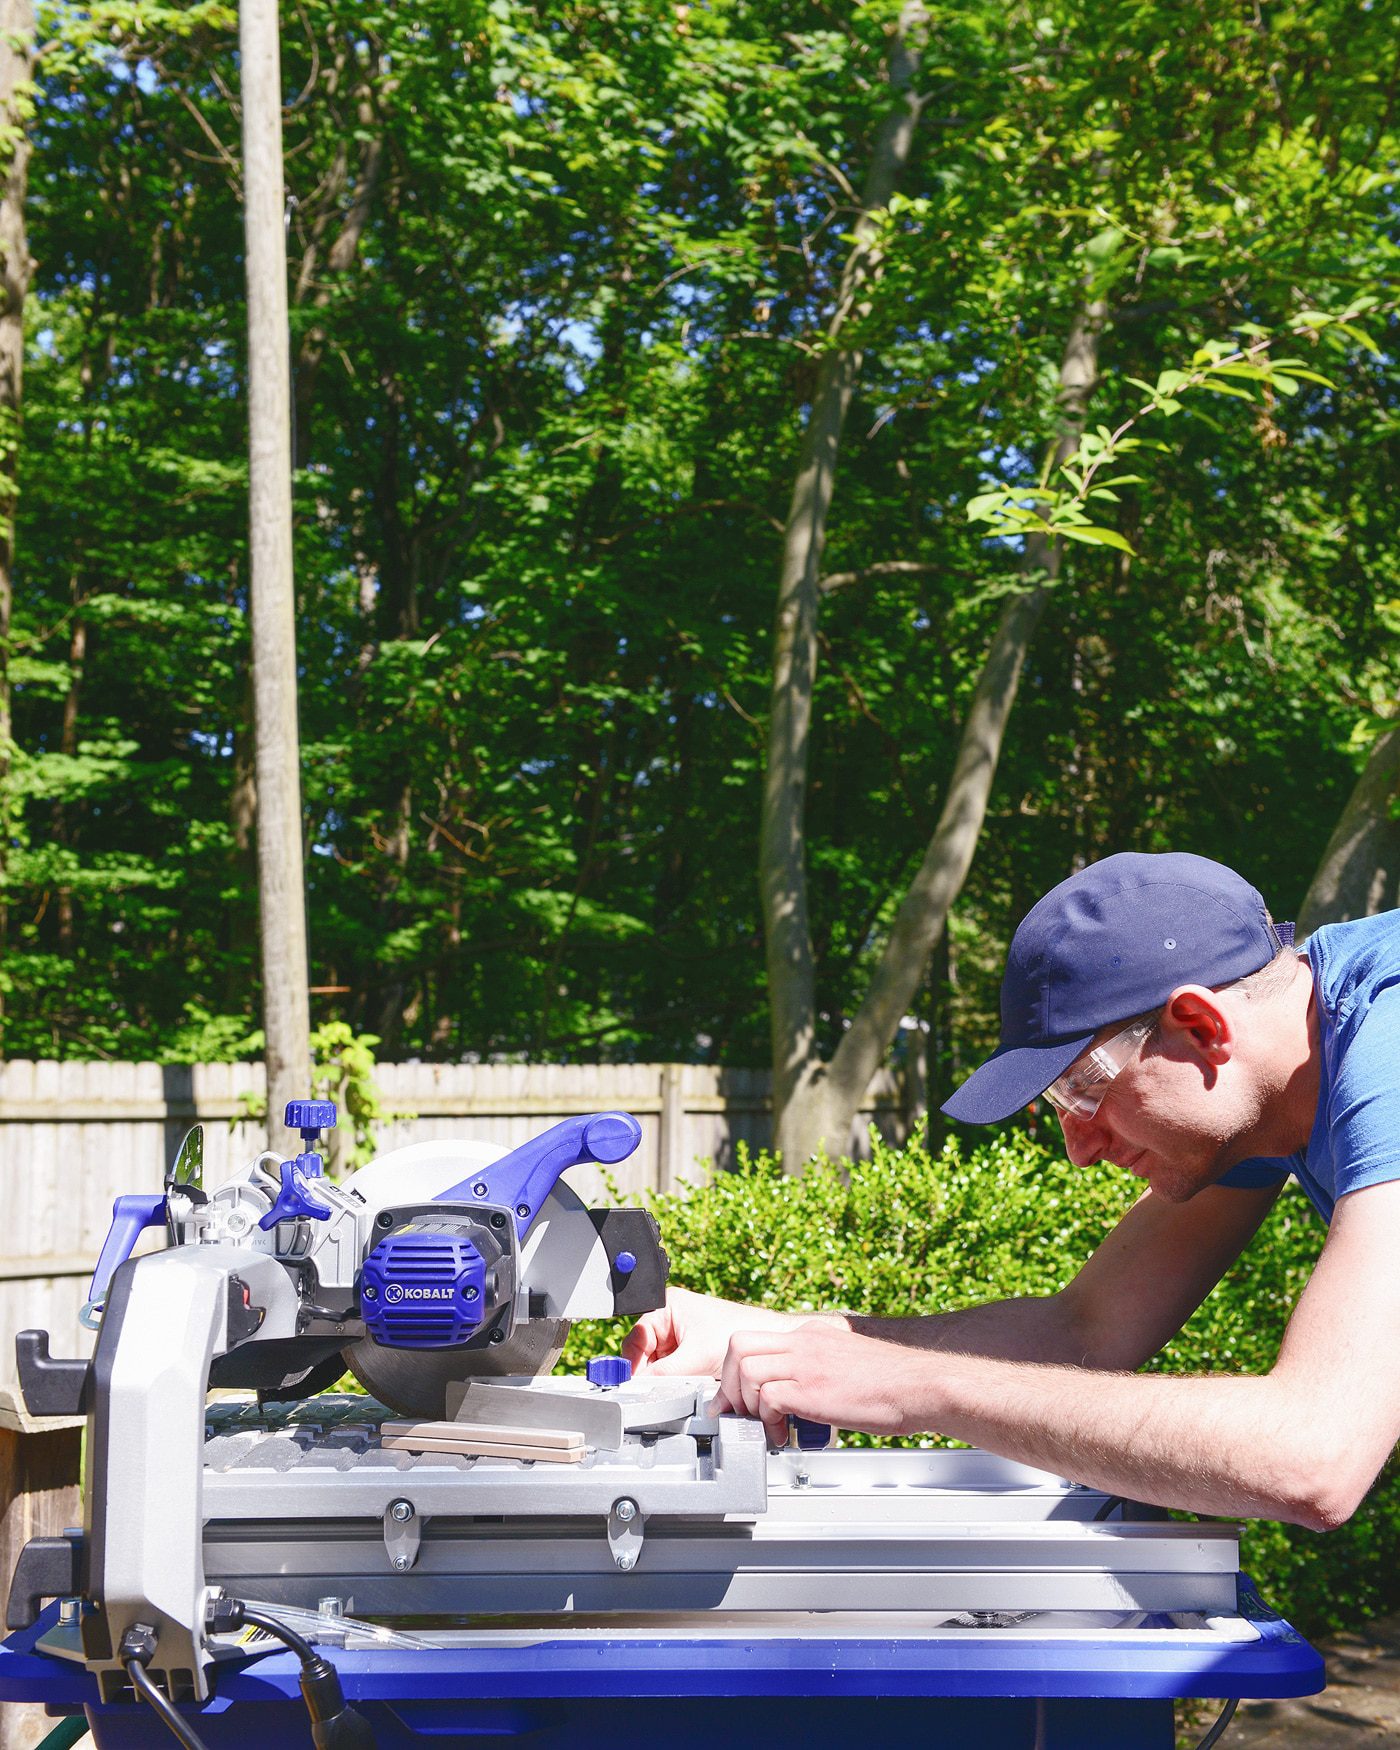
We’ve tiled several backsplashes, floors and walls, and I promise you, you can do it, too! It’s a painless DIY with the most satisfying results, and although it does take time, it’s a skill that catches on quickly. In fact, the first time I learned to use a wet saw, I was hooked! However, I’ll say this: we’ve had a few different wet saws over the years, and a quality wet saw has made all the difference in the ease and overall success of a tiling project. We used this 10″ Kobalt sliding saw, and it was, hands down, the star of the show:
Tools + Supplies Used
This tile
This pencil tile
10″ Sliding wet saw
Premixed mastic
Premixed grout
Caulk (matched to grout)
2-3 Buckets
(A lot of) water
V-notch trowel
Float
Sponges
Marker
Small level
Heavy kraft or rosin paper
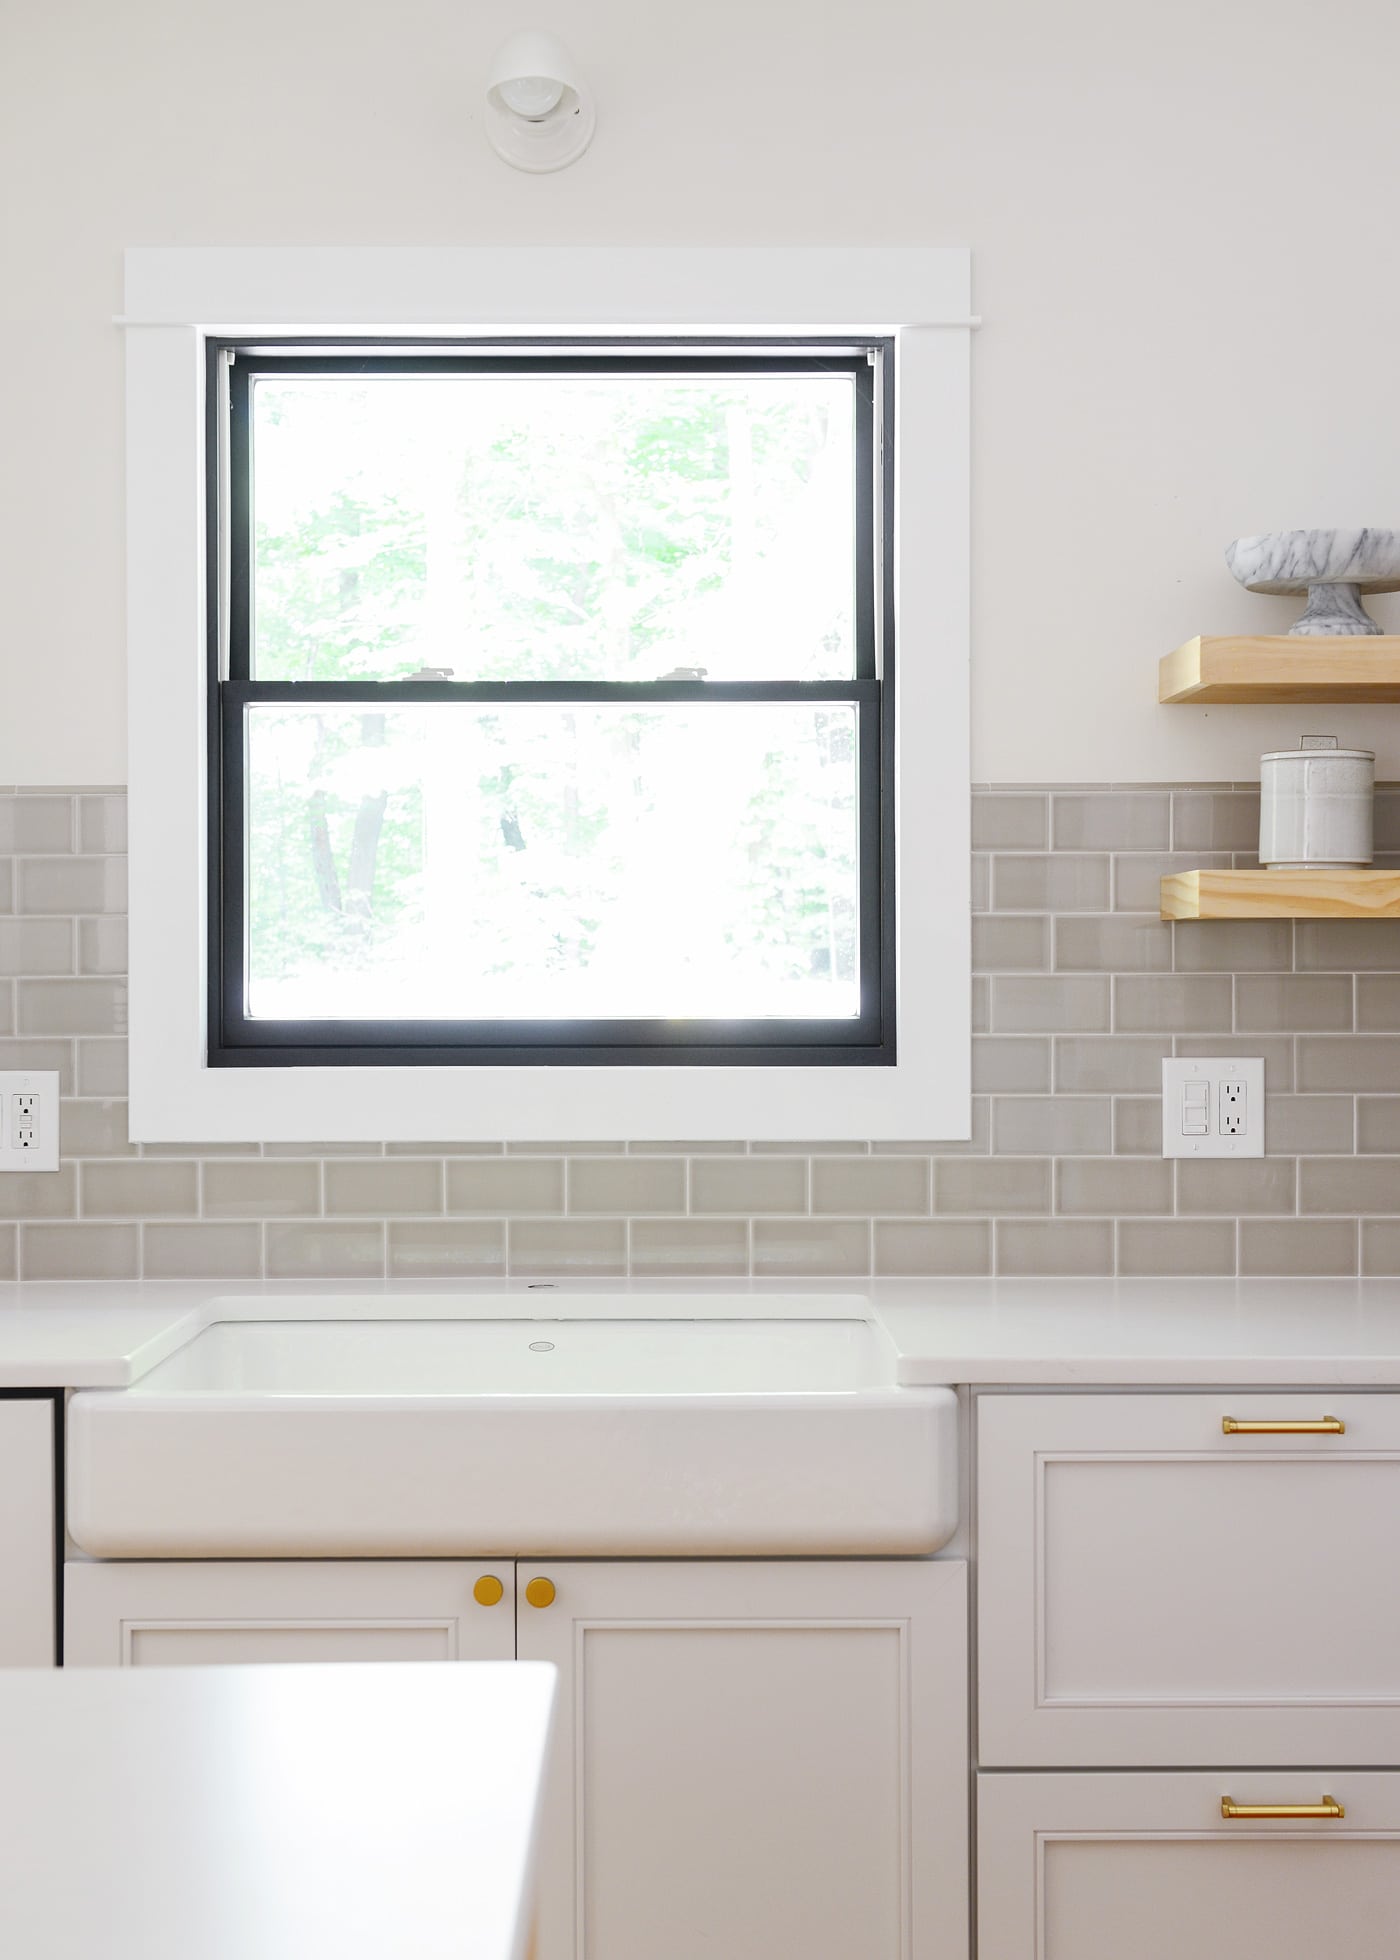
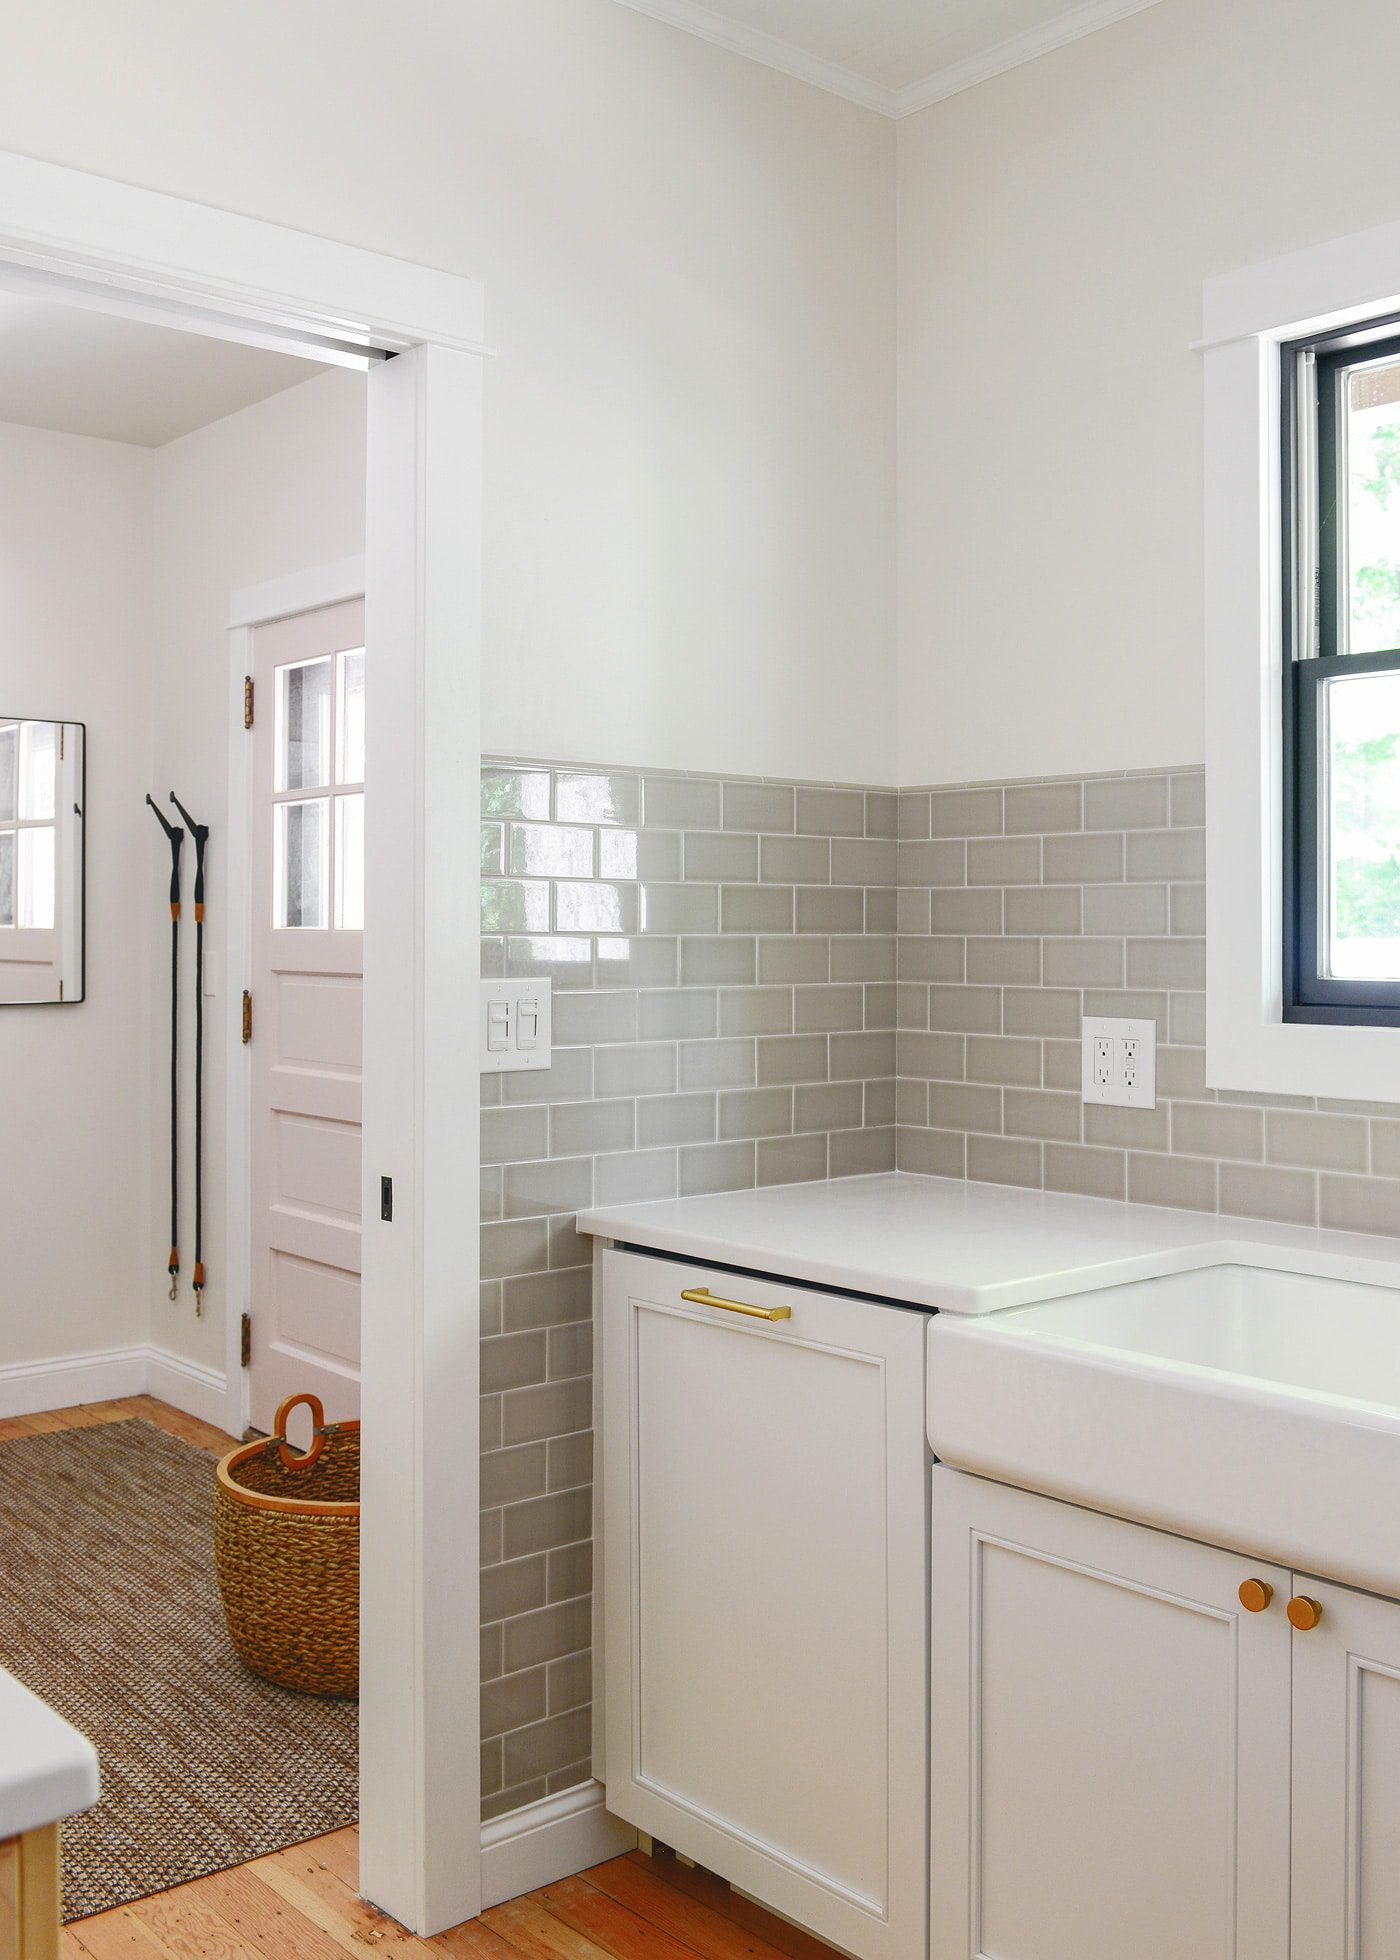
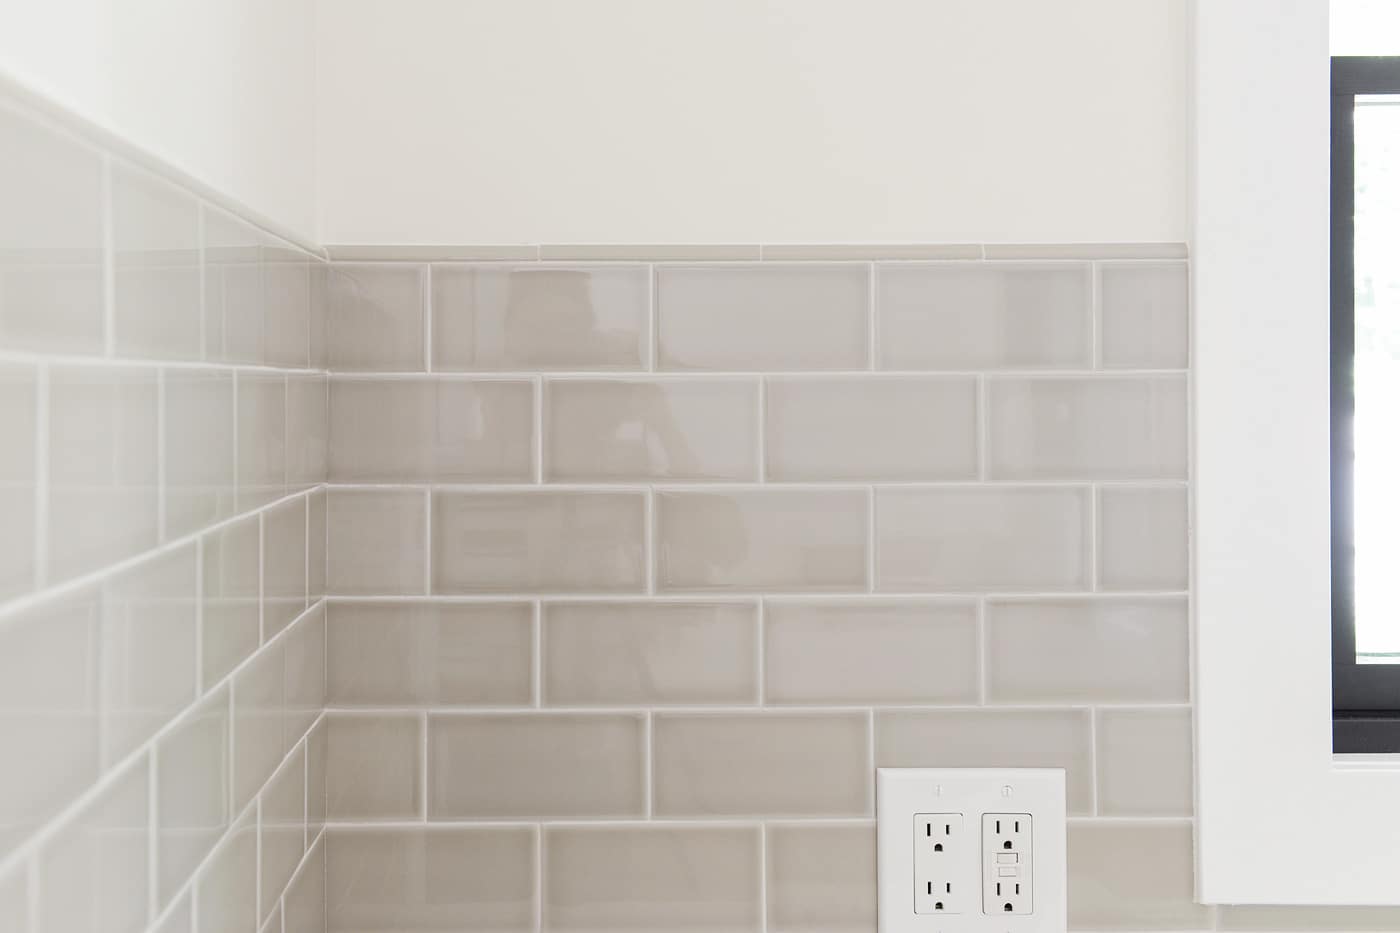
We chose to go 2′ up the wall from the countertop, and we topped the raw edge with a thin pencil tile. Anything higher felt too fussy for our laid-back Tree House, and anything lower felt like, well, it felt like an afterthought. We continued the tile to the left of the window wall, although at one point, we had considered leaving that wall bare. Shame on us! Initially, we did leave that wall untiled, but I couldn’t shake the feeling that the space looked unfinished. A quick chat with our friend Daniel confirmed that it absolutely should be tiled, and by trailing that small wall of tile all the way down to the floor, the room somehow feels more high-end.
The tile backsplash and floating shelves were completed in tandem, which resulted in a truly custom look overall. We’re sharing the entire process from start to finish in the video below, including our top tips we’ve learned over the years! If you’re reading this post in a blog reader, you may need to click over to view. You can also view it on here on YouTube.
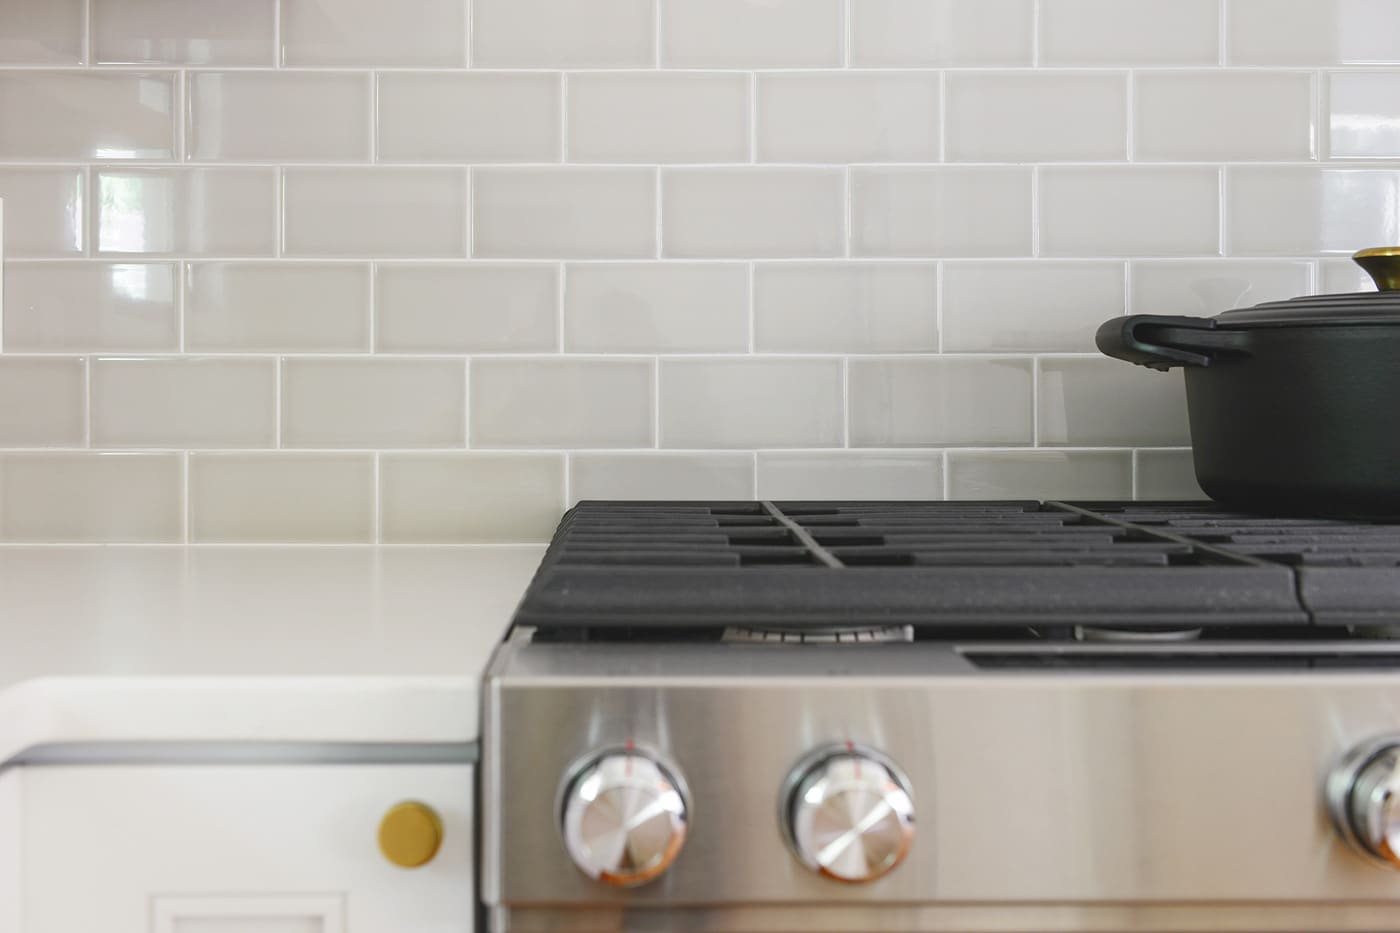
The allen + roth pearl tile is a chameleon. It’s warm. It’s cool. In the early morning, it’s deep and moody. It takes on a green tint in the afternoon sun, a result of the trees reflecting off the glossy surface. The bright white grout adds a subtle contrast to the slightly varied shades of gray. At various points throughout this renovation, I asked Scott, did we choose a tile that looks dated? Despite our inspiration photos, that silly doubt would creep in, haunting me. But in the end, we fully believe that the tile makes this kitchen.
We’ve been filling the cabinets and stocking the shelves, and the full reveal is right around the corner!
PS: To stay up to date with our vlogs, it would make our day if you subscribed to our YouTube channel!
In This Post:
subway tile | pencil tile | bright white grout | bright white caulk | pre-mixed mastic | wet saw | floating shelves | range | range hood | Kraftmaid cabinets | brass hardware | leather hardware | front door color: Valspar Pinkwash


Thanks for this post – we’ve been putting off diy tile backsplash. Great motivation. Your kitchen looks great – love the pink door by the way.
That pink door makes us smile every time. :) Thank you!
It looks so good! Your video was super helpful, especially clarifying the timing between grouting and using the sponge. I’ve watched tiling videos before, and didn’t realize it was better to wipe as you go instead of waiting til the whole thing was done.
I also love how you do your materials intro, it’s cute and makes me smile, plus the list form is really helpful.
Waiting too long makes it SO hard to remove the grout! We always grout section by section, and wipe with the sponge before moving to the next.
You guys are amazing!!! Thanks for the great tutorial, as an older single female (nearing retirement) you have taken the mystery out of tiling and for sure made it something I may be willing to try in the future. Your tile looks awesome, and you have really inspired me. Your decorating style is so clean and looks so inviting. Thanks again!
So happy to hear! You got this!
This is perfect timing! We’re in the process of buying a home we want to add a backsplash to!
Paige
http://thehappyflammily.com
I’m gathering supplies to tile my kitchen backsplash with my dad’s help (it’ll be my first time tiling – eek!). We got into a debate about whether I needed spacers or not, since I want a thin grout line. I called him to tell him your video cleared up that debate and that he was right! Ha! So, thanks!
Also, did you worry much about the flow of the tile around corners? For instance, did you make sure to have the equivalent of one tile cut into two for the corners?
Hahaha, no problem!
And yes, we used the remainder of what was cut to turn the corner so everything stayed super consistent. That doesn’t necessarily mean that the tile was perfectly in two though! The only place it was perfectly in two was the corner to the left of the window.
This is perfect timing, last night I did my very first tile job on my kitchen back splash. Now with your help I will tackle the grouting tonight. Fingers crossed it turns out a nice and yours!
Ooh, good luck and have fun!
Everything you guys do looks so, so good! Thanks for the inspiration :)
Ahhh!! I love it! So pretty ?
I just helped my bf tile his kitchen backsplash a little while ago! We used the tiles that came in sheets and ugh, watching you guys just nonchalantly slap those 3x6s up on the wall with no spacers (!!!) makes me want to go back in time and stubbornly insist that we use the 3x6s! The sheets were fine, but kind of unwieldy, and we had to separate and cut them when it came time to turn a corner.
As for grout, have you guys heard of the orbital sander trick? CLJ posted it on their blog a while ago but basically you slap one of those green Scotch-brite scrubbies onto the sander in lieu of sandpaper, spritz the wall with water, and then sand away! All the leftover grout and grout haze goes away like magic.
Oh, yeah! We saw that! Those guys have tricks for daysss.
I love that you tiled the end wall of the countertop and then brought it down to the floor, it looks great like that… BUT what if you don’t have a door opening right there?? How far do you go? I am worried it looks unfinished to either forego the end wall or only take it to the counter edge… Thoughts? From you or Daniel? (I read his blog too!) Thanks!
I think the hardest part of tiling might be making these decisions, haha. If your doorway or another piece of trim isn’t TOO far away, you may consider traveling further with your tile. Otherwise, you might want to stop at the edge of the counter and trail your pencil tile down to meet the counter so there’s a nice finished edge.
I think going to the edge of the counter is the way to go too. We do have a window pretty close by but the trim obv doesn’t go to the floor like door trim. Taking into to the window may look like we wanted to do the whole wall and stopped short, so counter edge it is! Thanks!
I love seeing that tile installed. I’ve been trying to decide on a back splash tile for ages and the allen+roth pearl tile was one of the contenders a year ago but I was worried it would be too dark. We don’t have a white kitchen (cherry counter tops and blue, soon to be repainted green cabinets) but I’m thinking again that the tile will work. I love the varied glaze color and think it looks more classic in a vintage bungalow than a solid color glazed tile would.
Now I just need to do it!
The variation was such a pleasant surprise! I think you’ll love it.
You make it look so easy. I’ve been wanting to do this forever! Thanks for the post! BTW I love the gray tile!!
You guys are my heroes! I love this and I agree the tile makes it. It’s the icing on the cake. I can’t wait for the full reveal. And your stainless steel kitchenaid oven looks so pretty amongst all the white that I’m actually considering not doing all white appliances in our kitchen (way way down the road) but maybe panel what we can (dishwasher and fridge) and have stainless steel afterall amongst all the white cabinets. I also just love the view of the mud room entrance too from the kitchen. So inviting!
Thank you! We did all white appliances in our Chicago kitchen, and we love that continuity. But a stainless fridge and range hood felt right for Tree House. We’re loving the mix!
Great video and Lucy looks so happy to help out! I am so glad that you mentioned the space b/t each subway tile. Next time I use this tile I will remember.
[…] how to tile a kitchen backsplash with this written tutorial and video from ‘Yellow Brick Home‘. I love glass subway tile. It has such a translucent look to it, but still looks […]
I have referenced this post so many times already! Was it by careful planning or happenchance that the tiles lined up so perfectly centered to your range and hood? The tiles leading up to your hood (and the tiles leading up to your light above your sink in your Chicago home) are all centered. This was something I missed in the tiling I just started last night, and I’m sorely regretting it now :(
Hi Amy! It was a little bit of both :) We always try to map things out as much as possible before we start, but there will inevitably be a few spots where things could line up better. Good luck with your project!
Hi! Question for you about the mastic that attaches the tile to the wall… I just tiled my (small) bathroom floor with mosaic tiles and found it SO difficult to go quickly enough so that the mastic sticking out under the edge of the first row wasn’t just totally dried by the time I got around to doing the second row (if that makes sense). I have a feeling this will be even harder tiling a 12 ft length of wall! How do you keep the mastic sticking out under each row from drying out before you build the next row on top of it?! Thanks so much for all of your tutorials – seriously my entire home reno is basically based on your blog!
Hi Anna! The trick is really to only use as much as you’re able to get to before it dries… so if you find that it’s drying out, I’d only do one row at a time. Work at your own pace!