


sectional | armchair | coffee table | console | ivory pouf | leather pouf
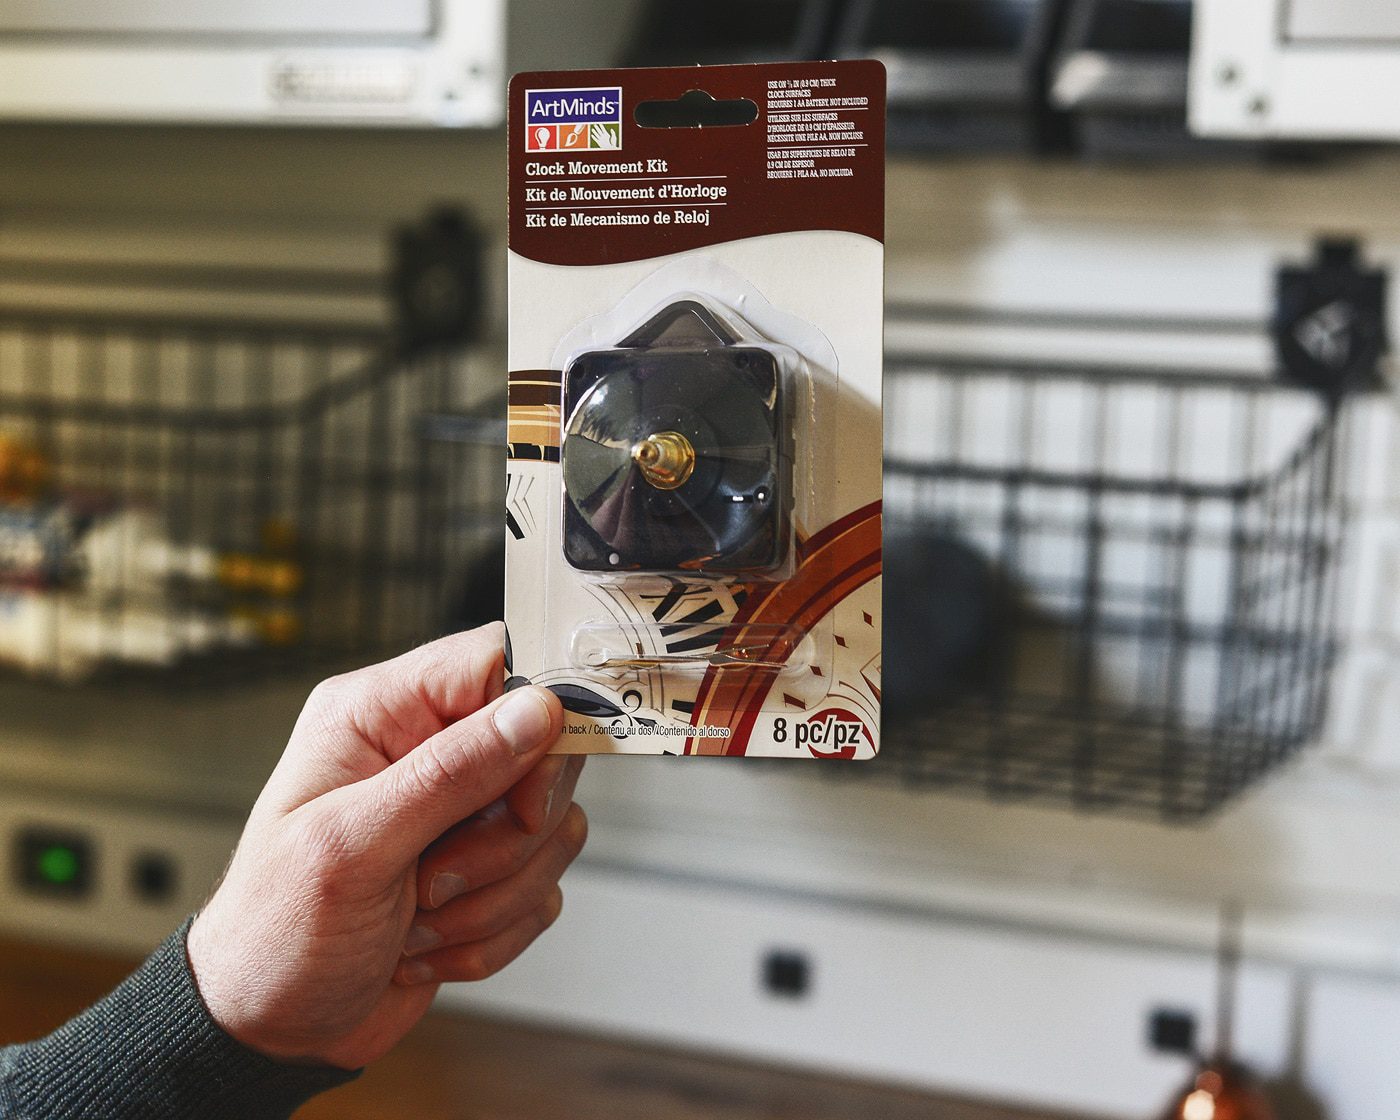
Kim’s grandparents’ midcentury clock has been with us for almost 10 years now. It received a thorough structural repair a few years ago (click over for photos of the insanely colorful condo if nothing else!), but the clock’s mechanism finally gave up the ghost 18 months ago. At least. I mean to be honest, we can’t remember that far back, because we haven’t been able to tell the time since. We knew that a heart transplant for this sentimental beauty would probably be a simple task, but it was just one of those projects that kept taking a back burner. Well, there’s no time (har har) like the present, so we finally bought the parts and got to work.
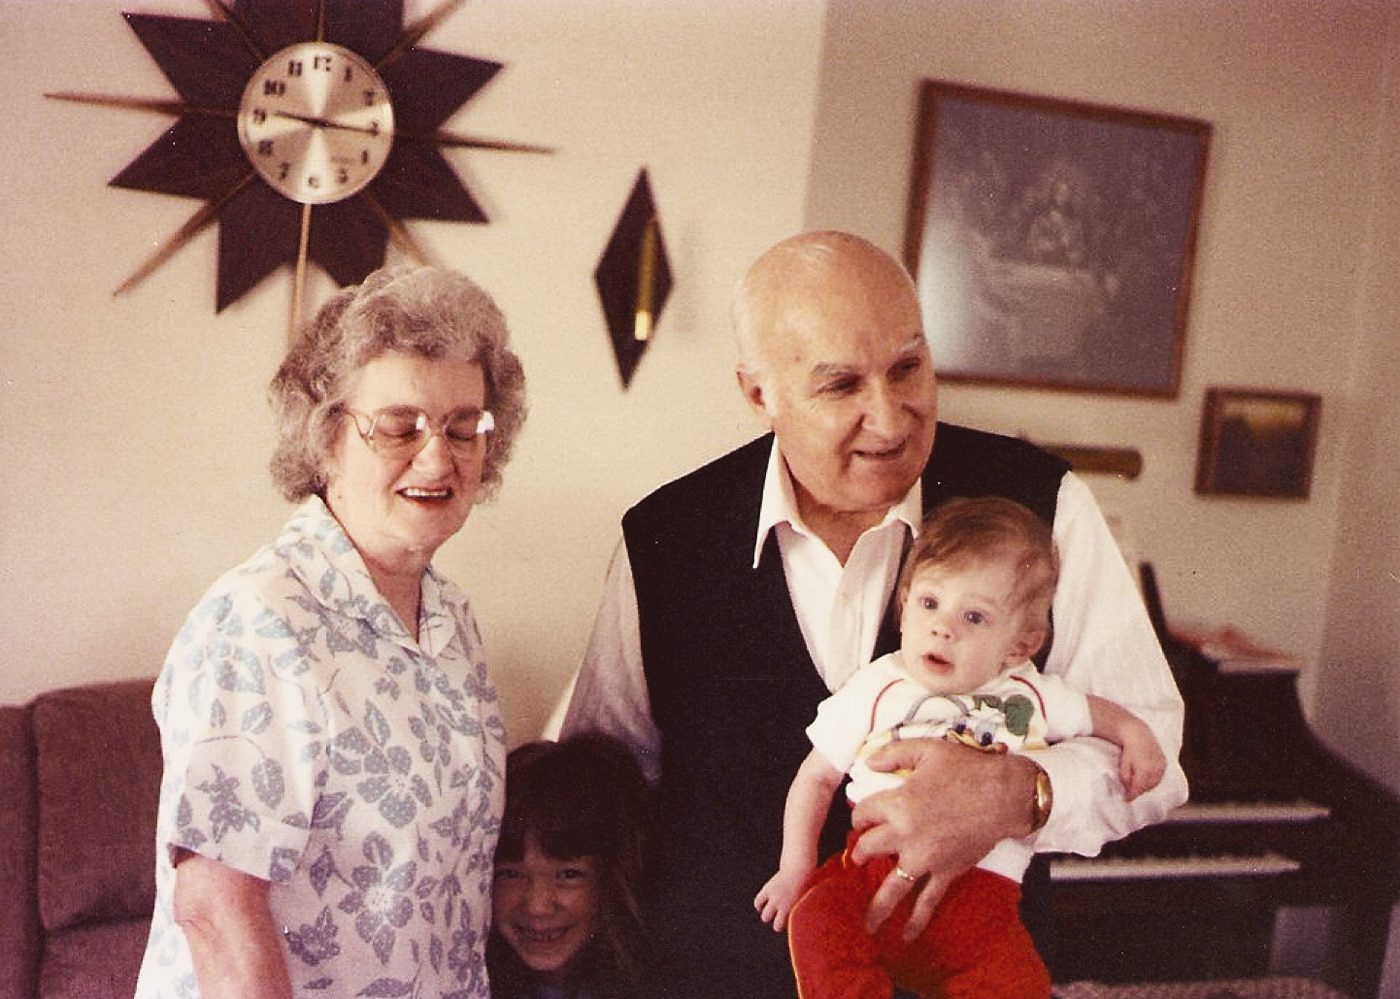
Based on what Kim’s mom and dad can remember, this clock has been in the family for 50 or 60 years. See photo evidence, below. Just as the orange cast and grainy image would suggest, this photo is around 25-ish years old. See that little Kim, peeking out between her Pap Pap and Grandma while her sister looks on, obviously bewildered by the beauty of said clock? Aren’t old photos the greatest? Grandma’s eyes were closed and we just have to deal with it. So. Good.
We put together a quick video documenting the process and also outlined the steps below for those that prefer the old fashioned way! Note: f you’re viewing this in a reader, you may need to click over to the original post to view the video, or you can watch it here on YouTube.
What we did:
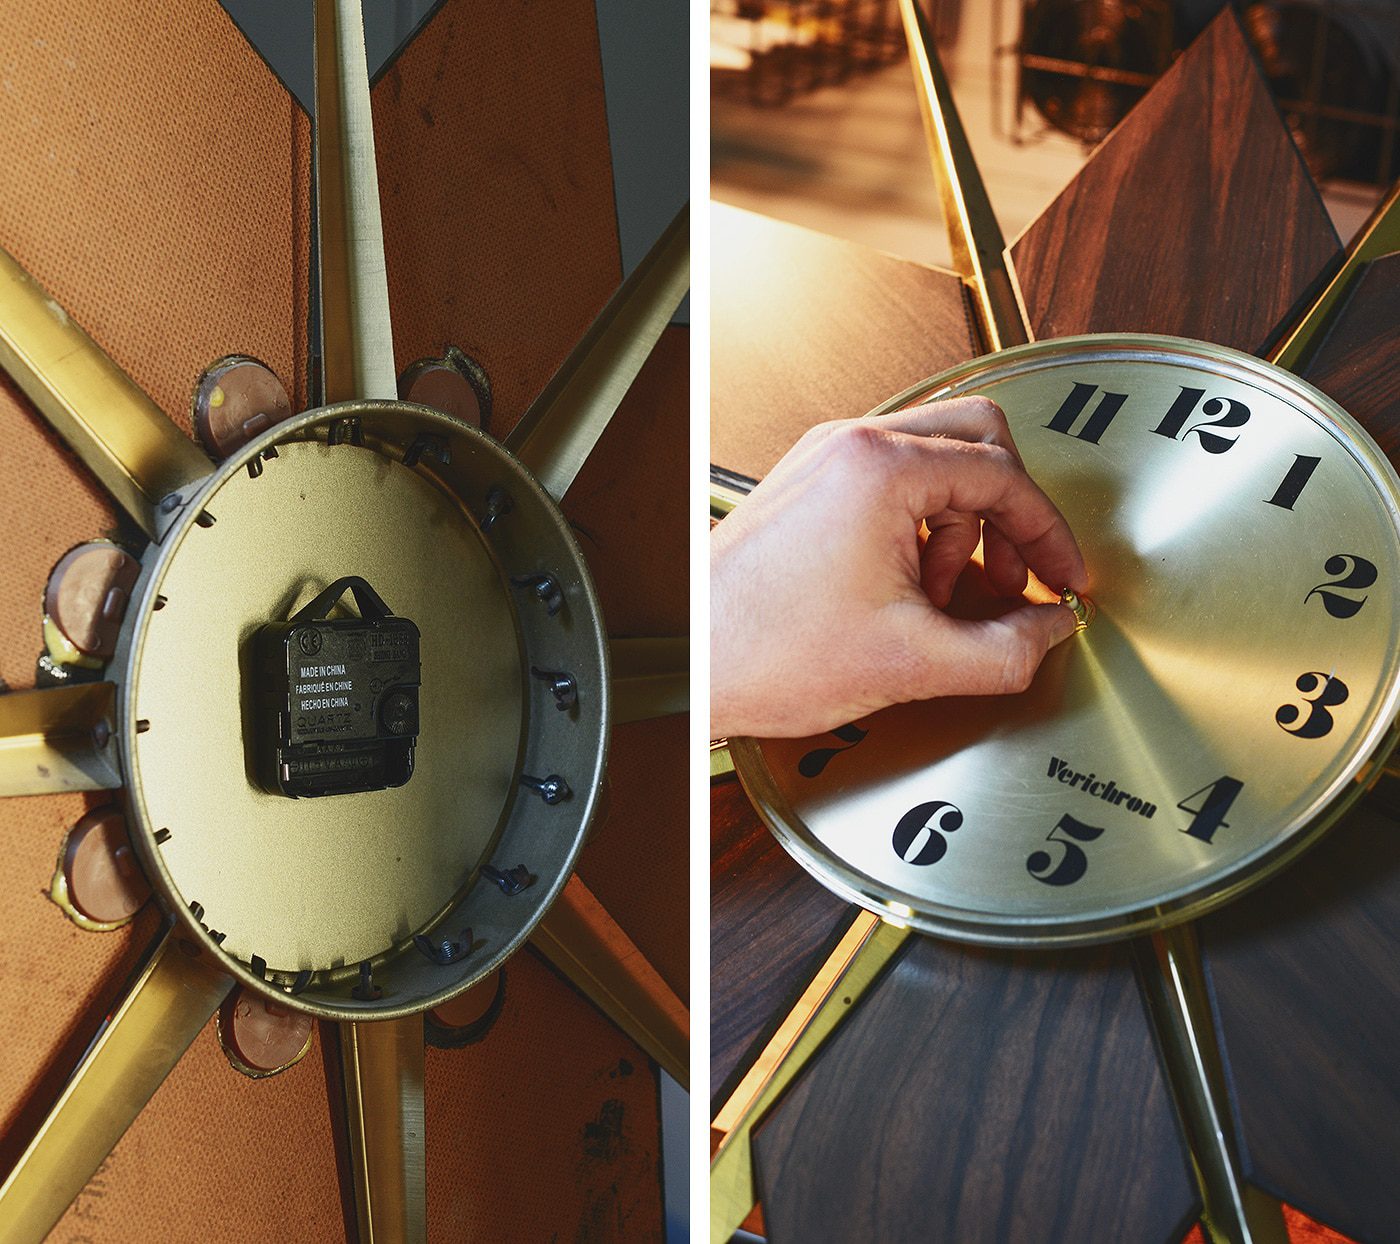
We purchased our replacement movement kit based on two factors: hole size and shaft length. Common options for each are typically 1/4″ – 3/8″, so to determine the correct sizes for any clock, simply remove the old mechanism and measure each dimension. Movement kits in all sizes can easily be found right here!
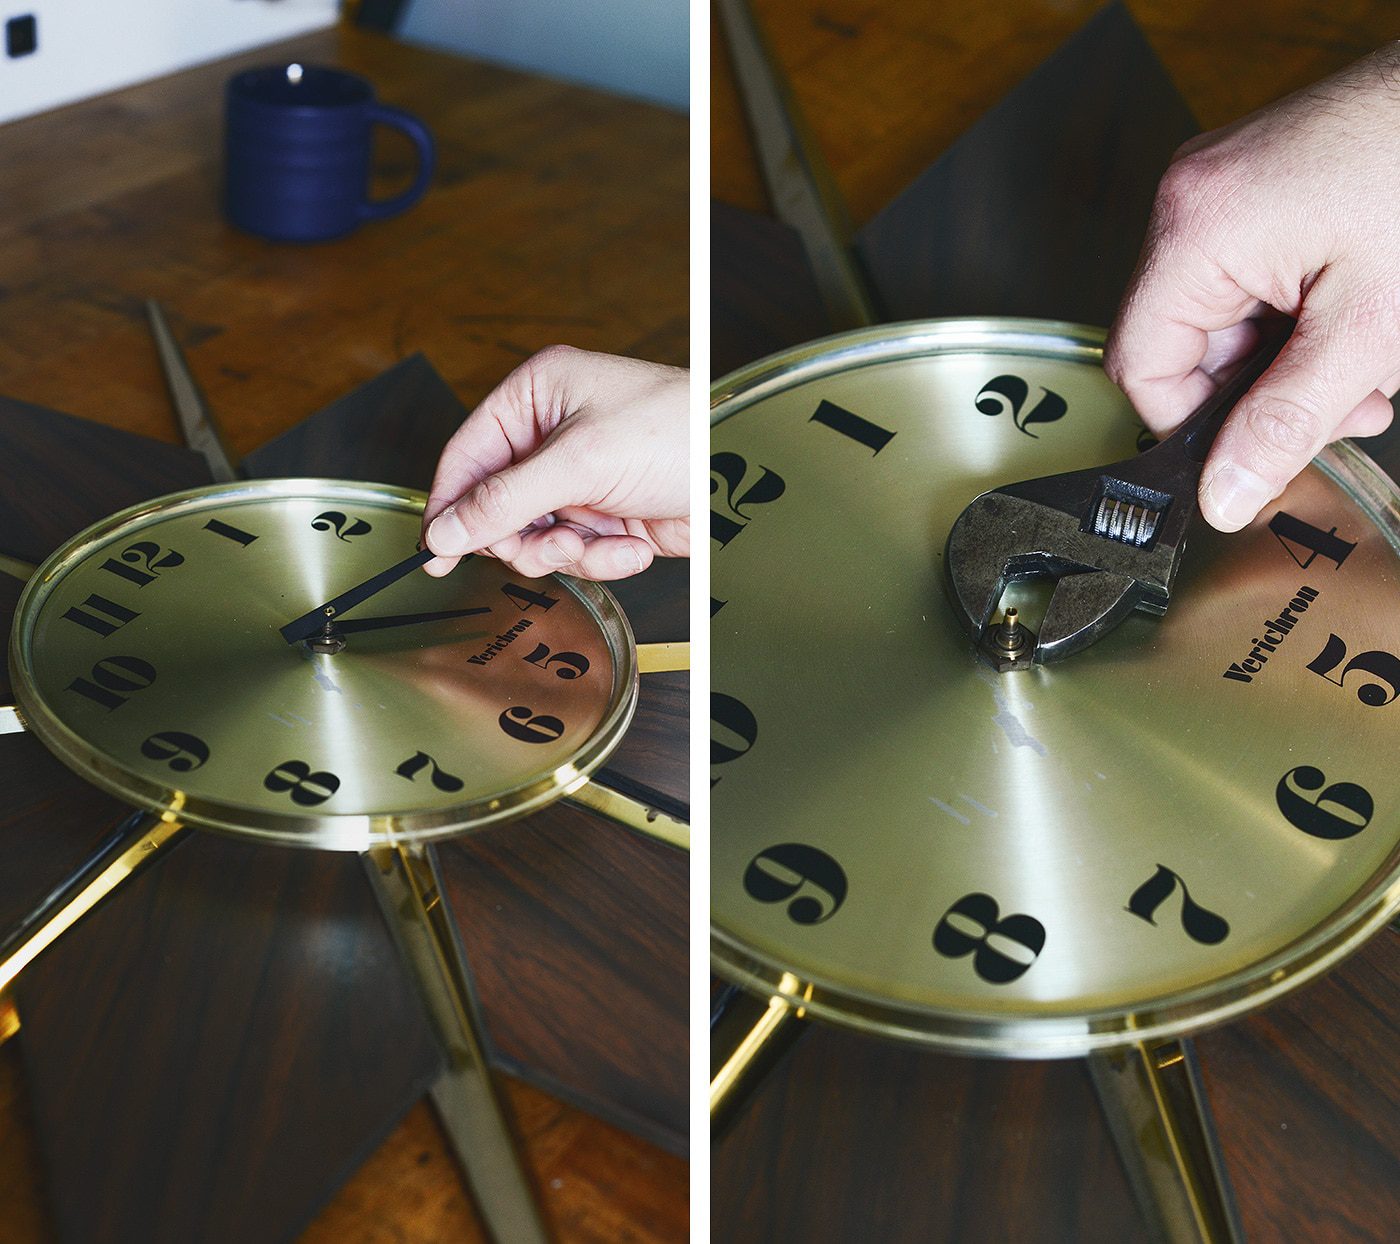
The first step of the project is to remove the hands and threaded nut of the movement mechanism. Then simply lift off the clock face:
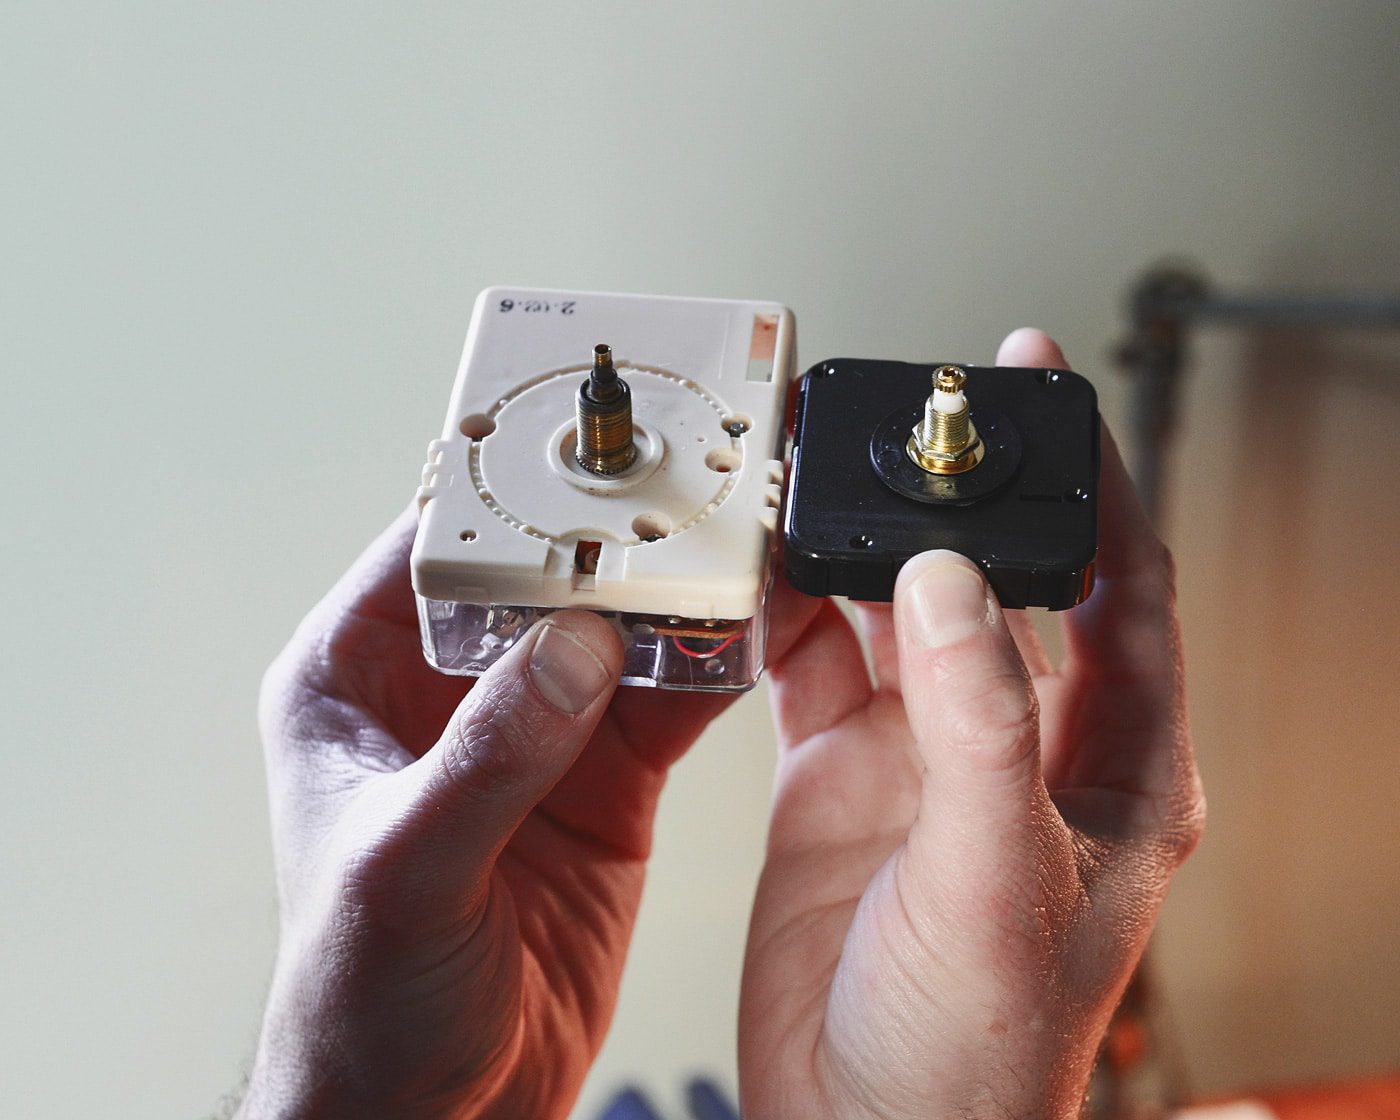
The side-by-side comparison below shows the old mechanism on the left, versus the new one on the right. Note that the shaft on our kit is a similar in length, but a bit smaller in diameter, which is fine. Keep in mind that unless you’re in the mood for some careful, tedious drilling, you don’t want the shaft to be larger than the hole in the clock’s face.
Next, the threaded nut from the new kit can be removed:
…And the shaft can be placed through the face of the clock. Carefully tighten the nut to hold the mechanism kit in place. Use a wrench if needed, but don’t over tighten!
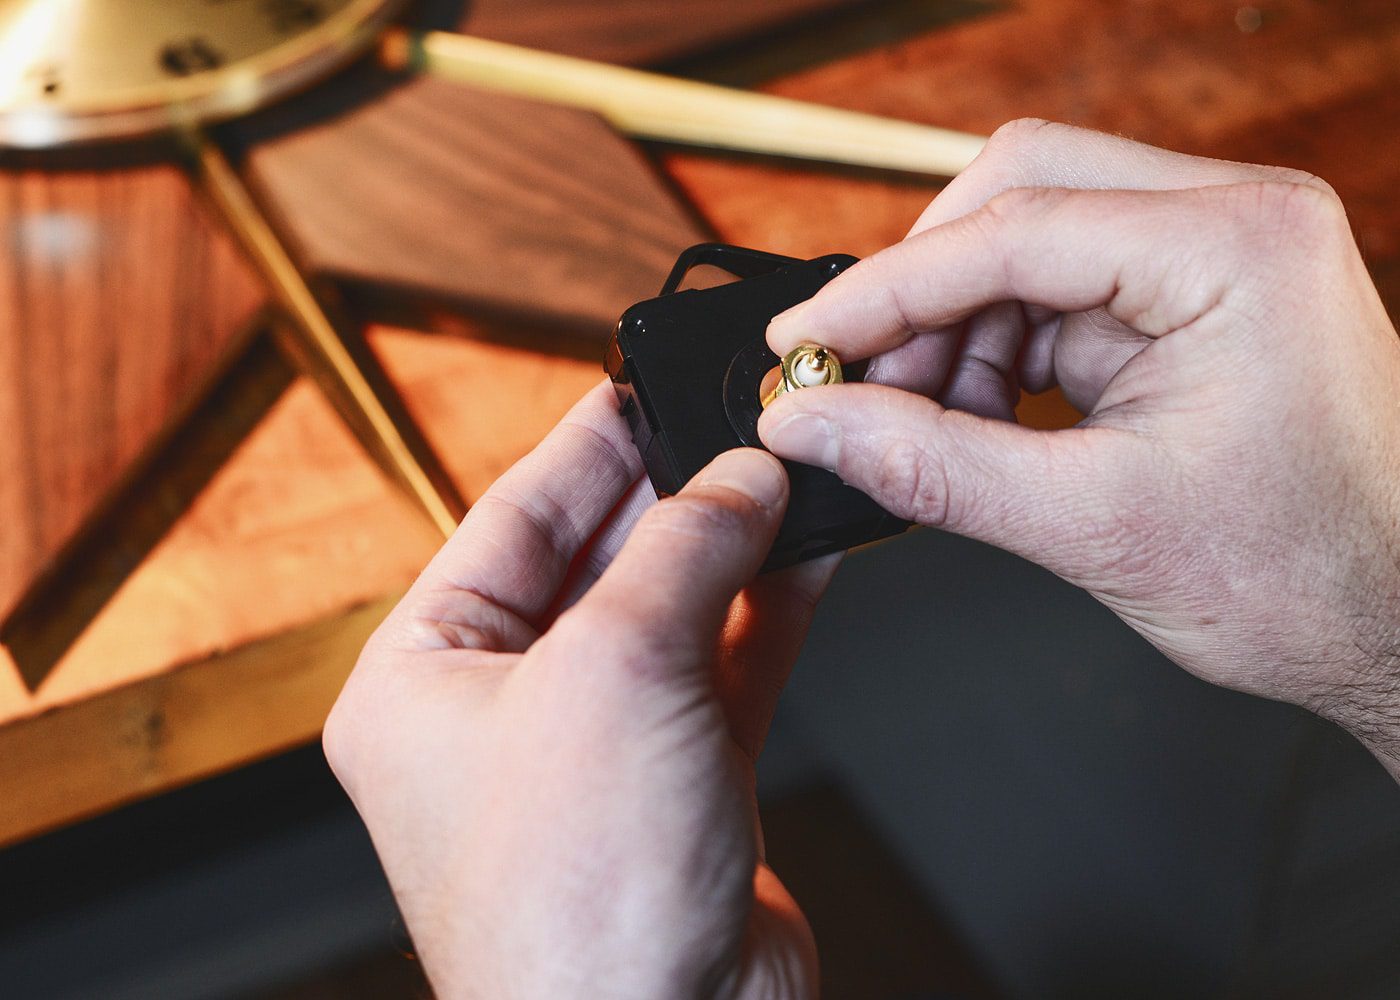
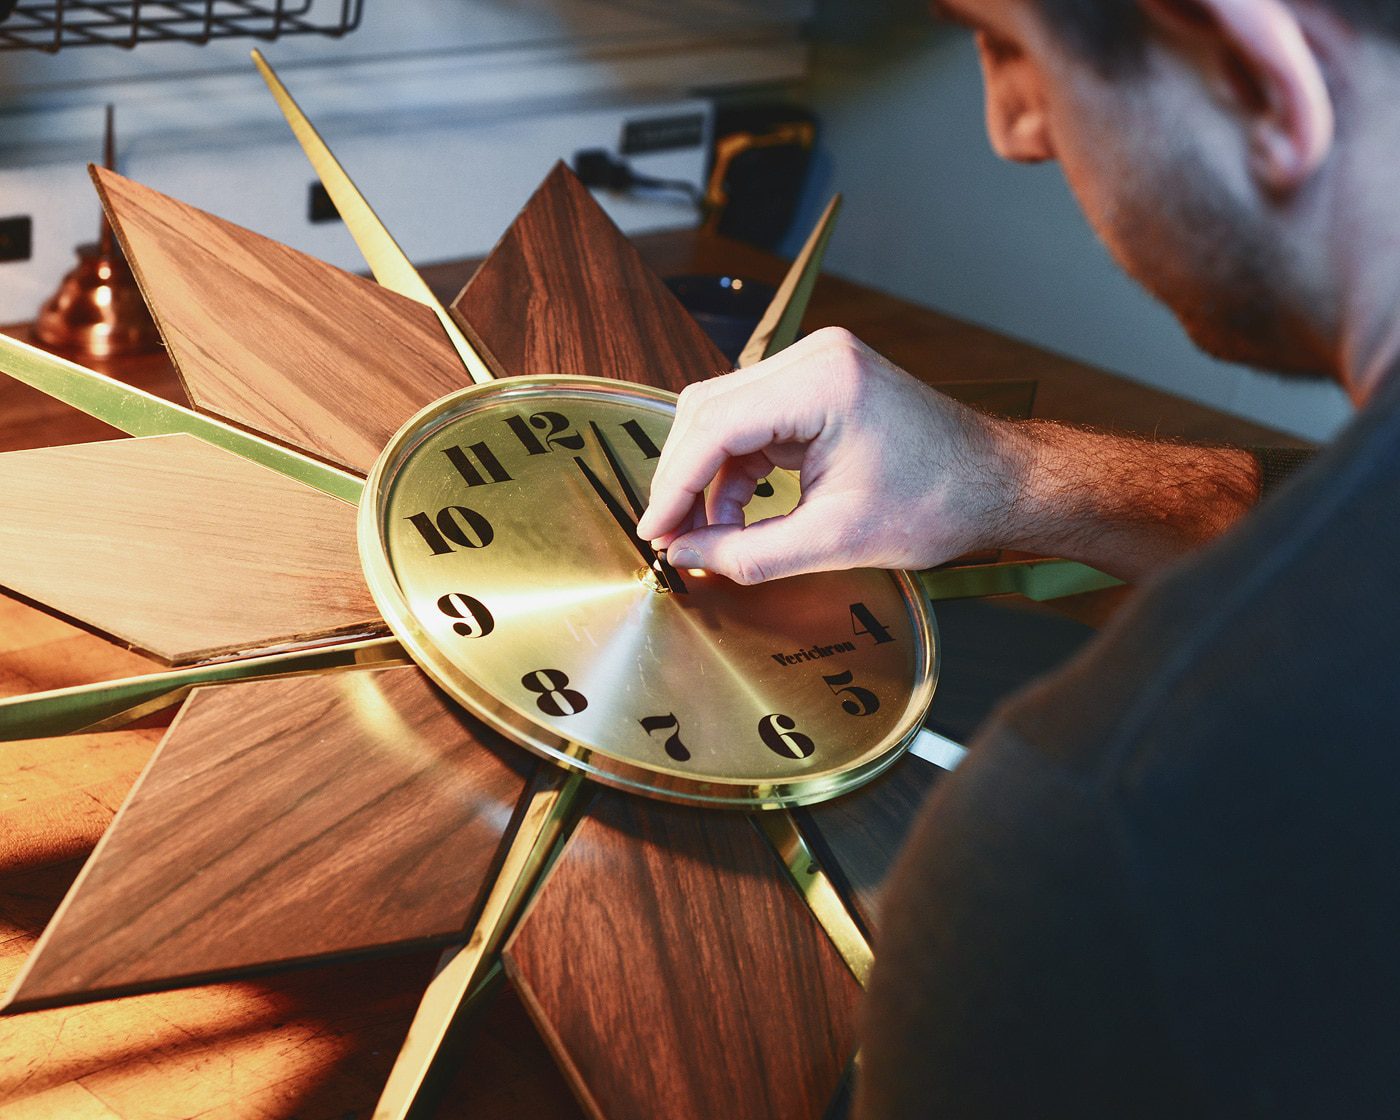
From what we can tell, clock hands are pretty much universal, so we opted to place the original hour and minute hands onto the new kit. The original mechanism didn’t have a place for a second hand, but the new kit contained an adorable little brass piece, so we went ahead and installed it. It’s on the shorter side and admittedly kind of tough to see against the brass face, but it sure is cute!
vintage sunburst clock | repair kit
The great thing about these kits is that they can be used to spruce up a non-working clock, or to make a brand new clock out of literally anything. No, really, anything! In college, I found a cool old Buick hubcap at a flea market, and I turned it into a clock using a drill and about 5 minutes of my time. The possibilities are endless!
Why is it that these tiny projects are the ones that we put off for way too long? Because don’t you agree that they’re often the most satisfying? This little swap took all of 30 minutes – including the time to film! – but it would have taken less than 10 if we weren’t documenting the process. Hopefully this provides a small bit of motivation to repair a broken clock or wrap up that tiny project that’s been on your list forever!
Video note | Music is by ProleteR, and this vlog was filmed and edited by us, Kim + Scott. If you enjoy our vlogs, it’d sure make our day if you subscribed to our YouTube channel!
PS: How sweet is this?


What a cool post! At first I just thought some family was over at your house and you put a retro 70s filter on the pic!! :) :) What an amazing family heirloom!
Thank you! :D
I’m loving all these small project posts, and I’ve always admired your grandmother’s clock. We recently replaced the mechanism in a basic IKEA clock when we couldn’t find a new one that we liked (Why is it so hard to find an affordable clock with nice numbers?). I was surprised at how easy it was.
Small projects are so necessary for the self-esteem in the midst of renovations, haha. And yes, a great clock can be hard to find! We’re on the hunt for something in our master bath…
I love this but was looking for a picture of the final product. Hard to see the new second hand with Scotts own hands there!
Make sure to check out the video! You can see the second hand and the ‘after’ at the end. :)
Weird! The video isn’t showing up un my Macbook via Chrome but I can see it on my Macbook and phone via safari. I’ll have to check it out!
Awesome article! I have my grandma’s old MCM clock as well, and though I’ve hung it in a bedroom for over 5 years, it has never worked since she gave it to me. Shame. I’ll get to work.
Don’t be like us! It’s such an easy job and you’ll love it that much more! Good luck!
That CLOCK!!!!!!!! Holy moly is that clock awesome. And the fact that it is true vintage AND a family heirloom makes it even better. I love stuff like that. Its good to see it making a comeback. My mom has some AMAZING old cuckoo clocks that she cant believe I want to inherit. LOL. Great tutorial!! I never would have imagined it to be so easy.
perfect timing! i have a little clock to fix and kept putting off looking up videos. thanks!
Not sure if it was intentional or not, but we love a good clock pun around here either way!