

Today we’re taking you through a handful of easy steps to give a piece of furniture new life with paint!
This is our process for painting (almost) any size piece of hard-surfaced furniture, although it will yield the best results if you’re painting wood, wood veneer, or laminate. I’ve done this successfully on plastic or similar smooth surfaces, but it will require more sanding up front.
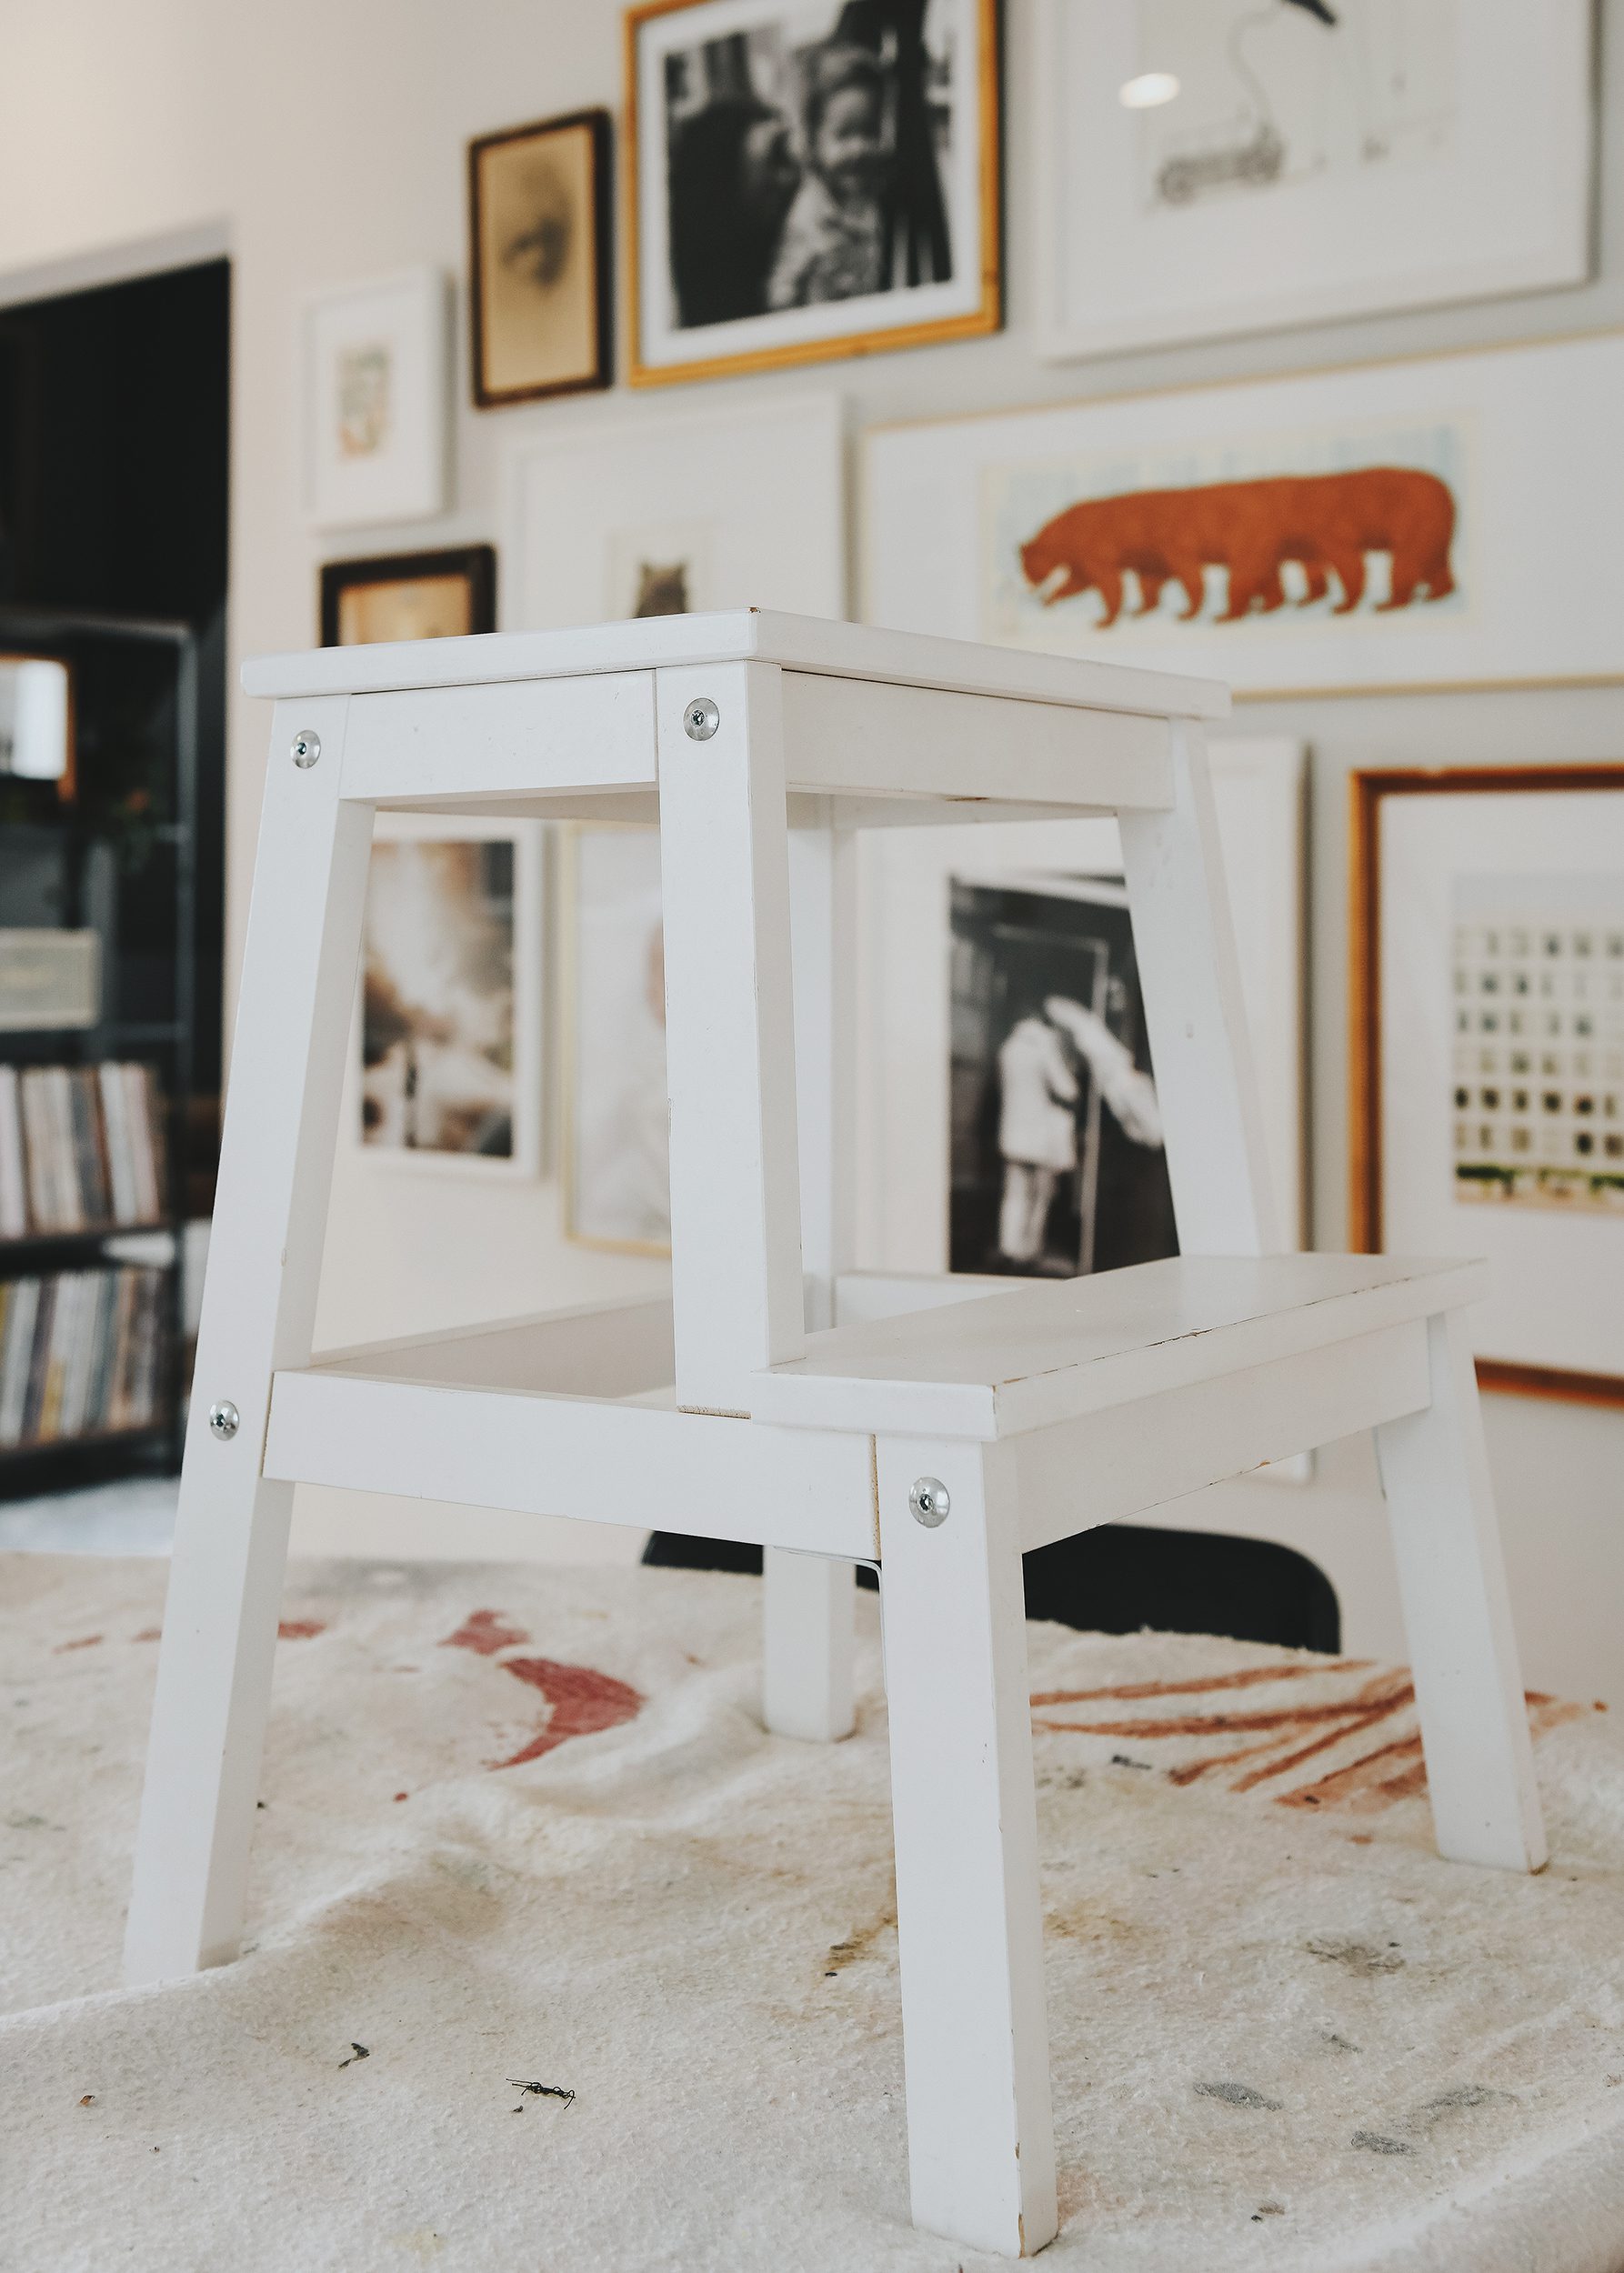
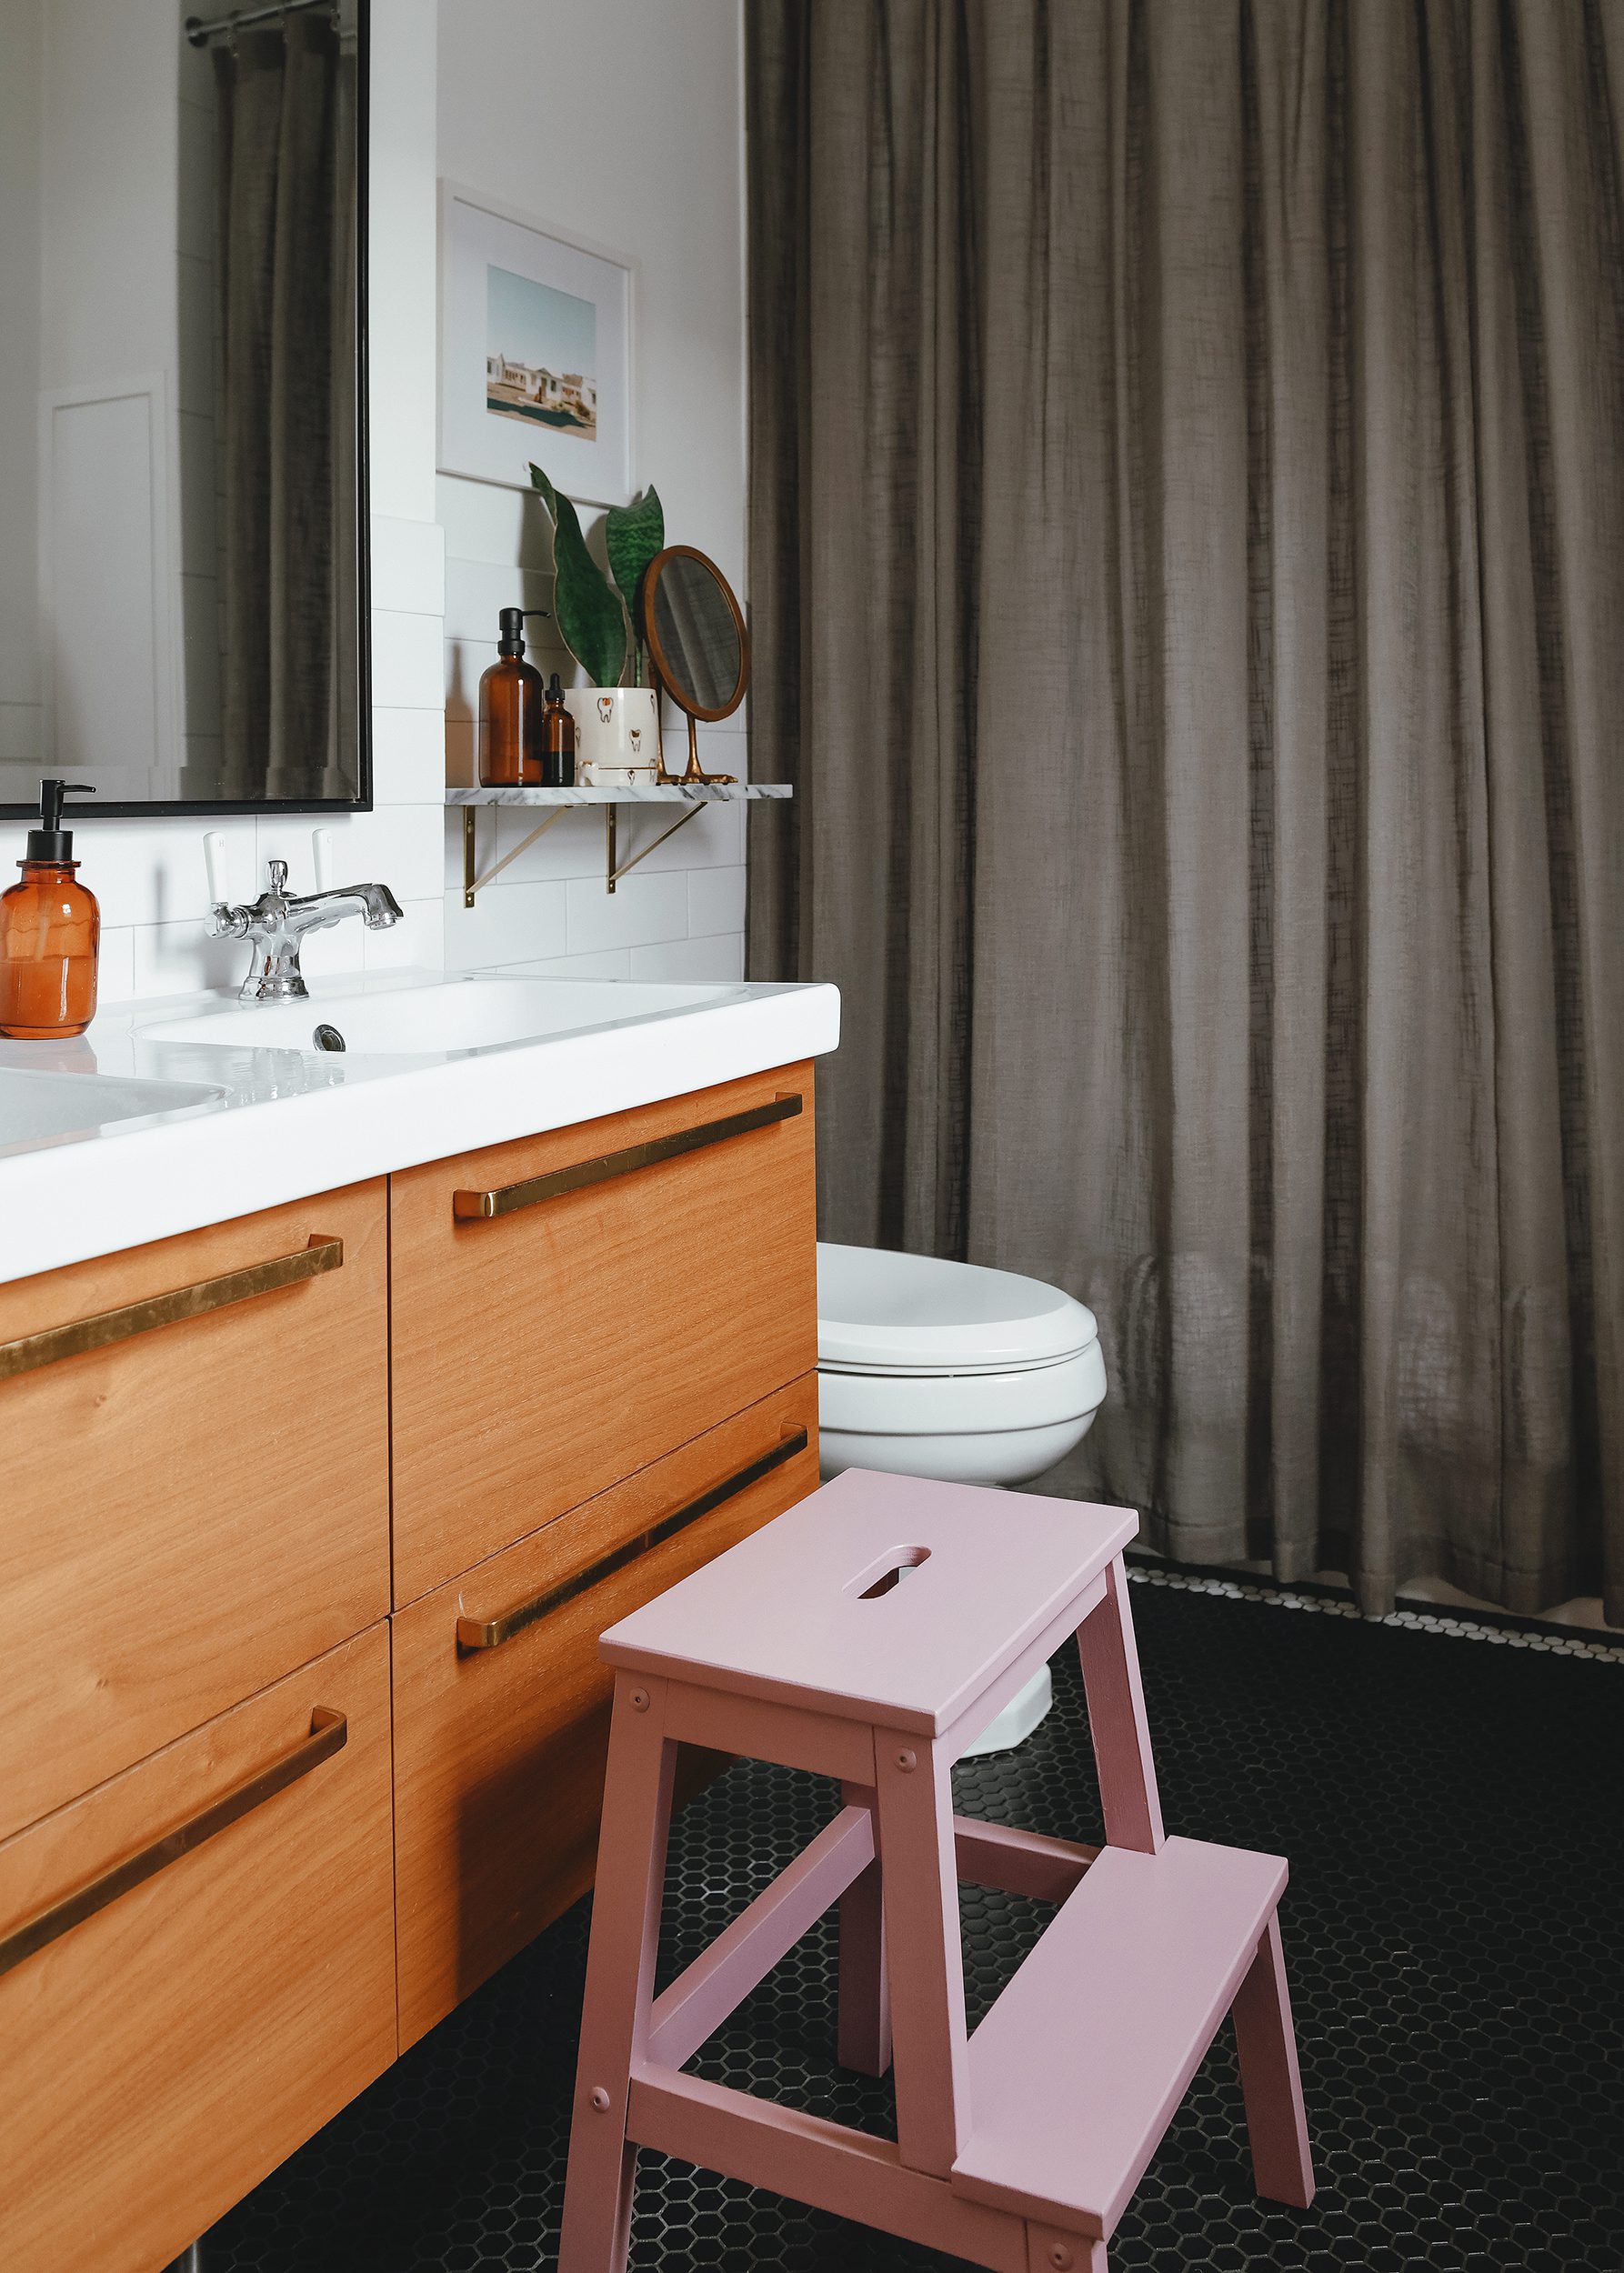
For our example, I’ll be using the step stool our daughter uses in the primary bathroom. It’s a classic IKEA BEKVAM stool that we’ve had for years, but the edges were starting to wear down. Her favorite colors are pink and purple, so I’ll be using leftover wall paint from her bedroom to breathe new life into this stool!
Tip: If purchasing paint new, I recommend buying an enamel-grade paint. If using what you have around the house, that’s okay too! The final step will protect the furniture and give it a lasting, hard finish.
Here’s what you’ll need:
- 220 grit sanding block
- microfiber rag
- angled paint brush
- mini paint roller
- paint tray
- a good primer
- enamel paint color
- Minwax Polycrylic
All paint items are shared at the bottom of this post as well, or you can bookmark our favorites on Amazon.
1| Prep by Sanding
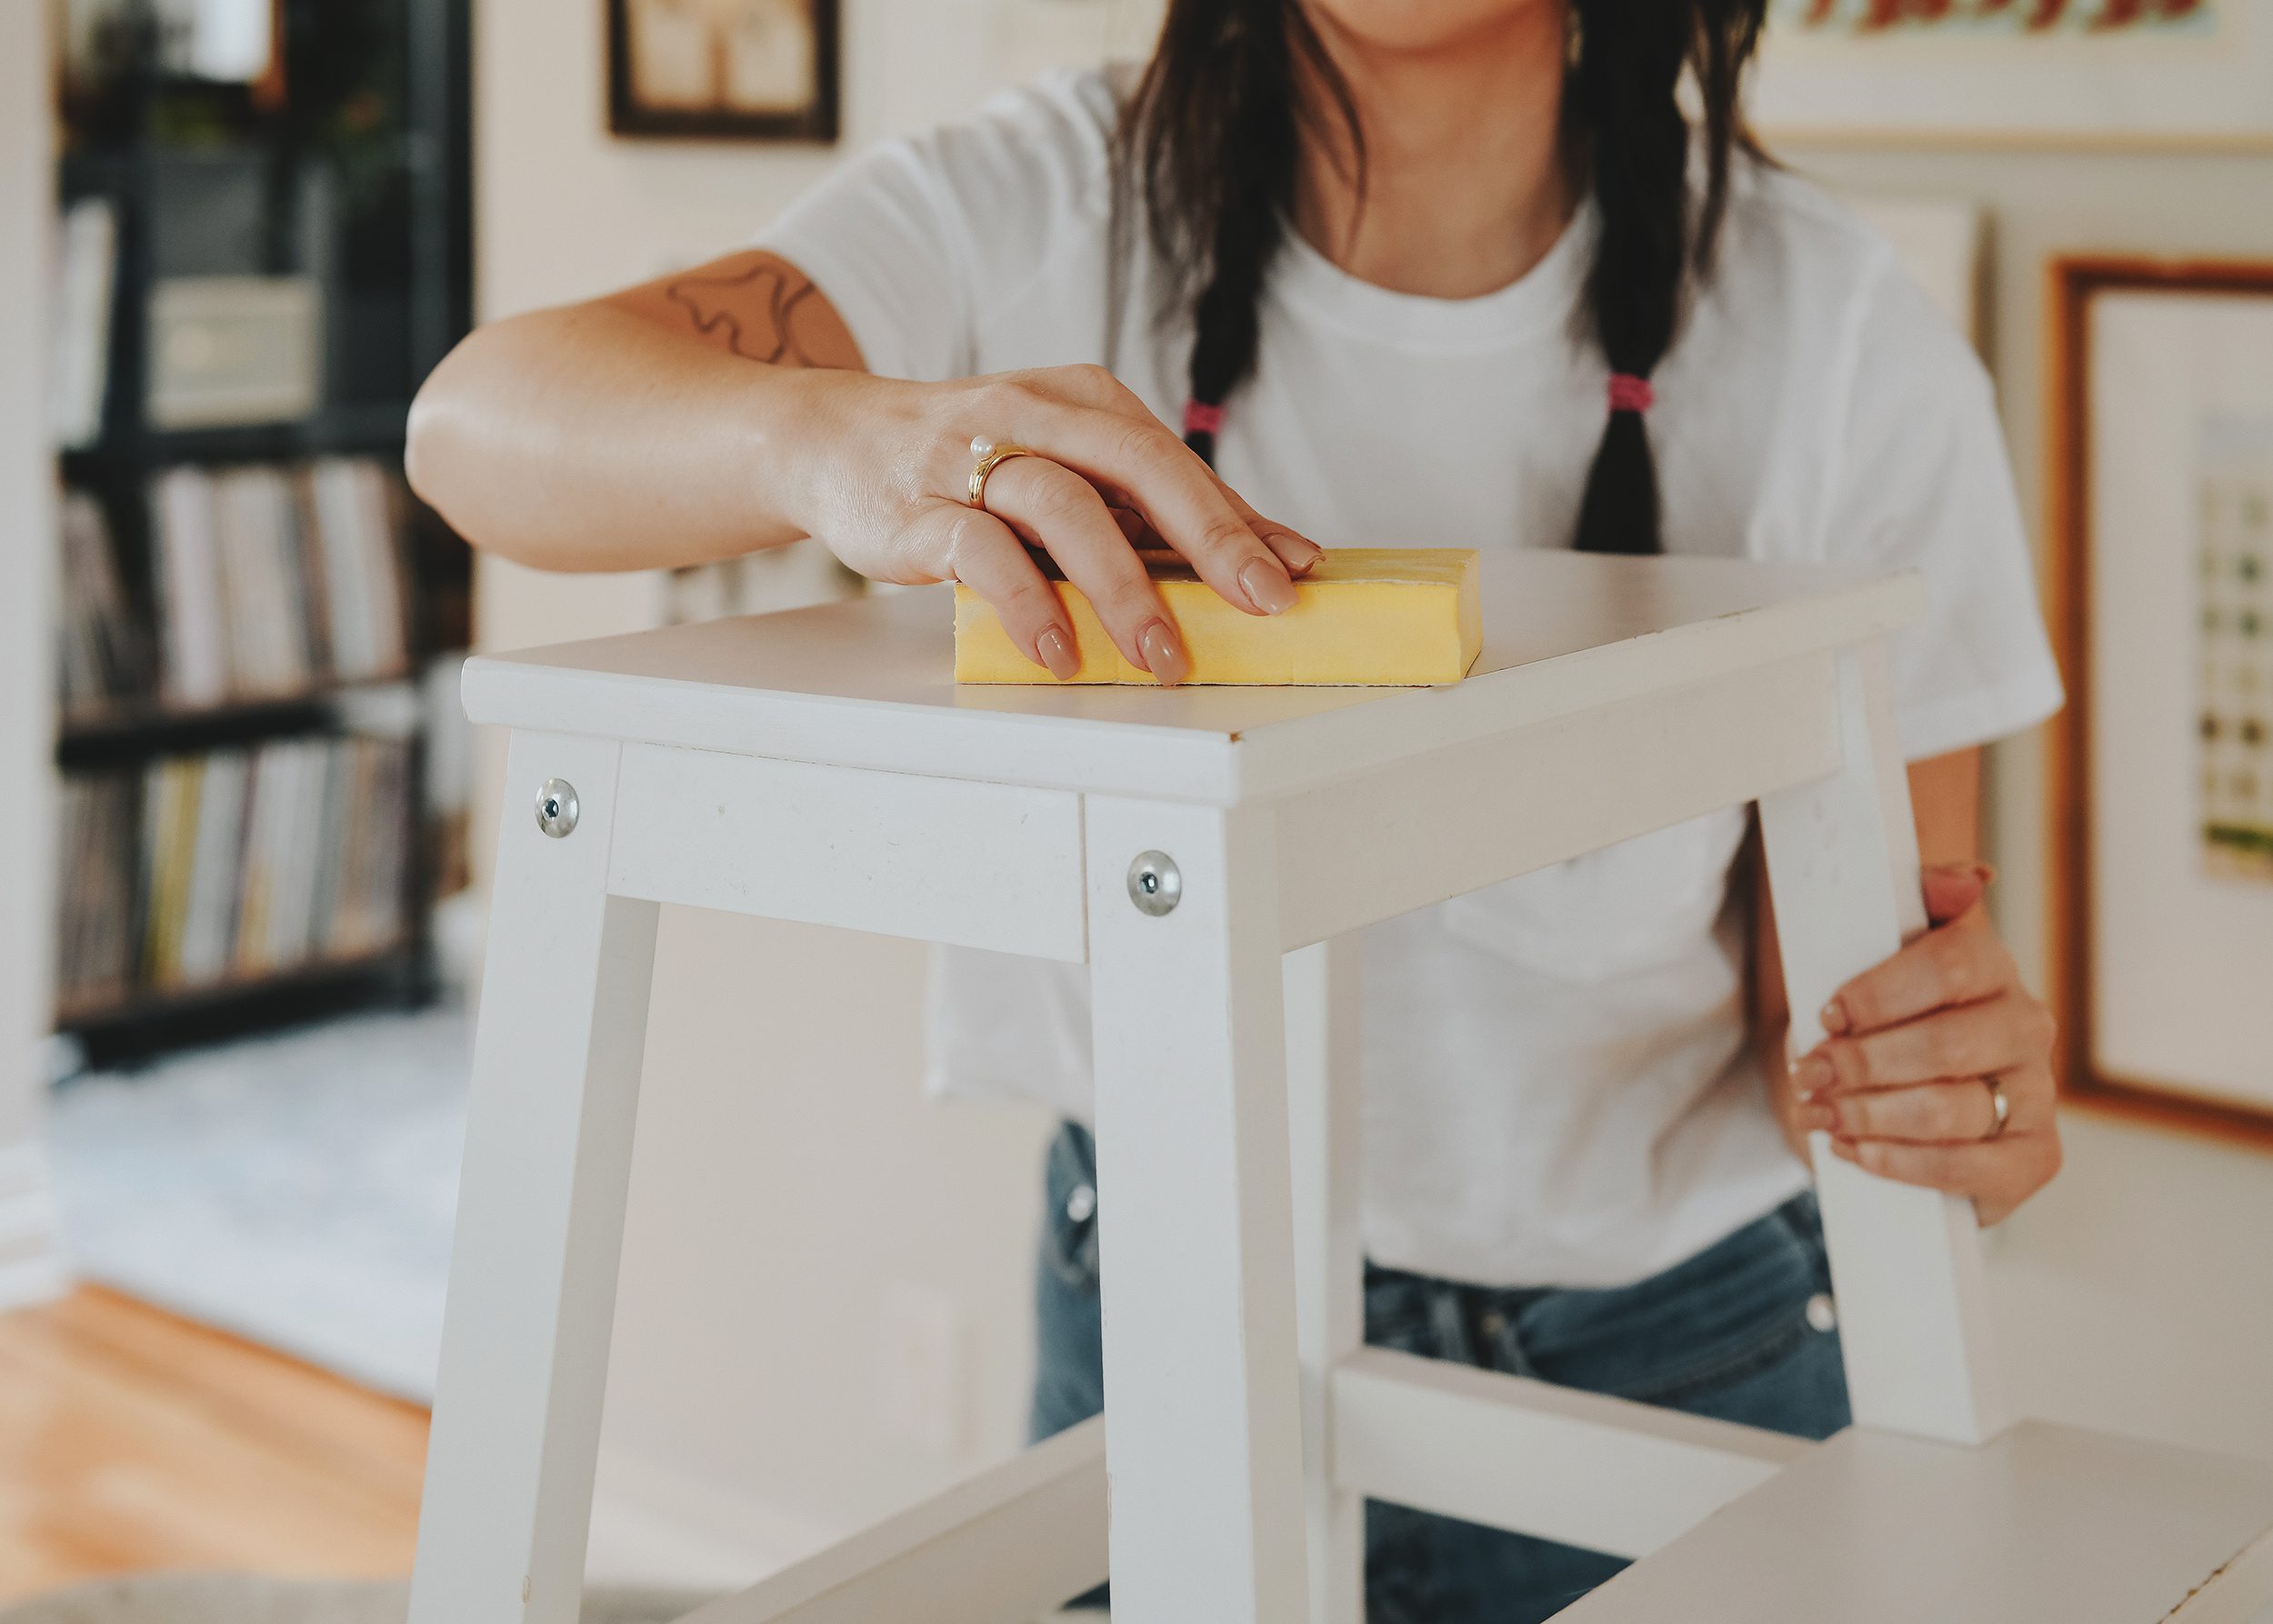
I gave the stool an all over sand using a fine grit, 220 sanding block. The goal is not to remove the surface, rather, we do this to give our primer more grip. Don’t worry, the grit is fine enough that the surface will still feel smooth.
2| Clean the Furniture
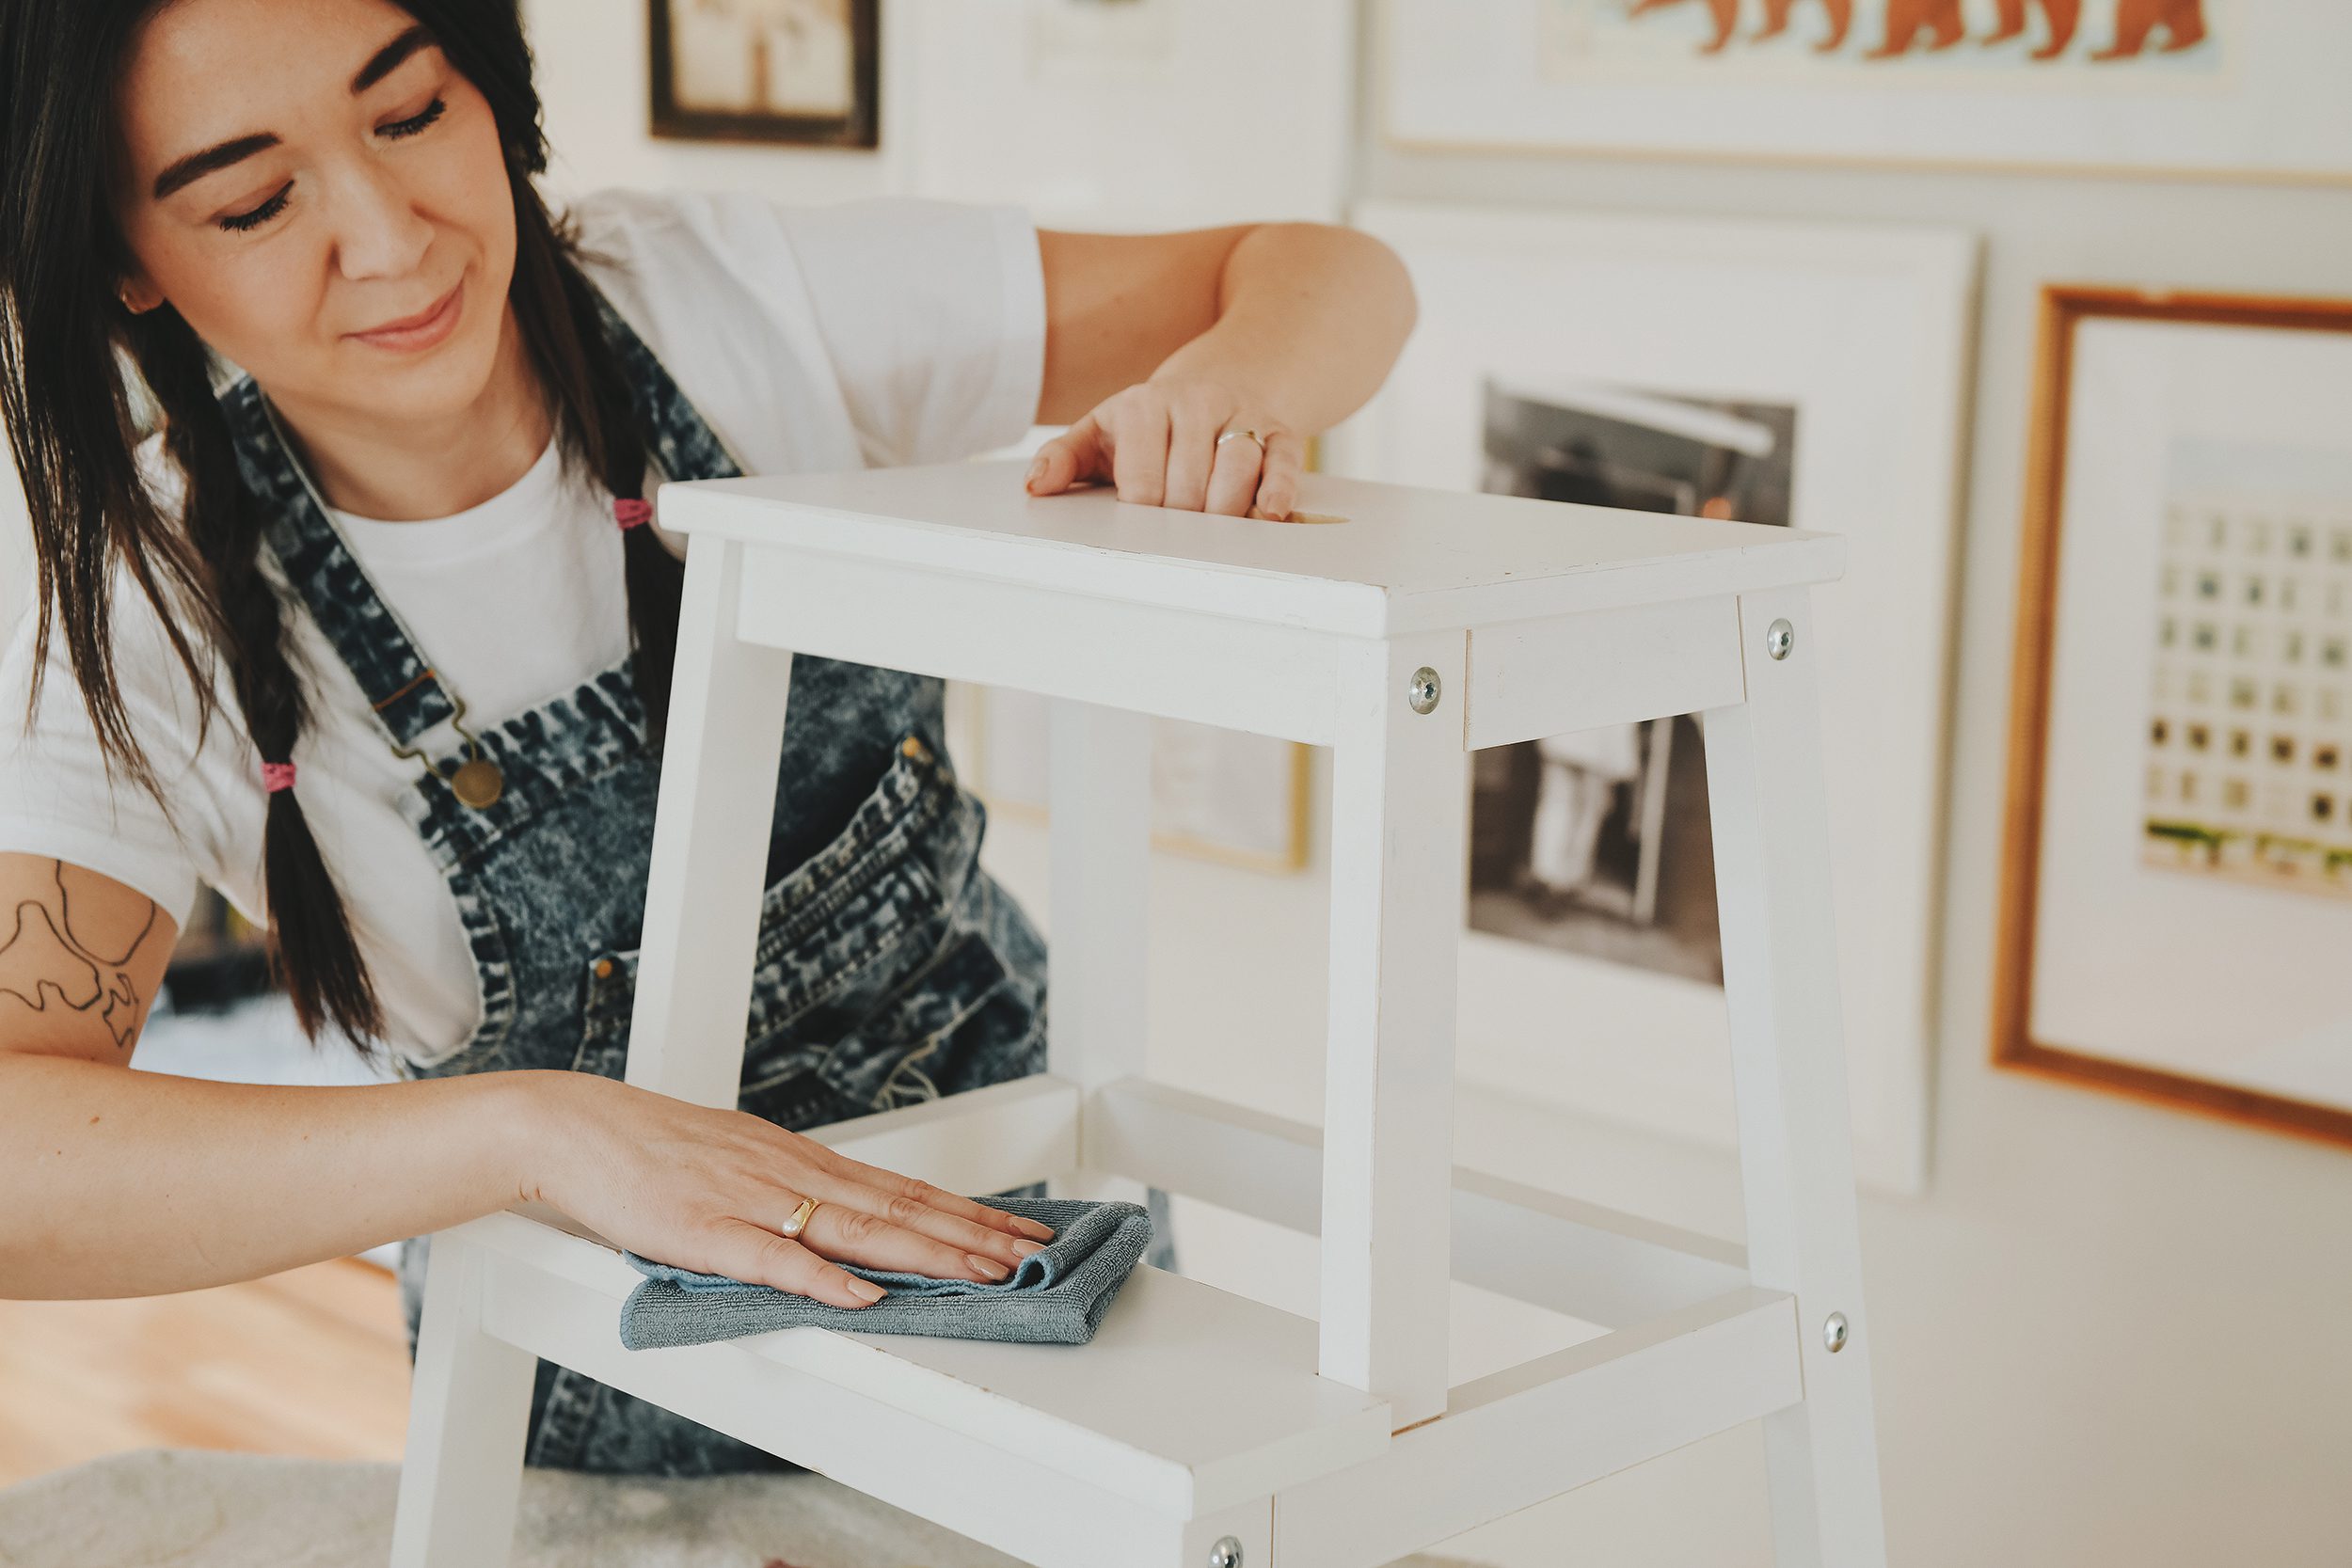
After sanding, use a damp microfiber cloth to pick up the microscopic dust while also cleaning up any grime. Don’t use soap; the microfiber will do a good job with water alone, and soap may prevent the primer from adhering properly.
3| Prime the Furniture
Please never skip this step, even if you purchased a paint and primer in one. Priming is crucial for the long haul. I’m using a latex Sherwin-Williams wood primer, but latex KILZ and Zinsser are also great! I use this short handled paintbrush to easily get the inside corners and apply an all over coat.* One thin coat is all you need, trust me on this. It may not look completely even, but there is no need for additional coats.
*You’ll notice that I painted over the silver hardware. It was a personal preference! If trying to avoid decorative hardware, either remove it completely or tape it off.
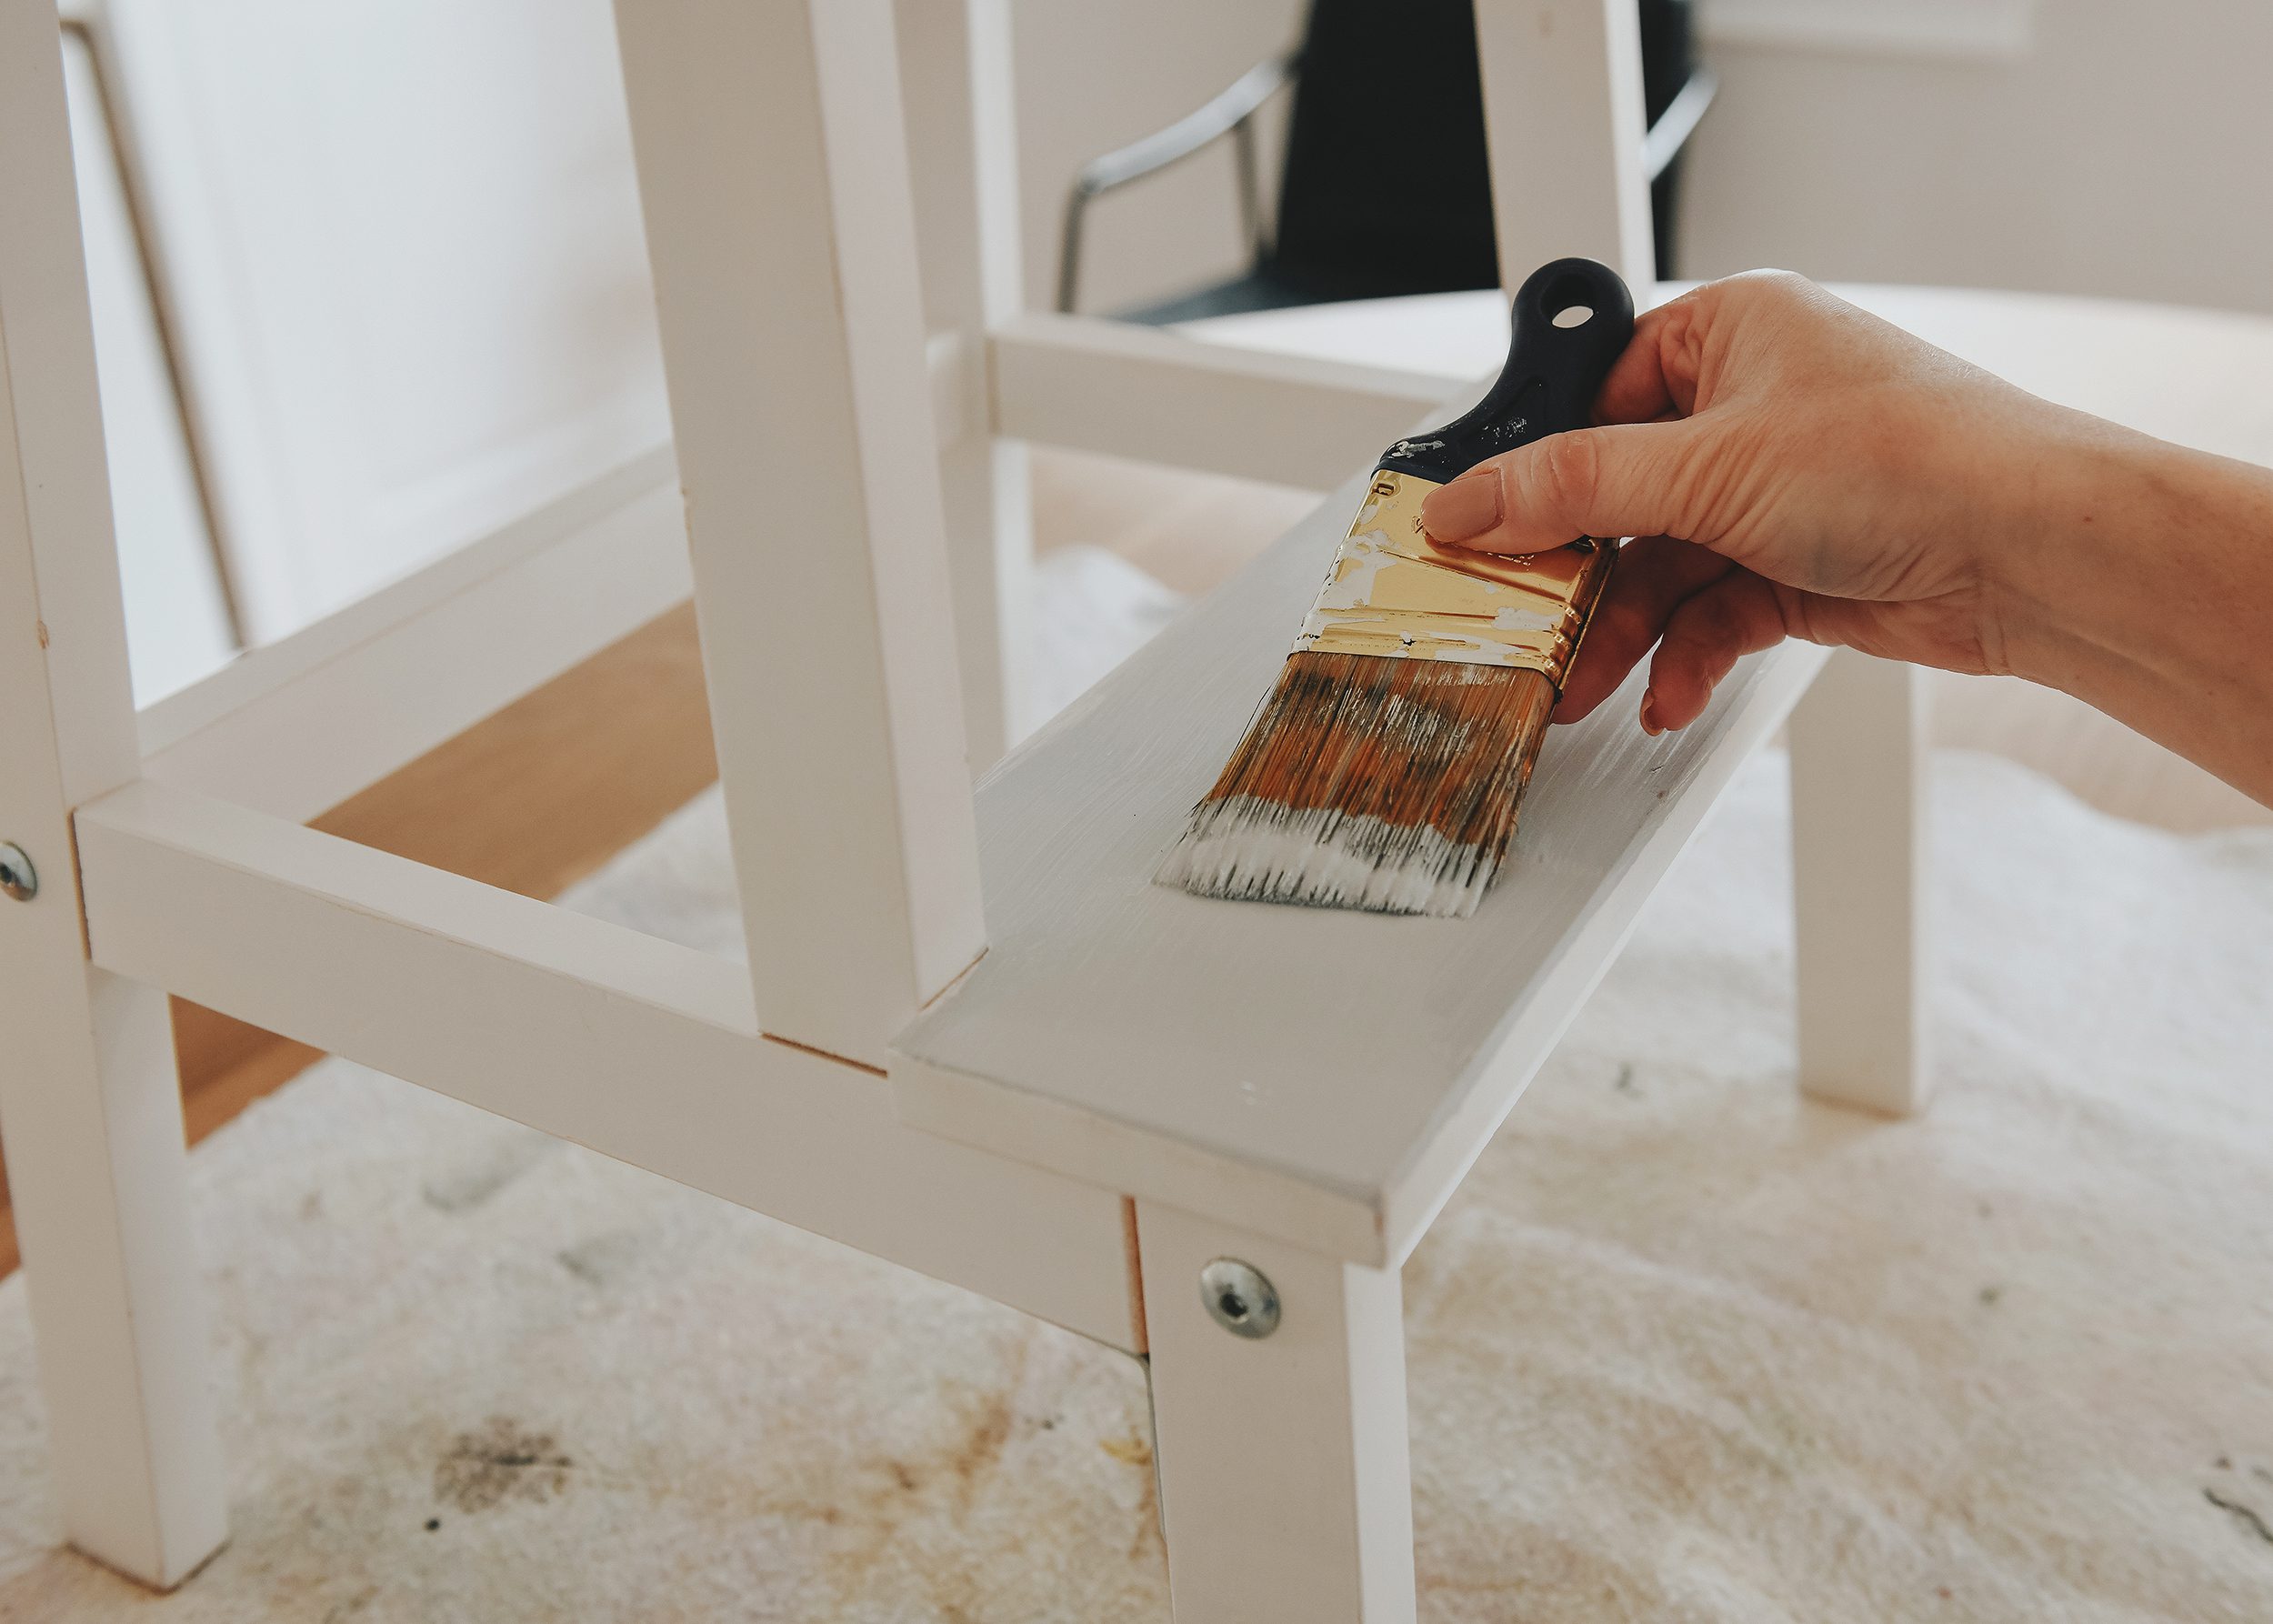
4| Cut in with Paint Color
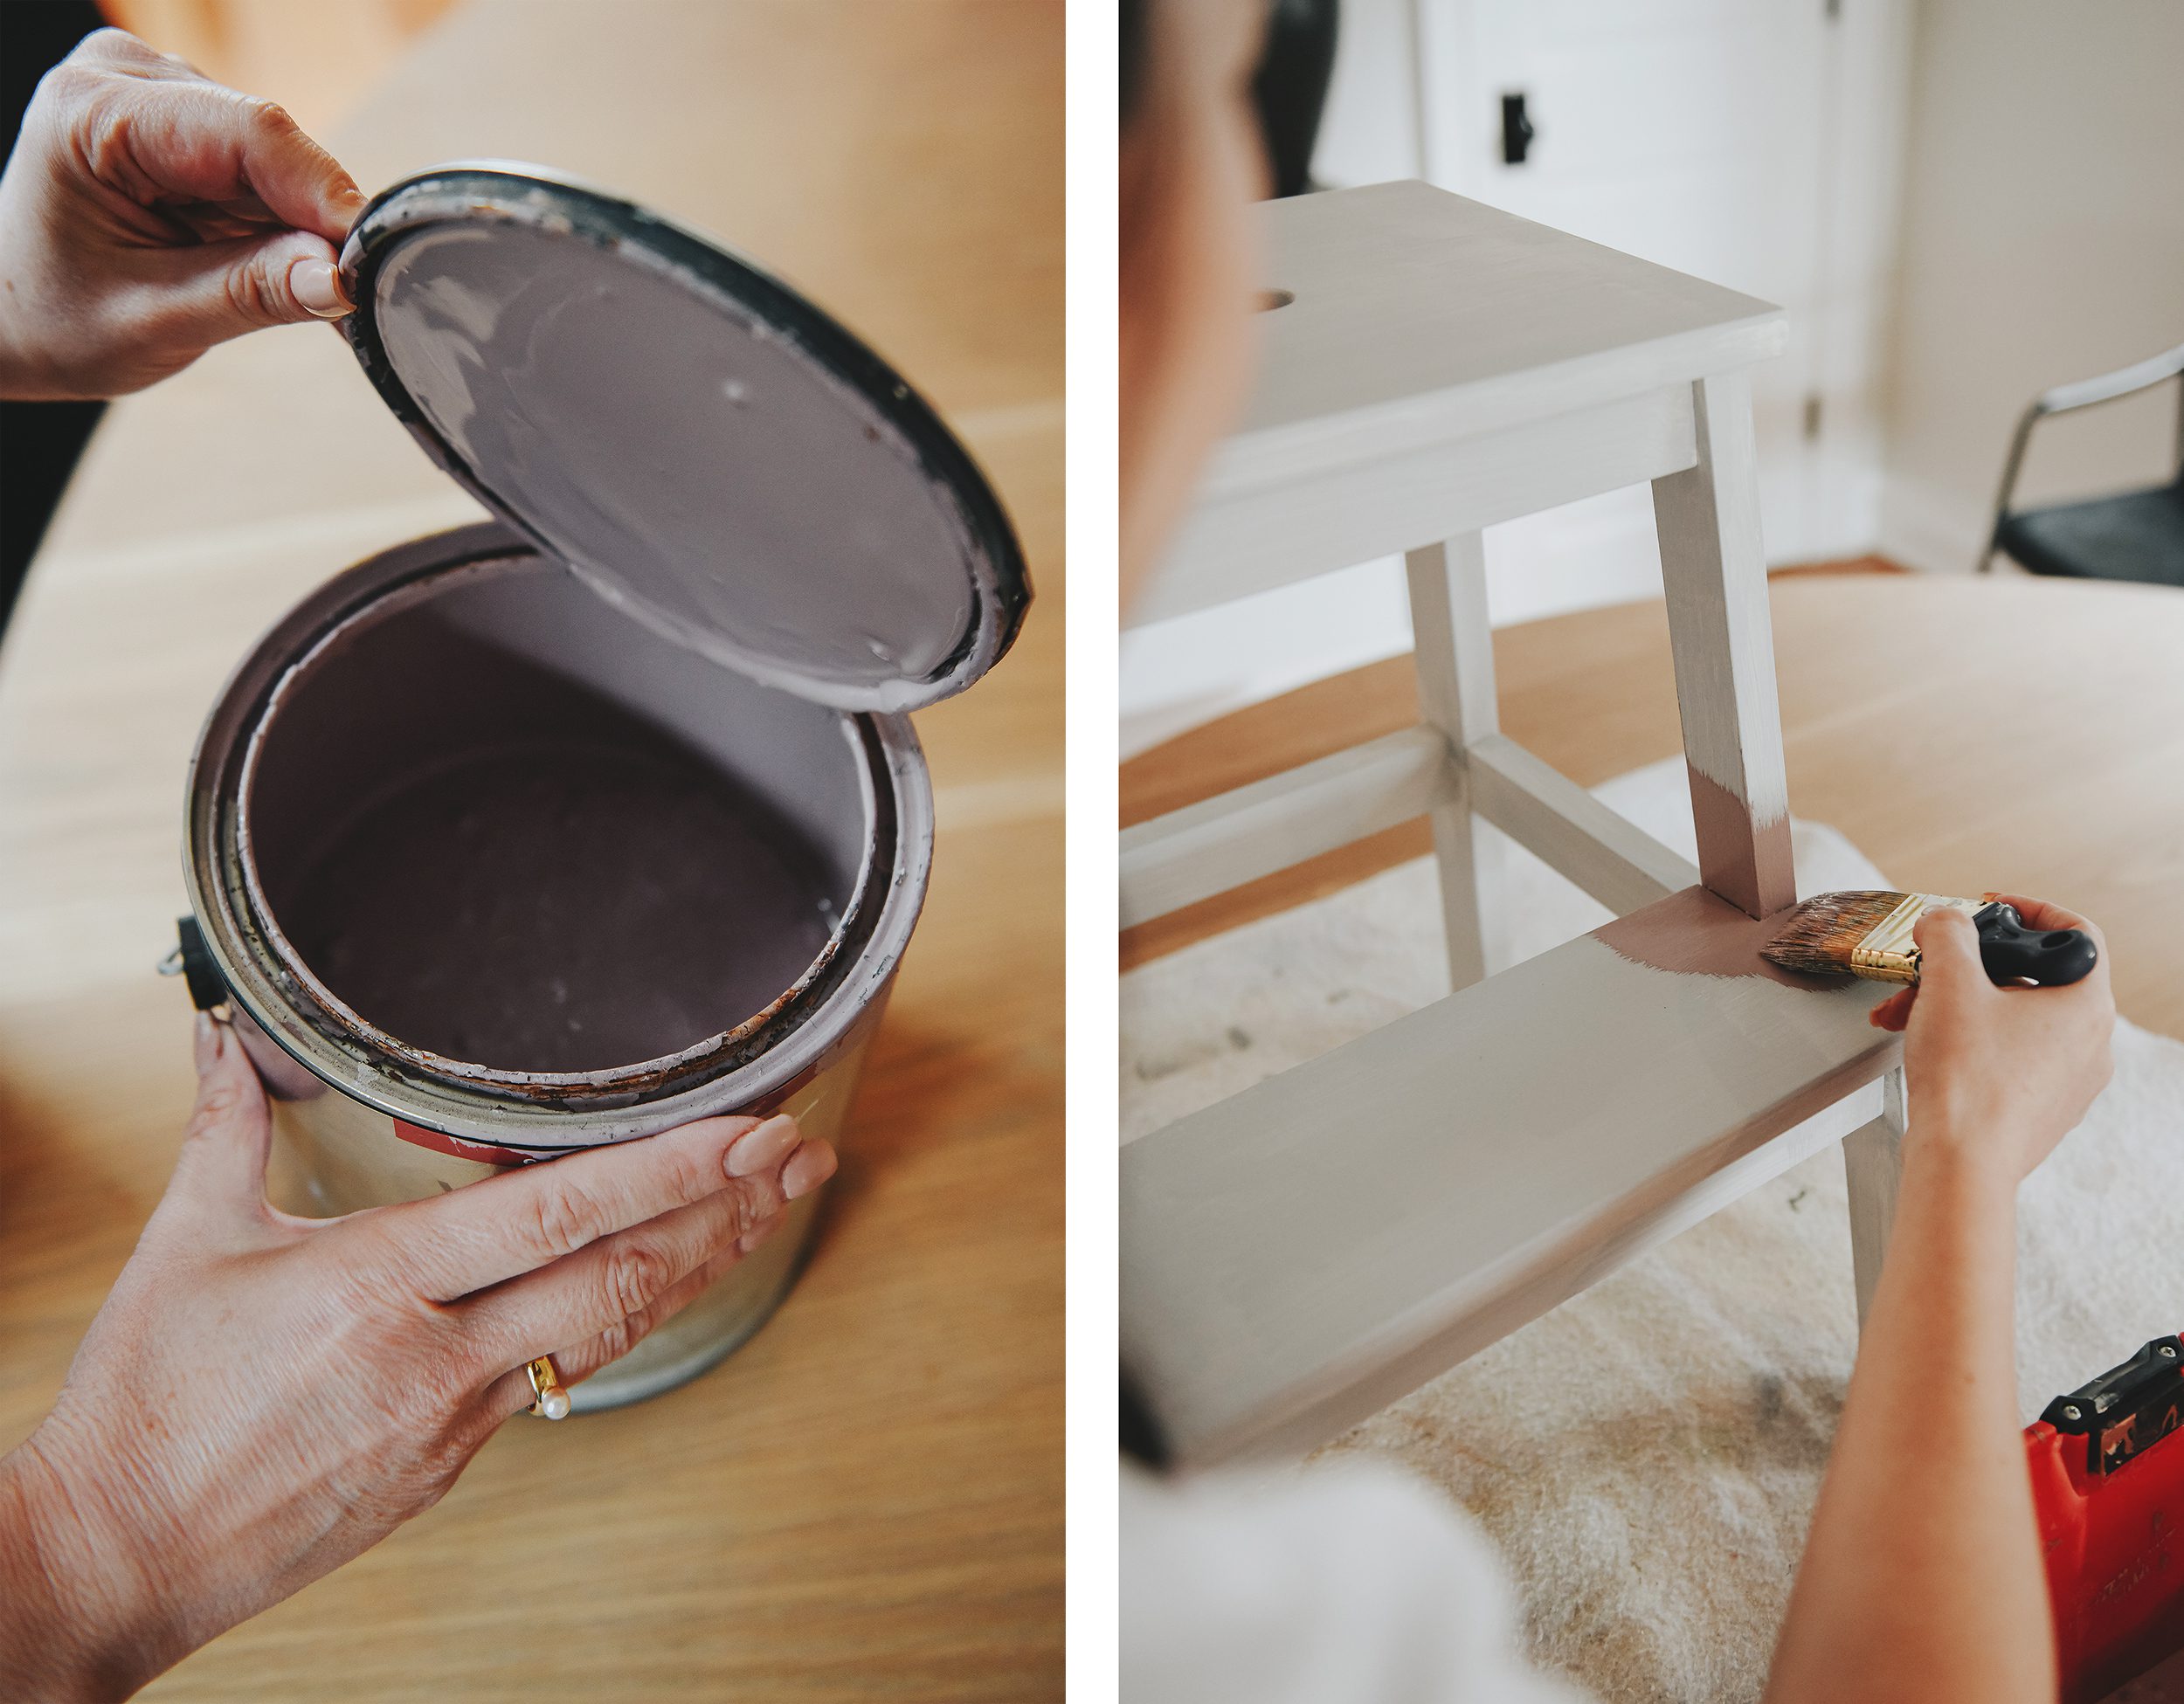
I’m using a can of leftover wall paint, but I’ll be protecting it in the final step. If purchasing paint new, I recommend buying an enamel paint, which dries to a super hard finish (it’s what kitchen cabinets are painted with). This time, I’m just using what I have on hand, which is my favorite kind of project! I’m using the short handle paintbrush to get all the corners first, and then I’ll allow it to dry for a few minutes before moving on.
5| Roll the Paint Color
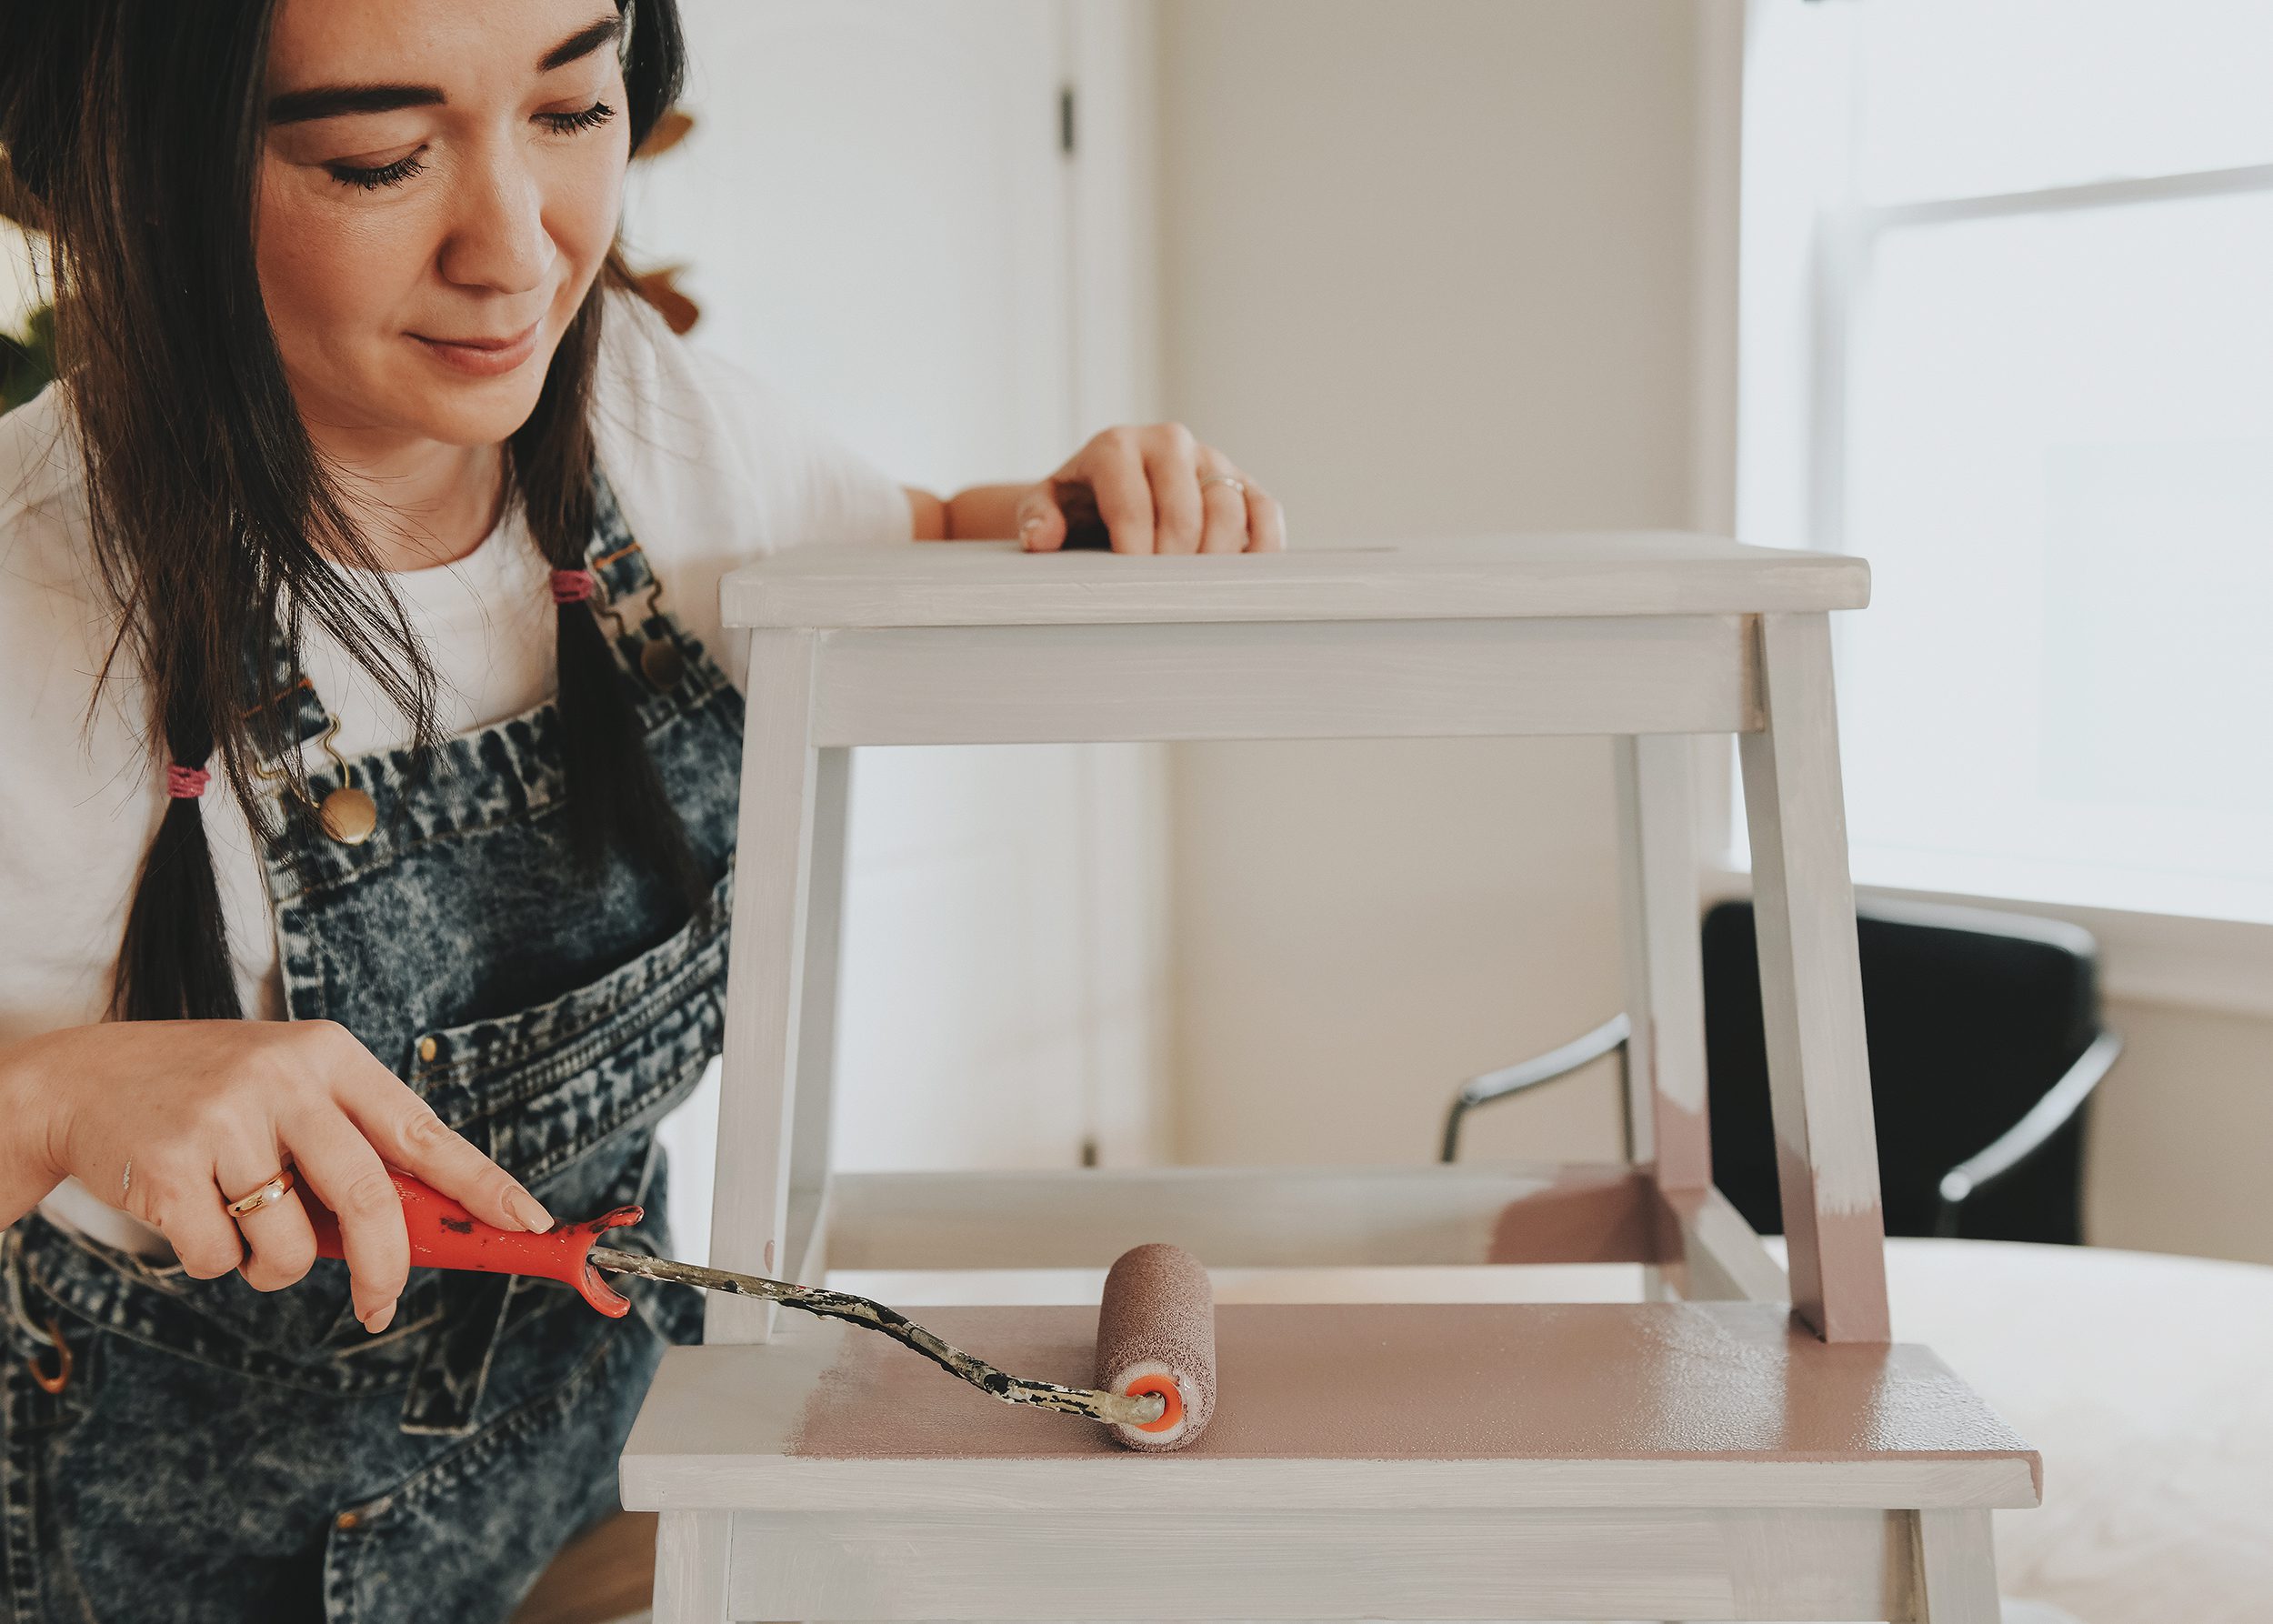
Once the cutting in is dry, it’s time to paint the large flat surfaces! I recommend pouring your paint in a tray and using a mini 4″ foam roller for the smoothest application. The trick is to not over roll! I gave this stool 2 thin coats.
6| Protect with Polycrylic
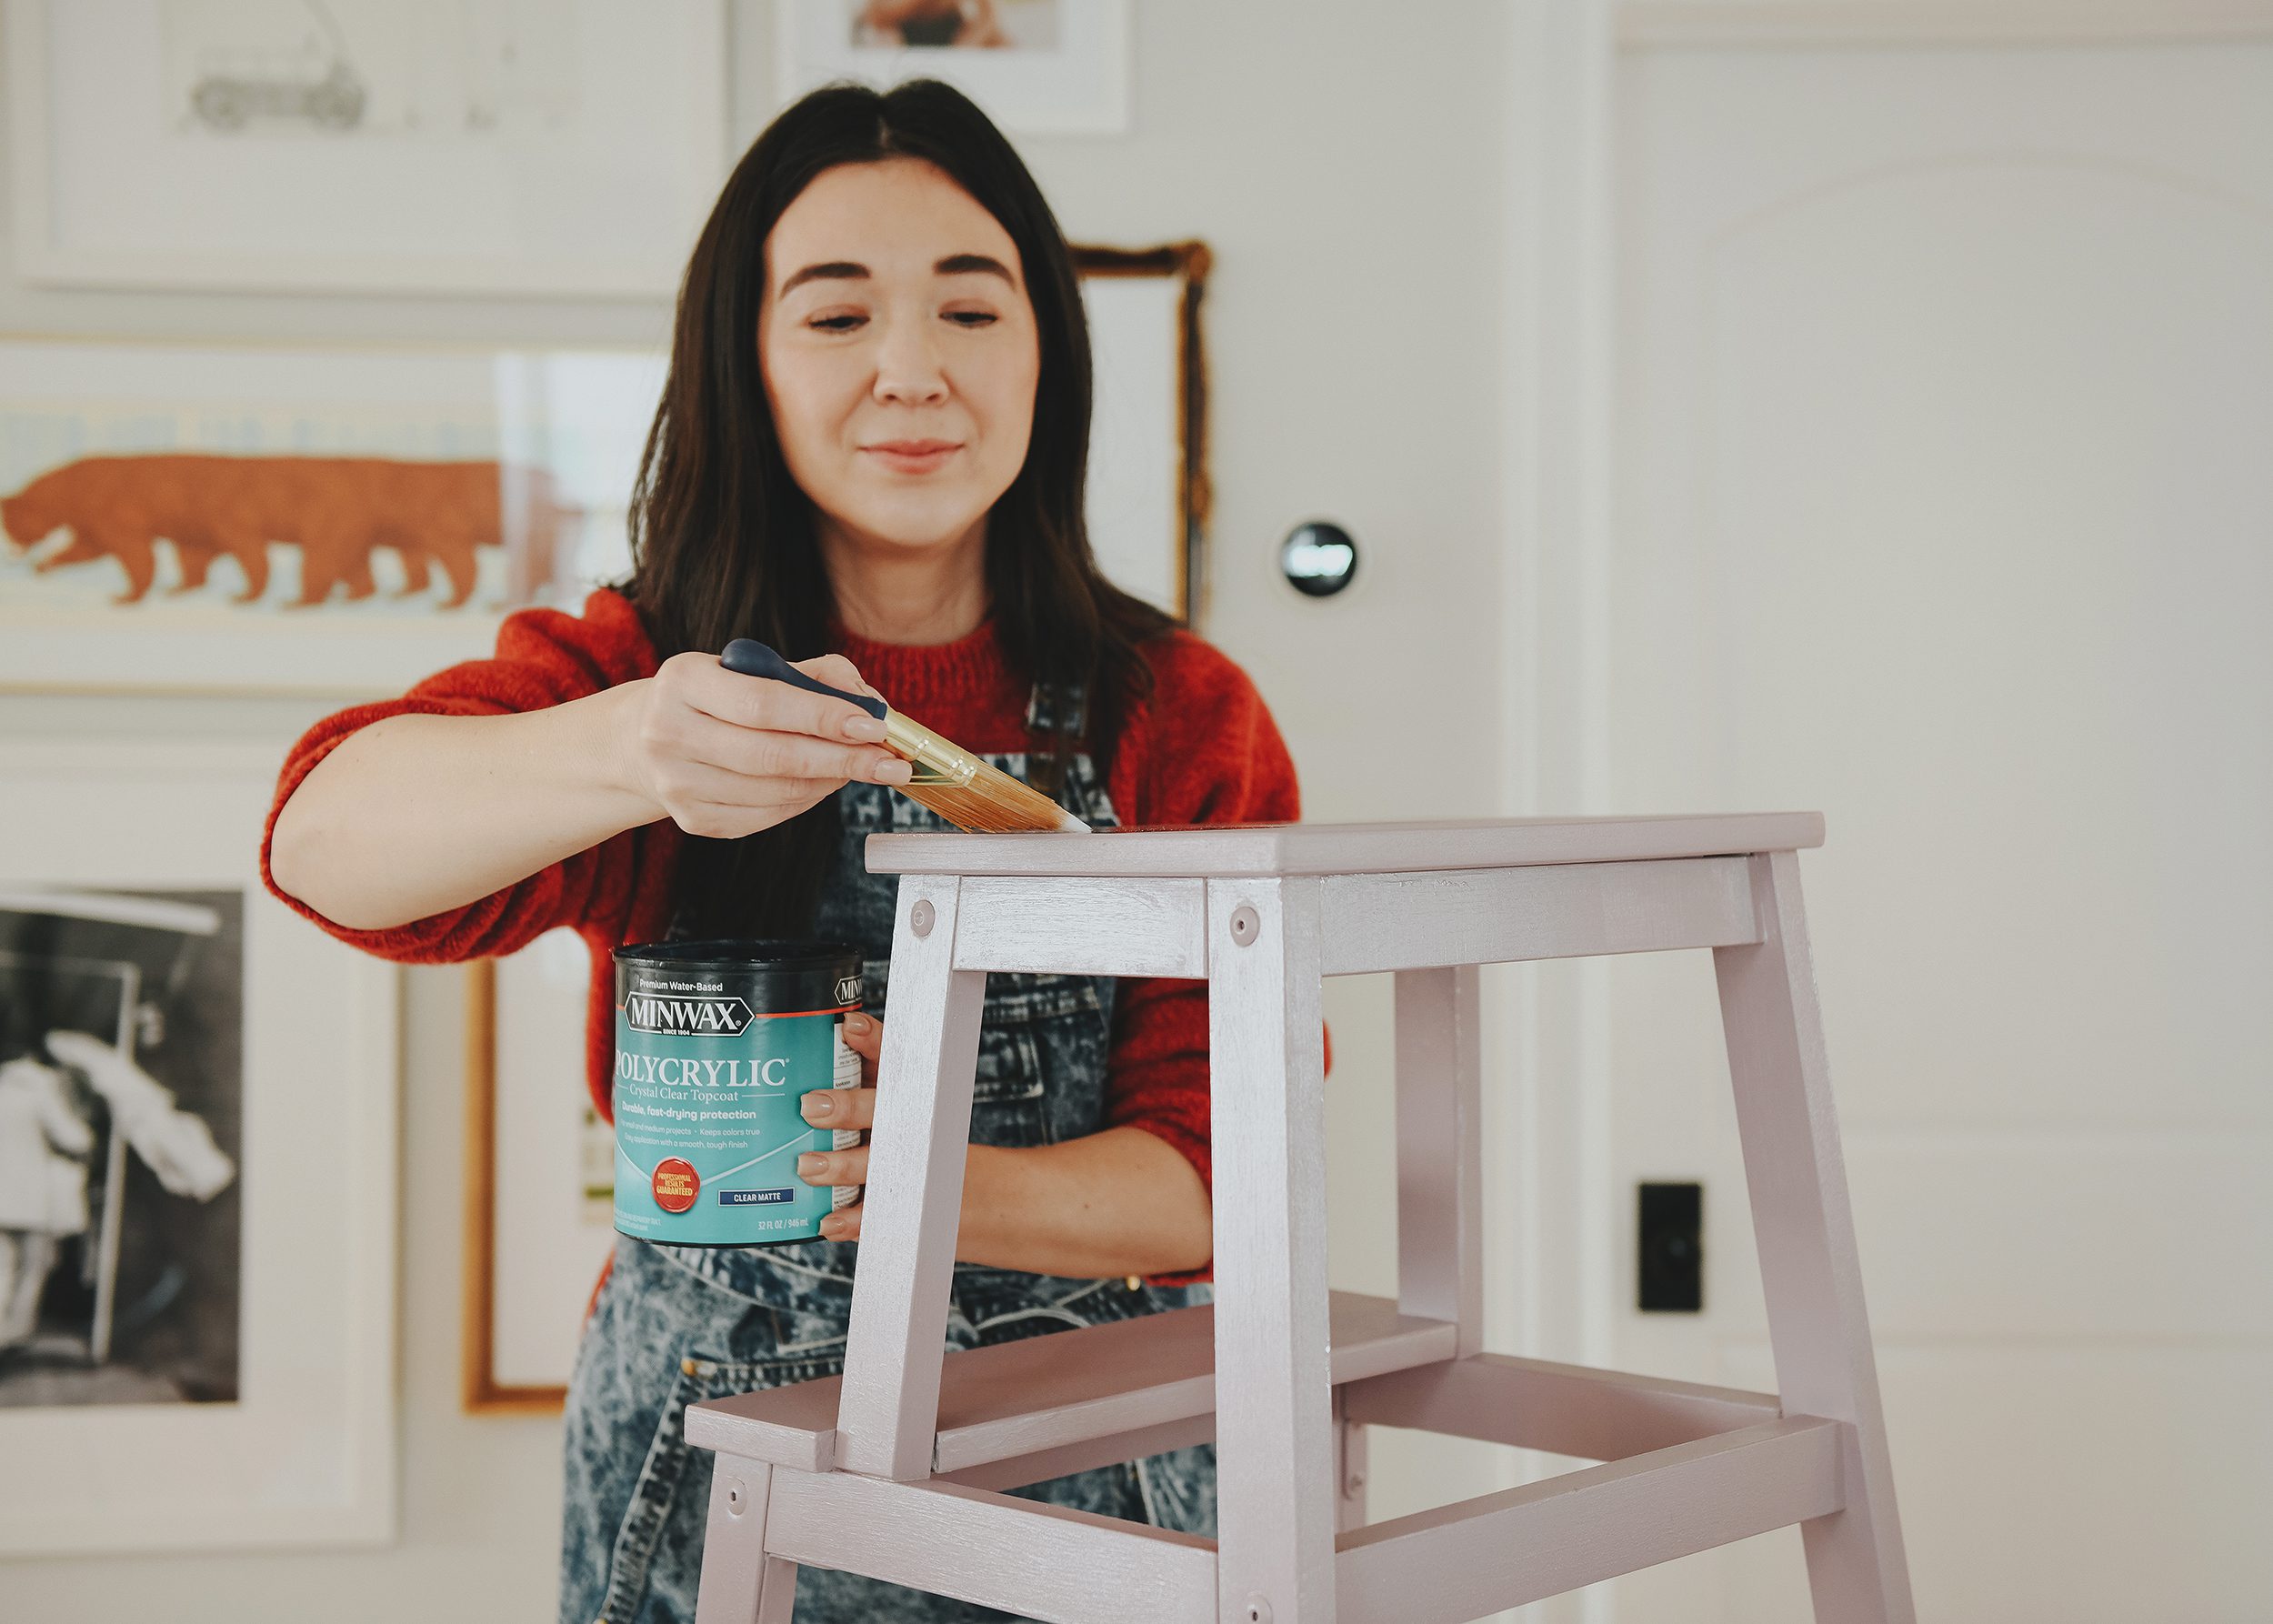
This step may be the most crucial! I’ve been using Polycrylic for years (over a decade!), which is a water-based polyurethane. I love it because it’s non-yellowing over time and easy to use. My favorite finish is the matte finish, which I would consider to be an eggshell sheen once dry.
Apply with a clean paintbrush and apply one thin layer, making sure to catch any drips as you see them. DO NOT OVER BRUSH. Brush with a thin, even coat and move to the next section.
After 2 hours, give the entire piece of furniture a light sand with the same 220 grit sanding block. This will give your second (and potentially third) coat more grip. Each coat needs 2 hours to dry, although I’ve been known to rush into the next coat after an hour!
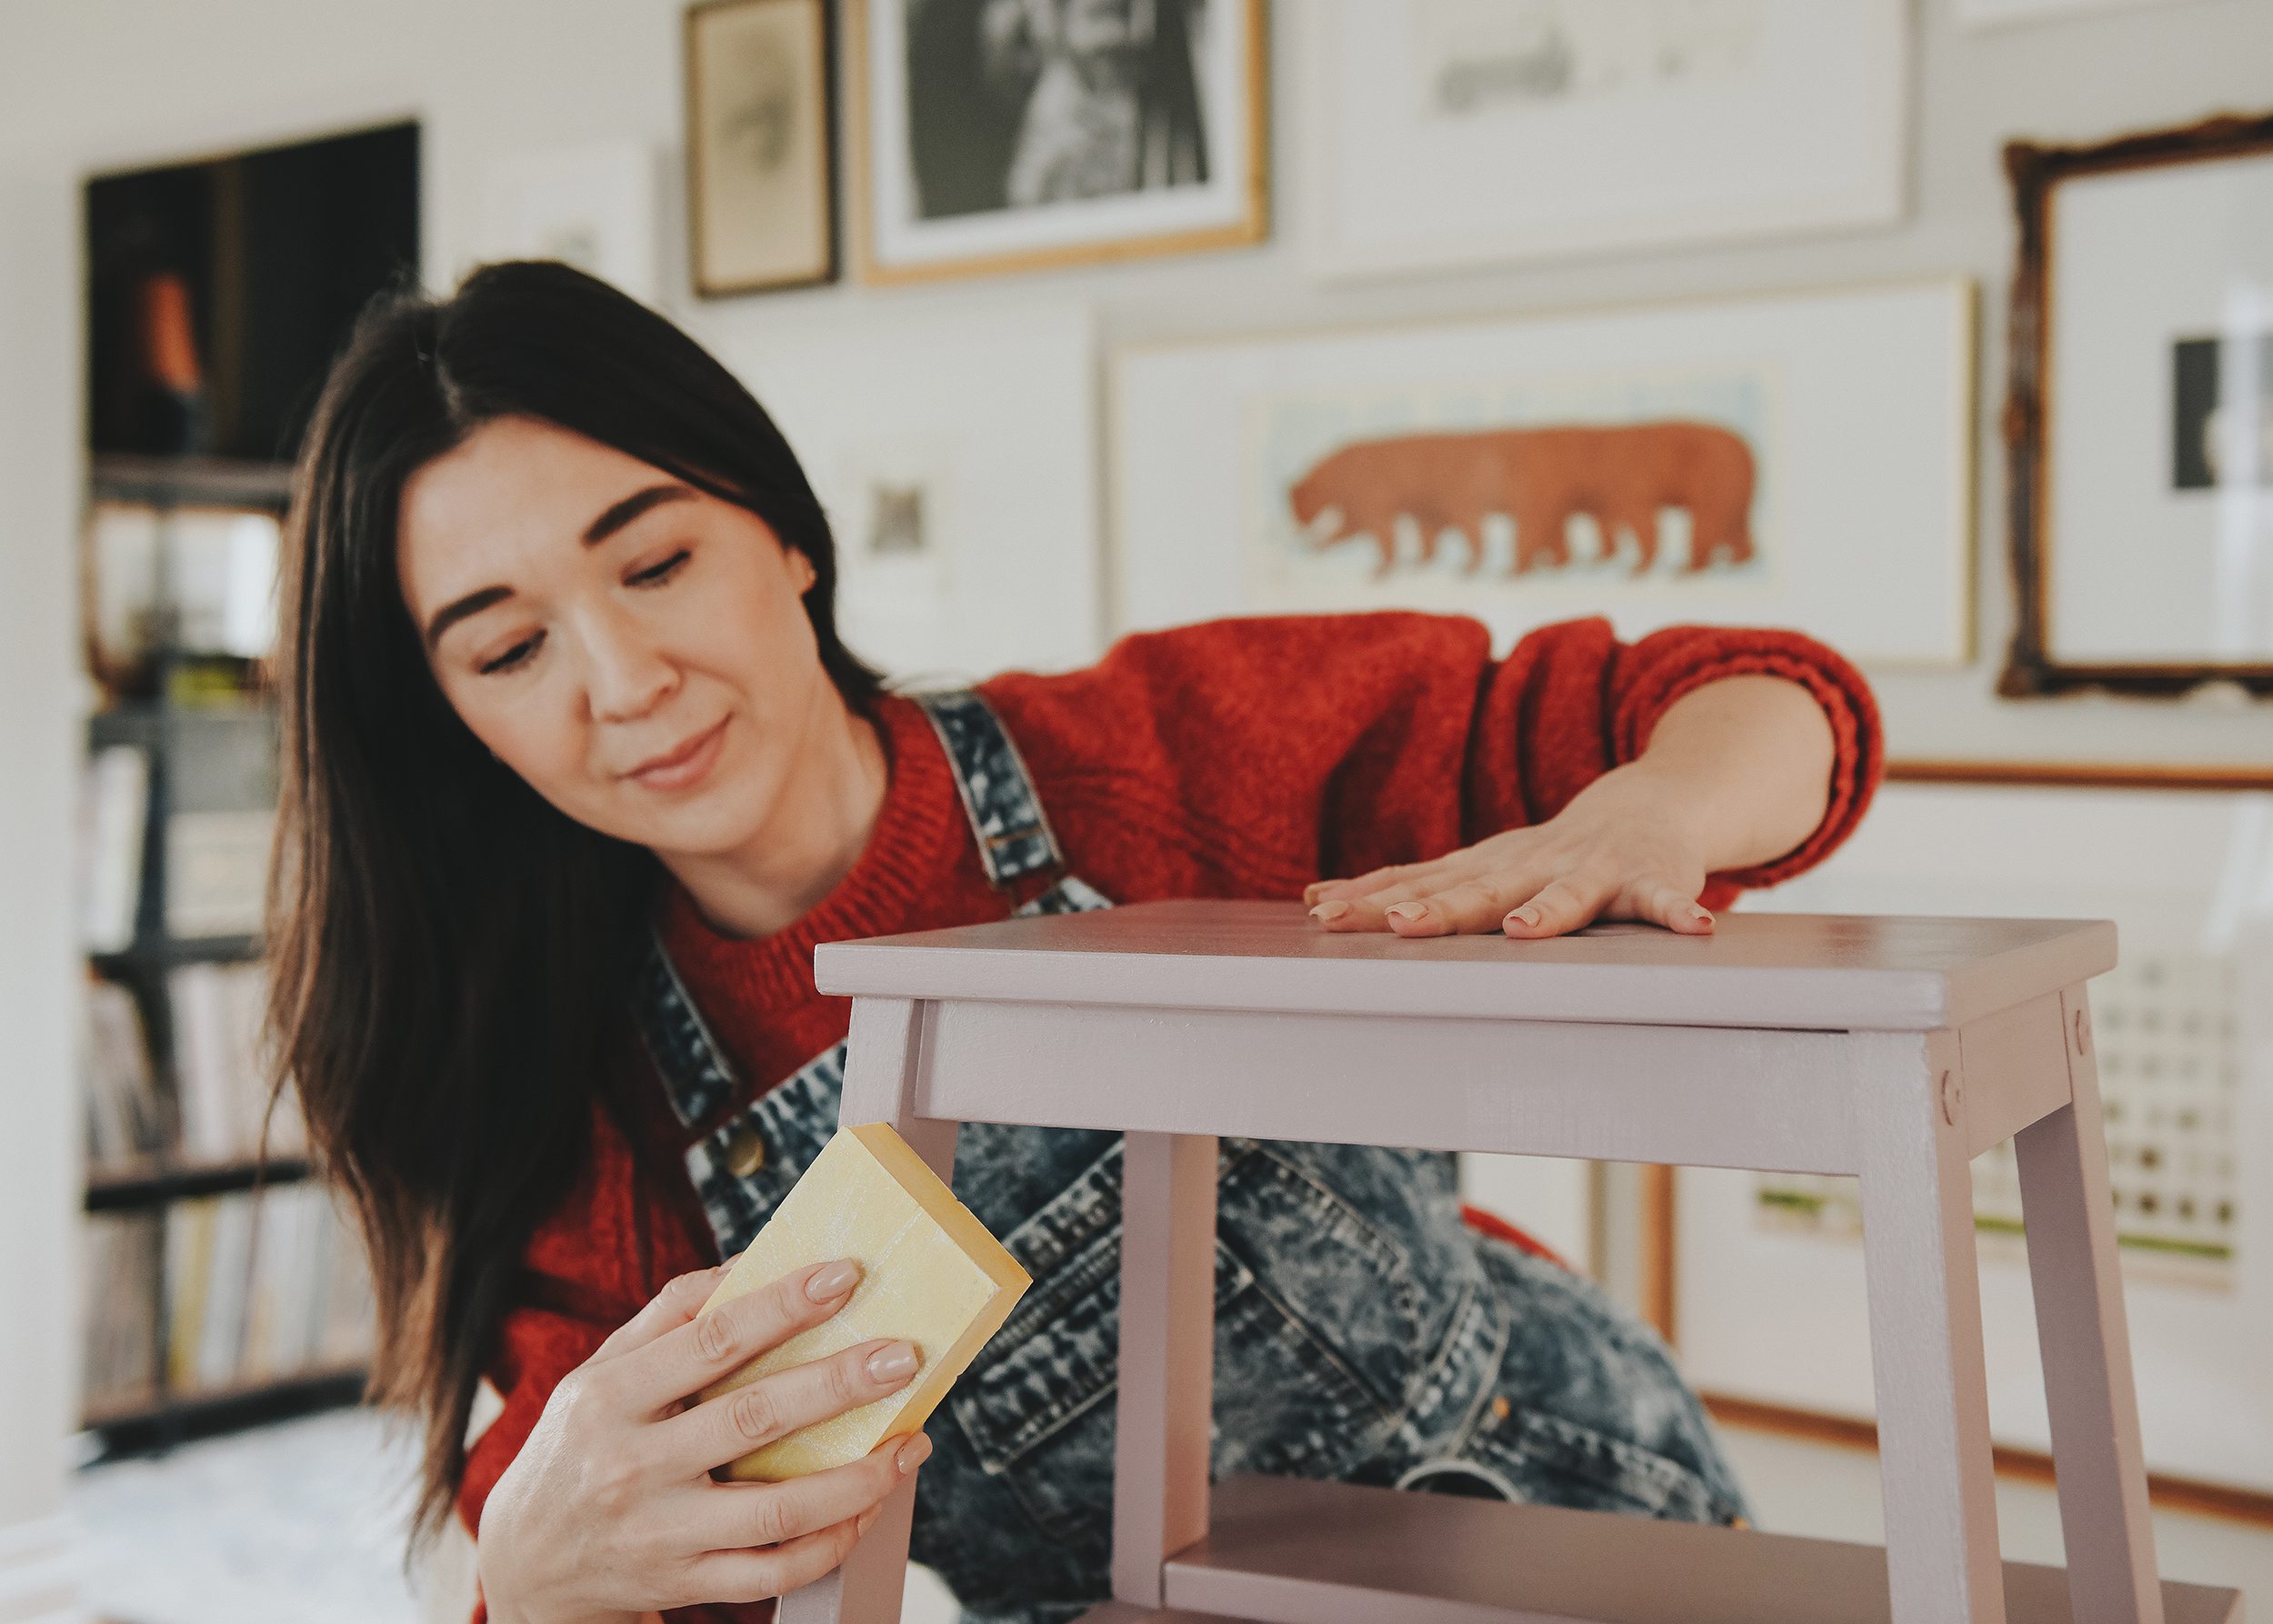
I gave the stool two thin coats everywhere, and I applied a third coat on the treads of the stool because they have the most contact. Between each coat I gave it a light sand for grip, but the final coat does not need to be sanded. You’ll notice that with every thin coat of Polycrylic, the finish gets more even.
7| Enjoy!
And that’s it! Allow your piece of furniture to dry overnight before handling, and if it’s an item where you set items on top – such as a credenza, dresser or bookshelf – wait a minimum of 3 days before you put it to use. This is essential to ensure the Polycrylic is fully cured.
Below, I’m sharing our favorite painting tools, including the roller and covers we use for walls and ceilings.
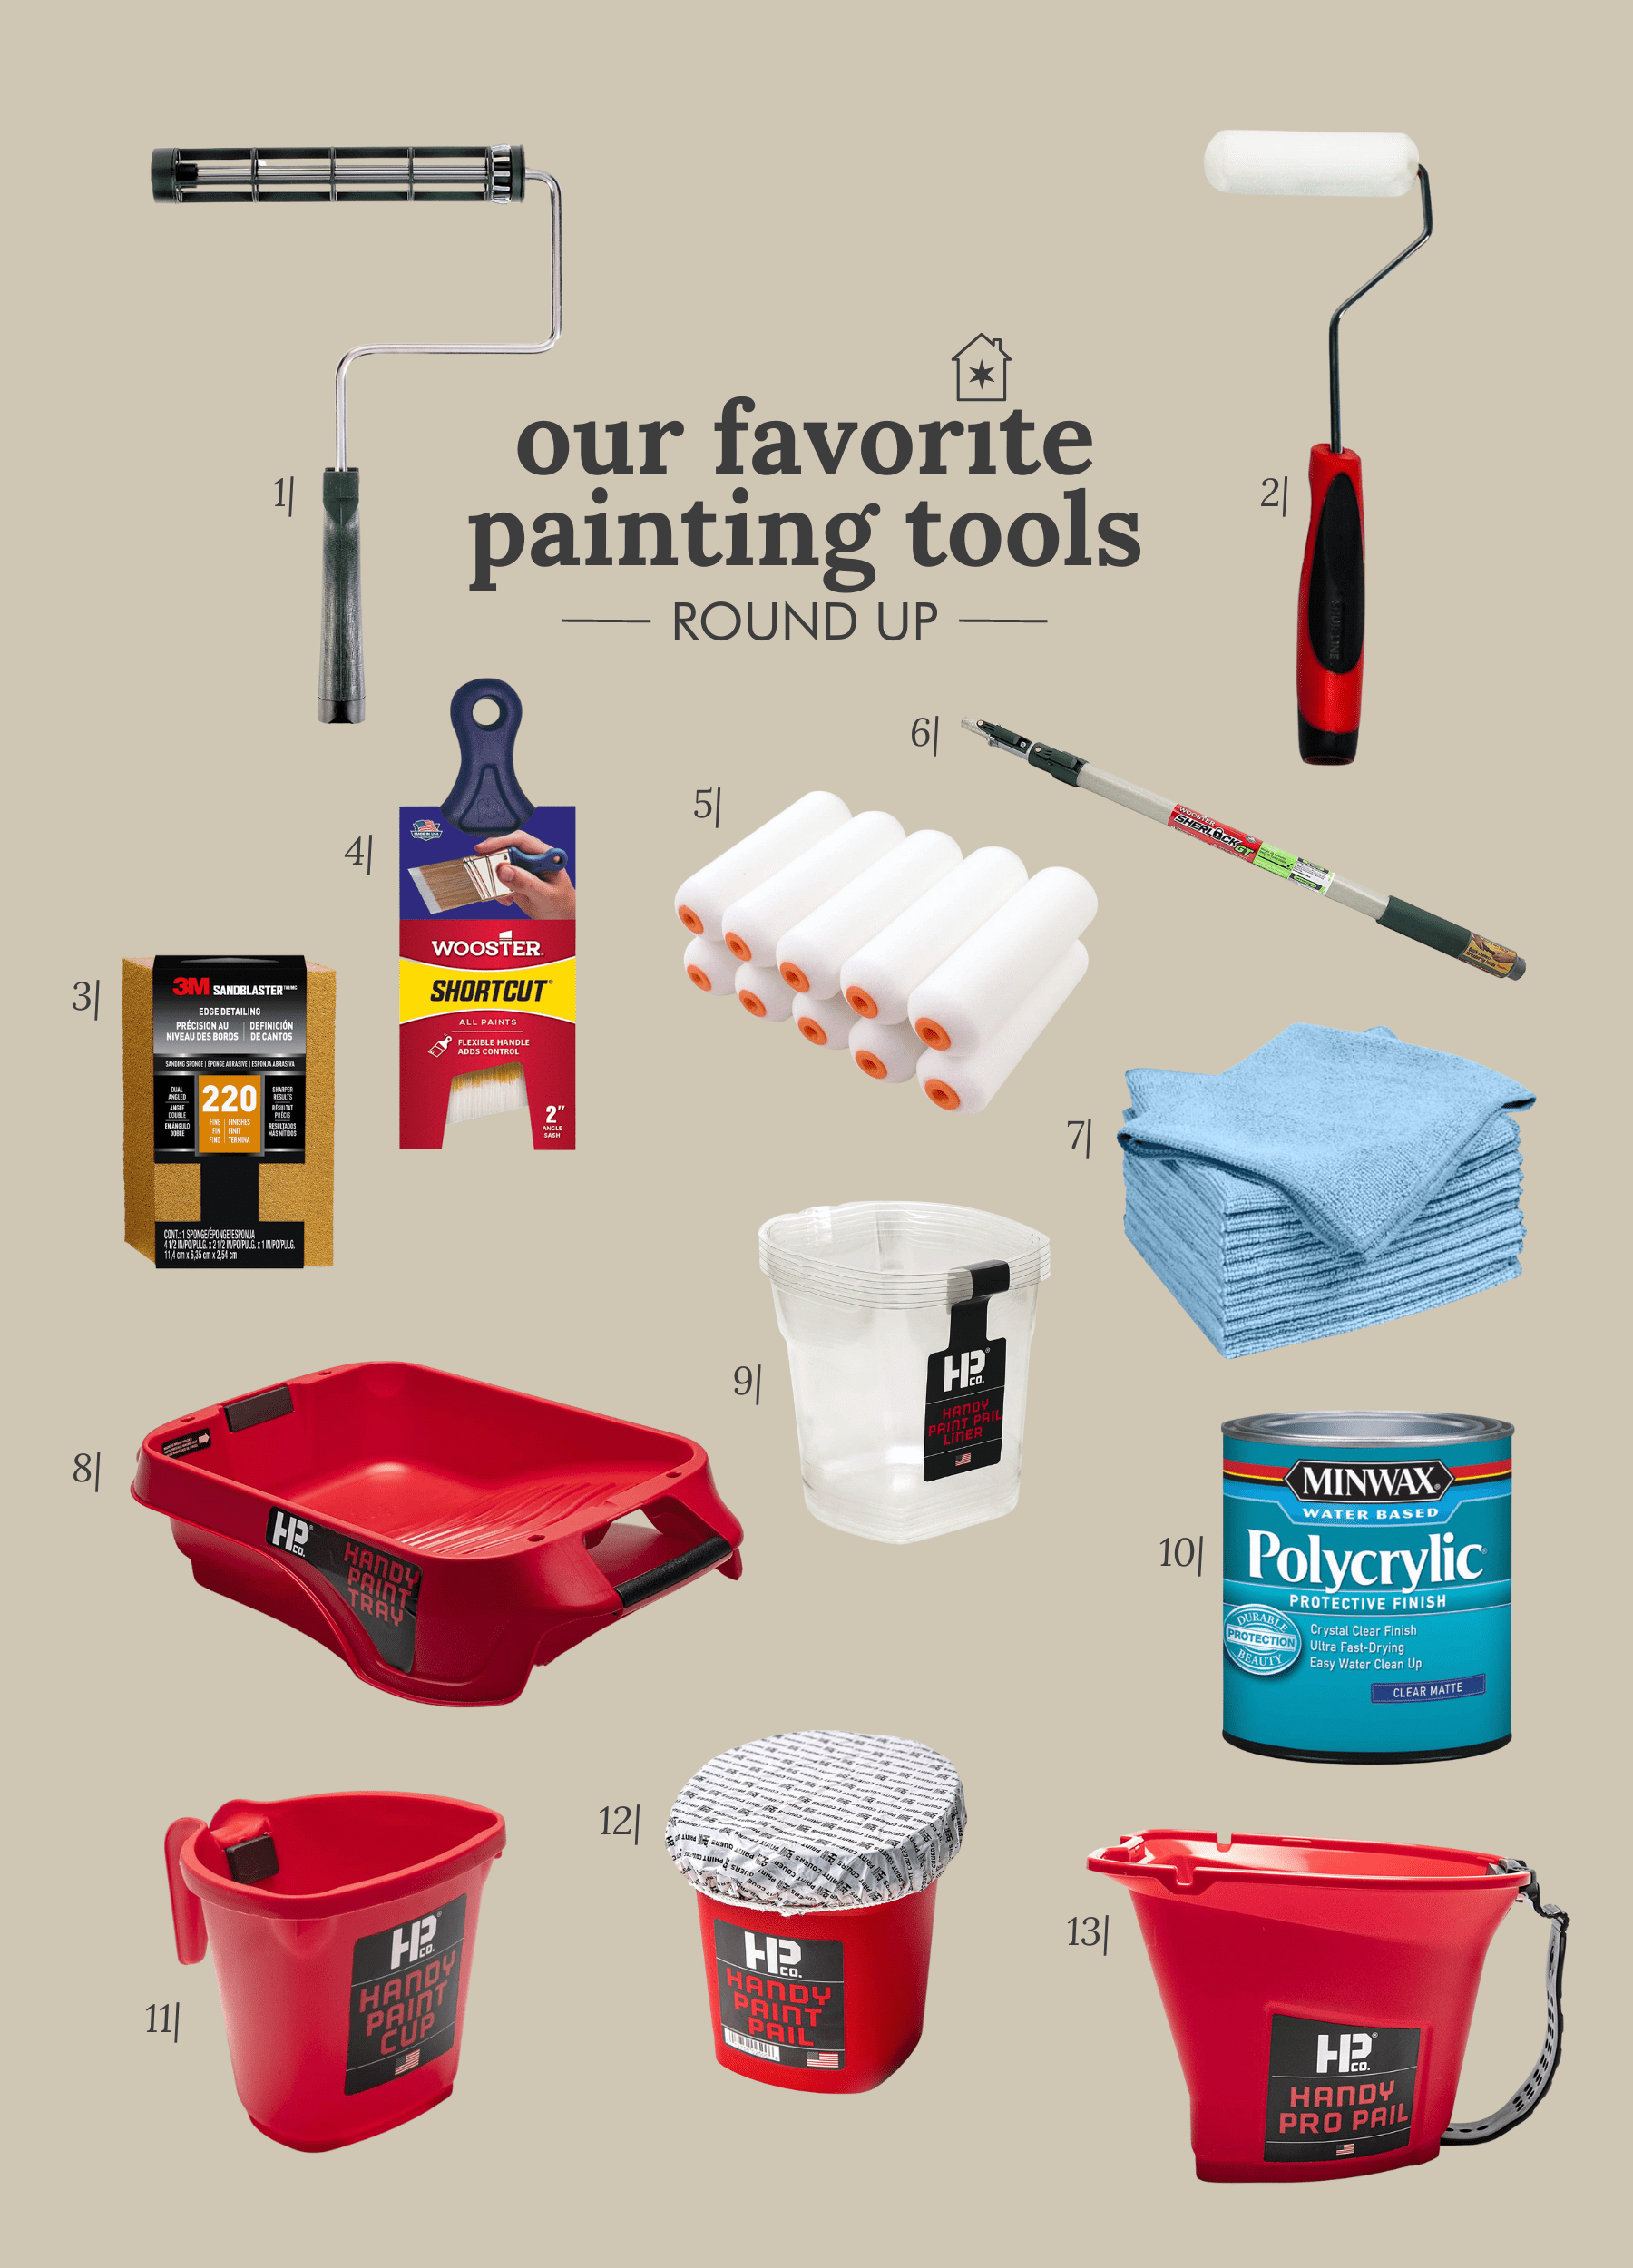
1. 9″ roller | 2. mini 4″ foam roller | 3. sanding block | 4. short handle angled paintbrush | 5. 4″ foam covers | 7. microfiber cloths | 8. best paint tray, hands down | 9. paint pail disposable cups | 10. Polycrylic | 11. paint pail for small projects and touch-ups | 12. paint covers | 13. paint pail for mini rollers
We love to break down multi-step tasks and take away the mystery. See our other how-to posts right here, like how to rewire a light fixture, how to add a dimmer to a sconce, how to case a door opening, and how to paint ANYTHING.


Would this method work with (kitchen) cabinets, Kim?
Hi Rebecca! Because kitchen cabinets will need more touch ups over the years, I recommend NOT sealing it with Polycrylic. Polycrylic creates a clear coating around the color, and with a kitchen cabinet, you want the flexibility to touch up paint color without needing to sand down and reapply the clear coat. Spraying the cabinets with an enamel paint is going to be your best bet for something so large scale! Here’s a post tutorial.
Does the polycrylic help prevent things from sticking to it? I’ve painted bookshelves a few times in the past and no matter how thin the coats are or how long I let it dry between coats and after the final coat, whatever I eventually set on the painted surface ends up sticking after it’s sat there for a bit. I drives me bonkers! Maybe polycrylic is the answer?
A thousand percent give it a try! It should alleviate that issue altogether.
The polycrylic will absolutely help! It acts as a hard protective barrier that keeps the paint looking great for a very long time.
DIY Queen, and your pictures too so with the tutorial are spot on! A light coat of primer is key, too thick and it will all just peel off.
*pictures that go
Thank you so much, Julie!
Thanks for the tutorial, it was very helpful. I am about to paint my cabinets
Of course! If you scroll back on the blog we do have a specific post on how we painted the cabinets in our condo. That might be even more helpful!
Hi Kim! First off, thank you for writing this post! I’m like the worst DIYer so this makes the process way less overwhelming. I recently bought an unfinished wood bistro table and remembered this post from before. I’m wondering, if I like the tone of the unfinished wood do I need to stain or seal it in some way before using polycrilic? Or can I just move onto the poly step?
You can skip straight to the poly or use a pre-stain conditioner first to even out the grain. Good luck with your project!
Thanks, Scott!
Hi – you all did a great round-up of lookalikes for that stool now that ikea doenst have it anymore (in the U.S.) – is that housed on here somewhere? I can’t find it…
Hi! Here’s the link to that roundup.