




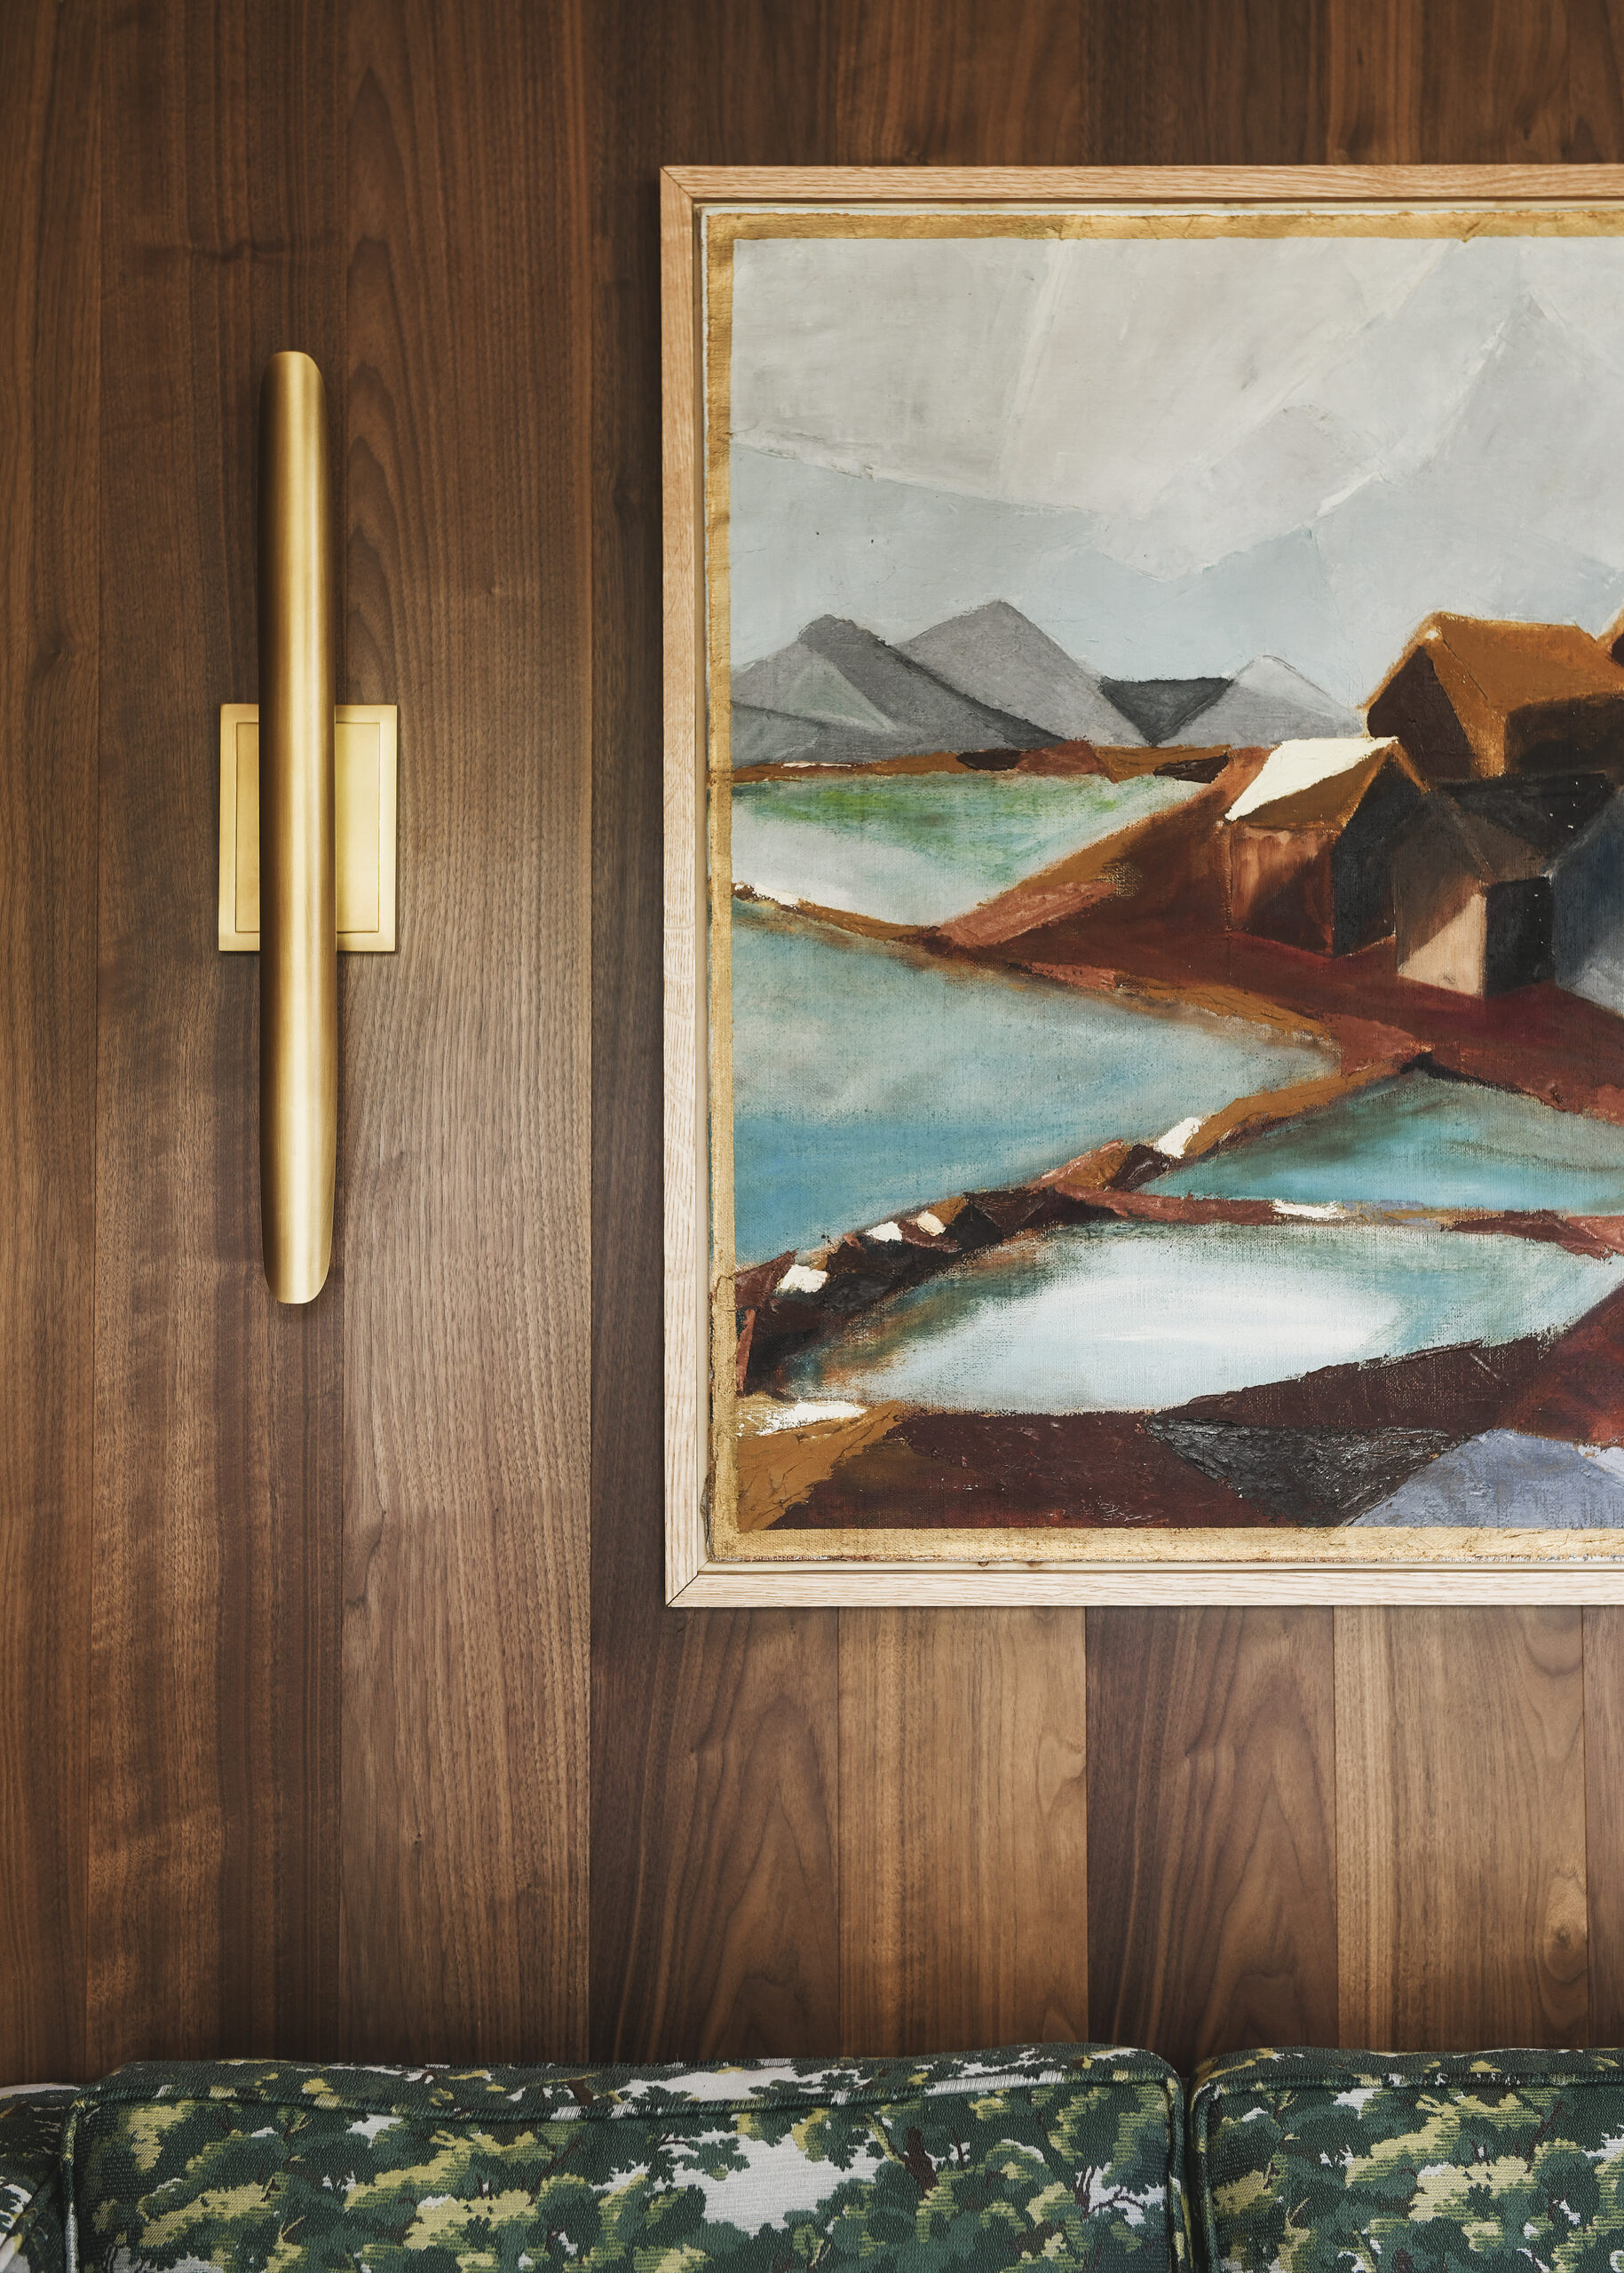
Upgrade a stretched canvas painting by adding a float frame! Here’s what we did, step by step. It’s simpler than you might think!
In This Post
A Budget-Friendly Option
We love finding vintage art and incorporating it into our designs. Secondhand photos, objects and paintings can be found throughout every space of our homes. There’s nothing quite like the thrill of finding the perfect piece of art at a yard sale, secondhand store or from a vintage reseller, but the cost of framing all of this beautiful art can really add up!
To cut down costs while keeping things 100% custom, we’ve devised a plan for a simple float frame. This tutorial will work for large canvas paintings or art painted on any material thick and sturdy enough to screw into. Let’s get our materials together.
Gather Your Tools + Materials
- Finish grade oak 1×2 boards (enough to surround the canvas)
- Select pine 1×4 boards (same quantity as above)
- Canvas art (we found this vintage beauty at Dial M for Modern)
- 1 1/4″ screws
- Pin nailer w 1 1/4″ pin nails
- Tape measure
- Pencil
- Wood glue
- Clamps
- Corner clamps
- Sanding block
- Shims
- Your favorite sealer (we used Polycrylic spray in a satin finish)
- Picture hanging hardware of your choice (We used this Ook kit)
1| Measure Canvas
The first step of the process is to measure the outside dimensions of your canvas or artwork. You’ll find that most canvases will have extra material folded the corners, so be sure to take this into account. Our artwork was 46″w x 32″h. We added 1/2″ to each of these dimensions, which will result in 1/4″ of gap or ‘float’ between the frame and canvas on all 4 sides.
2| Glue + Nail Wood Pieces
Next, we glued and nailed the front facing oak boards to the pine back boards. When viewed from above, the pine boards will lay flat on the floor, while the finish edge boards will sit on their short side, facing up. This forms an ‘L’ shape.
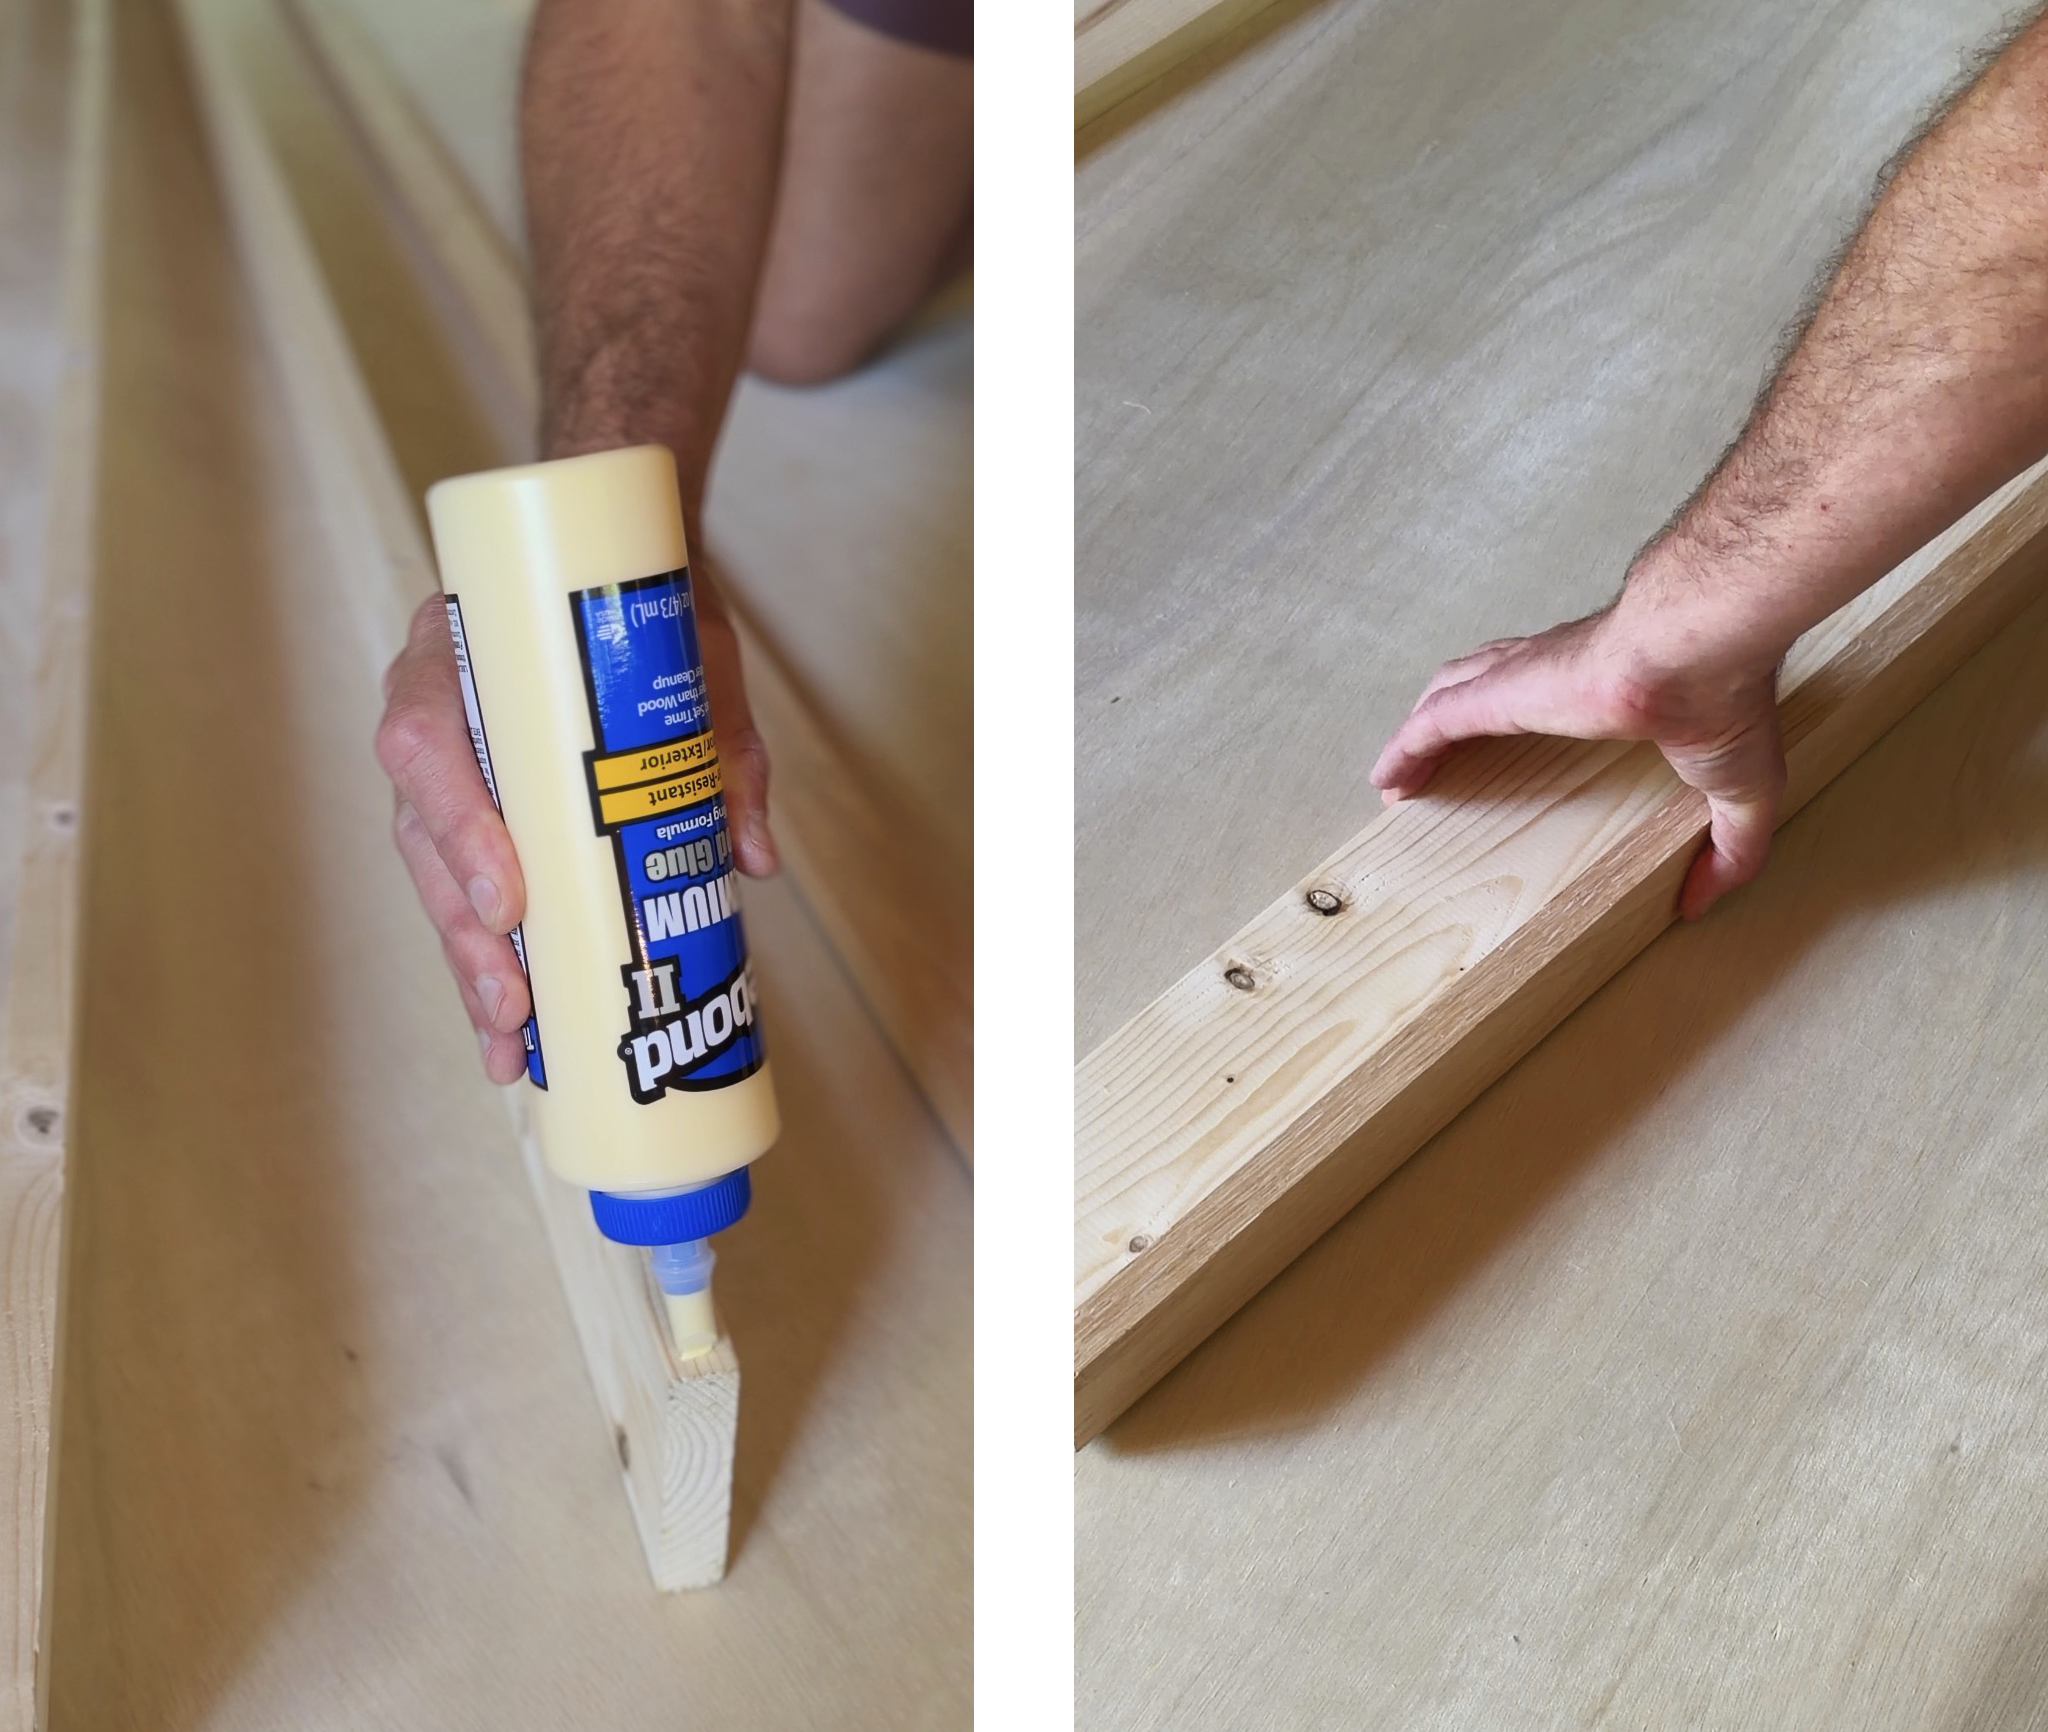
We used a generous bead of wood glue, smoothed with our finger for good coverage, then clamped the two pieces together.
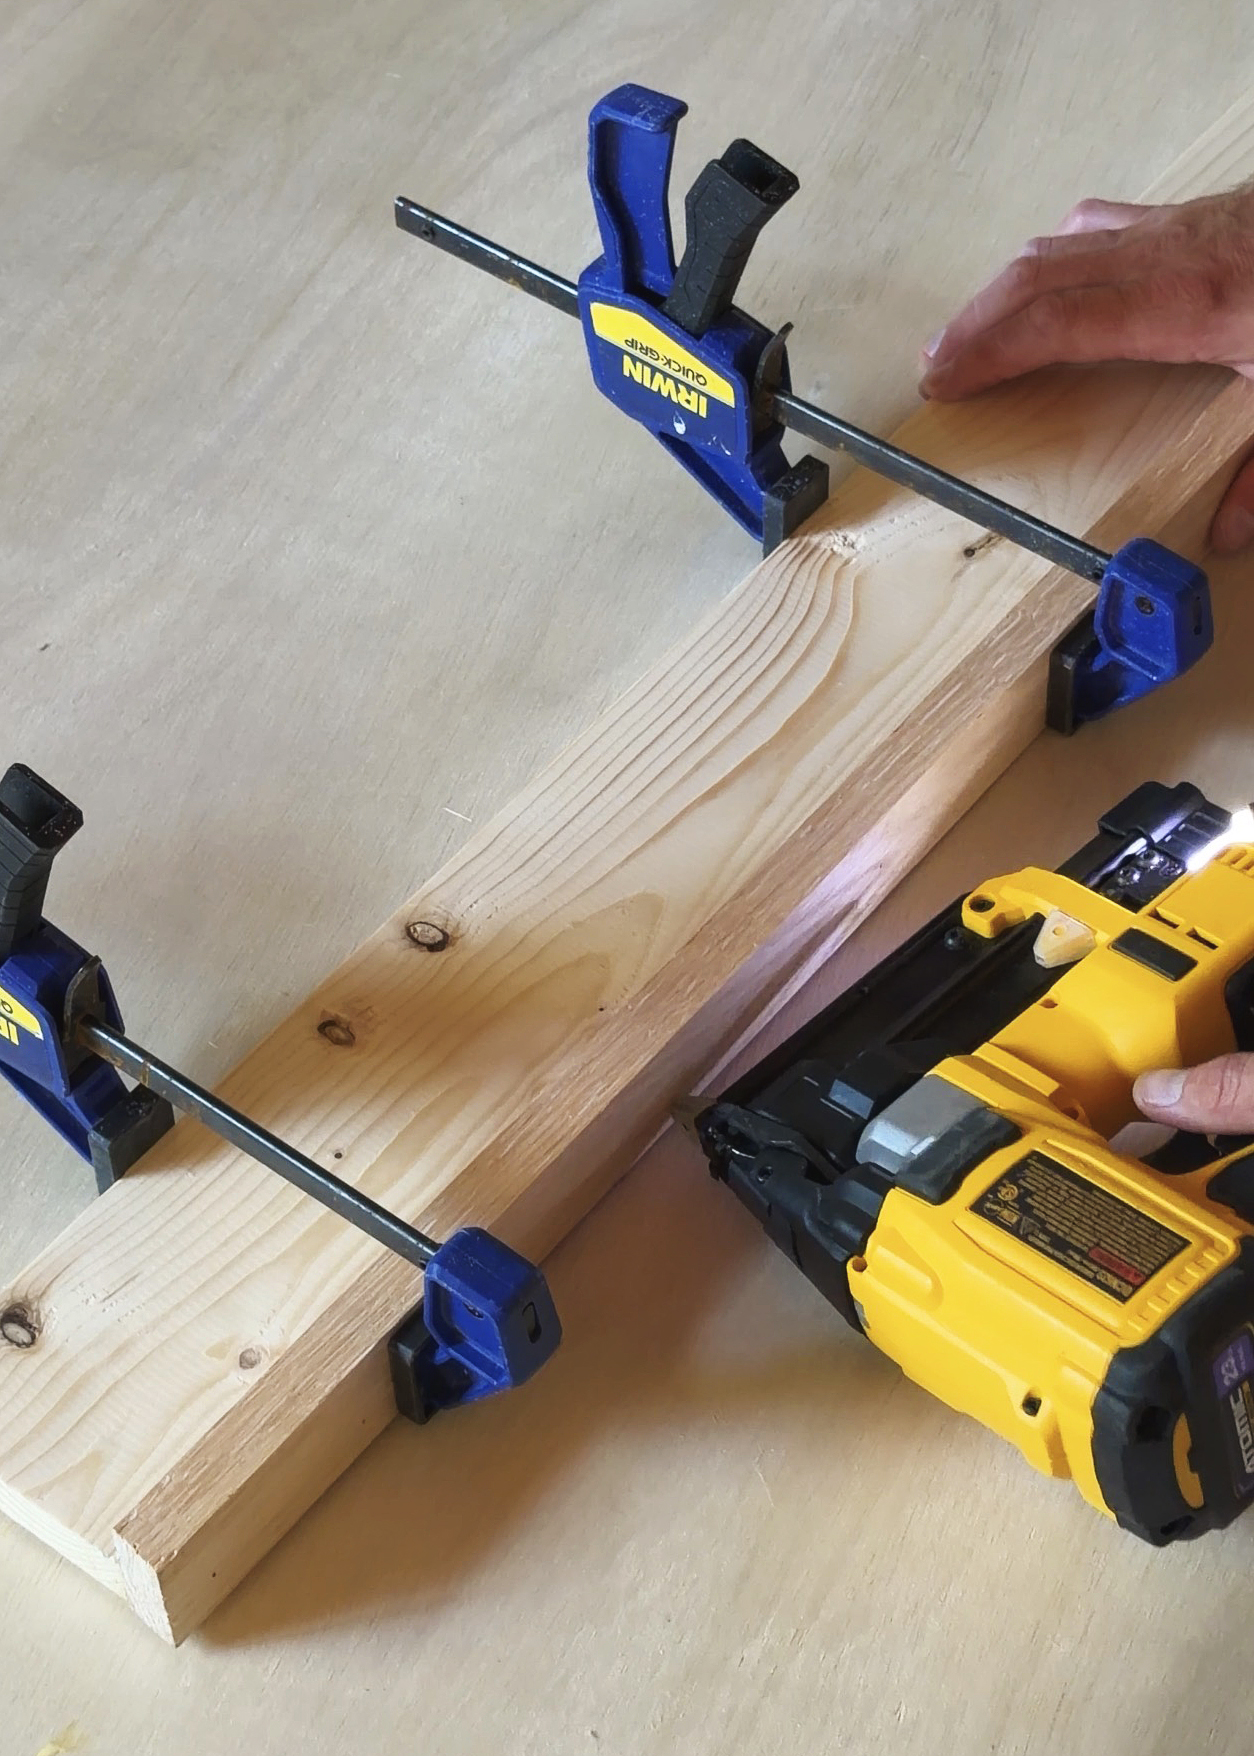
Once everything was clamped into place, we put a 1 1/4″ pin nail every 8-10″ to make the bond permanent. Note: Nailing at a slight angle will offer a tighter joint while the glue cures.
3| Cut Sides to Length
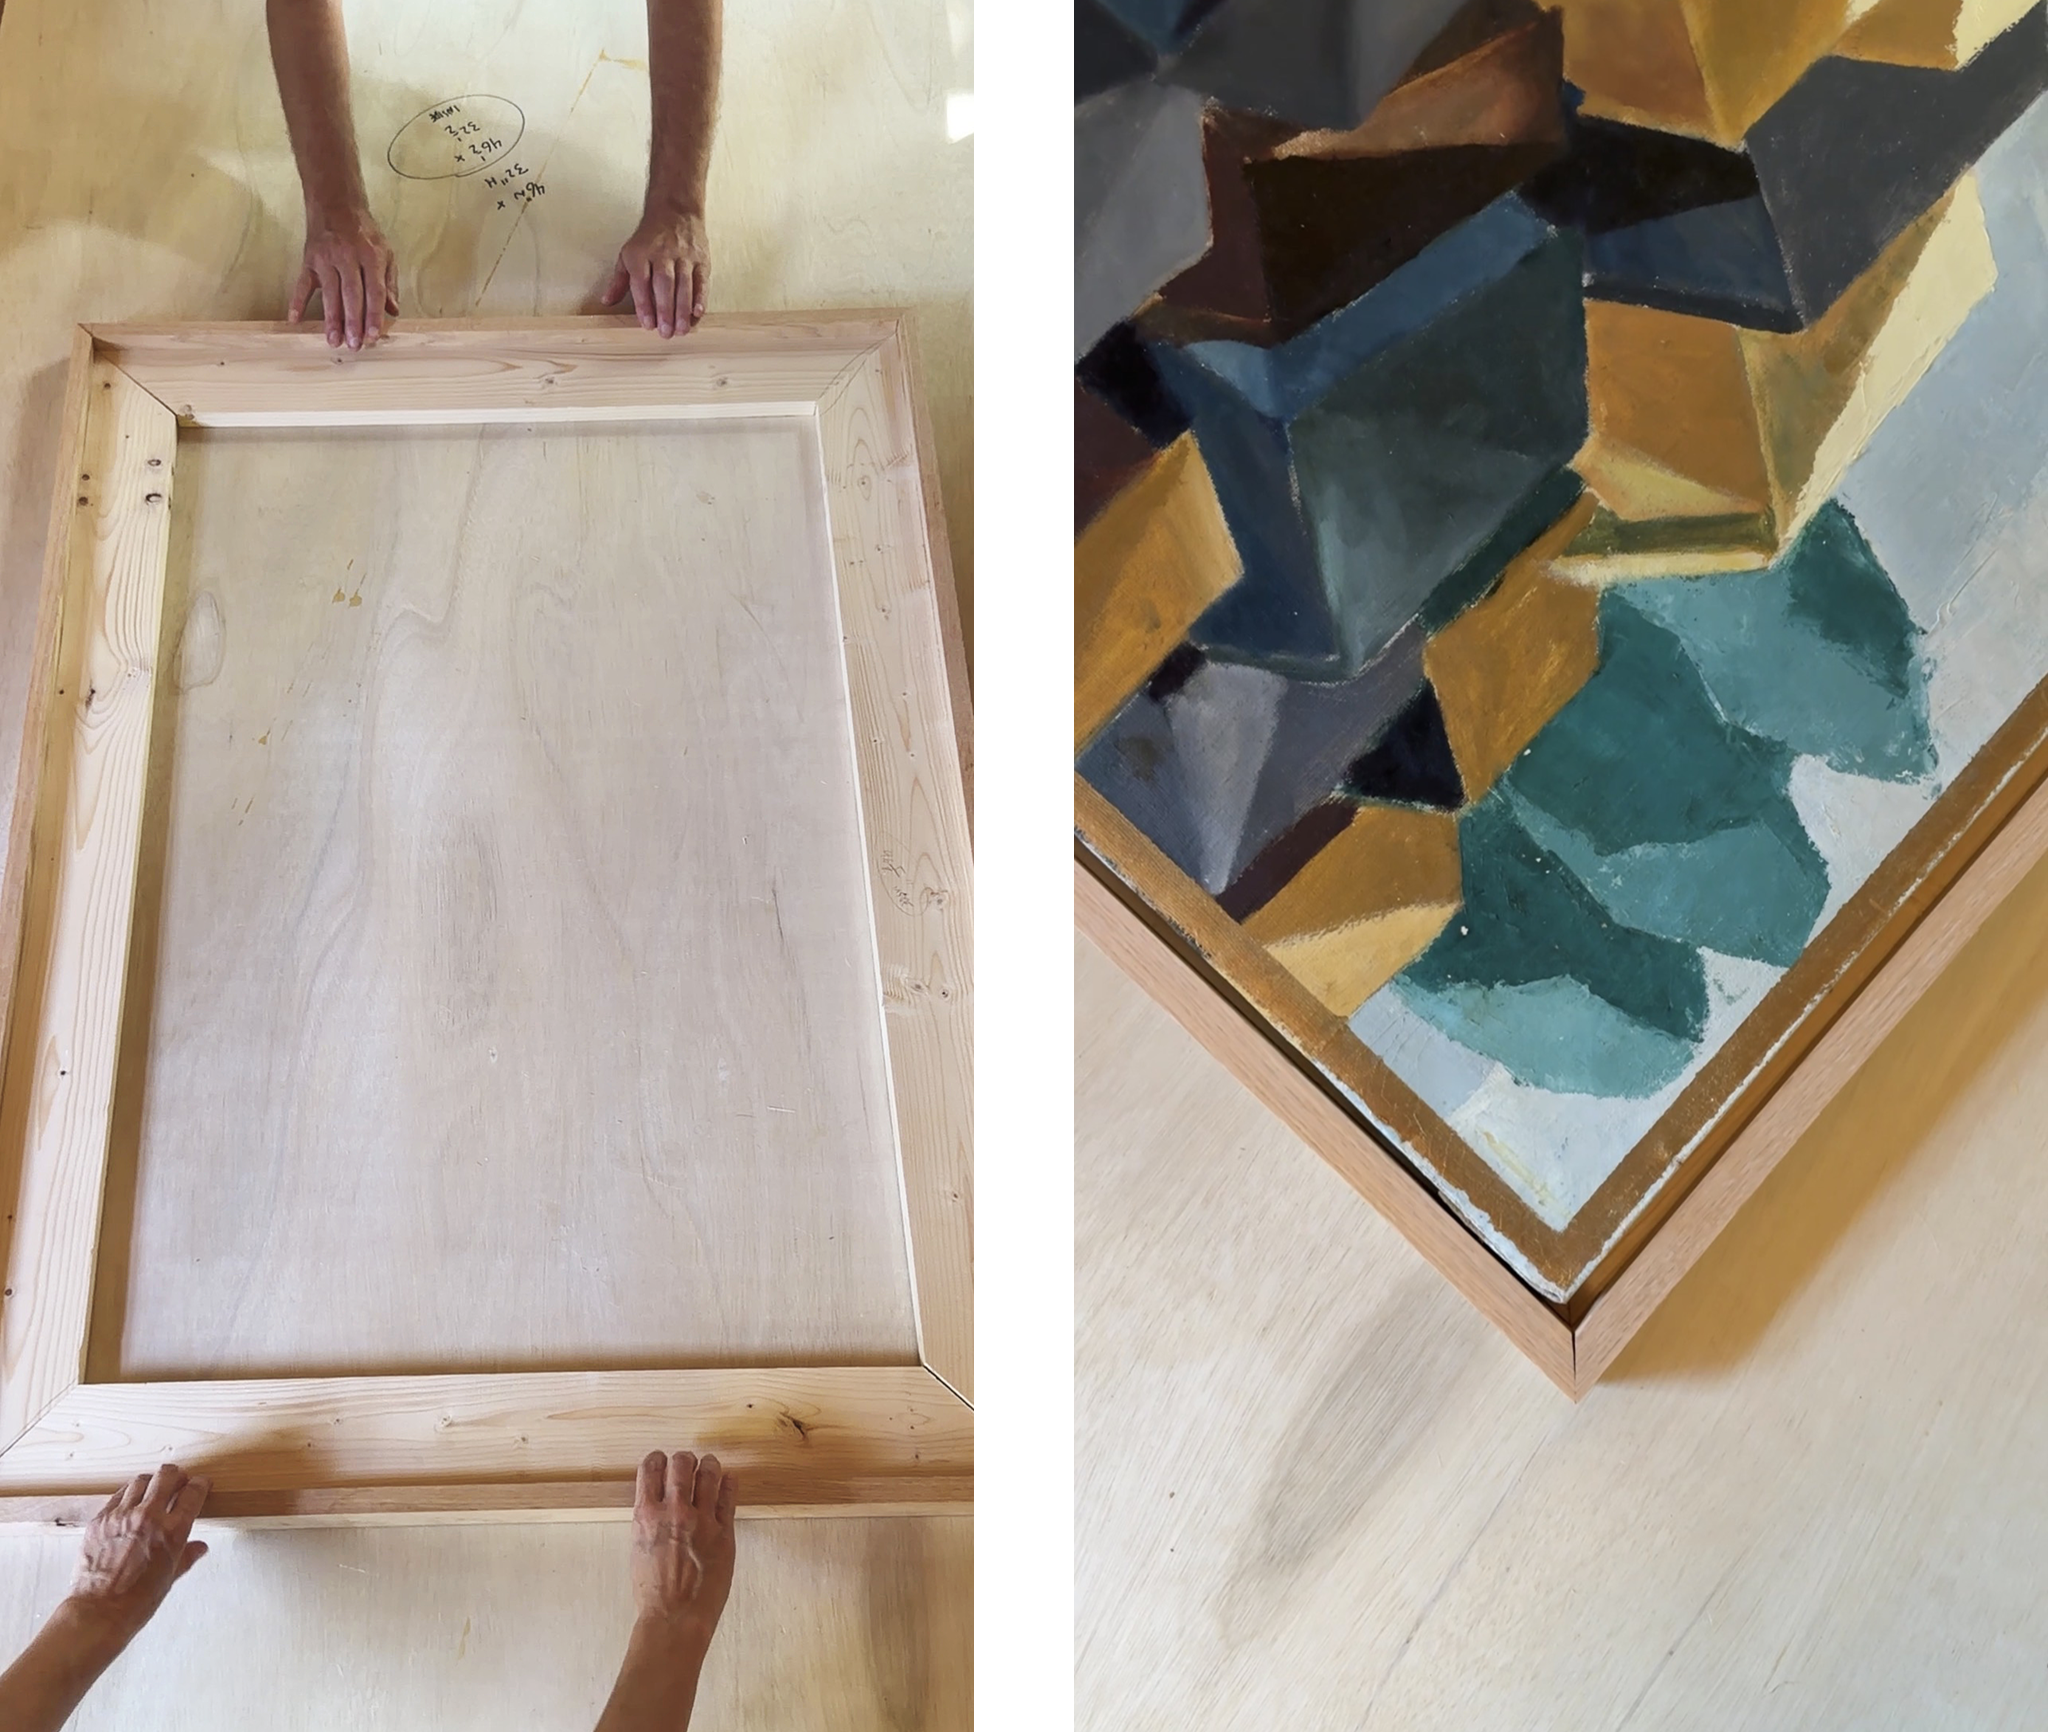
We started by cutting a 45-degree miter cut on one end and laying the canvas 1/4″ from the inside corner. On the opposite end, add another 1/4″ to allow for a full float and make a mark. This mark will be the inside of your 45 degree miter cut.
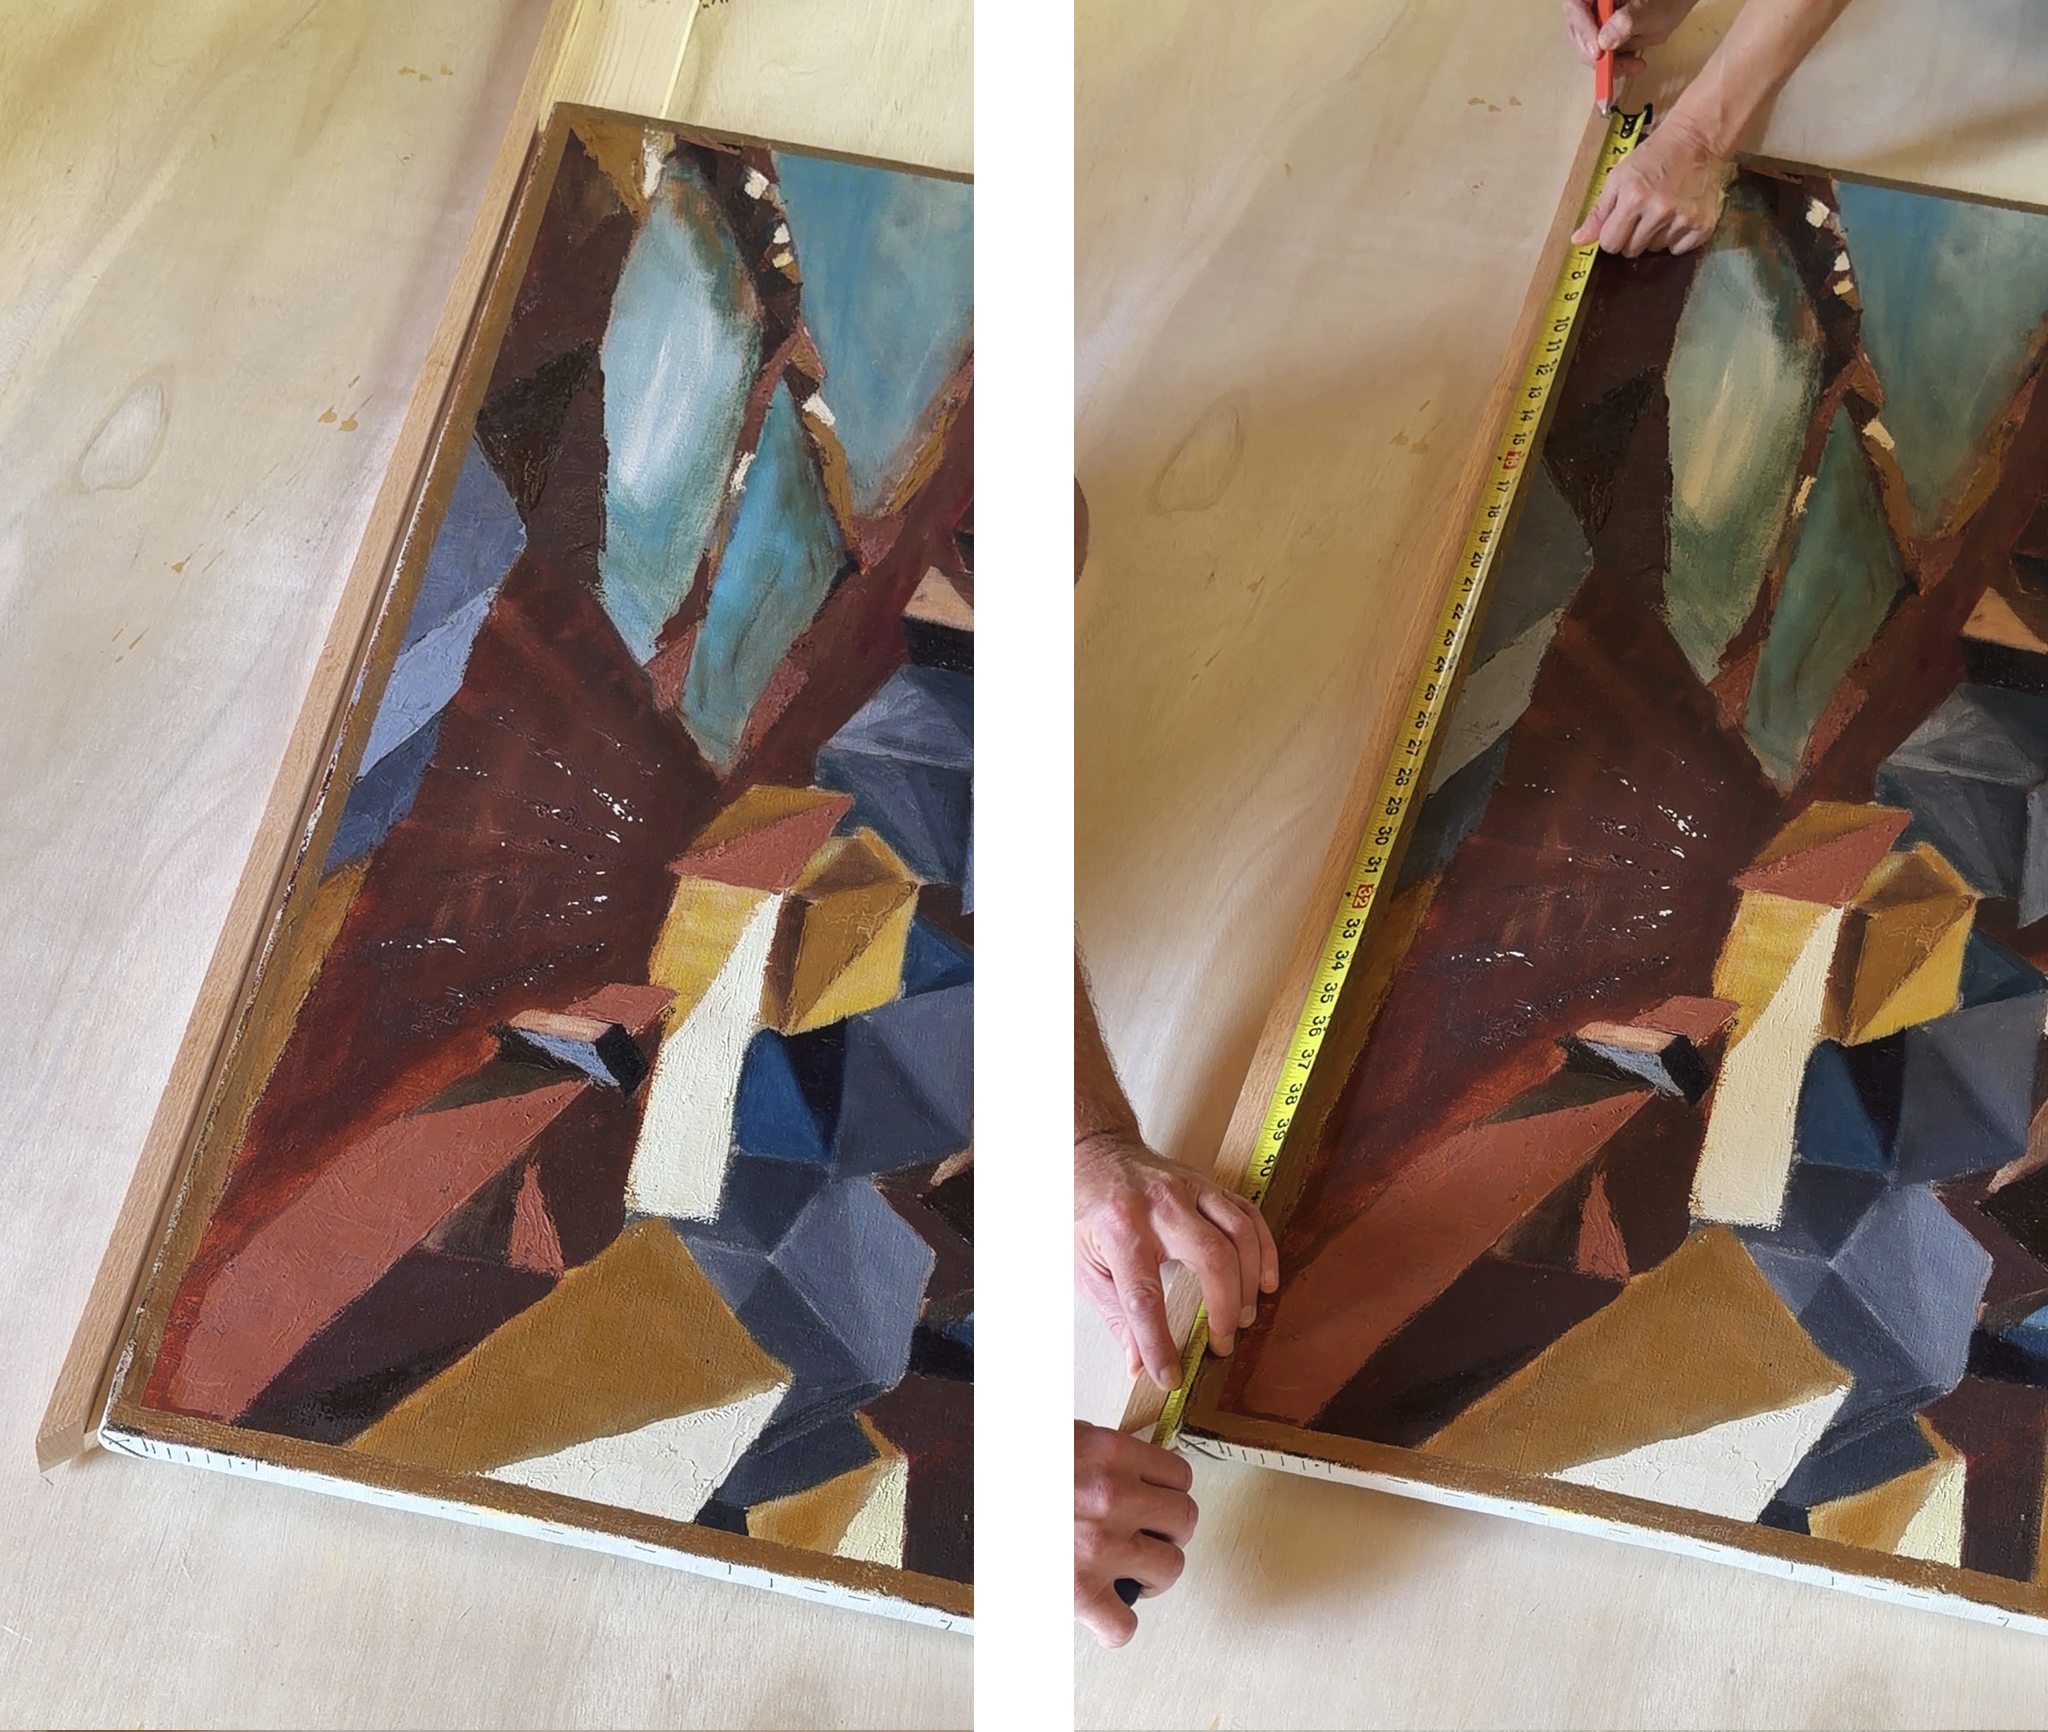
Duplicate this process for the bottom of your artwork. Your measurements here should be nearly identical. Once the two long sides are cut, repeat these steps with the short sides. Once all four sides are cut, (and this is wildly important) dry fit your frame and place the canvas inside to ensure that all of your gaps are straight and even. Gaps should be 1/4″ consistently around the entire canvas.
4| Glue + Nail Sides Together
Once we confirmed that our cuts were accurate and square, we got to gluing. First, we laid a generous bead of glue along each corner cut. Then we used 45 degree clamps to hold each corner in place while we shot two pin nails into the oak from each side. Remember to slightly stagger your pin nails here so they don’t contact each other.
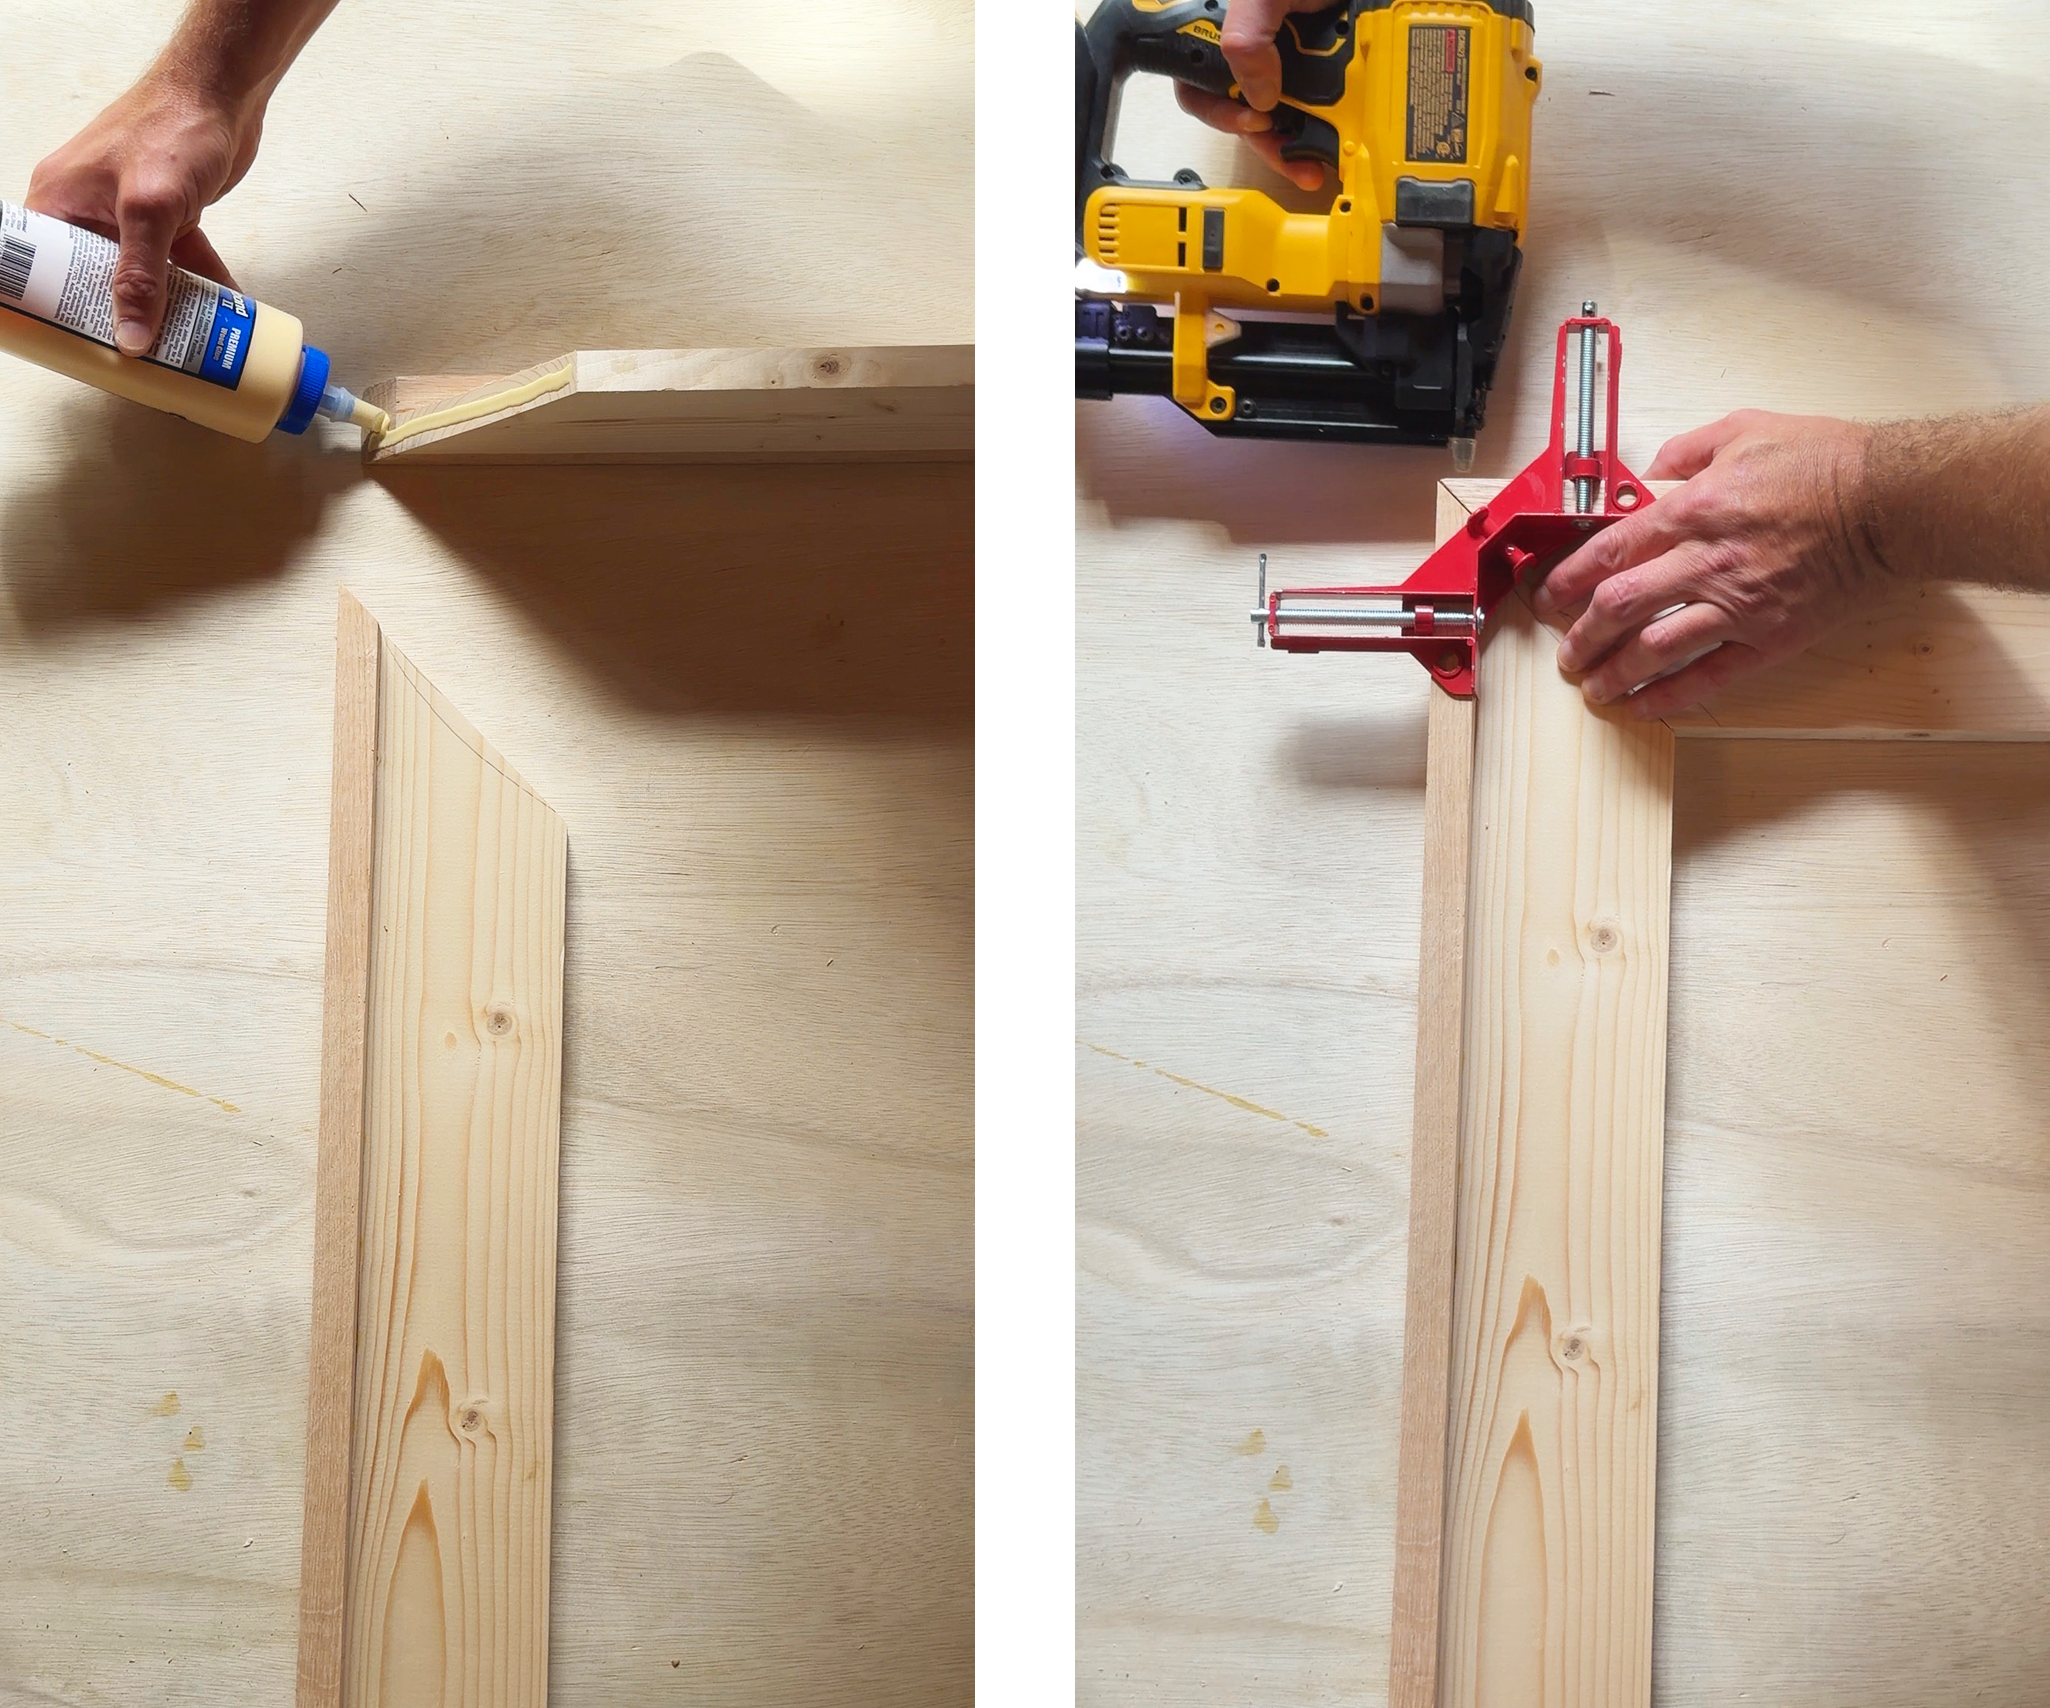
We repeated this process for all 4 corners and laid the frame on a flat surface. Once the glue had cured, we were ready for the finishing touches.
5| Seal the Frame
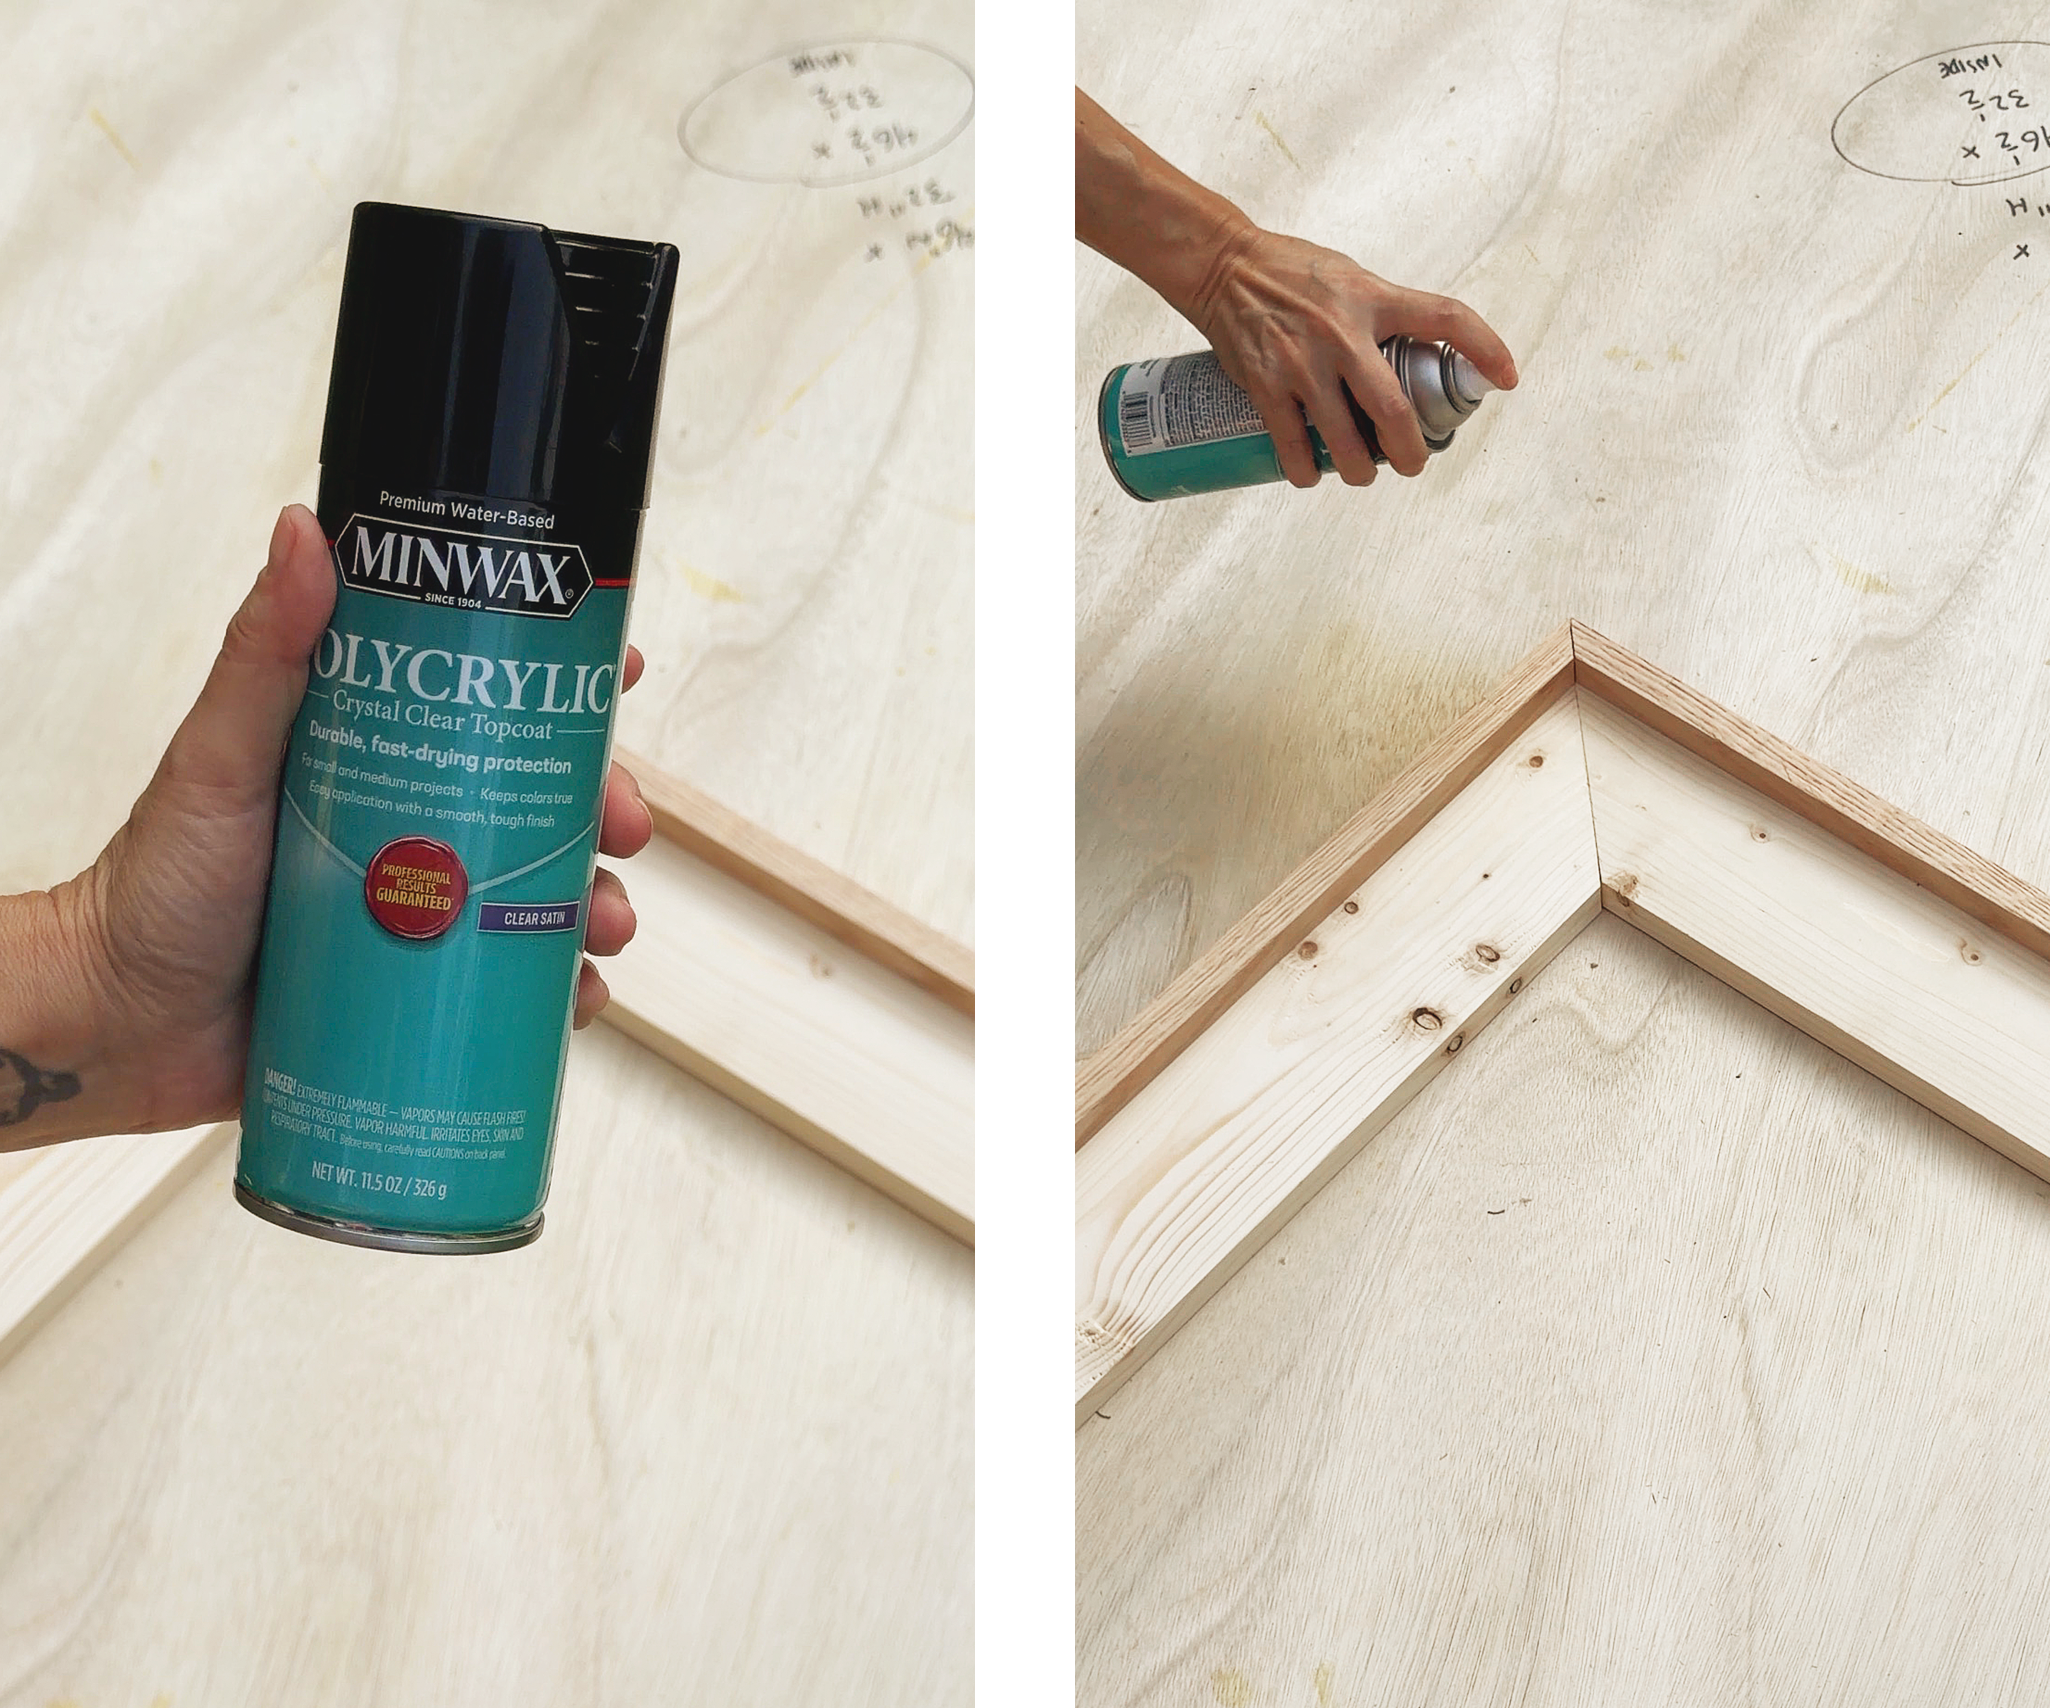
We love Polycrylic as an easy water-based topcoat. It doesn’t yellow like some oil-based topcoats can. It also cleans up easily with water and comes in this handy spray can for easy application with minimal cleanup. As with most spray finishes, two light coats is superior to one heavy coat, so take your time to avoid drips.
5| Shim + Attach Frame to Canvas
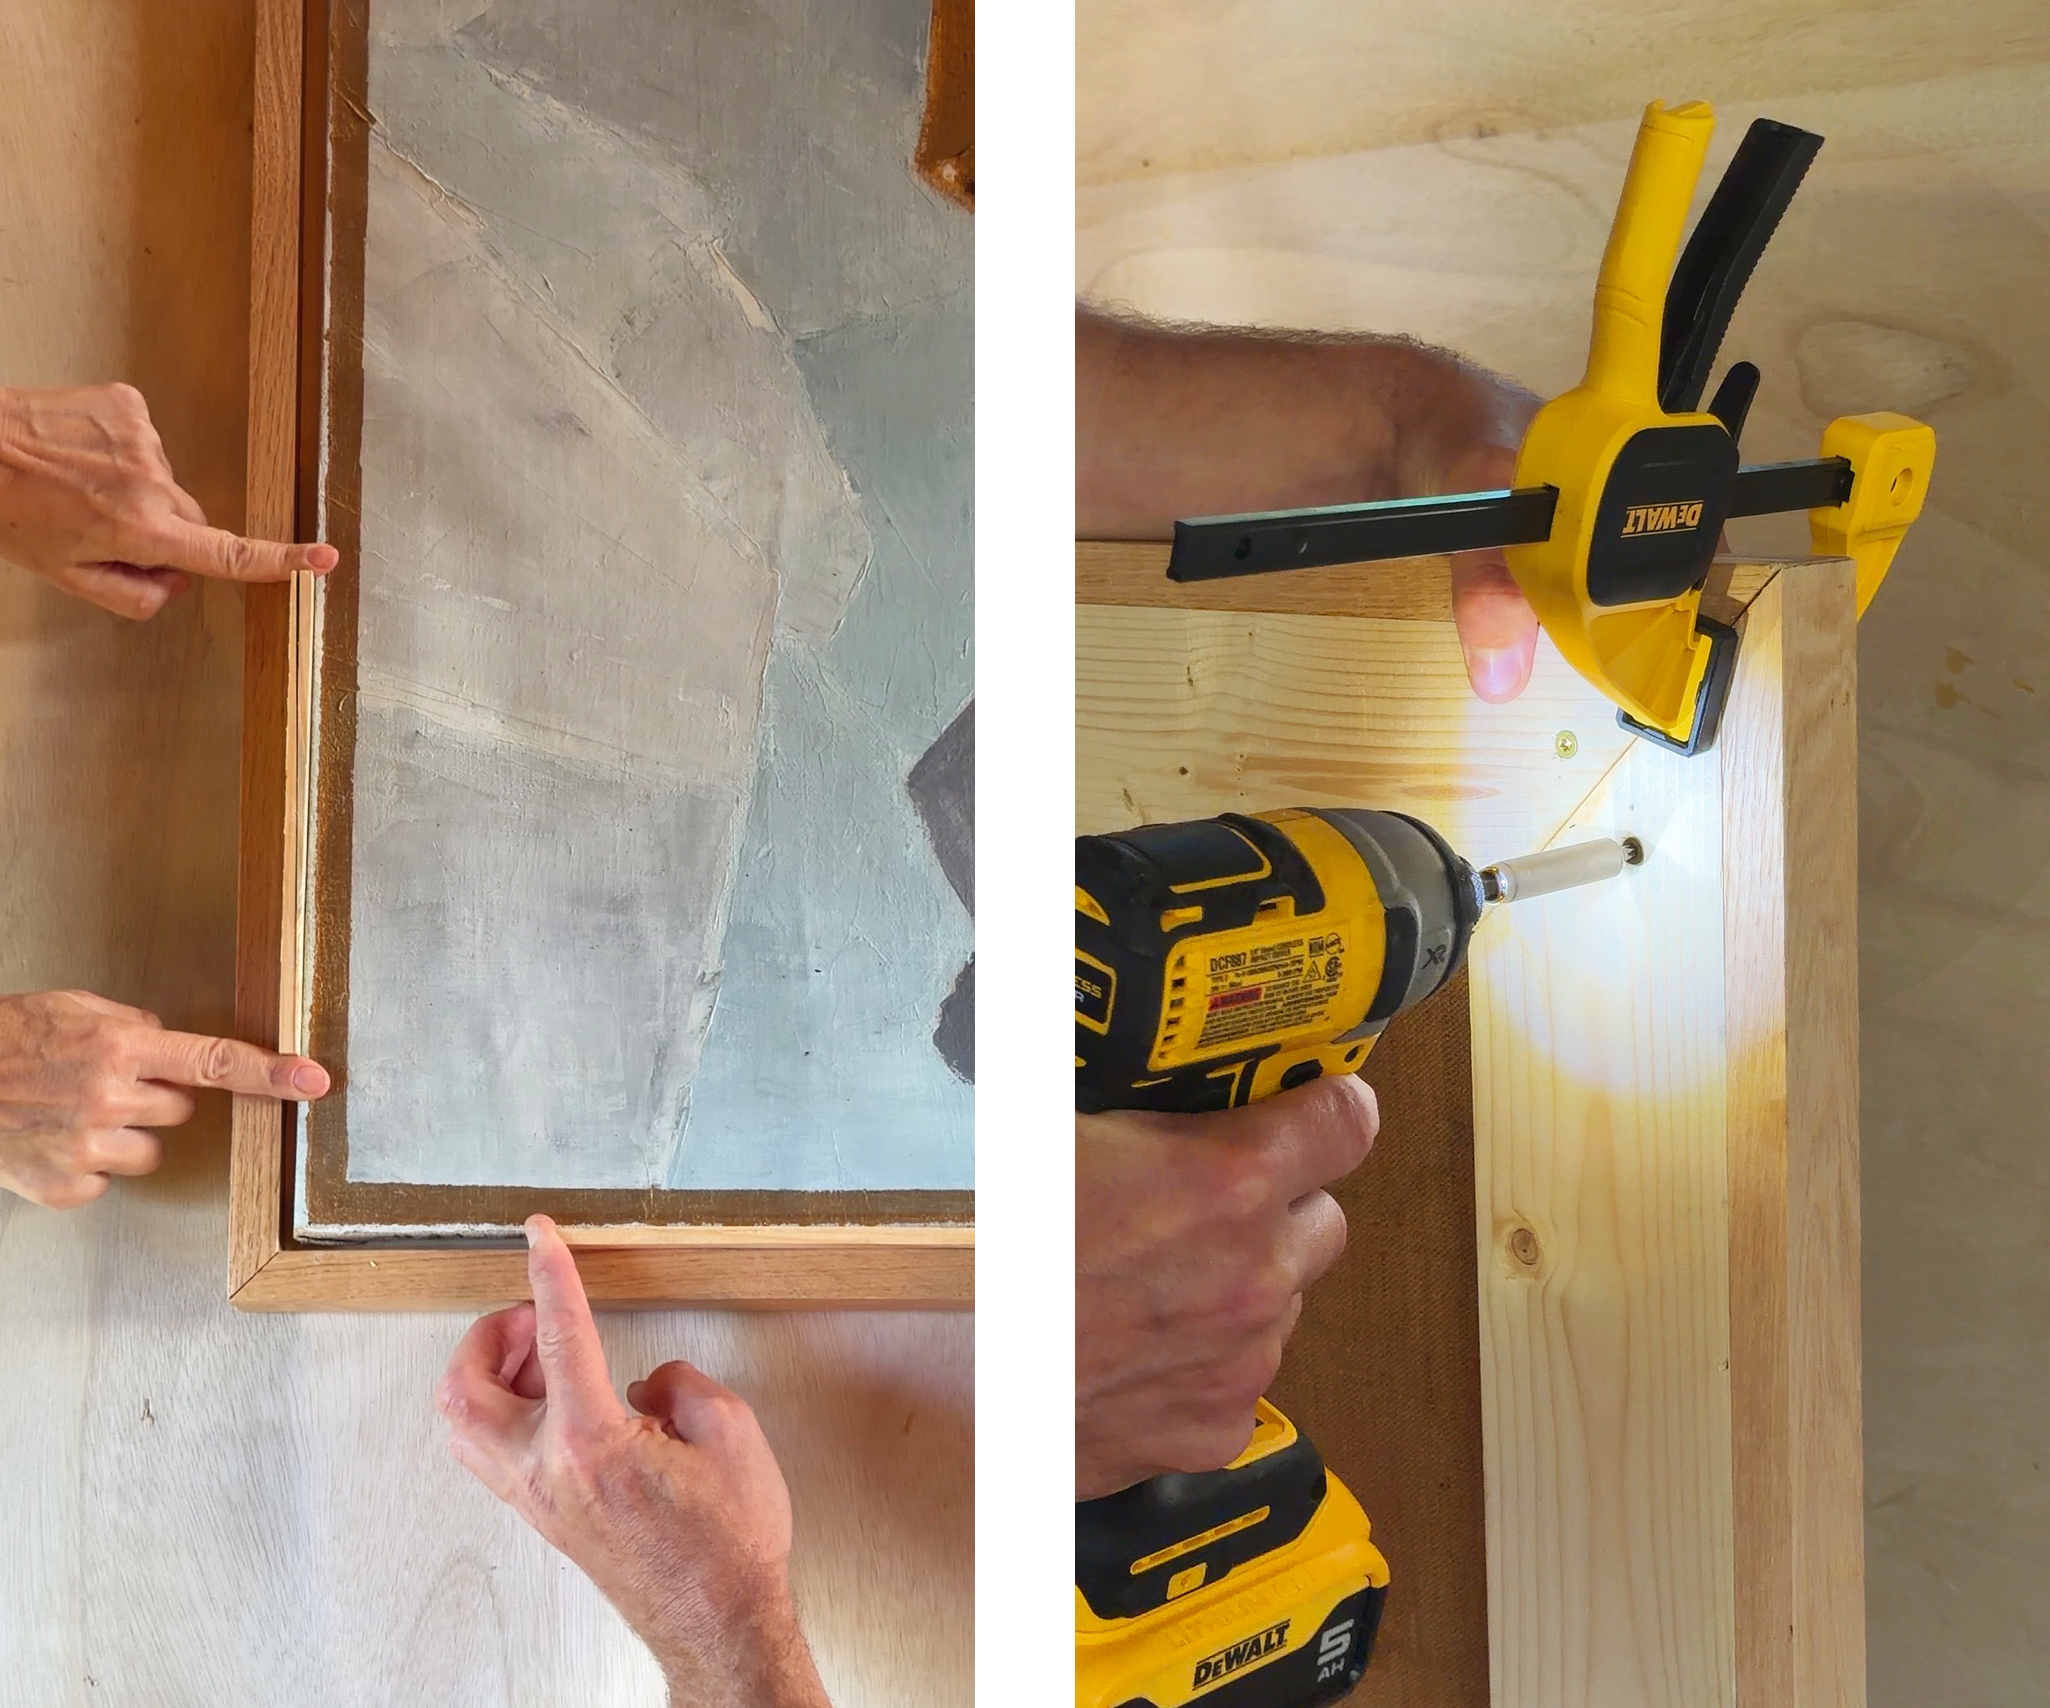
Once the Polycrylic was cured and ready to handle, it was time to attach the frame to the canvas. We used a handful of wood shims on all four sides to ensure consistent gaps. The pressure from the shims also held everything in place while we squeezed everything together from the front with our quick clamps. Once everything was held in place, we drove eight 1 1/4″ wood screws through pine portion of the back of the frame (two in each corner) directly into the wood structure of the canvas. This locked the two pieces together to create one sturdy structure that was ready to hang.
6| Install Hanging Hardware
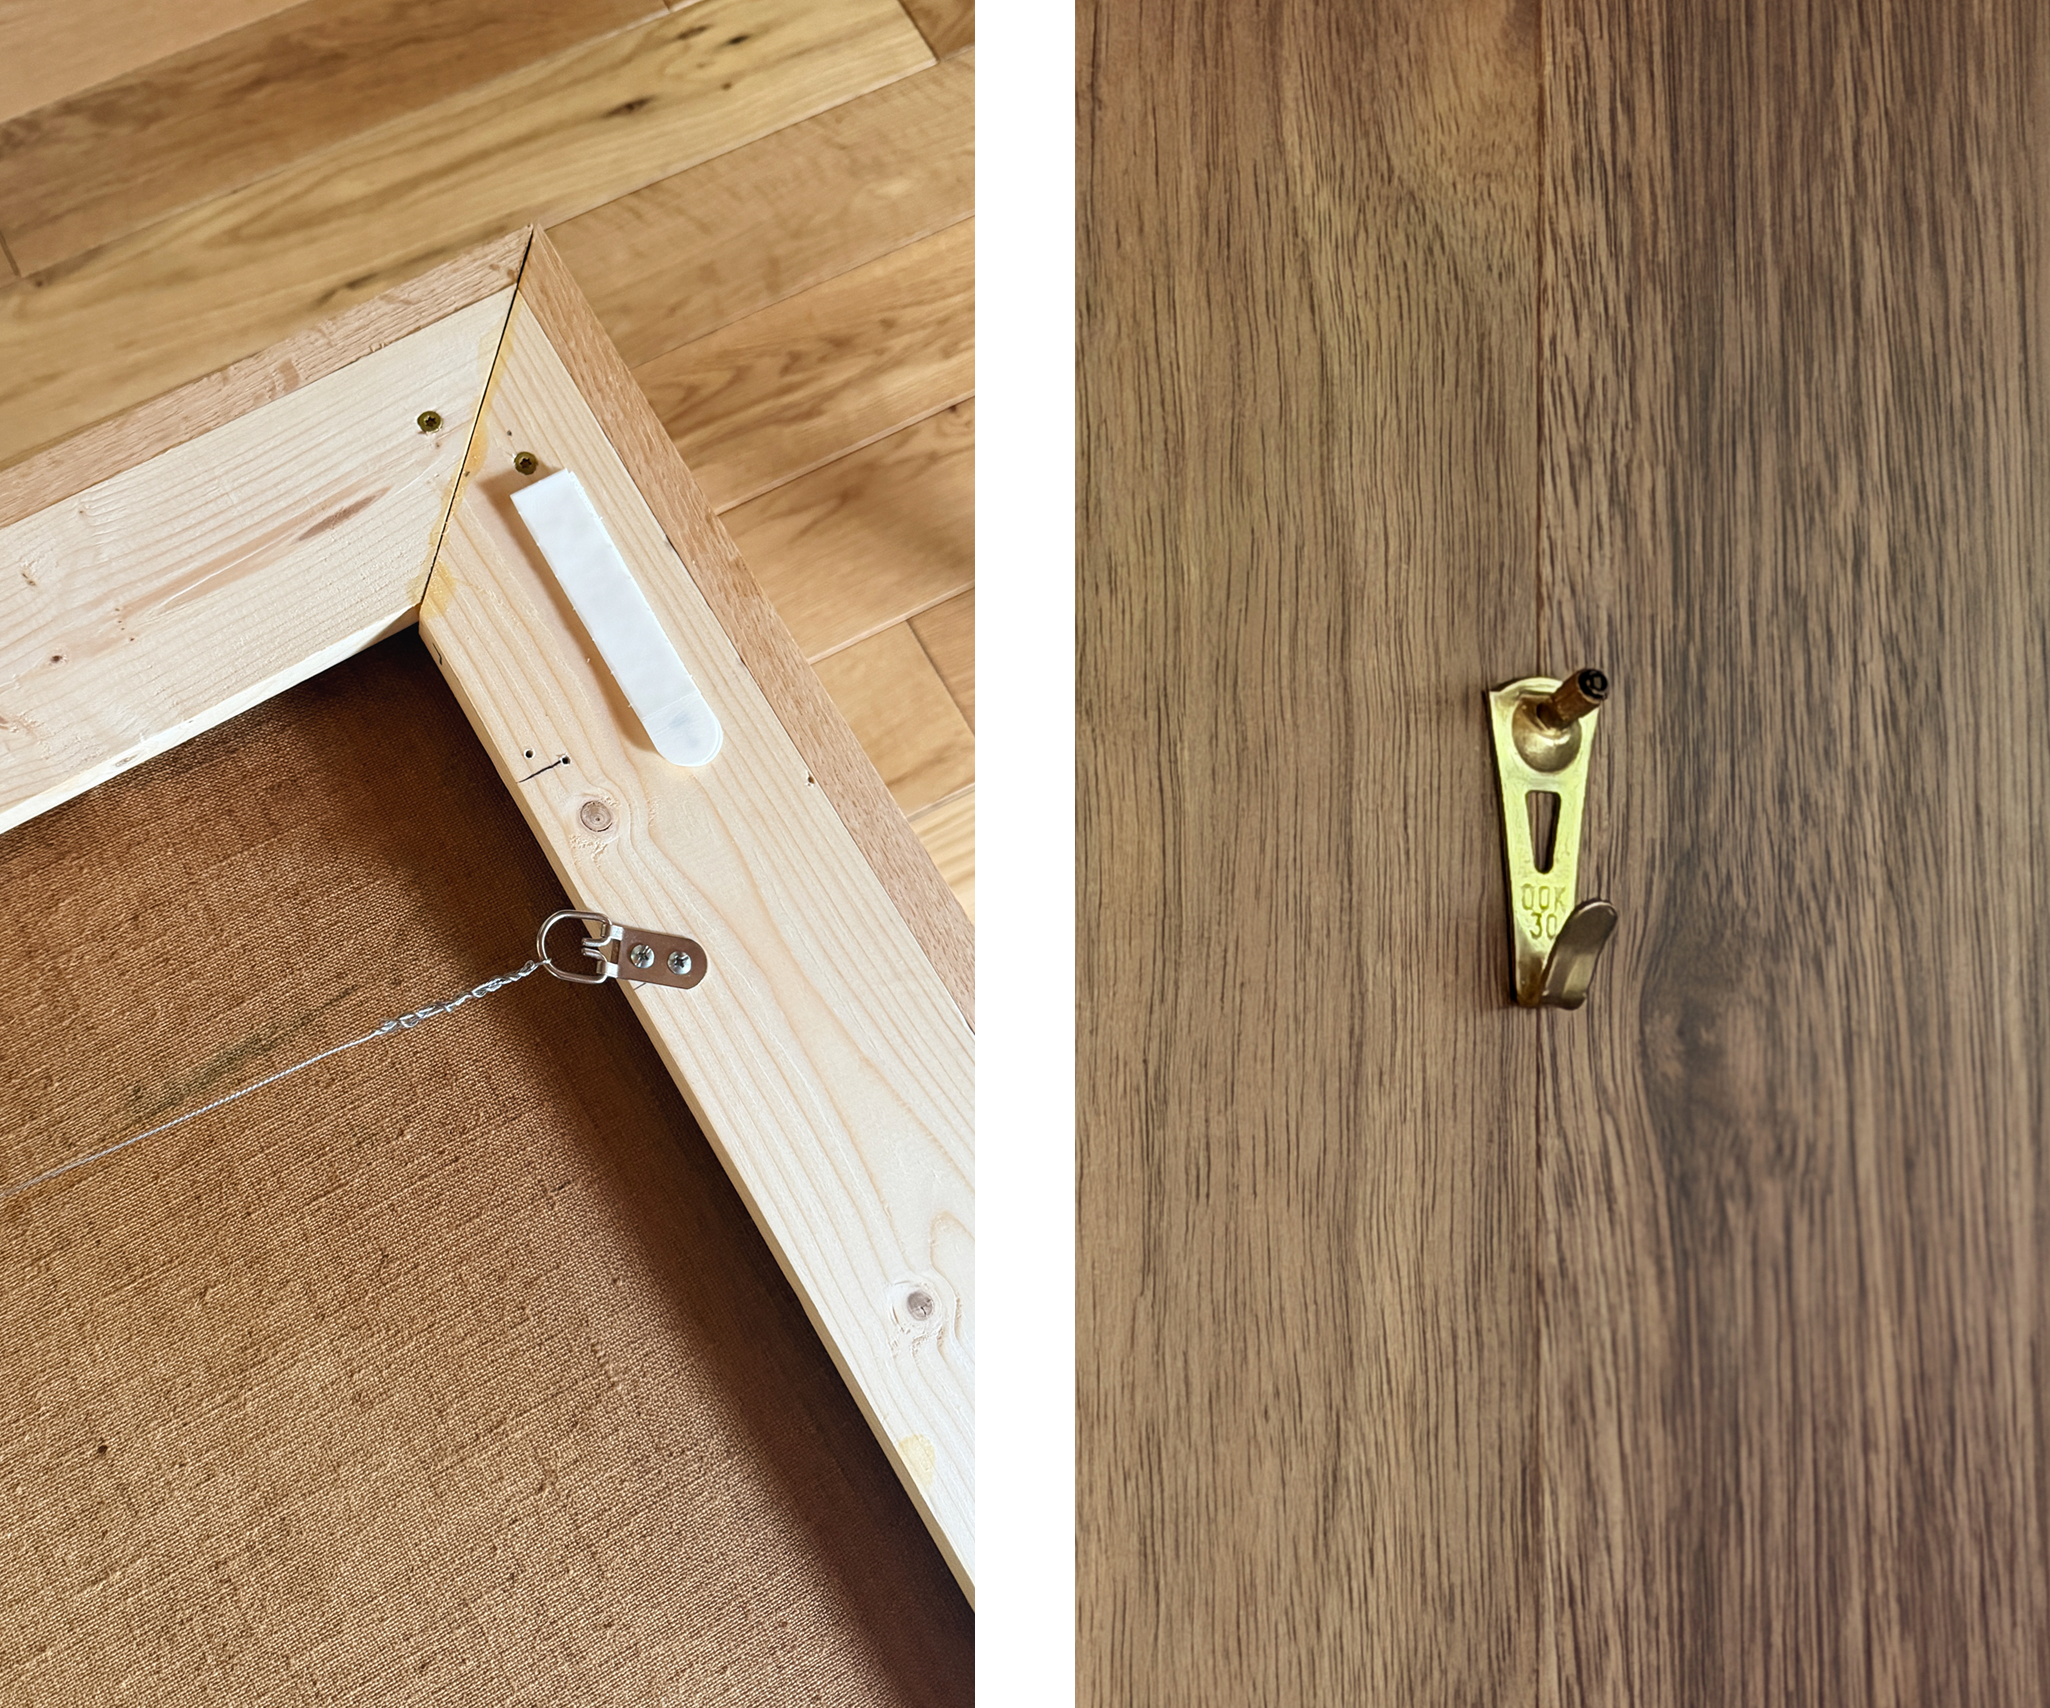
We wanted to minimize hole sizes in our walnut wall paneling, so we chose this Ook heavy duty picture hanging kit. The small, sturdy nails insert into the wall at a 45 degree angle and support a brass hook. We attached a pair of D rings to the back of the frame, then strung heavy duty framing wire between them. A few simple measurements and we had it hung up on the wall in a few minutes!
7| Hang and Enjoy
When hanging art this large (nearly 3′ x 4′!), we like to add heavy duty command strips on each corner for stability. They don’t add any structural support, but keep the level and secure. Especially when placed behind a sofa where things may get bumped or jostled.
What’s Next?
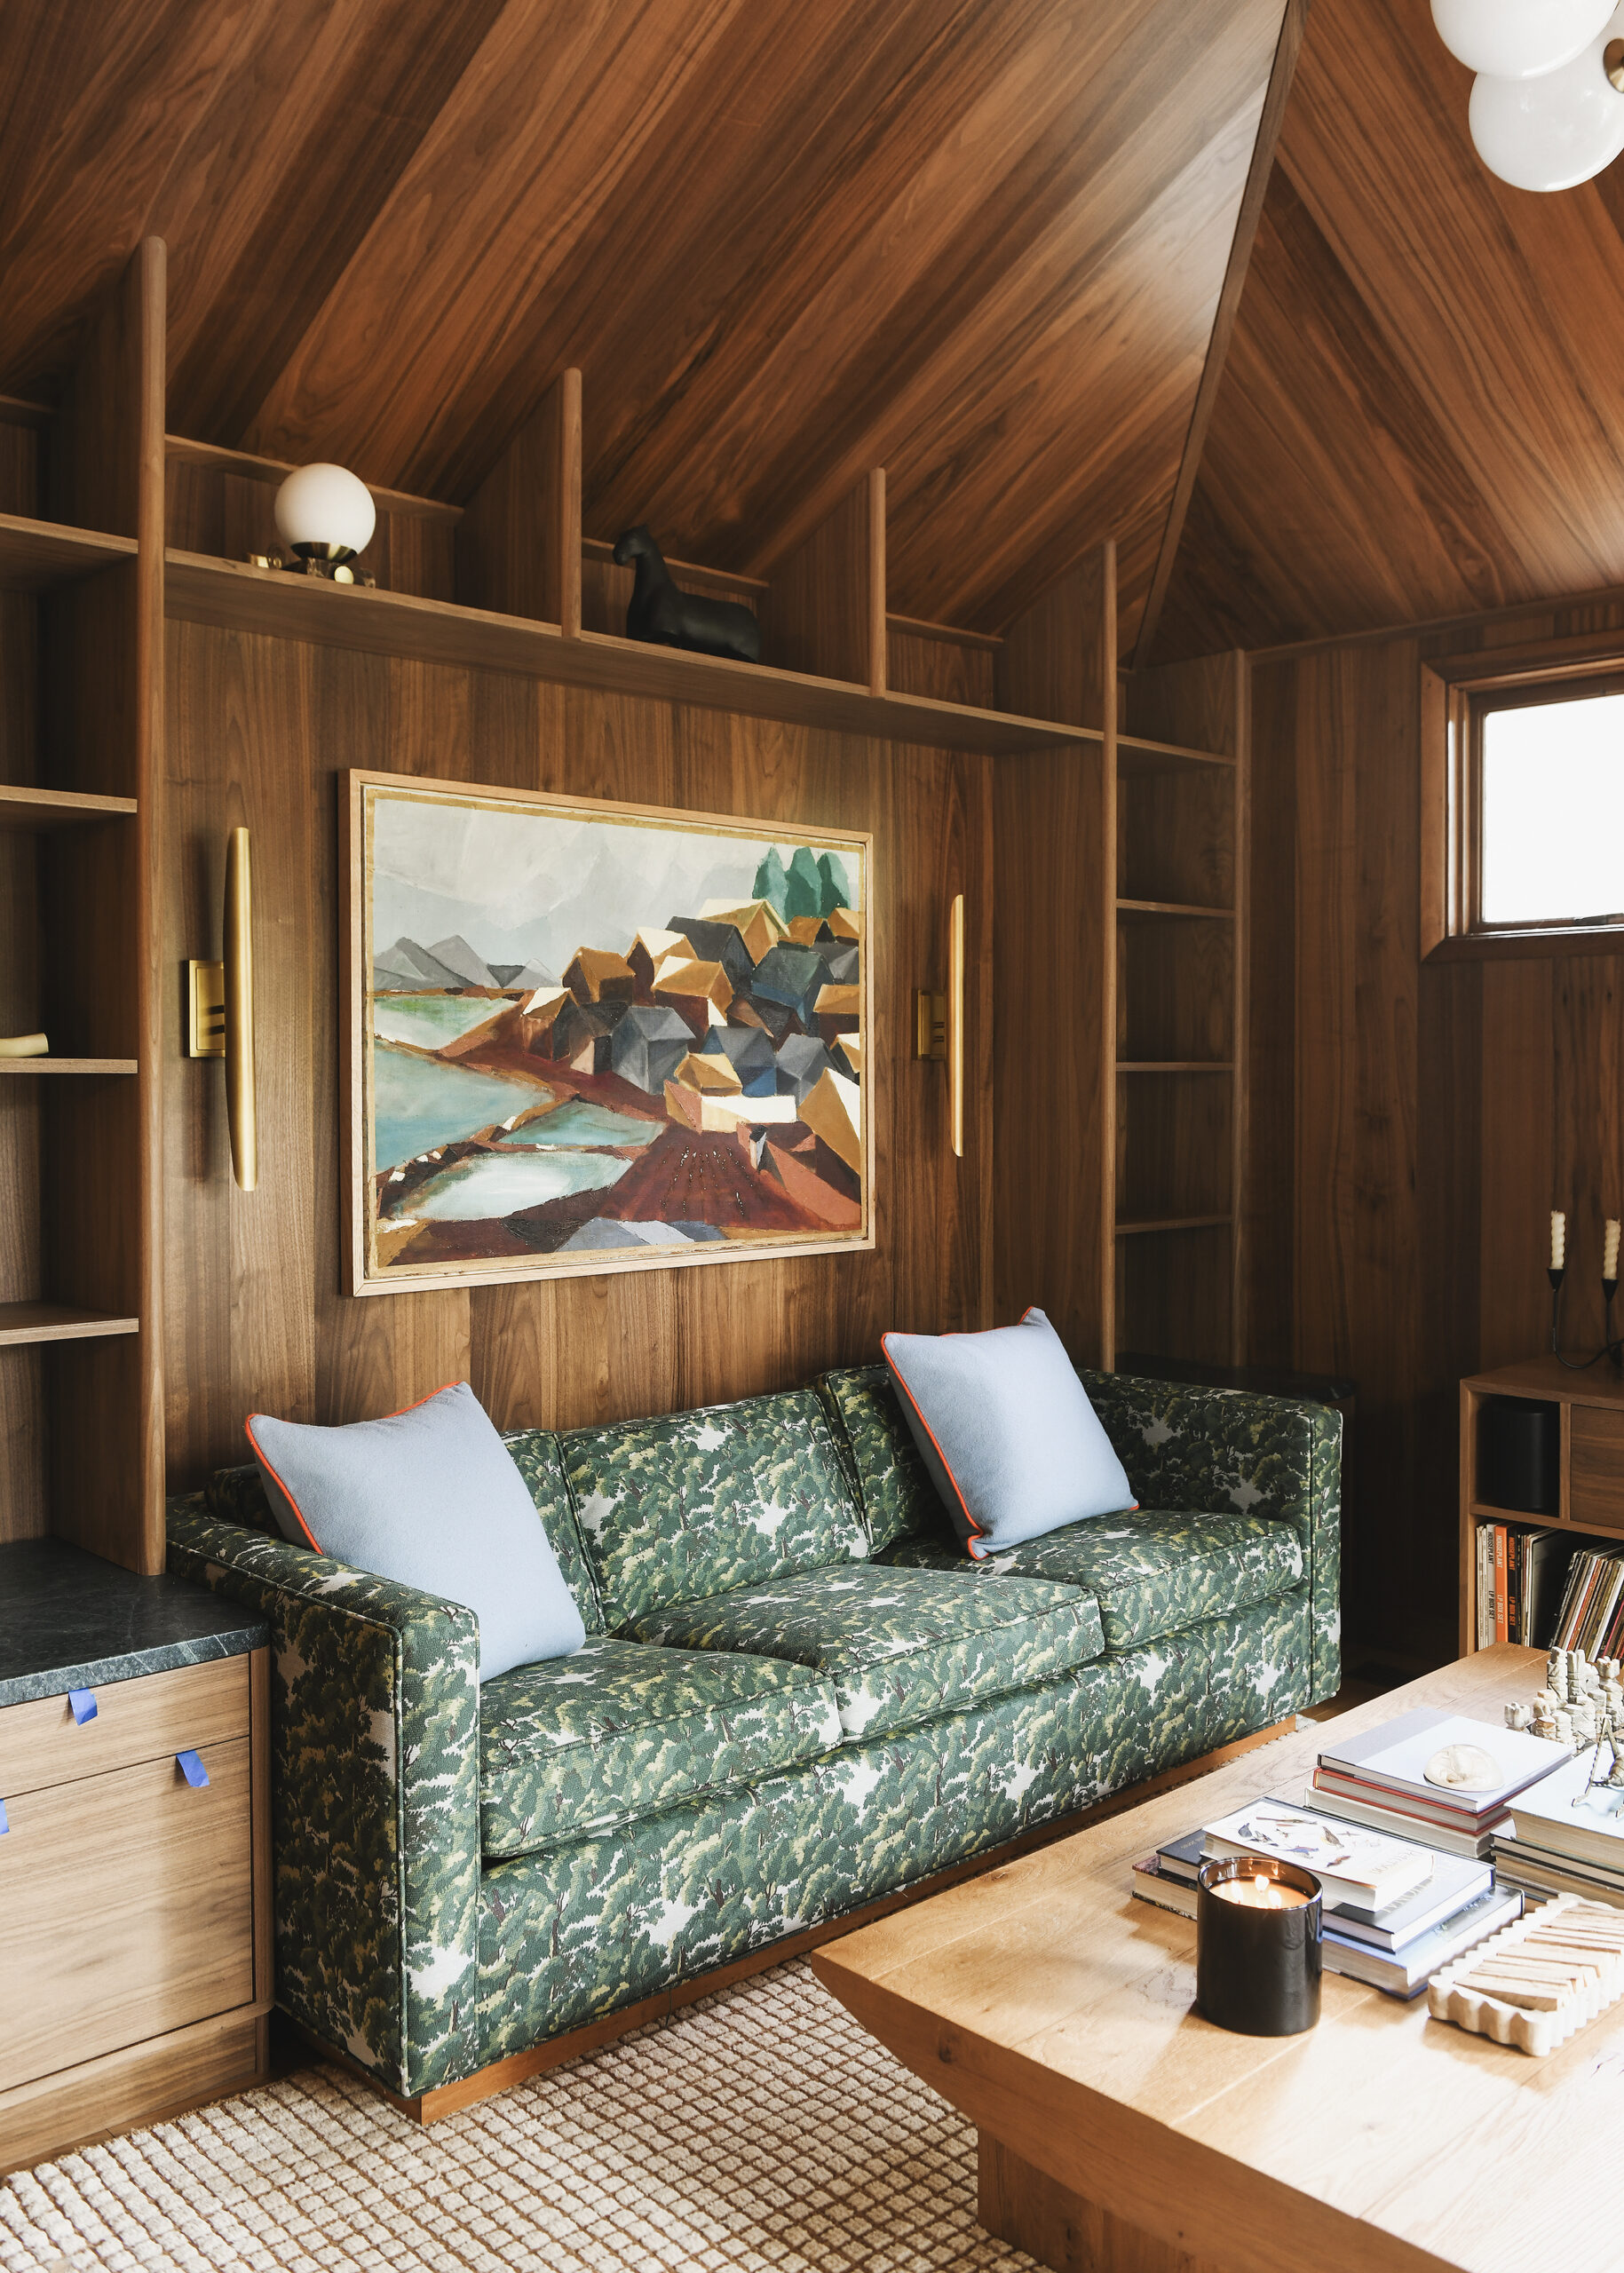
Now that the art is up, we just need to install the drawer hardware and style the shelves, then we can call this corner of the room done! The custom sofa, vintage art from our friend Tim at Dial M for Modern and stunning custom built-in shelving from our friends George and Leigh at Norman Leigh Design are working together to make this a space we’ll never want to leave. More on all of that soon!
Looking for more framing how-tos? Here’s how to frame an engineer print, how to build a vintage mirror frame, a shadowbox tutorial, how to frame fabric using a stiffener, and how to build a larg-scale frame for any piece of art! Not in need of a framing tutorial, but in the DIY mood? This is how to paint anything, how to gel stain furniture, how to case a door opening, and how to re-wire a light fixture.









The artwork looks perfect in the space! I love all the details of the space!
Thank you! The colors do work so well with The Red House.
Thank you for this! Fantastic tutorial.