

We’re walking through the process of building a DIY storage and seating area in our snug. A DIY like this will take on different forms in every unique space, but we hope this tutorial inspires your next build!
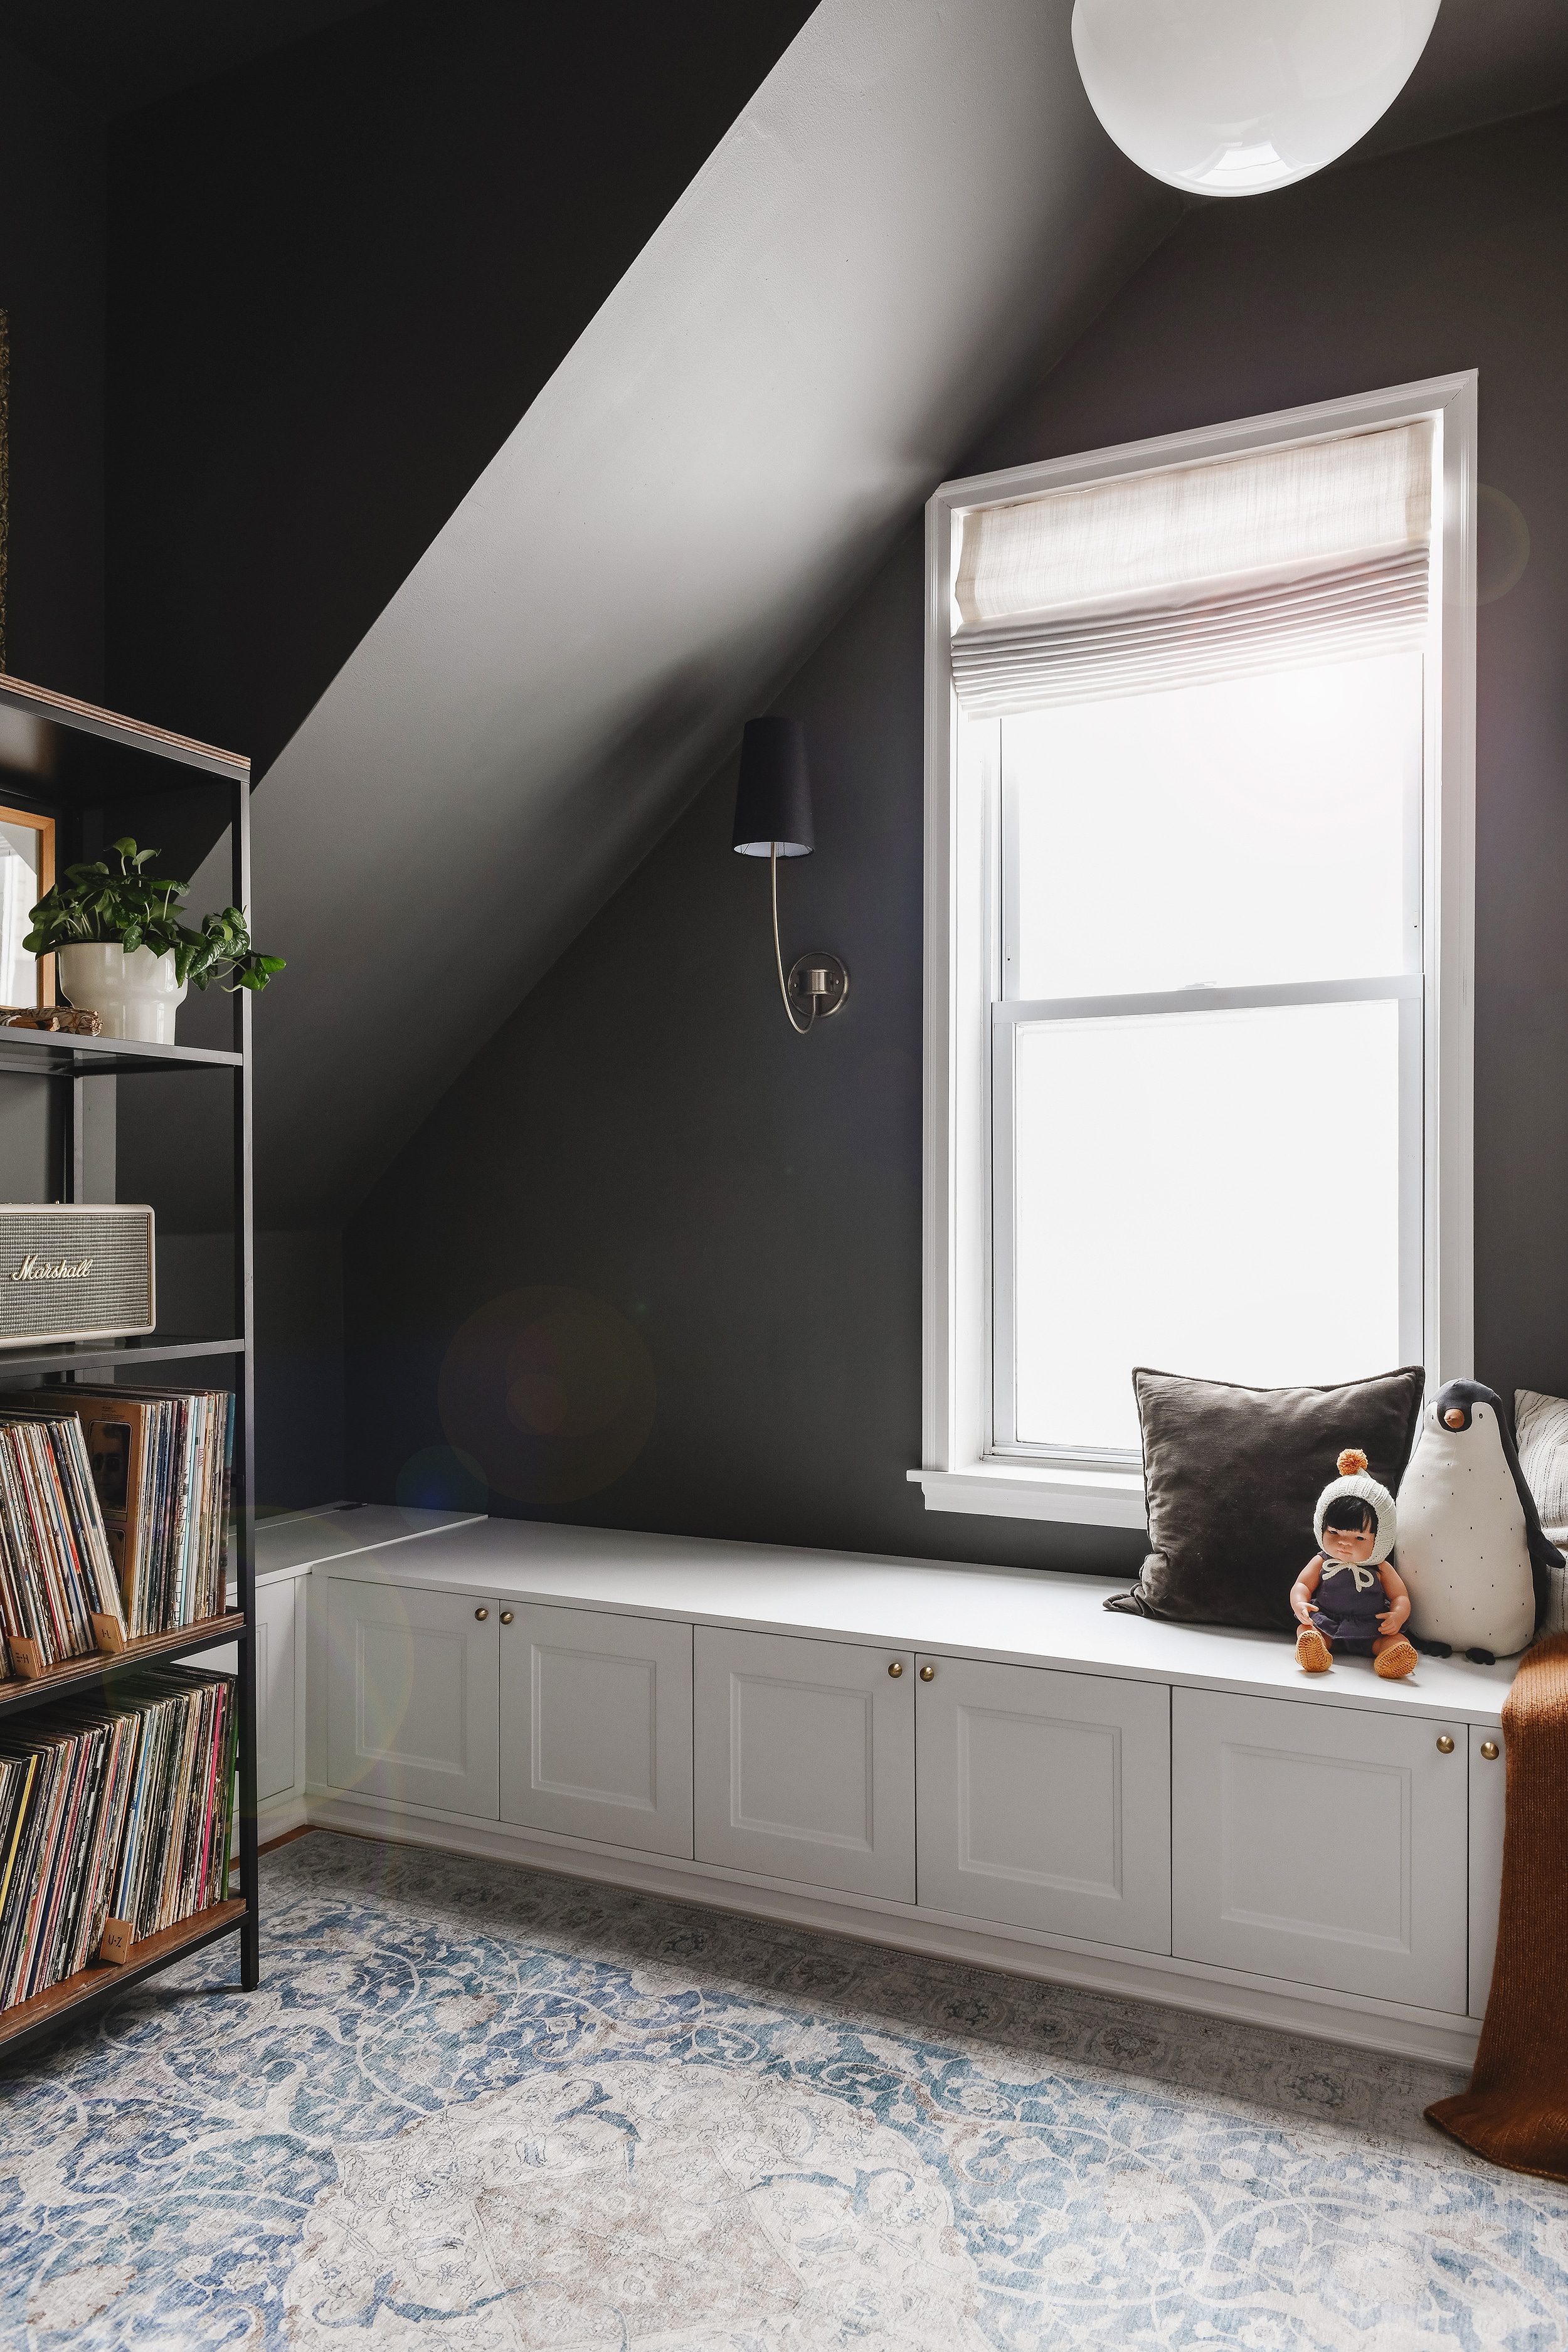
The funny little nook off of the living room in our Chicago home has seen a few different iterations over the years. And most recently, it’s been dubbed the snug! But as our family has grown and changed, it simply wasn’t suiting our needs anymore. The purple Milo Baughman chair was eating up too much space and limiting our seating options. We were also wishing for more storage space for toys and board games. Then, after a trip to our Michigan home, we realized that a storage banquette like the one we built there was the solution. Sometimes, the answer is right in front of our faces!
As with much of what we share here, this project will vary based on each unique space. Width, depth, height and configuration are all totally customizable to suit differing needs. We’ll talk through some of the dimensions for our build, but don’t be afraid to customize!
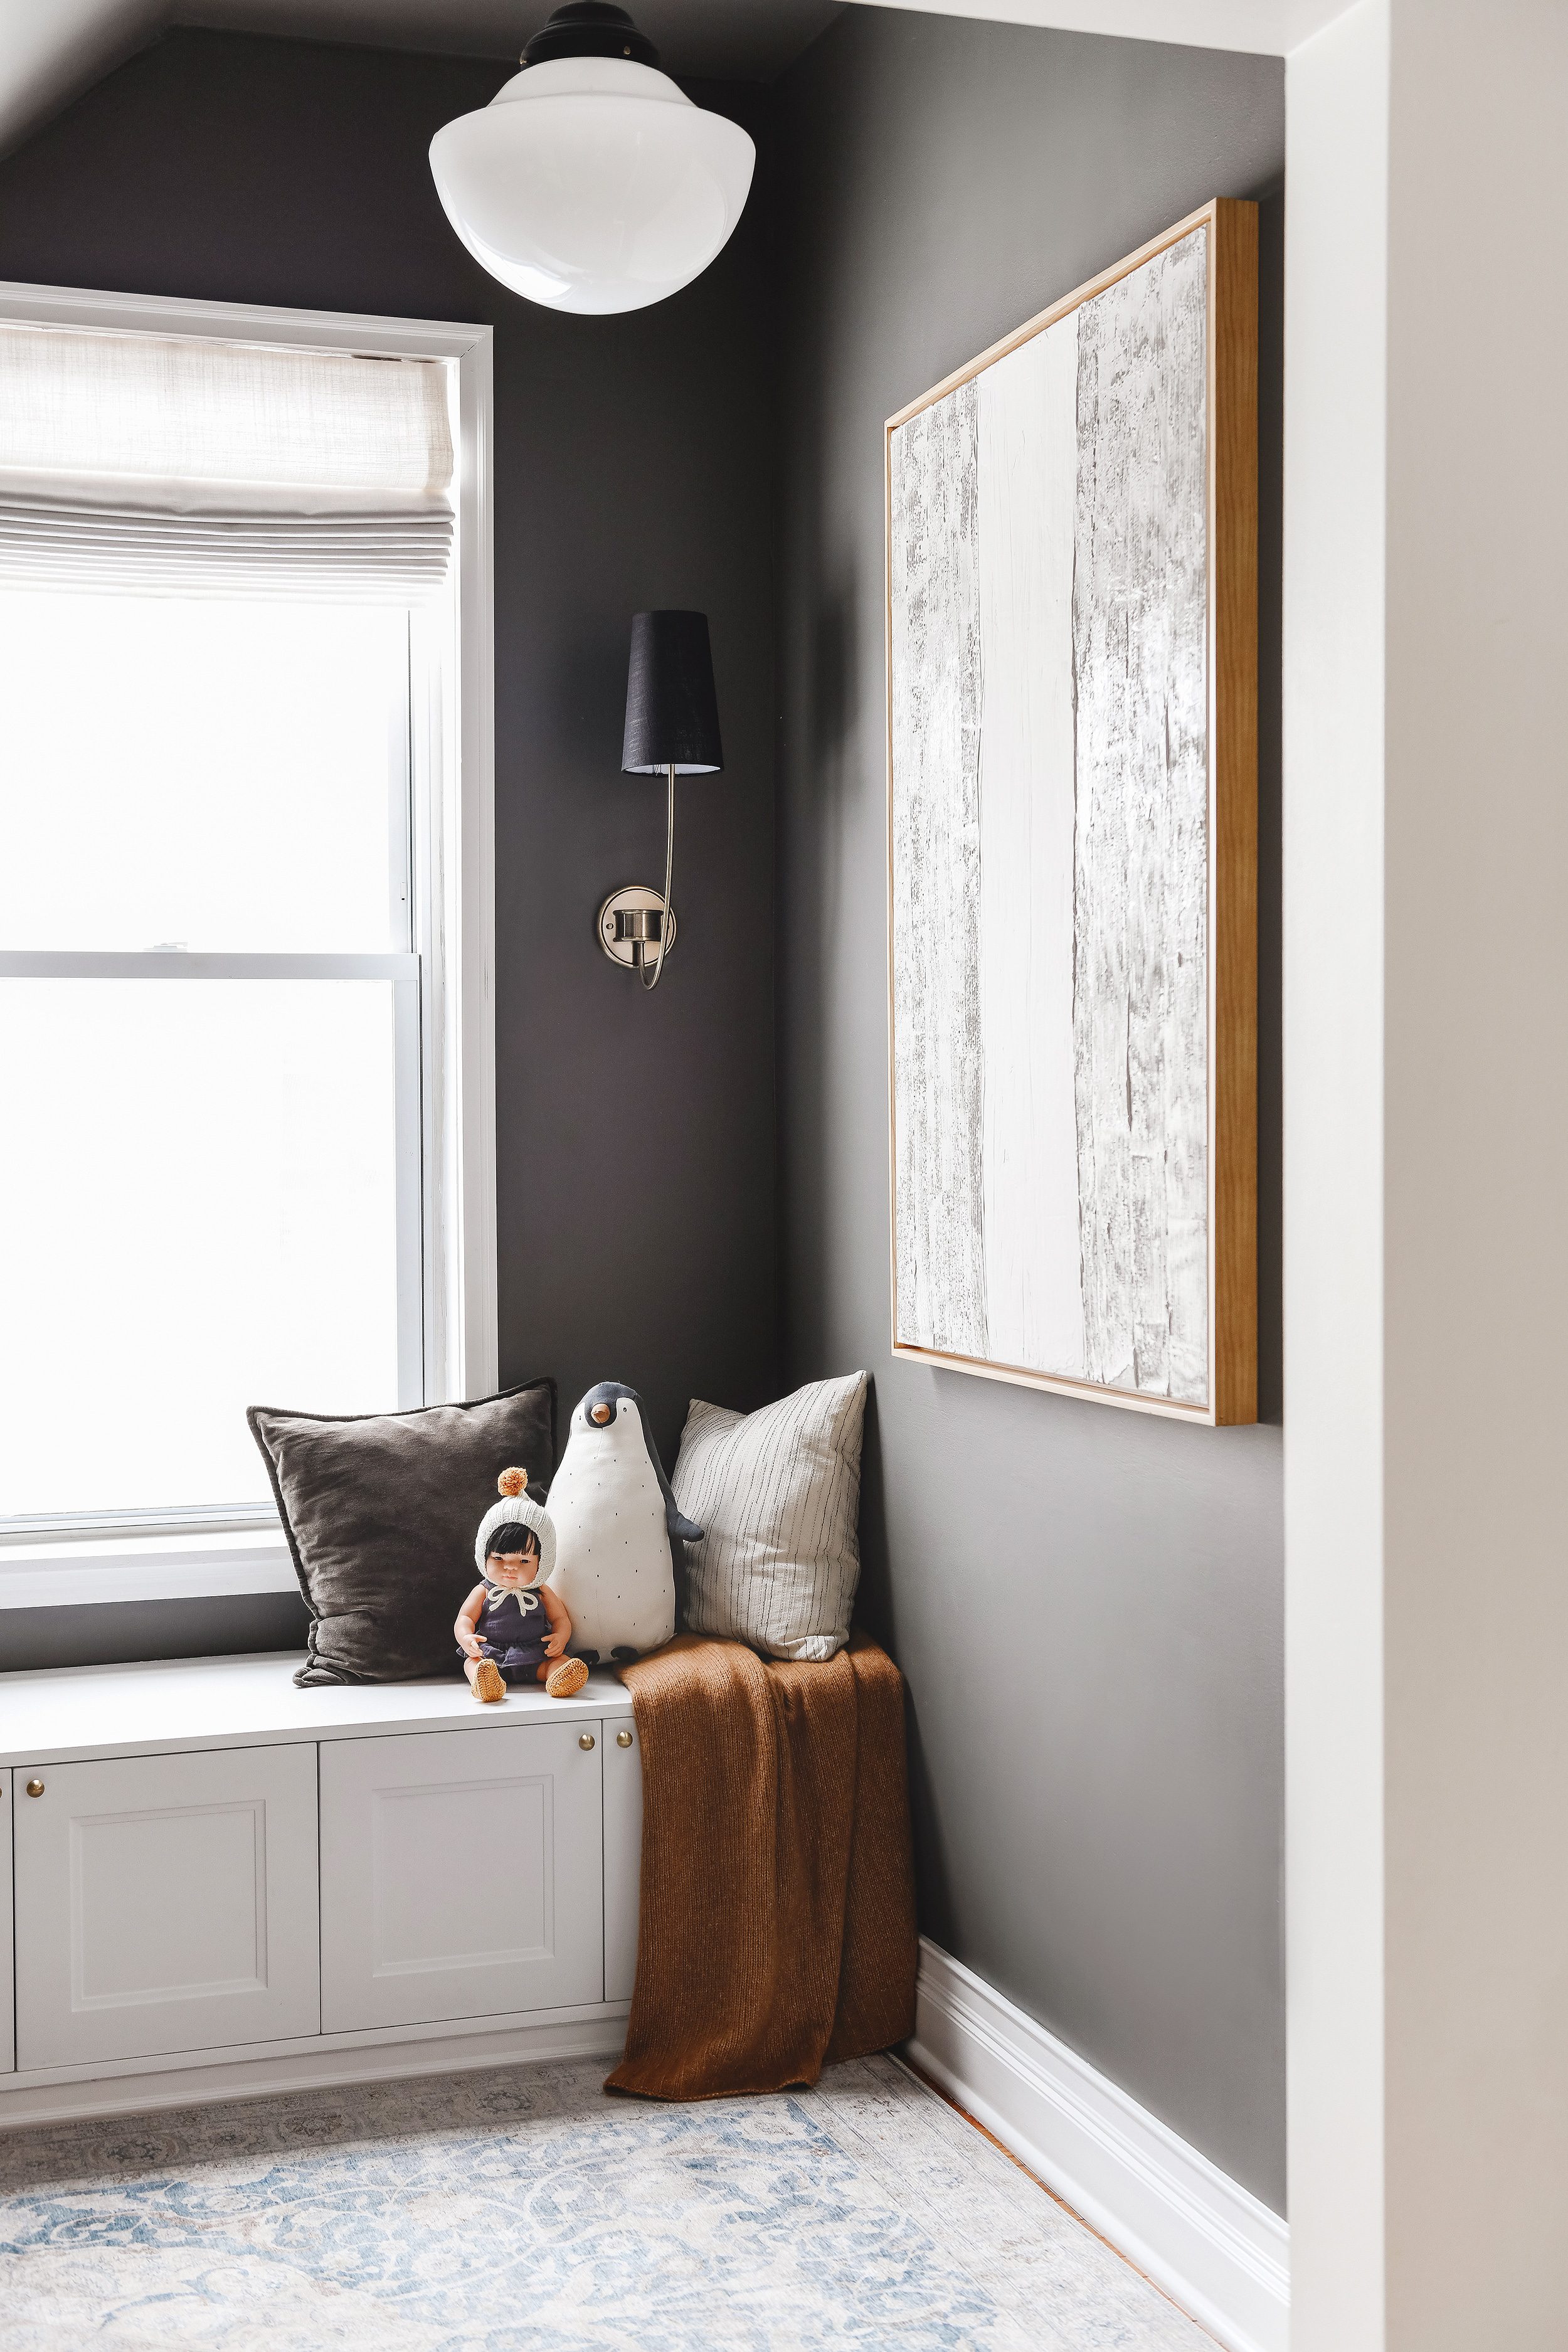
For reference throughout this post, our ‘toy box’ with the flip-up top measures 16″d x 38″w x 16 1/2″h, not including the platform. The main structure that combines the three IKEA cabinets is 21″d x 91 1/2″w. The overall height of the completed unit is 18″, which is a nice average for any type of seating surface.
In This Post
Tools + Supplies Used
- Compound miter saw
- Table saw
- Impact driver (preferred) or drill
- Clamps
- Finish nailer
- Sander (preferred) or sanding blocks
- Level
- Speed Square and/or framing square
- 3 x IKEA SEKTION cabinets w/ Axstad matt white doors, 30″ x 15″ x 15″
- 1 x additional Axstad matte white door 15″ x 15″
- Hinges
- Soft close hinge
- Wood glue
- Screws (we prefer Power Pro)
- 2″ x 4″ lumber ripped to approximately 2″ x 2.5″ (we used about 5 boards)
- 3/4″ MDF (we used about 1.5 sheets)
- Brick molding
- Shims
1| Build the Box(es)
One of the things we love most about this YBH community is all of you! We were having a heck of a time figuring out the layout of the awkward left corner of the space and a few of your chimed in with the idea for a box that opens from the top instead of from the front. This would allow us to utilize the entire space without leaving an inaccessible corner where the two sections of the ‘L’ shape meet.
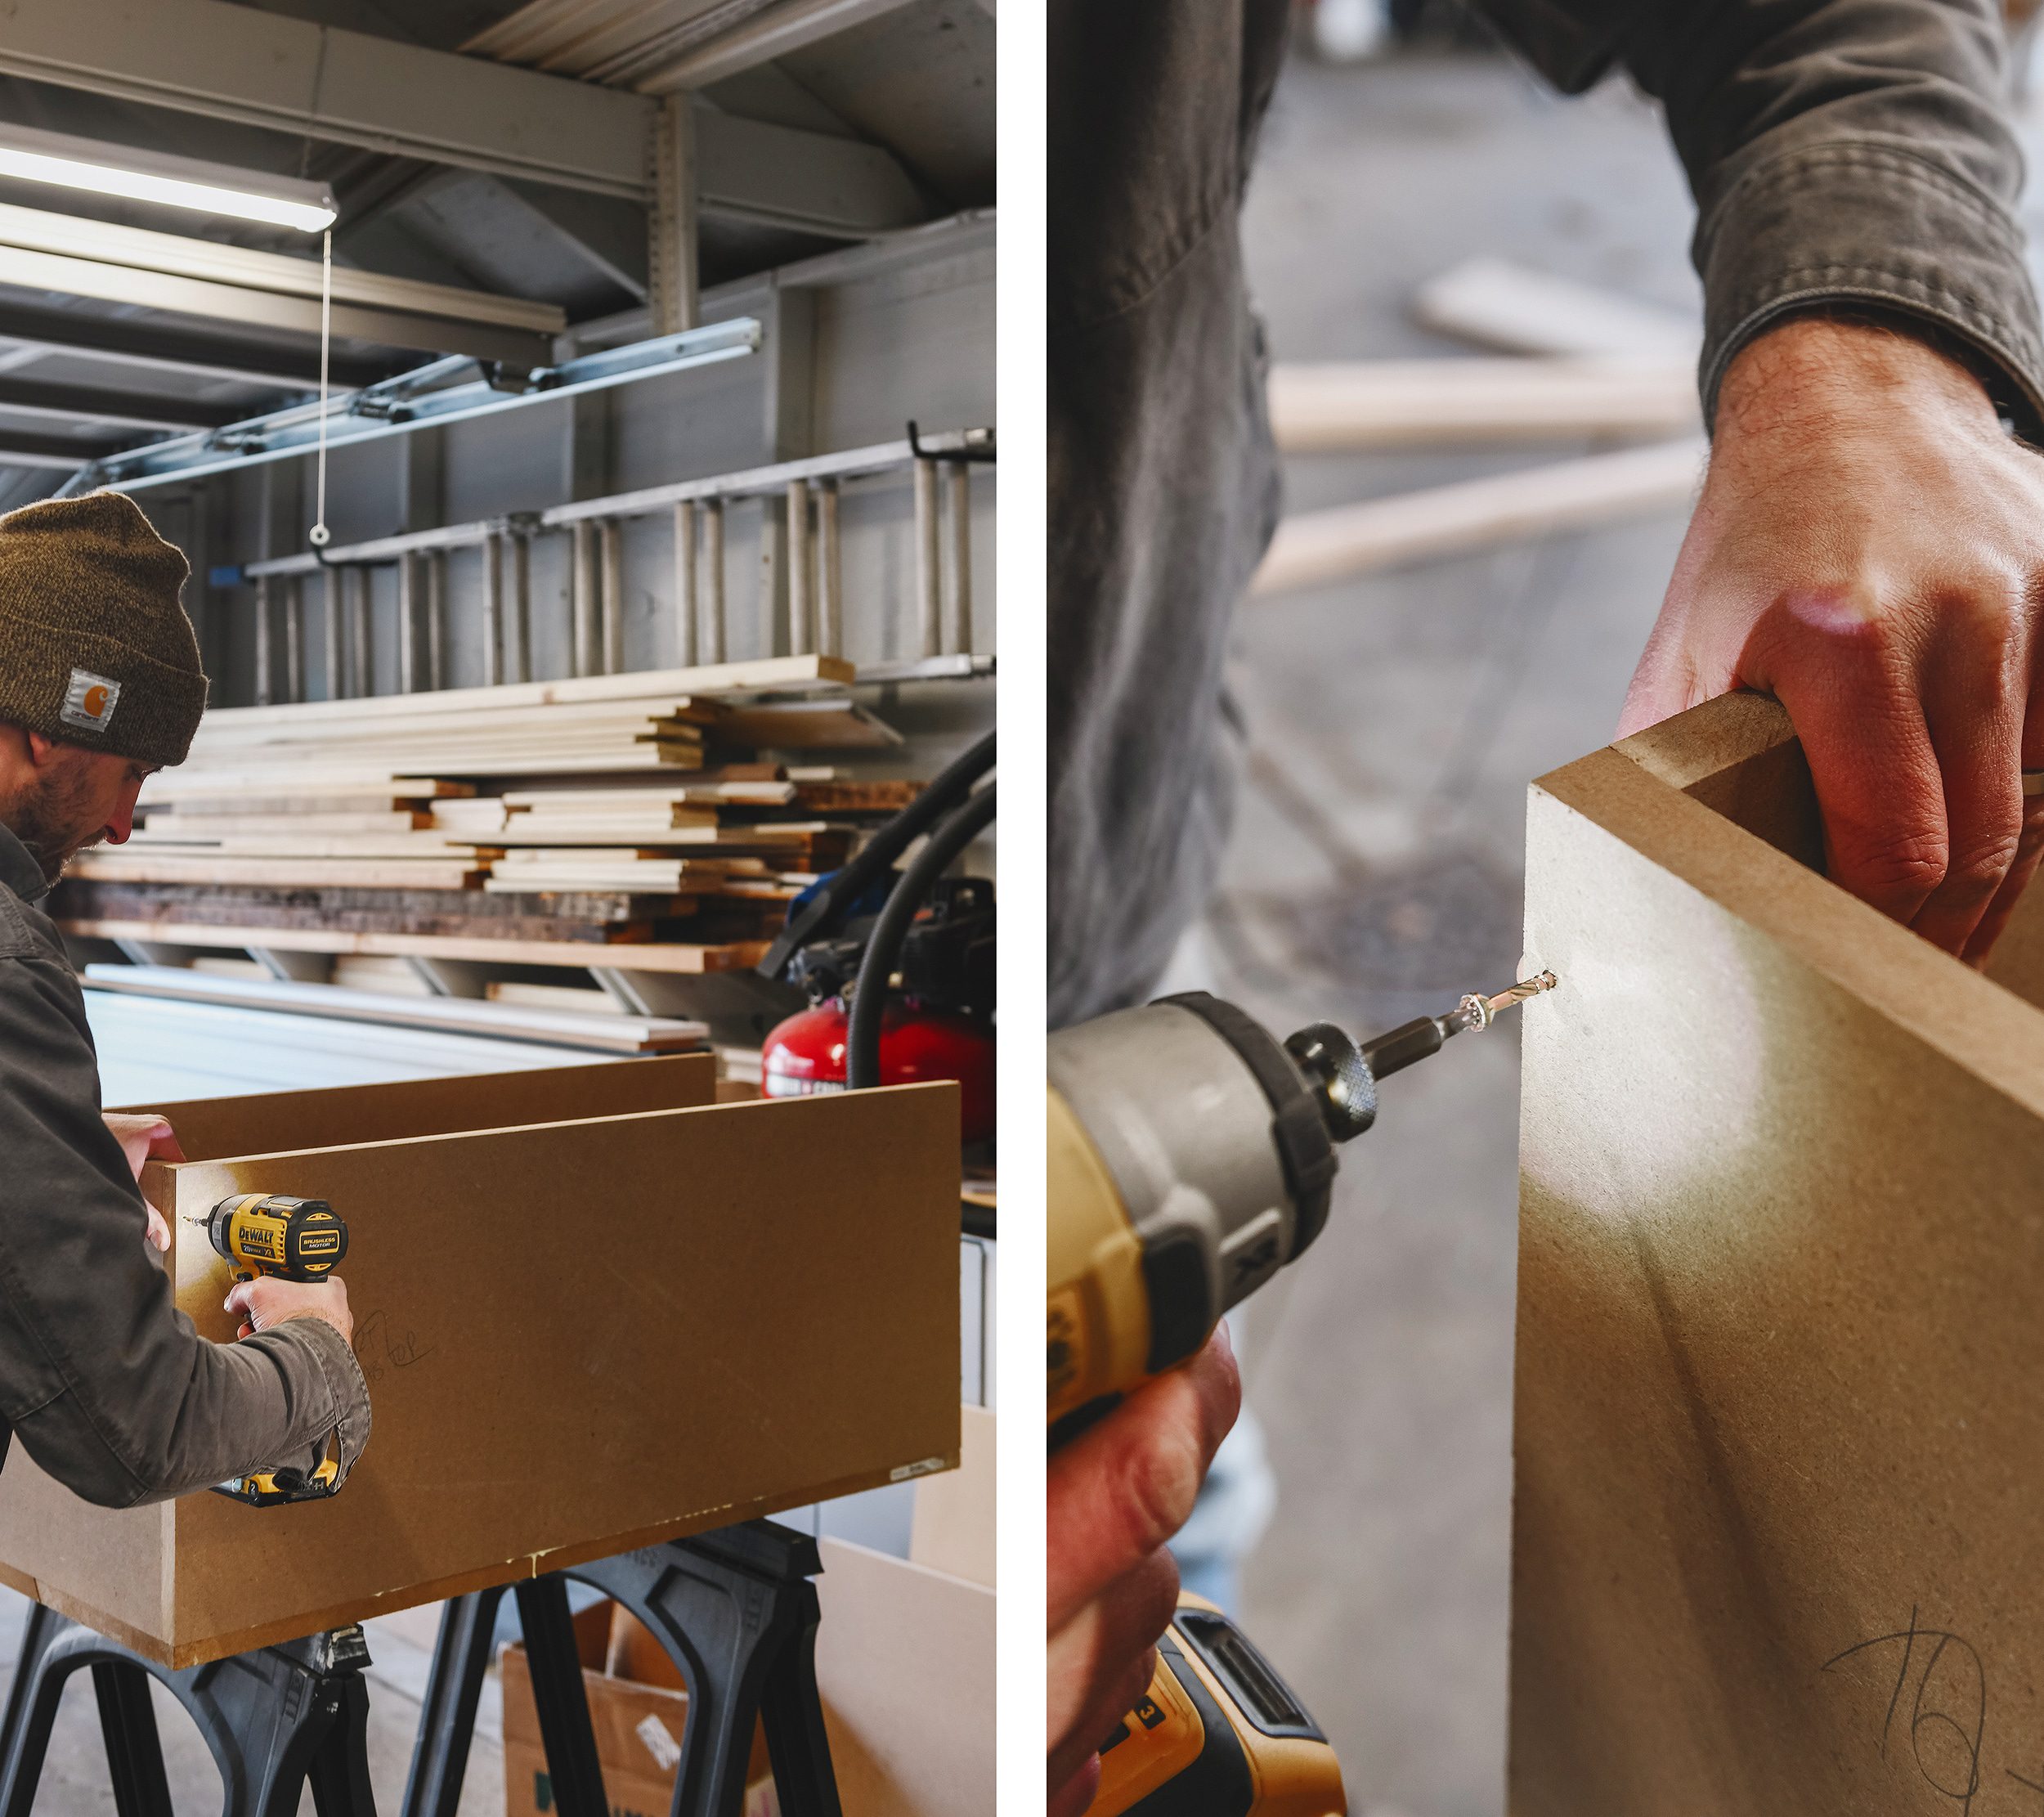
Once we’d settled on dimensions, we got to work building the toy box. It’s a simple 5-sided box structure with 4 walls and a bottom. The joints were all glued with wood glue, then fastened with wood screws using our impact driver. Note: We’ll address the construction of the hinged top later (in step 5) as that was built once the box was secured in place. You’ll also find a helpful tip about supporting the rear of the lid!
2| Build the Base
The platform base is a simple ladder structure that elevates the cabinets off of the floor to allow the doors to open easily. It also brings the top of the seating area up to the standard 18″ height and allows for a small ‘toe kick’ where heels can land comfortably. We built the base to slightly smaller dimensions than the box and cabinets and made sure that the center supports lined up with the ends of the cabinets.
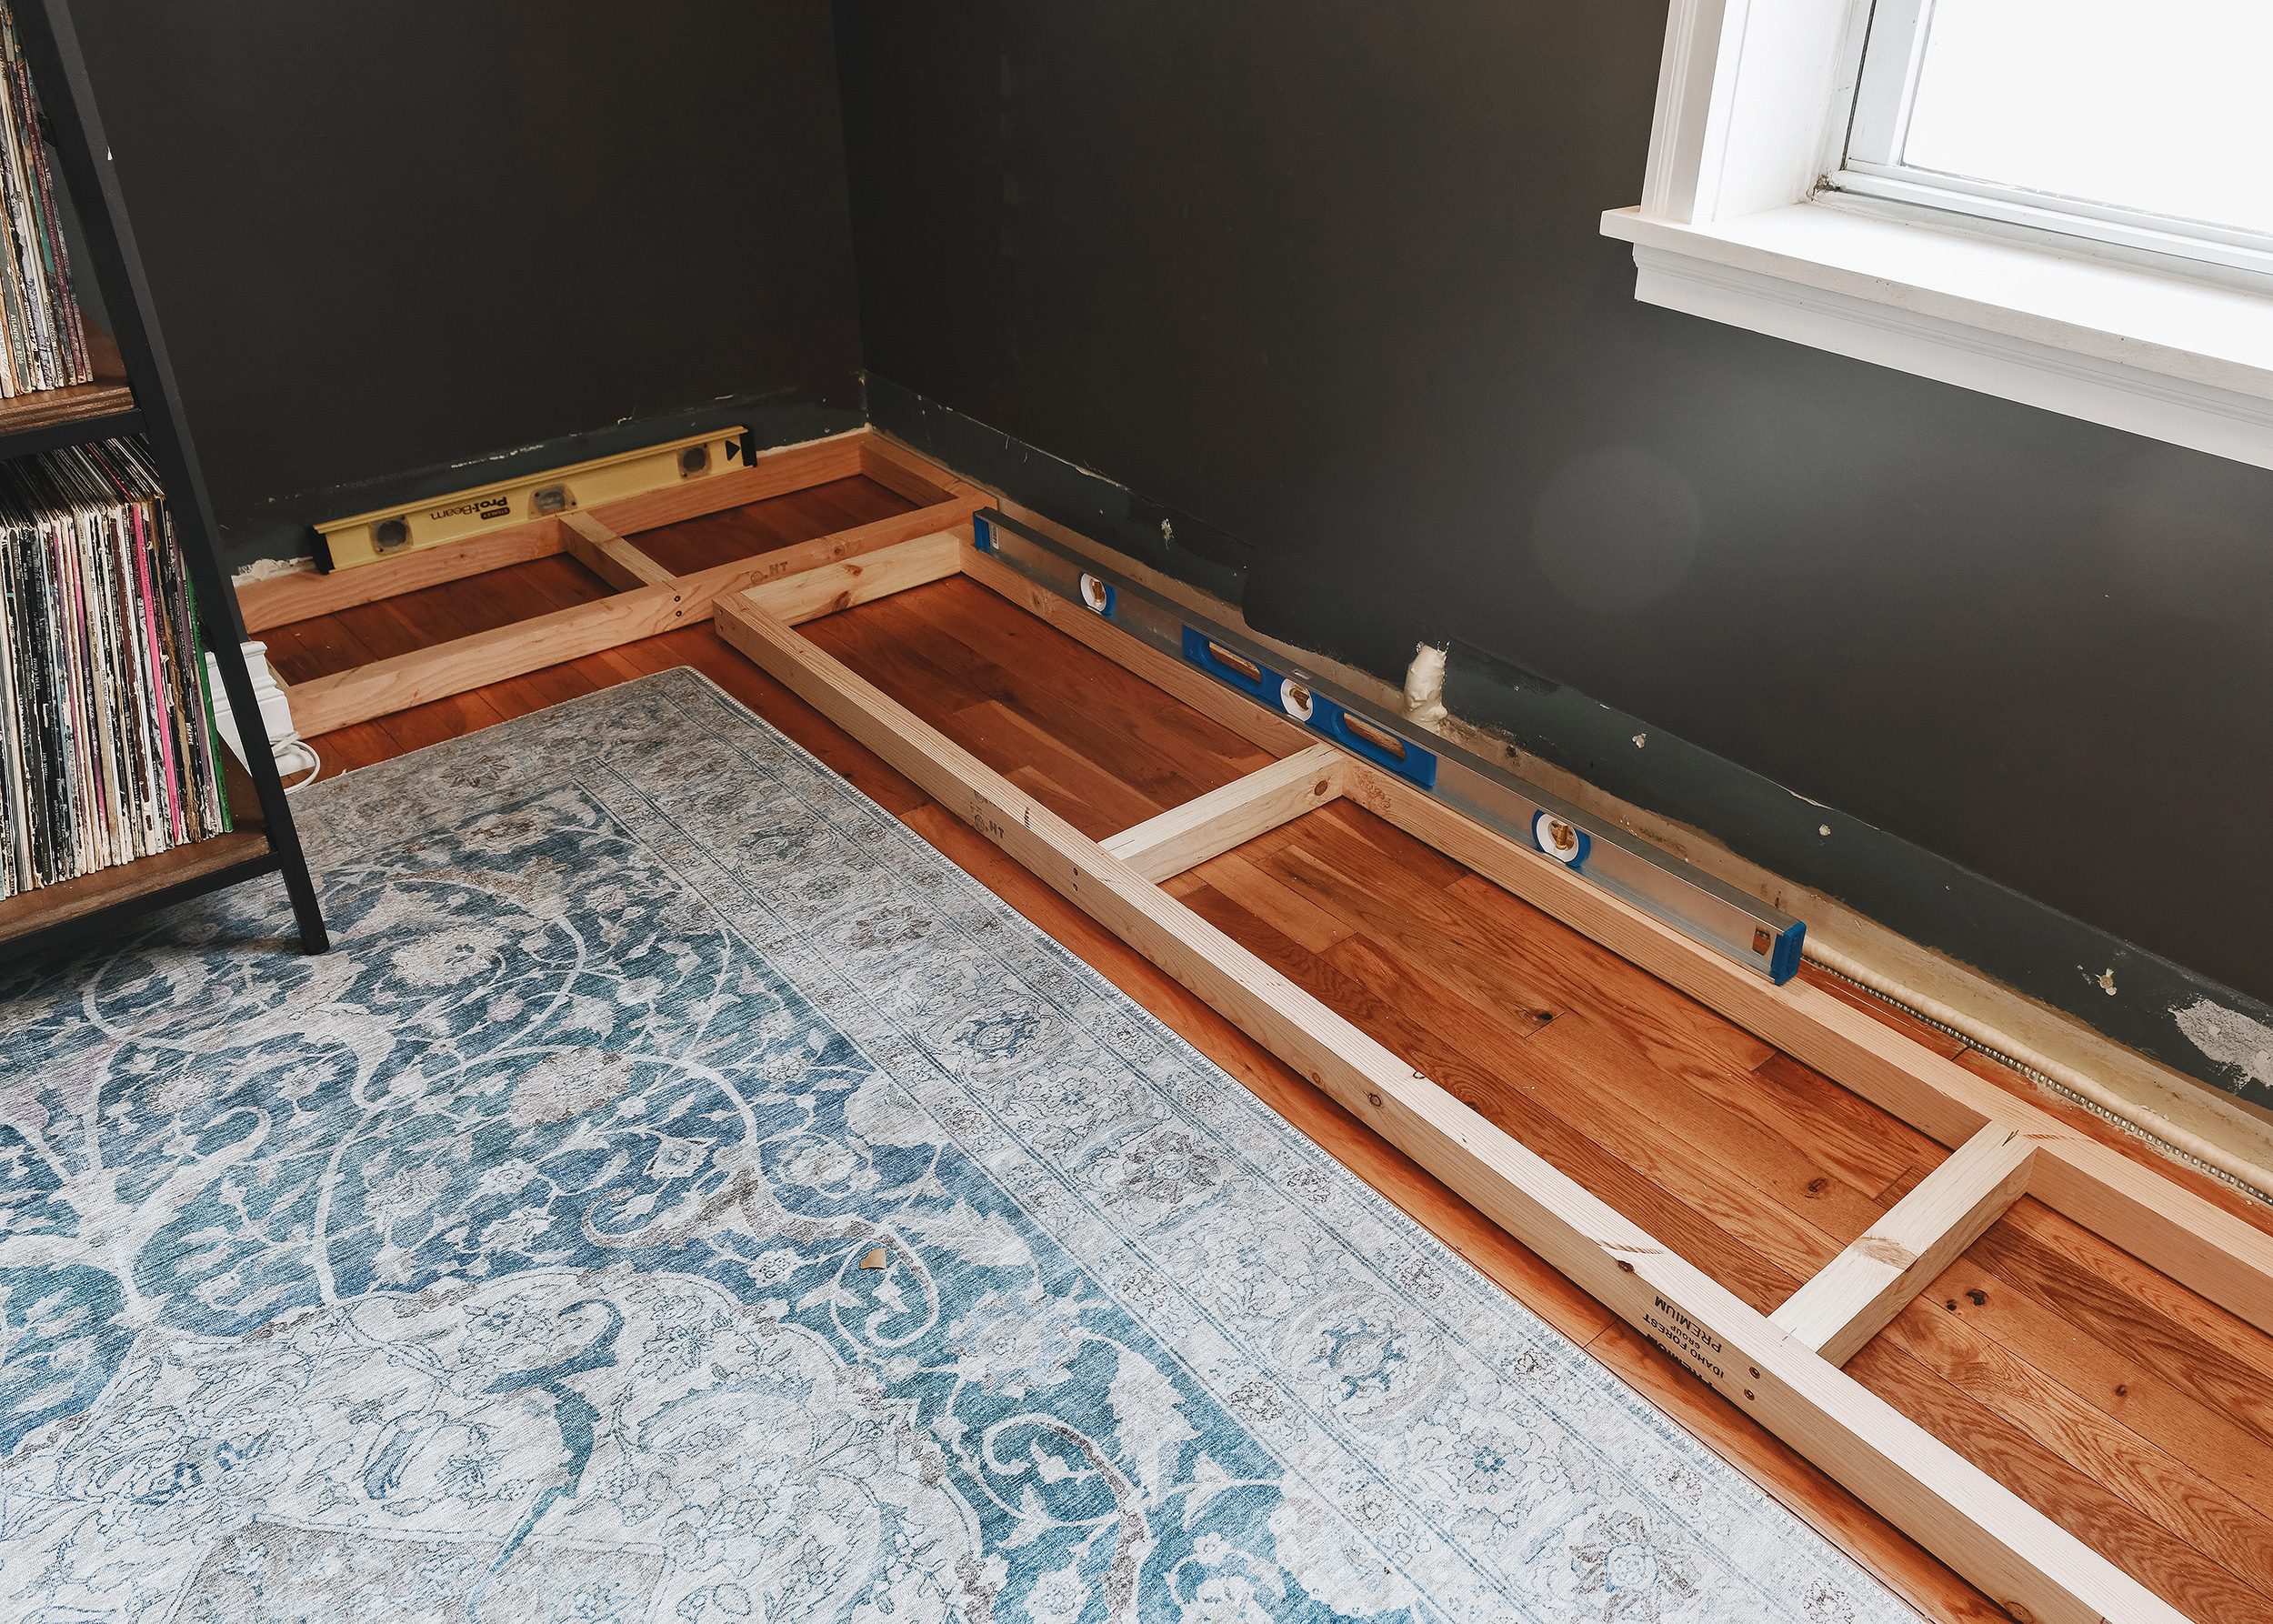
Once we were happy with placement and had slipped a few shims underneath to get things perfectly level, we popped a couple of finish nails through the base and into the hardwood flooring. On the off chance that we ever remove the structure, this will leave simple nail holes that can be filled with wood putty to become nearly invisible.
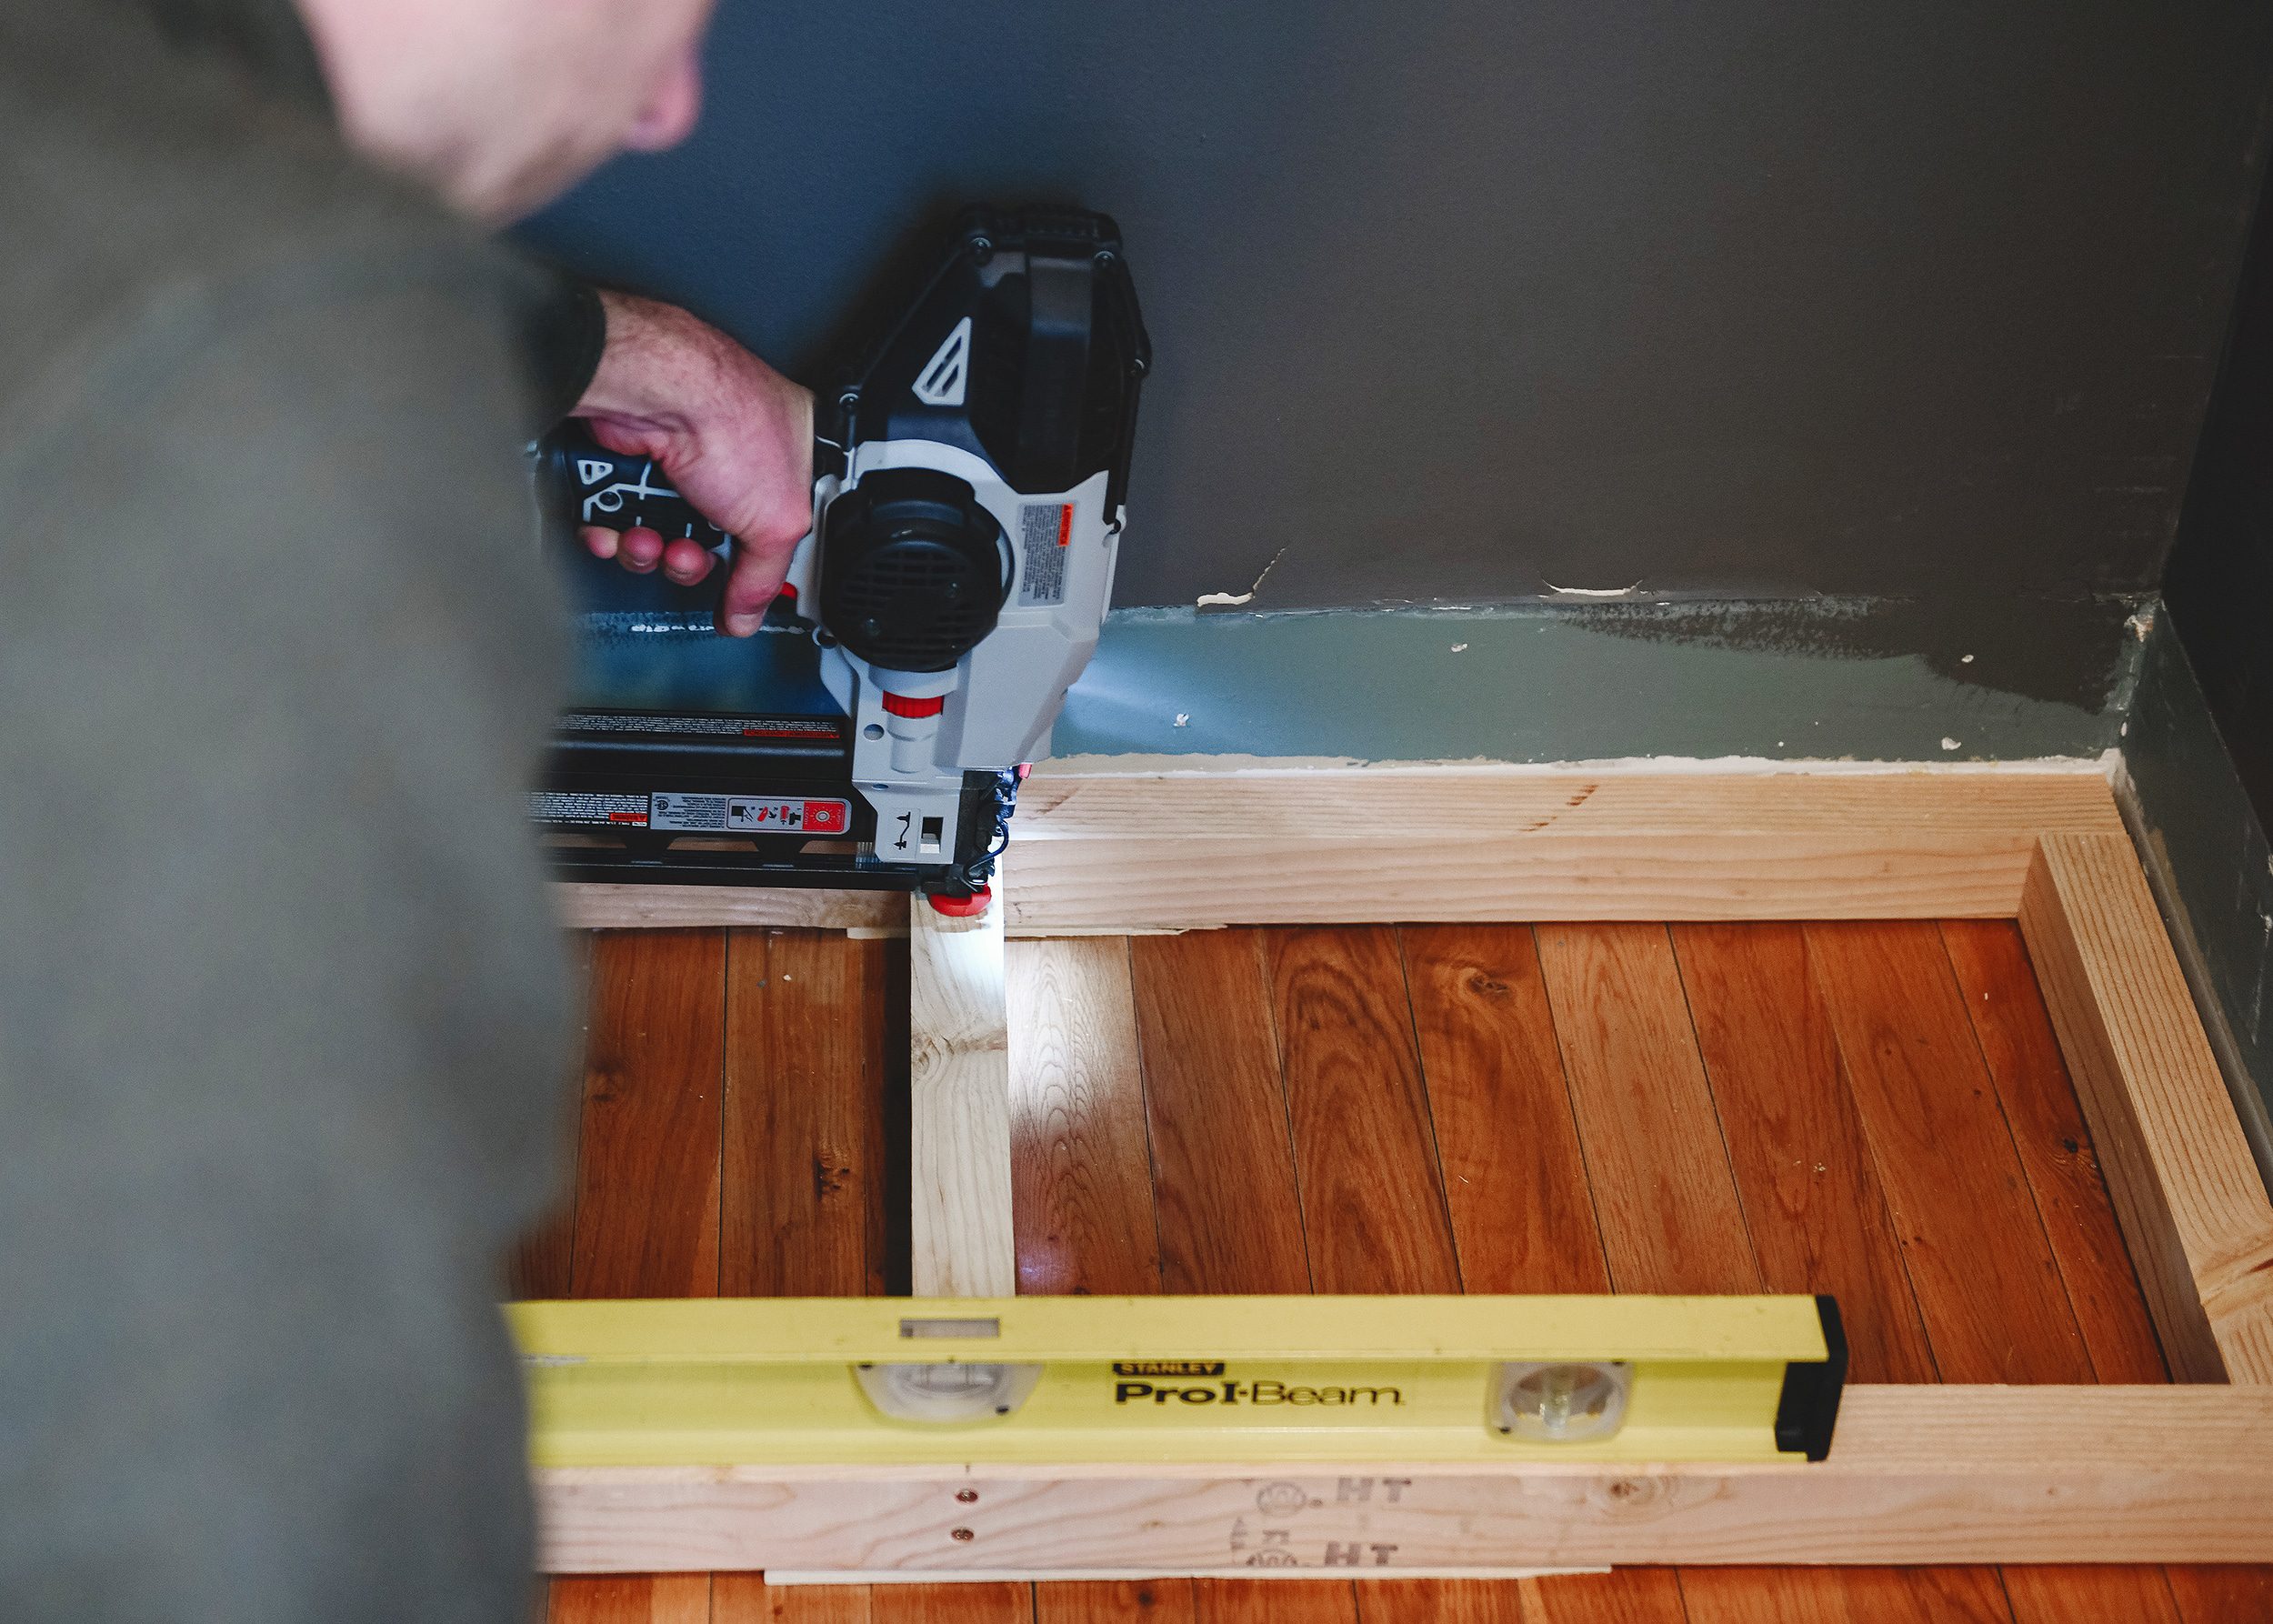
3| Attach the Brick Molding and Platform Top
The brick molding provided an interesting detail while also concealing the base platform. Any molding can be used here based on the style of the space or the look you’re after. Just remember to take the thickness of the trim into account when calculating the difference between the base and the cabinets (or box) for the ‘toe kick’.
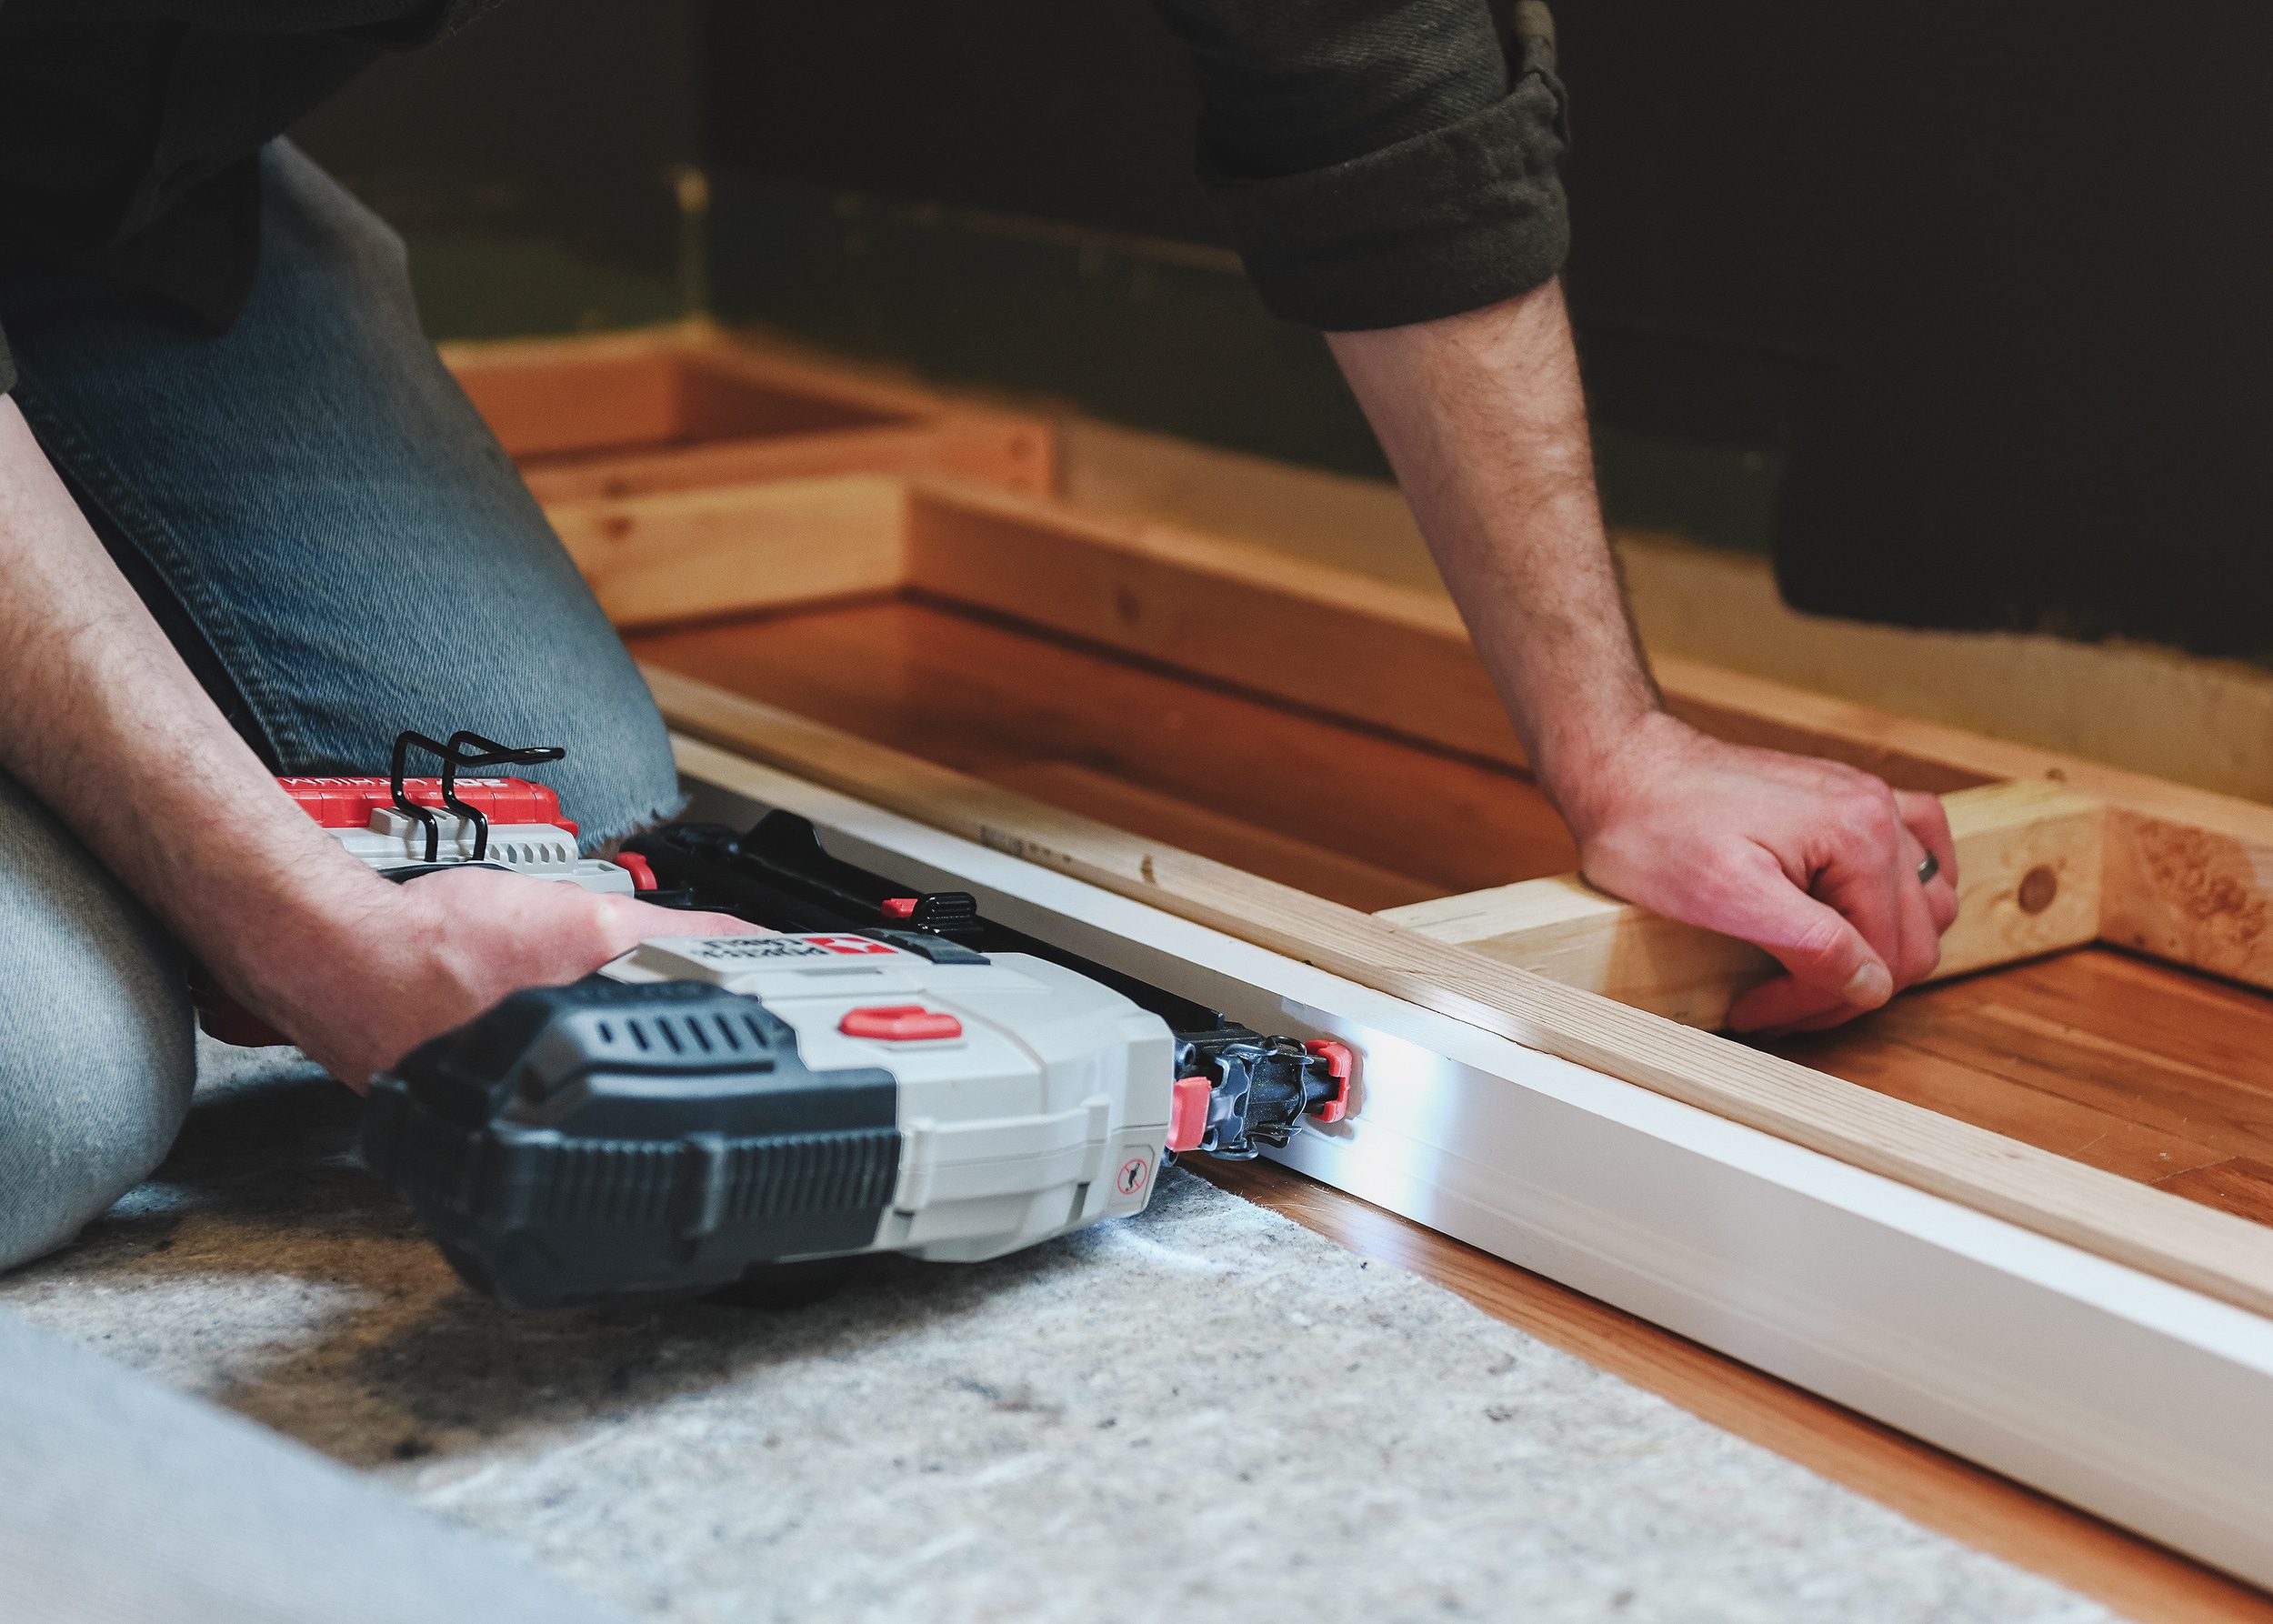
With the base and molding in place, we were ready to attach the platform top panel. The base piece of MDF that I’m nailing in the photo below increases stability and will give the illusion of an inset cabinet doors. Cabinets will be mounted 3/4″ inward from the front face of this piece, but once the doors are put on, they will be flush with the platform base.
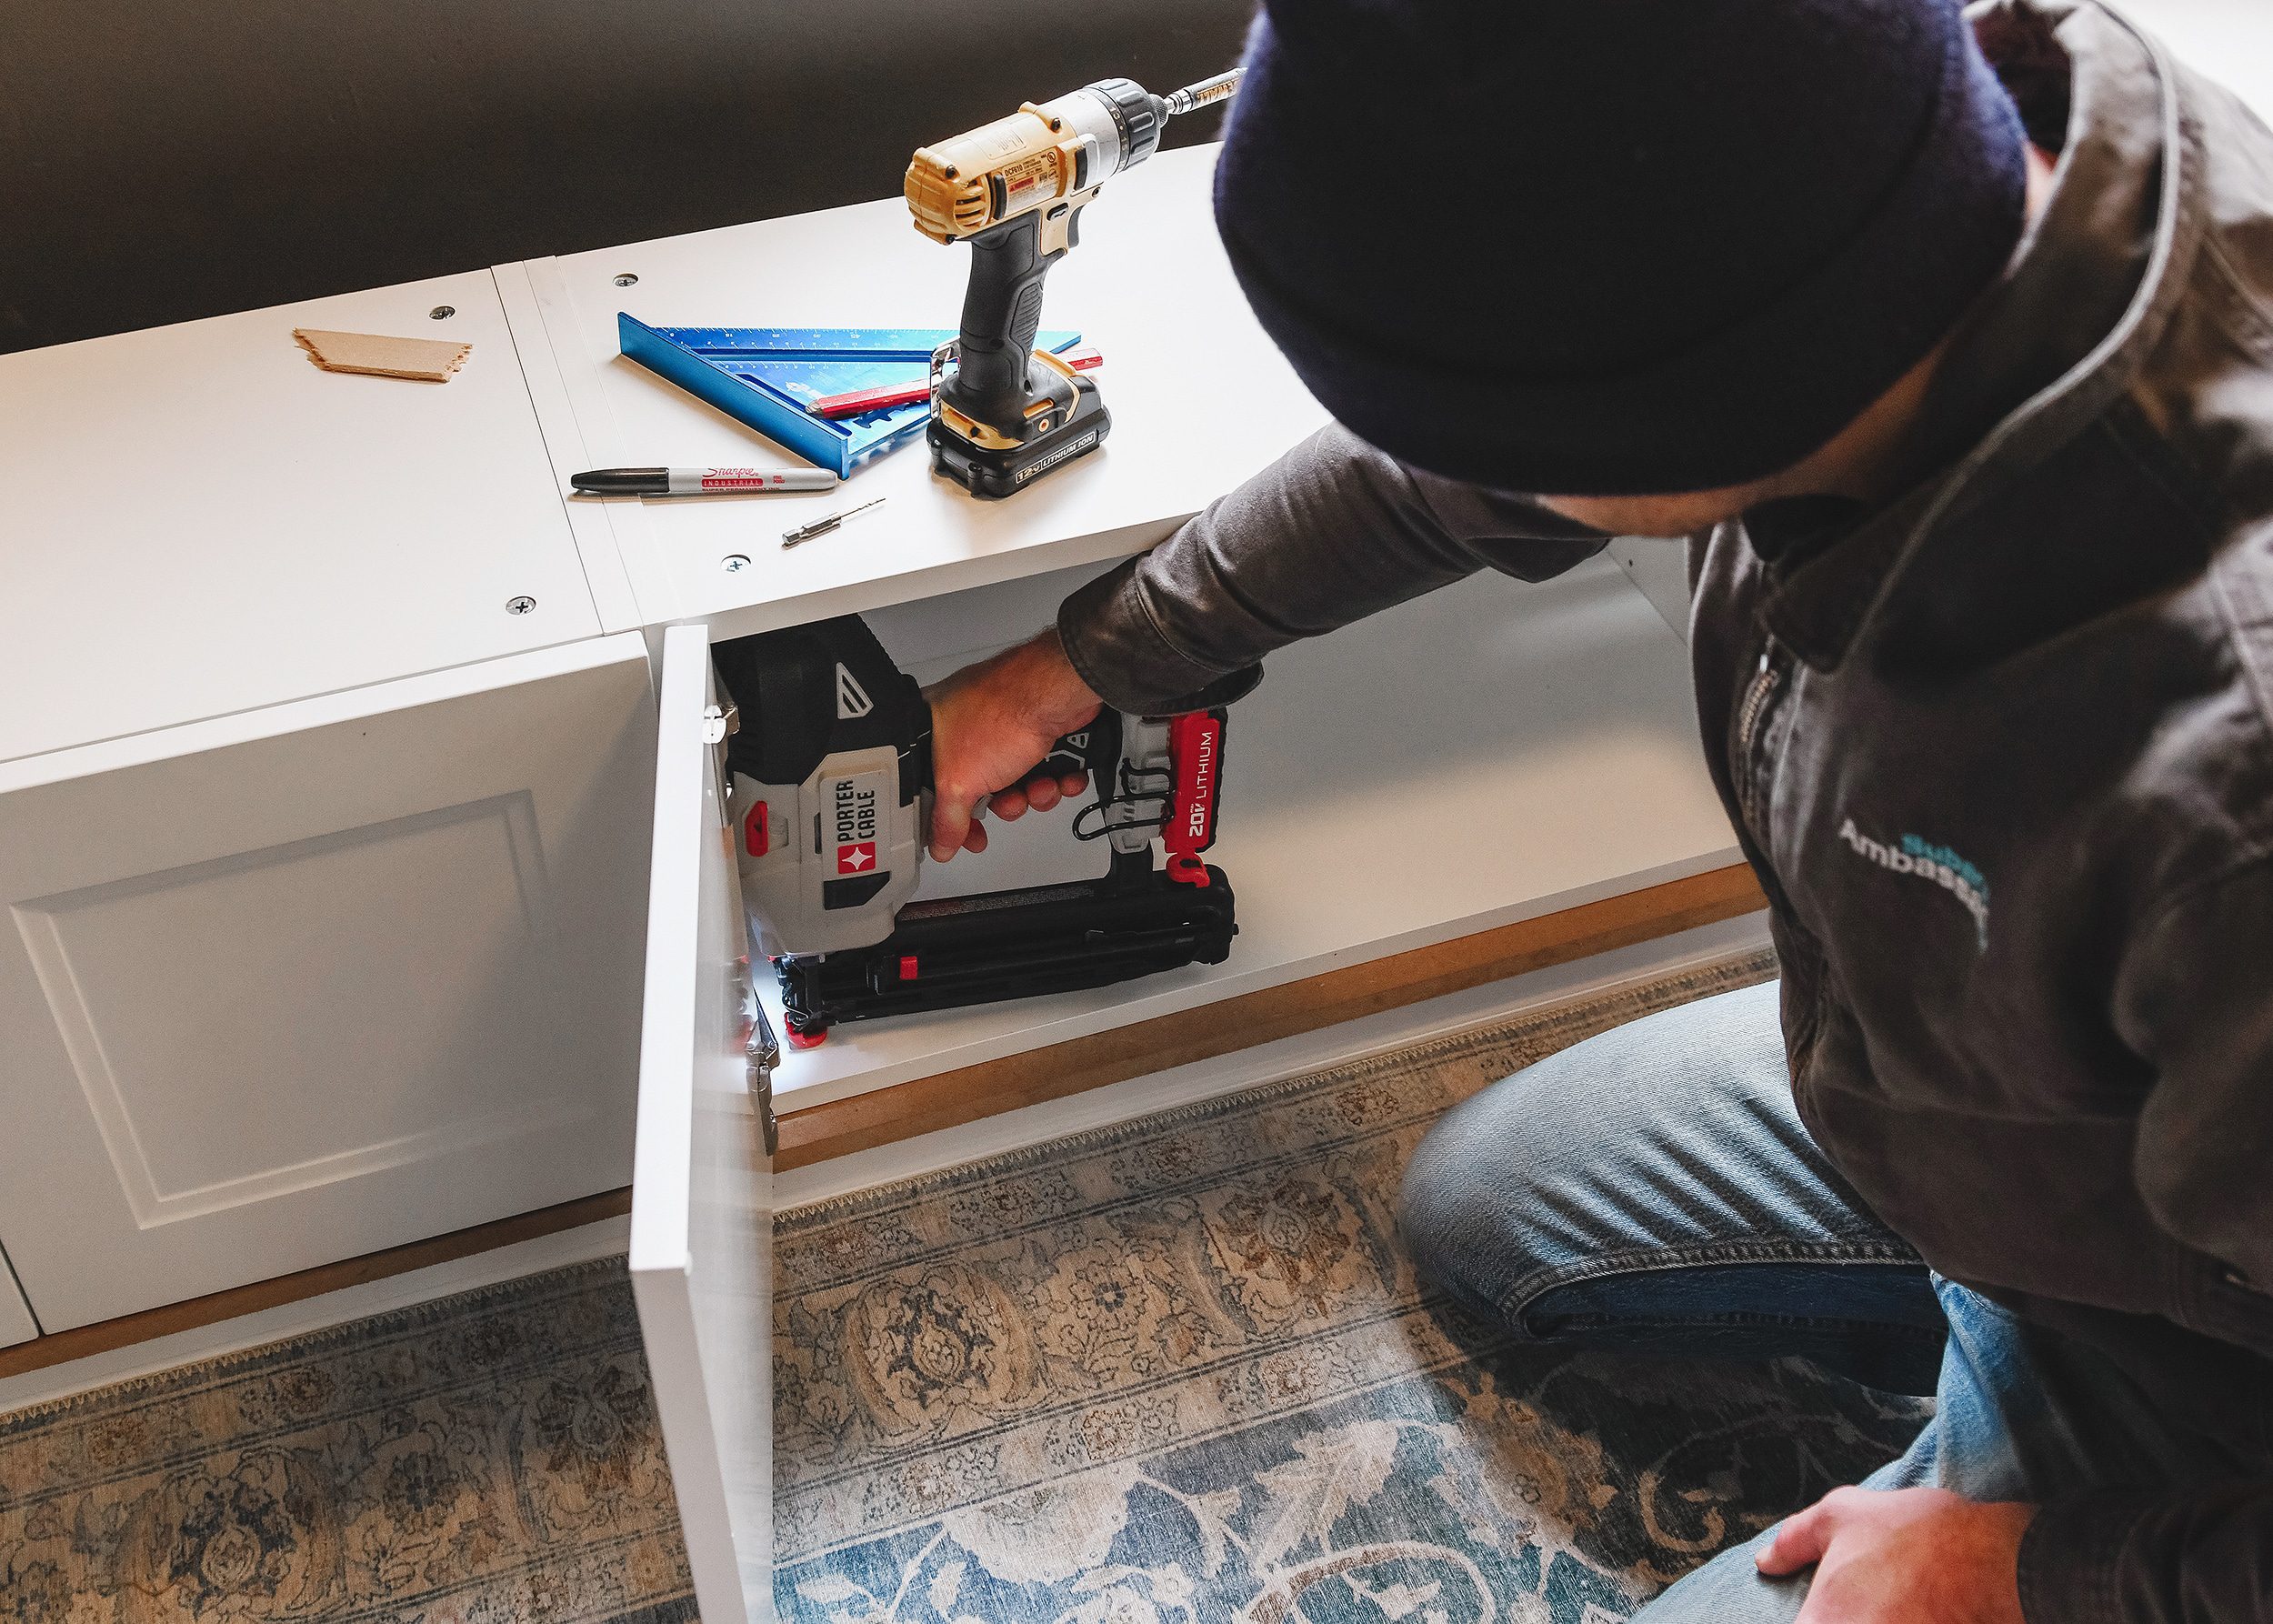
4| Attach Cabinets to Platform and to Each Other
This step is pretty straightforward! Clamp your cabinets together so they’re aligned as perfectly as possible, then screw them together using 1 1/4″ screws. (We use and love these clamps!) We generally fasten above the top hinge, below the bottom hinge, then in the middle from the opposite side. Since we were using prefab cabinets, we were left with a few extra inches of space, so the cabinet array was centered on the base with filler panels to be added later.
Once the cabinets were fastened together as one large piece, we triple checked measurements and square, then fastened the joined trio to the platform base. We chose to use our nailer here for the least visual impact inside the cabinets, but screws would have worked just fine.
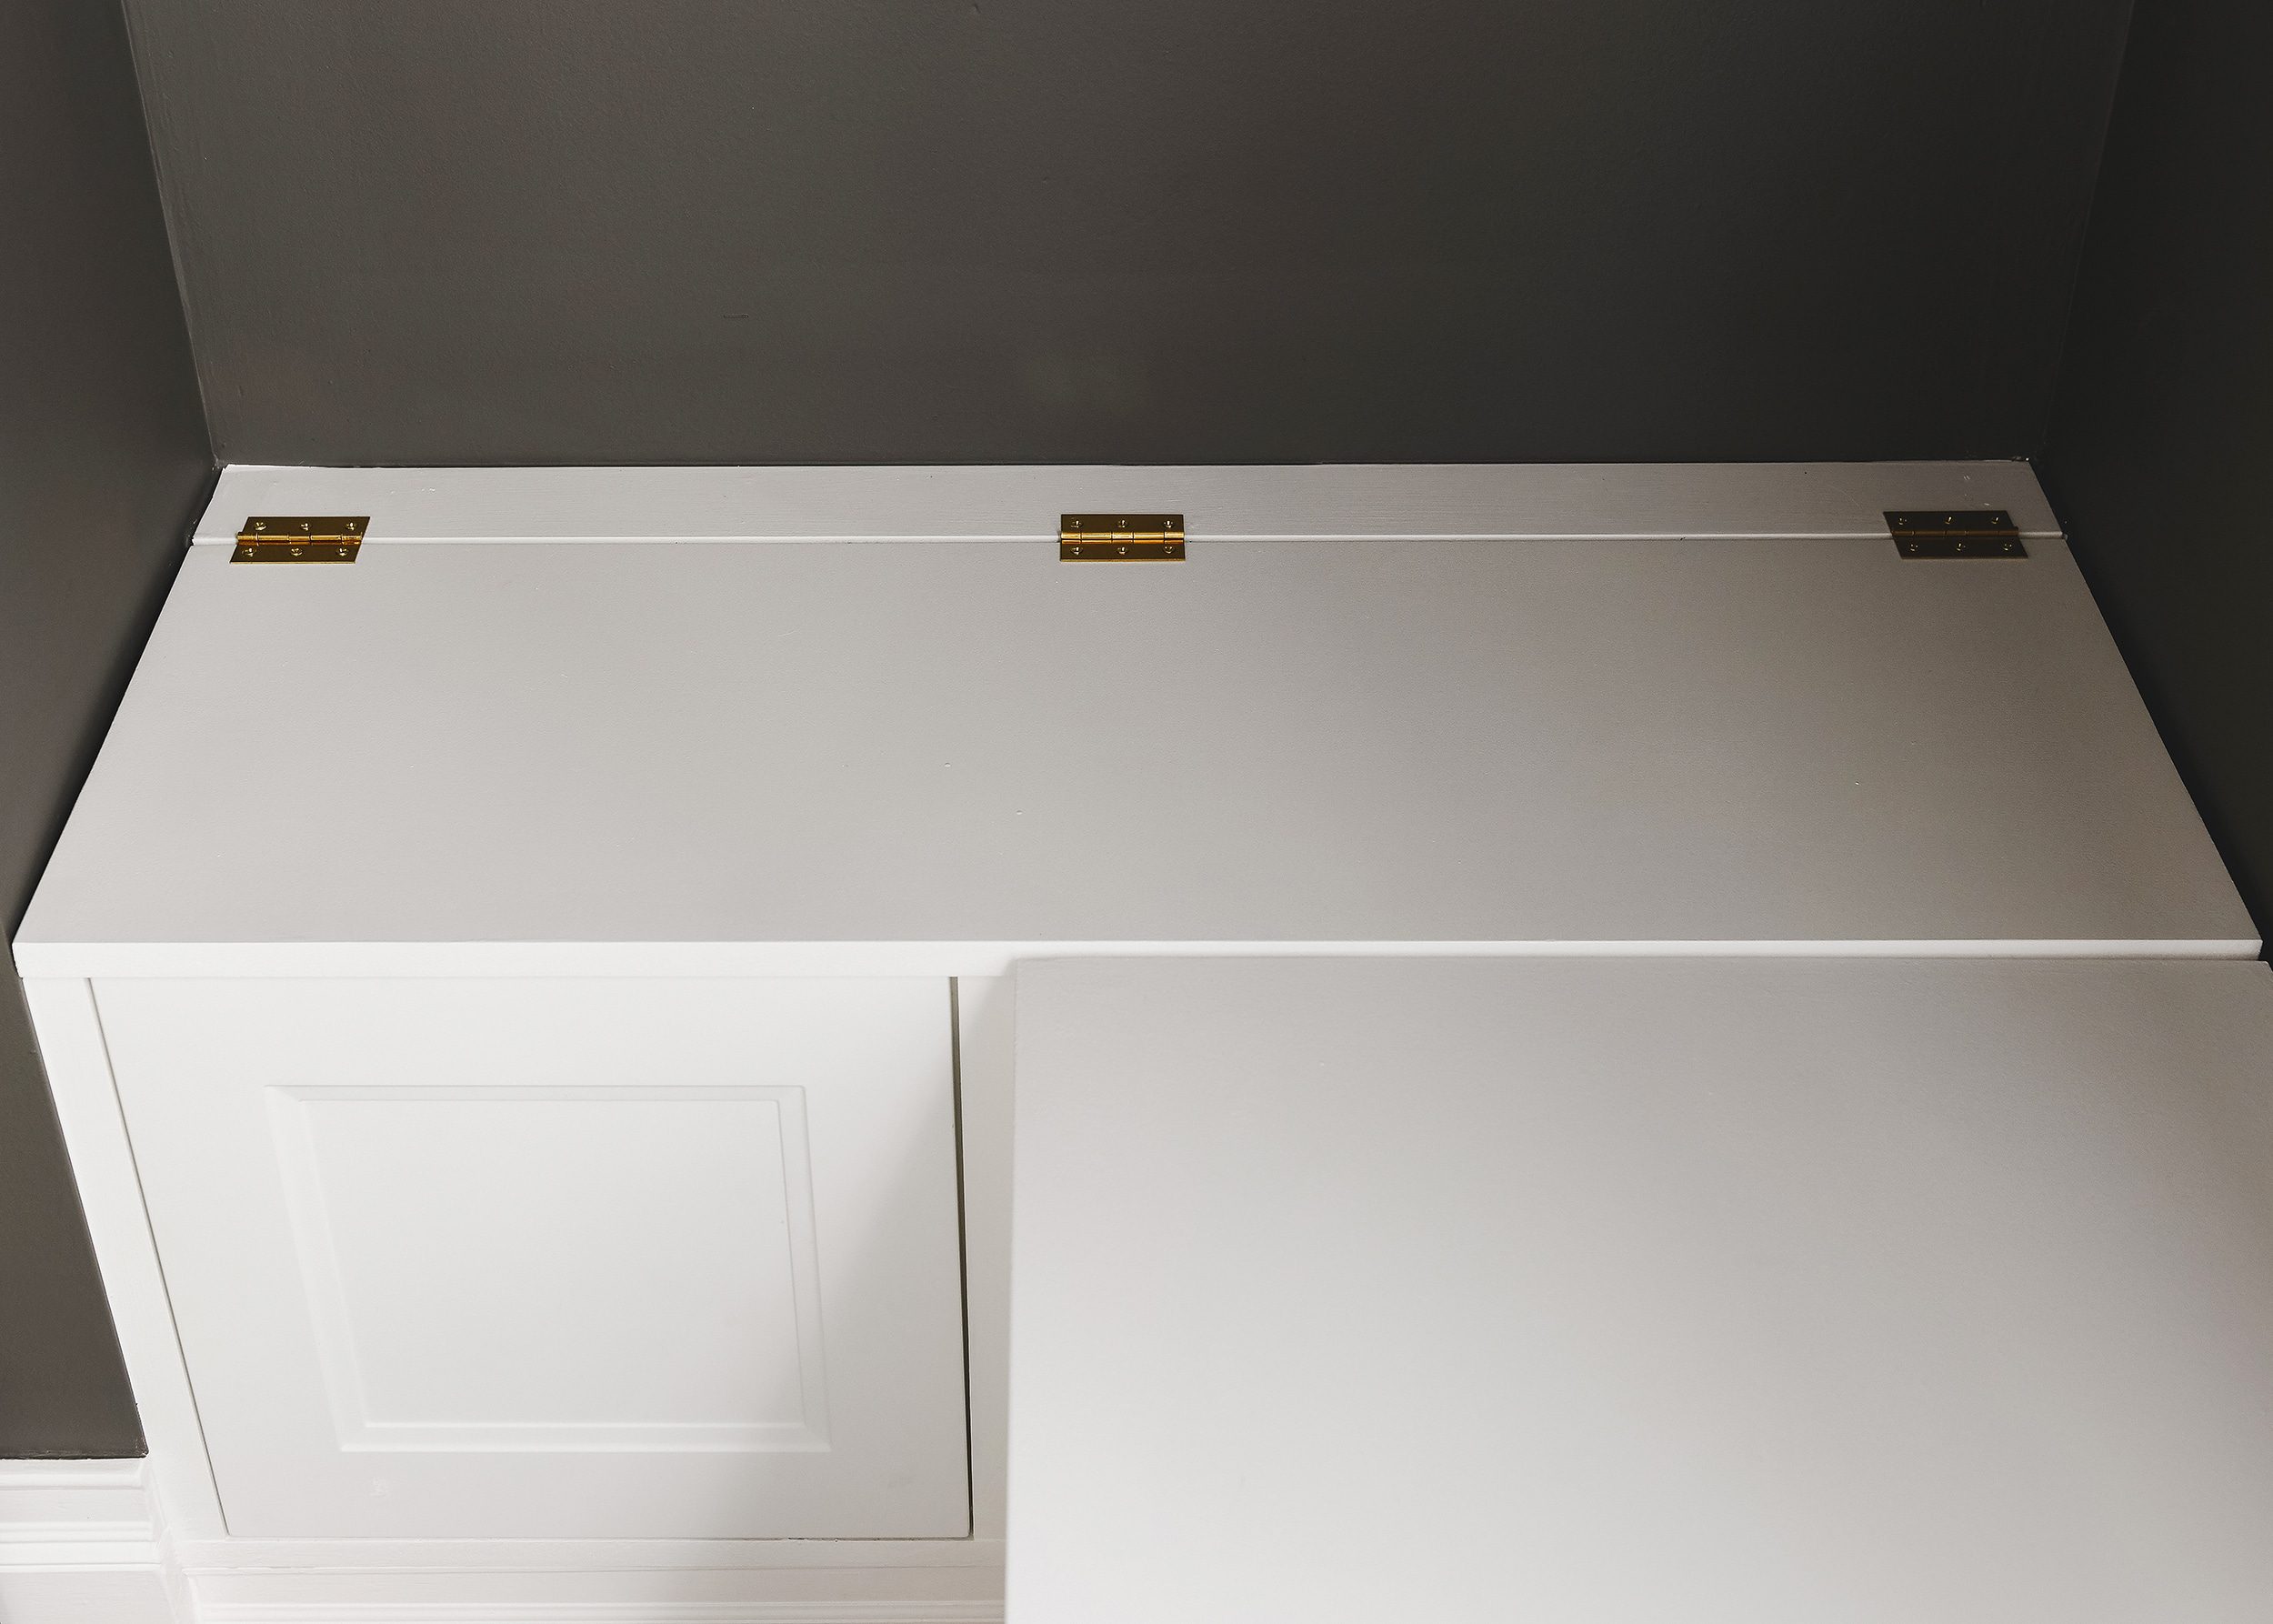
5| Build the Box Lid
The hinged lid is a two-piece structure that utilizes a solid support under the joint. We didn’t want the entire lid to be supported by only the hinges, so we used a piece of scrap wood (the lighter piece inside the rear of the box as seen below) for full support across the rear. This also gave us a place to fasten the fixed rear piece for stability.
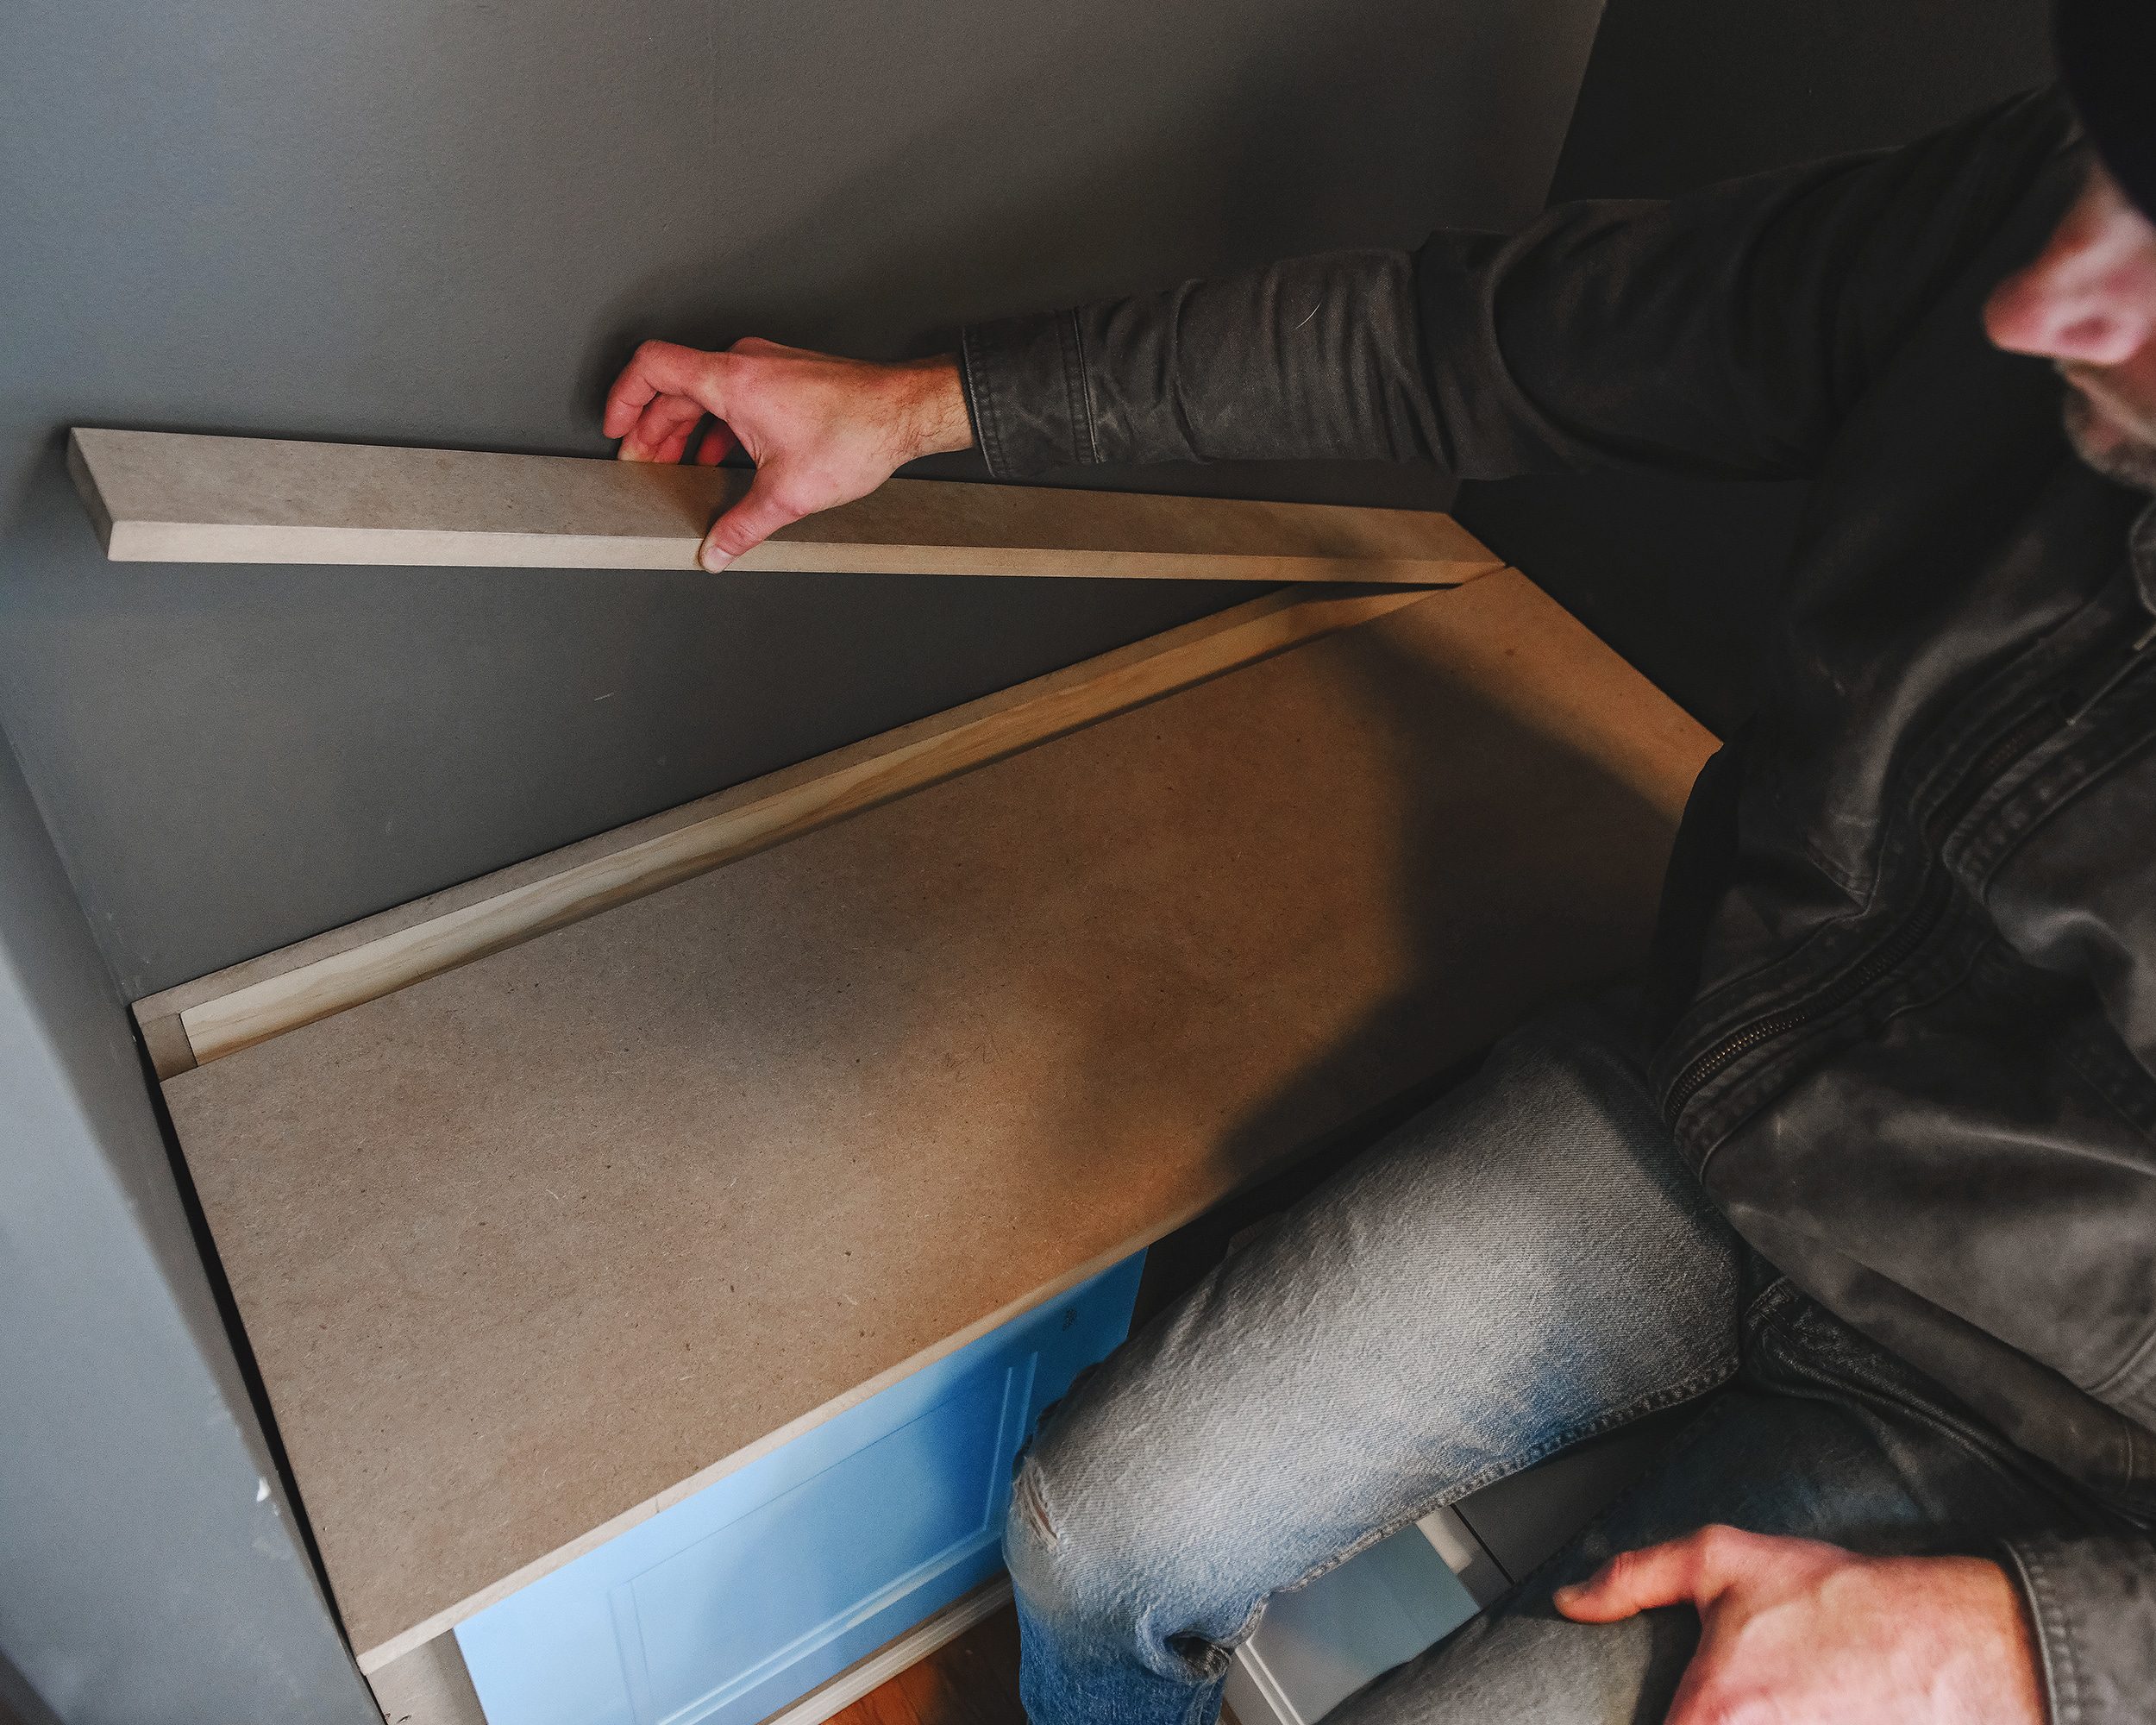
With the fixed rear piece nailed in place, we were ready to attach the front lid, only to remove it a short time later for paint. We used brass 3″ hinges and also left a very small 1/4″ lip at the front to allow for a finger hold to lift the lid. It’s nearly invisible, but it’s just enough to make lifting the lid easier.
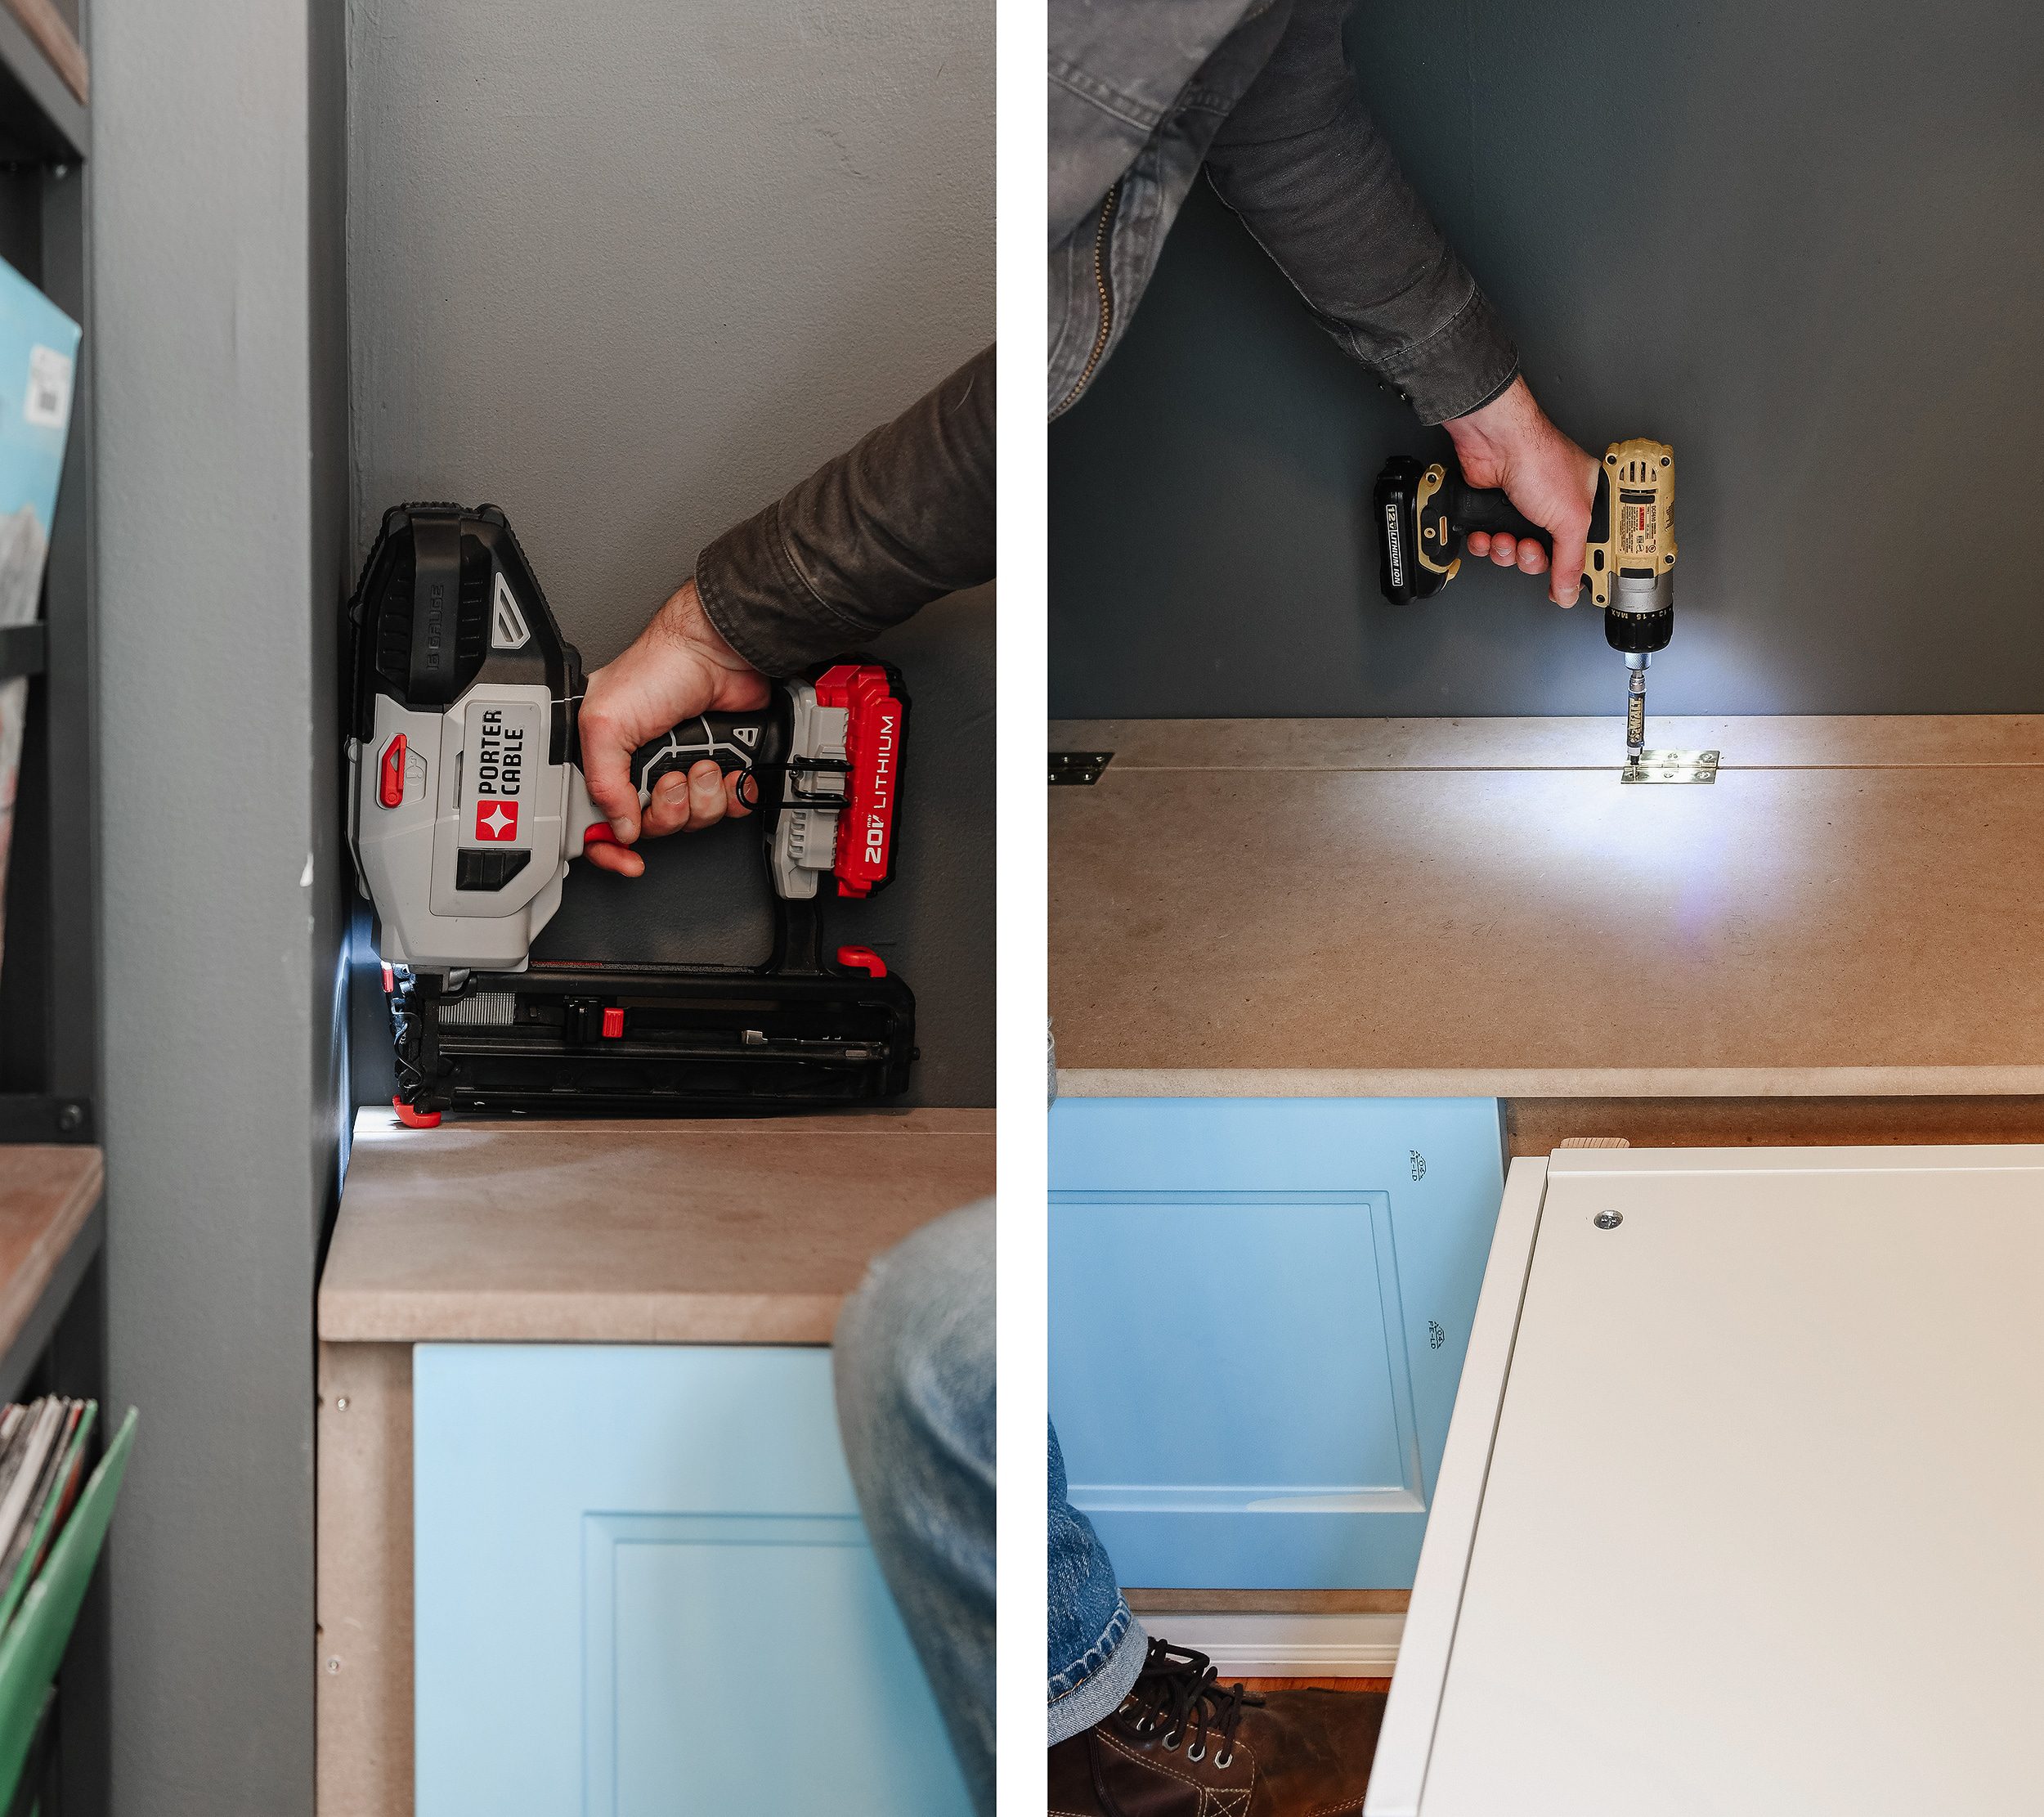
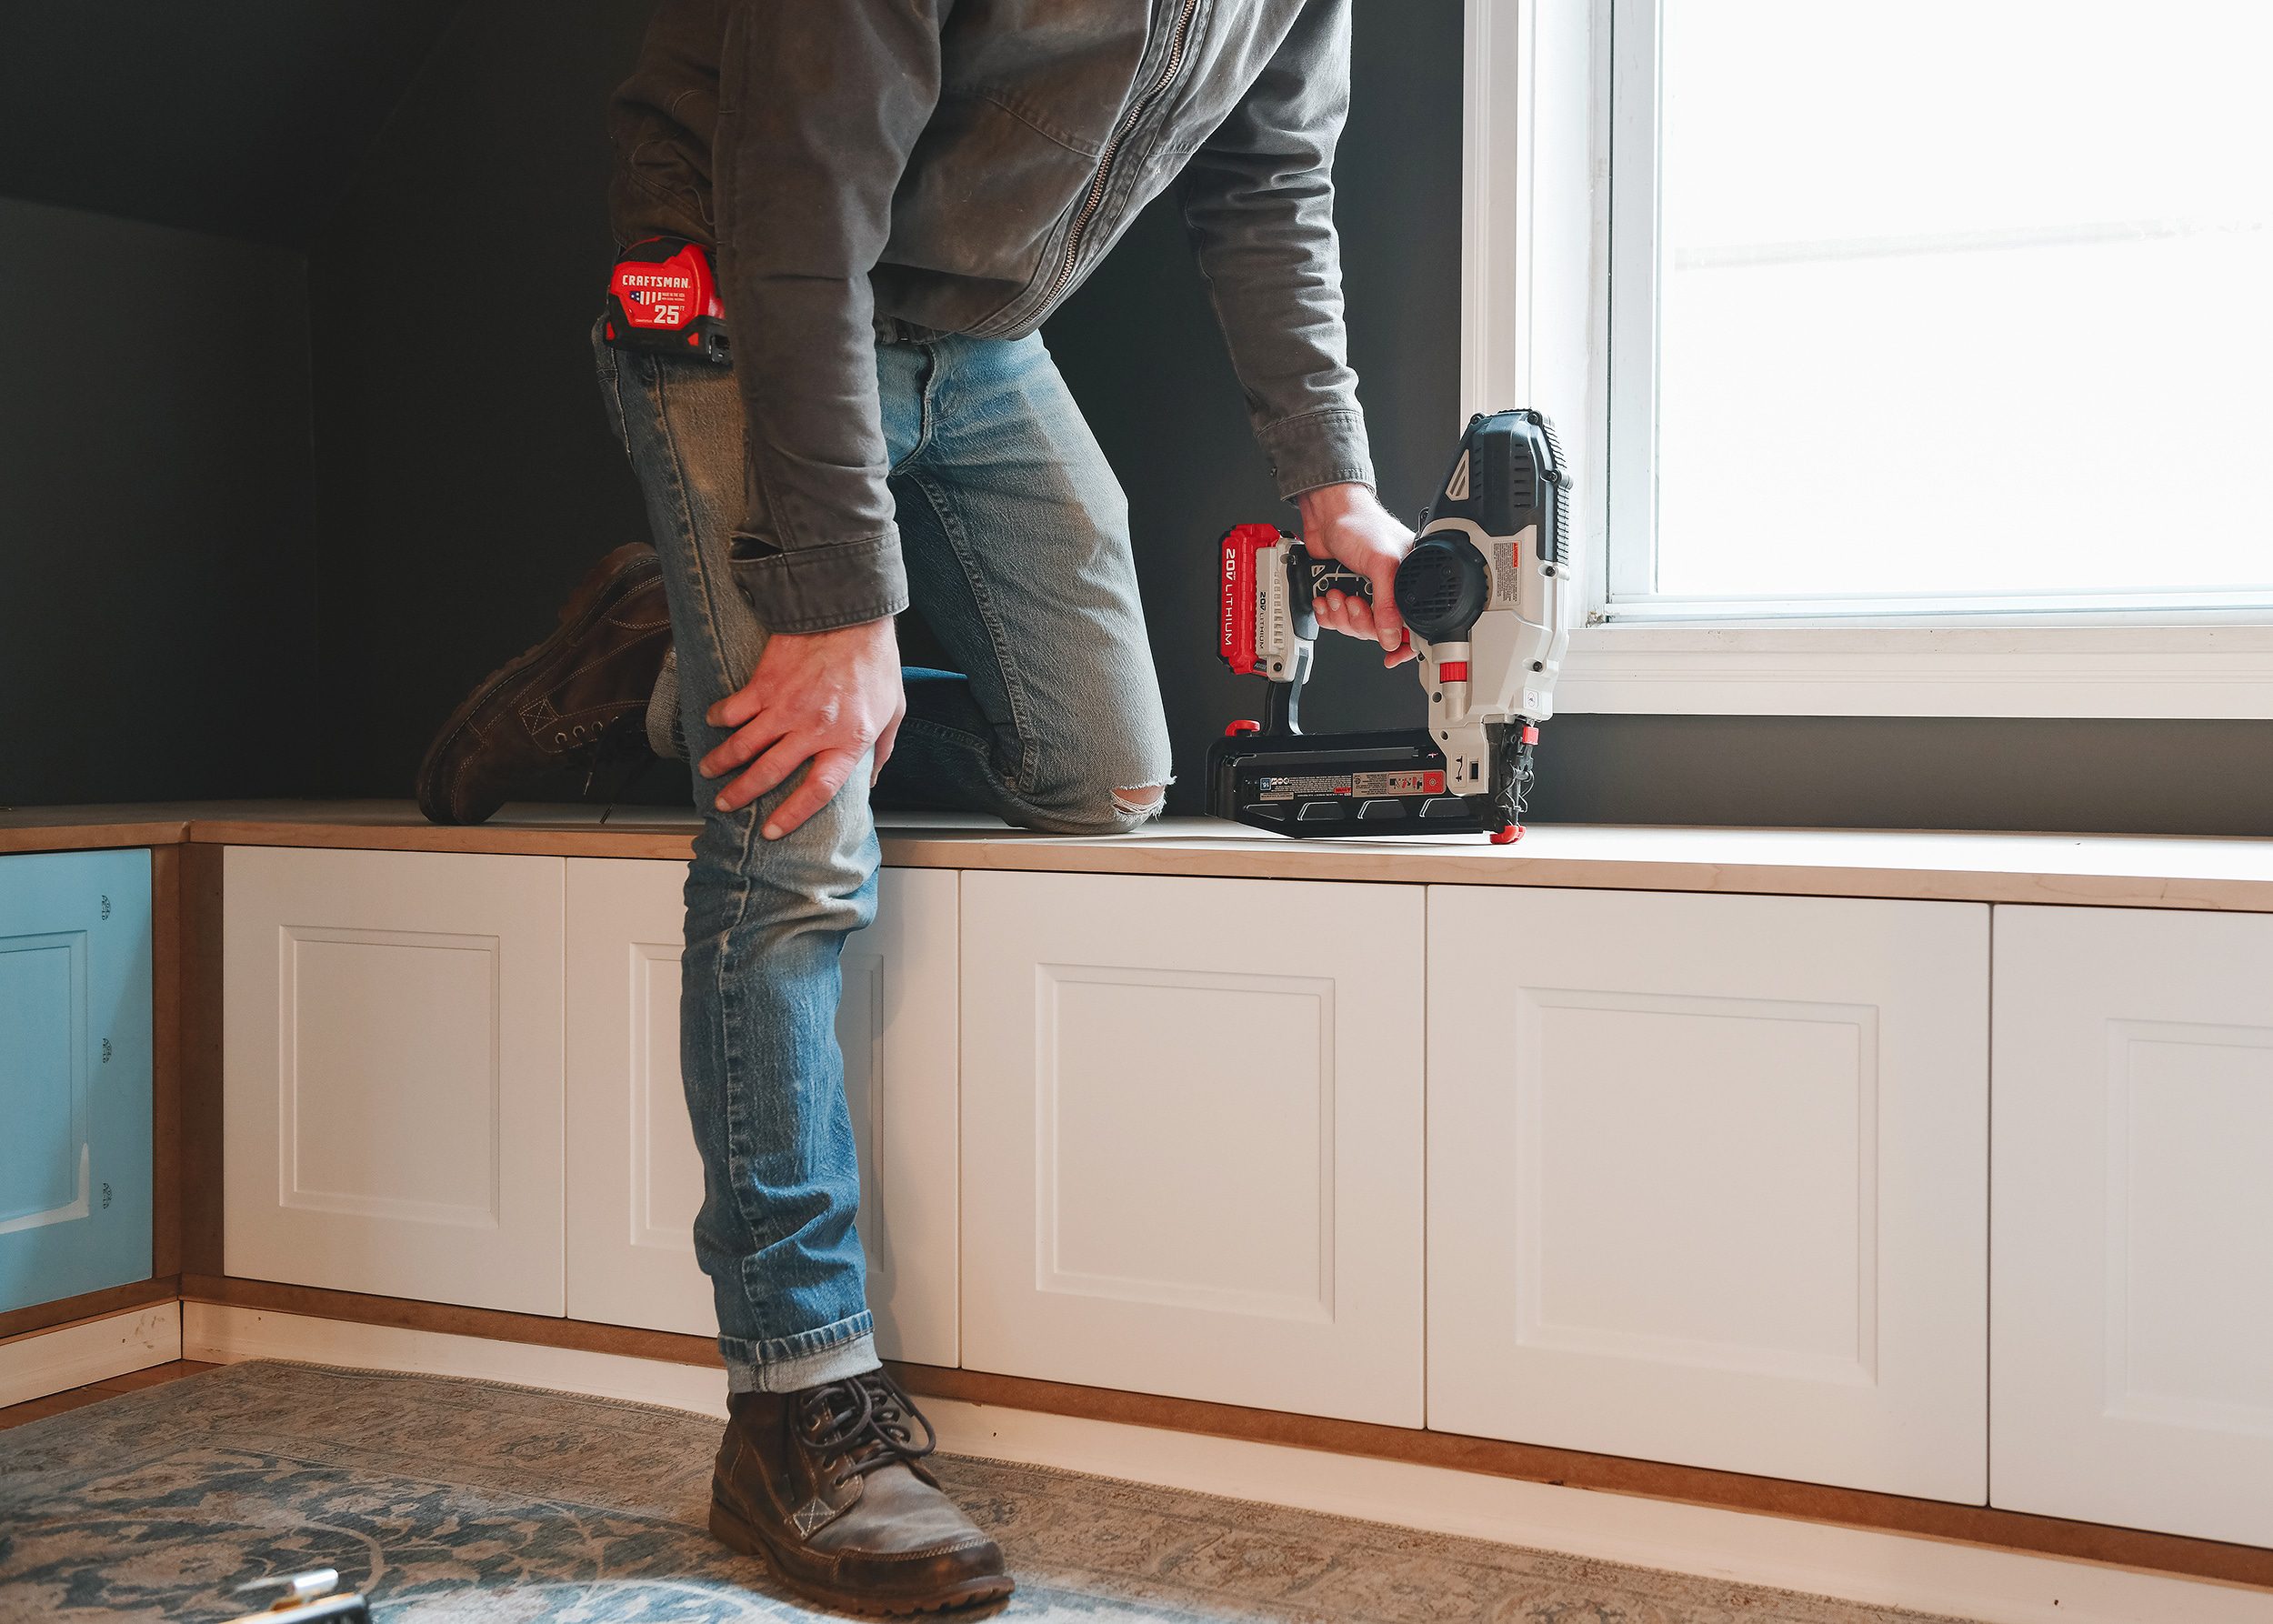
With the lid in place, we were able to fasten the top to the cabinet boxes. Another reminder to triple check math here! Walls are rarely square, so be sure to measure in a few places to ensure that the top sits nicely on the cabinets. To complete the inset cabinet door look, this MDF panel was also cut to include a 3/4″ overhang and keep the entire front of the structure flush.
We chose to cheat the entire built-in away from the wall a few inches to allow for a deeper seating area. To add a bit of support at the rear and keep the MDF from sagging, we attached a simple 2″ x 4″ support to the wall as an extra precaution. You can see this here:
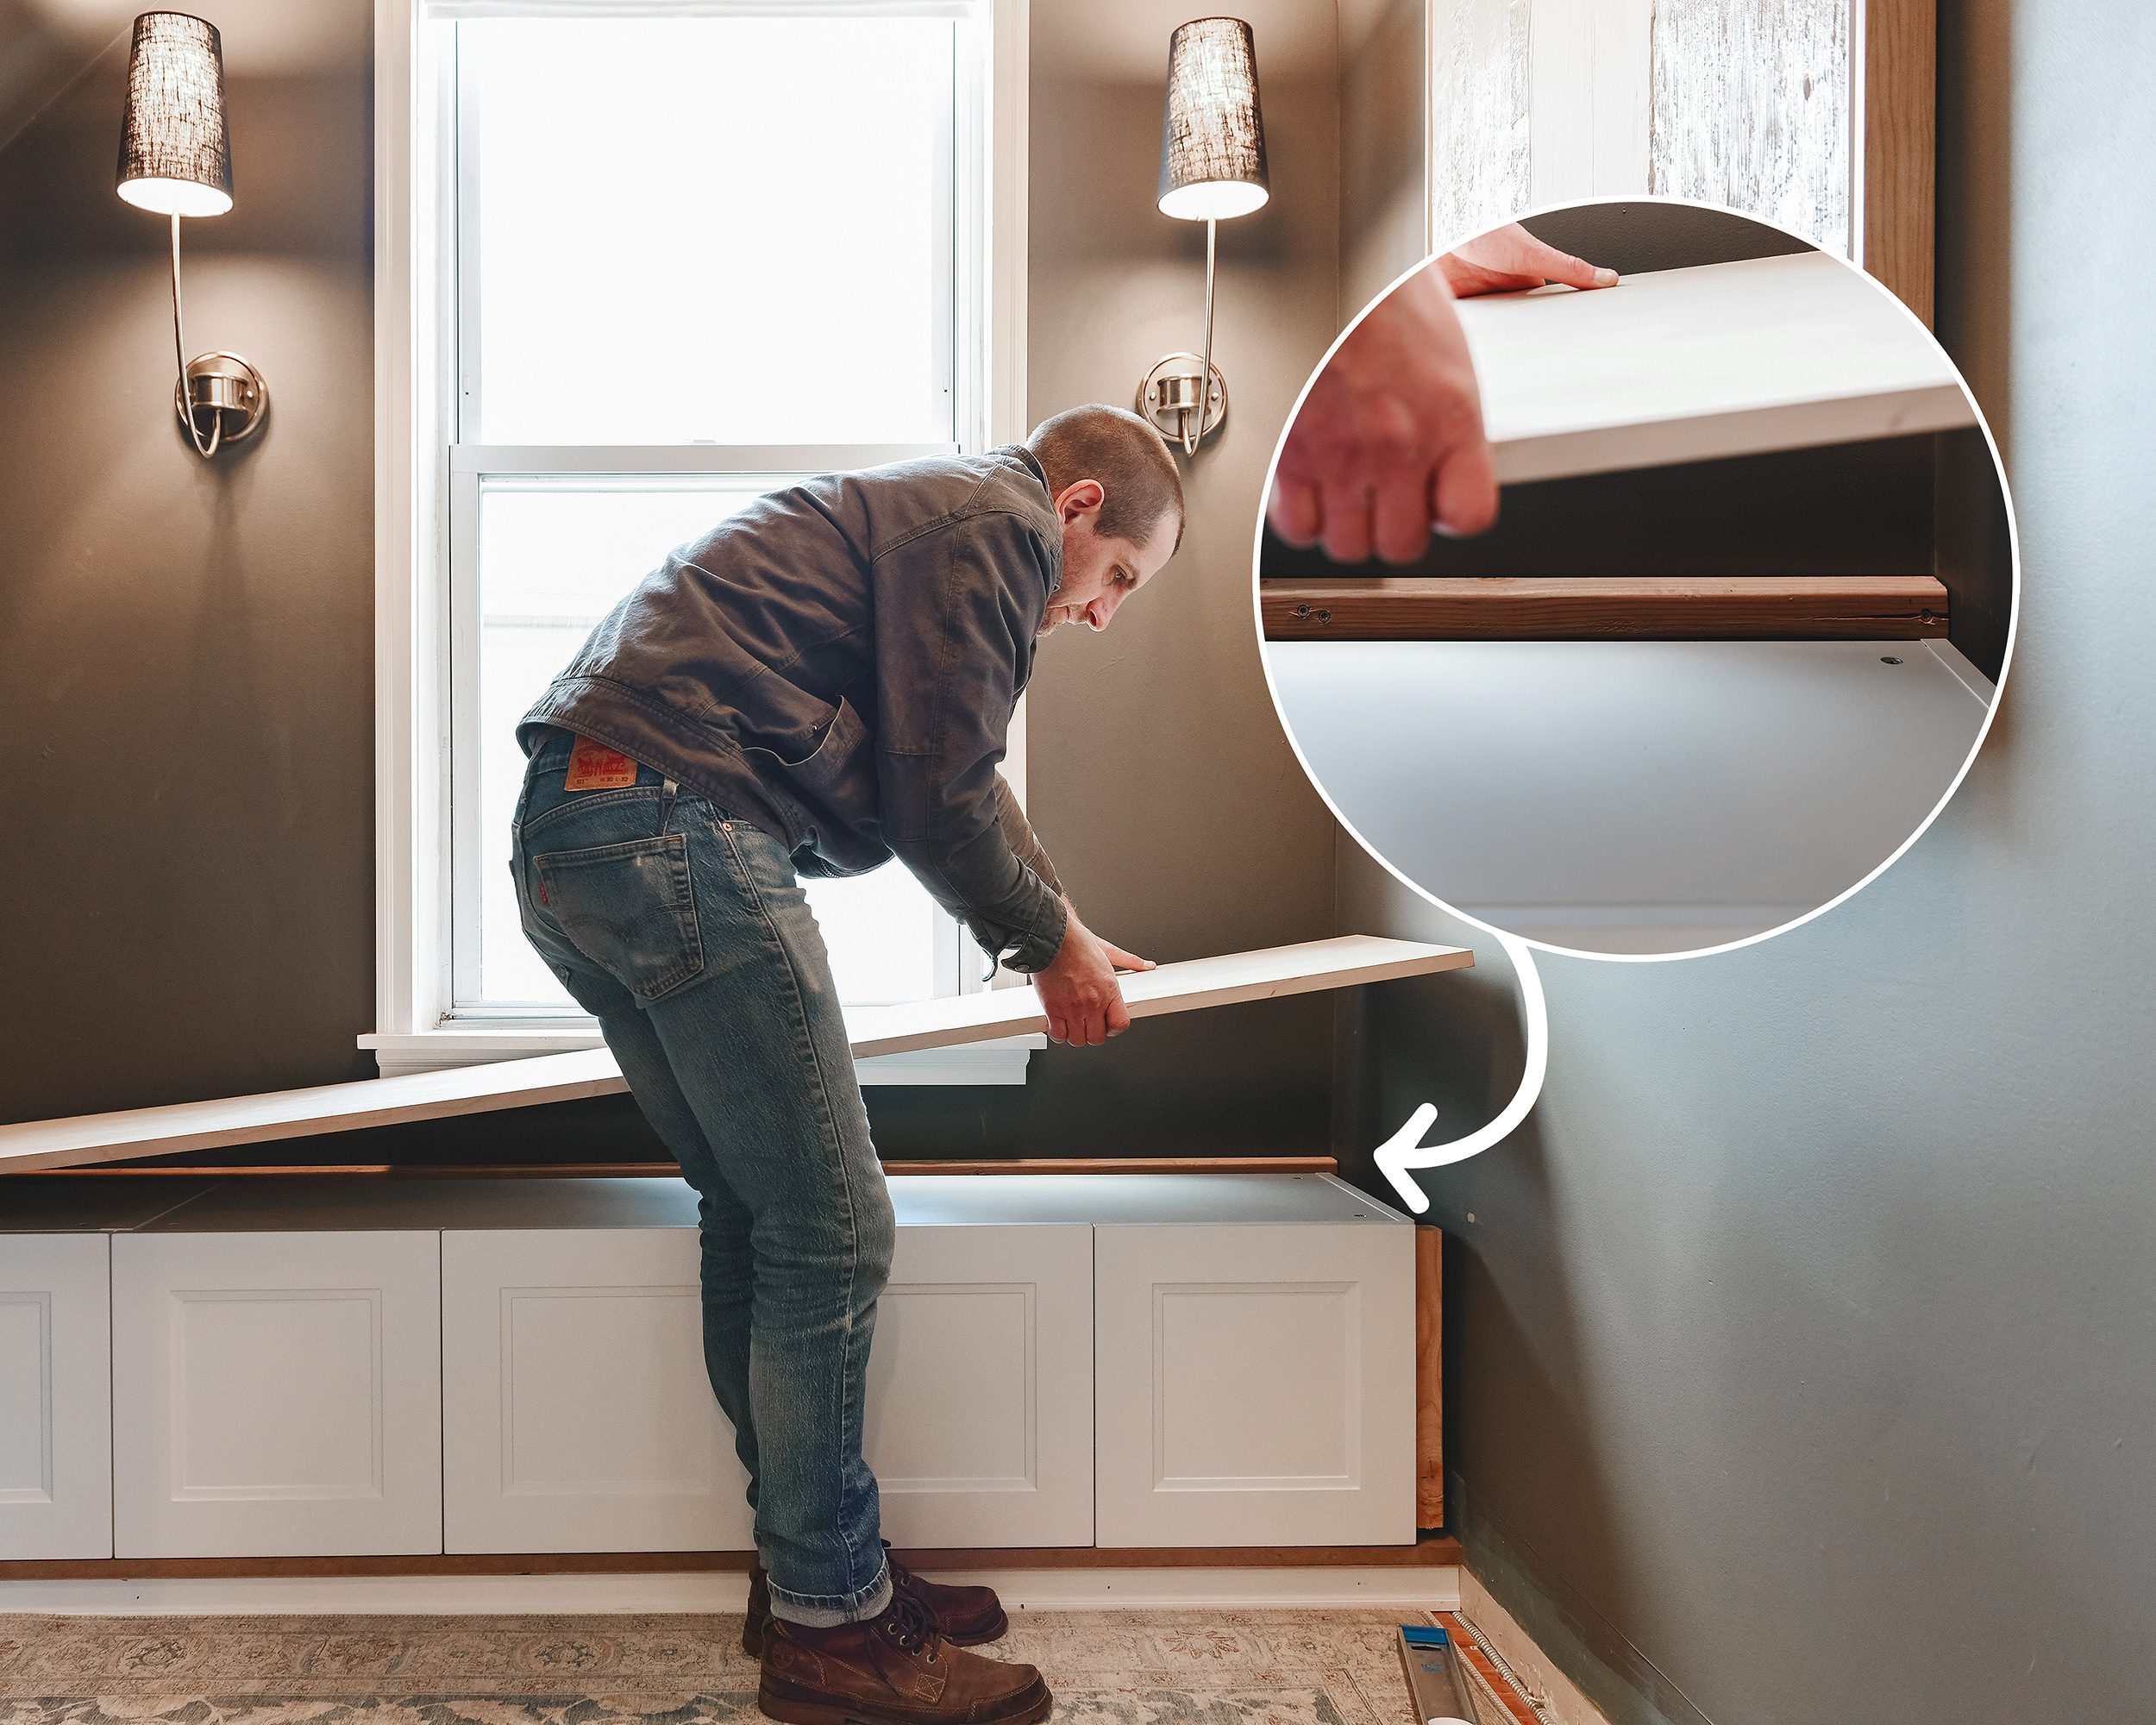
The MDF panel was then secured to the wall support and the cabinet tops using the nailer and 1 1/4″ nails.
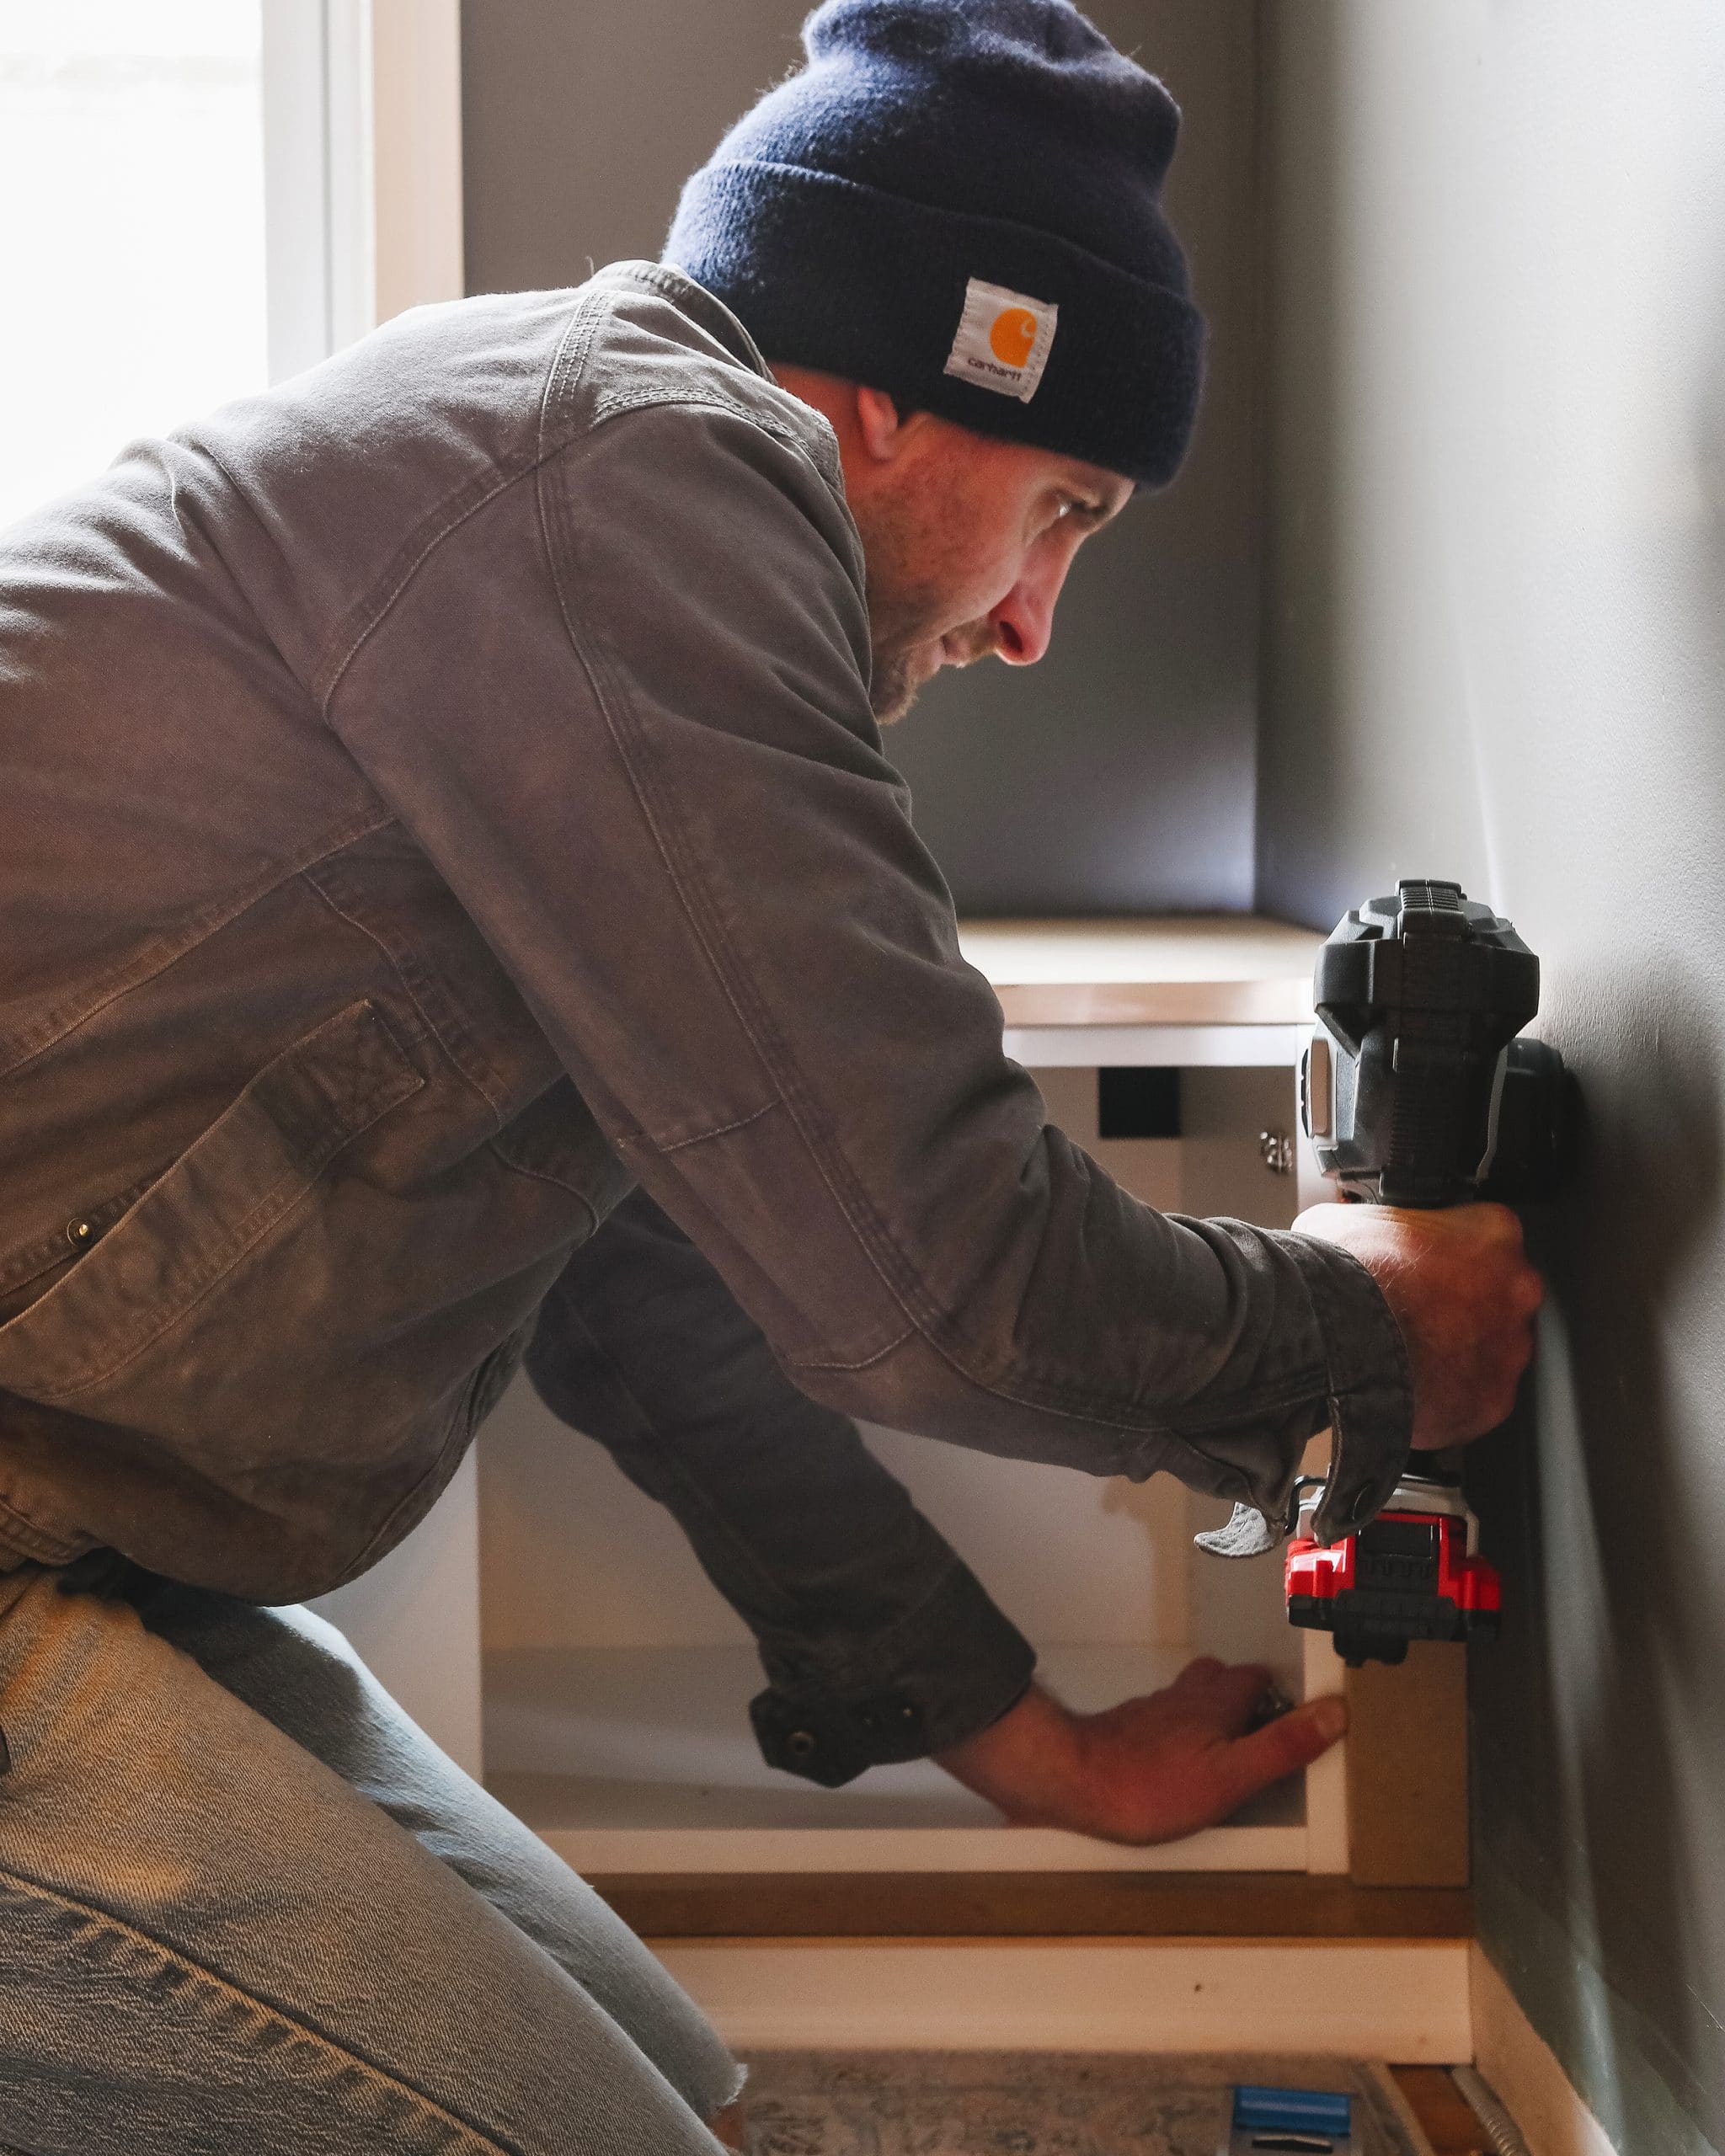
6| Attach Filler Panels
We’ve written pretty extensively about filler panels in the past, so we won’t belabor the point here, but adding them is pretty straightforward. The key is to attach a vertical support flush with the front of each cabinet using clamps and nails (doing this before the cabinets are installed makes things much easier), then rip filler strips down to the appropriate width and nail them into place! Adding these panels finishes off the inset look that we were working toward.
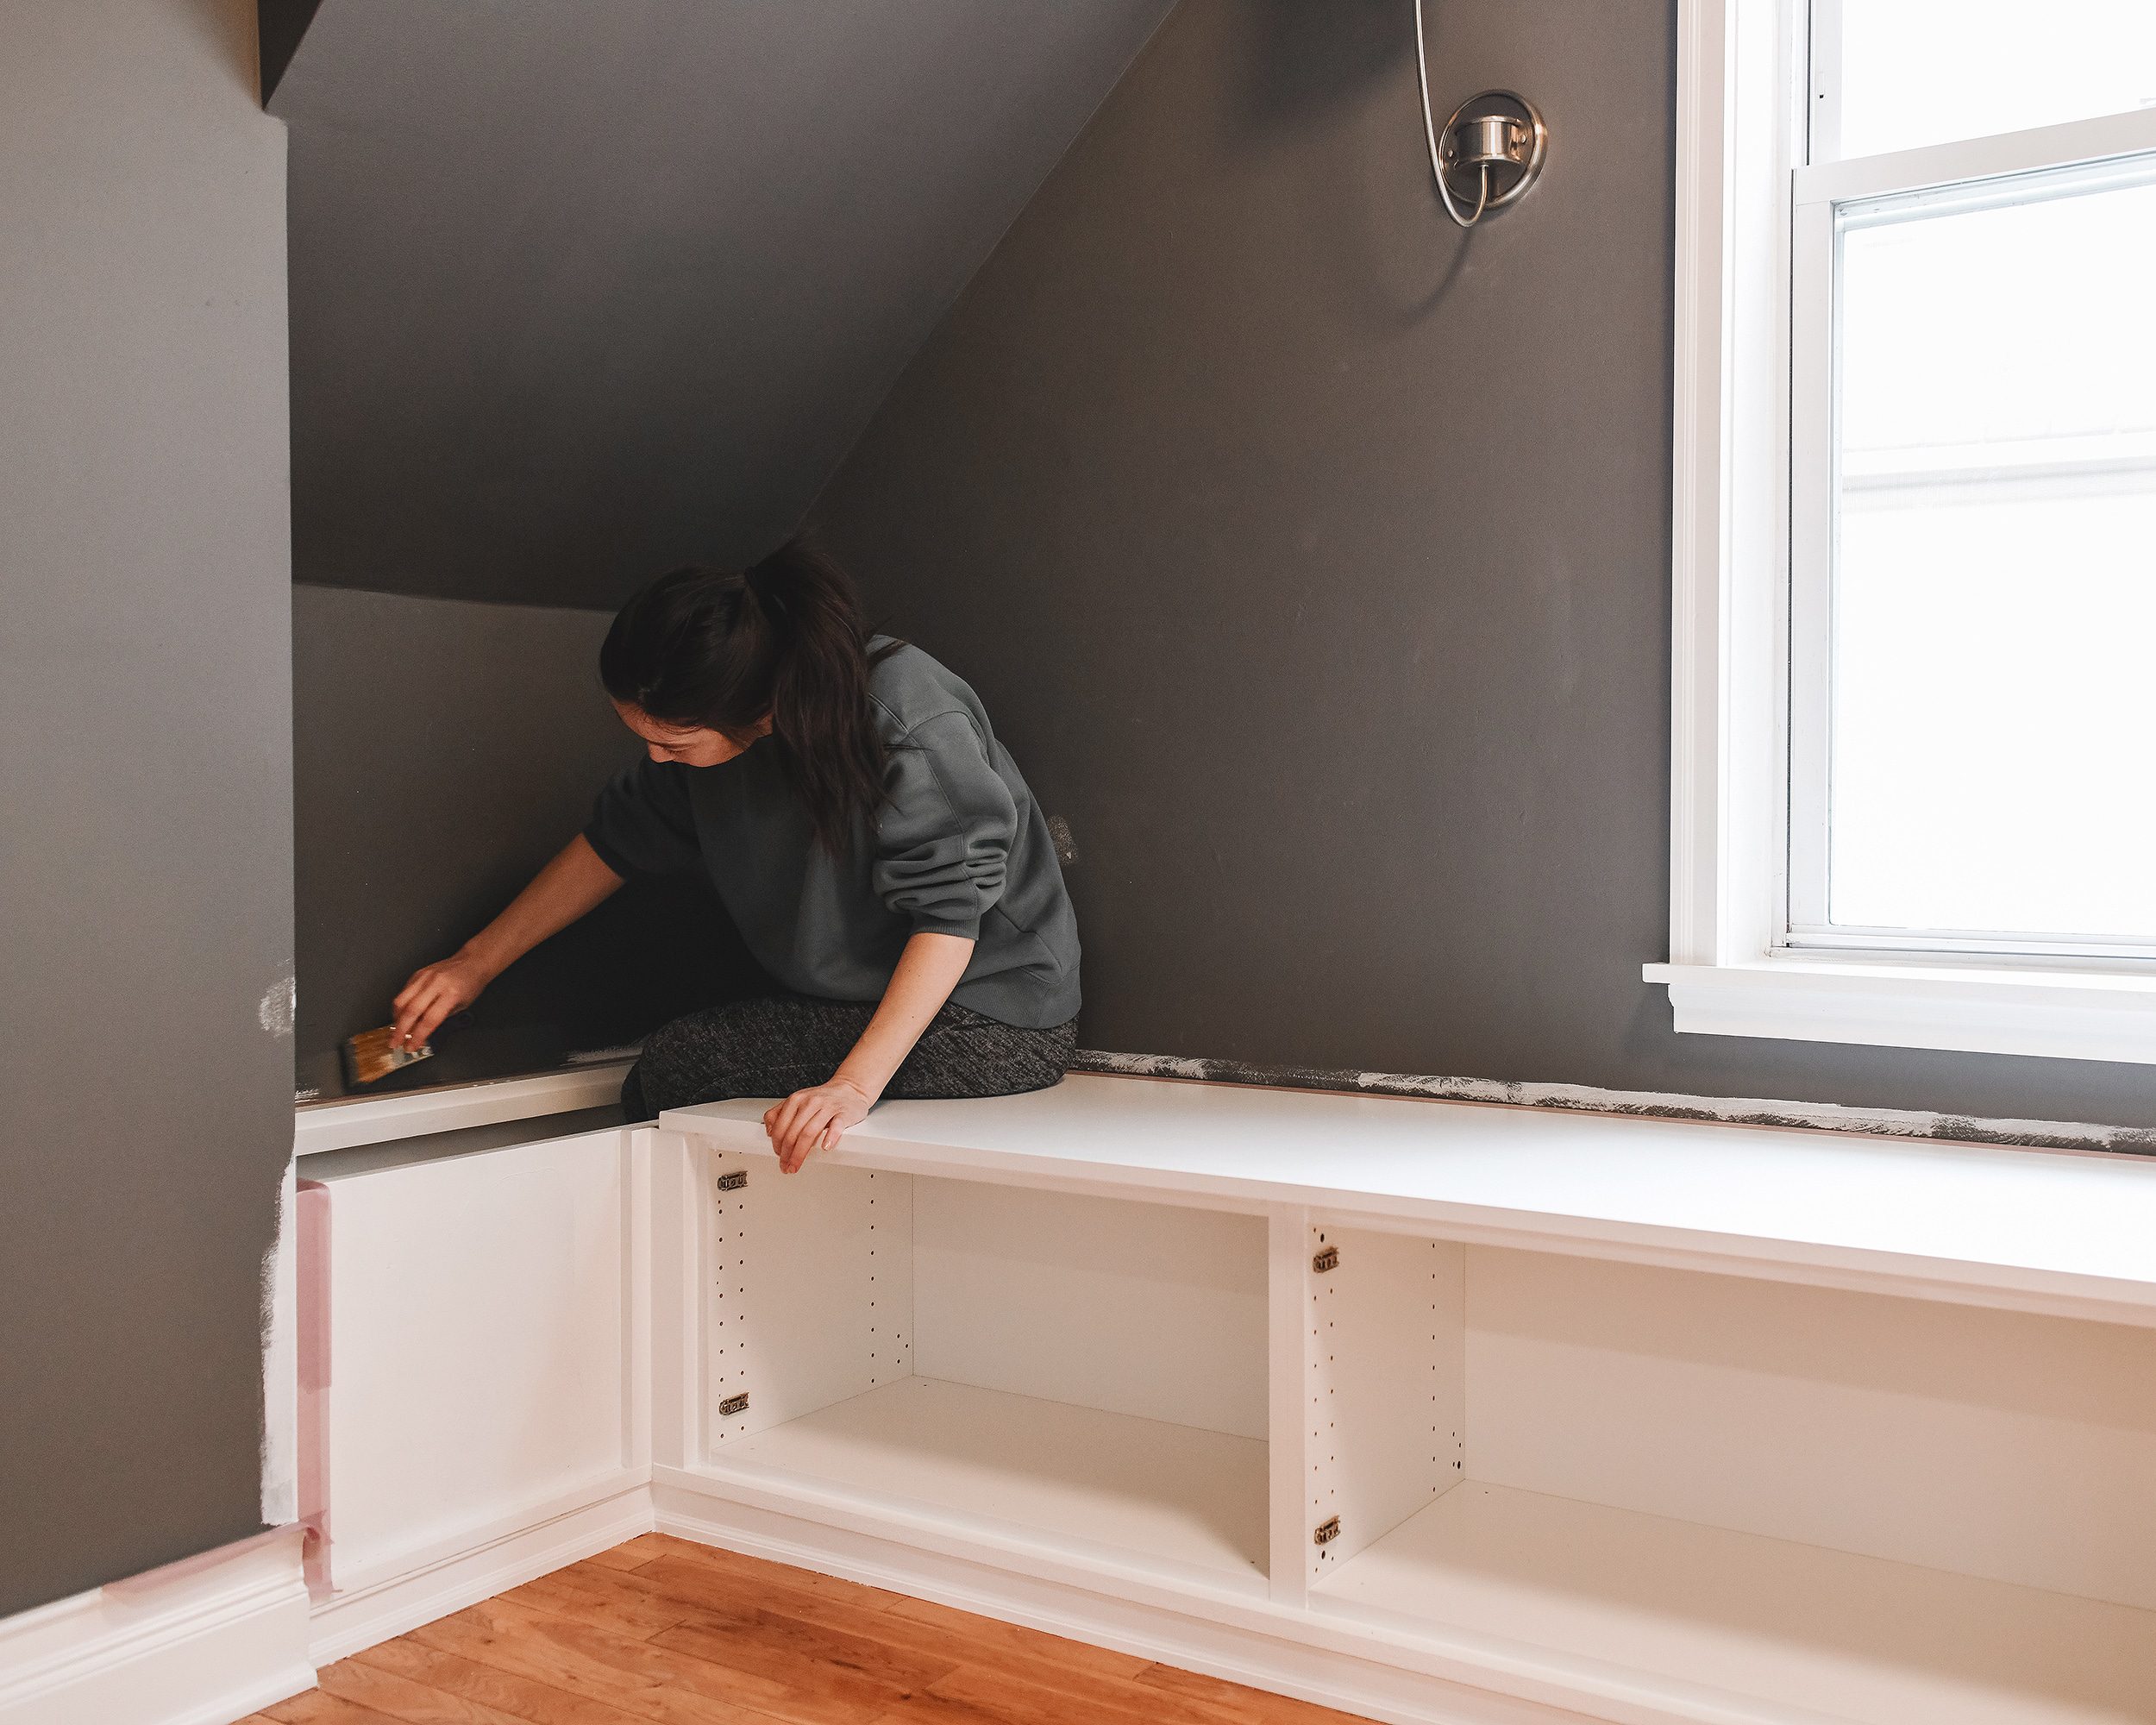
7| Finish it Up! (Spackle, Caulk, Paint)
In order to make finishing work as straightforward as possible, we removed the cabinet doors and the toy box lid. While I spackled nail holes, Kim got to work caulking seams and joints using her (totally not) patented method. After letting everything dry overnight, we sanded the spackle and got to painting. Two to three coats of paint happened over the course of a day, then we reassembled everything and gave the doors a final adjustment! For reference, we painted with Behr Ultra Pure White in a semi-gloss finish to match the trim throughout the rest of the house. It matches the IKEA cabinets perfectly!
Note: Our favorite painting tips are outlined here!
After final painting was complete, we also attached a 7th (false) door panel to the front of the open box (below and to the left of Kim’s left hand above). This provided an extra detail that makes the entire built-in feel cohesive and finished, even though it’s not a functional door!
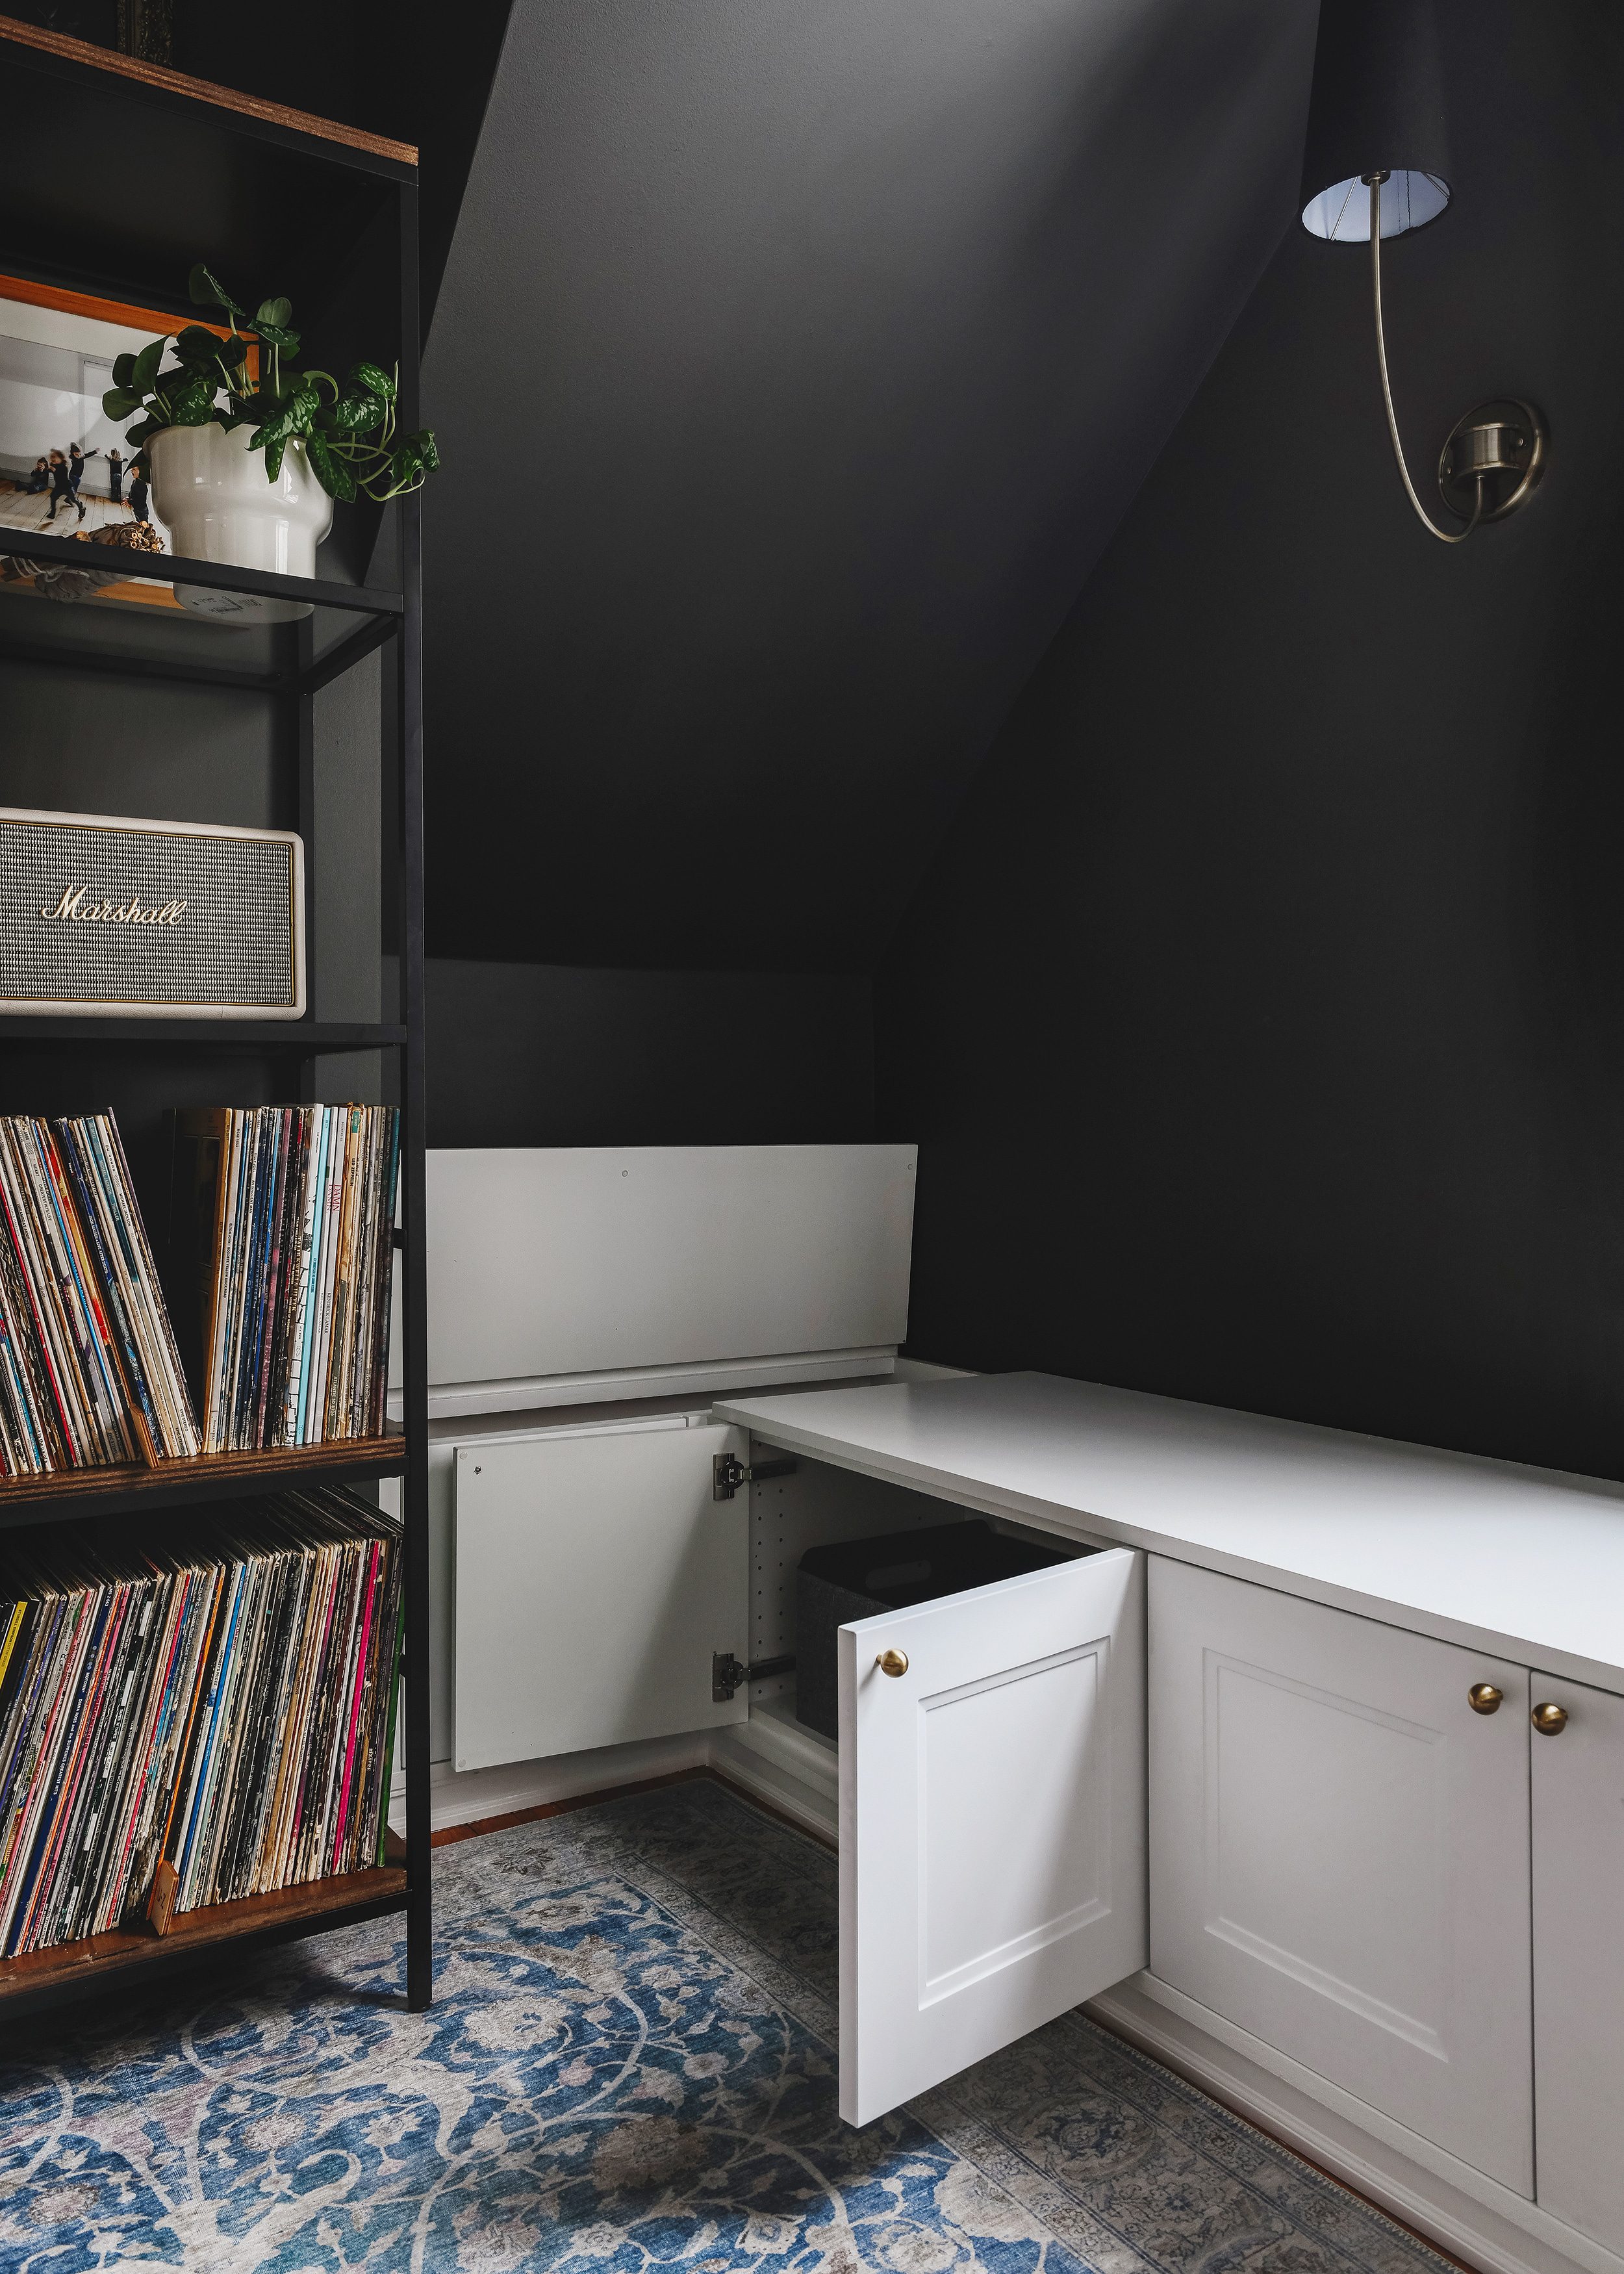
8| Install Soft Close Hinge + Door Hardware
One slight disadvantage of using MDF is that it is heavy. The flip up lid on the toy box could have easily squished some tiny fingers, so Kim researched the heck out of soft close options and we landed on this one here.
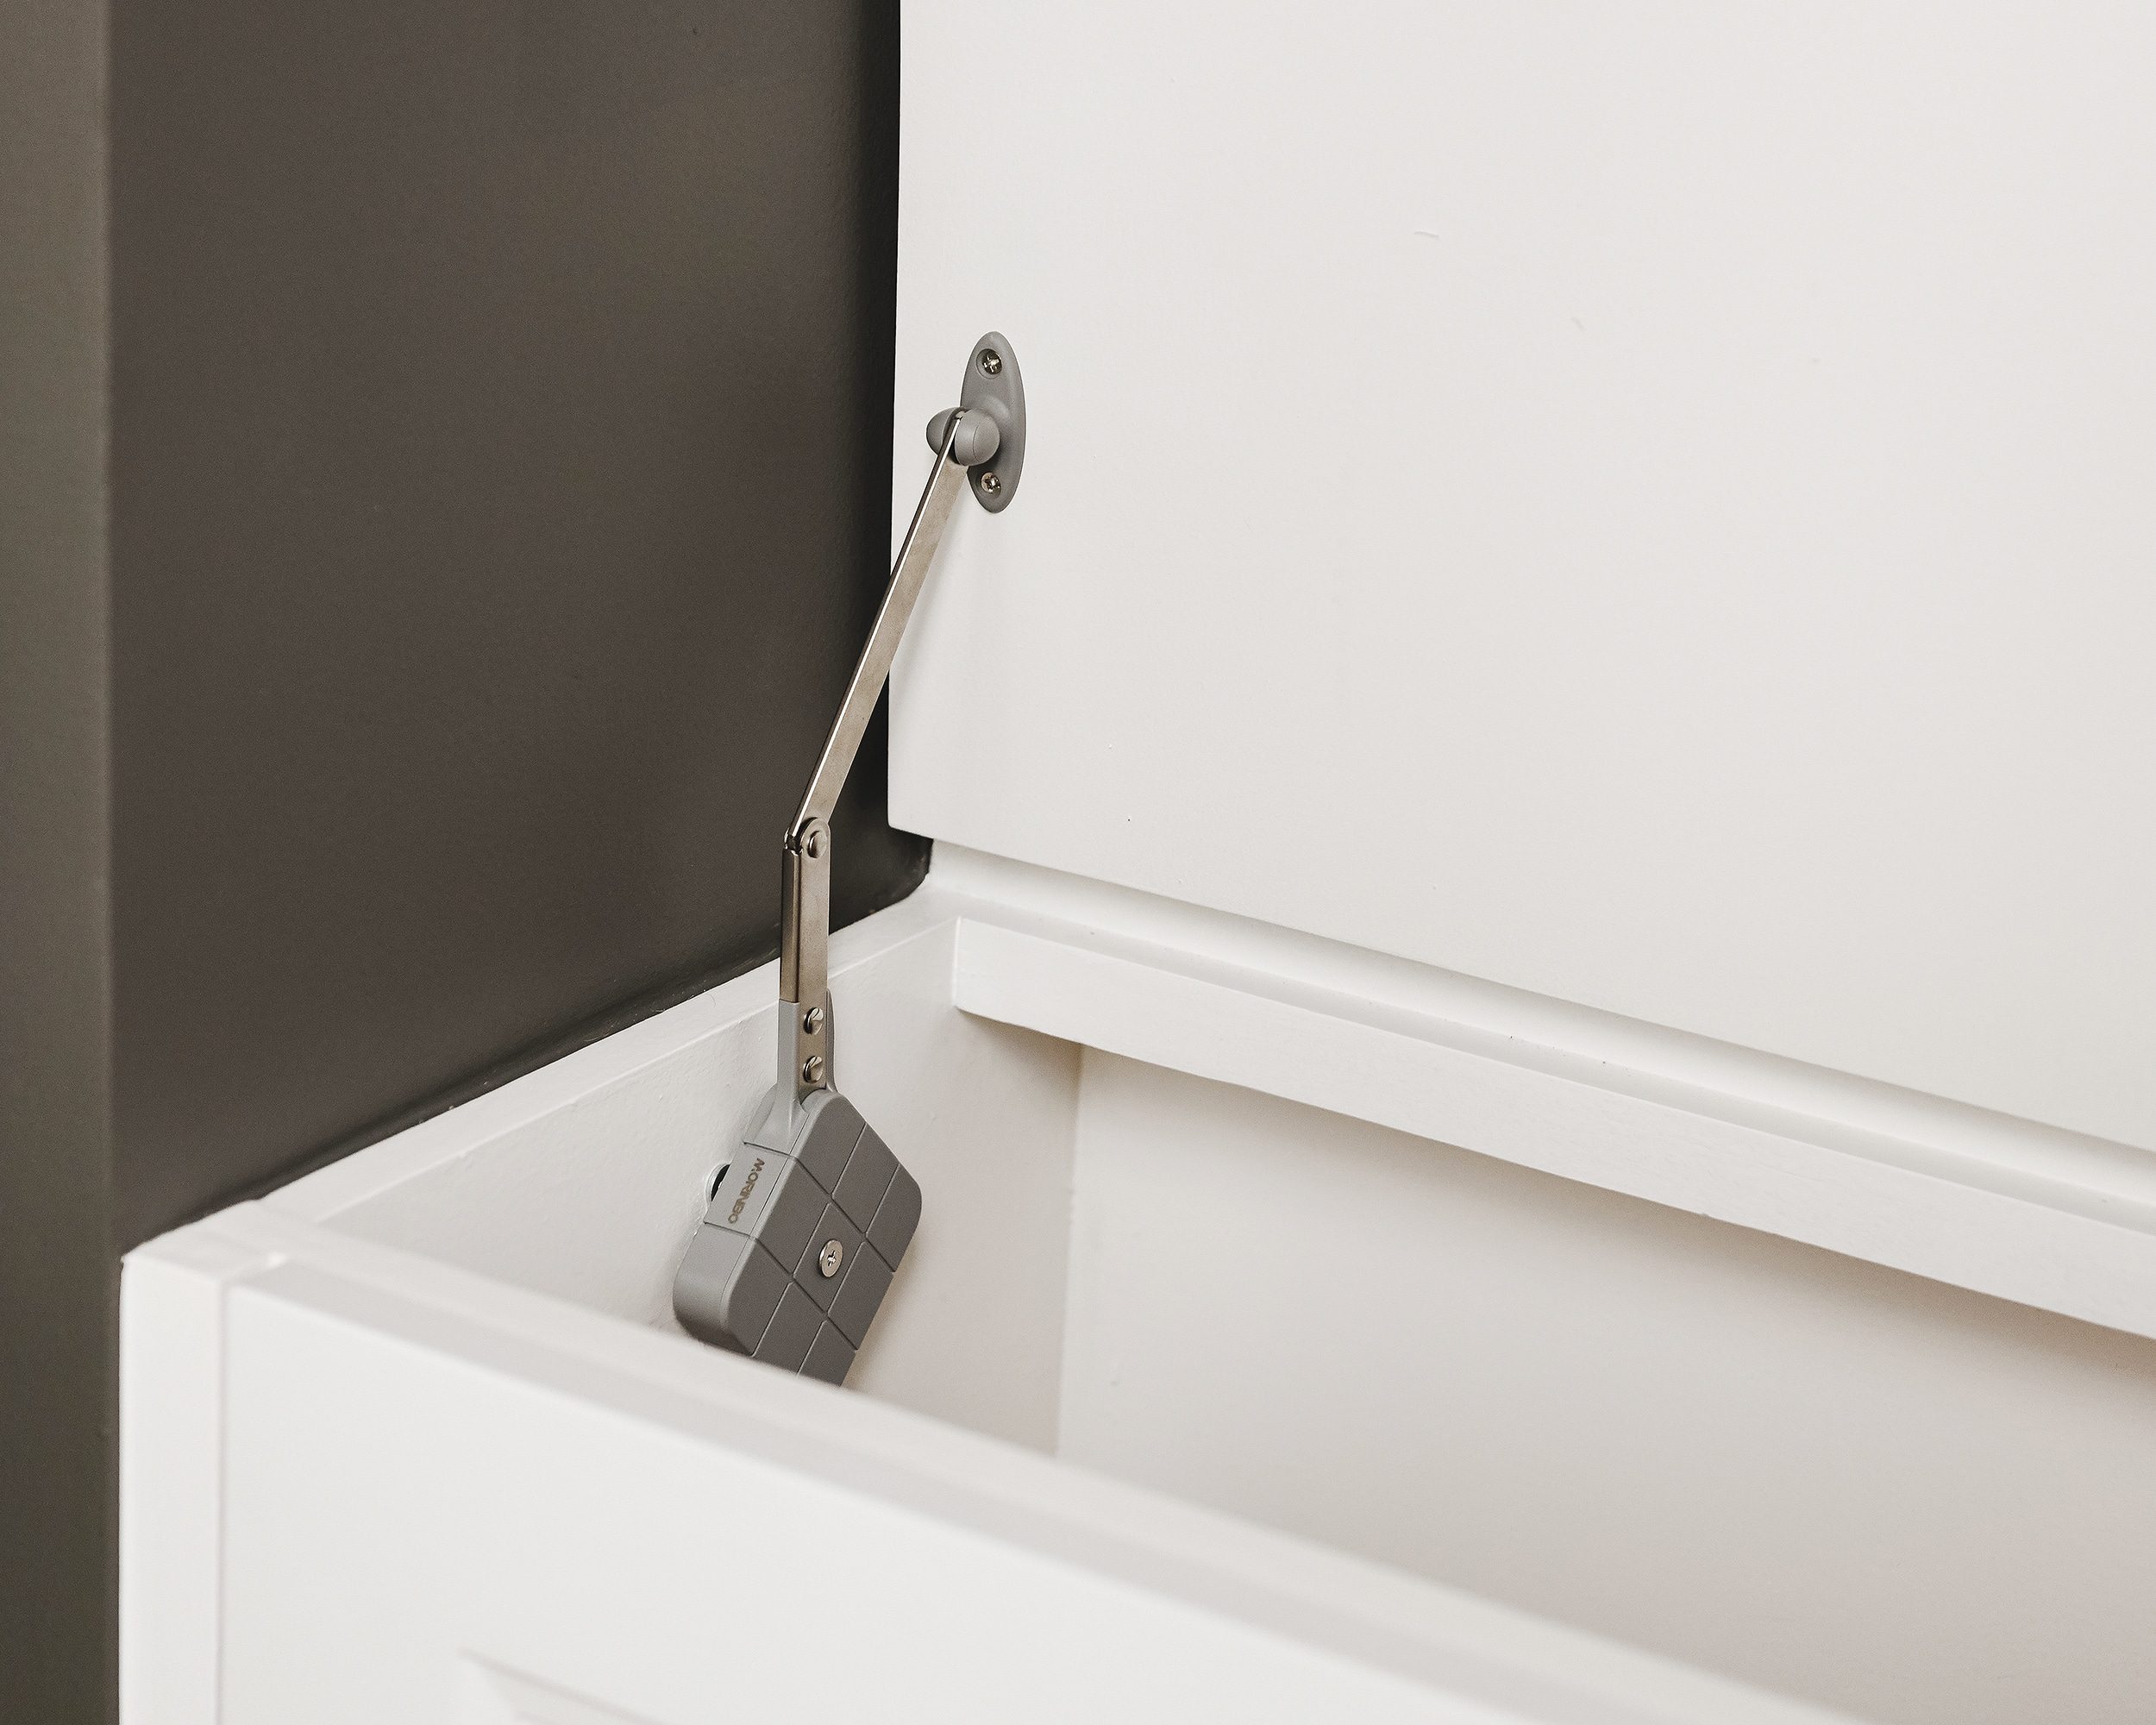
Because the hinges we installed earlier take care of allowing the lid to open and close, we only used/needed one soft close hinge on the left side. It also acts as a prop to keep the lid fully open for easy access. It turned out to be the perfect solution!
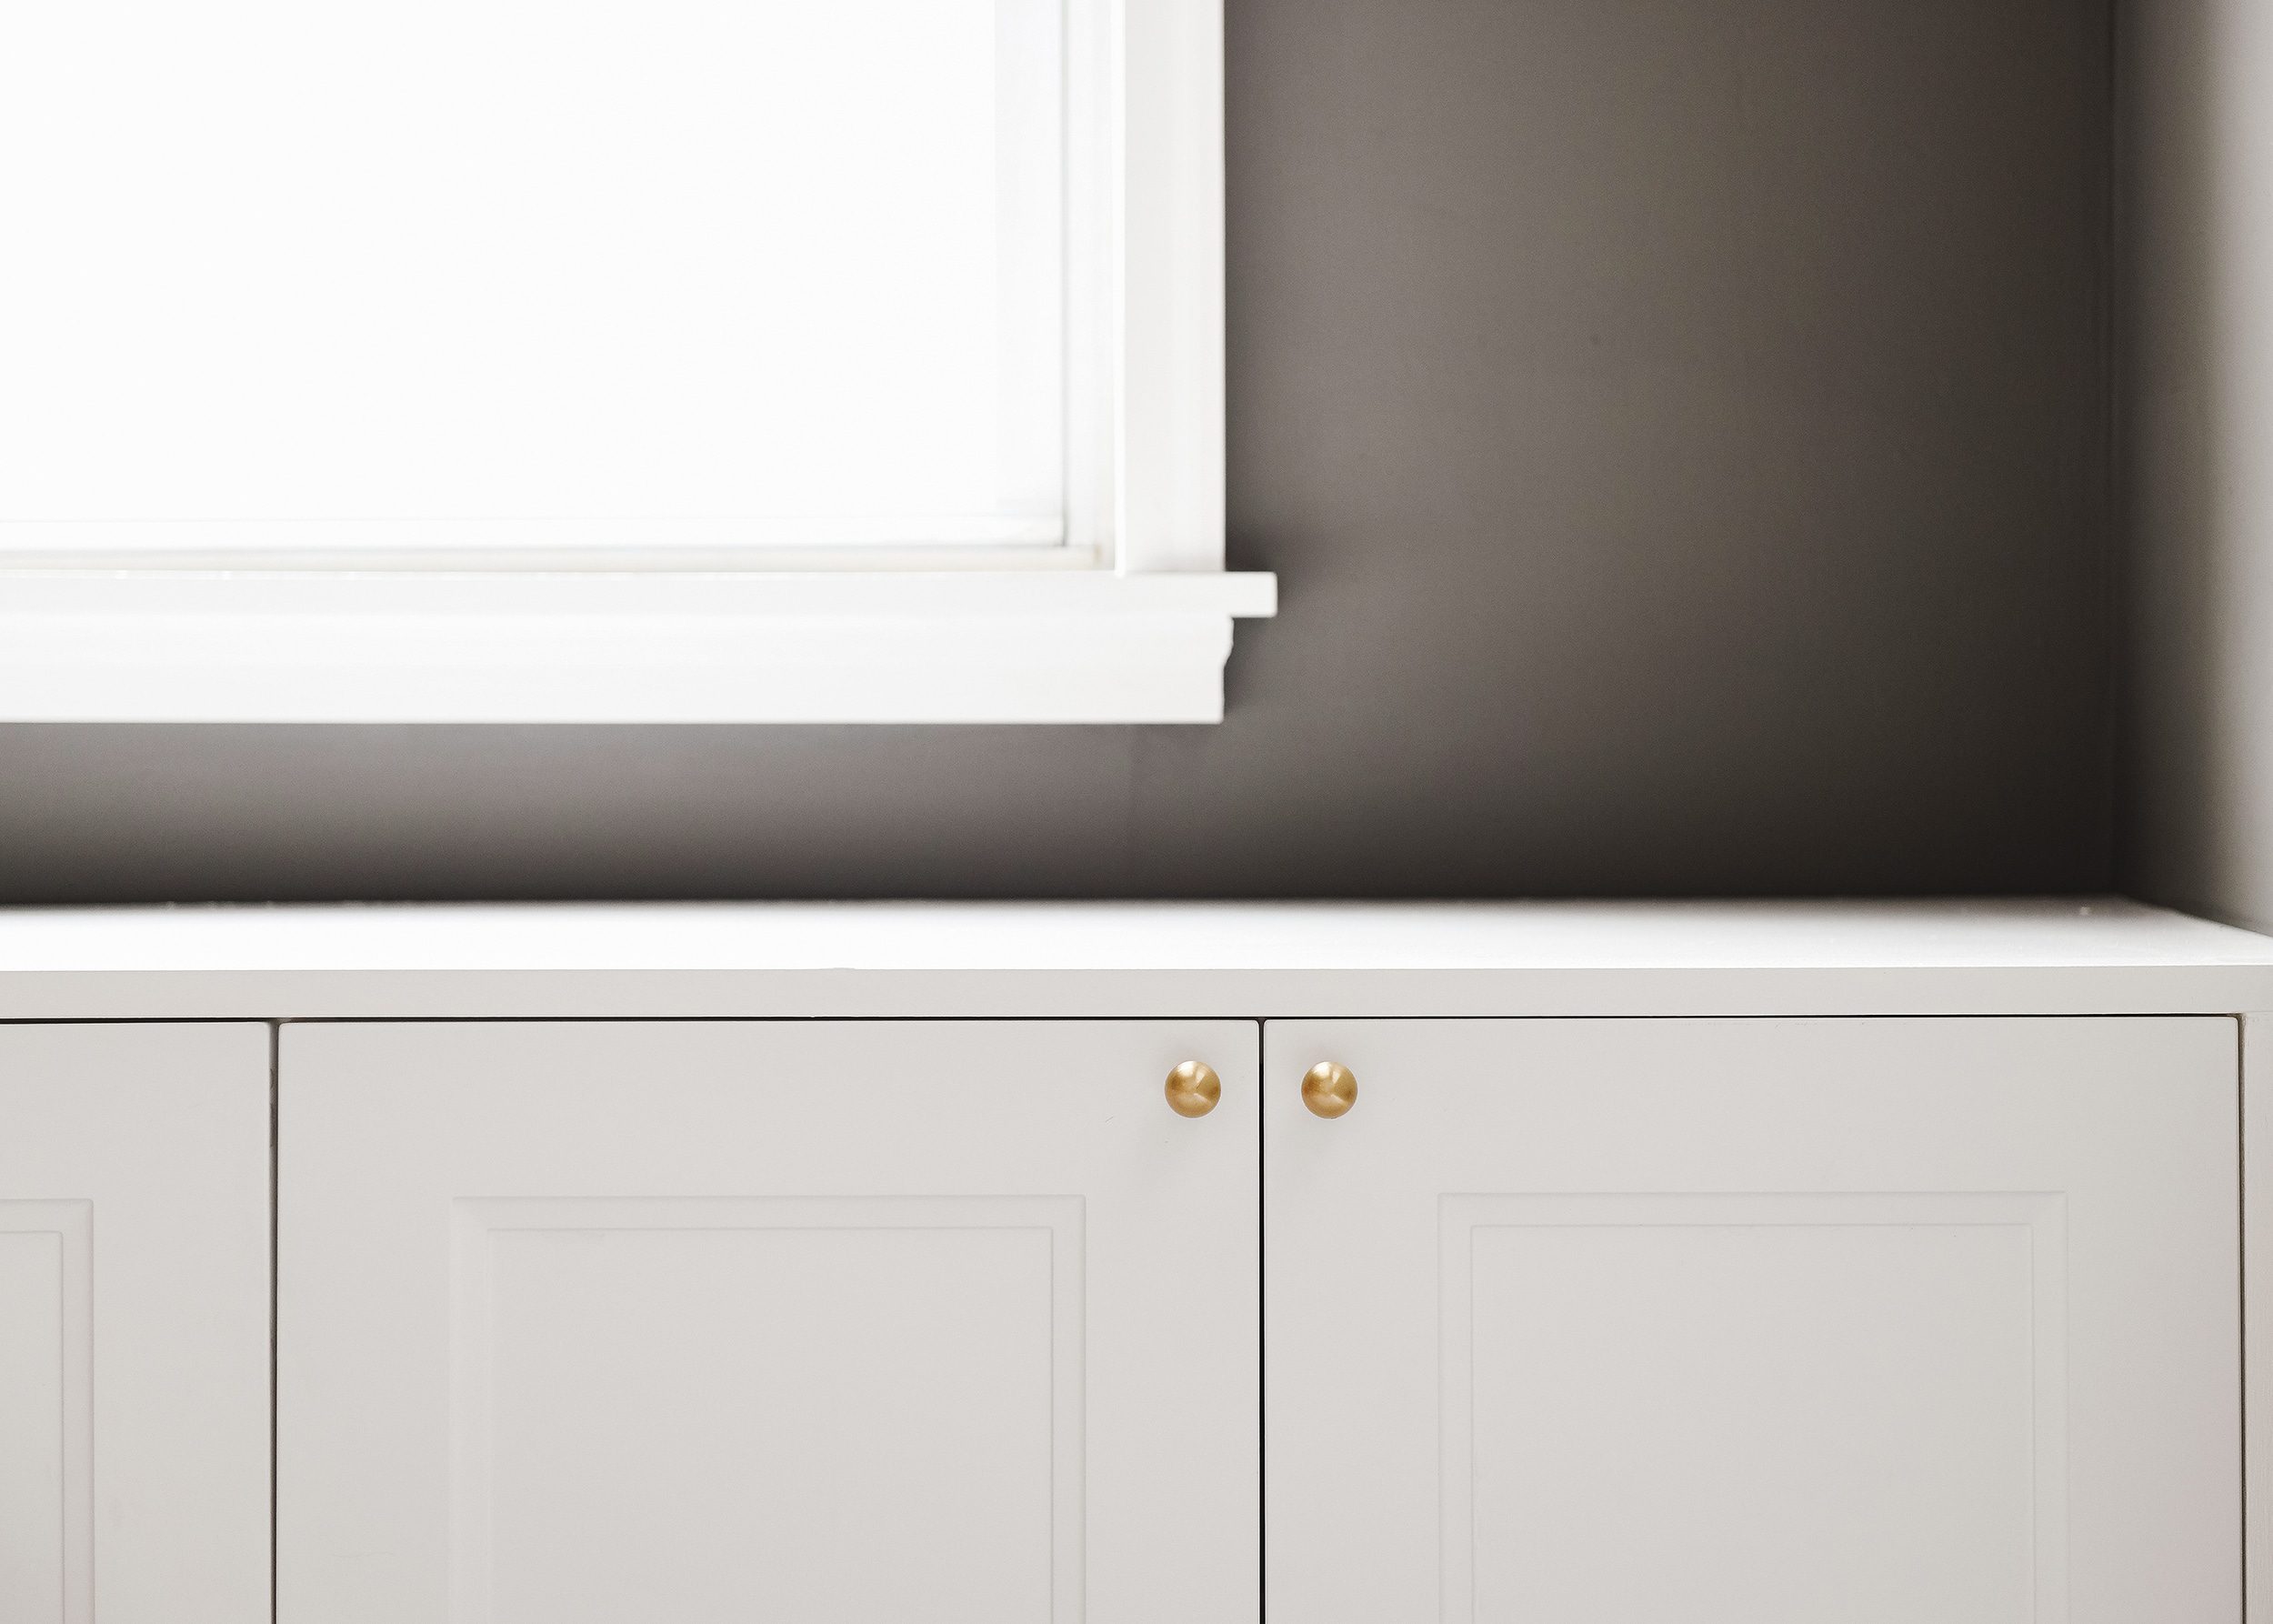
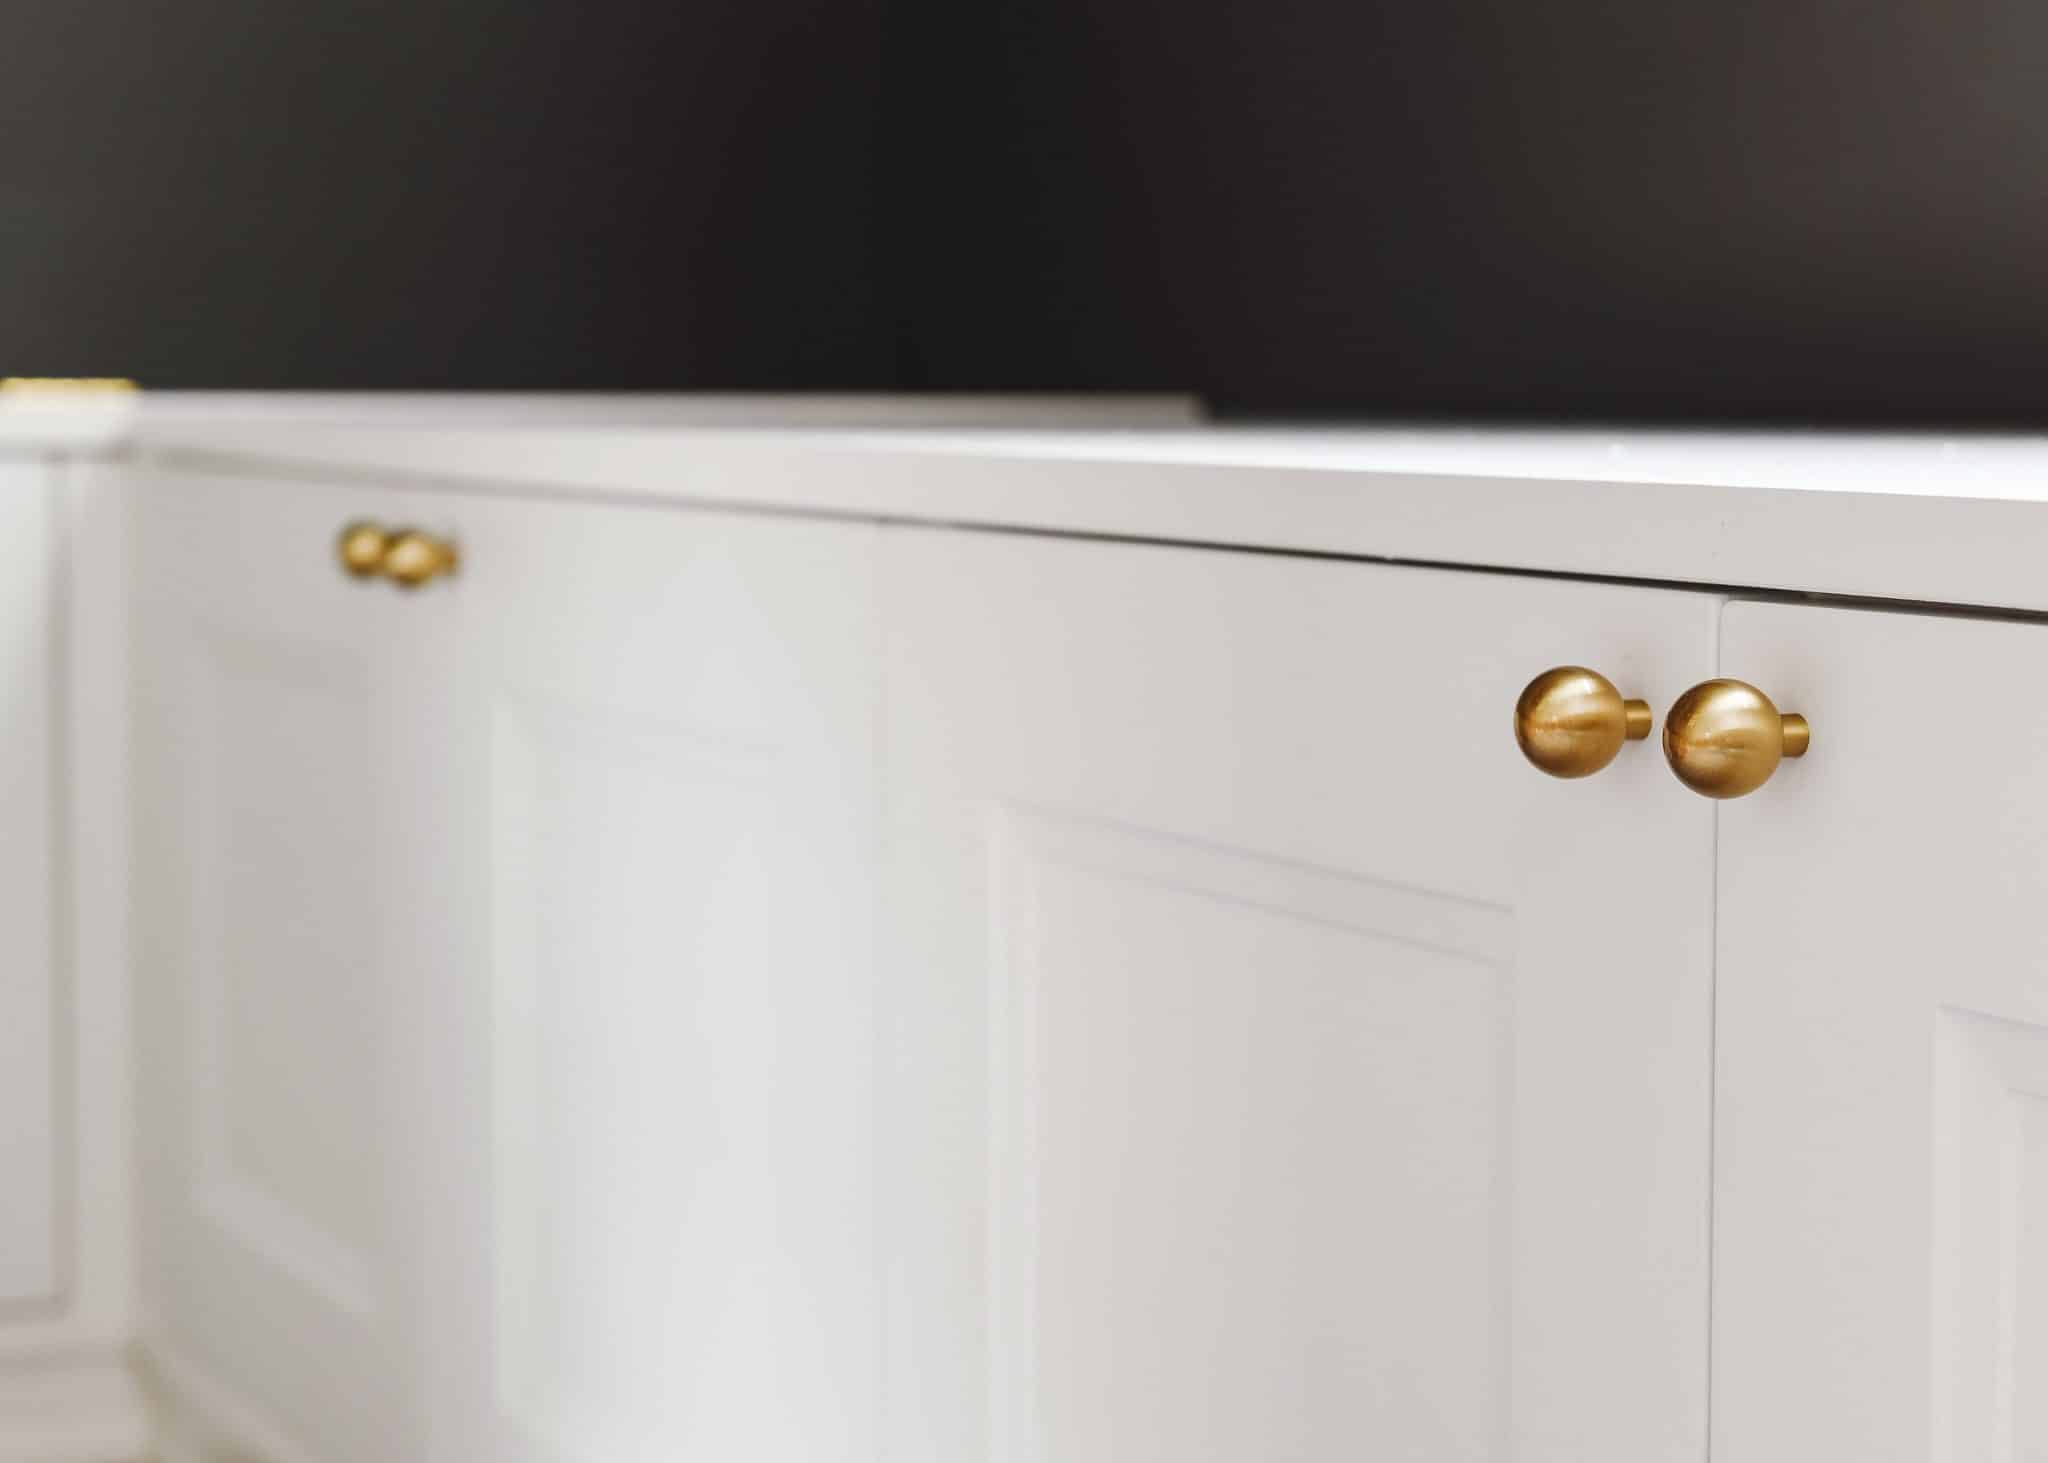
The final step in the process was to install the cabinet door hardware. We used these knobs and this template (it’s worth every penny, promise!) and followed our own guidance to keep things perfectly aligned.
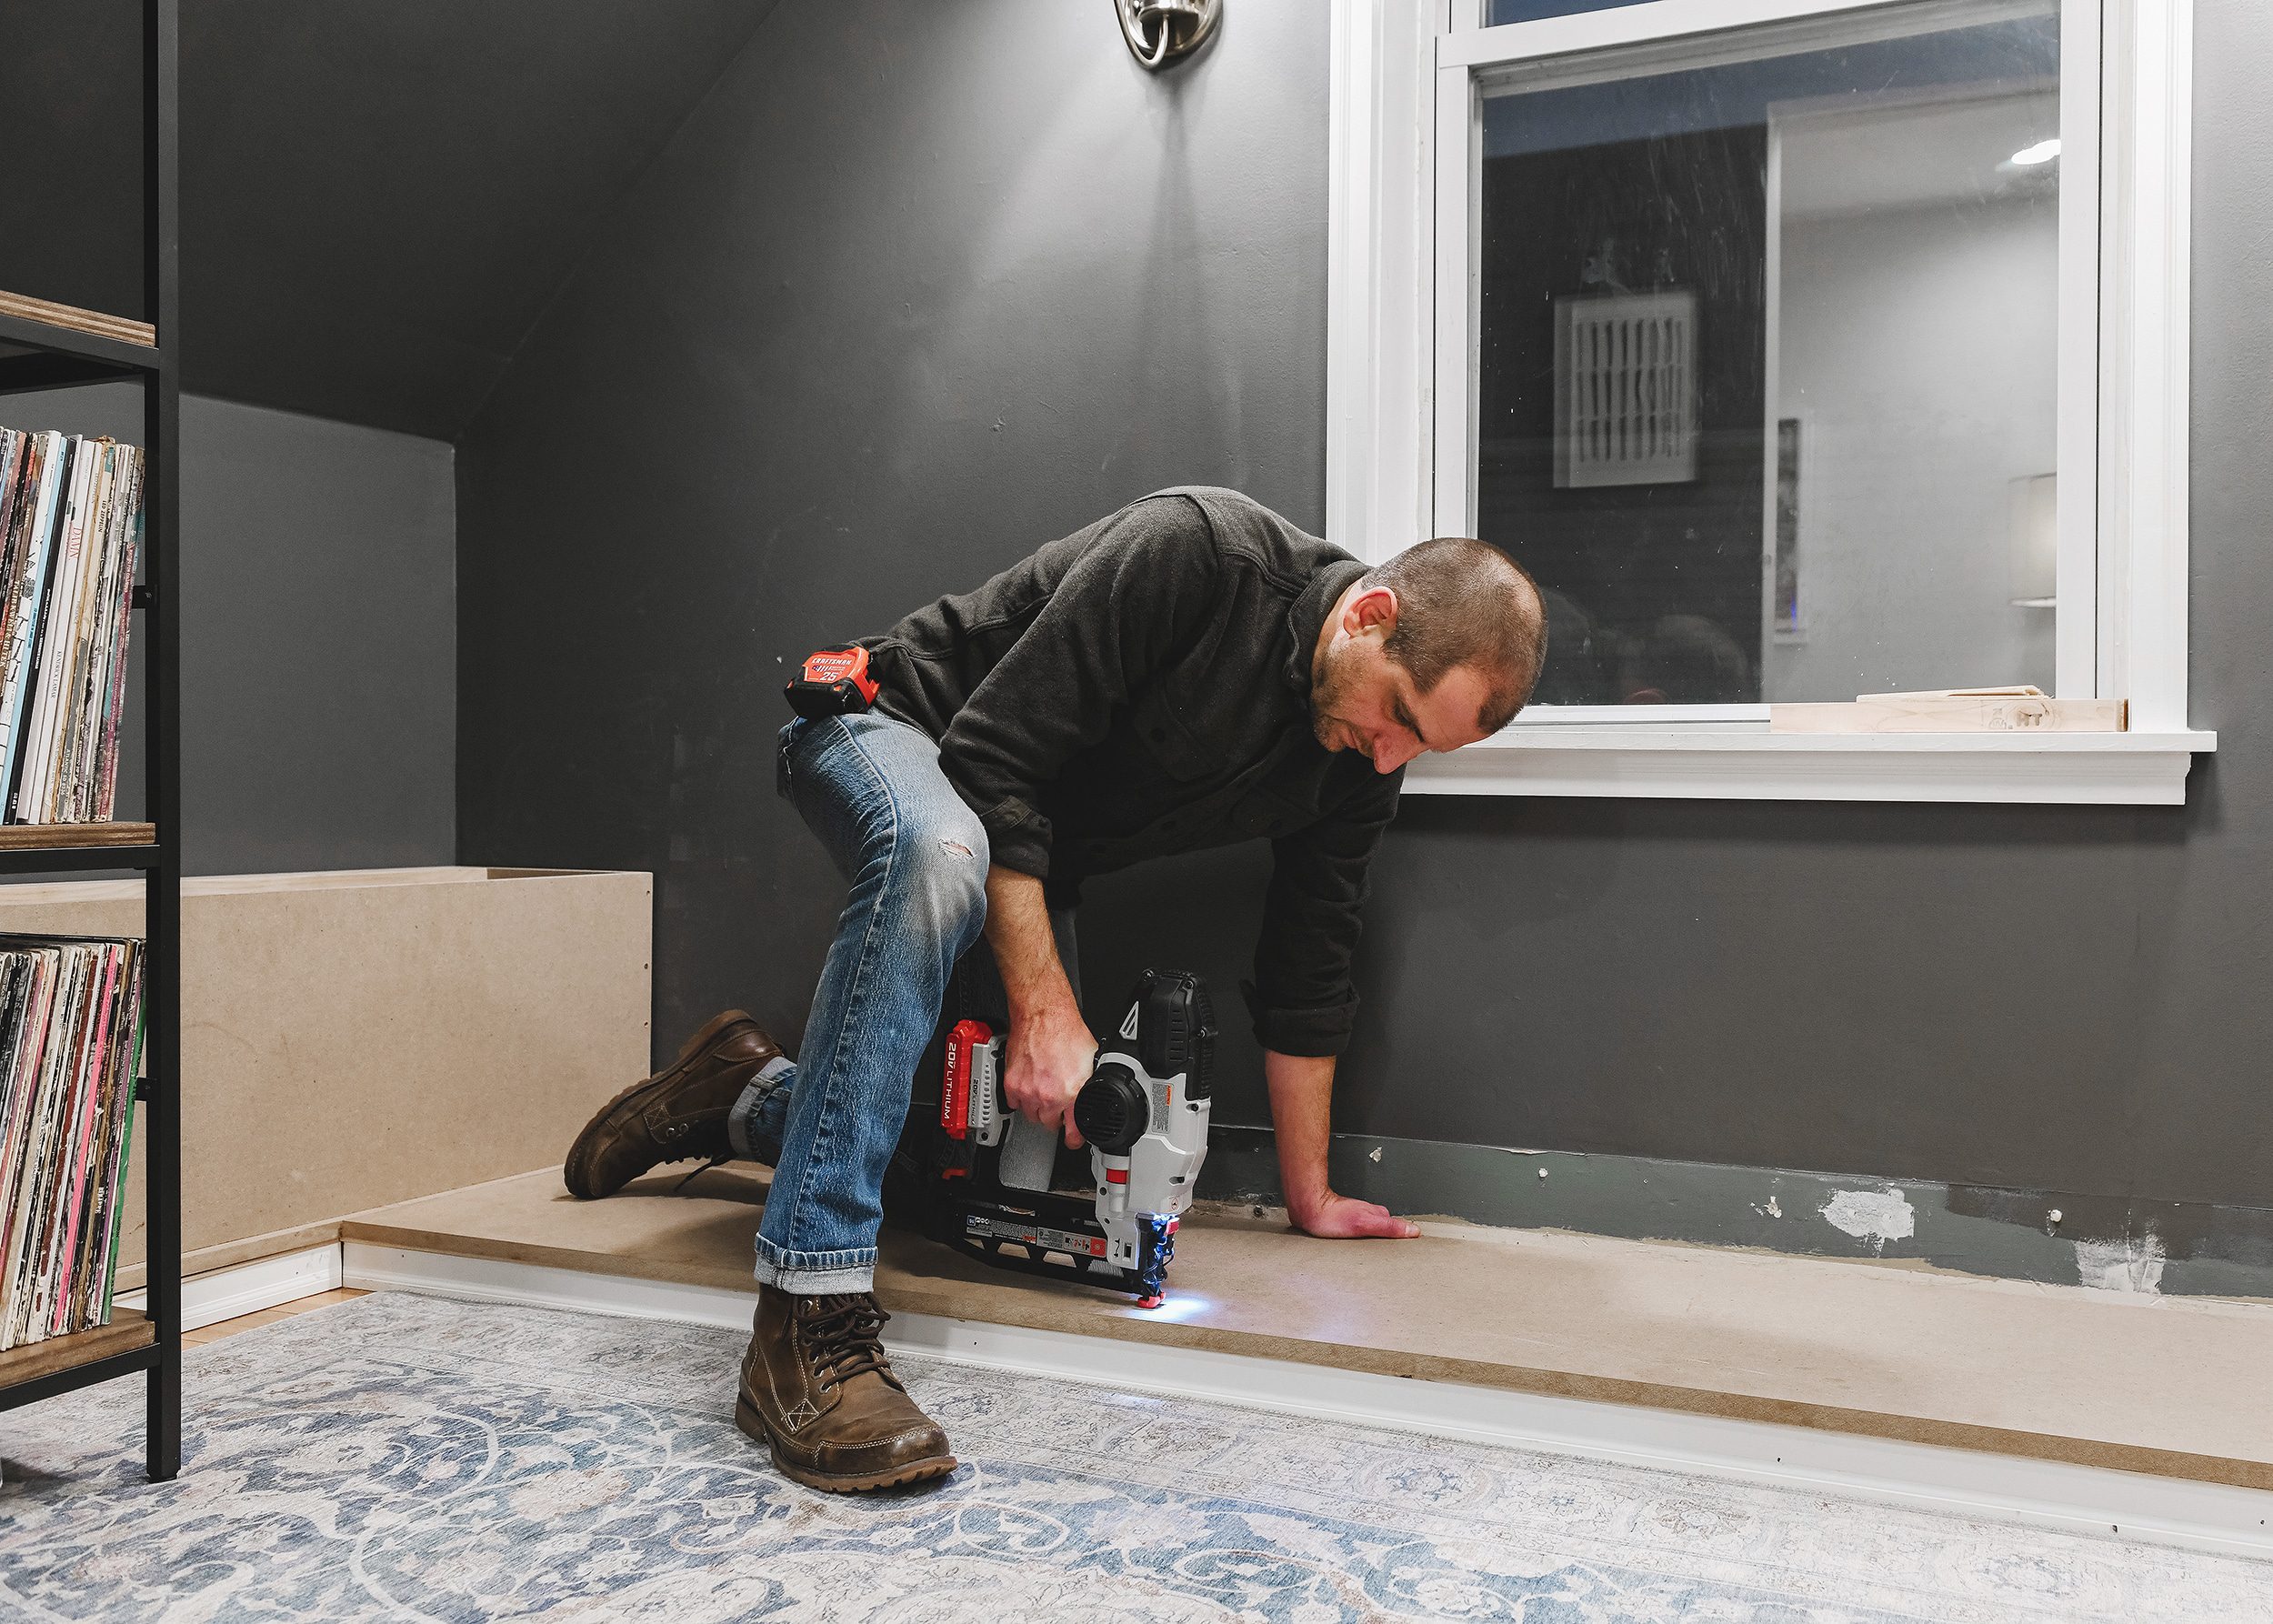
Hopefully, the next snug update is the installation of our custom Catfish-spot-colored cushions! If custom cushions aren’t in the budget, it would be easy to plan for ‘off the shelf’ bench cushions, or DIY your own!
We’ll also be sharing every last detail of the completed project and the rest of the updates in the room once that cushion arrives. In the meantime, we’d love to see your versions of this project, so please remember to tag us @yellowbrickhome #YBHDIY when you create your own!


Question about load-bearing… I don’t see the max load for these Sektion cabinets on the Ikea website. I assume adding the MDF boards will help improve the structural integrity. Have you noticed/felt the need to add additional reinforcements to what you have done? We have a toddler too and I can imagine a lot of jumping on the bench with a couple of adults sitting on the unit.
We certainly can’t speak to the actual load bearing capacity of the cabinets, but we can say that this thing is STURDY! The MDF spans the entire run of cabinets and as you mentioned, adds a lot of strength to the unit. We have absolutely no concerns about the weight of normal use. Hope this helps!
Thanks Scott! That’s reassuring.
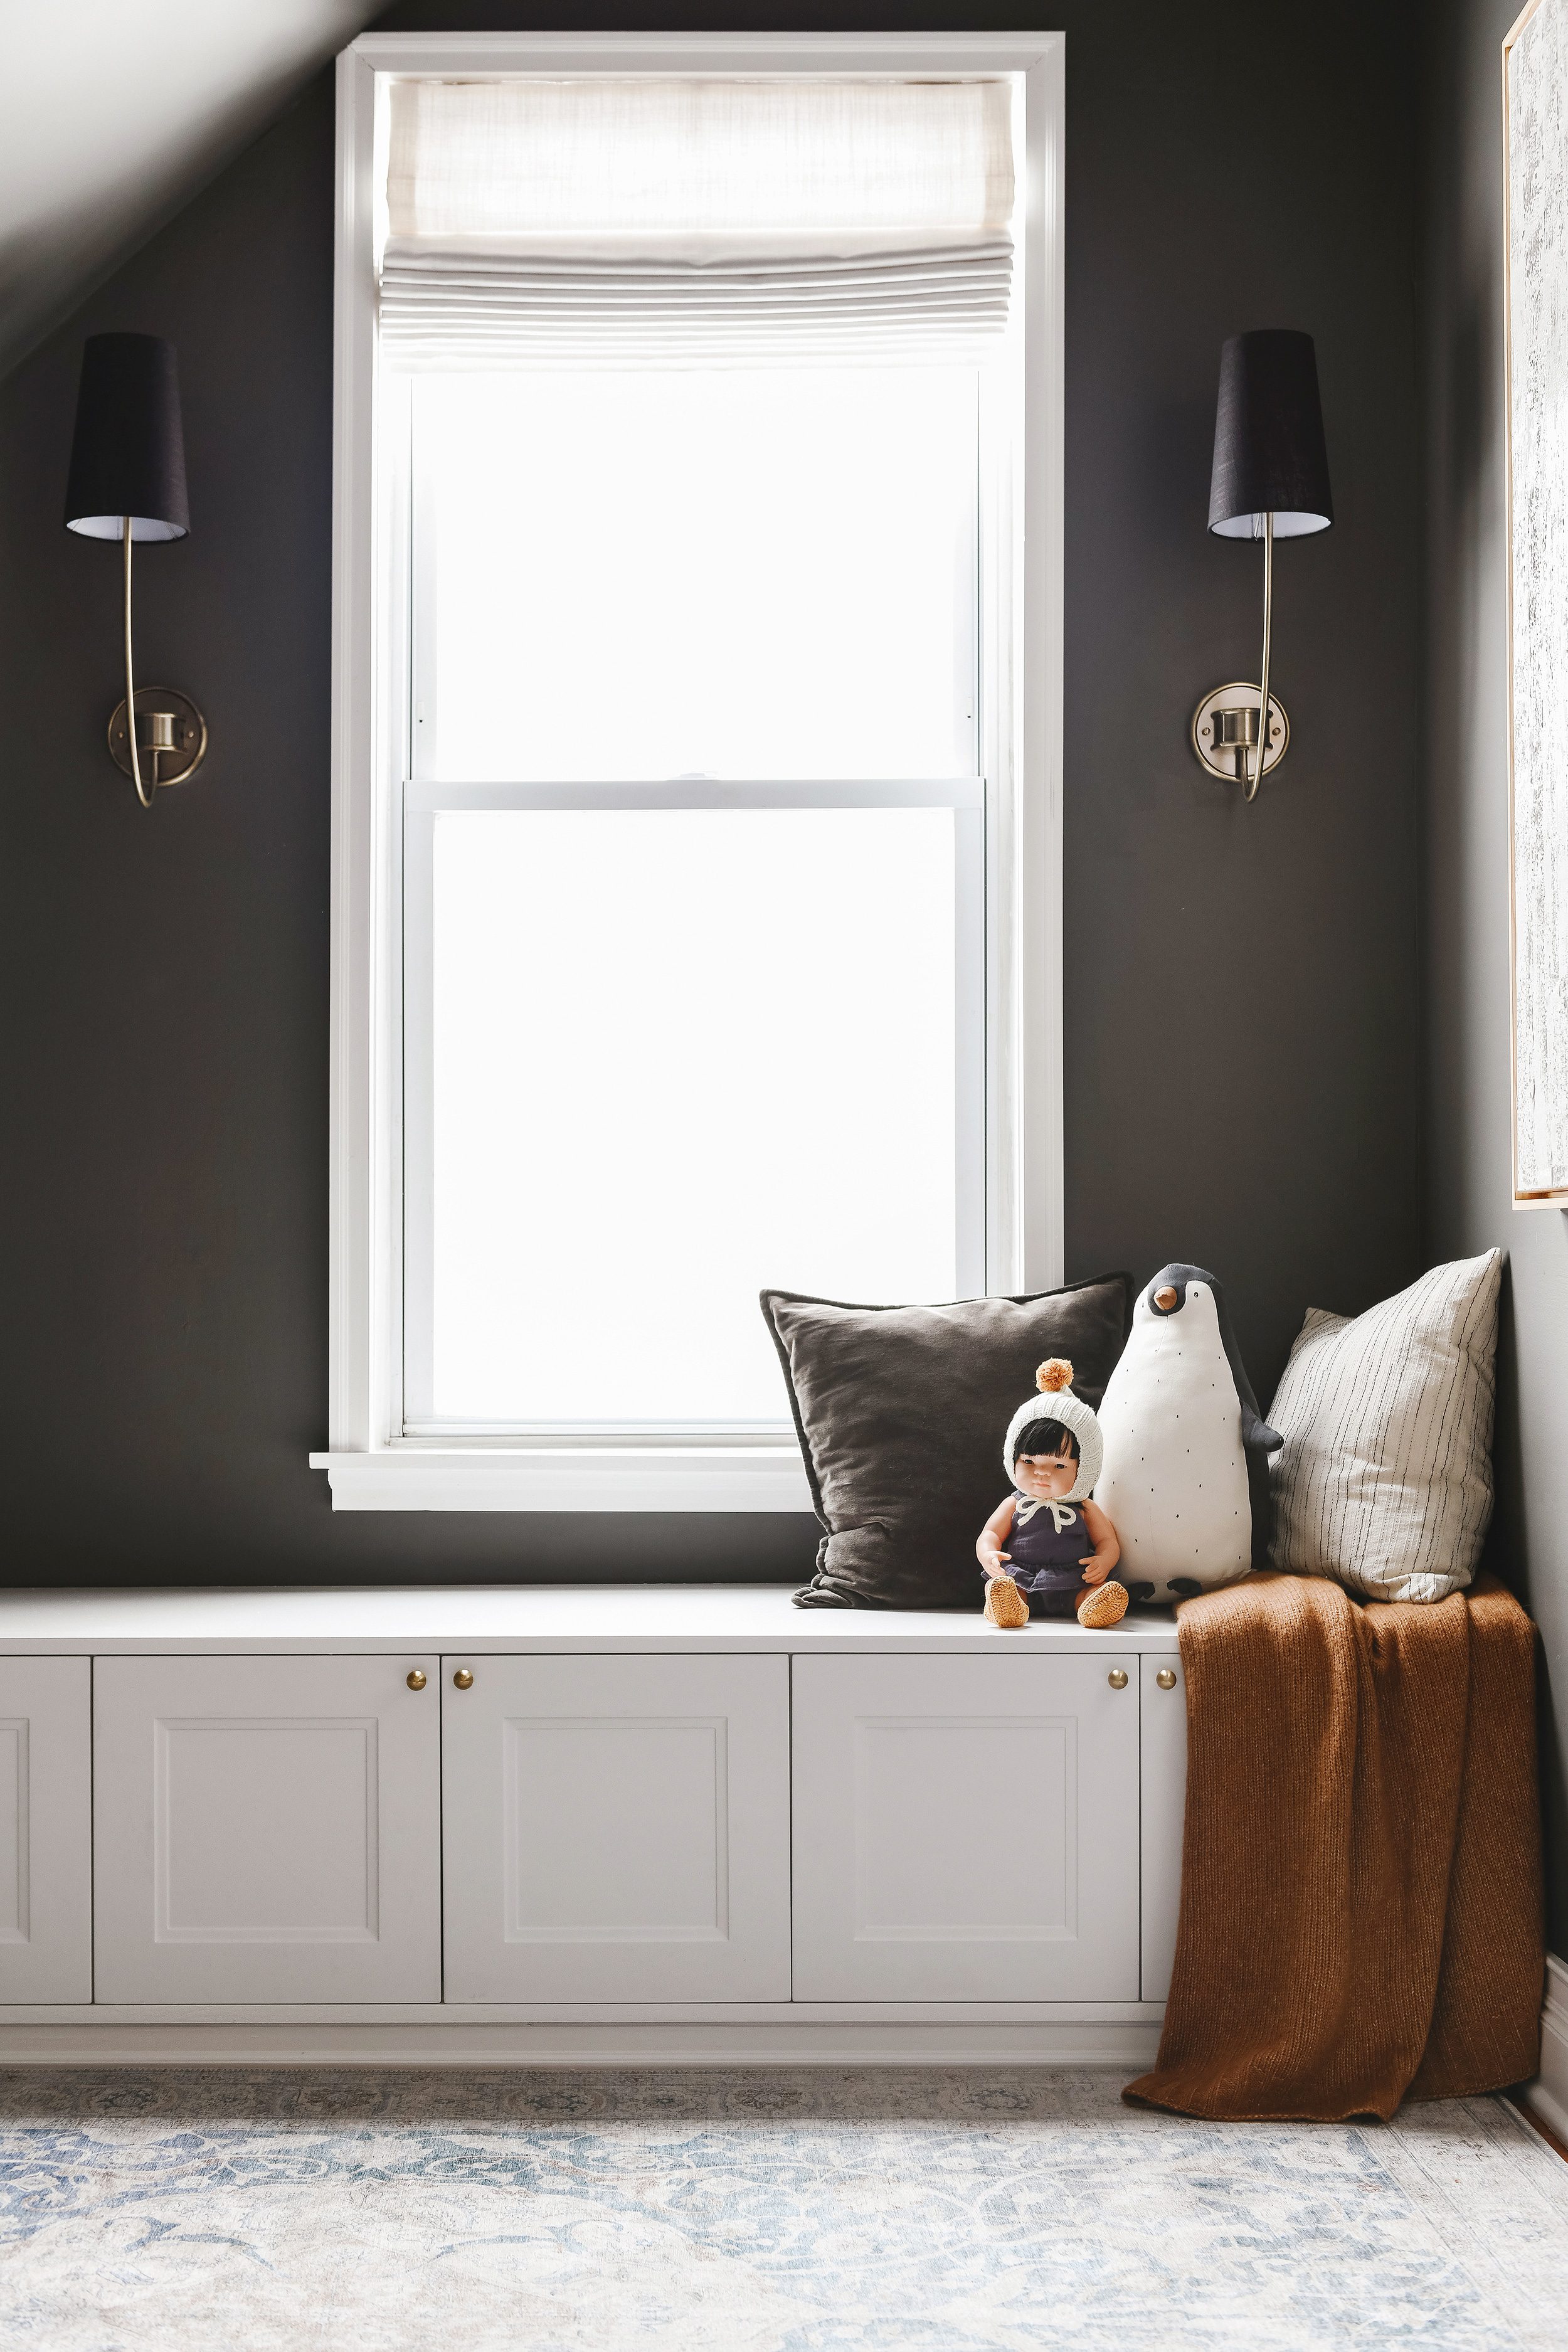
i scanned the “shop our house” tab for the fabric window shade in this room, but didn’t see it listed. does that mean it was made custom? thank you.
It was custom by Bali Blinds!
What a great space and all of a sudden it looks ten times bigger! Built ins are such a wonderful storage idea and I hope you guys enjoy the new space!
We’re enjoying it SO much!
It looks fantastic! I know this isn’t the point of the post, but do you happen to know the sources for that sweet doll and penguin? They are so cute!
The penguin is H&M and sold out, and the Asian doll is by Miniland.
It looks great. So fun to have the option of letting spaces evolve and be flexible. I am sorry if I missed this discussion, but how do you guys imagine using this space now that you’ve got the storage finished?
We’ve already begun using it as a place to play games, read books and listen to music. The rug is nice and soft for now but we can’t wait for the custom cushion to arrive!
Thanks for your response. Hope it brings y’all a lot of good times!
Hello, what are you using for your album dividers? My husband has a massive collection. We finally modified our metal shelves similar to yours with wood bottoms and side rails so they don’t need to be in crates! I love the dividers but not sure if they are hand made? Please share, thanks!
They’re thin sheets of plywood with alphabet letters in the corner! They were a gift from a friend. :) They look a lot like these!
I’m always to impressed with your tutorials and you choices. Love it!!
beautiful work…
I love how this turned out! We are hoping to do some built in storage configurations throughout our house in the near future so I’ve been studying your many tutorials. I love the look of the Axstad doors you used. Do you have any thoughts on how they compare to using Semihandmade doors? Thanks so much!
We always talk about how there are a few ‘quality levels’ at IKEA. Some of their doors feel a little flimsy and don’t seem like they’d hold up over time. These doors are SOLID and we feel like they’ll hold up for the long haul. Hope this helps!
Hi! I know this is from several years ago, but I’m wondering how you think the mdf ikea cabinets would take paint? I love the white, but I want to do something like this in my entryway and am nervous about dirt and scuff marks being noticeable. Thanks!
Anything is paintable when you used the right primer! We love Zinnser 1-2-3 for most paint projects, and then make sure you use a trim enamel paint. For the final step, apply 3 coats of water based Minwax Polycrylic for the most durable and wipeable finish.
Thank you SO much for these tips! Excited to get started!