




Everything you want to know about the exterior work we’ve completed at The Red House, from plan to fruition.
In This Post
Landscaping Changes Everything
Our renovations almost always start indoors. Our general thought process is that once we’ve got a clean room to sleep in, a usable bathroom, and a semi-functioning kitchen, everything else can fall into place based on need. Operating from this mindset, the exteriors and landscaping of our projects almost always come last. Not because of a lack of desire, but because we can always jump out of the car and get to work inside. We can treat the outdoors as a ‘pass-through’ space that can be ignored. For better or worse, in the upper midwest, exterior spaces are usually only usable for half the year. So, it makes sense to focus our attention on areas that we can use year-round.
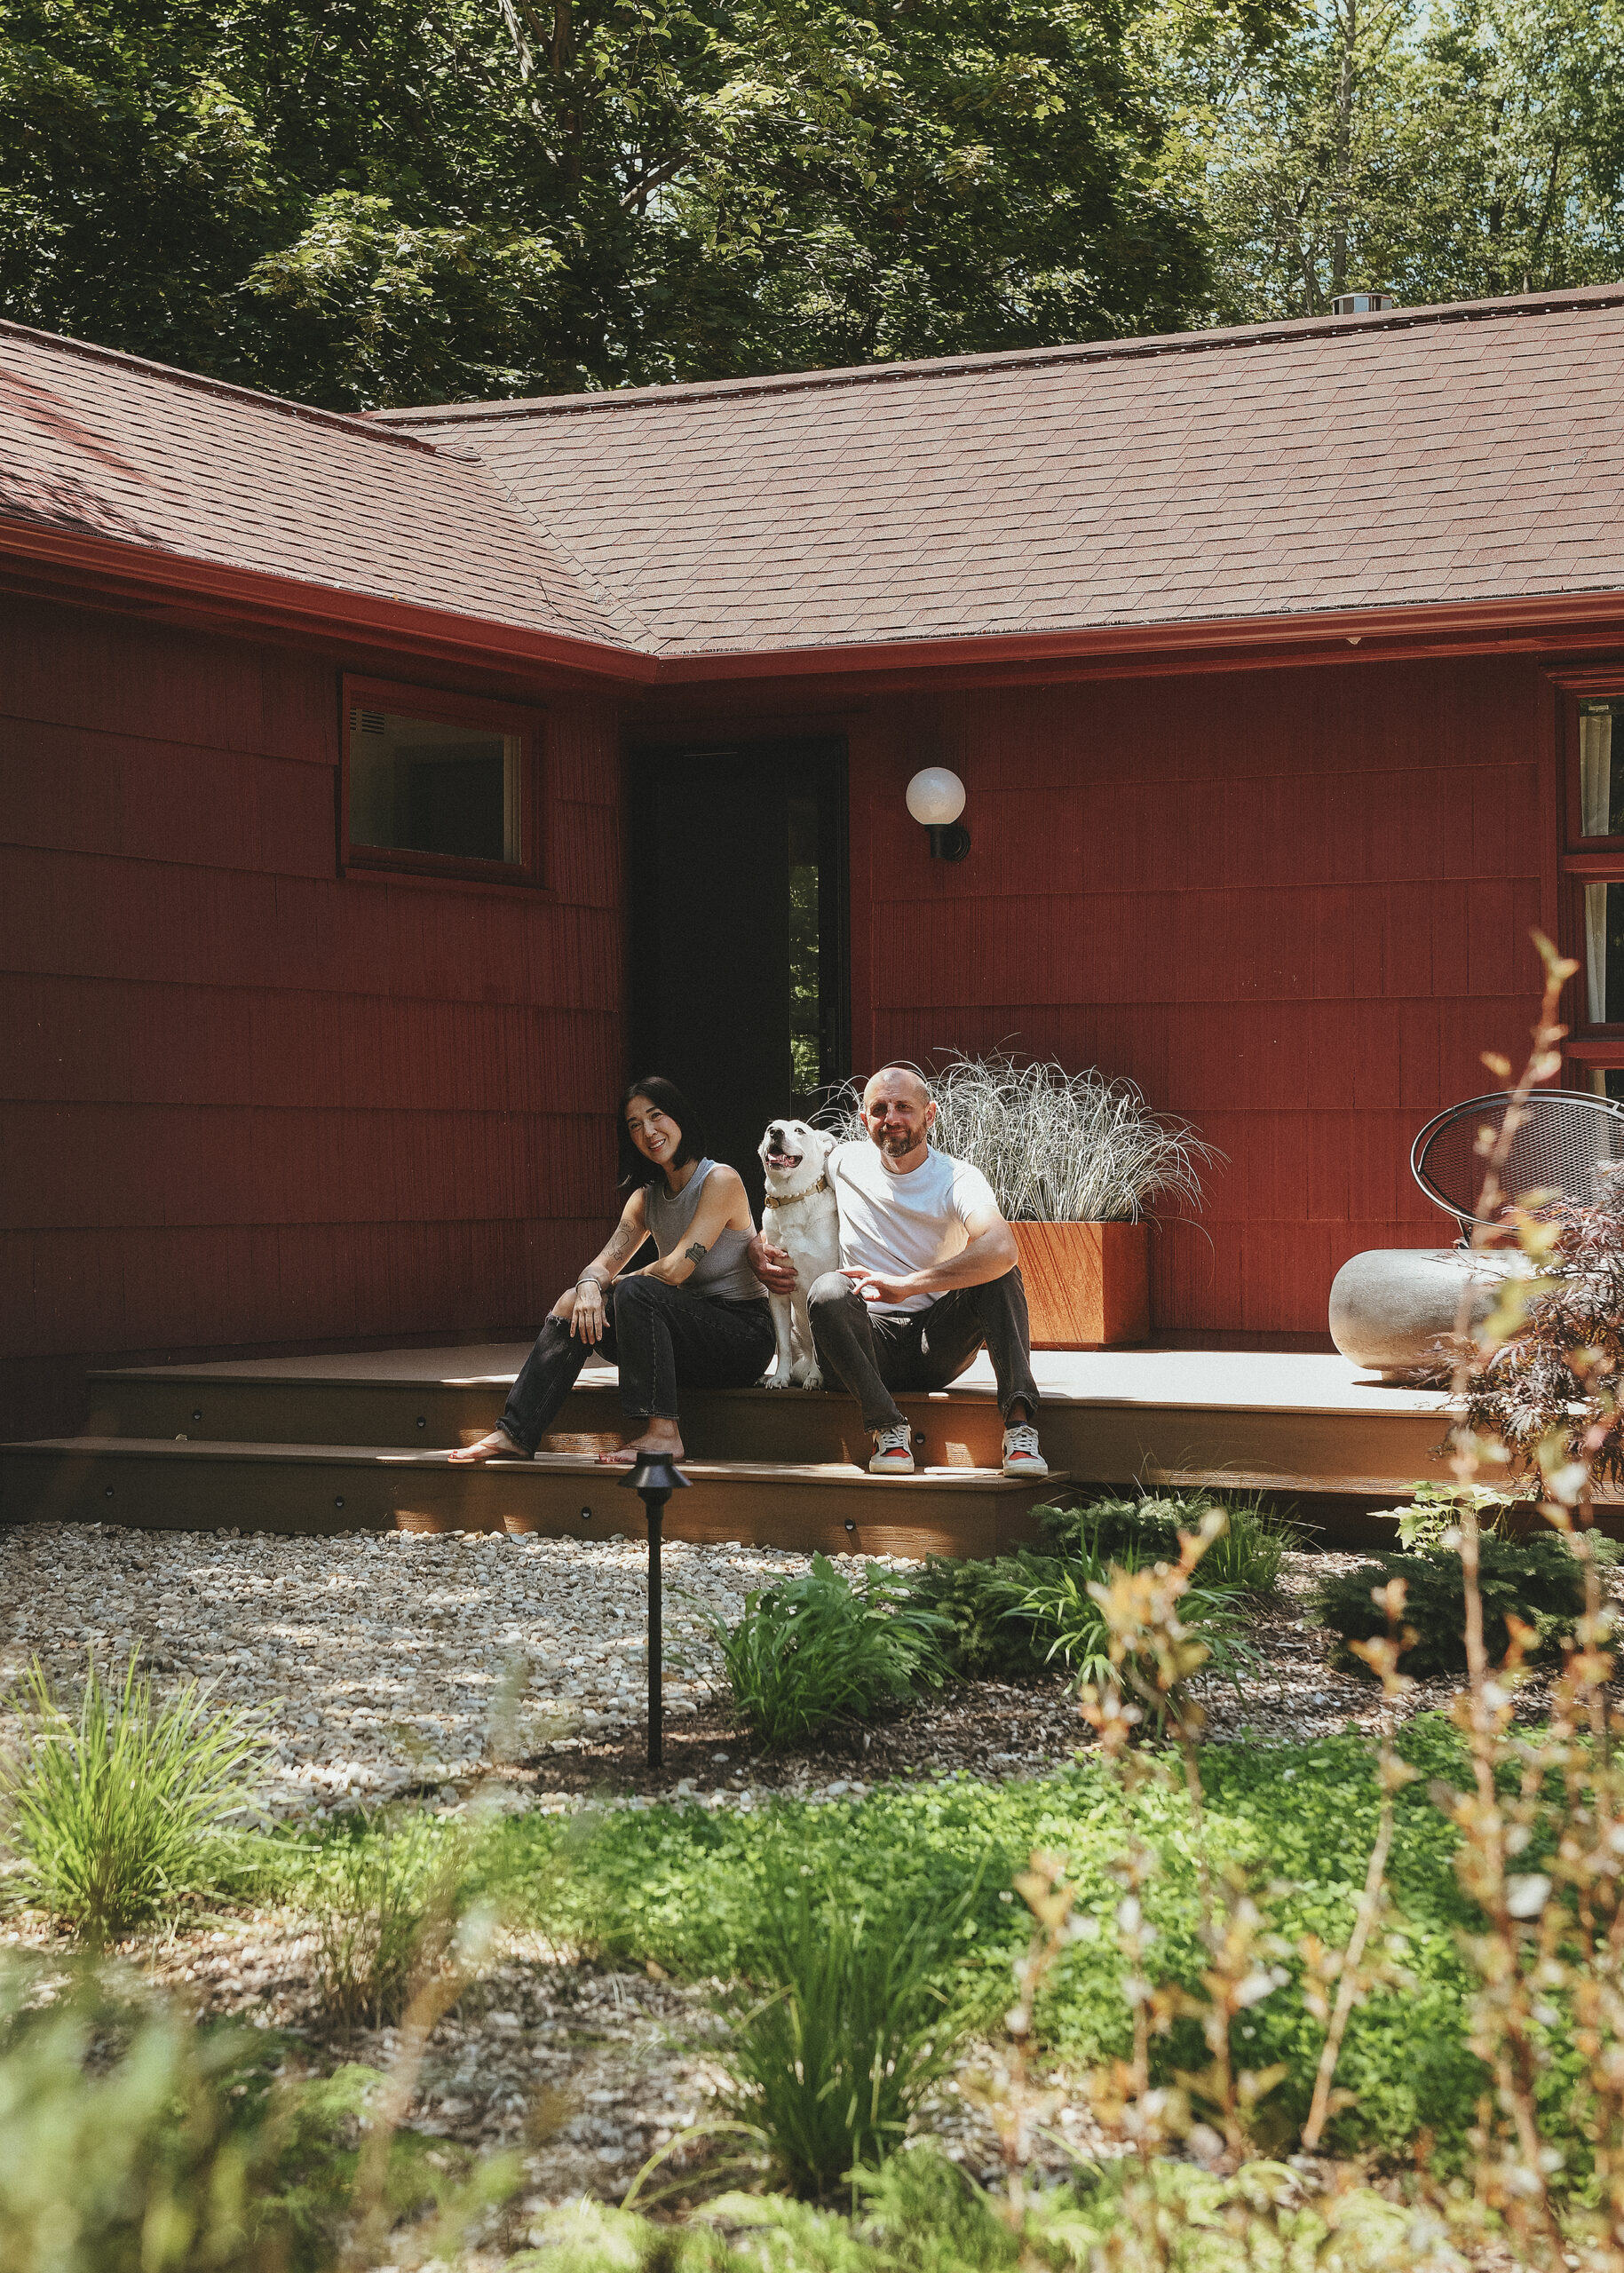
All that said, its definitely a last-but-not-least mentality because we’re well aware of how transformative exterior projects can be. Things are no different at our Red House project, where the front and back decks have been among the final projects to be tackled ahead of a (hopeful) short-term rental launch at some point in 2027. And now, the landscaping is complete and beautifully lit. It’s the perfect welcome to the home at any time of day and we’re absolutely thrilled with the end results. Let’s quickly jump back to where we started.
Where We Started
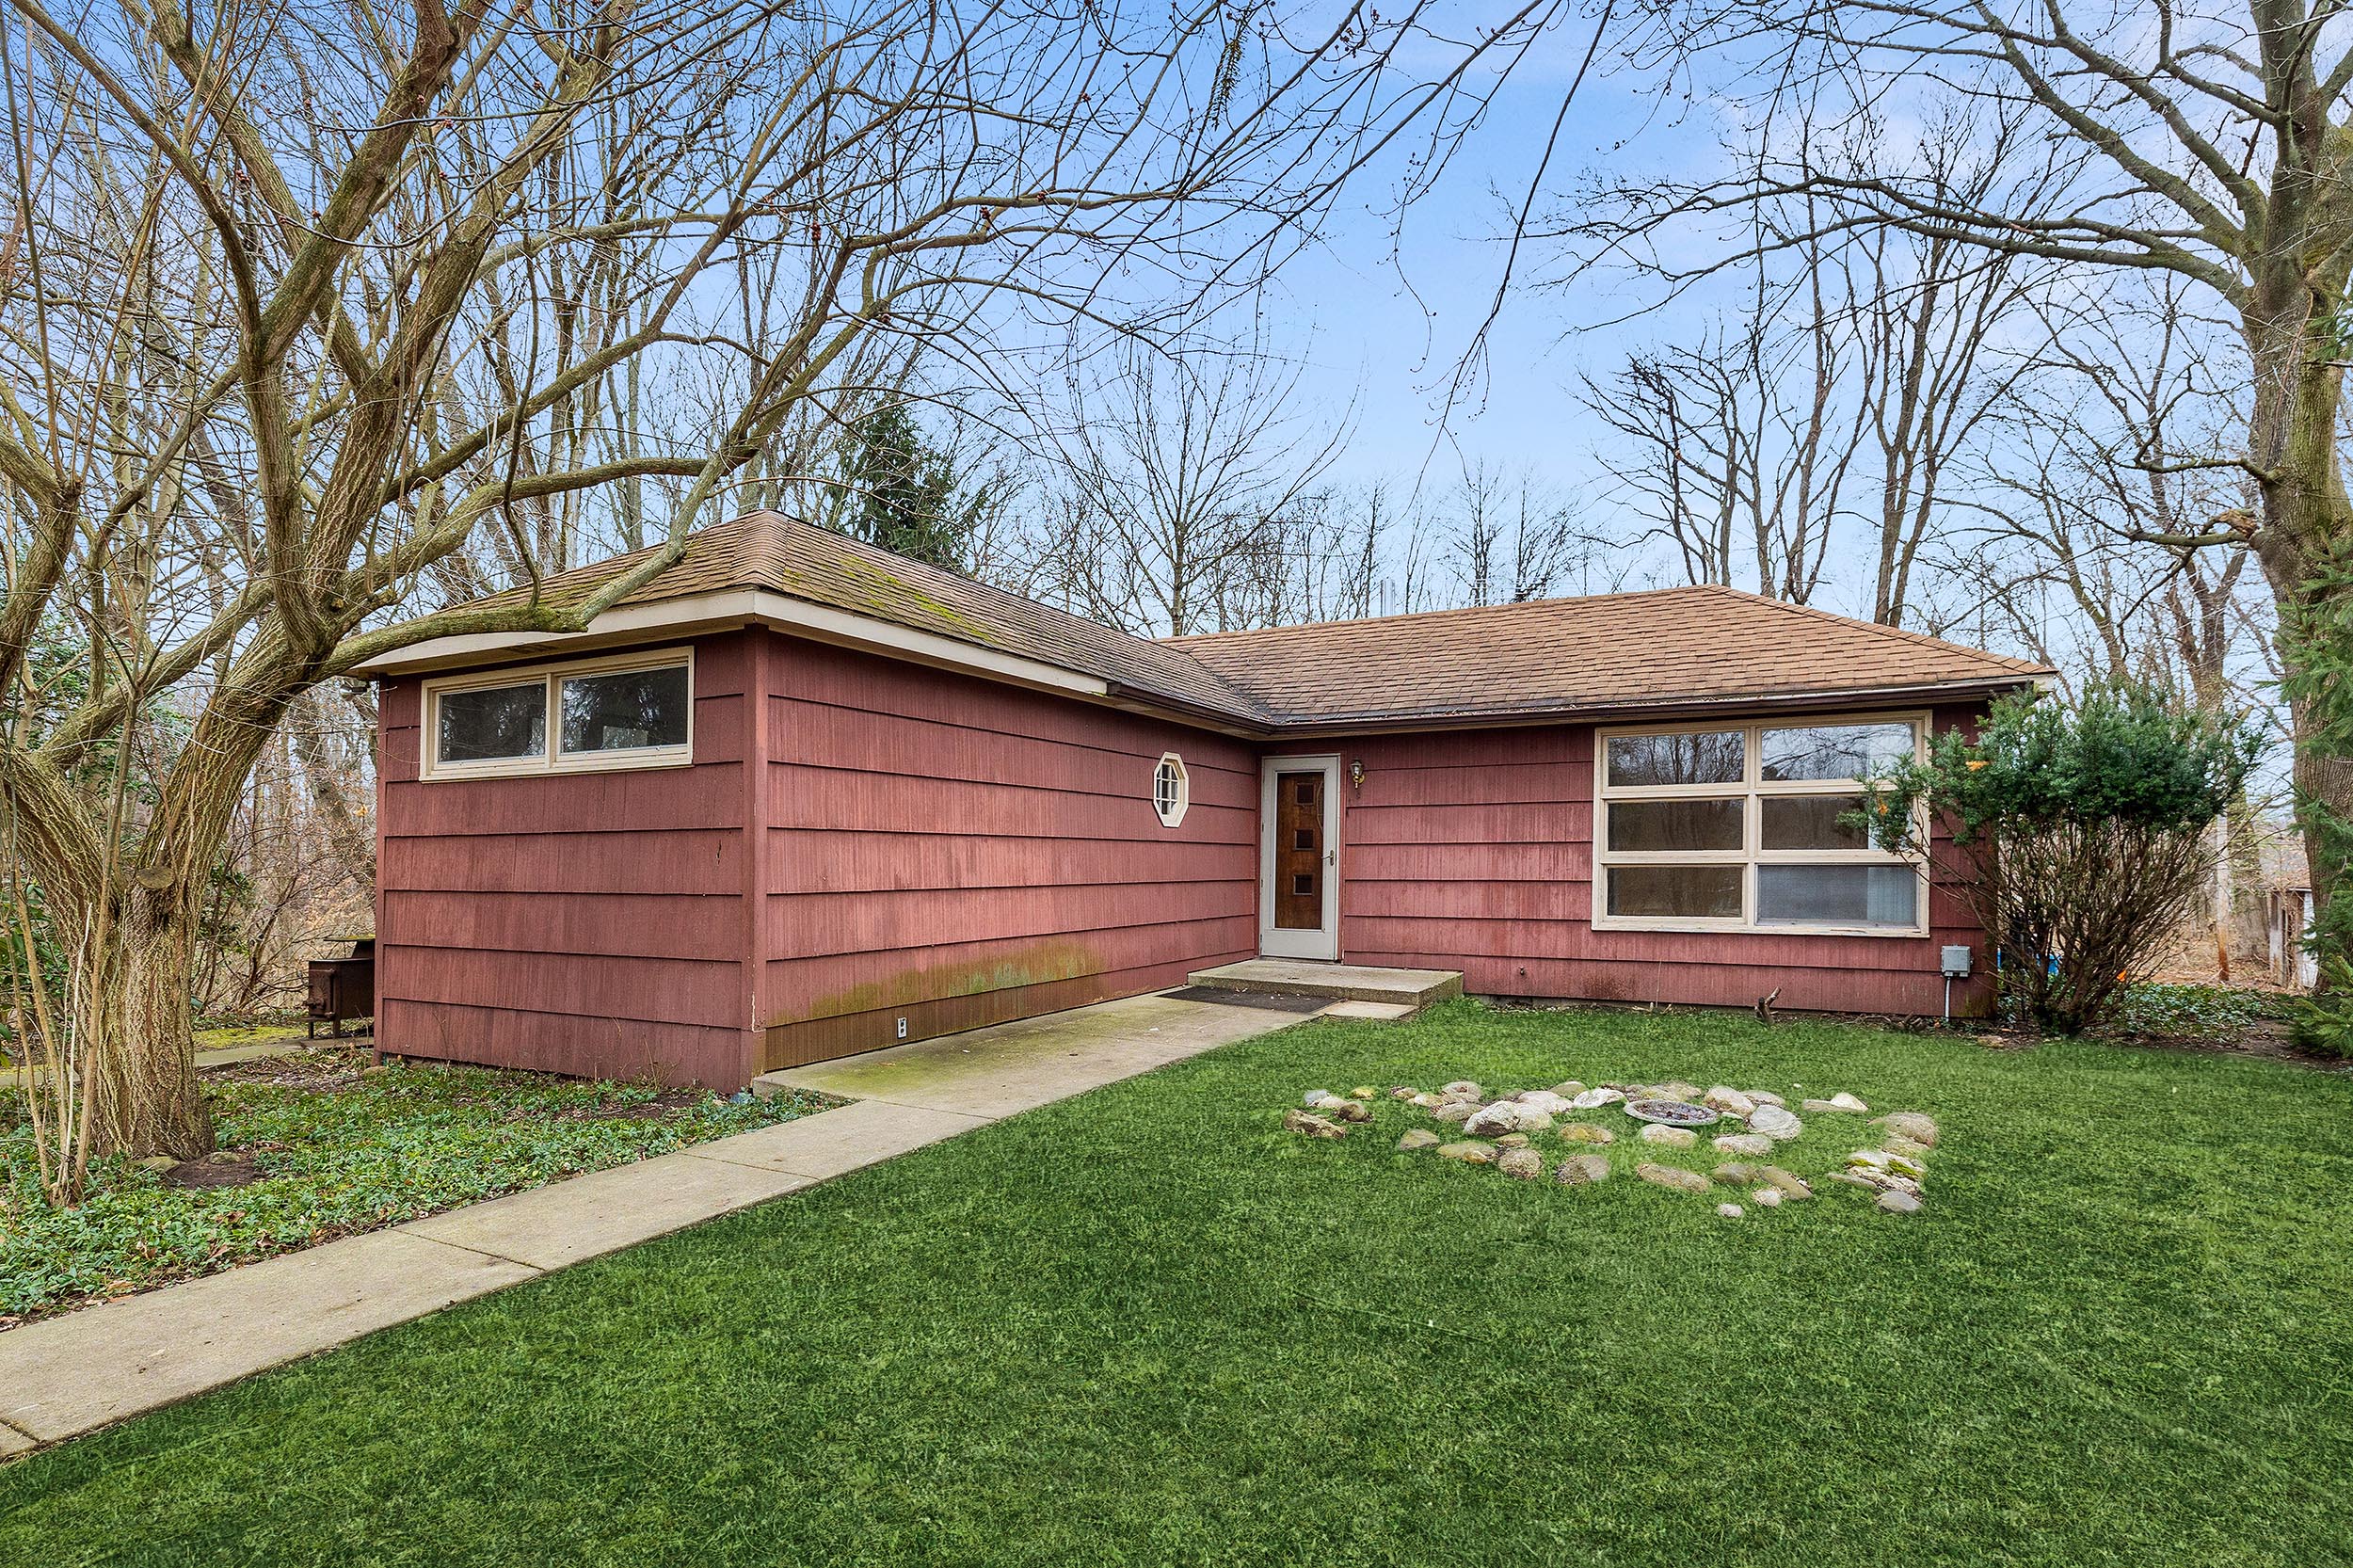
The photo above is from the home’s real estate listing (AI grass and all!). This picture never really saw the light of day since we were approached by the selling family’s and offered the home before it officially hit the market. The bones were great and outside of some deferred maintenance, the home was actually in pretty good shape. Or so we thought.
Phase One | Progress
We wasted no time diving right into the project and literally blew the roof off the place after discovering a concerning amount of mold in the attic. The roof’s structure was repaired and the mold was taken care of, which also netted us an additional two feet of ceiling height in the home’s common areas. While we were at it, we swapped out the octagonal window in favor of an original window from the rear of the house. Next it was time for siding and millwork repairs in preparation for paint.
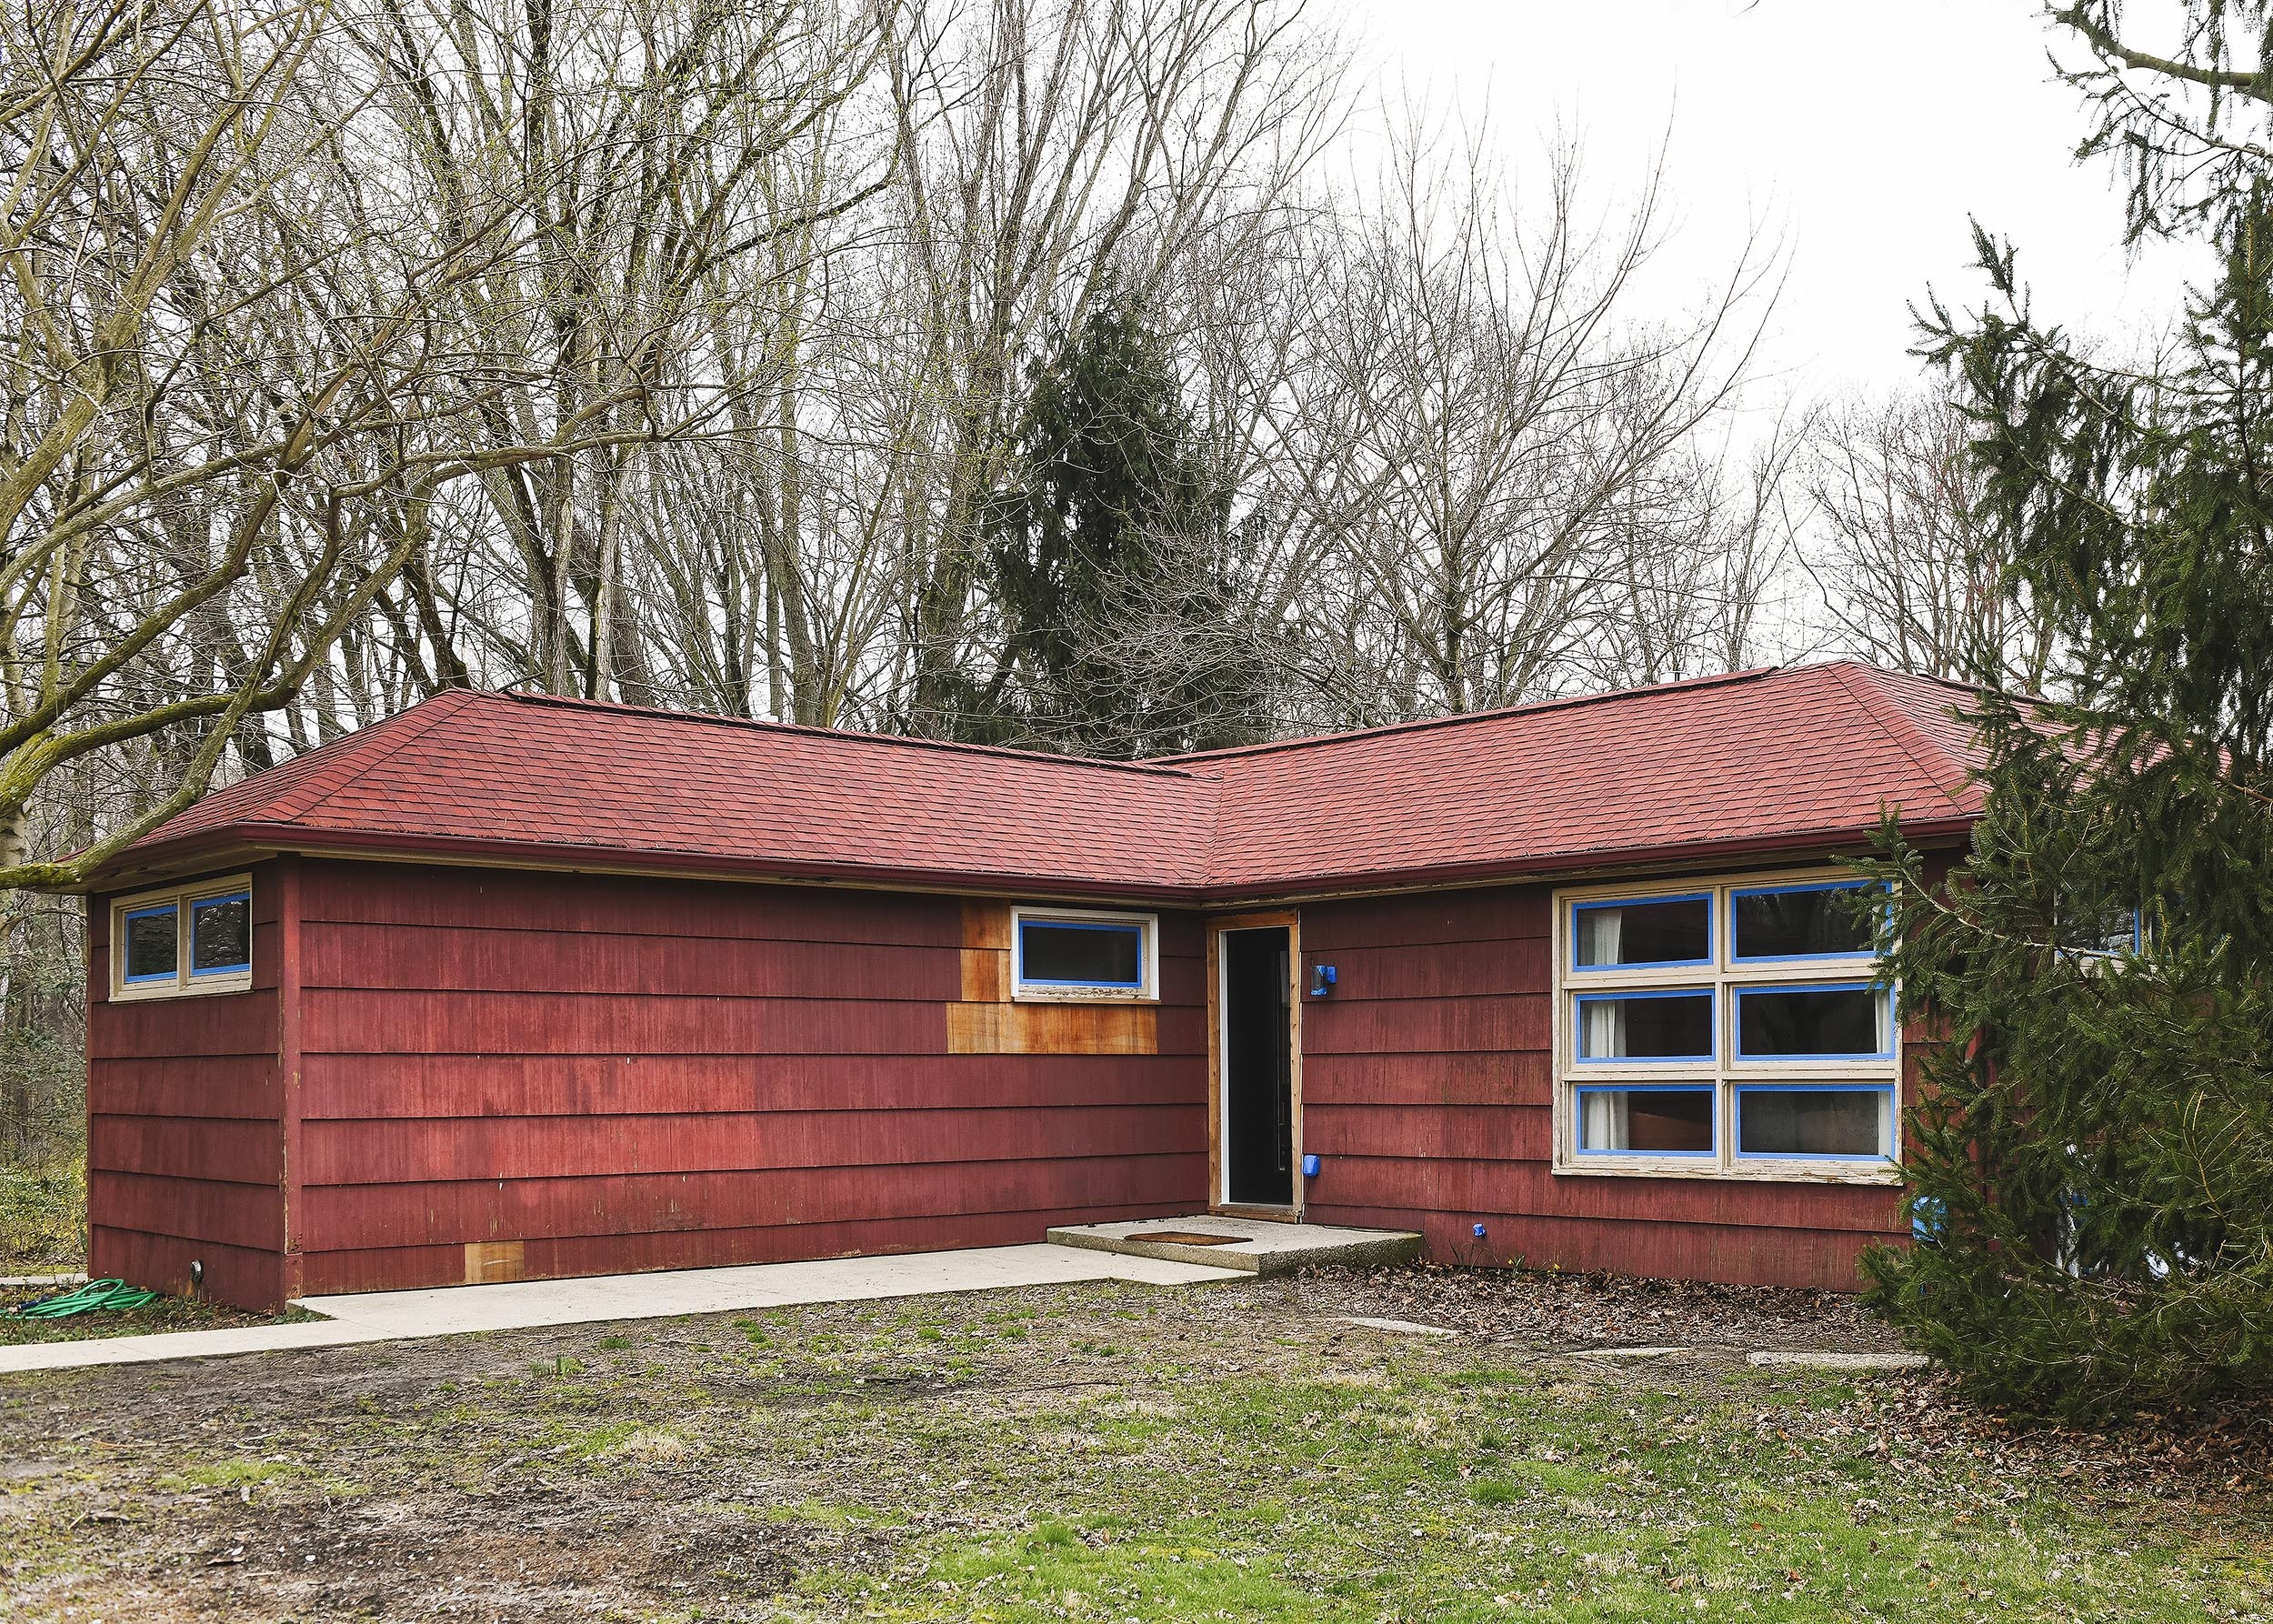
Phase Two | Progress
With the house painted, the poured concrete path was removed in favor of a low platform deck and an eventual gravel path. During this process, we also discovered a portion of crumbling foundation, resulting in a $6000 repair. Remember when I mentioned that we thought the house was in pretty good condition when we closed on the purchase?
Moving forward, our incredible contracting team built us a beautiful 10′ x 20′ platform deck, specifically designed for enjoying morning coffee as the sun rises over the trees. And as soon as they wrapped up, we moved on to our next step. Landscaping!

Phase Three | Today
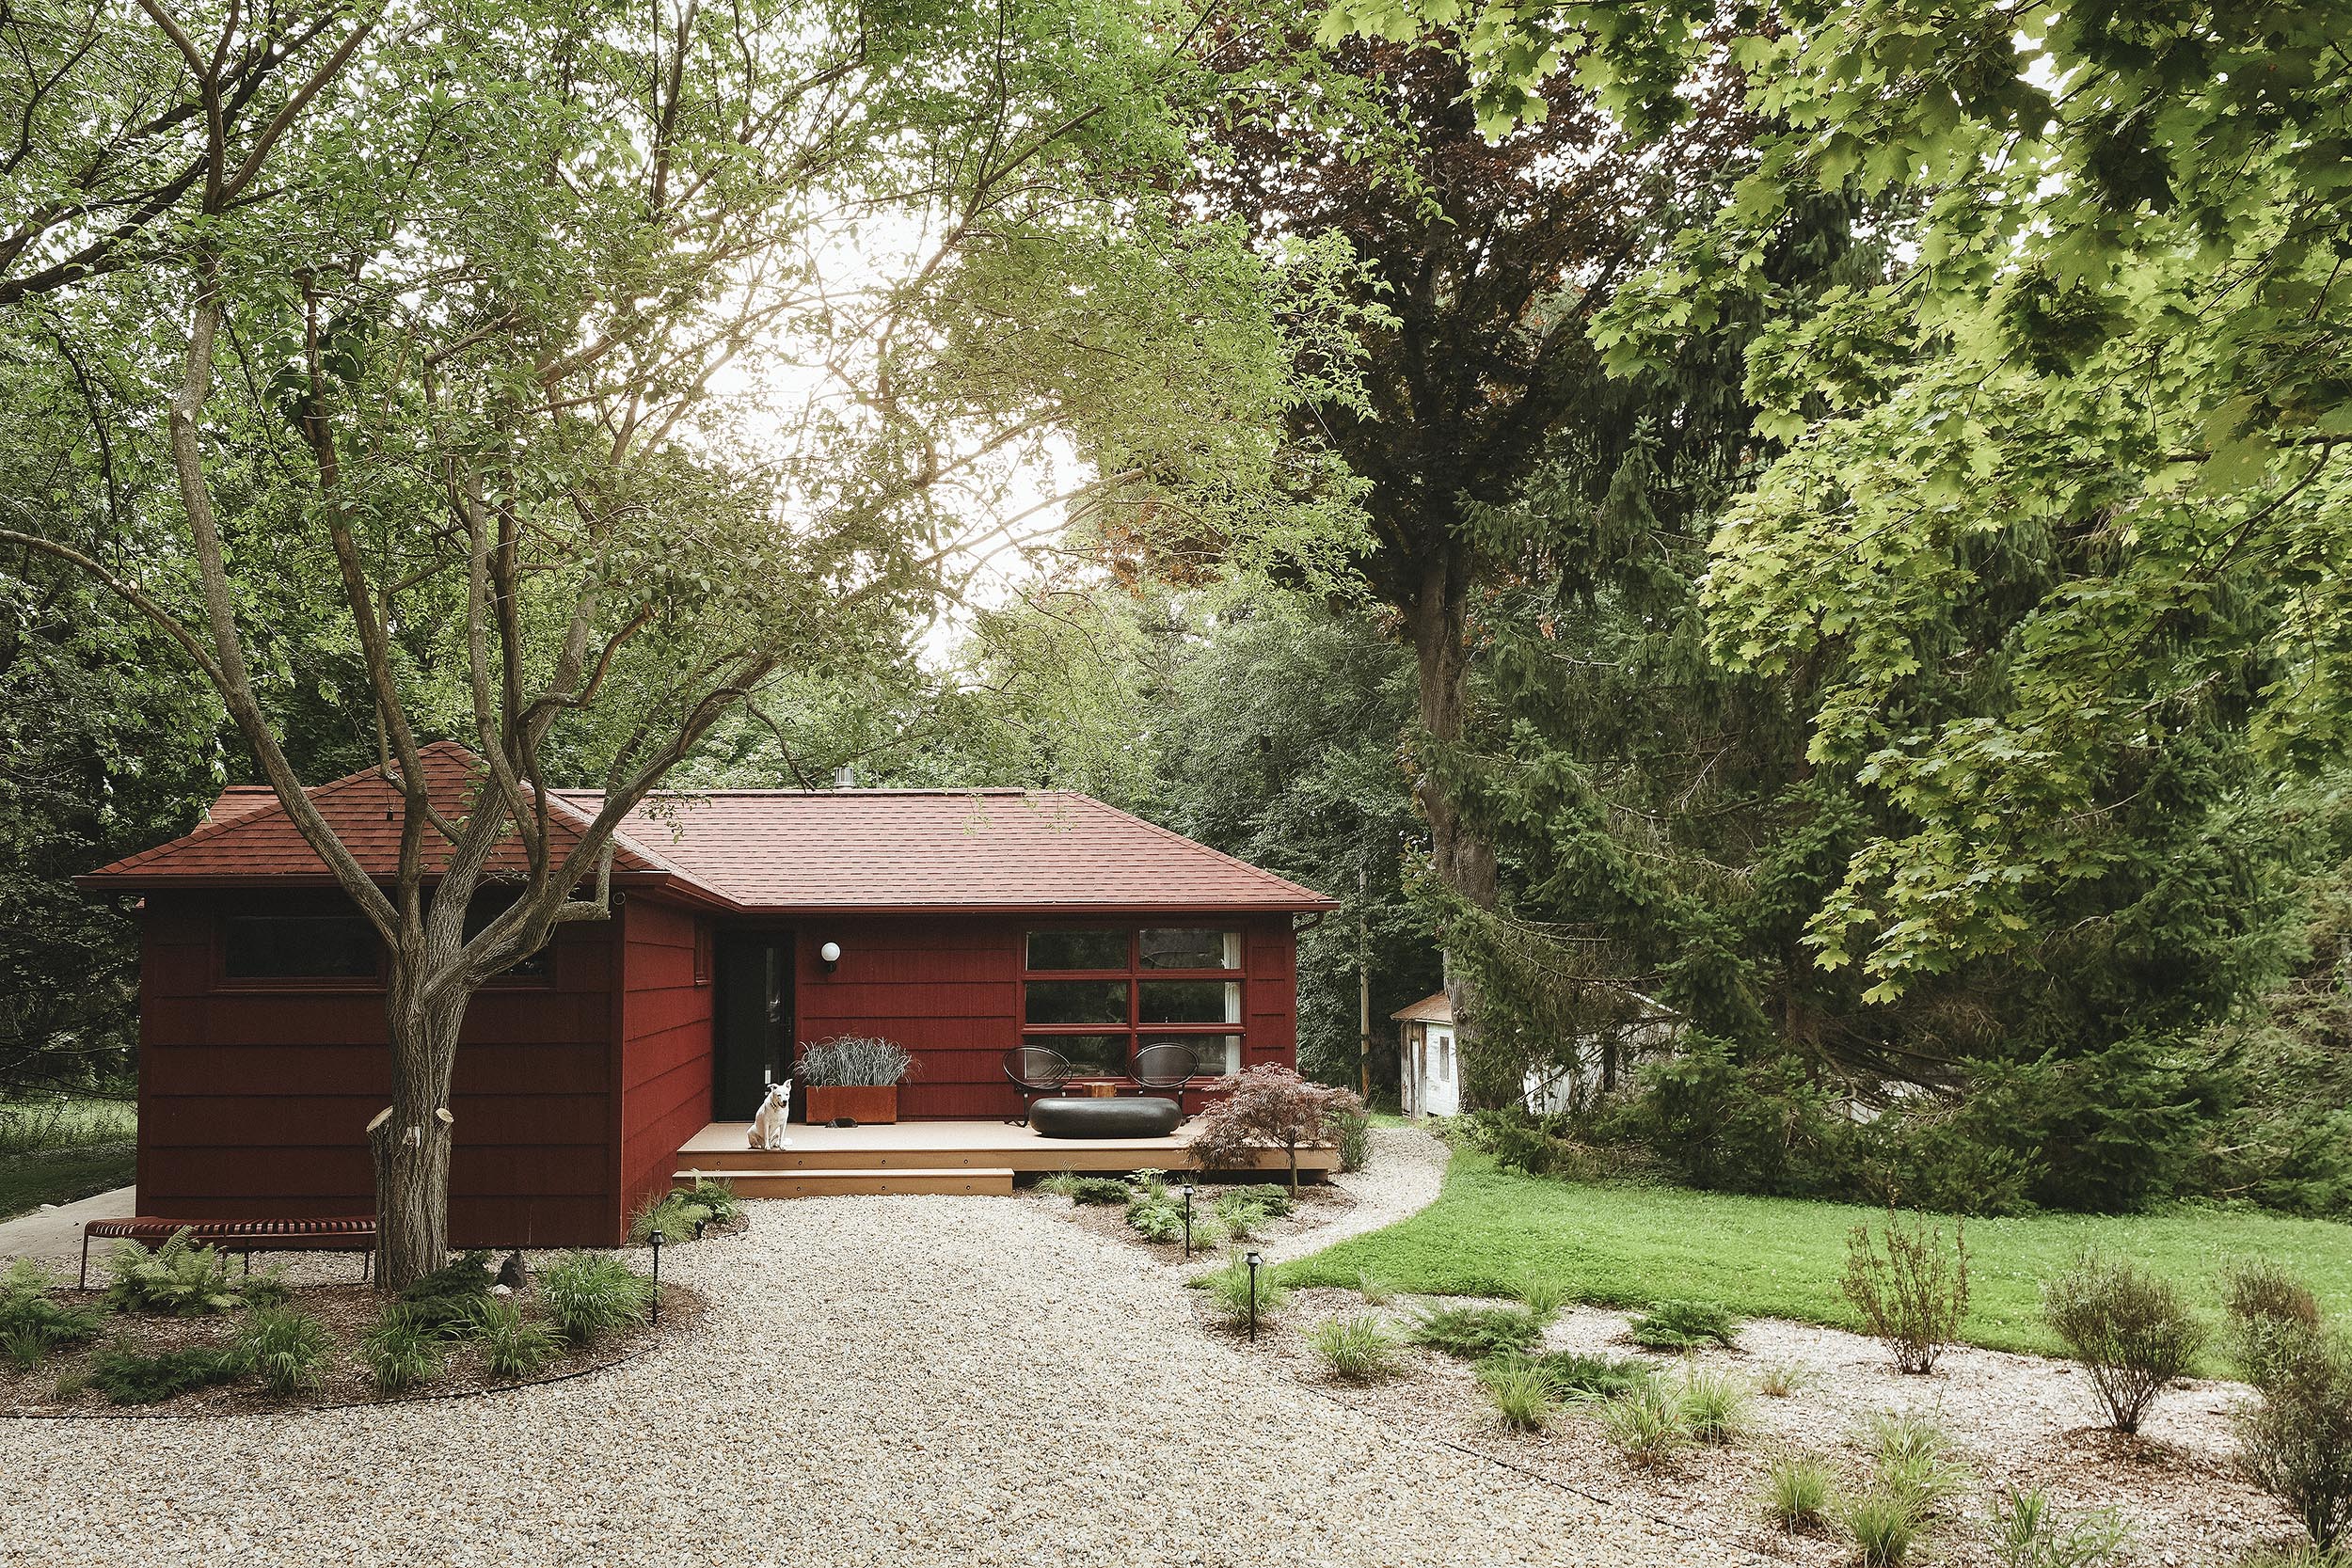
Here’s phase three and how it looks today! The plants have had the better part of a year to establish and everything is filling in beautifully. Our goal for the front yard was to introduce lots of organic shapes and visual movement. We avoided straight lines and mixed in an assortment of different plant varieties. This keeps things flowing and natural and softens the transition from planted beds to the untouched forest surrounding the home.
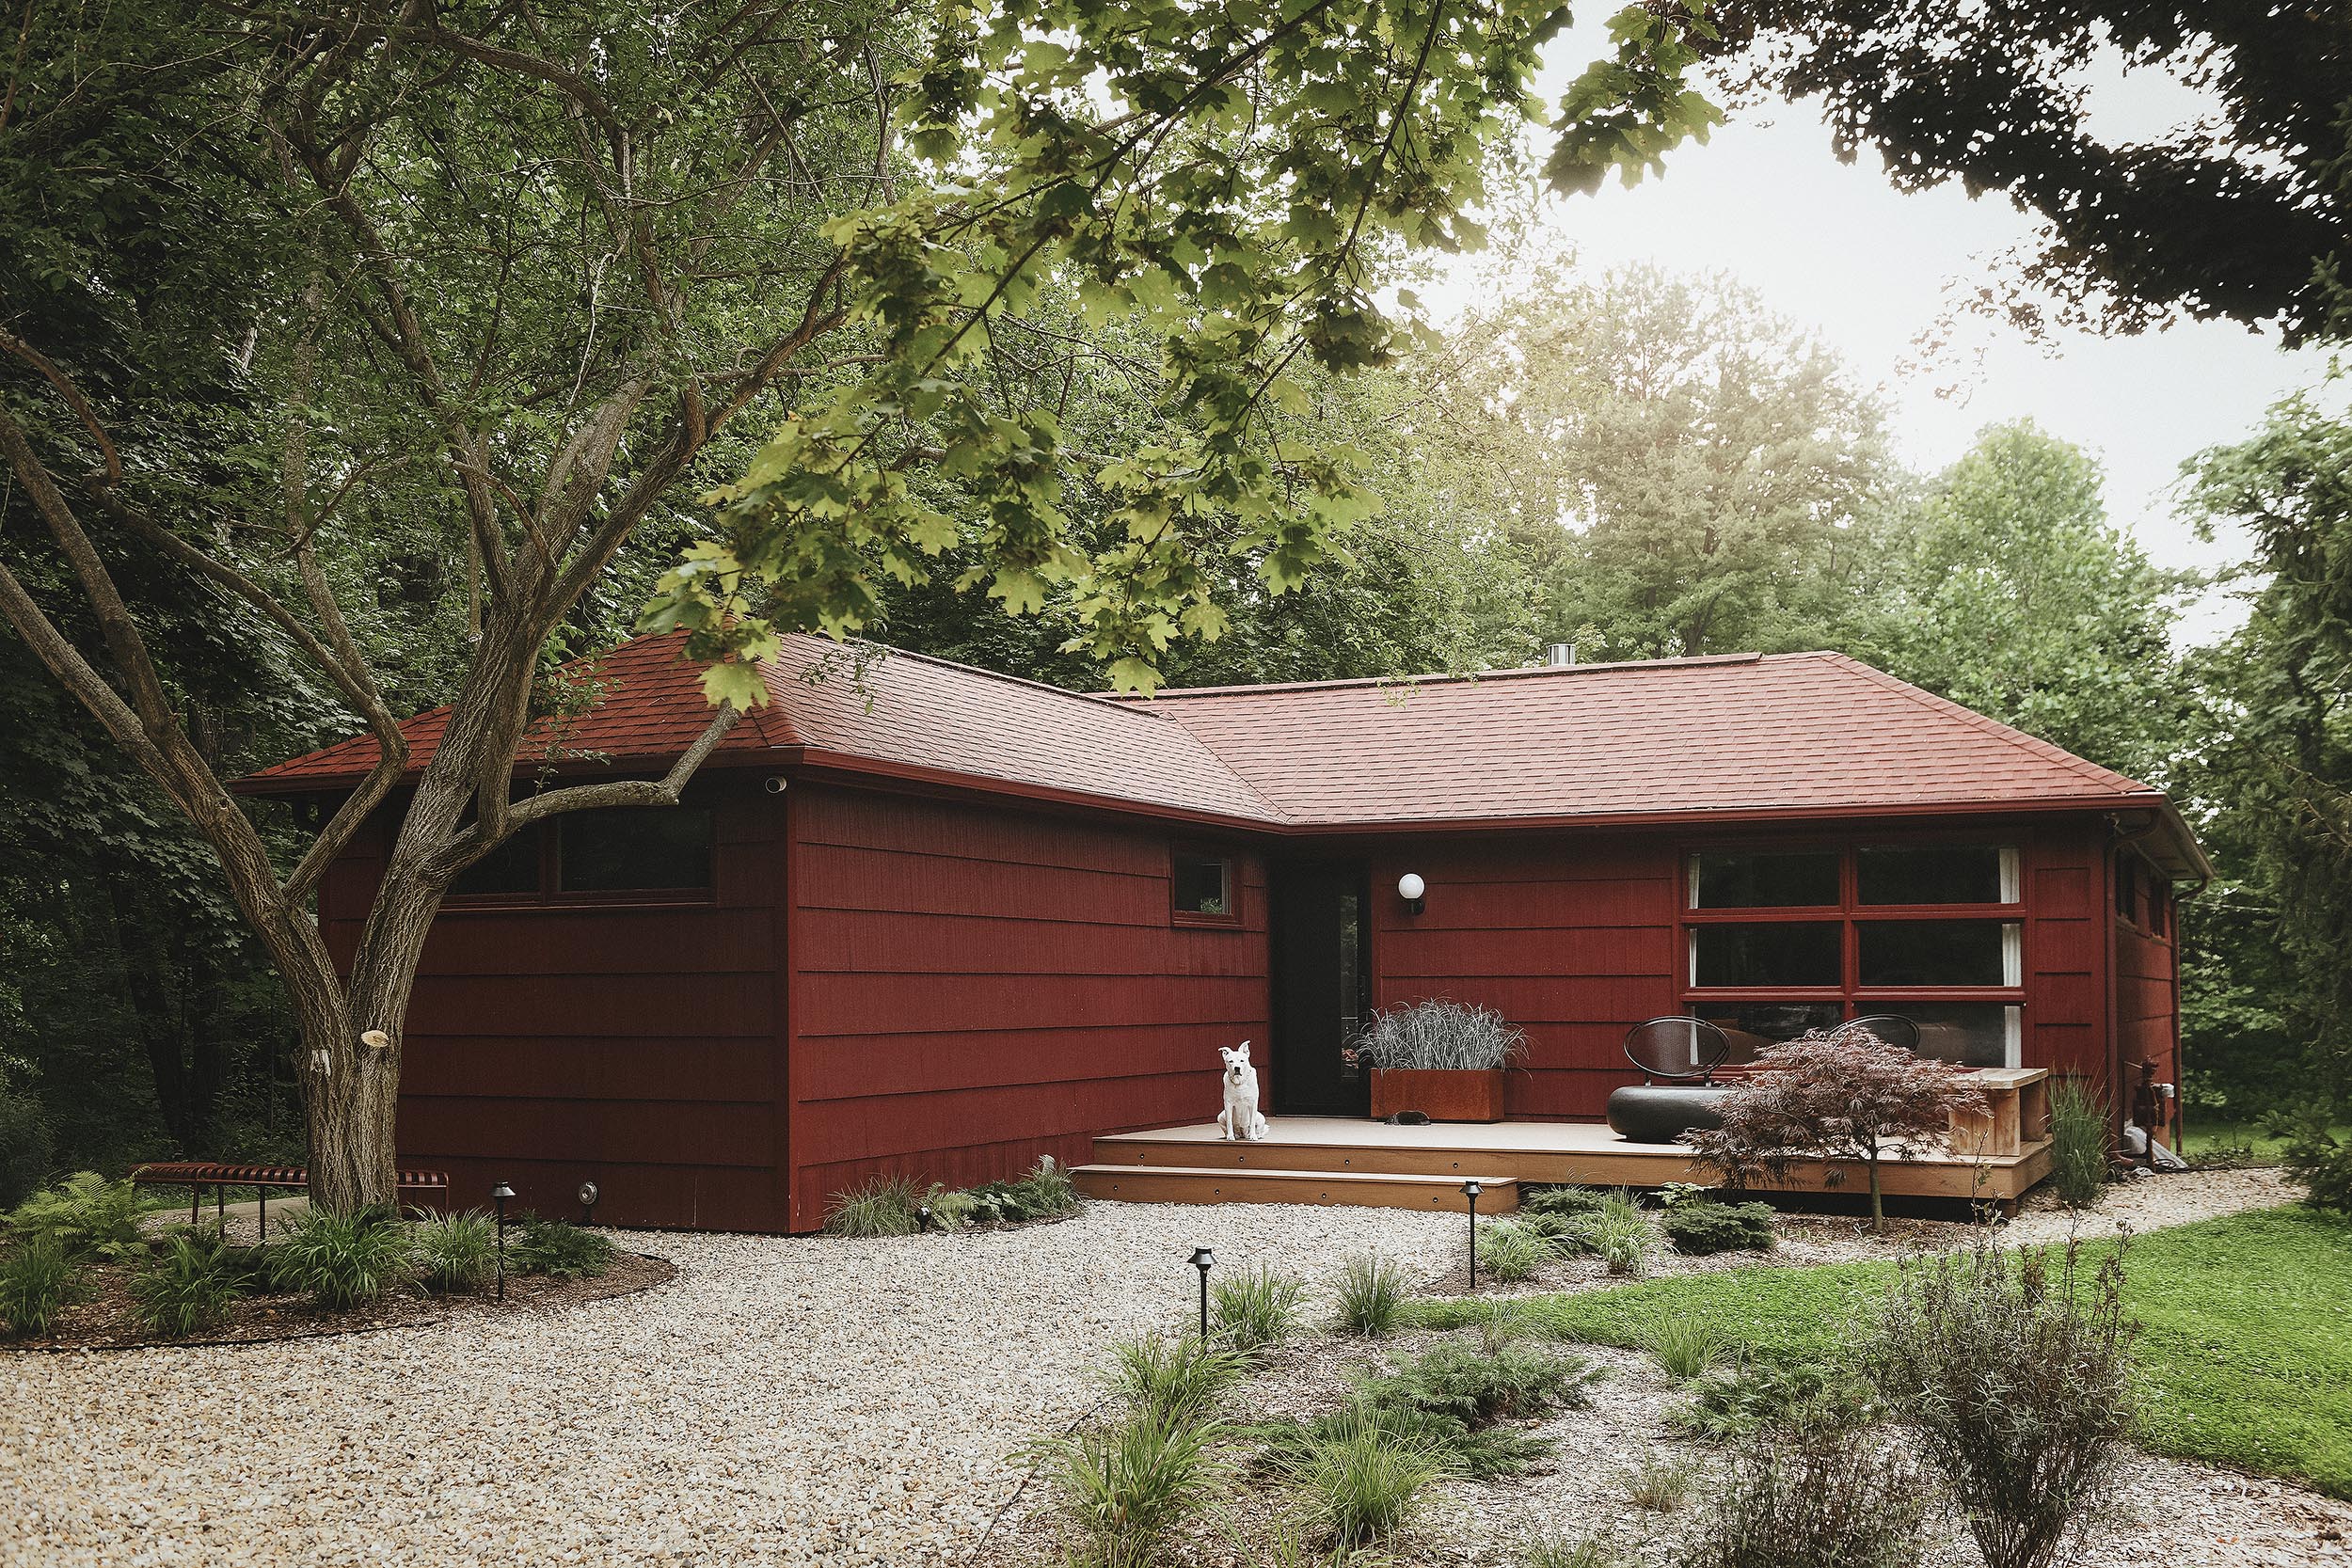
As we mentioned earlier, the gravel driveway and path were integral to the design. We prefer gravel for our Michigan homes for a number of reasons. It requires almost zero maintenance and can be topped off in low areas if things ever settle. Its a more natural substrate than concrete or asphalt and allows for better drainage in our sandy soil. On top of the environmental and maintenance benefits, it just sounds good underfoot. The crunch of gravel under our friends’ feet as the walk up the drive for a visit is our favorite summer sound.
The Plan
As with our adjacent Tree House, we worked with Rootbound on the landscape design and the process was incredibly smooth. All of our wants and needs were met, as always. We ended up with color, movement, parking areas and even a front porch that we can back our truck up to and use as an impromptu loading dock.

After Dark
From the very beginning, the decks and the outdoor spaces were designed to be enjoyed from the early morning hours until late in the evening. To make extended hours a reality, we knew we’d need to add light sources. Our original plan was to build our own DIY landscape light kits with separate controllers front and rear, but our friends at Mooncast reached out and wanted to collaborate on a smart all-in-one system. We couldn’t say yes fast enough!
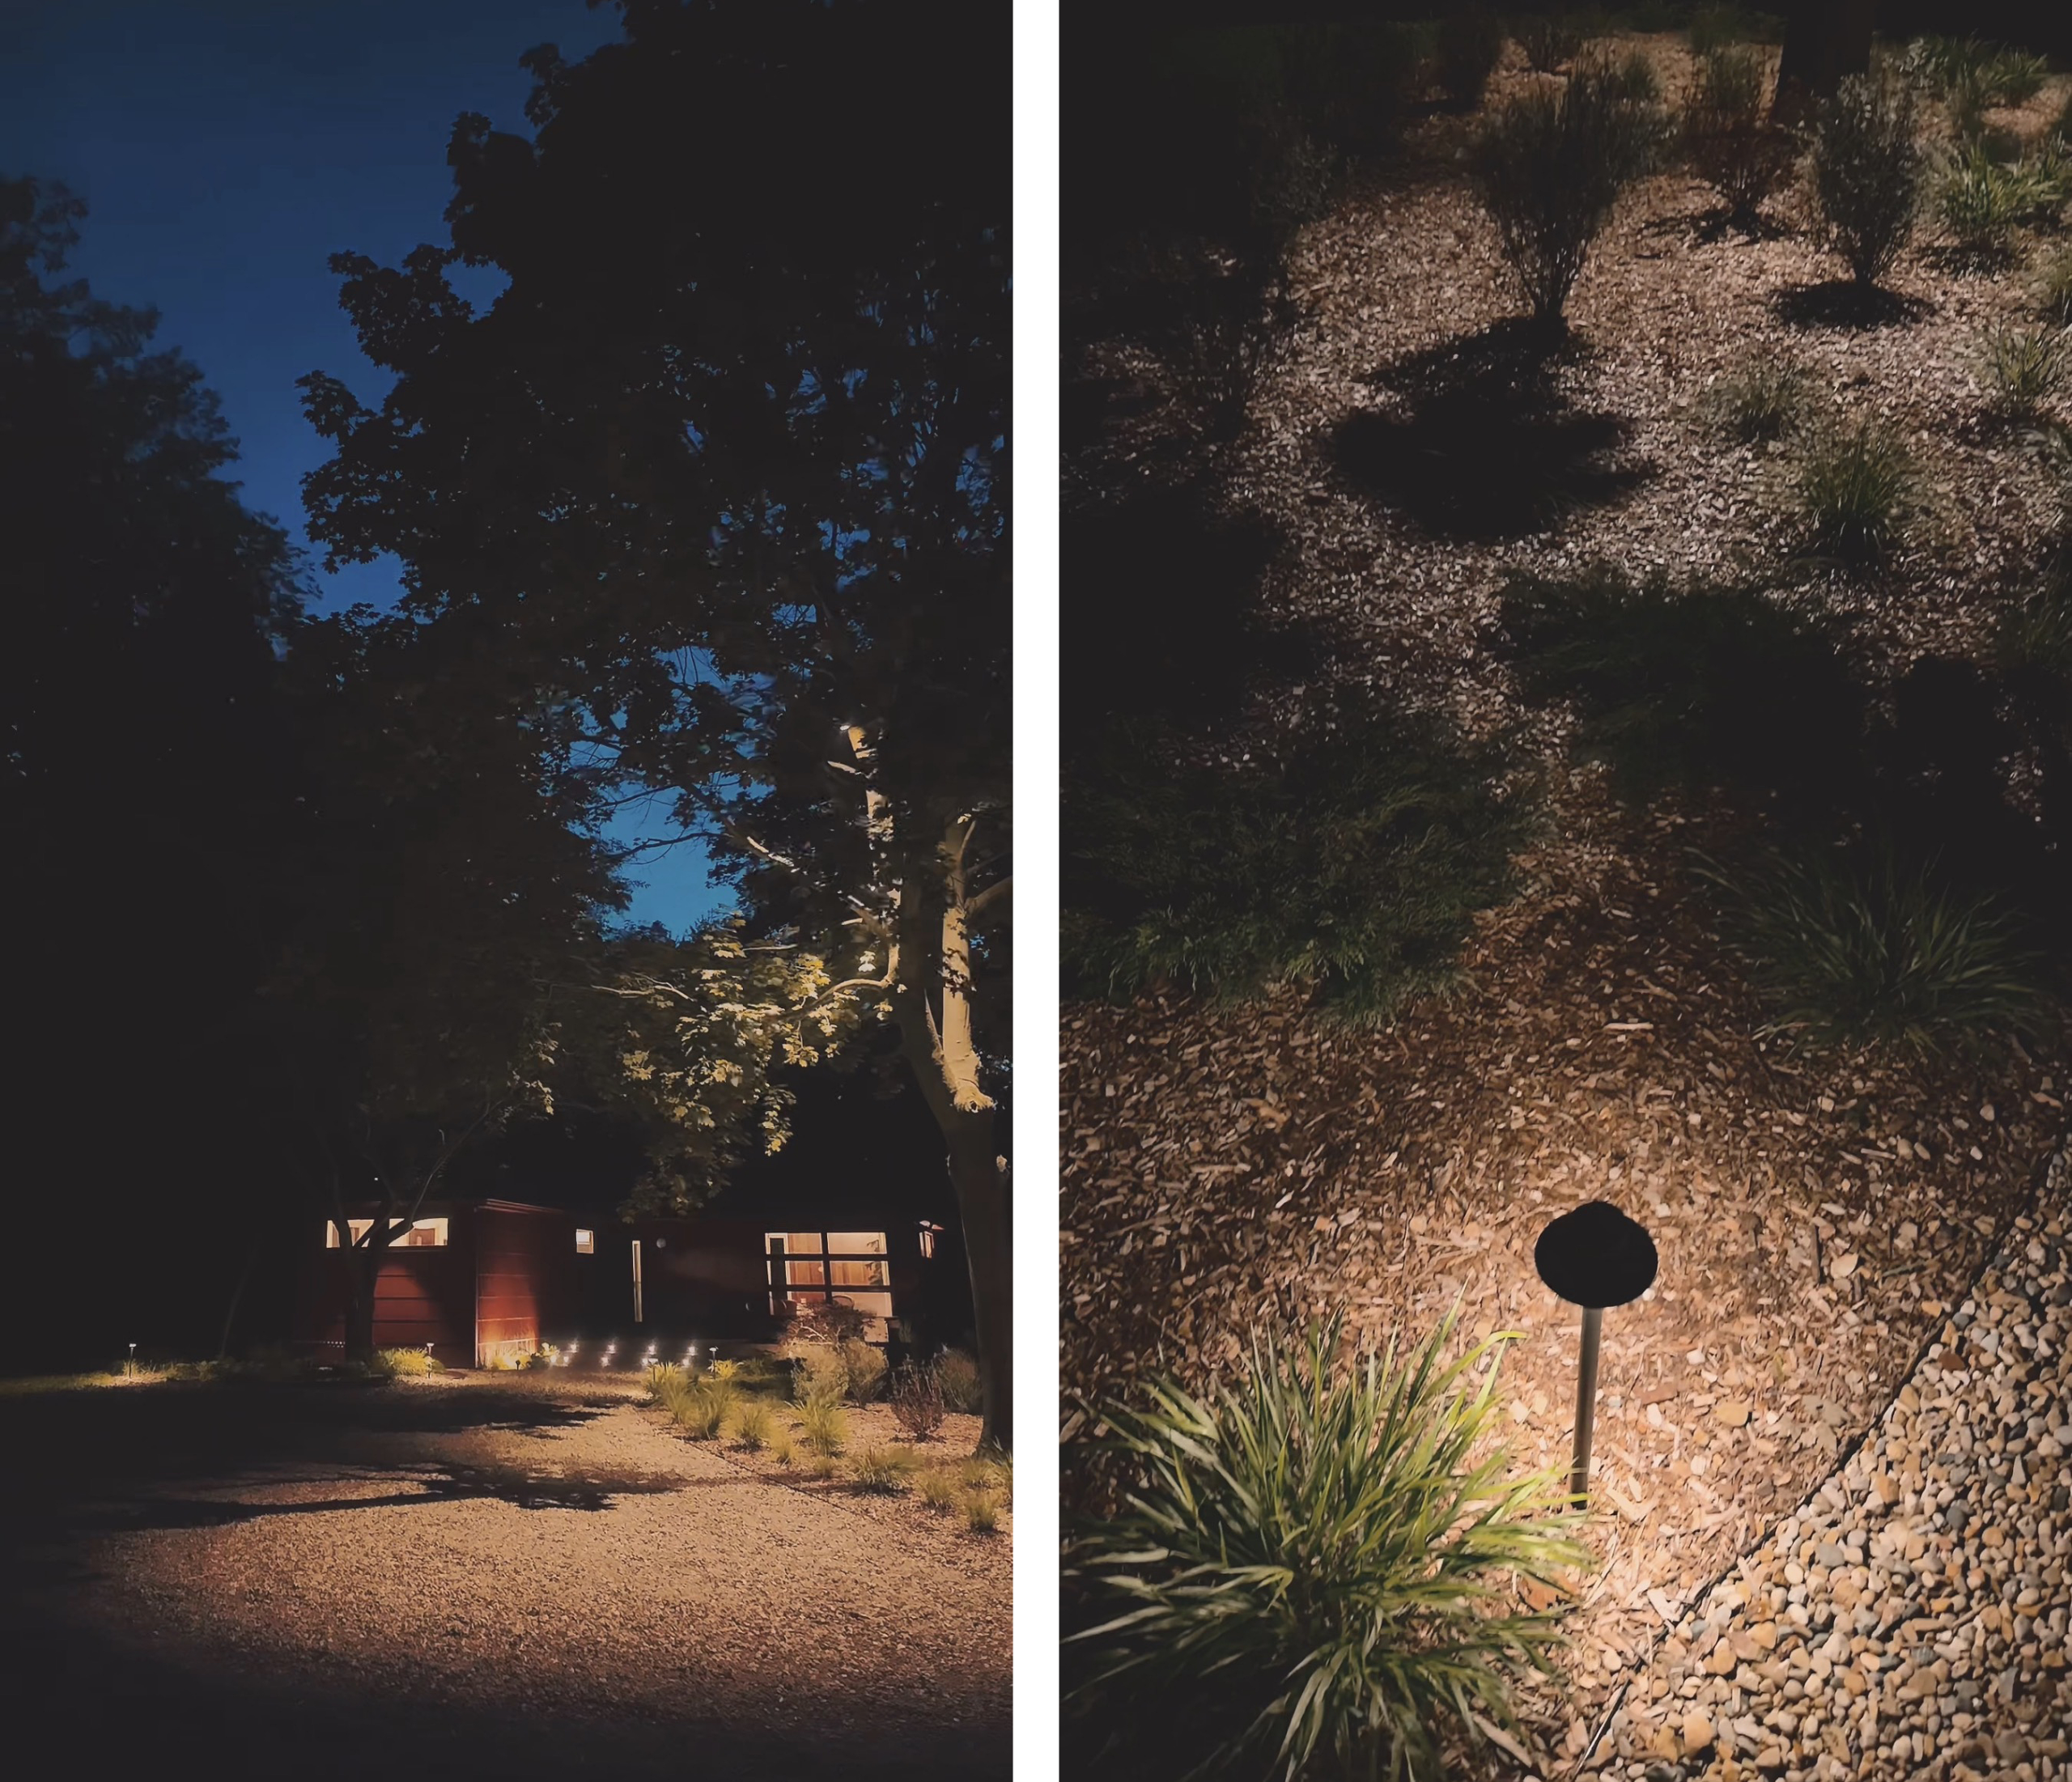
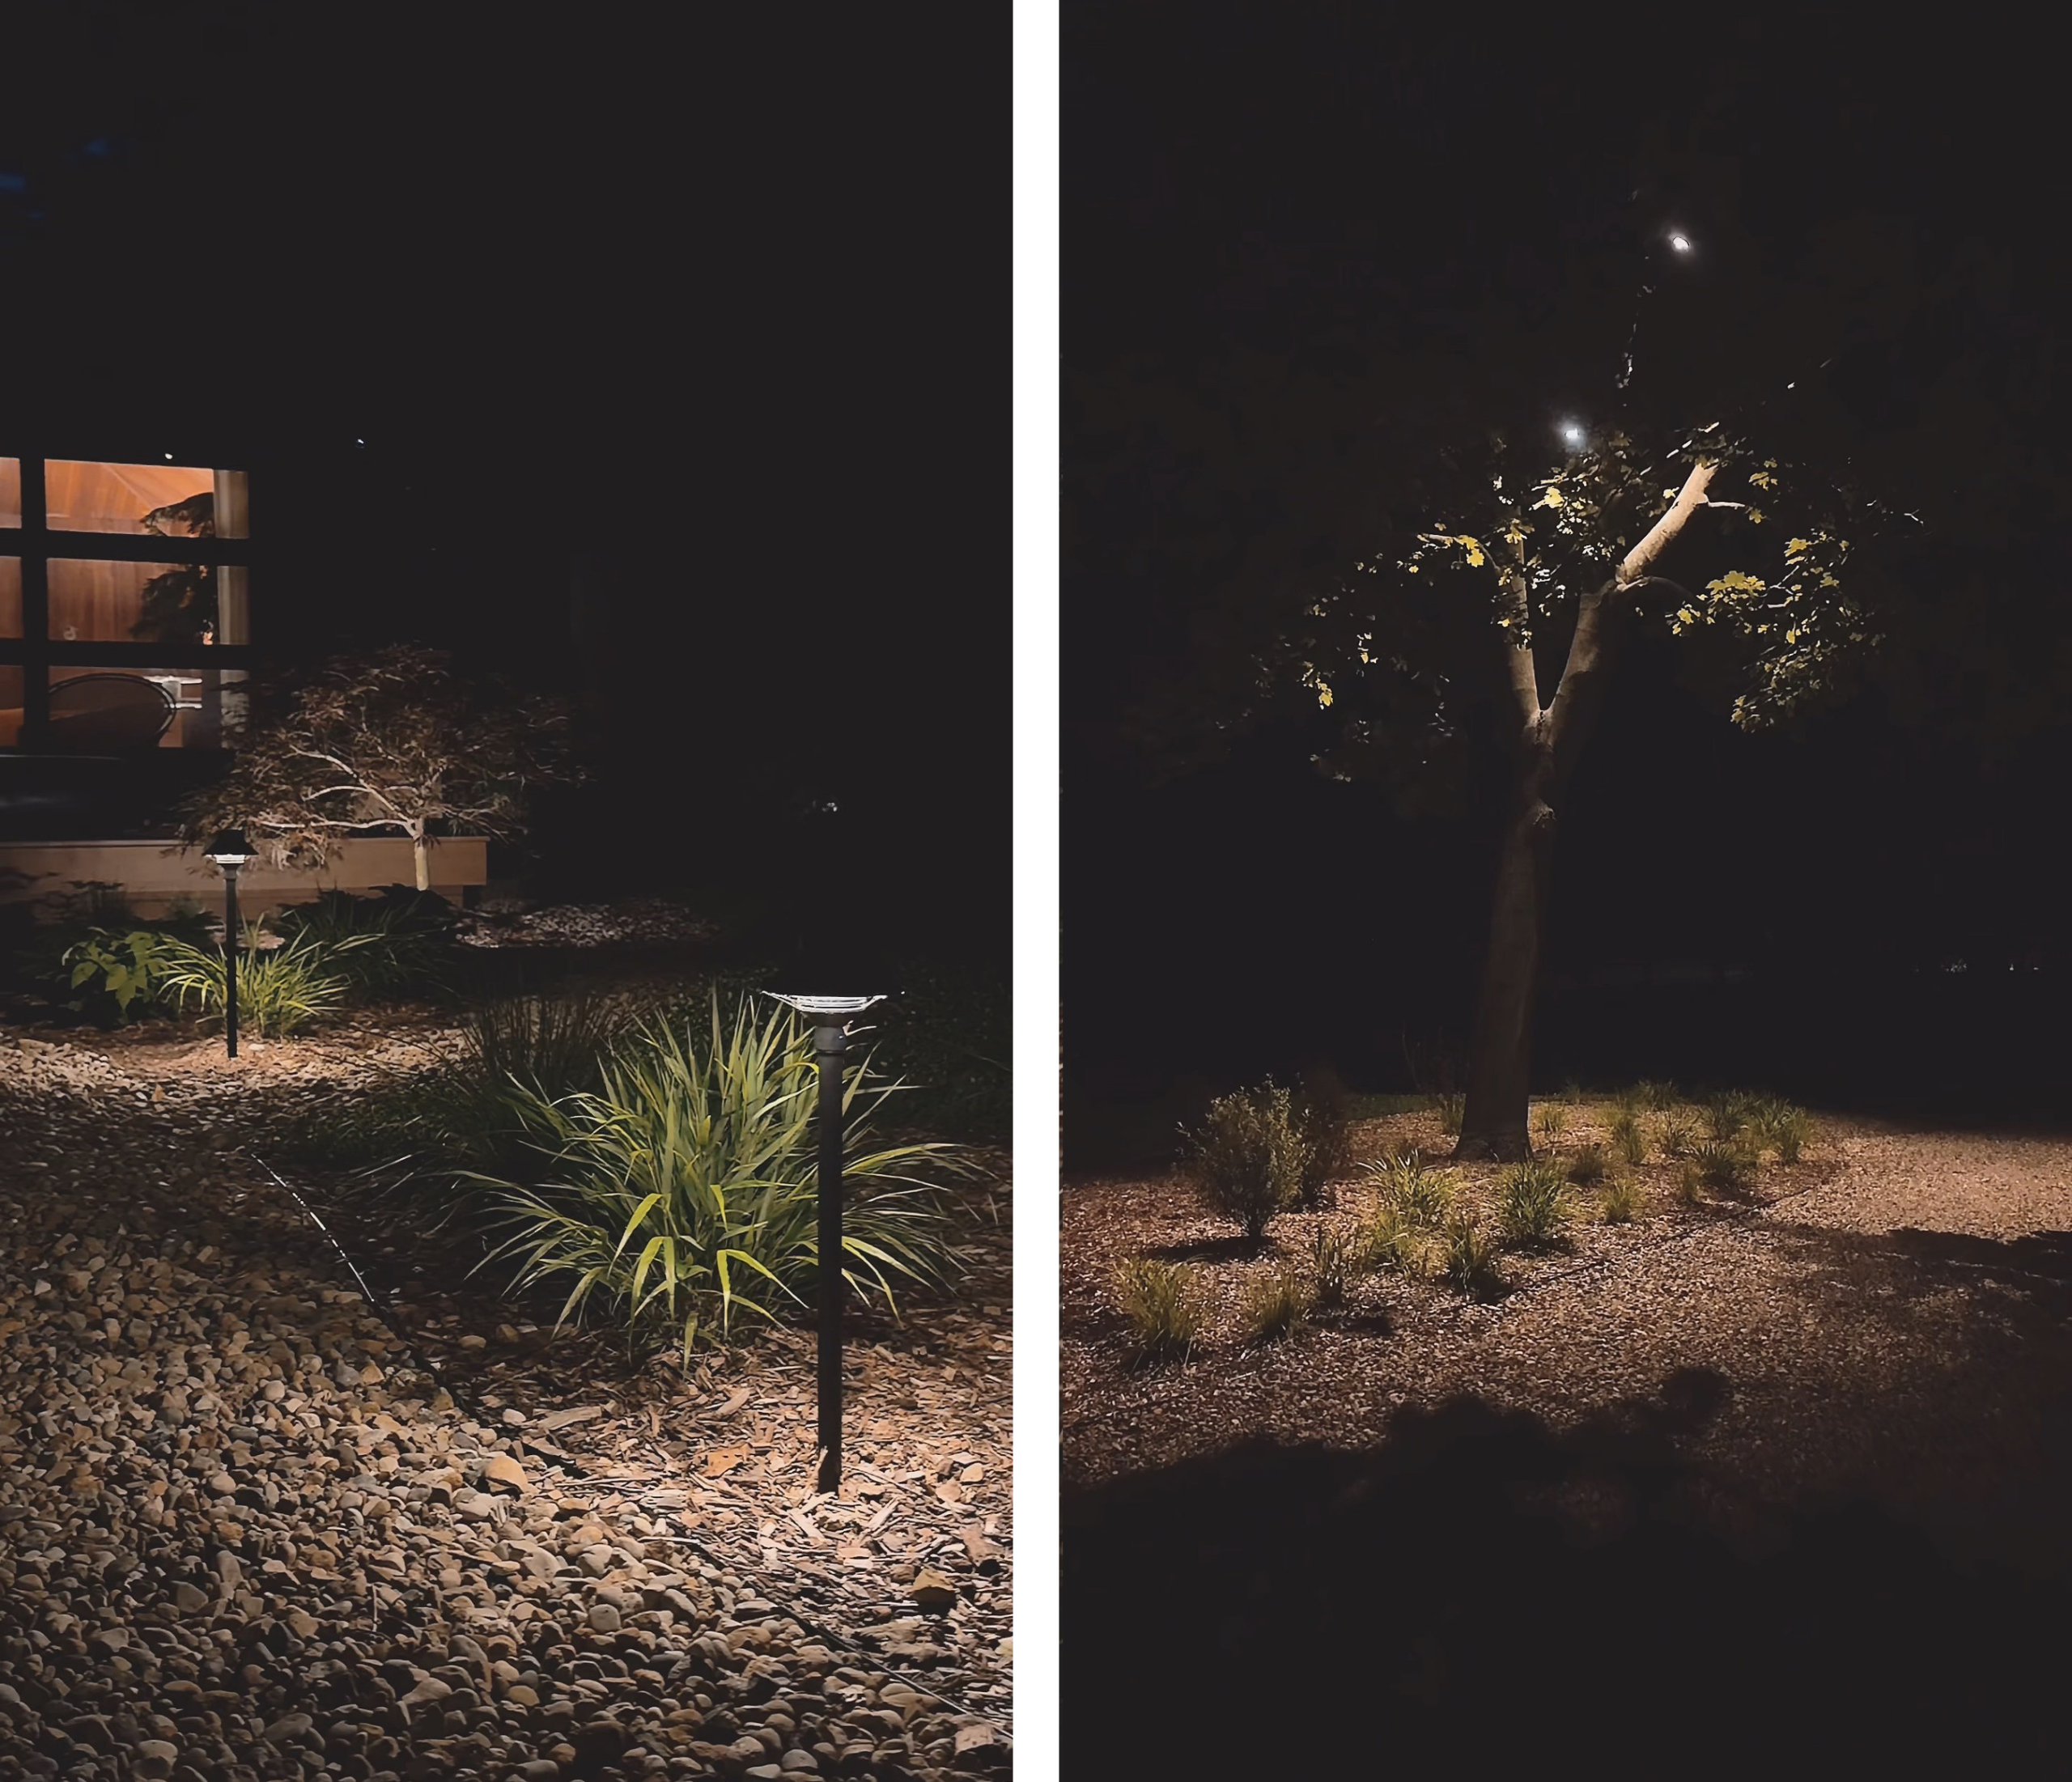
We’ve built our own DIY landscape lighting systems at our Chicago home and around the corner at Tree House, but we’d never worked with professional lighting designers before. It was a fascinating process and we learned so much about how to use light outdoors. The Mooncast team made suggestions that we would never have thought of and recommended products that we didn’t know existed. The downlights from high up in the trees and the small pendant light above the foot wash station bring warm, gentle light and beautiful shadow play to the spaces. When a soft breeze hits and the branches sway under the light, the vibes are next level.
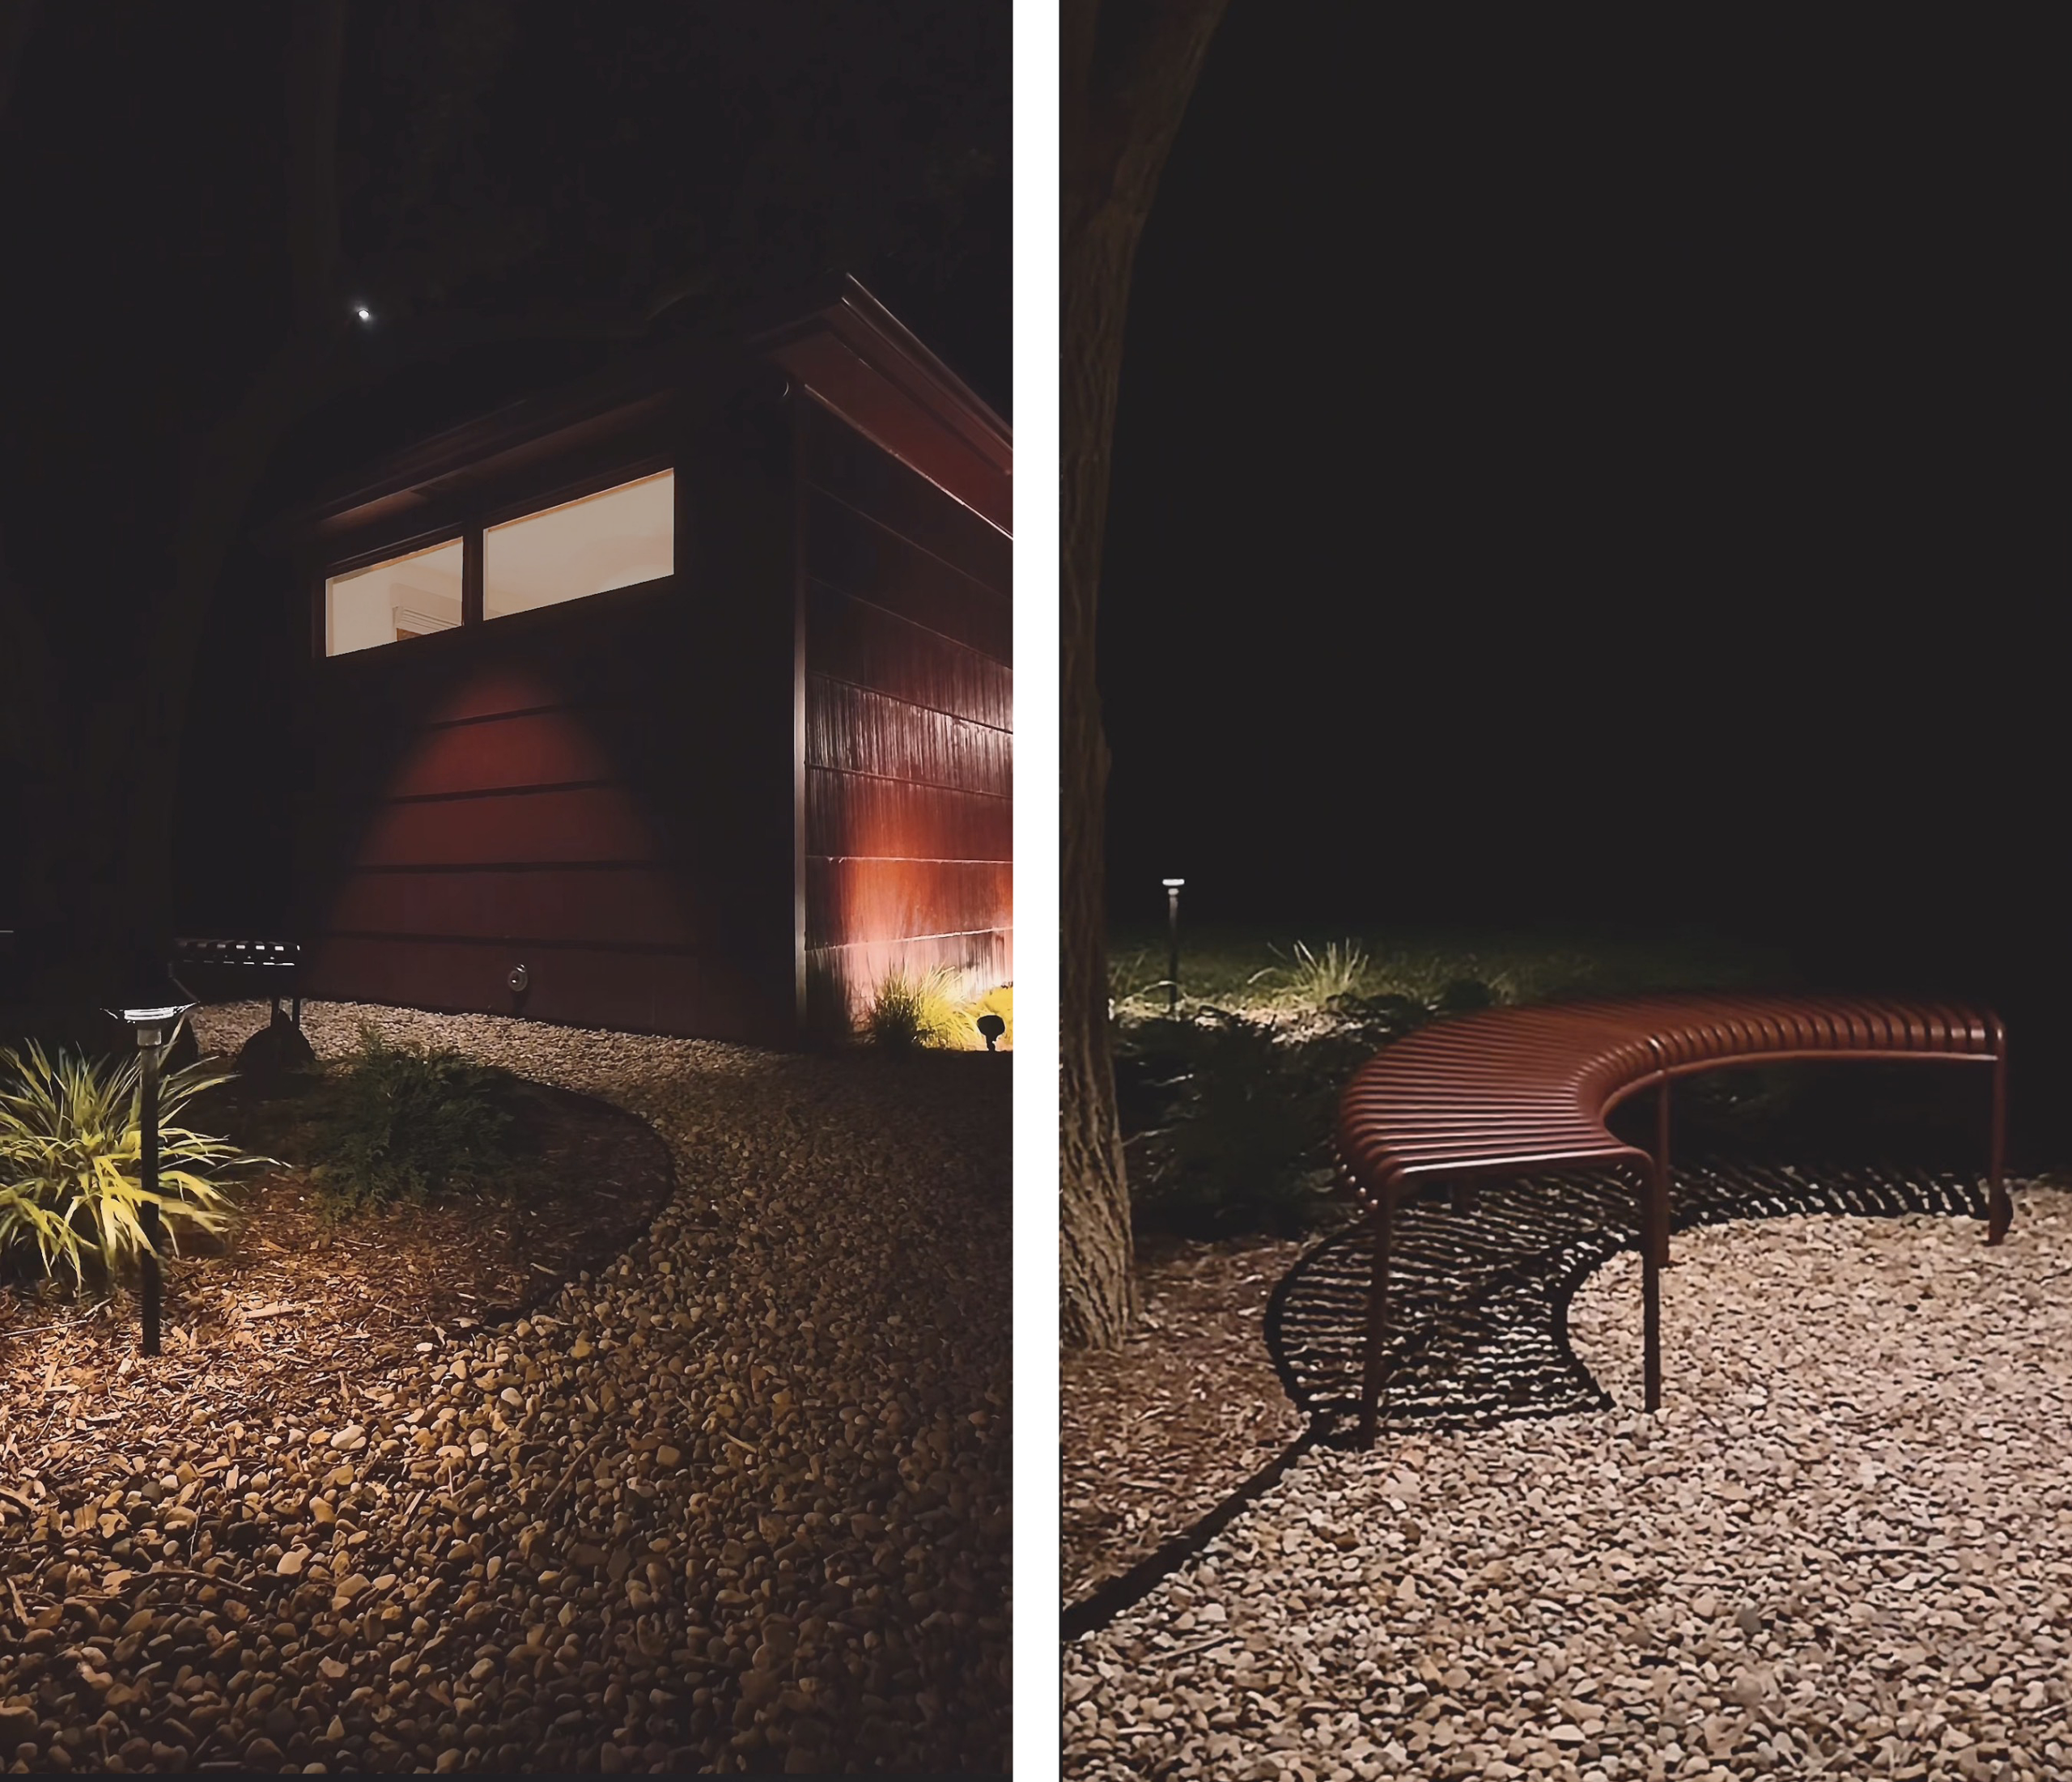
Elsewhere, the path lights lead the way through the space with a perfectly dim, gentle light. Everything can be adjusted with an app and its all very smart and incredibly beautiful. Once our preferred dimmer settings and on/off times are locked in, we never have to touch the system again. Although it’s completely modular in case we ever want to expand upon it.
If you’re interested in learning more about landscape lighting and the way we’ve used it, we highly recommend jumping back to our post from last week all about the subject. We’ve also included our outdoor lighting roundup once more below in case you missed it.
We’ve got a few more tricks up our sleeves for the Red house’s exterior! Although we’re currently focused on getting the inside spaces fully built out and functional. We’ve got a quad bunk situation in the works, along with a couple of built-in storage solutions. Lots more to come on this incredibly fun renovation!
1. carson wall sconce | 2. solar table lamp | 3. 8 pack solar fence lights | 4. orion outdoor solar wall light | 5. white + color ambiance outdoor base kit | 6. set of 2 rechargeable cordless table lamps | 7. outdoor cordless table lamp | 8. merit wireless table lamp | 9. landscape wall wash light | 10. 6 pack solar pathway lights | 11. 8 pack solar pathway lights | 12. plug-in outdoor linkable rope light | 13. solid brass outdoor spotlights









Hi, is that fabulous curved garden bench from DWR?
Yes! It’s the Palissade Park Bench. Here’s the link: https://on.ltk.com/+dpVhgB2YUSOYIpsfhfZkNw
Hi, New England resident here. How does the gravel path hold up with snow removal? How do you keep it weed free? Everything looks lovely, great job!
Hi! We don’t traditionally remove snow. Both our vehicles are AWD/4×4 with good ground clearance, so we just muscle through it then hand shovel a few paths and parking areas after we arrive. I think you’ve be fine with plowing as long as your operator didn’t drop the plow all the way. Regarding weeds, there’s weed cloth under most of the gravel and we pull by hand as much as possible. Hope this helps!
There are so many great things to say about this house – the outdoor lighting is peaceful, tranquil and breathtaking! The red that you chose to paint the house, and I’m not a red person, is delicious. I am so excited to see the bunk room and the bookshelf surround for that lovely sofa of yours. Oh, and I can’t forget to mention the beautiful deck. I love that you can back a truck ride up to it to offload. 😮I think the kitchen is one of my favorites, if not the favorite. This house is top-notch, top drawer, top everything!!
Thank you for the kind words, Cynthia!
Looks fantastic!
Thanks Holly!
Love seeing these landscaping updates, the transformation of the outdoor space is turning out great!
Thanks James! We’re also loving it. Now if we could just find a way to spend more time there!
The transformation is stunning. The entire outdoor space has such a peaceful, zen atmosphere—it’s like a little Japanese oasis of calm.