




How we took a can of paint and reimagined shelving to create a tidy, functional and cheery coat closet.

In This Post
The Hardest Working Room In Our Home
This coat closet didn’t exist when we bought our home. It’s seen a handful of iterations since we framed it out and installed the salvaged vintage door. Each one has worked well for our family’s needs at the time. Over the years, it has shifted and morphed, but to most recent version was no longer working for us in this stage of life.
It started as a place to, naturally, stash coats and a vacuum cleaner. Then held accessories for both of us and two ruffian pit bull mixes. Now that we’re a family of three humans and one dog, it holds coats, backpacks, roller skates and the cutest, tiniest Doc Martens you’ve ever seen.
This room has always worked hard for us, but we knew we could organize it better. And on a very limited budget. Here’s how it all came together.
Where We Started
When Lucy was tiny, so were her coats! The last version of this closet had an upper rail for us, a lower rail for her and an inexpensive shoe rack at the bottom. This was all flanked by adjustable side shelves to contain various sporting goods and winter accessories.
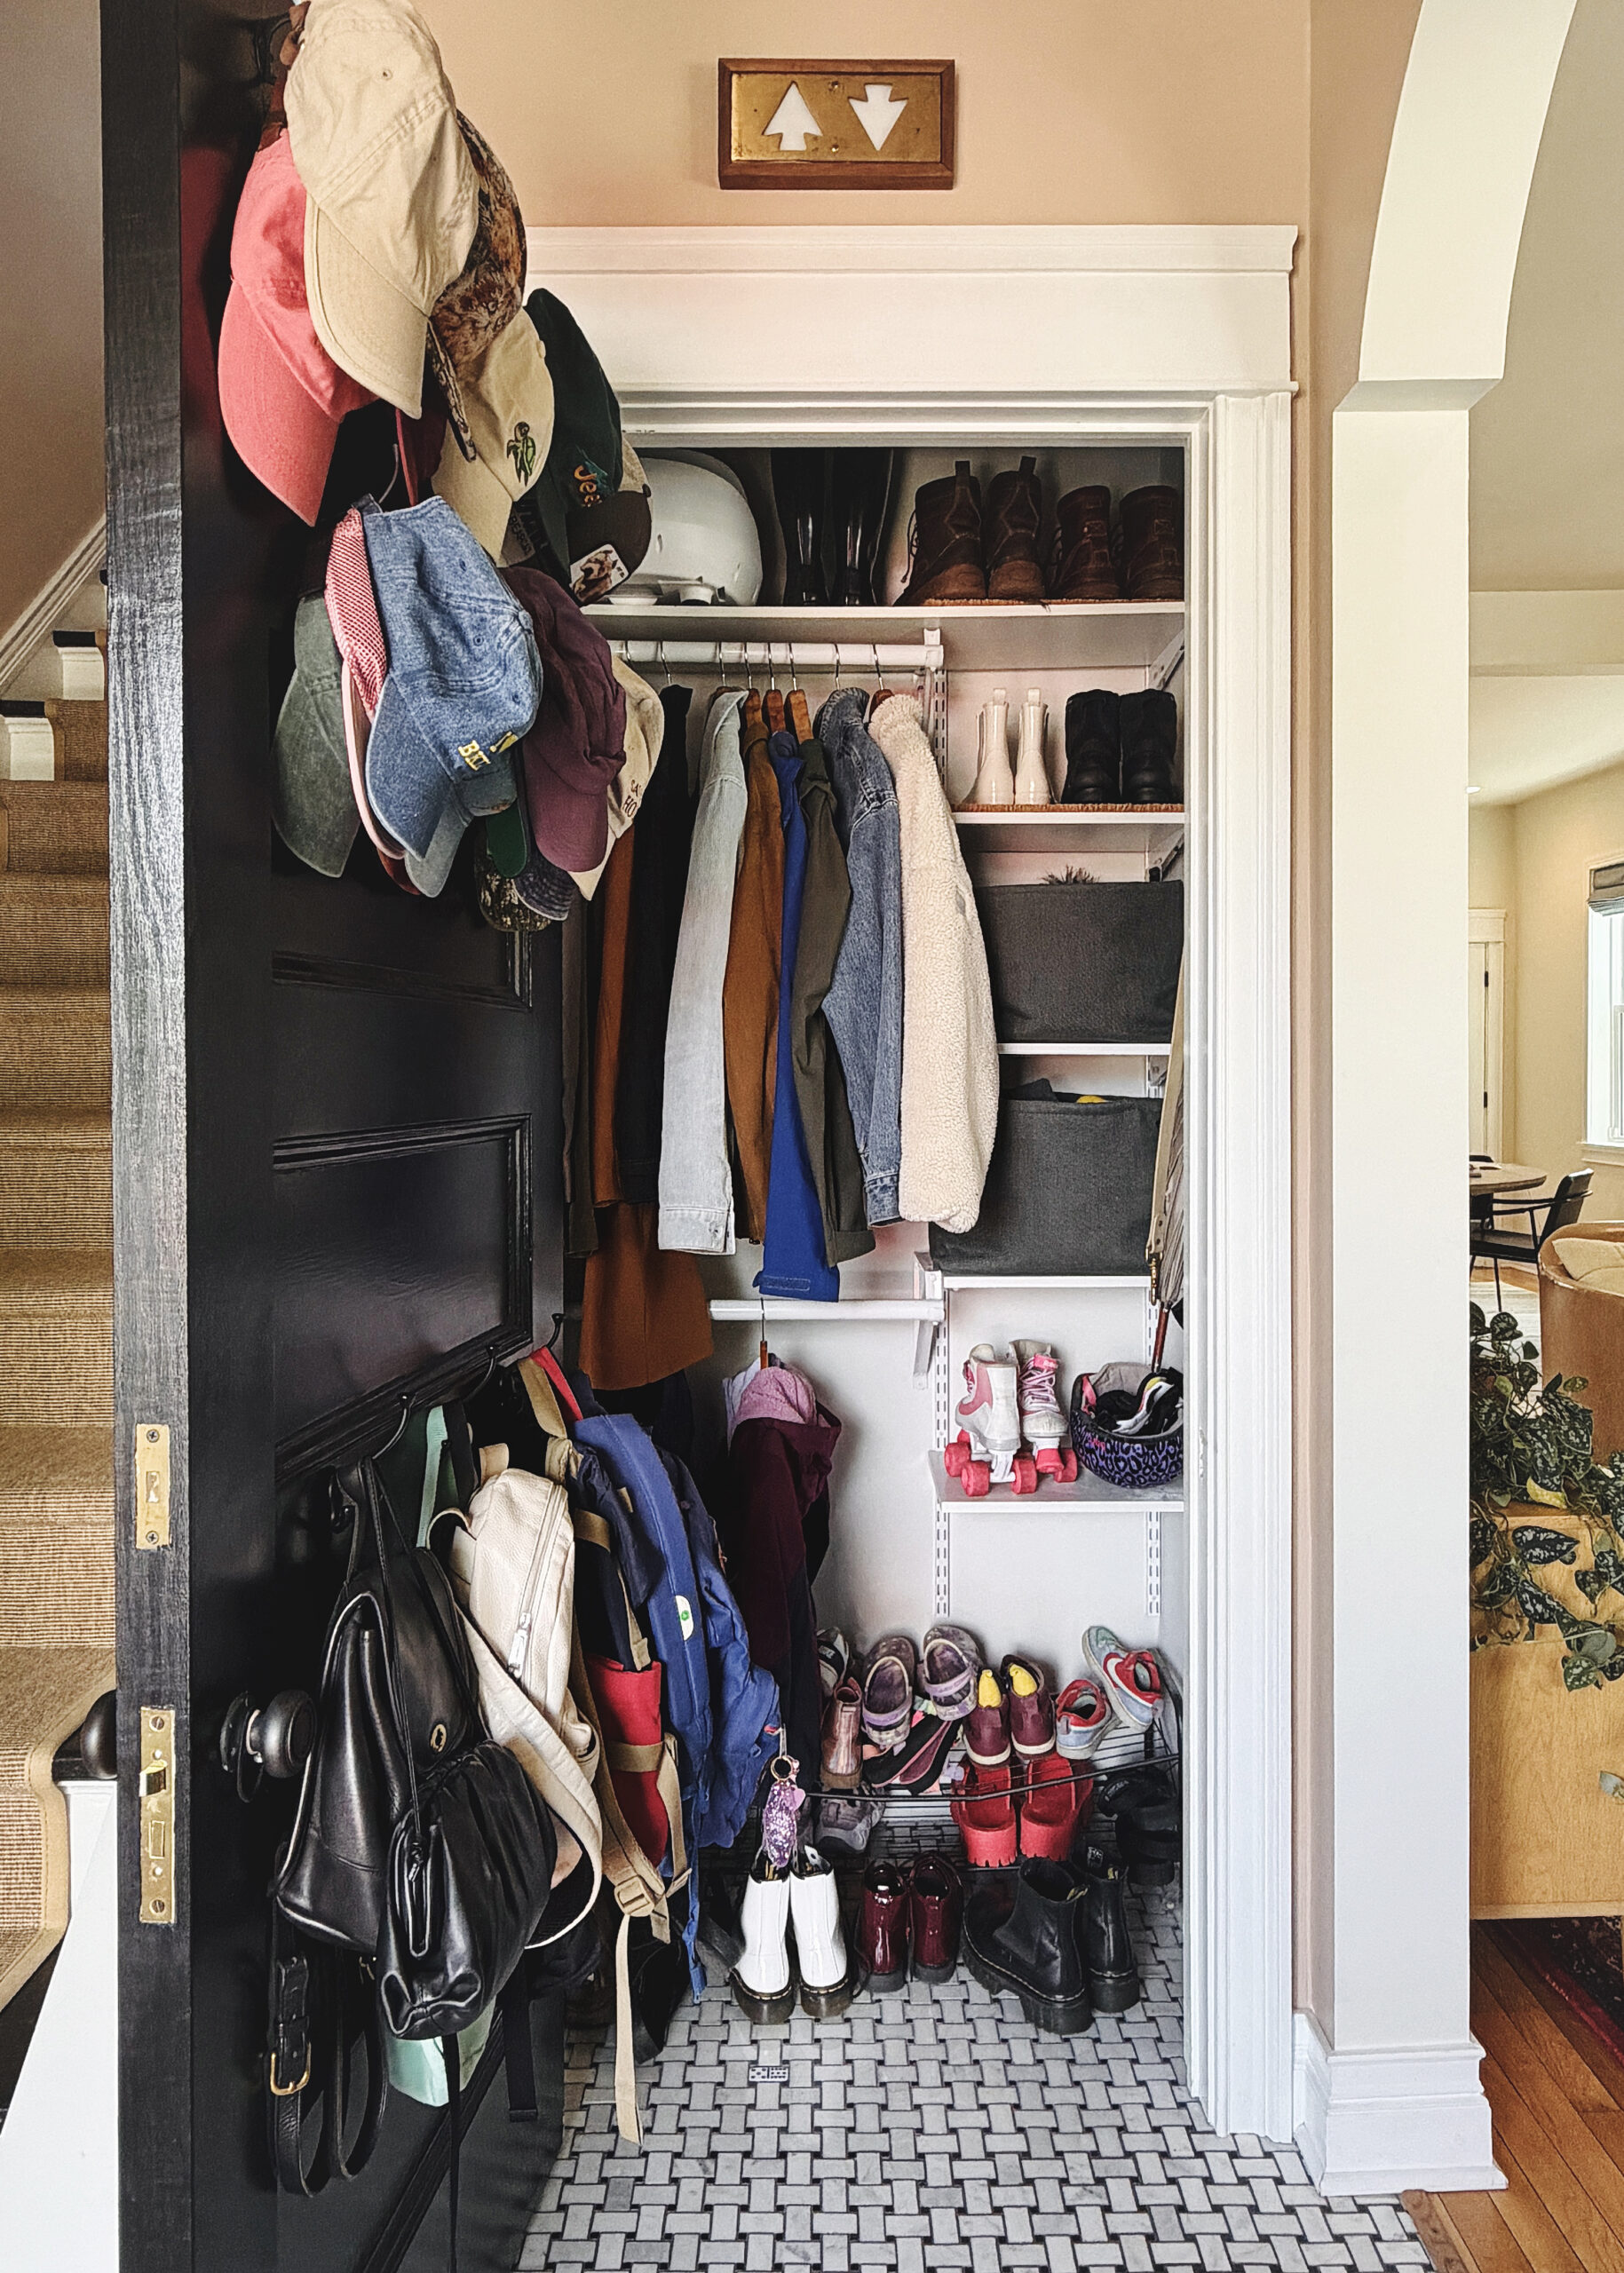
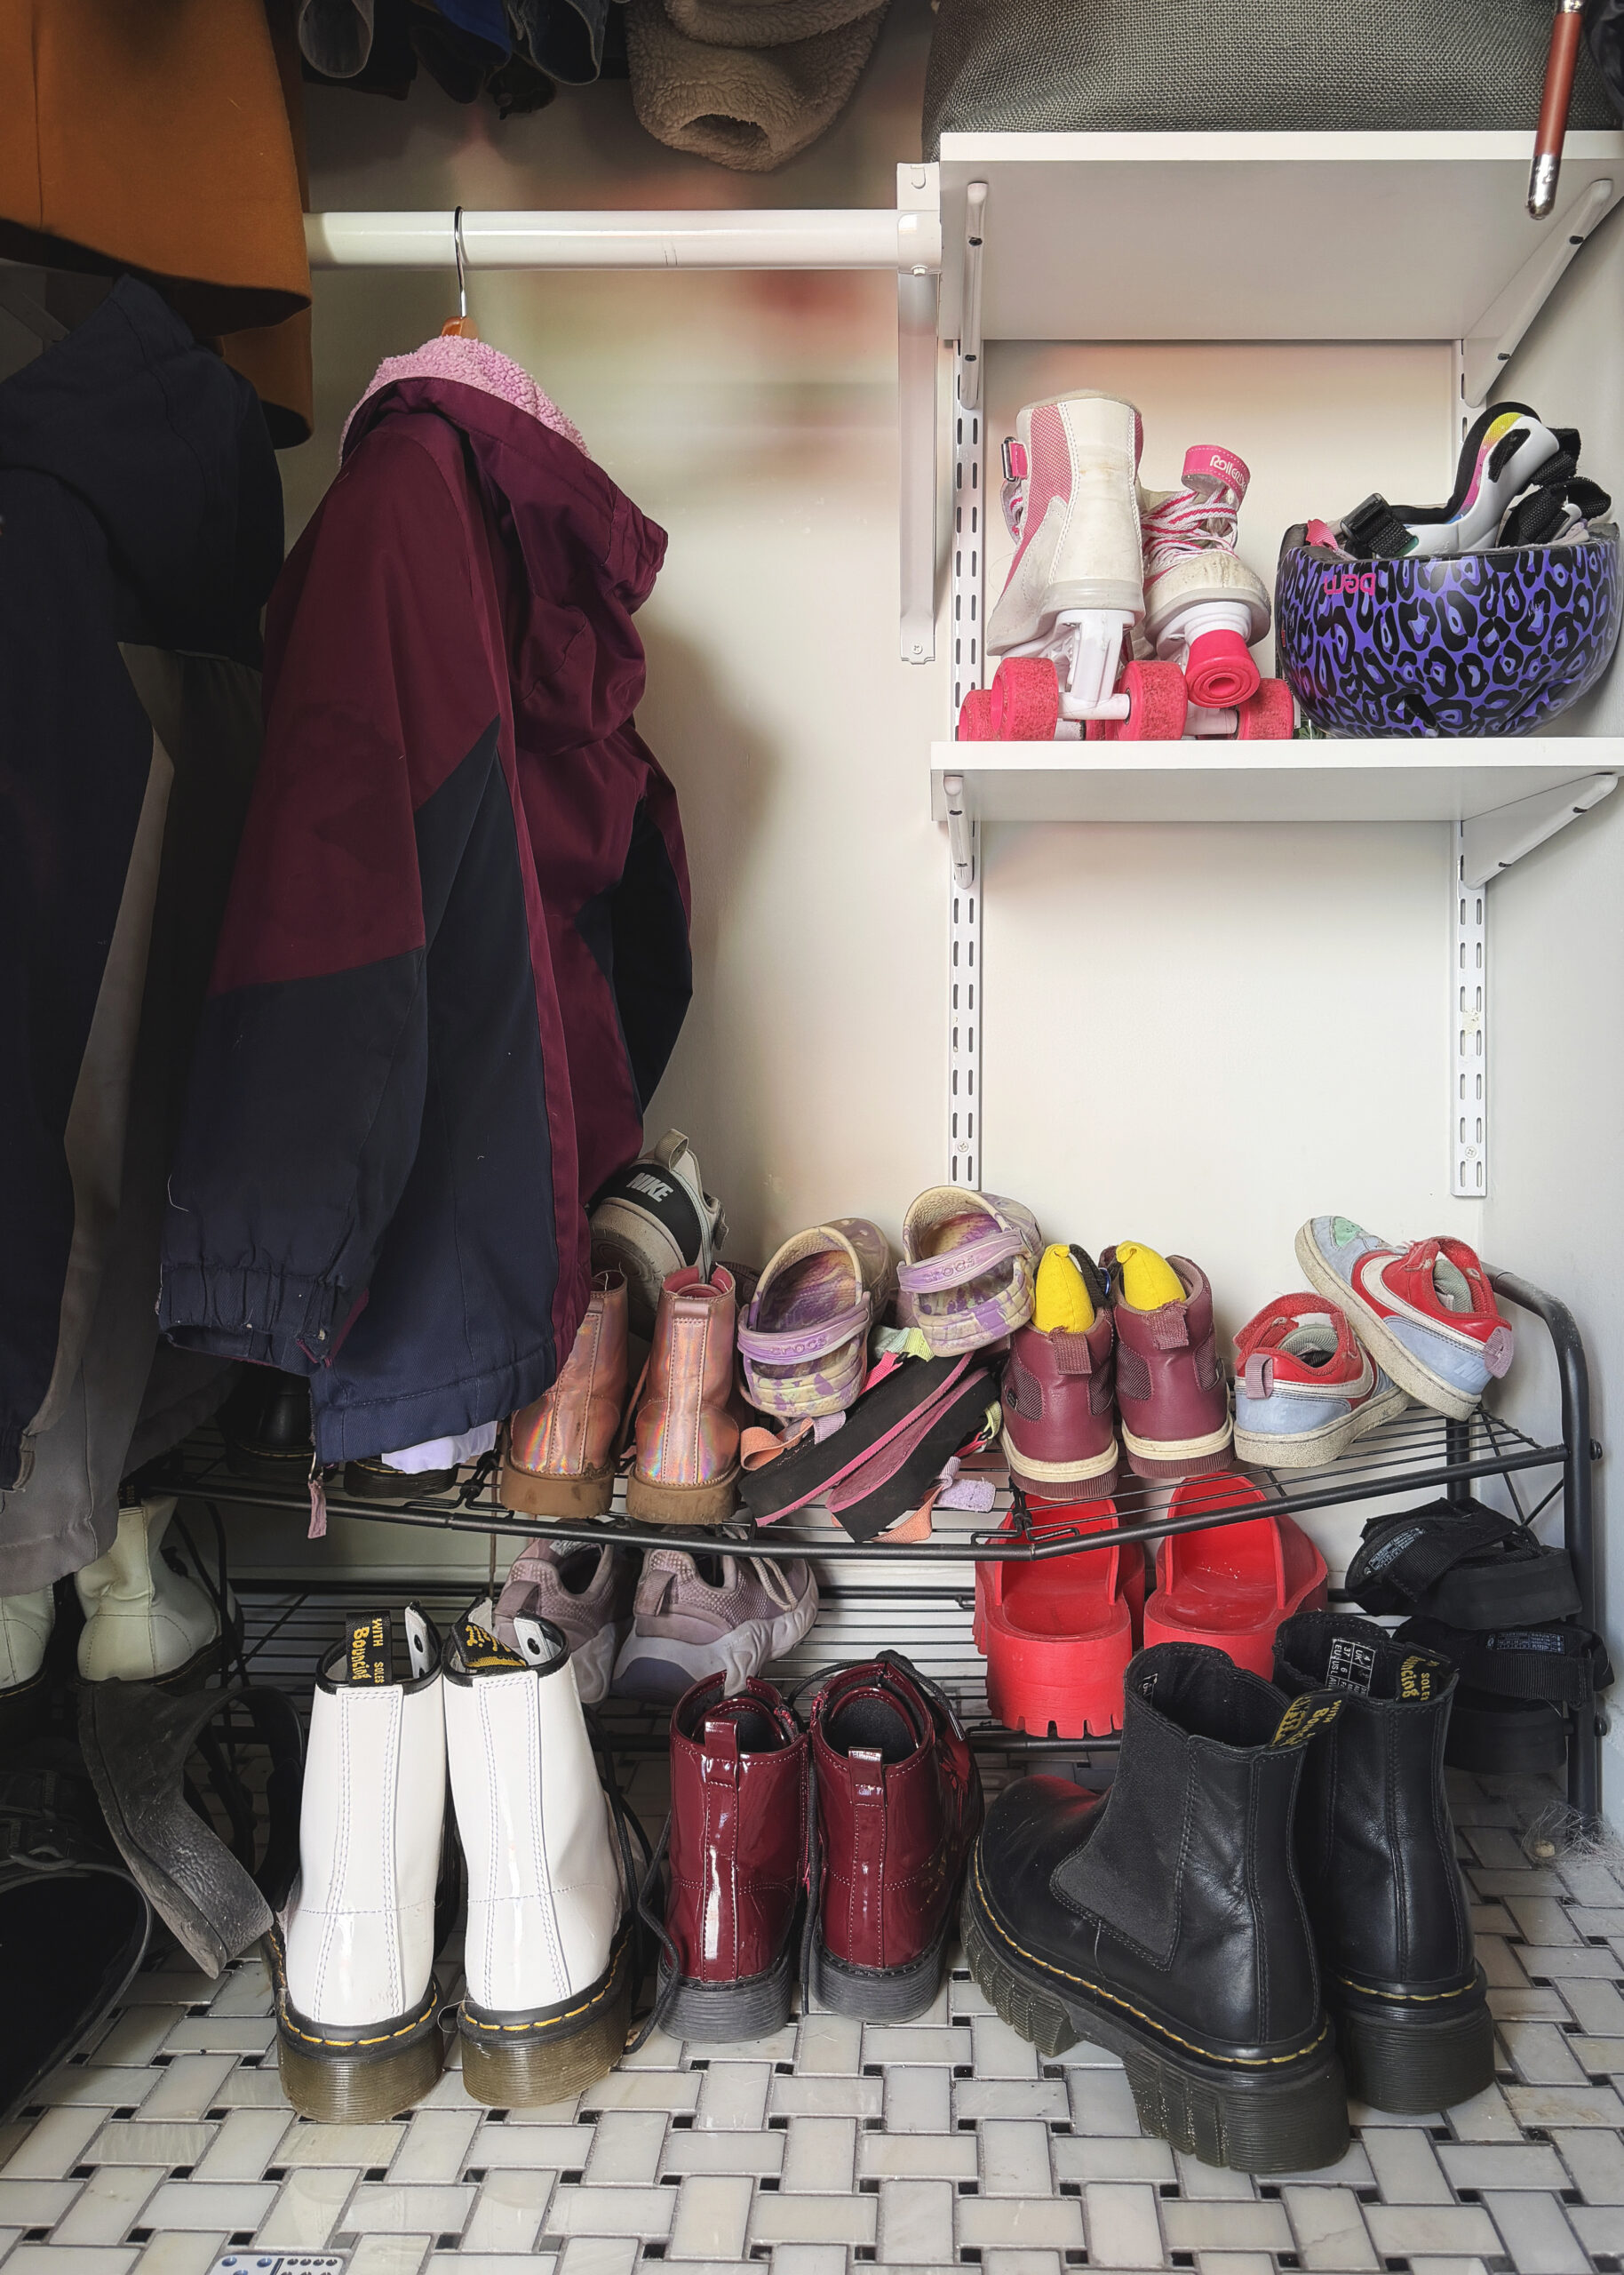
As you can see, the weight of all those boots (and likely an accidental mis-step by a young person) brought the boot rack to its knees and left us wanting for more storage space. Now that Lucy’s coats are almost adult-size, the low rod was no longer the move.
A Few Tweaks
As always, this project started with a huge purge! We donated and gifted all of the outgrown shoes, coats, and anything we hadn’t worn in the last year and started fresh with only what we use and need.
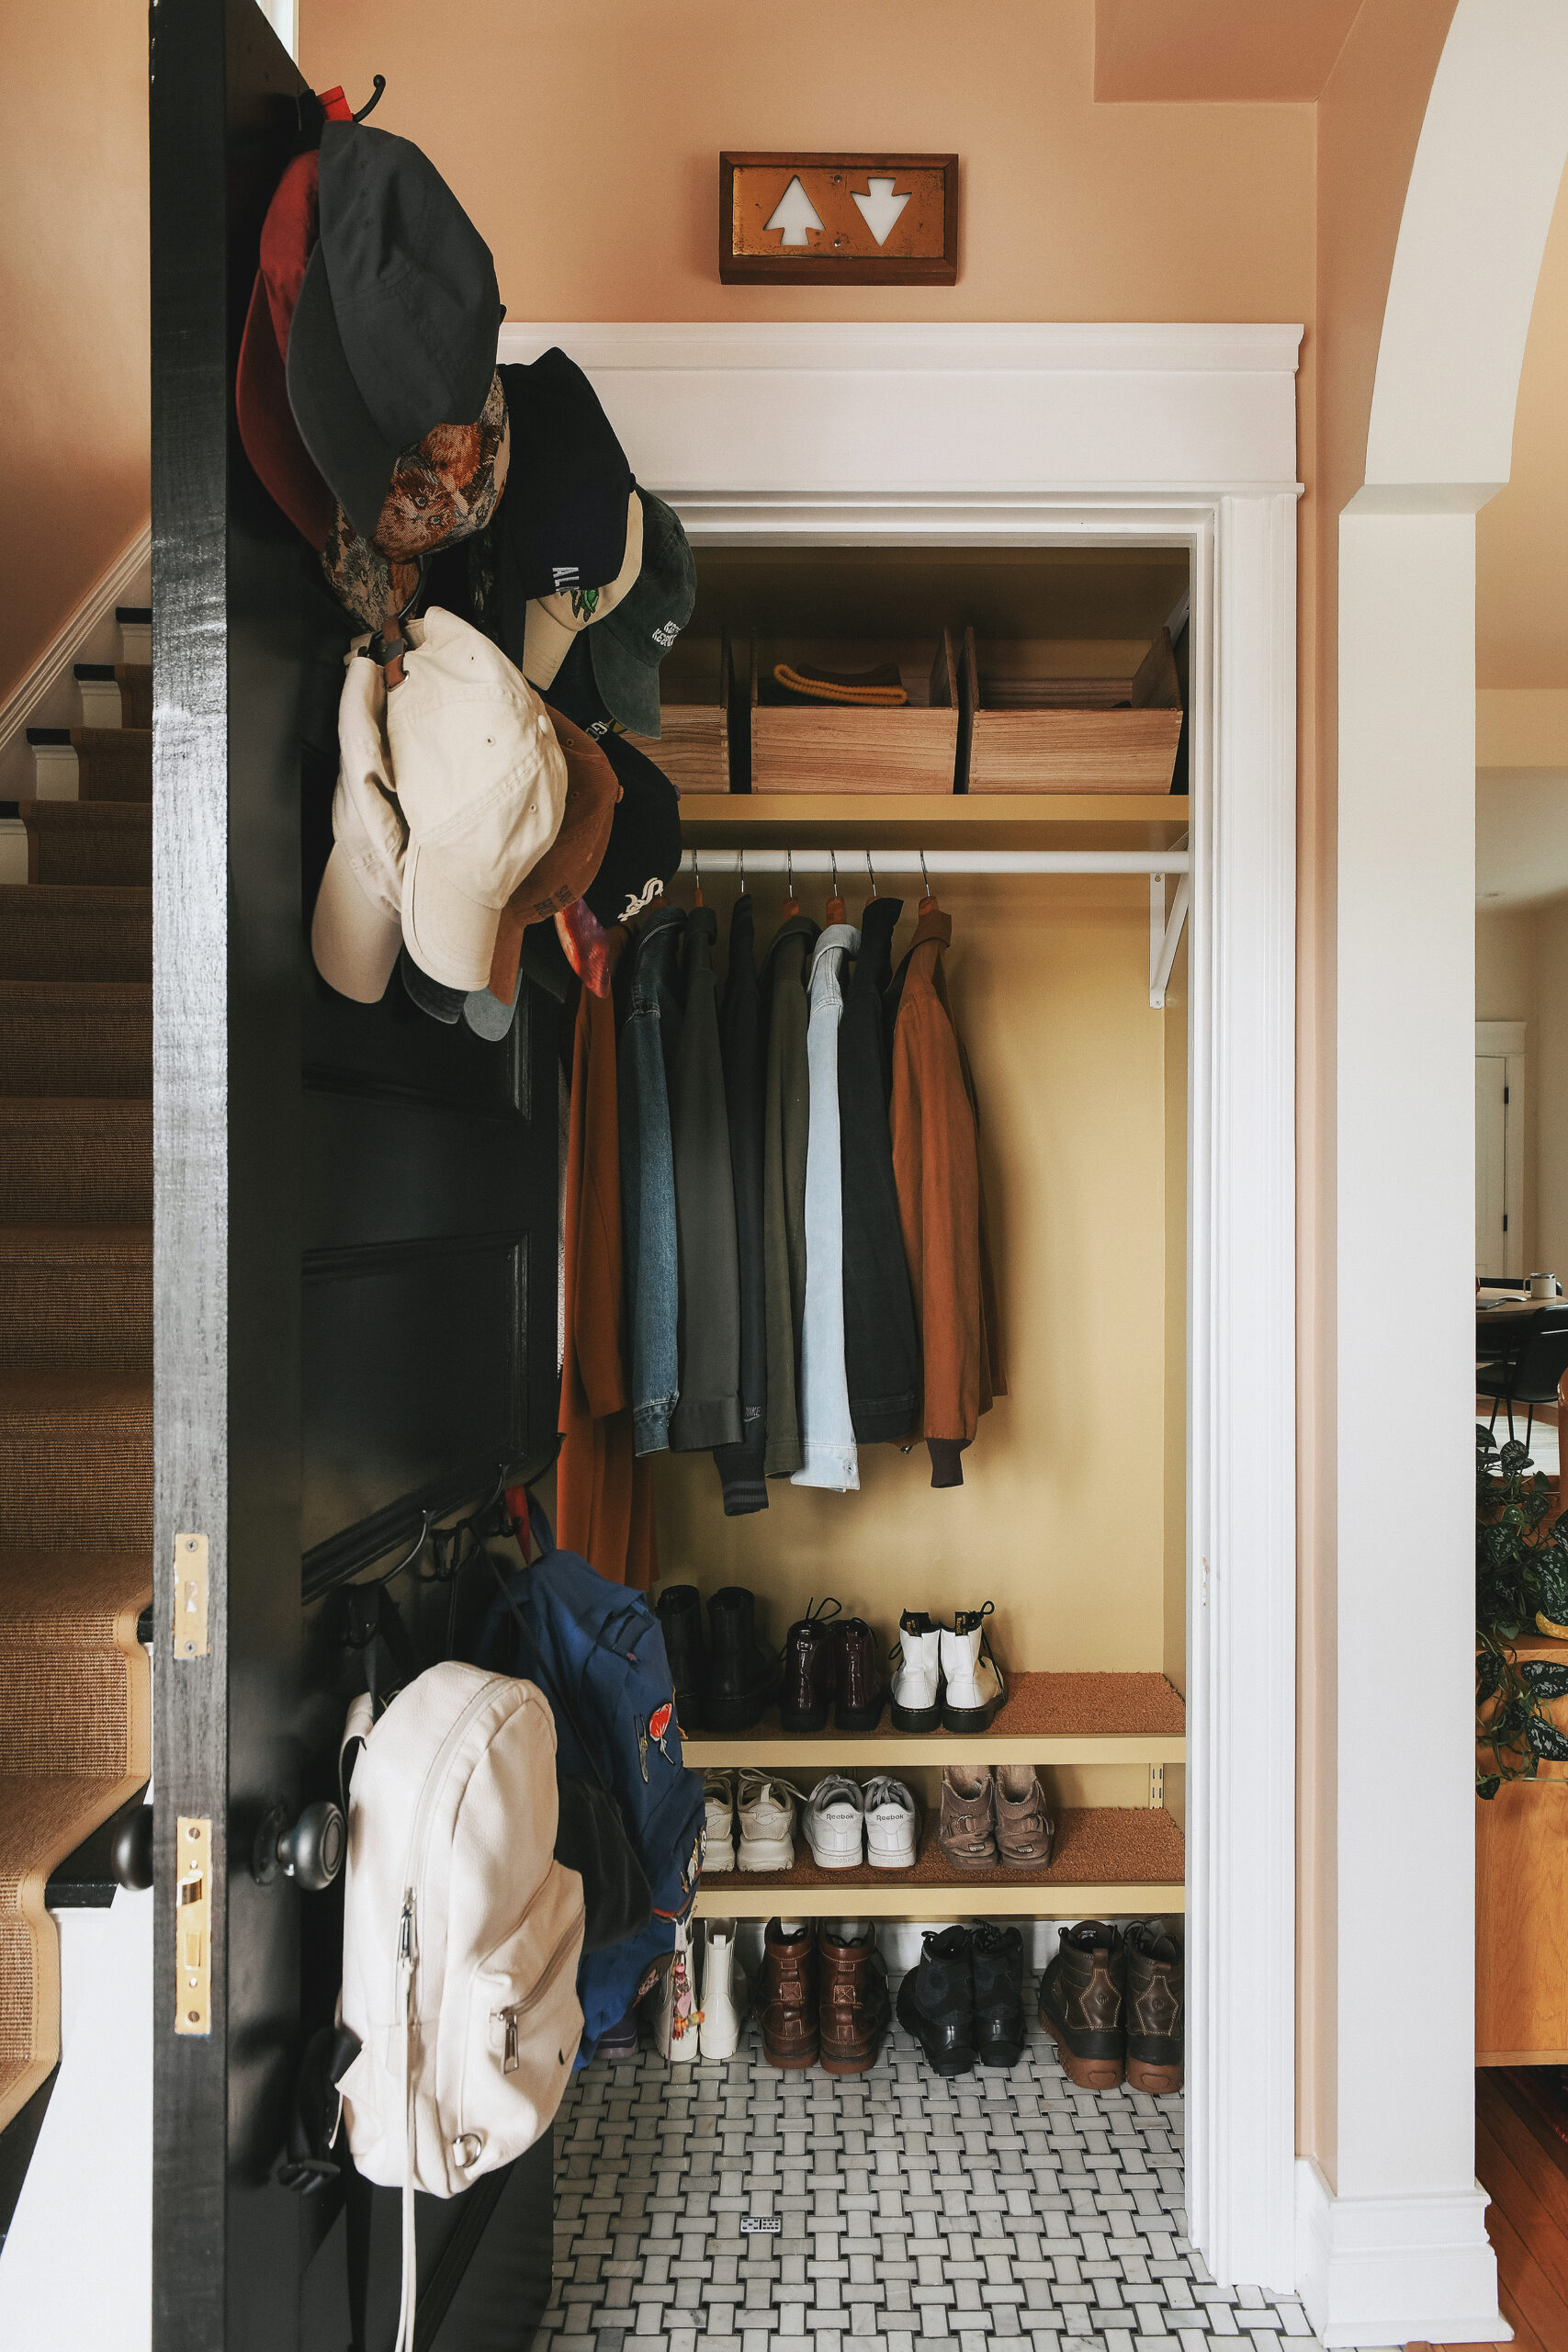
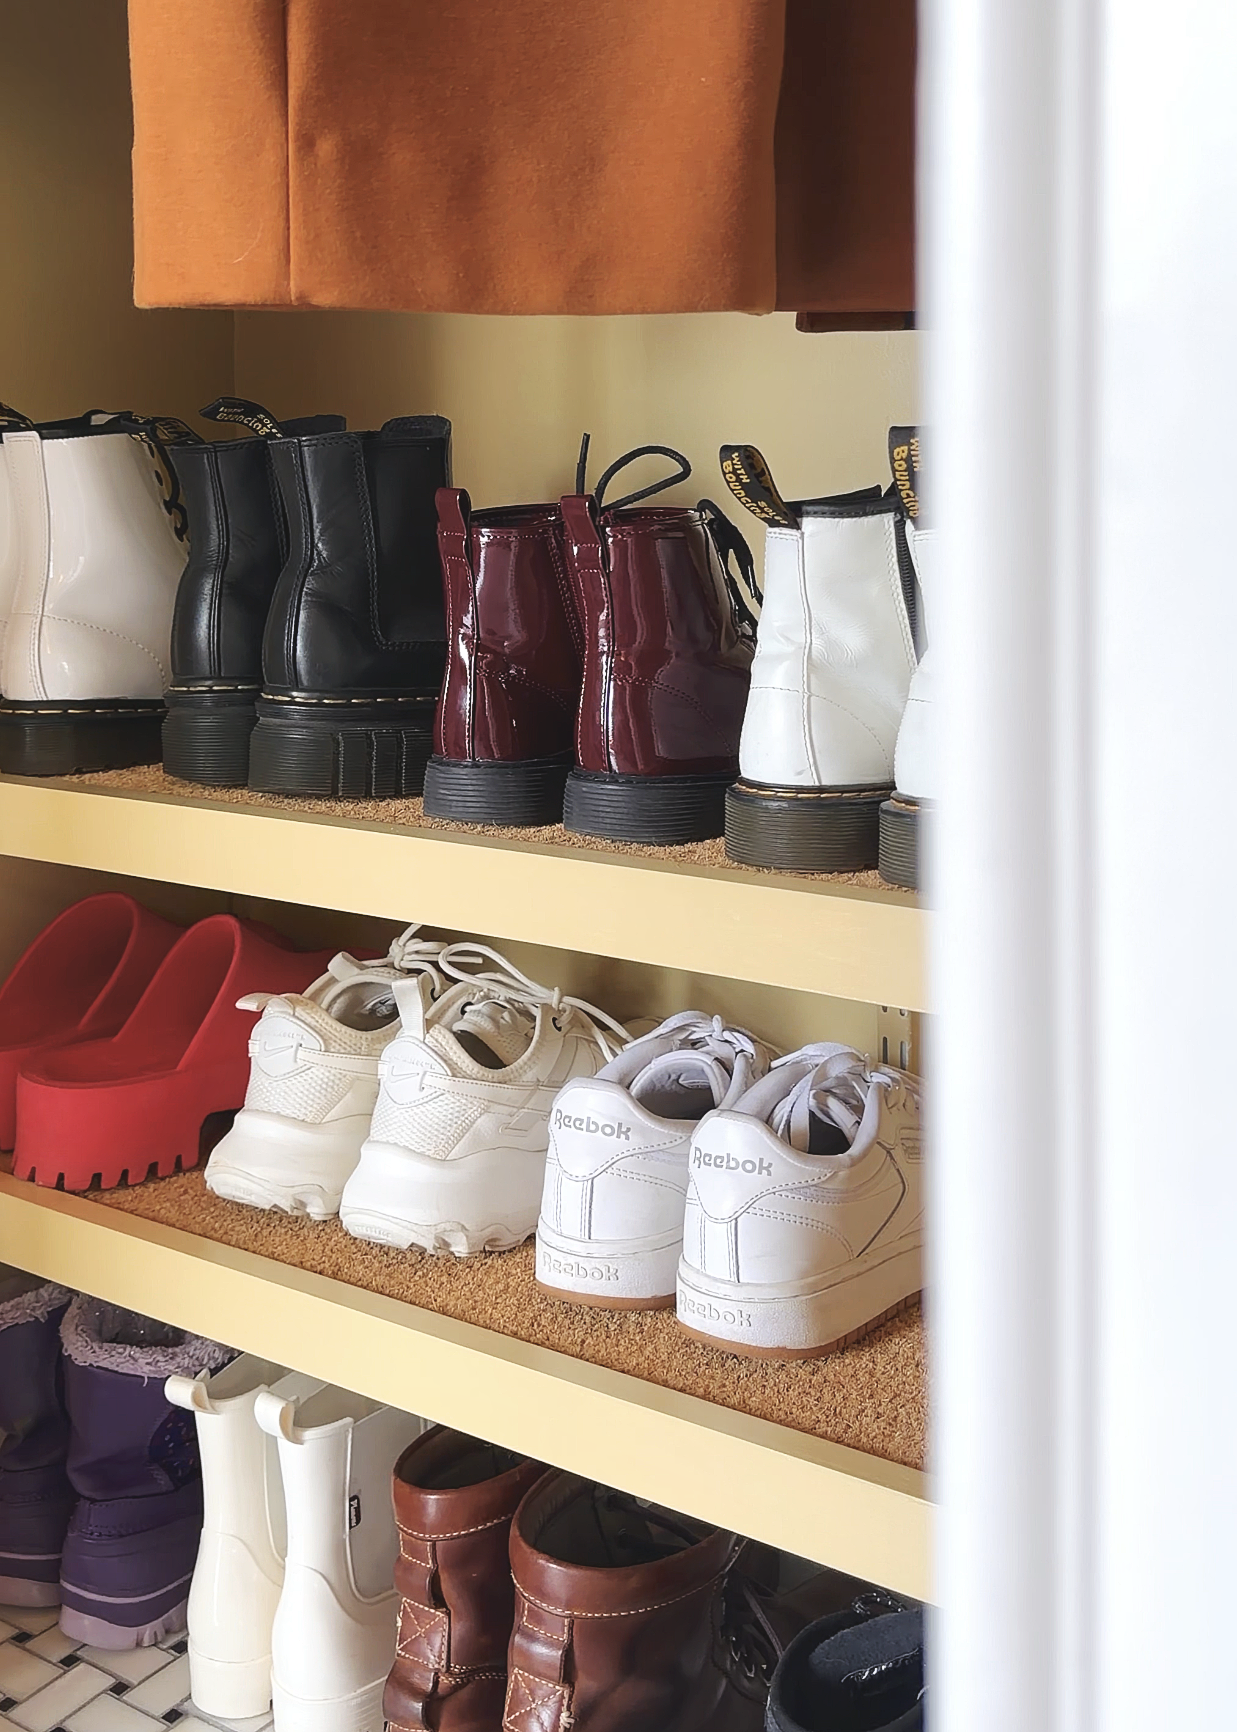
We eliminated the double rod in favor of sturdy shelving, which we made by glueing and nailing a pine 1″ x 2″ board to the front face of a handful of 1″ x 12″ boards. These were installed intentionally ‘upside down’ so that the extended lip faces up. This created the perfect platform to hold our trimmed coir mats in place for a custom, functional look.
Not wanting any space to go to waste, we relocated all of the storage bins overhead. We chose these wood bins with an easy to grab opening for scarves, hats and kitty’s accessories.
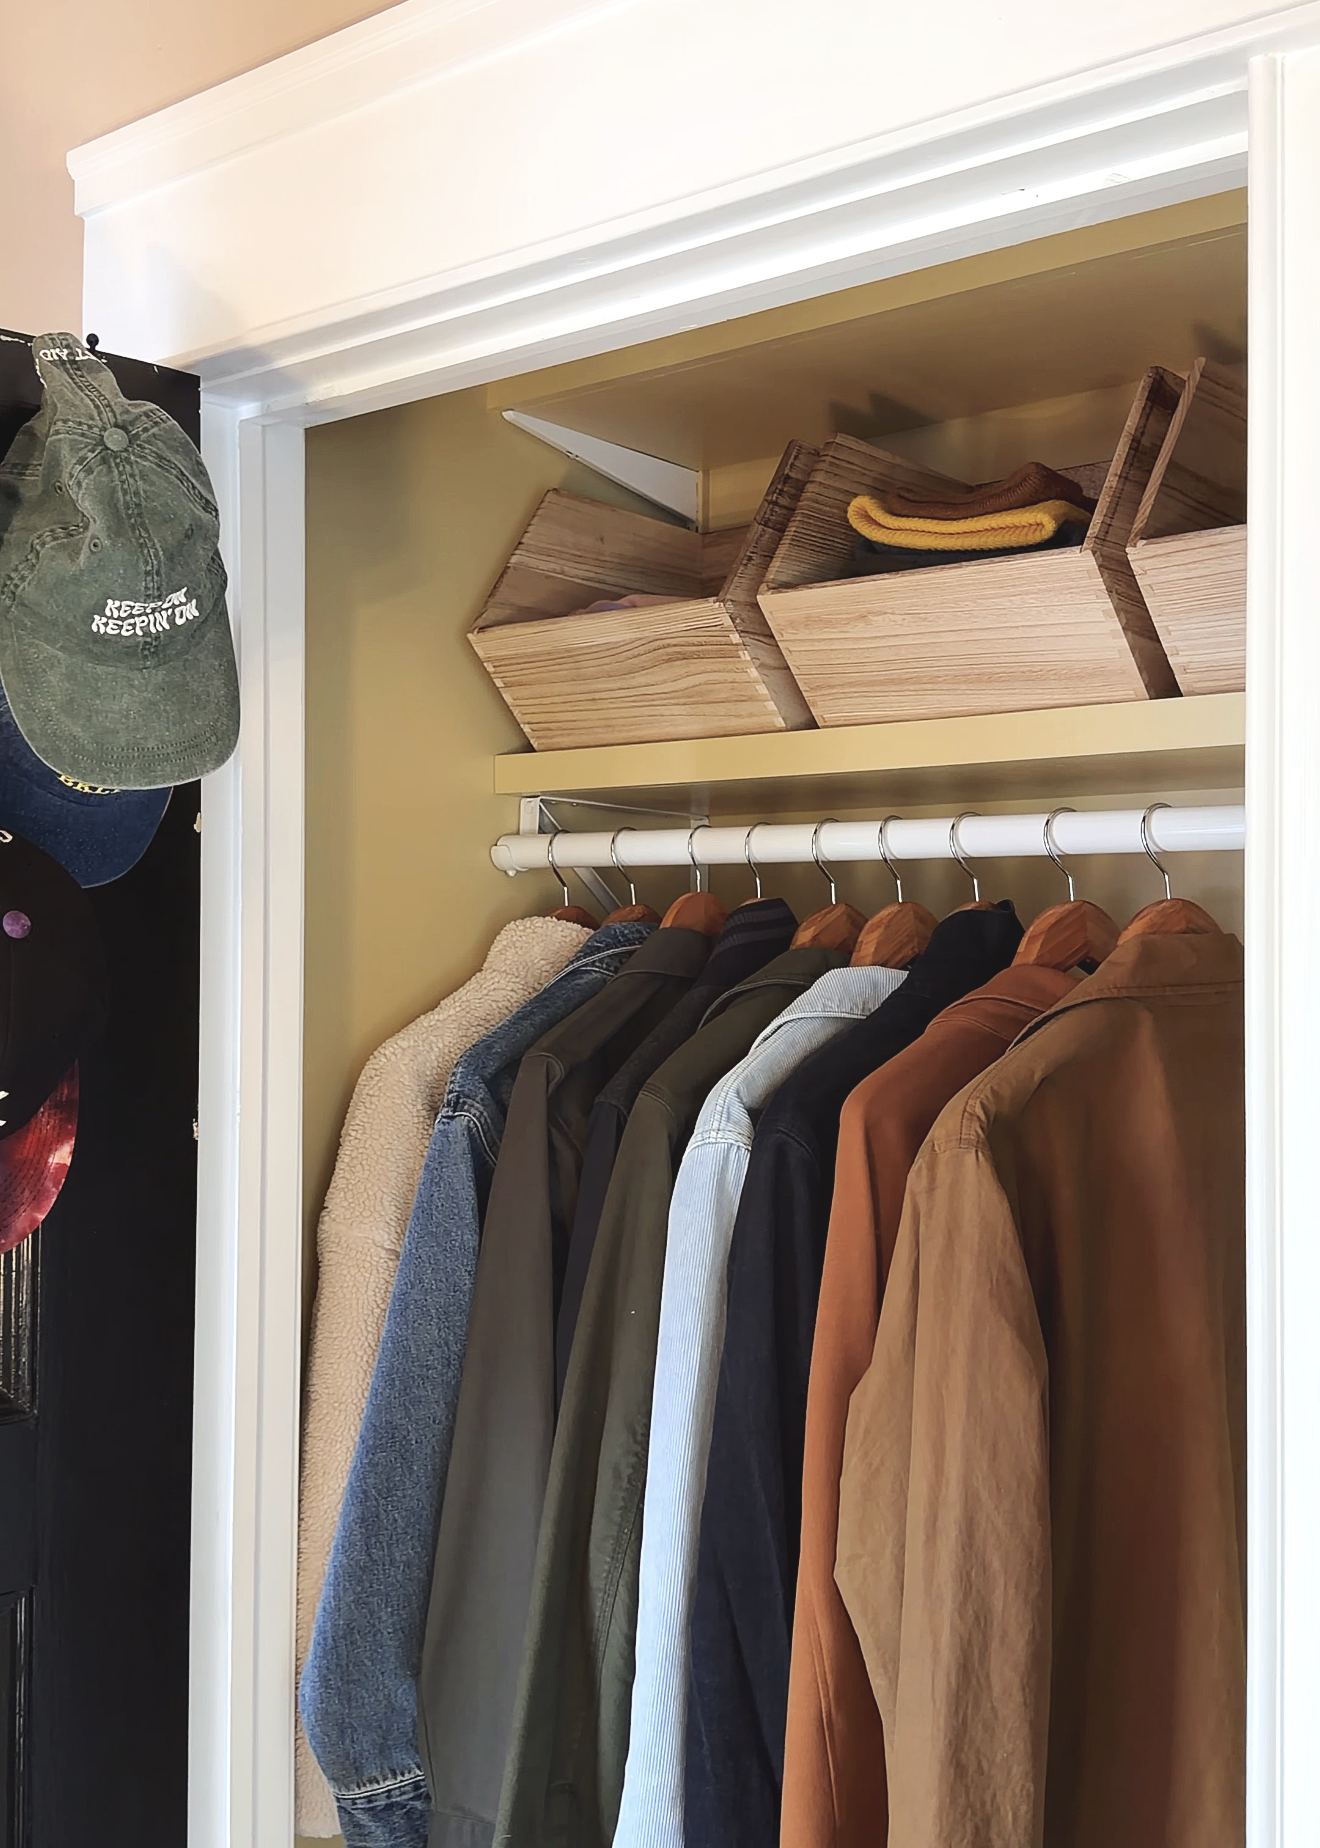
To top it all off, the closet got a fresh coat of Benjamin Moore’s Sombrero, which is a beautiful rich gold that shifts in tone throughout the day. We spent less than $200 on this entire project and knocked it out over the course of a day. We love how it turned out and know it’ll work hard for us all year long.
Get the Look
We’ve rounded up all of the components of this fresh closet setup below. The open front bins, coir mat and door hooks steal the show and pack in function, and all available at budget-friendly prices to get your own space organized and tidy long before winter coat season arrives!
1. large wooden stacking bins | 2. 1″x12″ pine board | 3. 1″x2″ pine | 4. black coat hooks | 5. wood hangers | 6. closet rod | 7. closet rod bracket | 8. benjamin moore sombrero paint | 9. coir mat | 10. carrara white basketweave mosaic tile | 11. 4 in. foam roller paint set
Looking for more organizational content? Here’s how we organized our new pantry, how kim lays out her closet, the kickoff of a week of organizing, how to install an off-the-shelf closet kit, how we organized our coffee station, and a former closet reorganization setup!









Thanks for sharing these easy, functional updates! The color is so inviting and warm!
Honestly, the lip on the shelves is brilliant.
Thanks! It’s amazing how much it improves the user experience of grabbing shoes off a shelf without the mat ending up on the floor.