

These are the first five actions that will lay the groundwork for the Red House renovation.
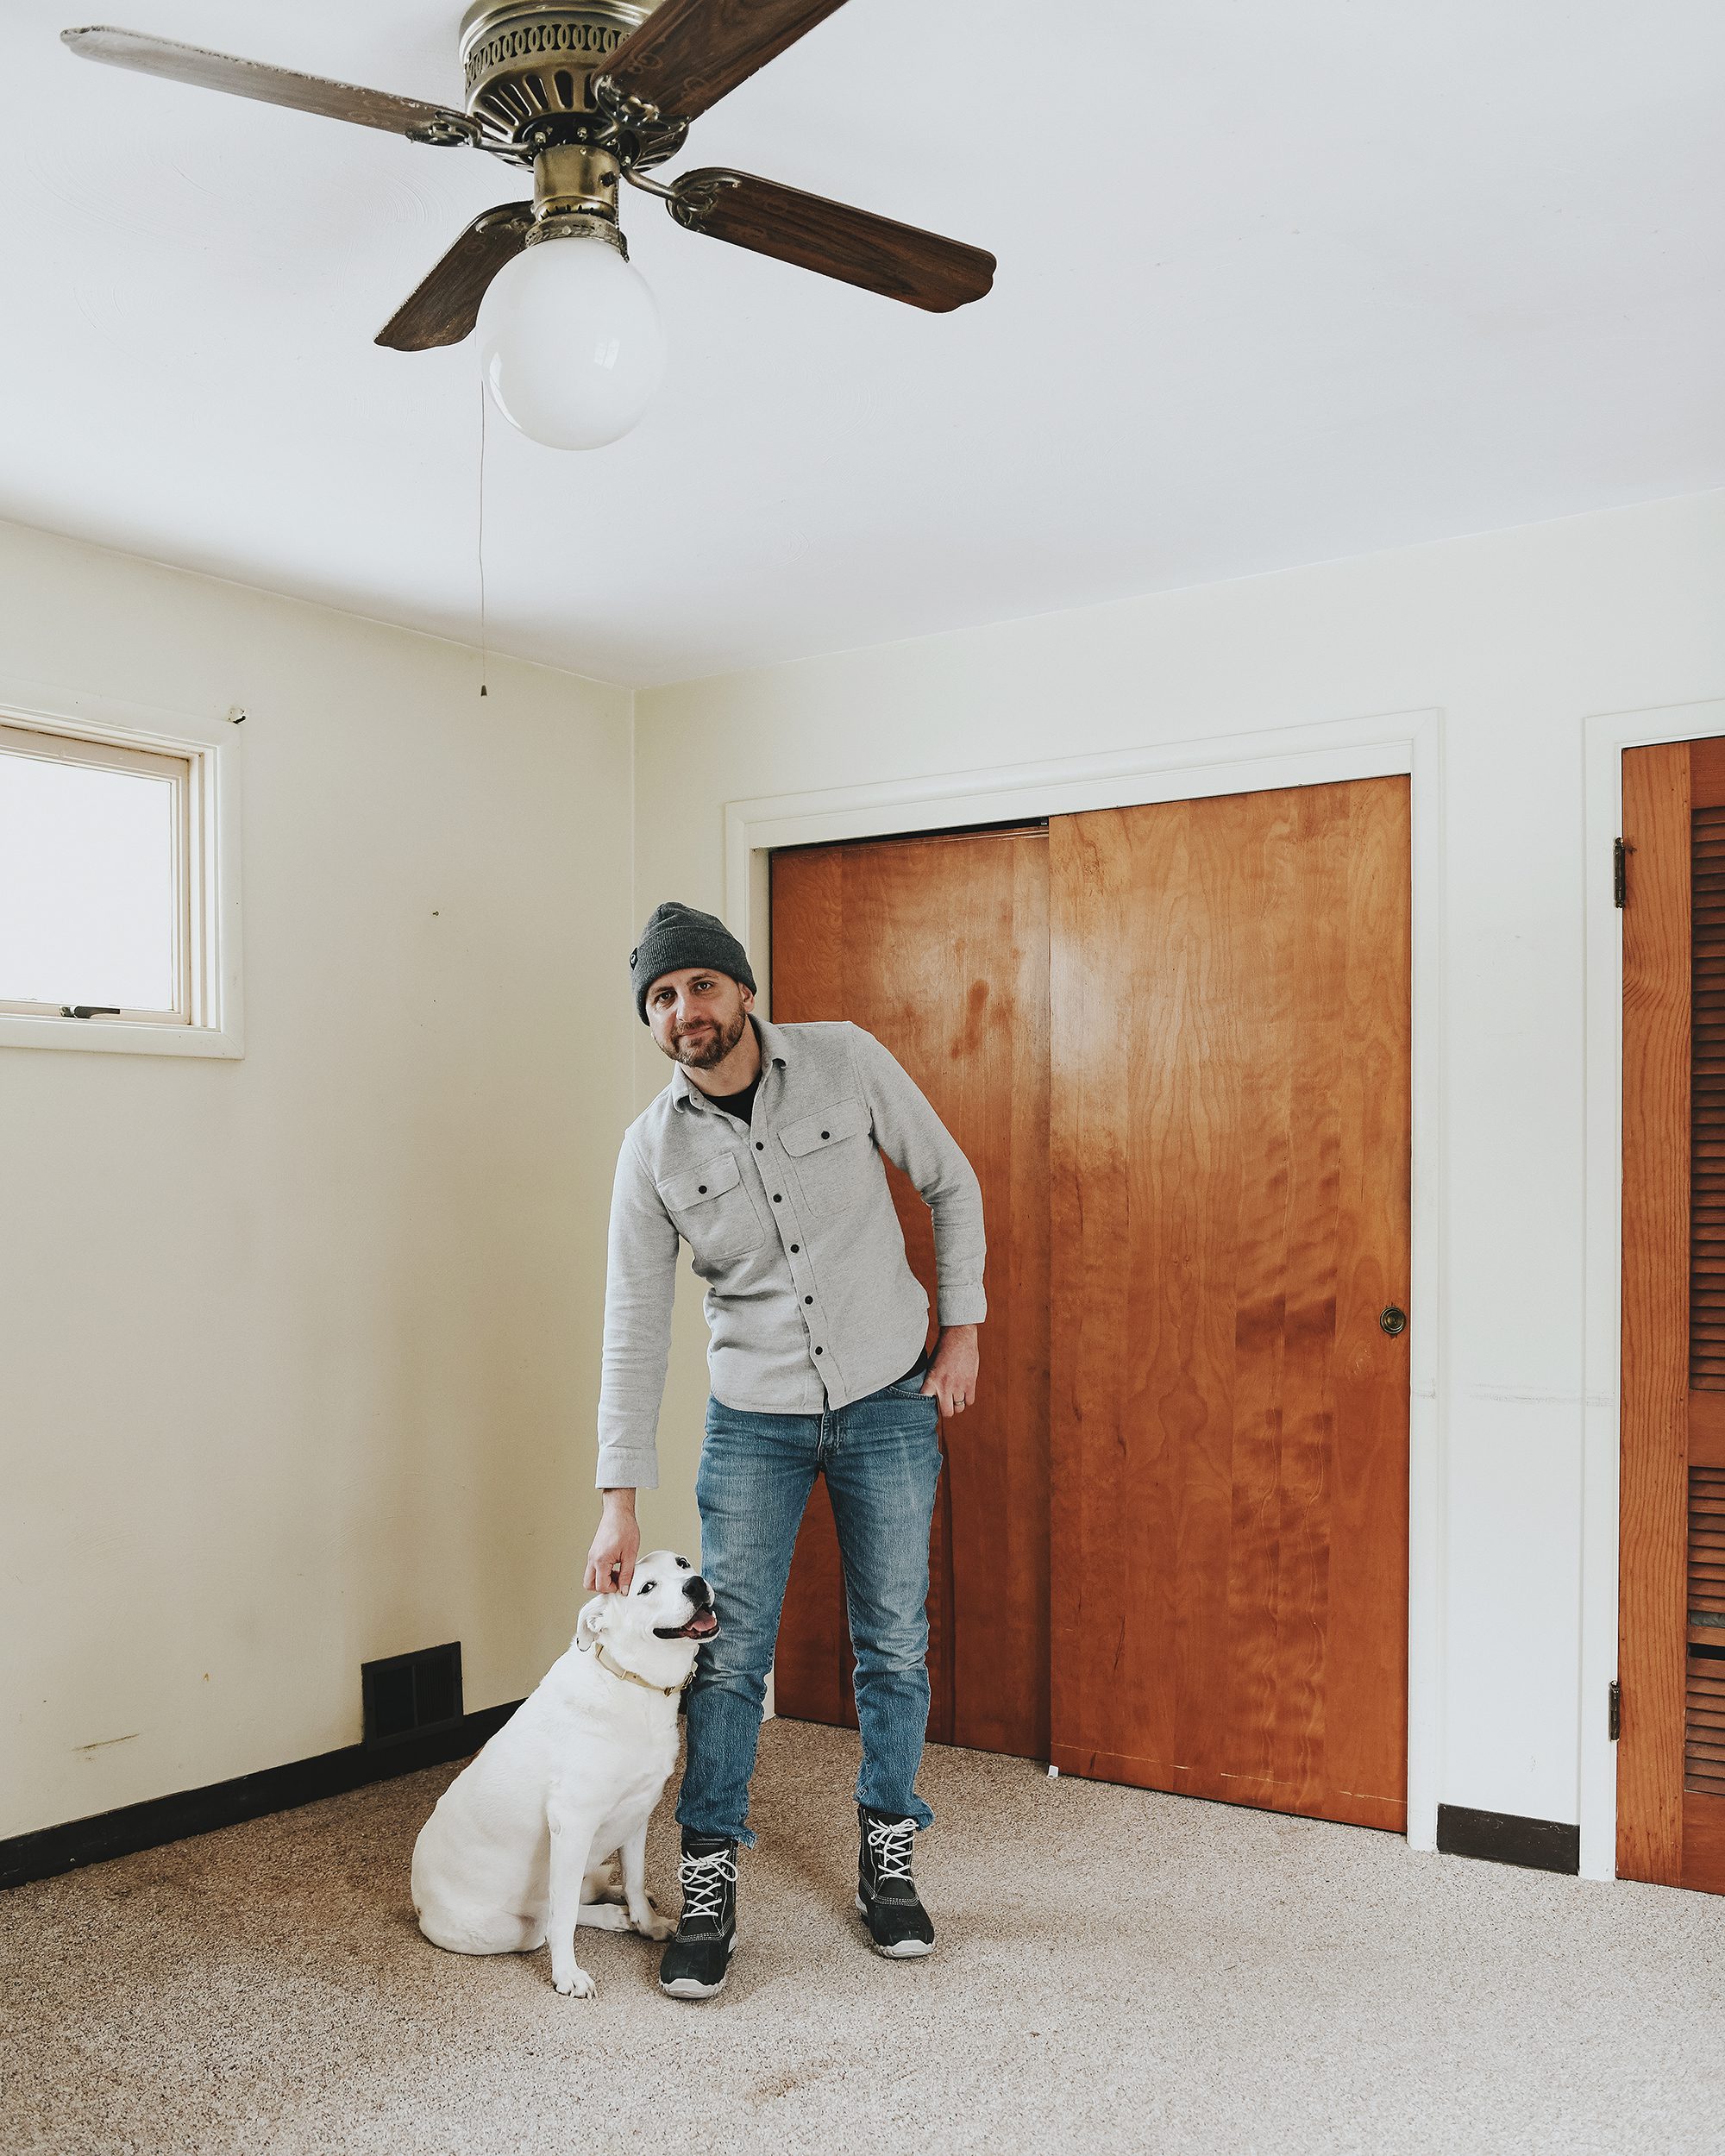
Earlier this week, we introduced you to The Red House – our newest renovation project. We can’t thank all of you enough for the encouragement and kind words! You all are as excited to kick off this project as we are. Along with all of the encouraging words, we also received a handful of questions about where we’ll start. Today, we’ll lay out a road map of some of the not-so-glamorous projects that we’ll need to undertake prior to all of the fun design work. Because you can’t build a solid house without a strong foundation, right?
1| Addition by Subtraction
For us, the first wave of work in any new project involves removing everything that’s unnecessary or in the way of progress. Before our contractor can get into the space and efficiently do his portion of the work, we need to clear a path for him and his team. This portion will be a bit amorphous, but these are a handful of the things we’ll try to tackle before the fist big wave of contracted work:

- Remove ‘wall warts’ like screws, nails, picture hangers, telephone connections etc.
- Remove the massive TV antenna + Satellite dish.
- Remove closet shelving and repurpose for the basement workshop and/or barn. Yes, there’s a barn!
- Remove upper cabinets. We’ll also repurpose these for storage in the unfinished areas.
- Clean the roof and trim overhanging limbs.
- DIY squirrel eviction from attic – we purchased this one-way door to let our friendly freeloader out, but not back in. Wish us luck!
- Install high speed internet – this will allow us to work efficiently from the home and monitor things from home in Chicago (see below!).
- Replace smoke/CO alarms & thermostat for smart wifi-connected units.
This list is by no means comprehensive and some of it might not even get done right away since priorities tend to shift this early in a project. There will be certainly be lots puttering around fixing things as we notice them to continue making progress!
2| Create Space for a Half Bathroom
The home currently features just one bathroom, but its quite large. There’s a huge jetted tub, a separate large standup shower enclosure, and of course a toilet and small vanity. We’ll reconfigure the space, move the walls around a bit and carve out space for a small half bath that will be en-suite for the smaller of the two bedrooms. This will also allow us to retain the closet in the bedroom for extra storage.
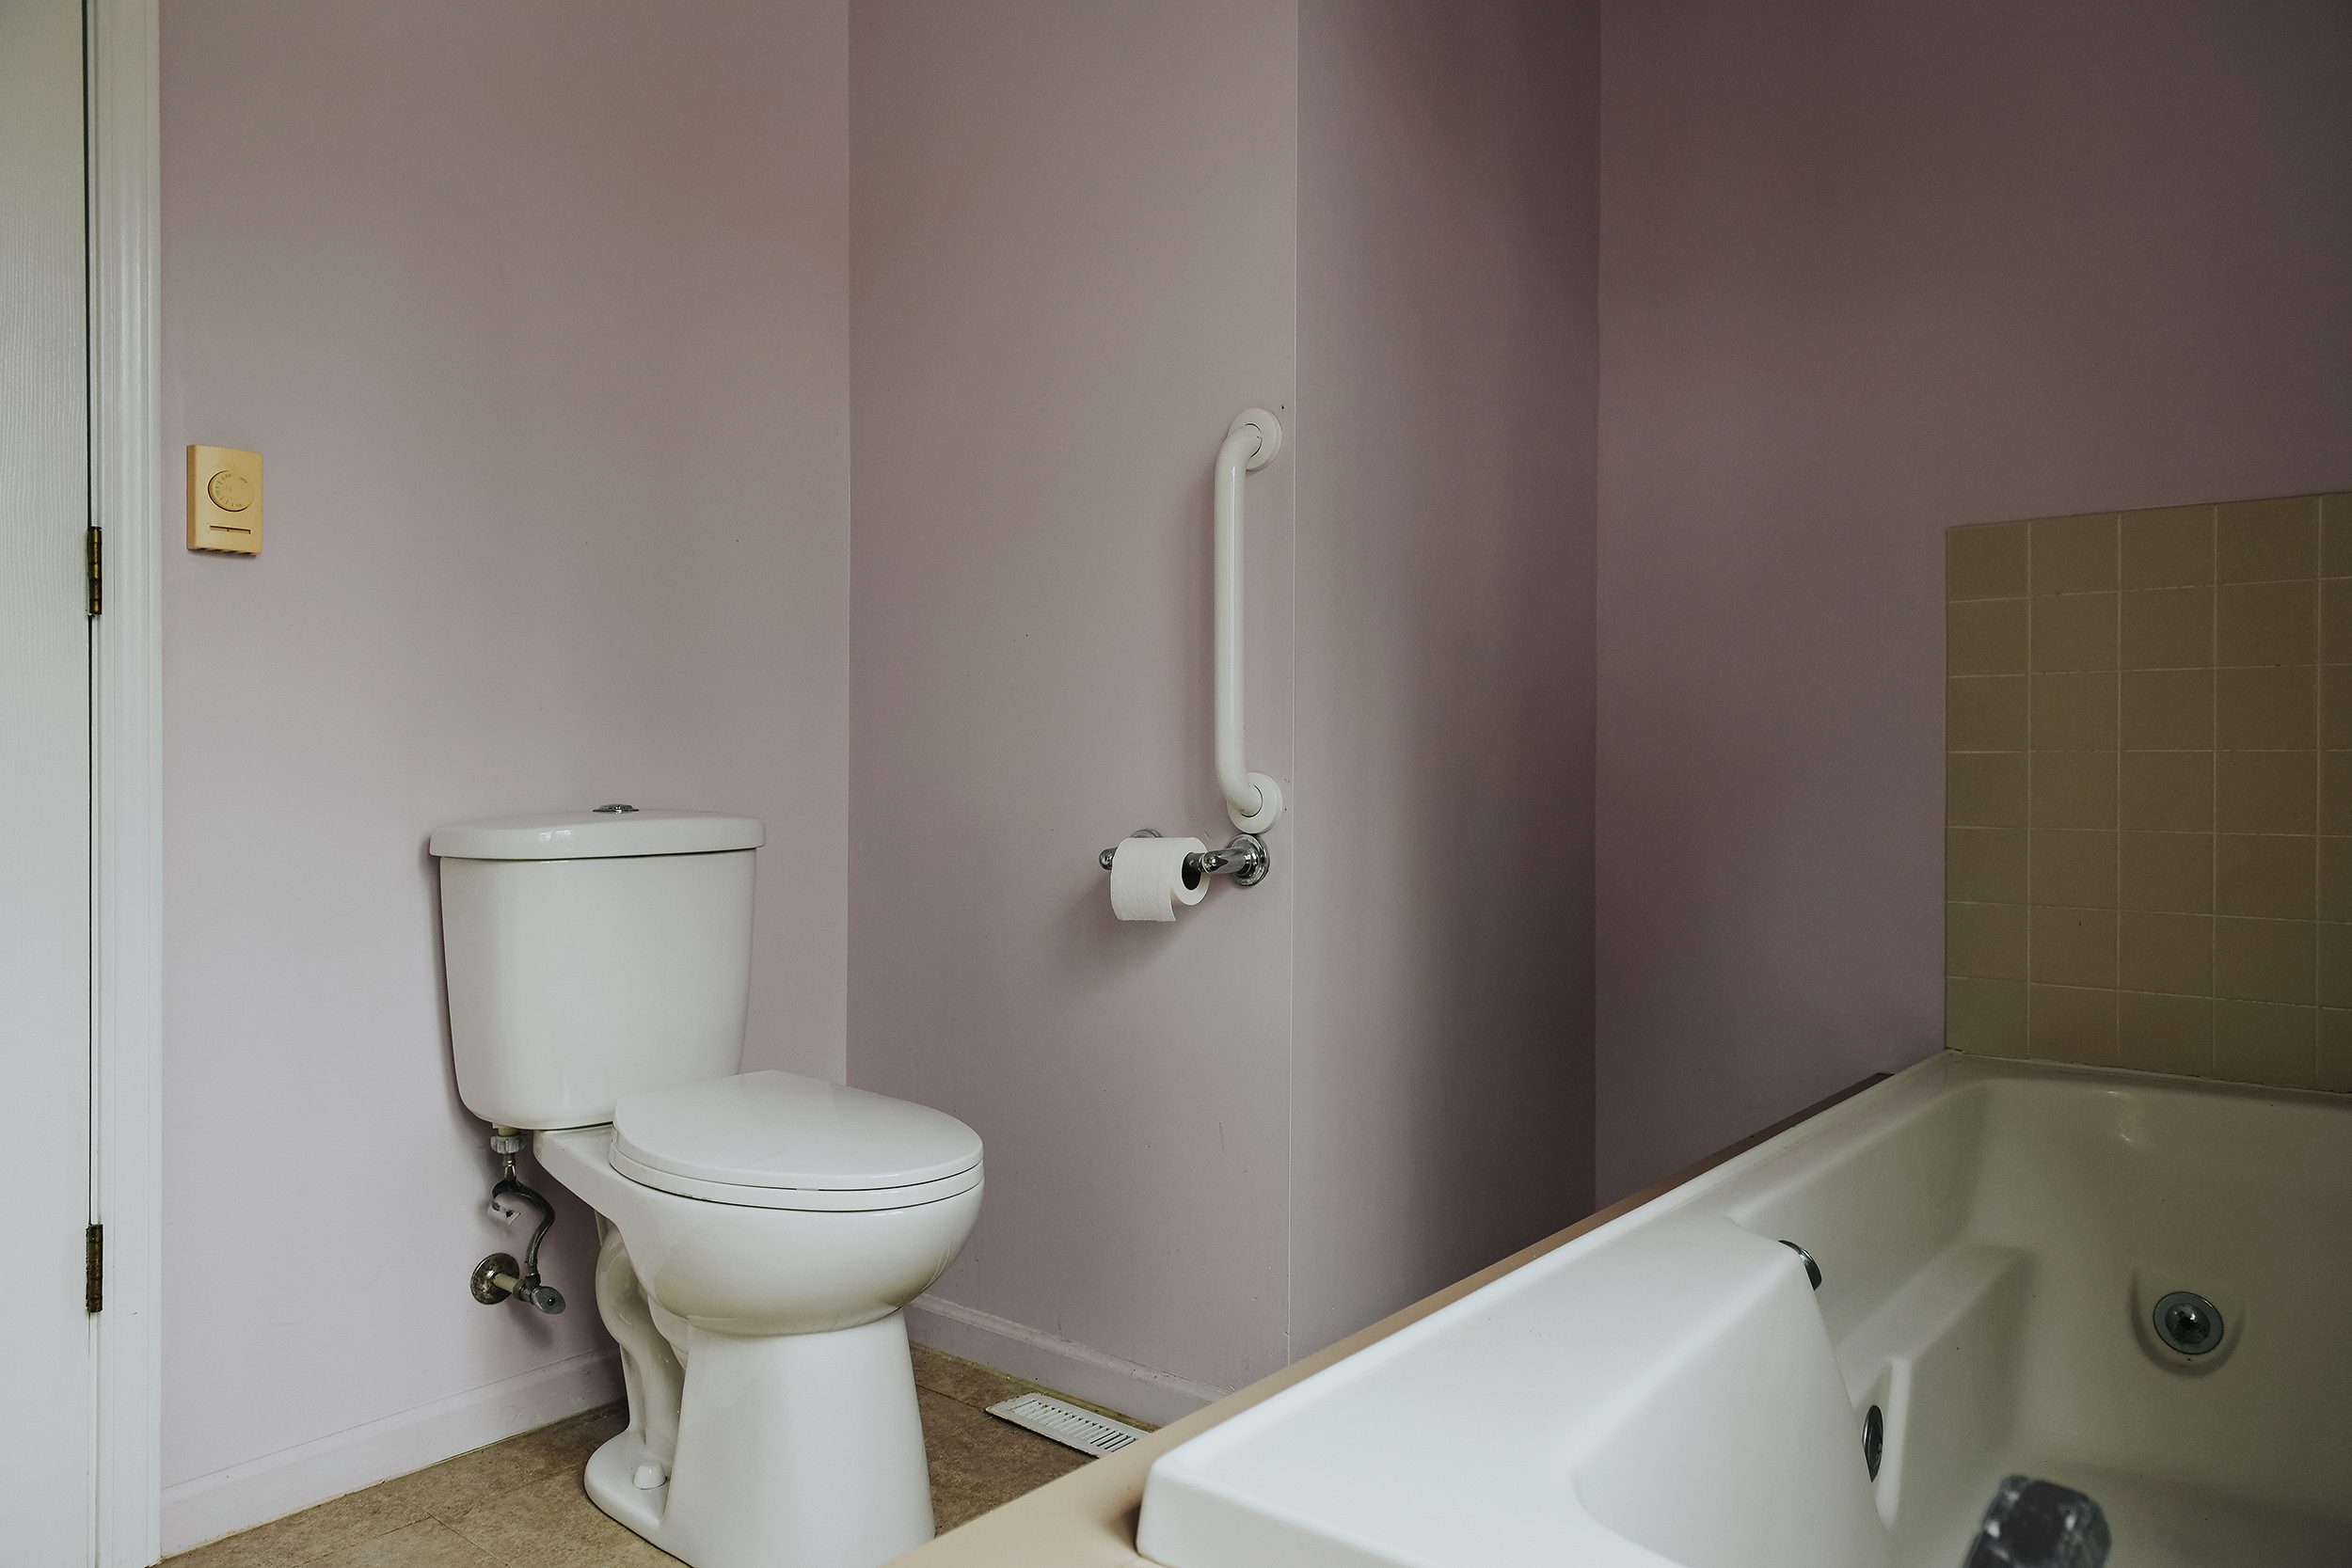
The photo above shows the view from inside the bathroom, and the photo below shows the area from inside the soon-to-be bedroom.
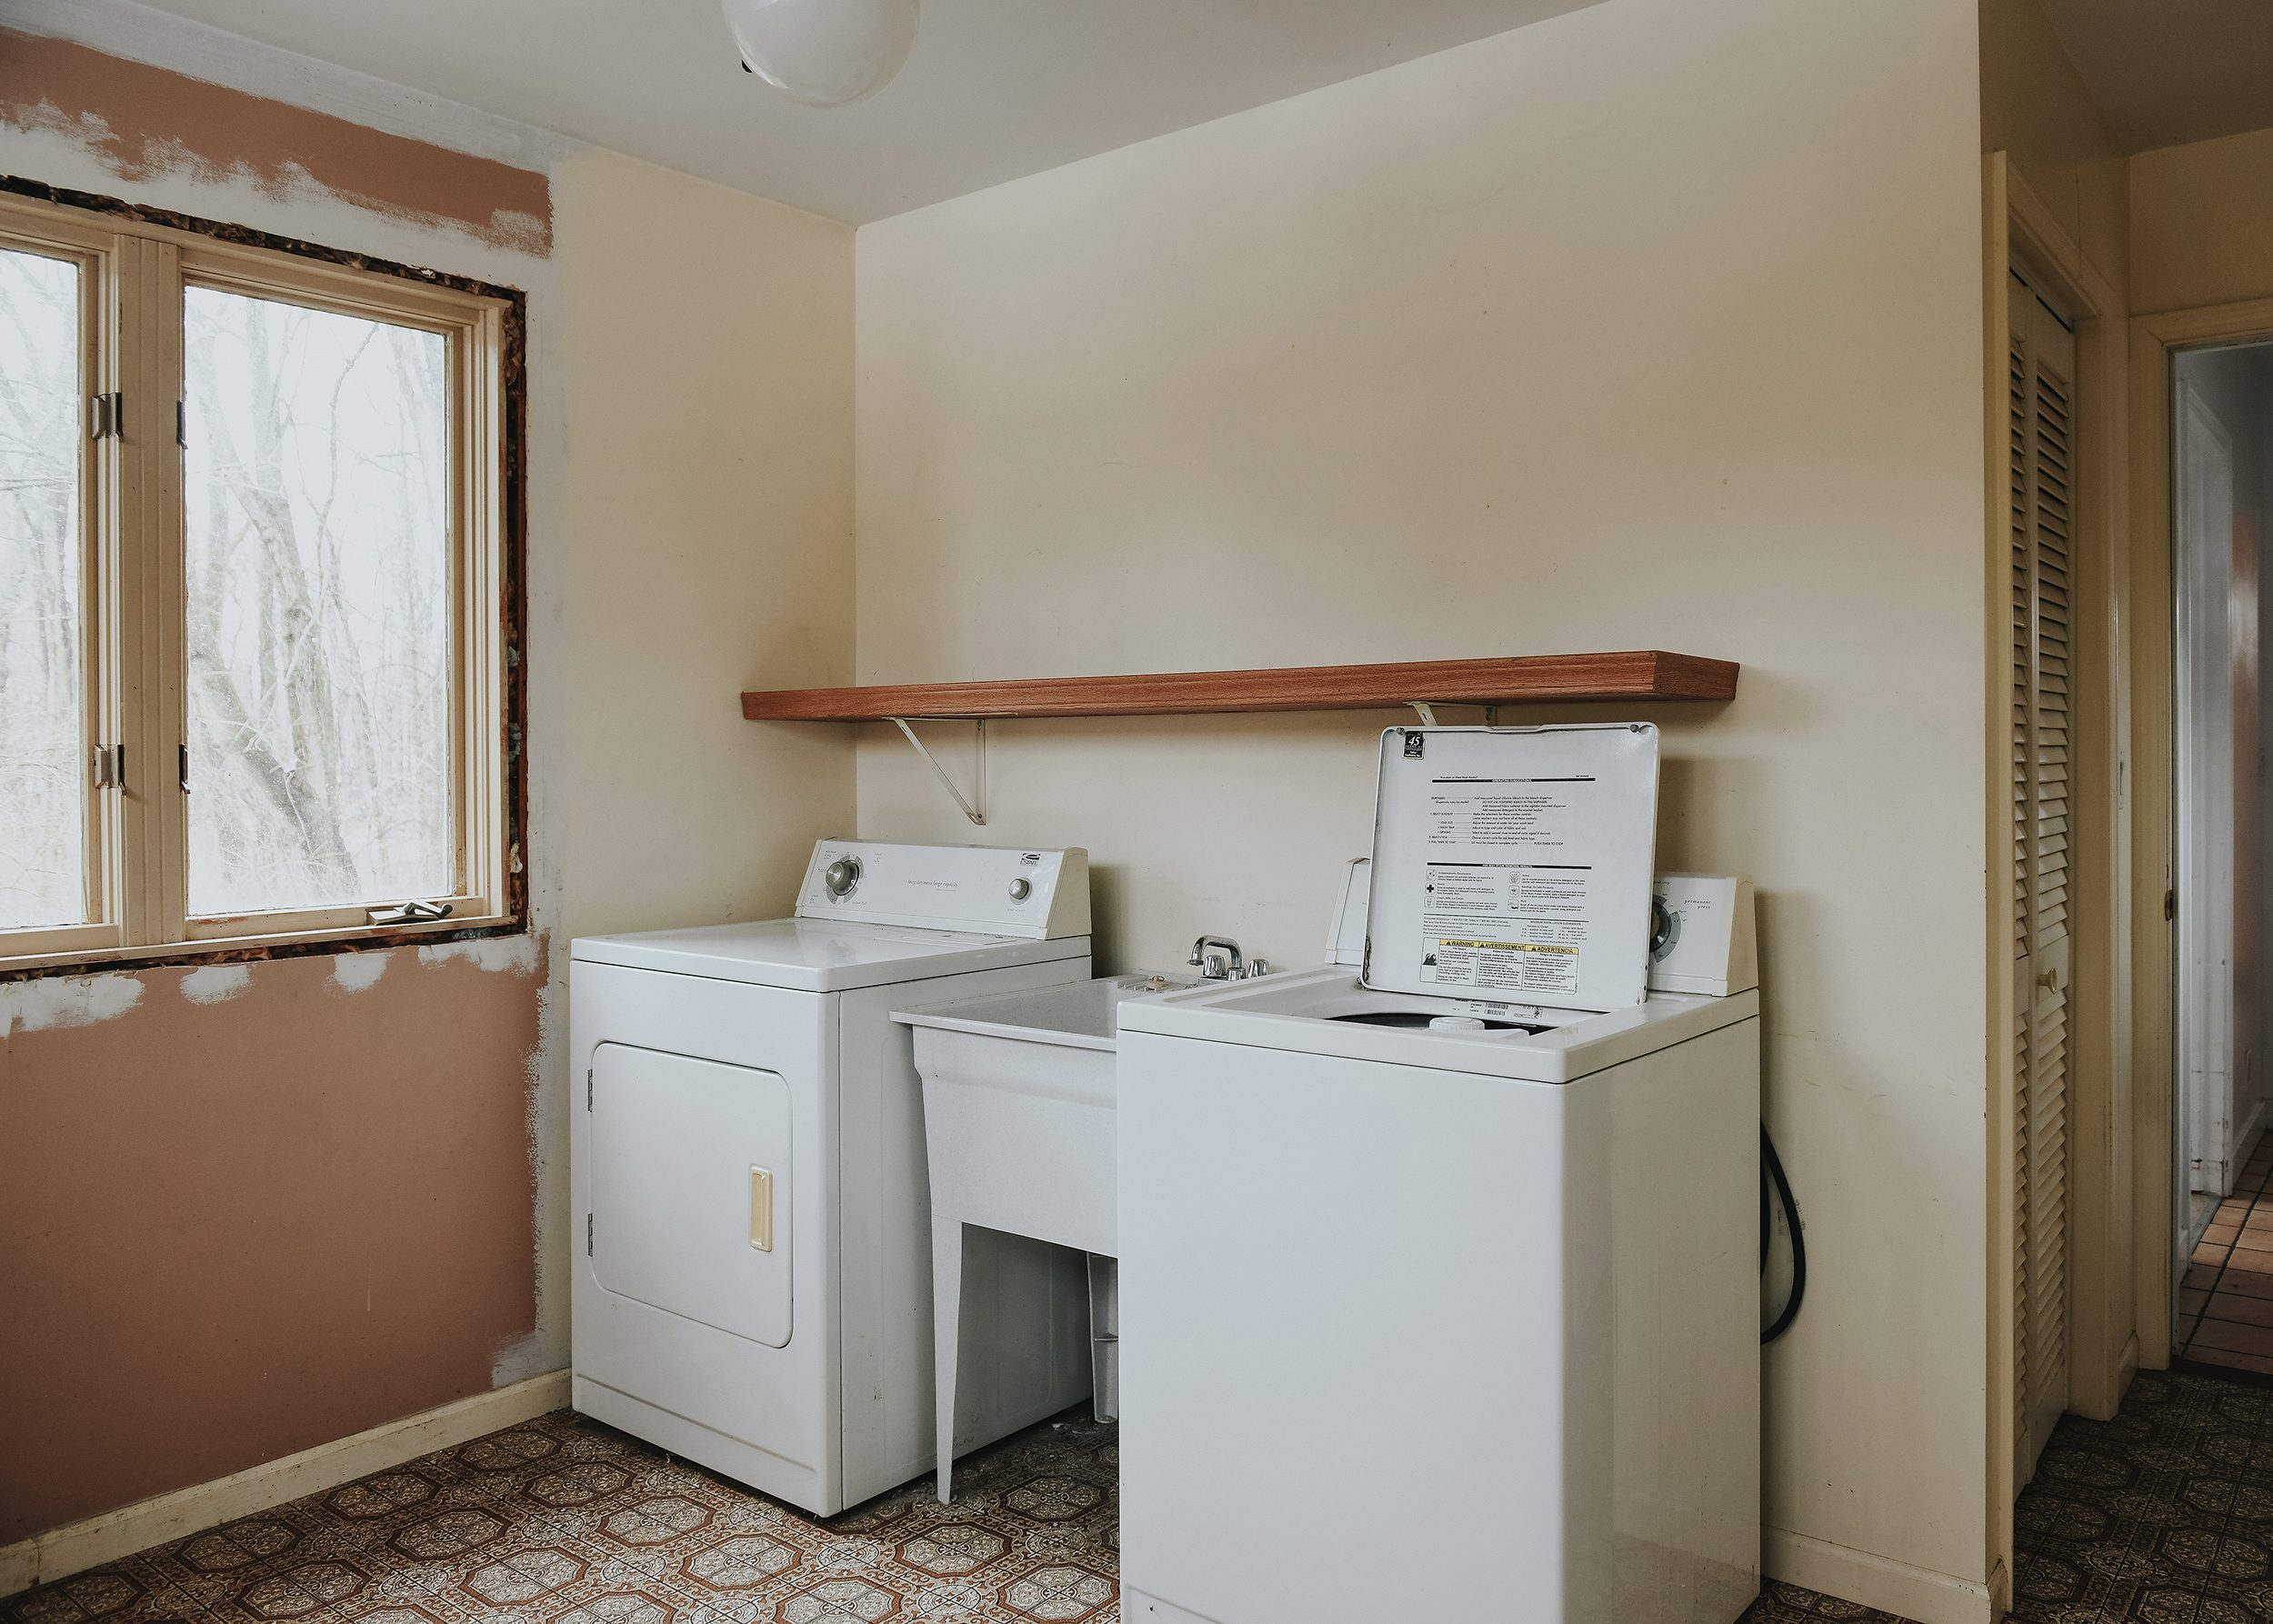
Based on how the math checks out, we hope to be able to push the wall behind the washer/dryer by a foot or so in order to maximize space in the bedroom. We still have some calculations to make to ensure everything meets code, but we’ll get there!
3| Basement Safety + New Stairs
The stairs to the home’s full (although kind scary) basement are located directly behind the range wall in the kitchen. The stairs are narrow and steep and don’t inspire a lot of confidence. We’ll bring them up to modern code, perhaps with a landing and a half turn or quarter turn towards the bottom to save space.
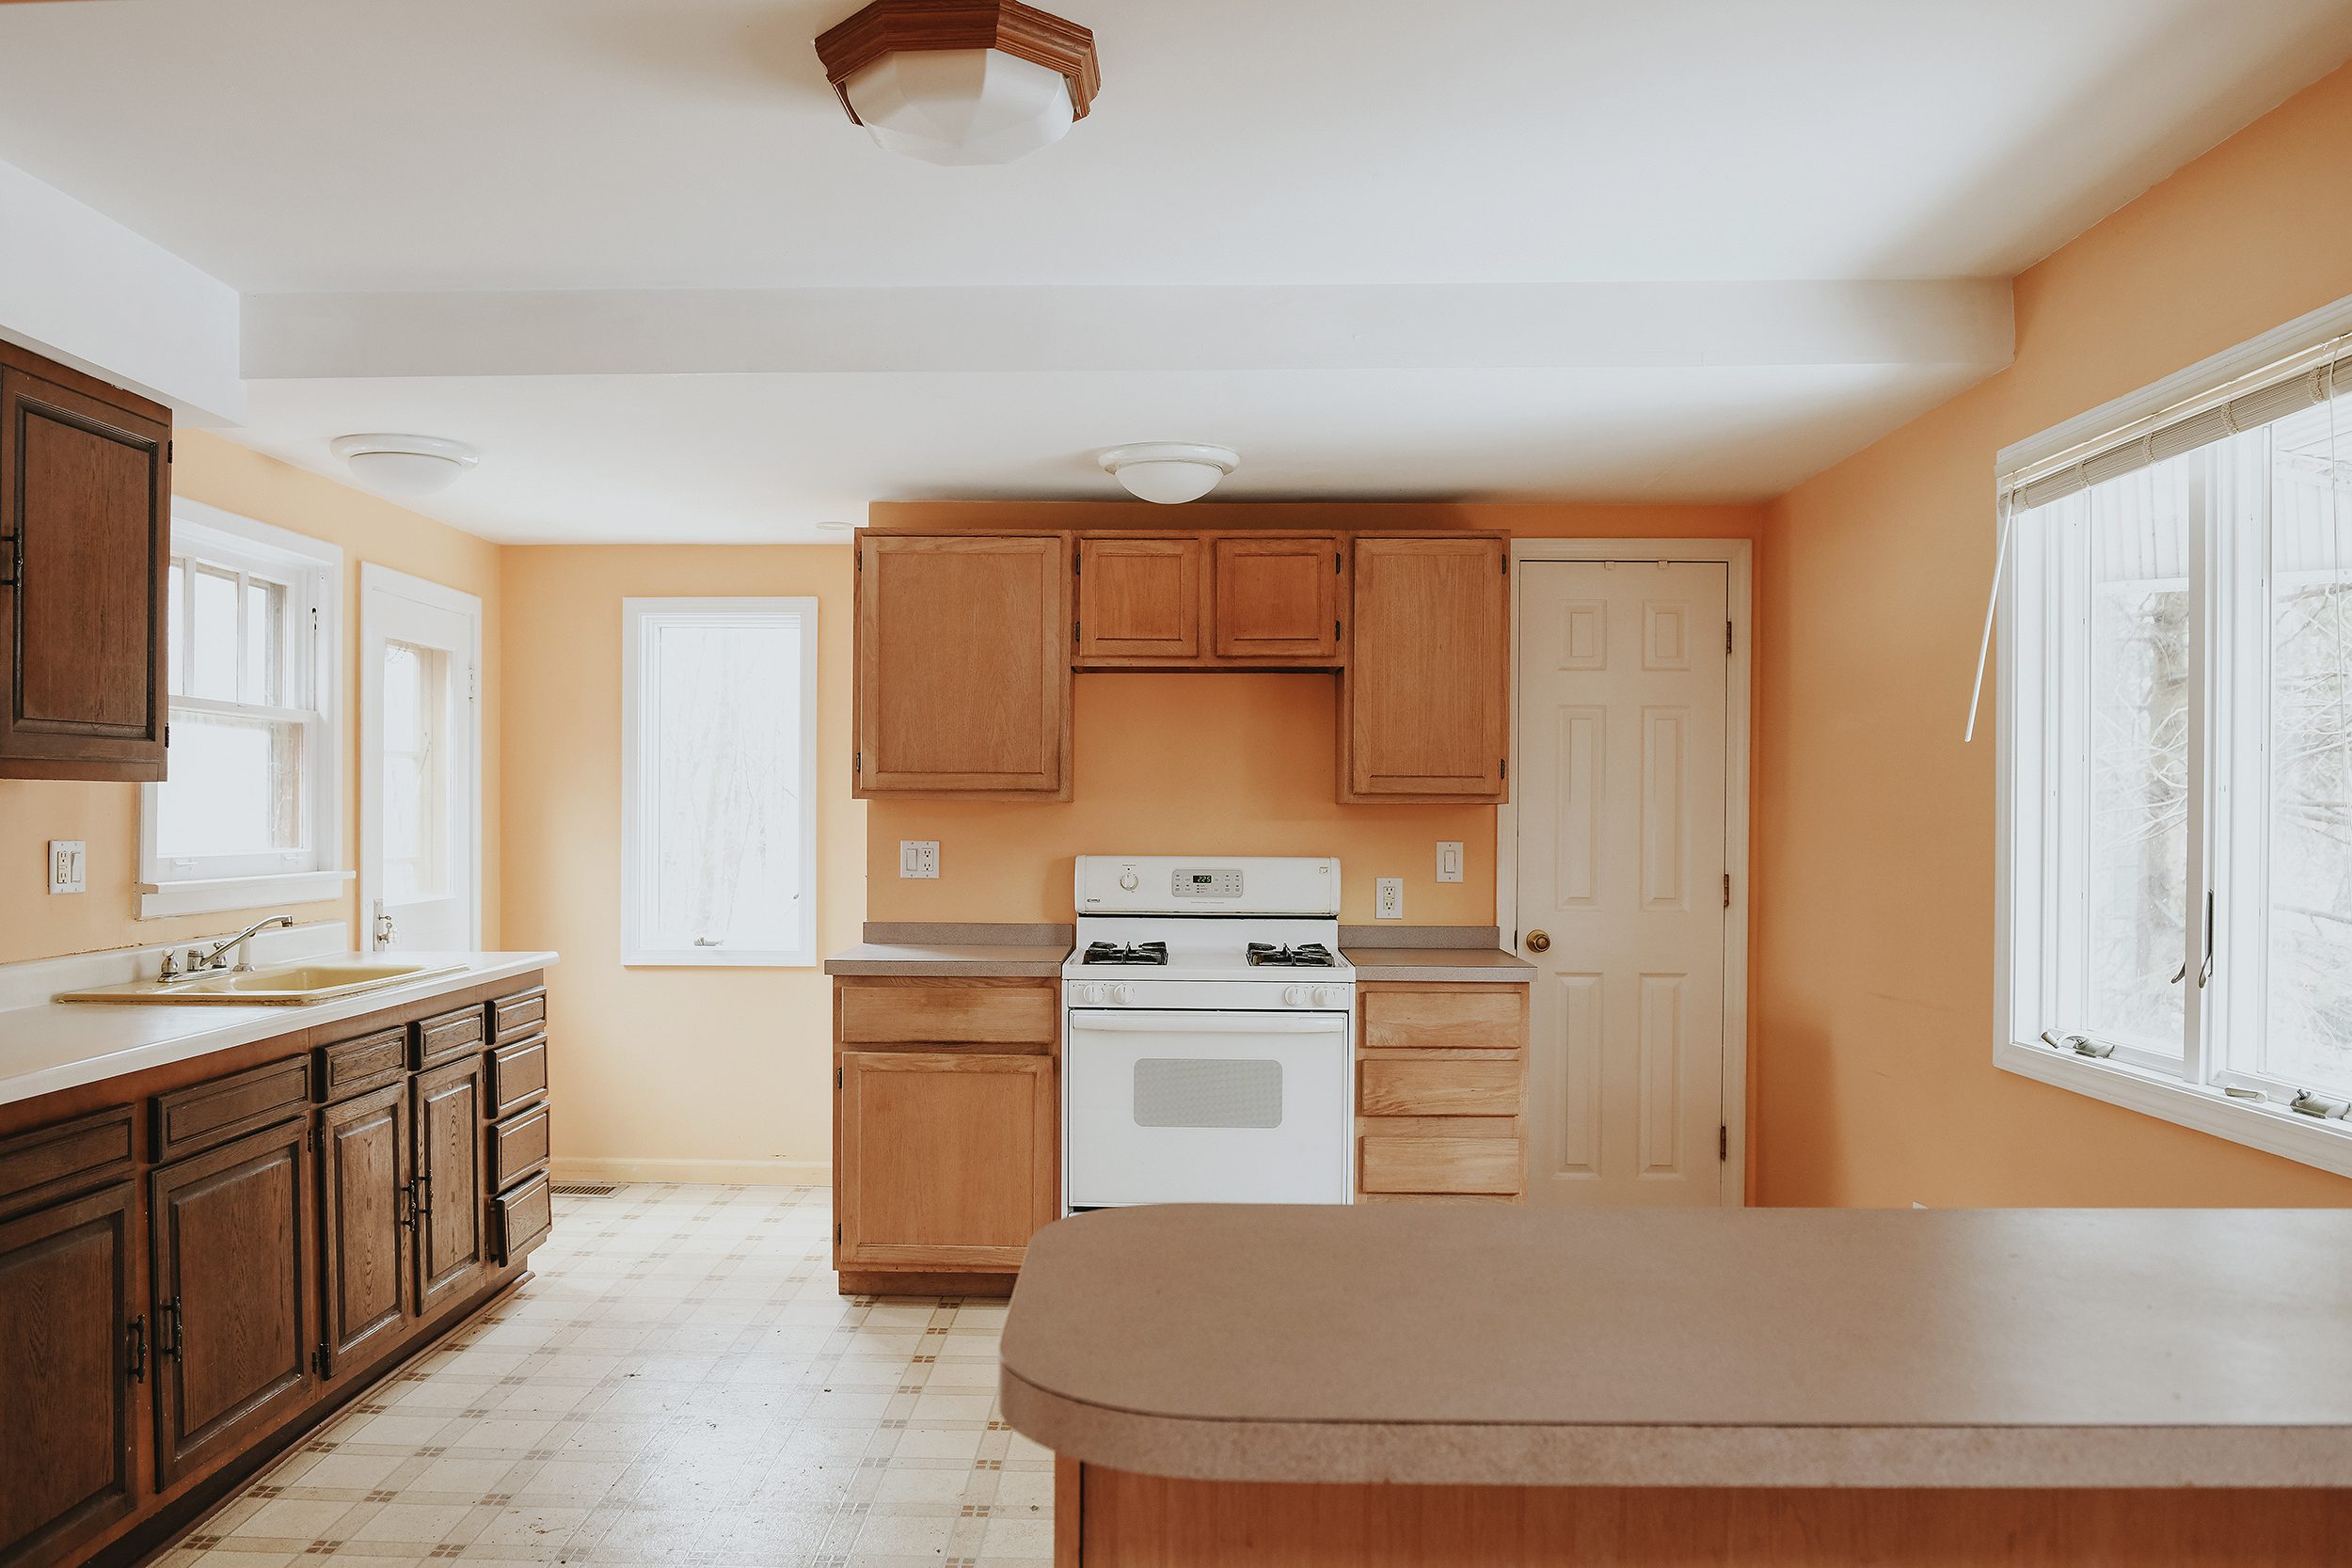
In order to widen the stairs, we’ll need to move the range wall slightly into the kitchen. This may present a design challenge or two down the road, but it’s nothing we can’t handle!
4| Add + Replace Windows
We’ve never been big fans of octagonal windows, so our plan is to replace the one behind us in the photo with something vintage. It’s one of the first things you see as you approach the front door, we’d love to find something that makes a statement. Inside the home, this window is located in the hallway to the smaller bedroom, just outside the bathroom, so it doesn’t necessarily need to open.

Elsewhere in the house, there are a few windows that aren’t optimally placed, so we’ll address those as we go and as our designs get closer to being finalized. All of this work will be completed by our contractor during his first visit, so we’ve got a lot of planning ahead of us!
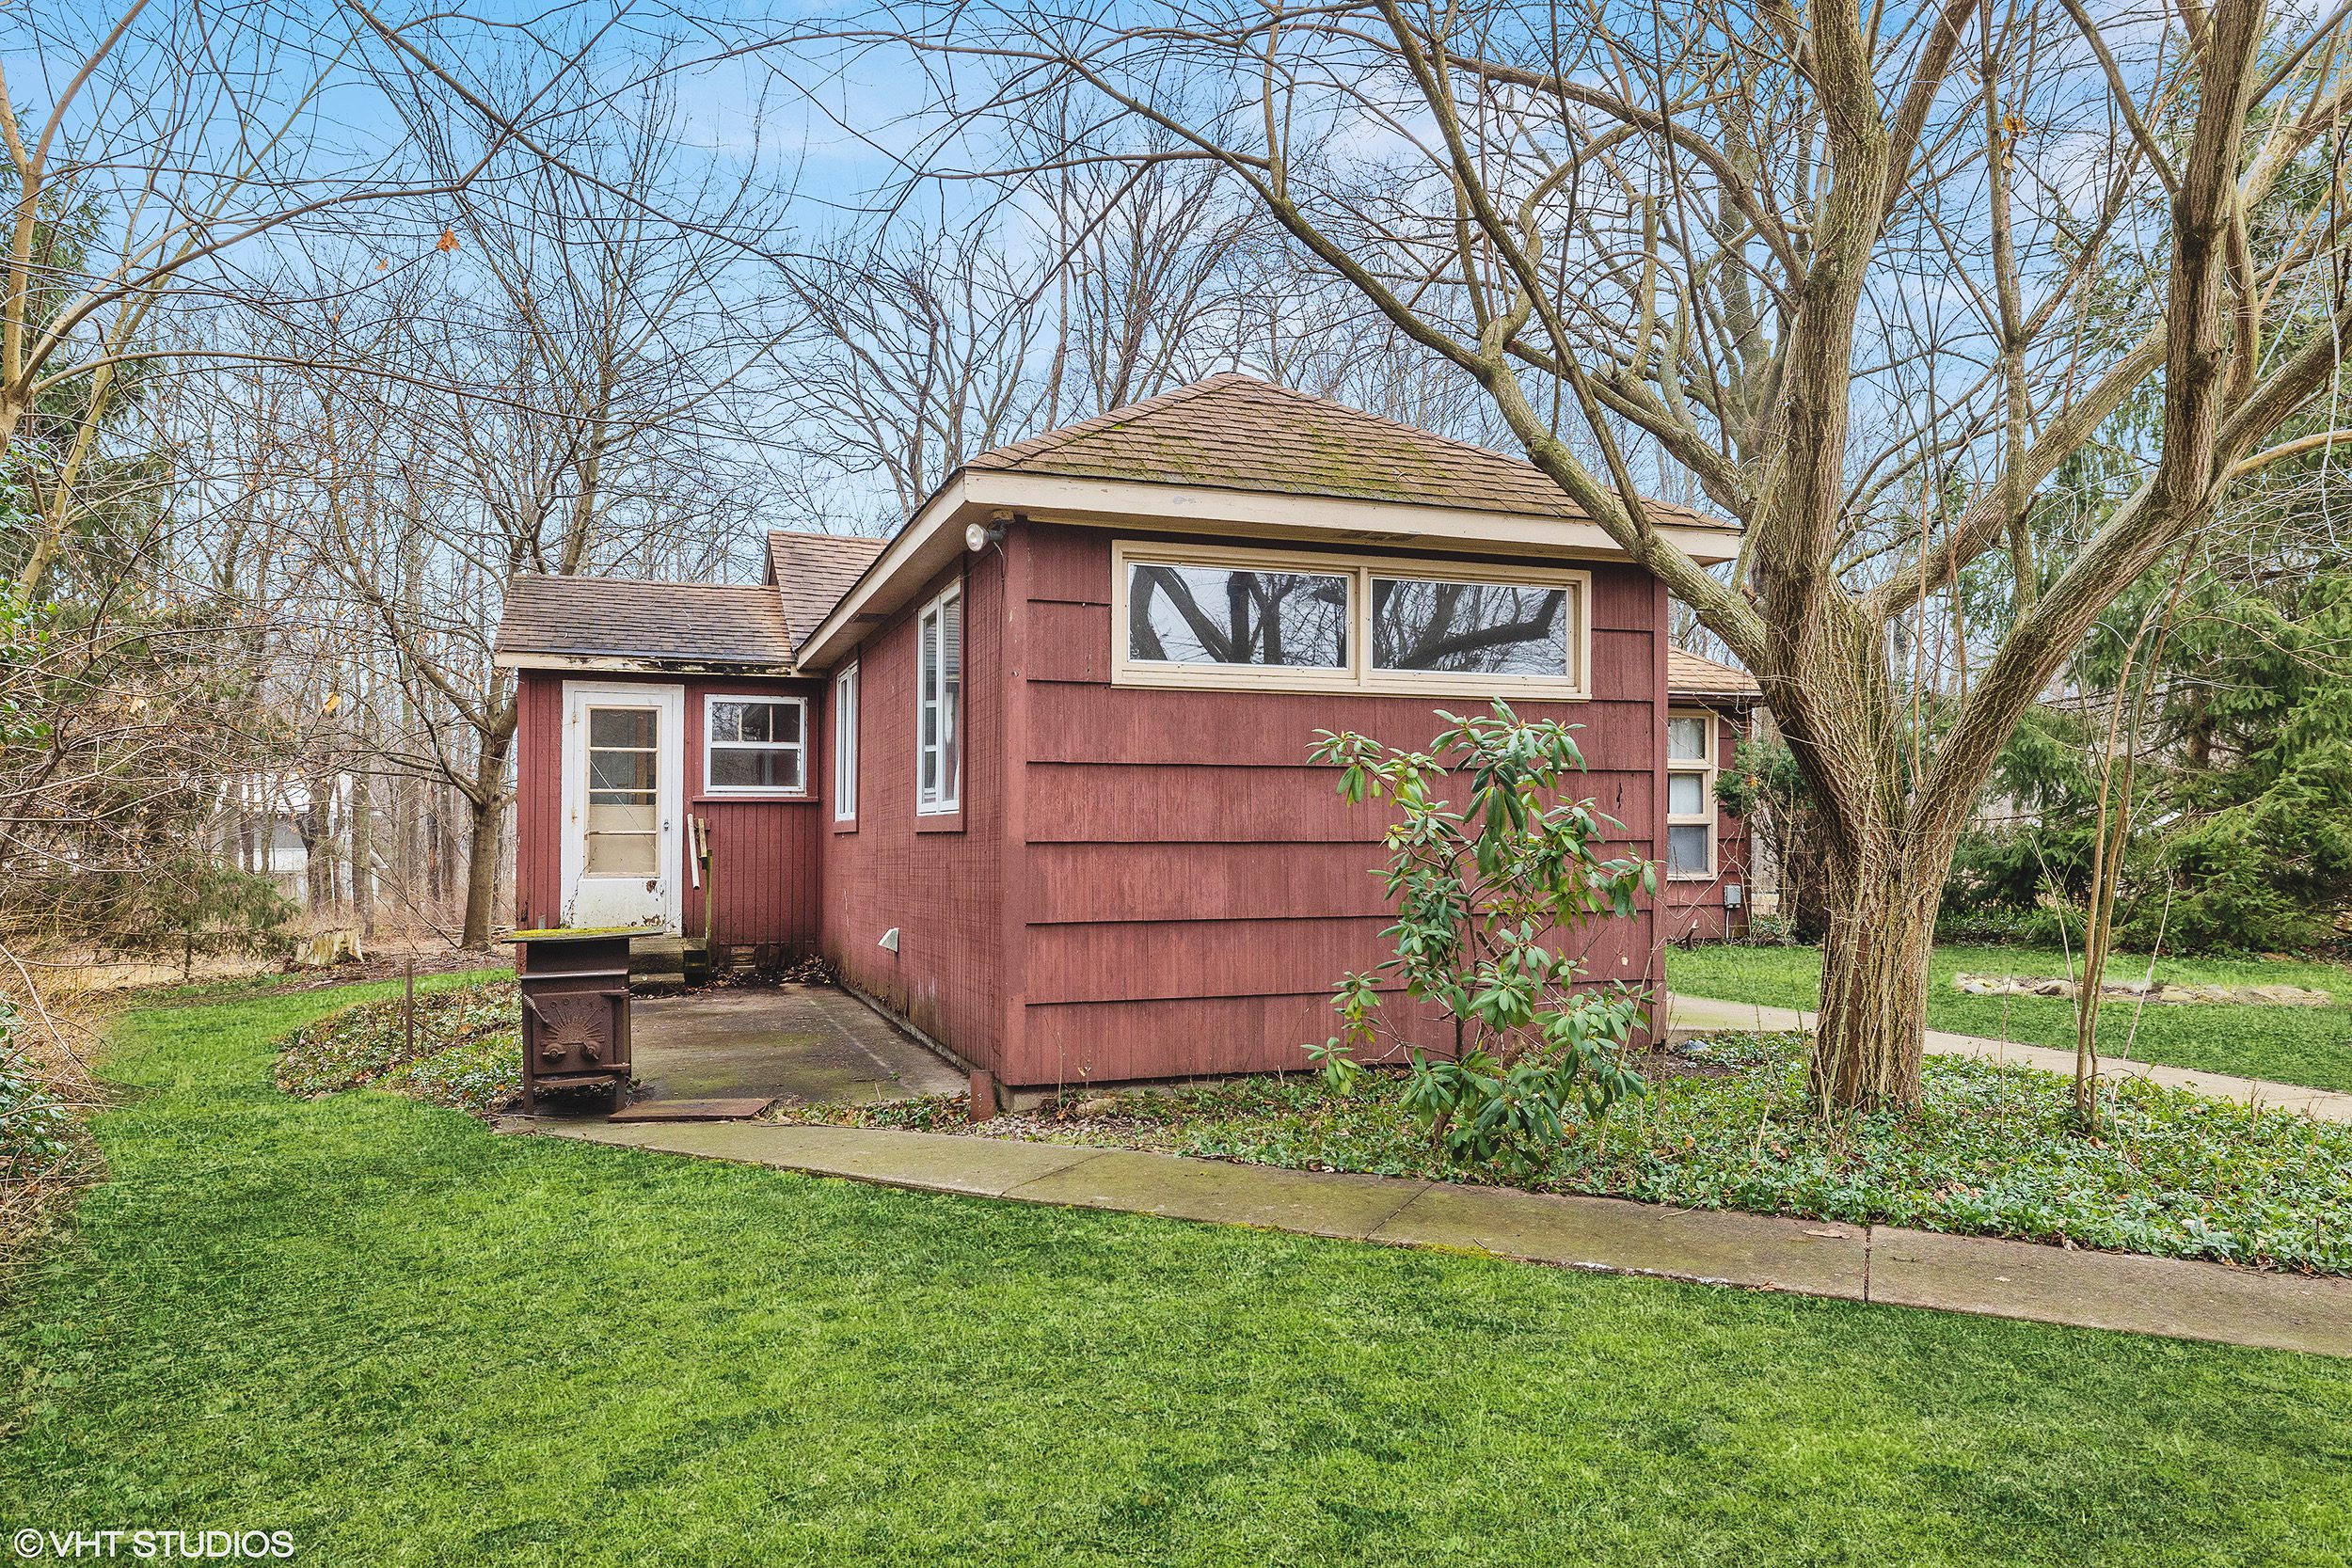
5| Structural Roof Repairs
At the rear of the home, there’s an odd section where a small portion of roofline doesn’t line up with the rest of the home. This also coincides with the 6″ soffit in the back half of the kitchen. We intend to change the slope of the roofline and hopefully be able to remedy both issues in one fell swoop. This might open up a can of worms, but it’s an important step in the process.
Gaining Momentum
The process or purchasing this home had quite a few twists and turns, but now that we’ve closed, we’re ready to get started! We’ll be in Michigan this weekend for what’s intended to be a low-key Tree House visit. Realistically, though, we’ll probably end up handling some chores and getting a head start on some ‘addition by subtraction’. Keep an eye on our IG stories for all of the juicy details!


Congrats on the new house! Looking forward to watching this renovation unfold and seeing all your ideas come to life! So convenient to be working on a project next door to your Get a way house!
This is the first time I’ve been with you for a project from start to finish. To say I’m excited is, well, dang it, I’M SO EXCITED!
I’ve enjoyed conversing with you over the years, Cynthia. Thank you!
I can’t wait to drool over the floorplans!
This house is too cute!! I actually love the red siding – is it wood? Can’t wait to see what you guys come up with for this sweet house.
We think it’s a type of cedar shake. We’re on the fence about keeping the red. We love it, but we might go even more bold!
I think these are same cedar shakes we have on our 1920’s home. FYI, they hadn’t been painted for 20 years, or more, the paint was flaking off and had to be scraped with a wire brush before we could paint again. It took a lot of time and resulted in a shoulder injury. Then a few months later we changed a window into a door and discovered that there is what looks like pristine clapboard siding underneath. I don’t think we would have taken the same approach again. Just something to think about as you plan for the exterior!
So exciting! I being able to come along for the ride on this new project!
Excited to see everything unfold! One thought on the octagon window – I don’t love them, but we have a circle window on our garage and it’s somehow more charming than an octagon? I’m sure you guys have ideas already but it could be an option in case you want to keep it small and sweet!
Circle and oval windows are the sweetest!
I was just looking for your tree house octagon window covering tutorial, but couldn’t find it. It must have been a thing for these houses, I do like the little panes in it though. I don’t think your weekends away will be as relaxing anymore….
Haha no initially, but we’re going to take it slow. I never did tutorial on the covering, but I did make a Reel showing the final result.🙂
I’m excited to follow along. Do you need building permits for this work?
Yup! Submitted our paperwork to the township. Can’t wait to get started!
So excited! Will you need an architect for the bathroom split? I’m selfishly asking as the owner of a similar small house with a one-big-bathroom-that-could-be-two-bathrooms situation. :)
We work very closely with our GC to take measurements and determine what works the best. We have definitely hired an architect in the past though.
I’m so excited to watch this renovation. A small midcentury cabin is my jam!
So excited for you! I’m a sucker for a sweet octagon window, so I’m sad you’ll lose that little bit of charm, but that is just me – eager to see what you’ll do instead!
This is exciting, I love that you are taking on a new big project! Are you going to show some pictures of the barn soon as well? Though it is of course not quite as exciting as the house itself :)I have a question about the kitchen – is the door next to the range leading to a closet, or is it for the basement stairs? If it’s for the stairs, you might be able to turn them around (since you are making them wider anyway and need to rebuild stuff), putting the entry right across from the door to outside. You’d then either have a longer stretch of wall to work with, or, by moving the existing width over towards the window, have a bigger entry space at the door. With a turn in the stairs, you could start them a lot closer to the right side wall, too.That would potentially give some more options: turning the range bit 90 degrees and putting it against the right wall completely, and/or incorporating some of the elements one the left side (not sure about the sink though because of plumbing, and may disturb the working connection between the kitchen parts). If nothing were under the window on the left, you could take out the window and turn door and window into a huge (pair of) glass doors to the outside and create a real sitting area out there. Which would be nice with the more opened-up area in front of the new door to the stairs. And if the stairs are already oriented like that anyway, I’d still consider doing all that, because if there’s a pantry/closet behind that door it can’t have that much storage you couldn’t make up by putting cupboard space where there now has to be room for the door. And then the stairs could be shifted more to the right.I’ll enjoy seeing what you come up with regardless, you make everything look beautiful while also being of great utility!
Hi Judith! So much of what you said is already in the works, and pretty similar to how you’ve suggested. Thank you! To answer your question, that door is to a pantry, which is being removed for all the reasons you’ve said. We’re also looking into a wall of glass doors instead of the window out to the yard, which could eventually lead out to a large patio!