

There’s one room in our home that we’ve never been in much of a rush to address. Shortly after moving in, we pulled up the old, worn carpet and took down the dusty black mini blinds that covered the windows. One day, after a particularly rough rainstorm, we noticed that the drywall under one of the windows was soft to the touch, and so we corrected the leaky issue from the outside, and yet we neglected the crumbling mix of plaster and drywall inside. Rather, we filled this room with shipping boxes and unpacked bins from the condo, rescued furniture and bags of clothes to be donated. We turned a blind eye and kept the door closed at all times, and we would say, one day, we’ll get to you, room.
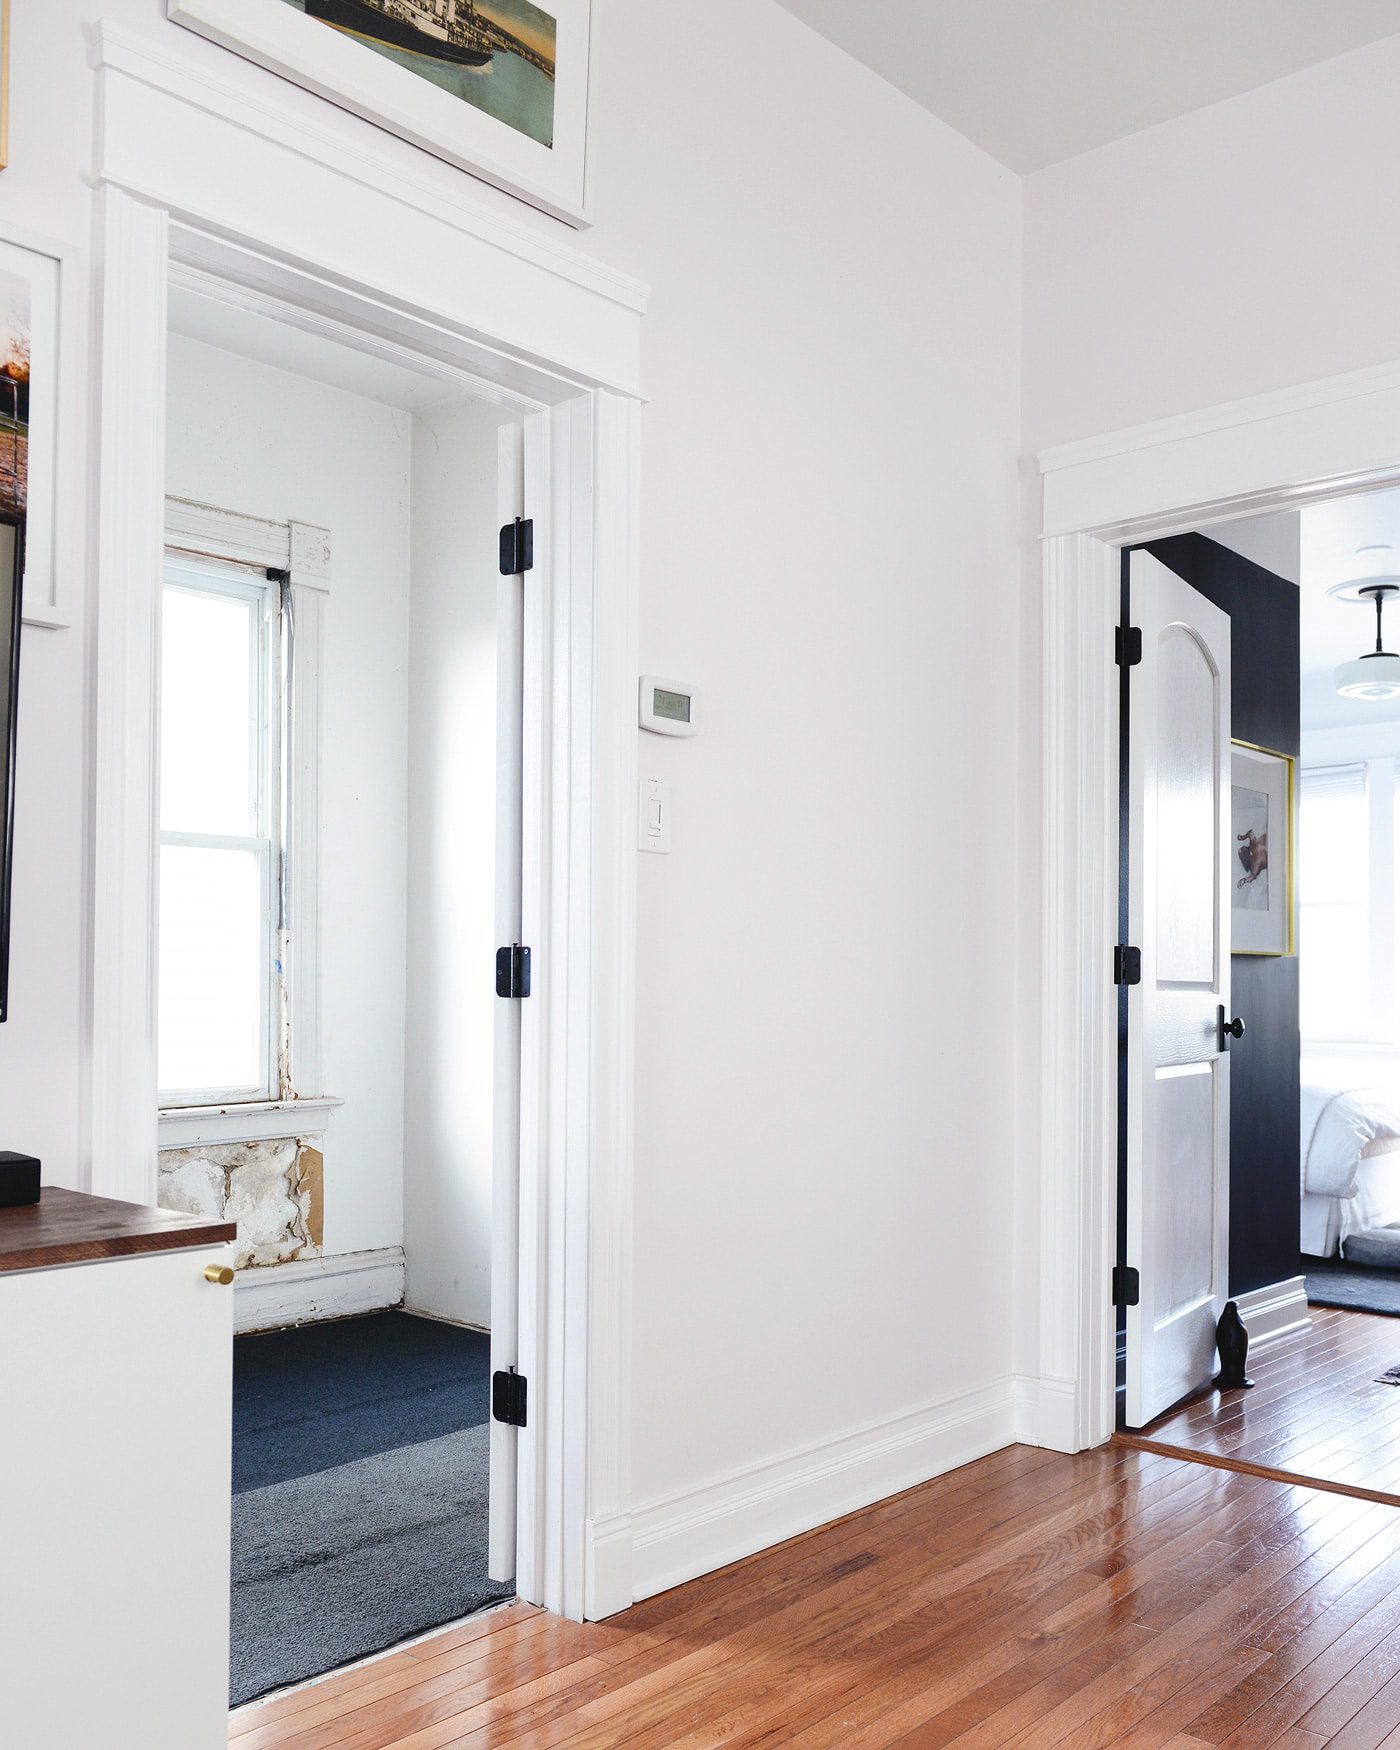
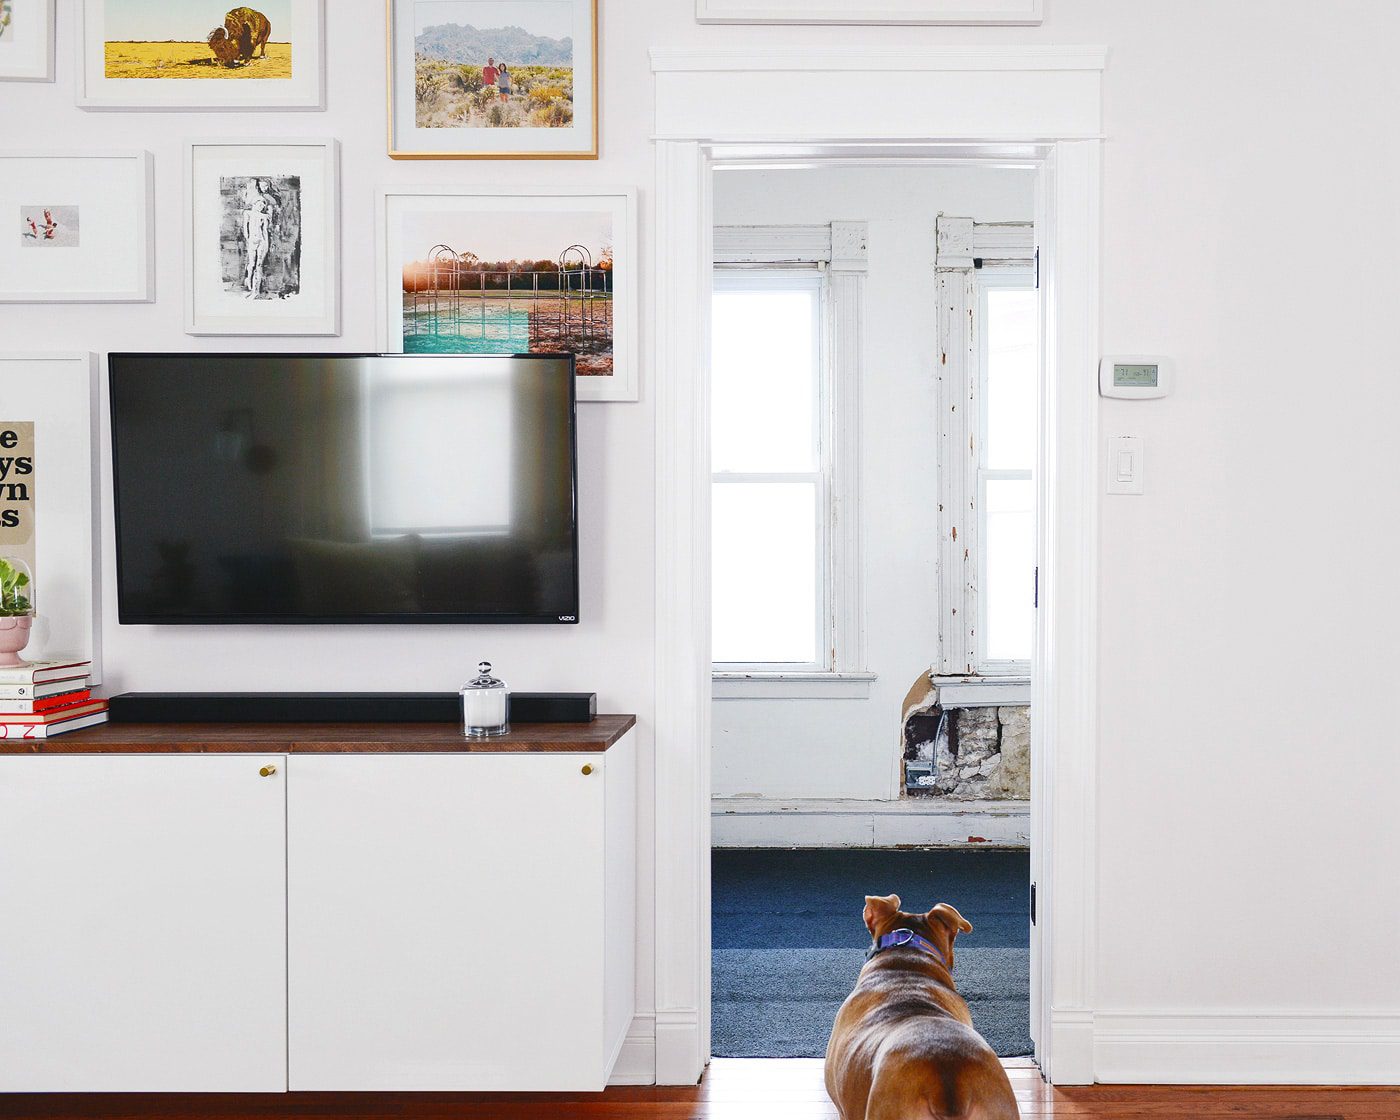
It’s right off of our home studio and just outside of the master bedroom. Pretty quickly after move-in, it was dubbed The Scary Room – and for good reason! The walls are pocked with holes and old gum, the window frames are perpetually chalky to the touch and the baseboards are held together with duct and packing tape. Eventually, it’s going to be another bedroom, but we have a handful of problems to address to get us to a starting point! I know I must be painting quite the picture right now, but despite this room’s downfalls, we’ve always agreed that it’s a hidden gem in the house.
Typically, houses in Chicago are built only a few feet apart (on lots that are 25′ wide), which ends up blocking a large portion of natural sunlight on either side of the home. In our case, our neighbor to the north is set back, and our neighbor to the south is one story, which allows for full daylight to flood our entire second floor all day long – a rarity! The room’s two large windows combined with a smallish 6.5′ x 16′ footprint easily make this the brightest room in the house.
A few weeks ago, we completely emptied the room, finally donating carloads to various thrift and salvage shops. We had grand plans to knock out the closet for something a bit more custom, but that idea was very quickly derailed after a bit of attic investigation had us realizing that the closet opening was on a load bearing wall! Womp. We filmed the introduction to Scary Room on our Instagram Stories (including our face-palm moment, of course!), but in case you missed it, here’s the entire compilation of our 15 second clips:
Psst… I can’t help but laugh at myself for saying we haven’t done a thing to this room, and then I continue to list all the things we’ve done to the room. Nothing like being put on the 15-second-spot.
We’re looking forward to the day that we can proudly swing the door wide open, but until then, let’s dive into the issues we’ll be resolving sooner than later!
In This Post
Problem #1: All the trim
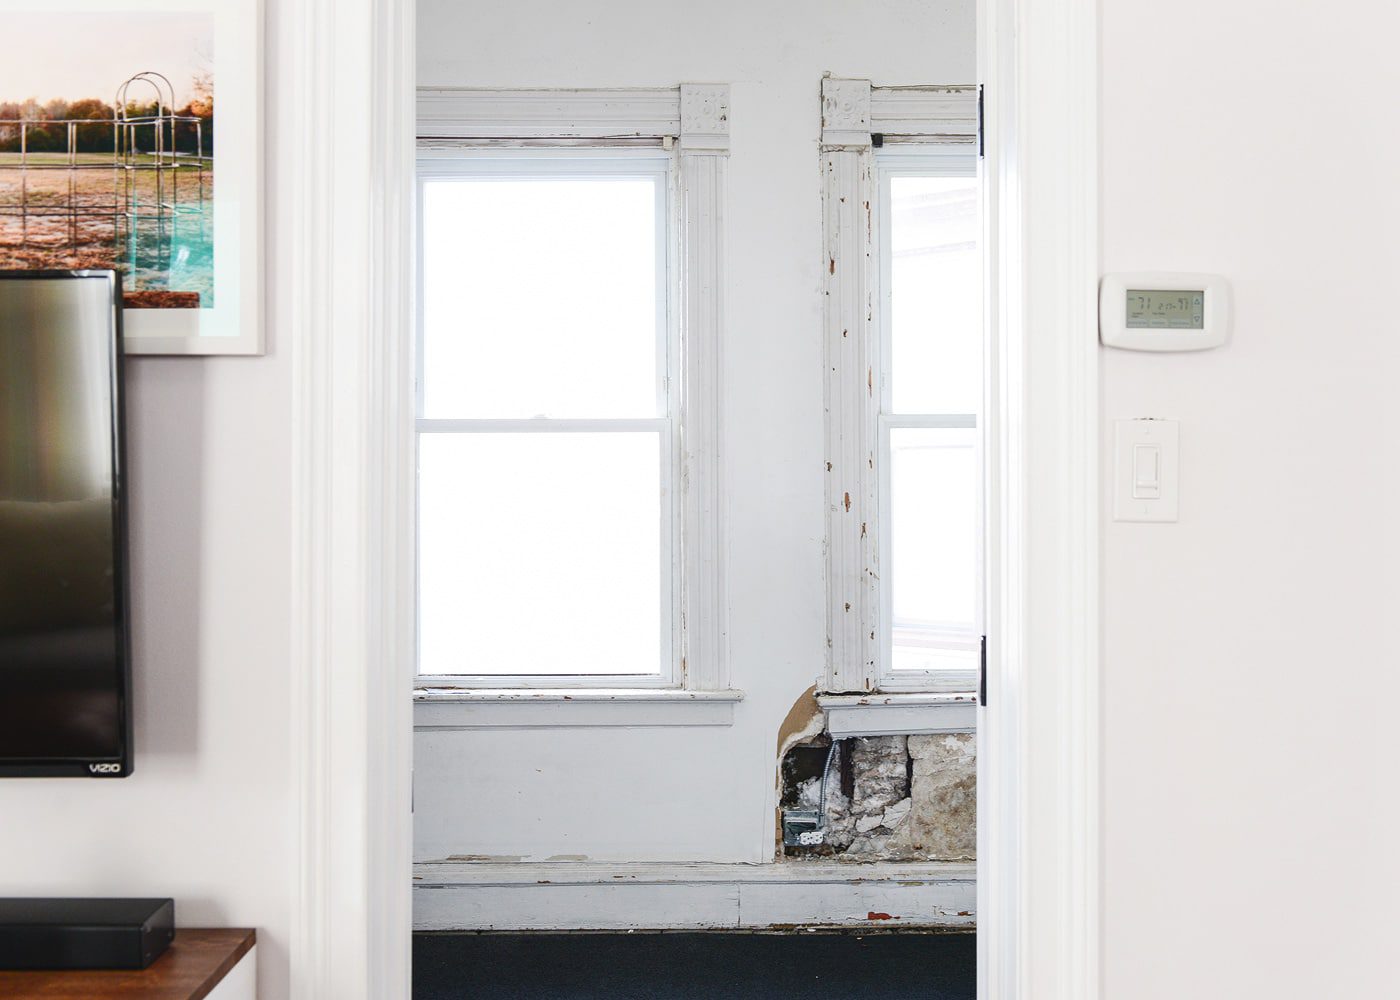
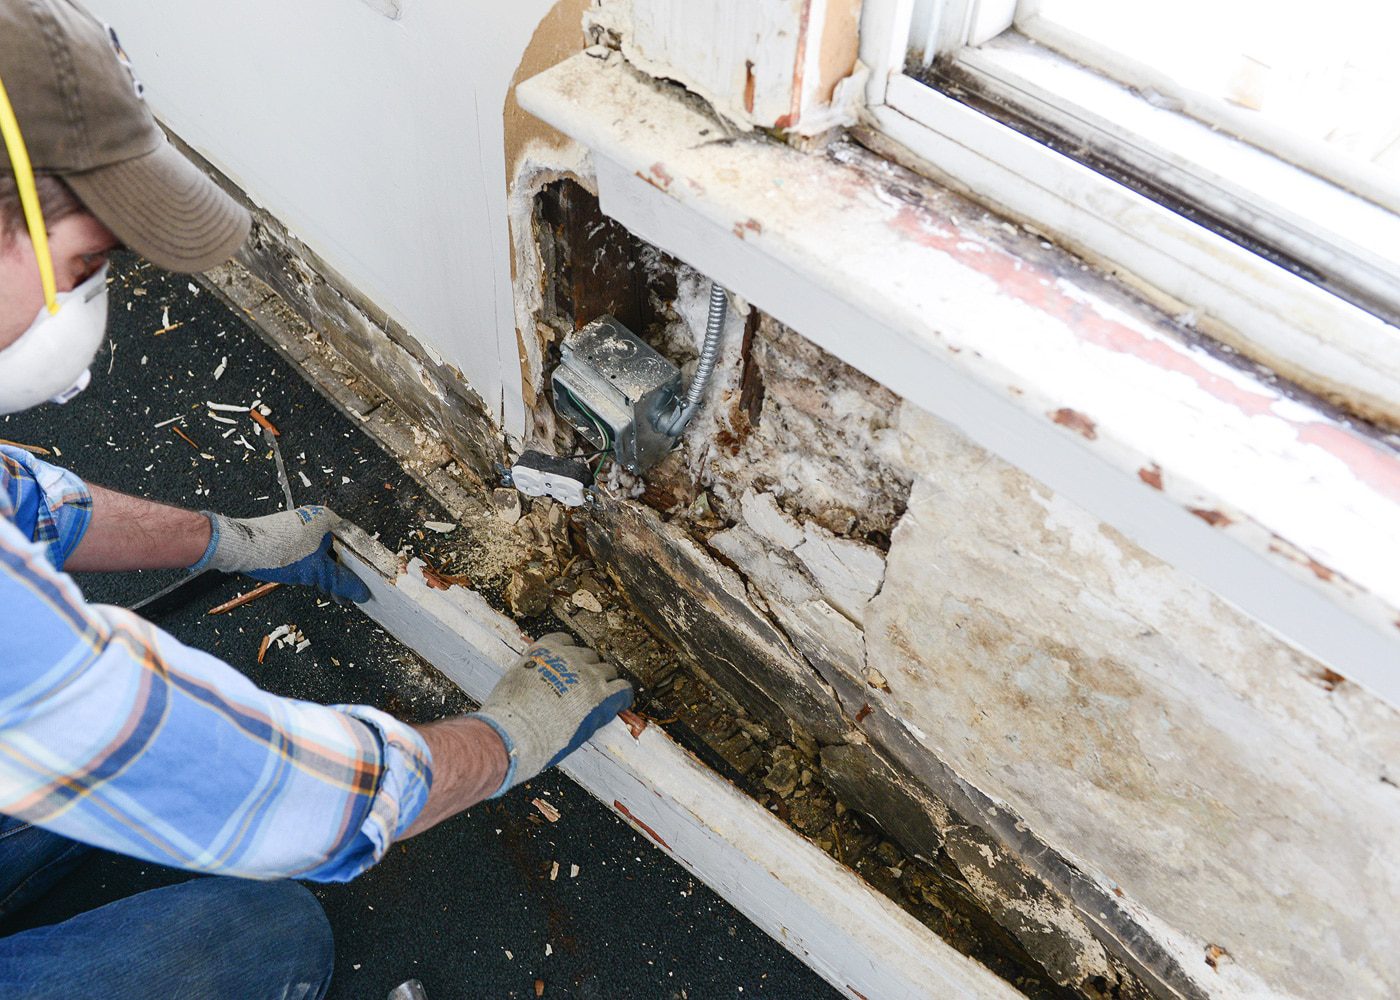
I hesitate to call the trim a ‘problem,’ because really, it’s one of our favorite elements in the room. This is the only room in our home where any original moldings remain, and we’re going to do everything we can to salvage it. That said, it’s all completely flush with the drywall, due to a drywall-over-plaster job moons ago. There are gouges and screw holes and decades of caulk, and there are entire areas of the room where no trim exists at all. Even so, I might be the most excited about nurturing this detail back to life.

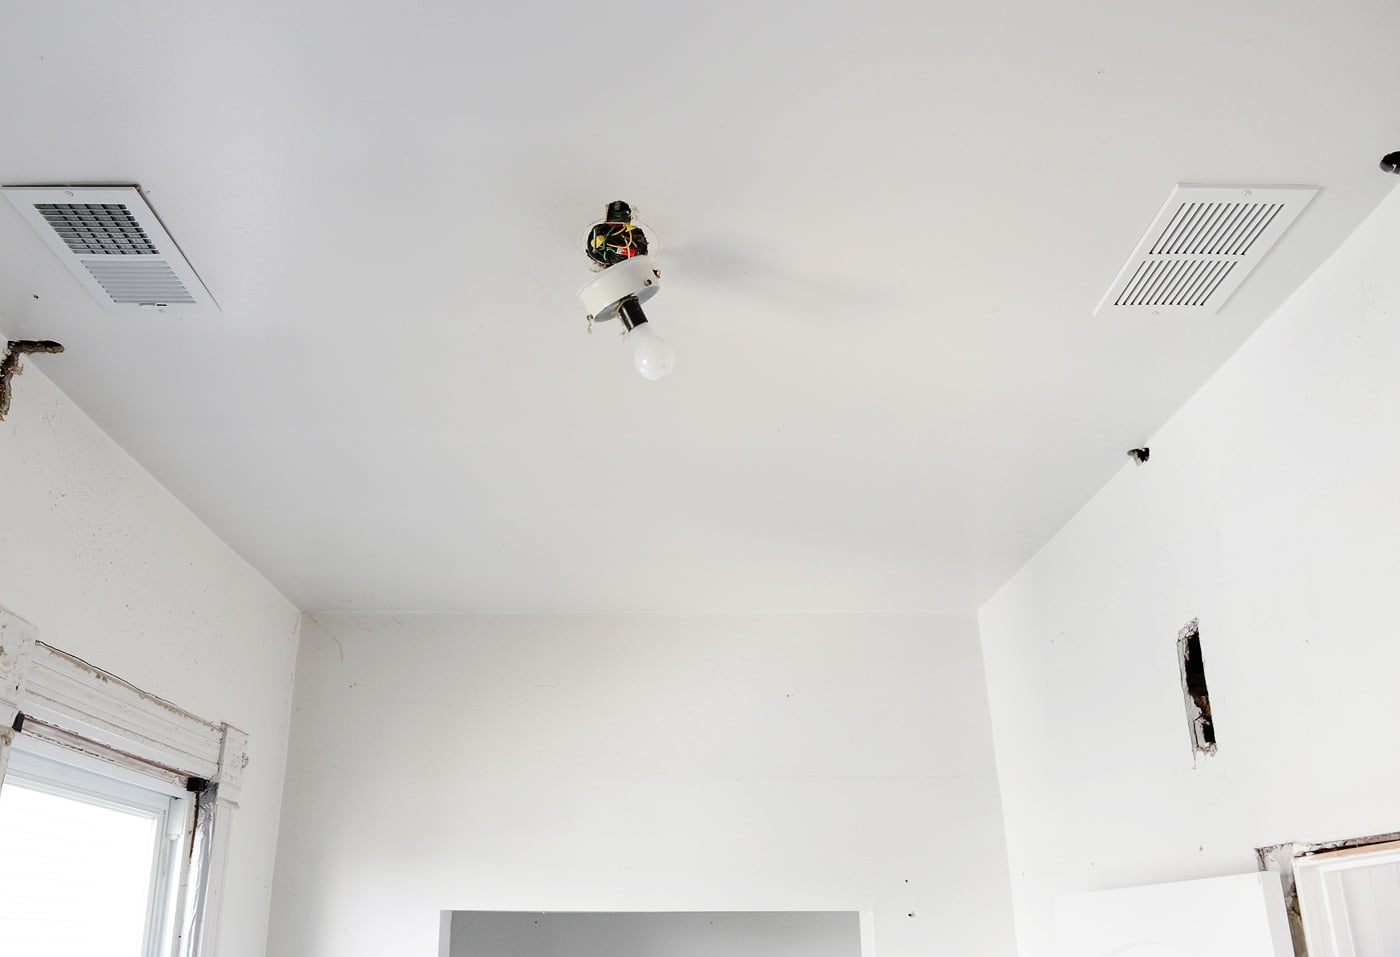
Problem #2: Electrical (or lack thereof)
Aside from the ceiling fixture, this room had no electrical outlets! Last summer, we hired our electrician to add an outlet to the television wall in the studio. While he was at it, we asked if he could add an outlet to The Scary Room, since it was a shared wall, and then we asked if he could move the light switch from the left of the door to the right. That was where his work ended, but we’ve since added more outlets – a lot more! – to this room’s punch list.
Problem #3: The closet
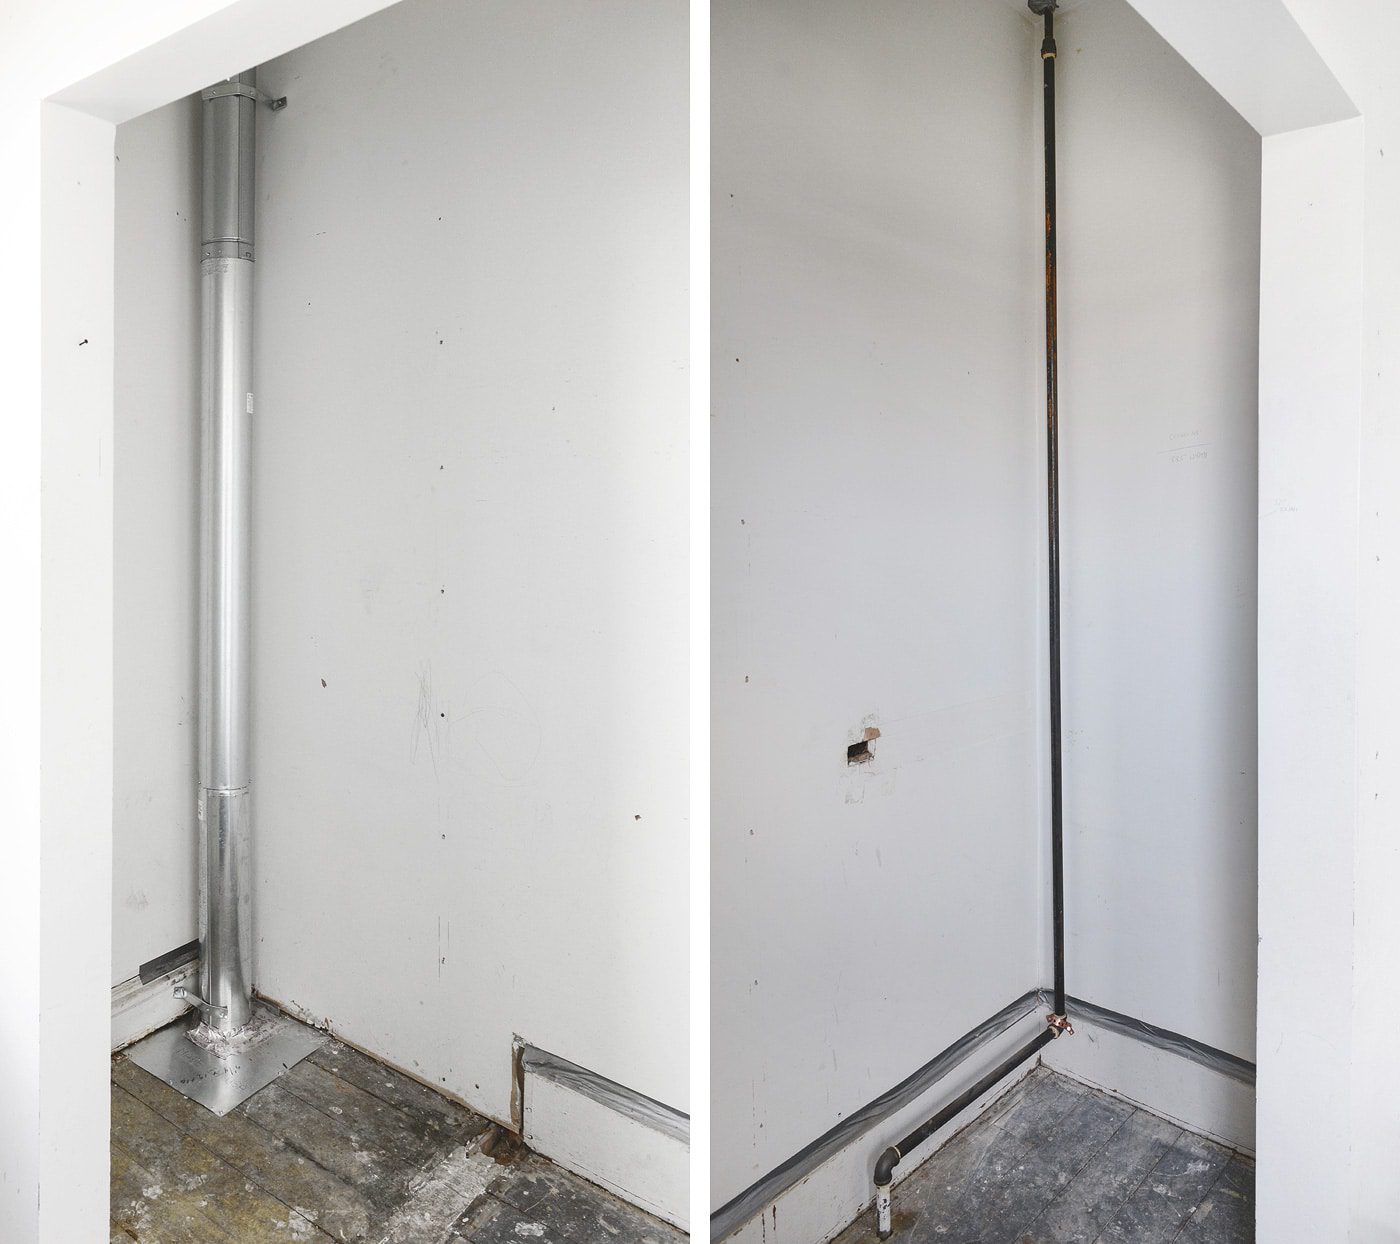
As we’ve done other work in this home, we’ve used Scary Room as the scapegoat. When the chimney in our bedroom was removed, we needed to reroute the furnace vent from our basement, and so we said, eh, throw it in The Scary Room closet! And when we needed to properly run a gas line to our attic furnace, we said, hmm, how about The Scary Room? You get the idea. In addition, the closet has a lower ceiling than the rest of the room, which we found out is due to a step-up on the attic floor. If we take down the closet wall completely and install a header to make way for a built-in closet system, that portion of the ceiling will always be lower than the rest of the room (not to mention, unless we shell out big money for a recessed header, it will create a larger division on the ceiling, too). While that may not be the biggest deal aesthetically, it is financially. Instead, we’ve been brainstorming some workarounds to make this closet work for us, rather than against us. More on that later this week!
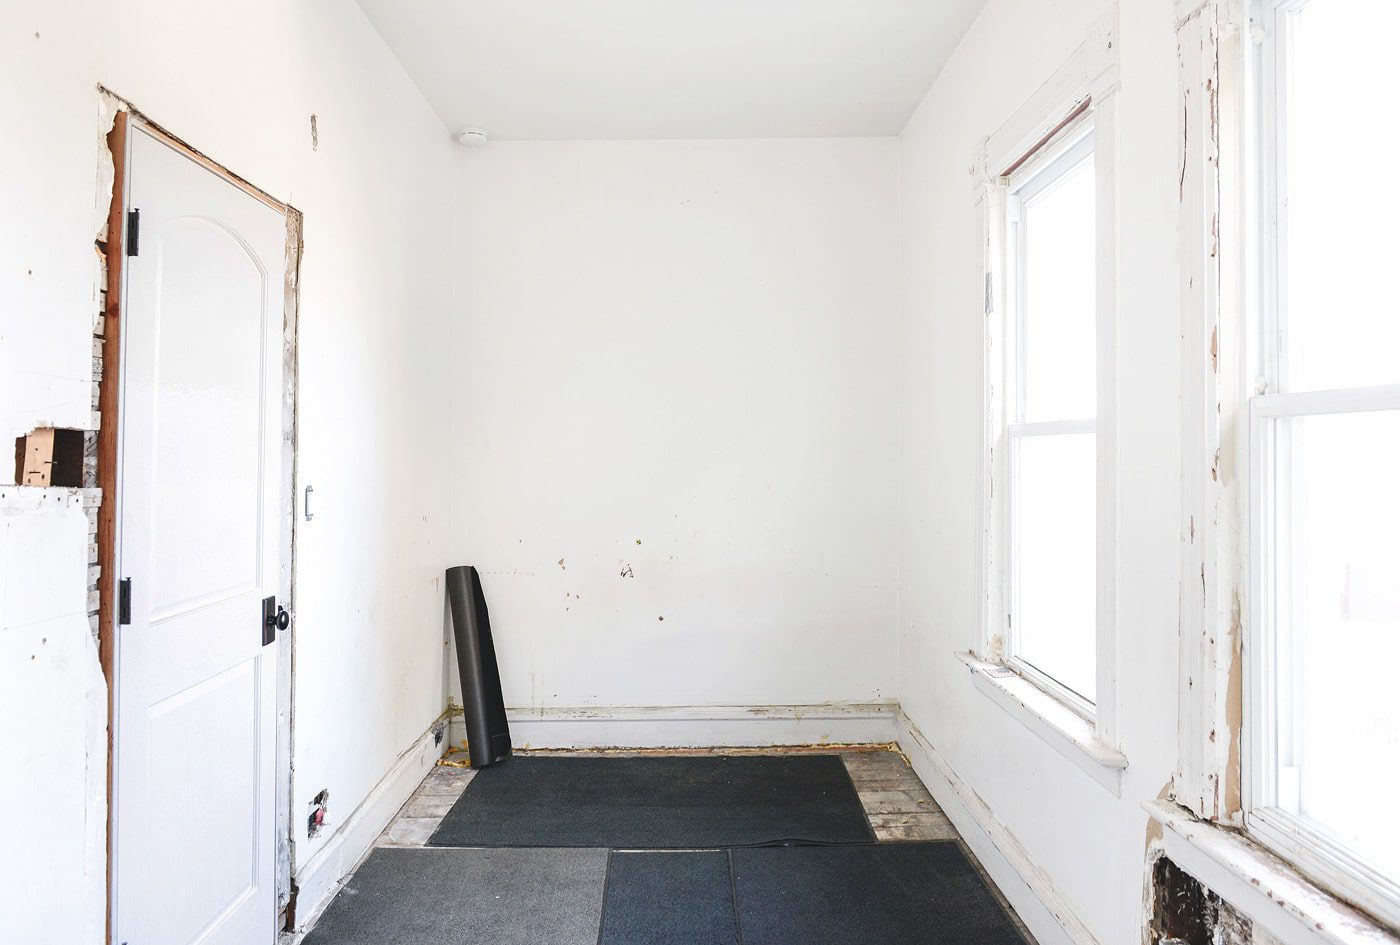
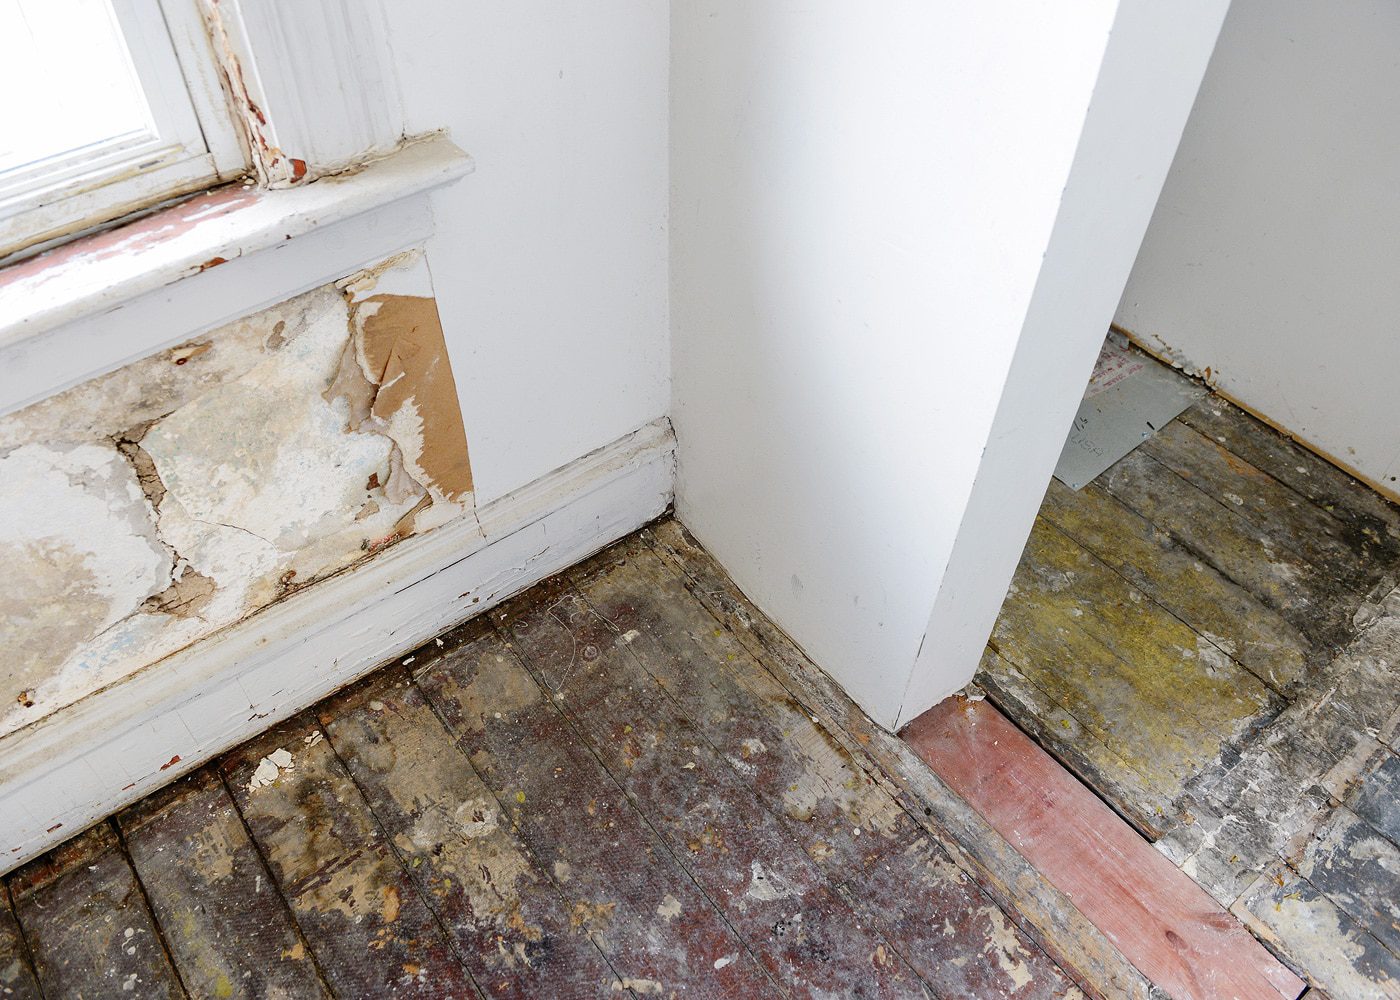
Problem #4: 130-year-old subfloor
It squeaks and it creaks. It slopes from one side of the room to the other. It was poorly patched in when the closet opening was created. Before we can install the same hardwood flooring we have in the rest of our home, we’ll need to get the subfloor back to level.
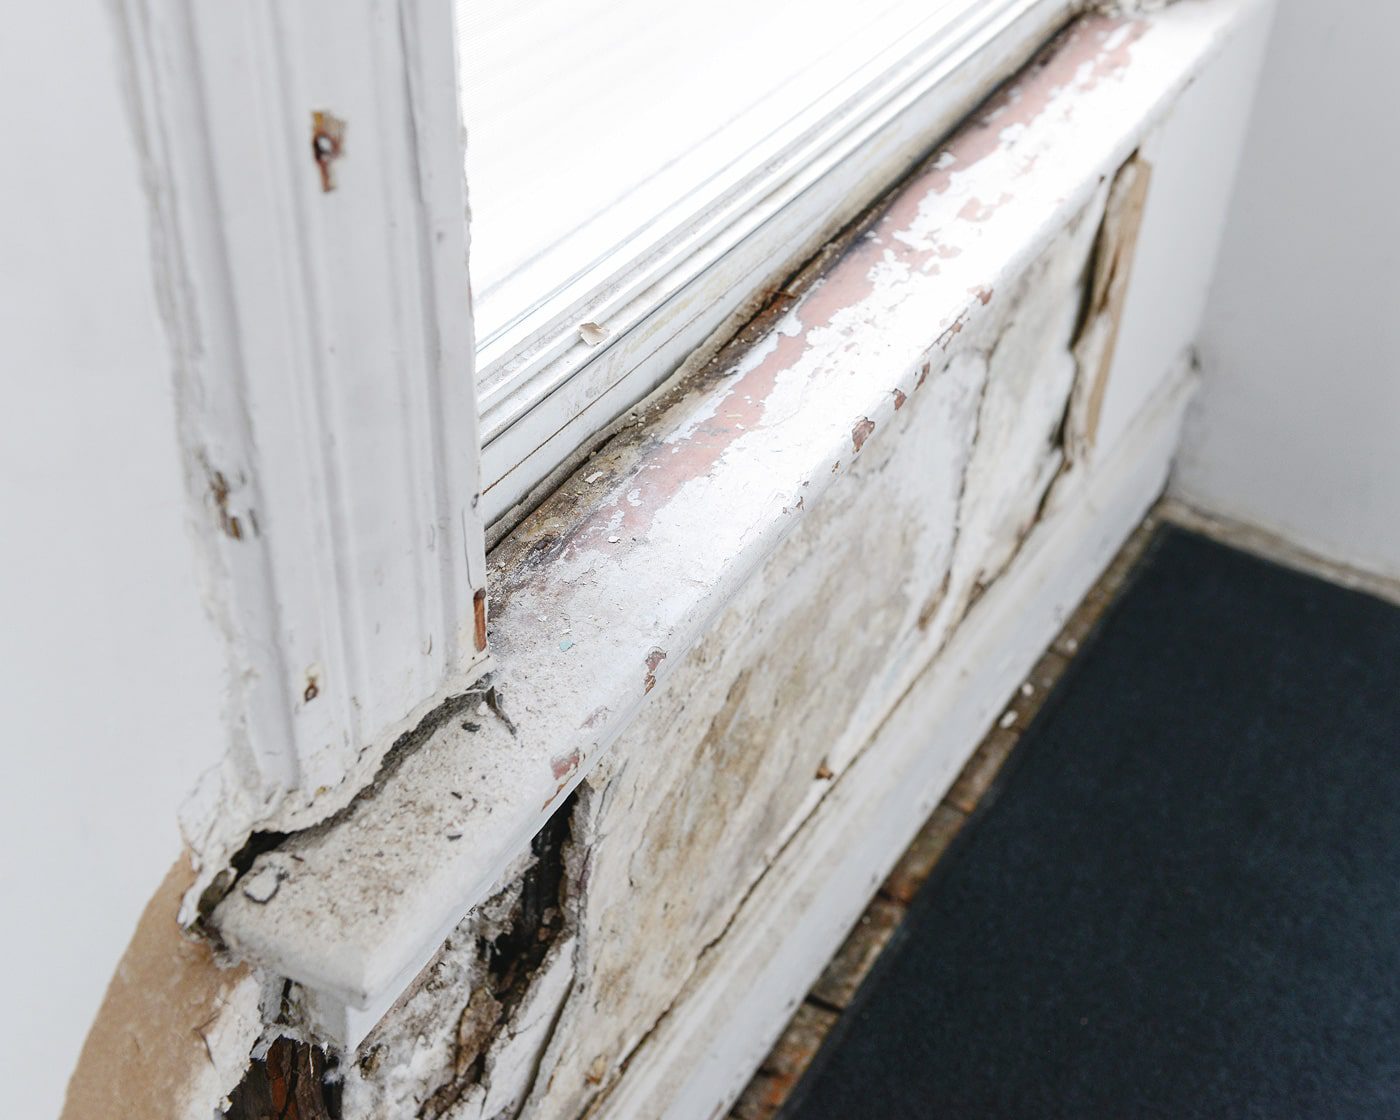
Problem #5: Windows
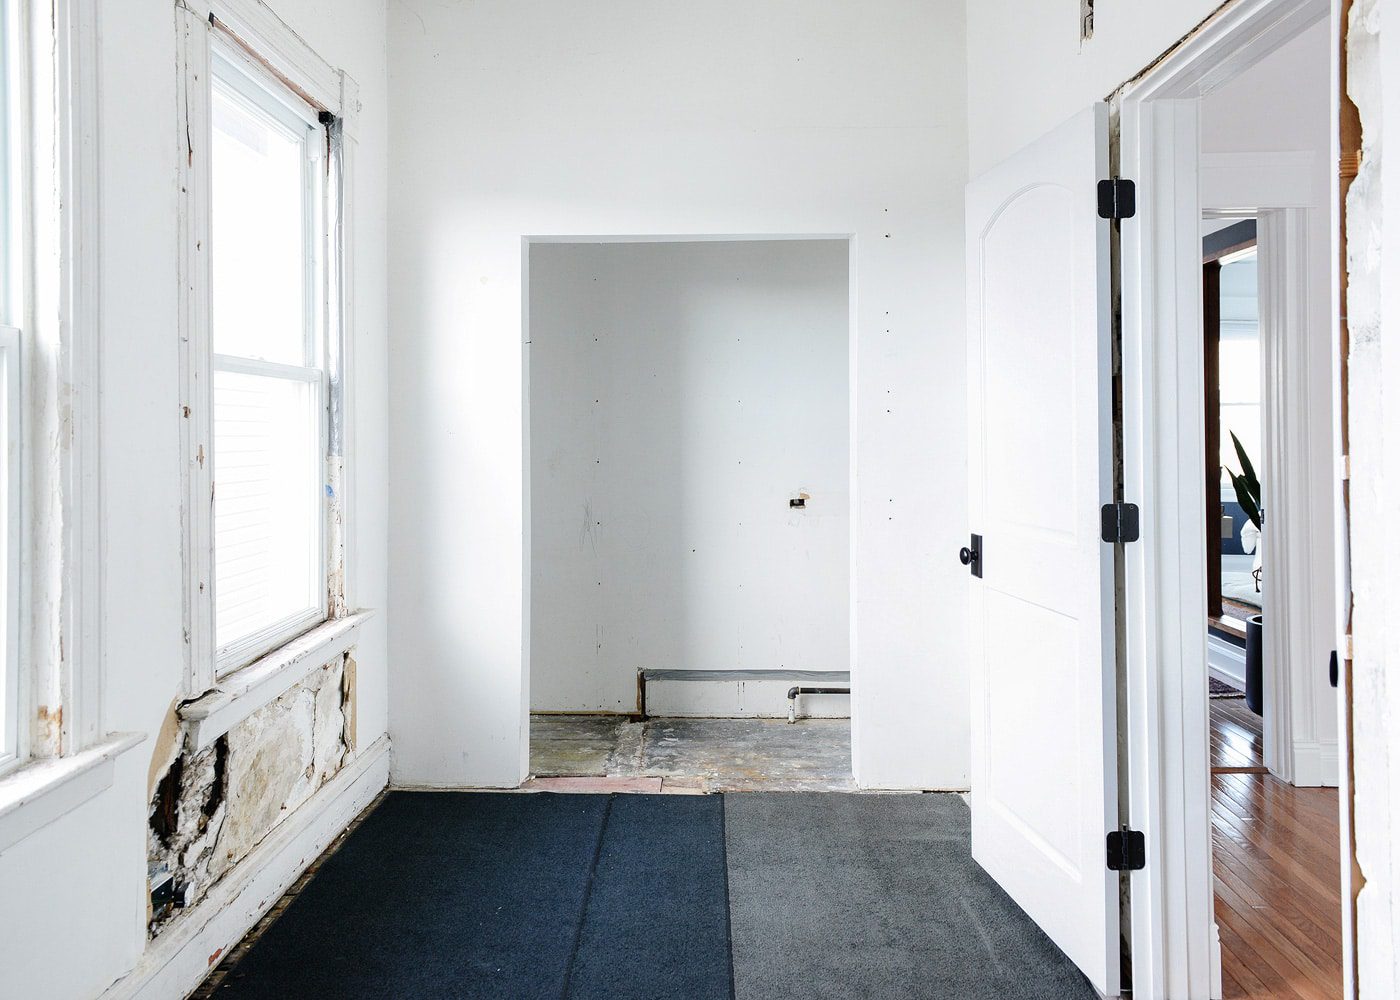
I spent a good hour scrubbing these guys clean, just to see if there was any chance in salvaging them. Sadly, all the windows in our home were replaced with low quality vinyl at one point, and we’ve slowly been upgrading them as time and money allows. These windows must have been taped over with plastic (an assumption I’m basing on the history of the other windows throughout the second floor), and there are screw holes from where an air conditioning unit was secured. After all my best cleaning efforts proved to be fruitless – they’re still scratched, covered in sticky residue and etched black with dirt – we’re replacing them with new. We’ll be using the same higher quality vinyl windows we ordered for our bedroom (and love).
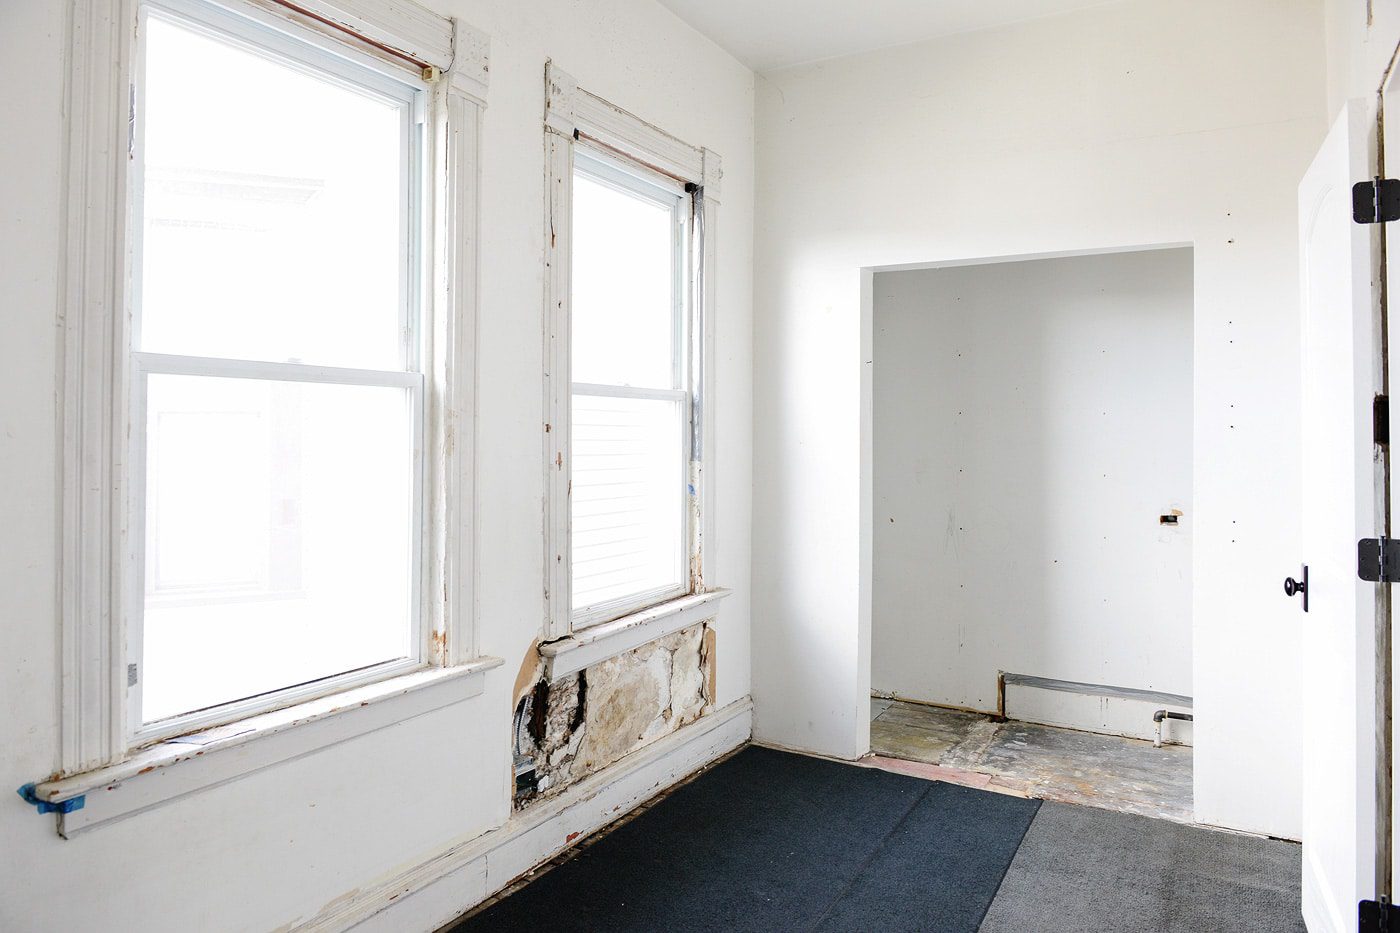
Problem #6: The State of the Drywall
We’ve already pulled all the trim down, leaving exposed drywall that will need to be patched in before we can (repair and) reinstall. Obviously, this room needs a lot of help in the drywall department – window wall, we’re looking at you! – and of course our closet plans call for some modifications, too.
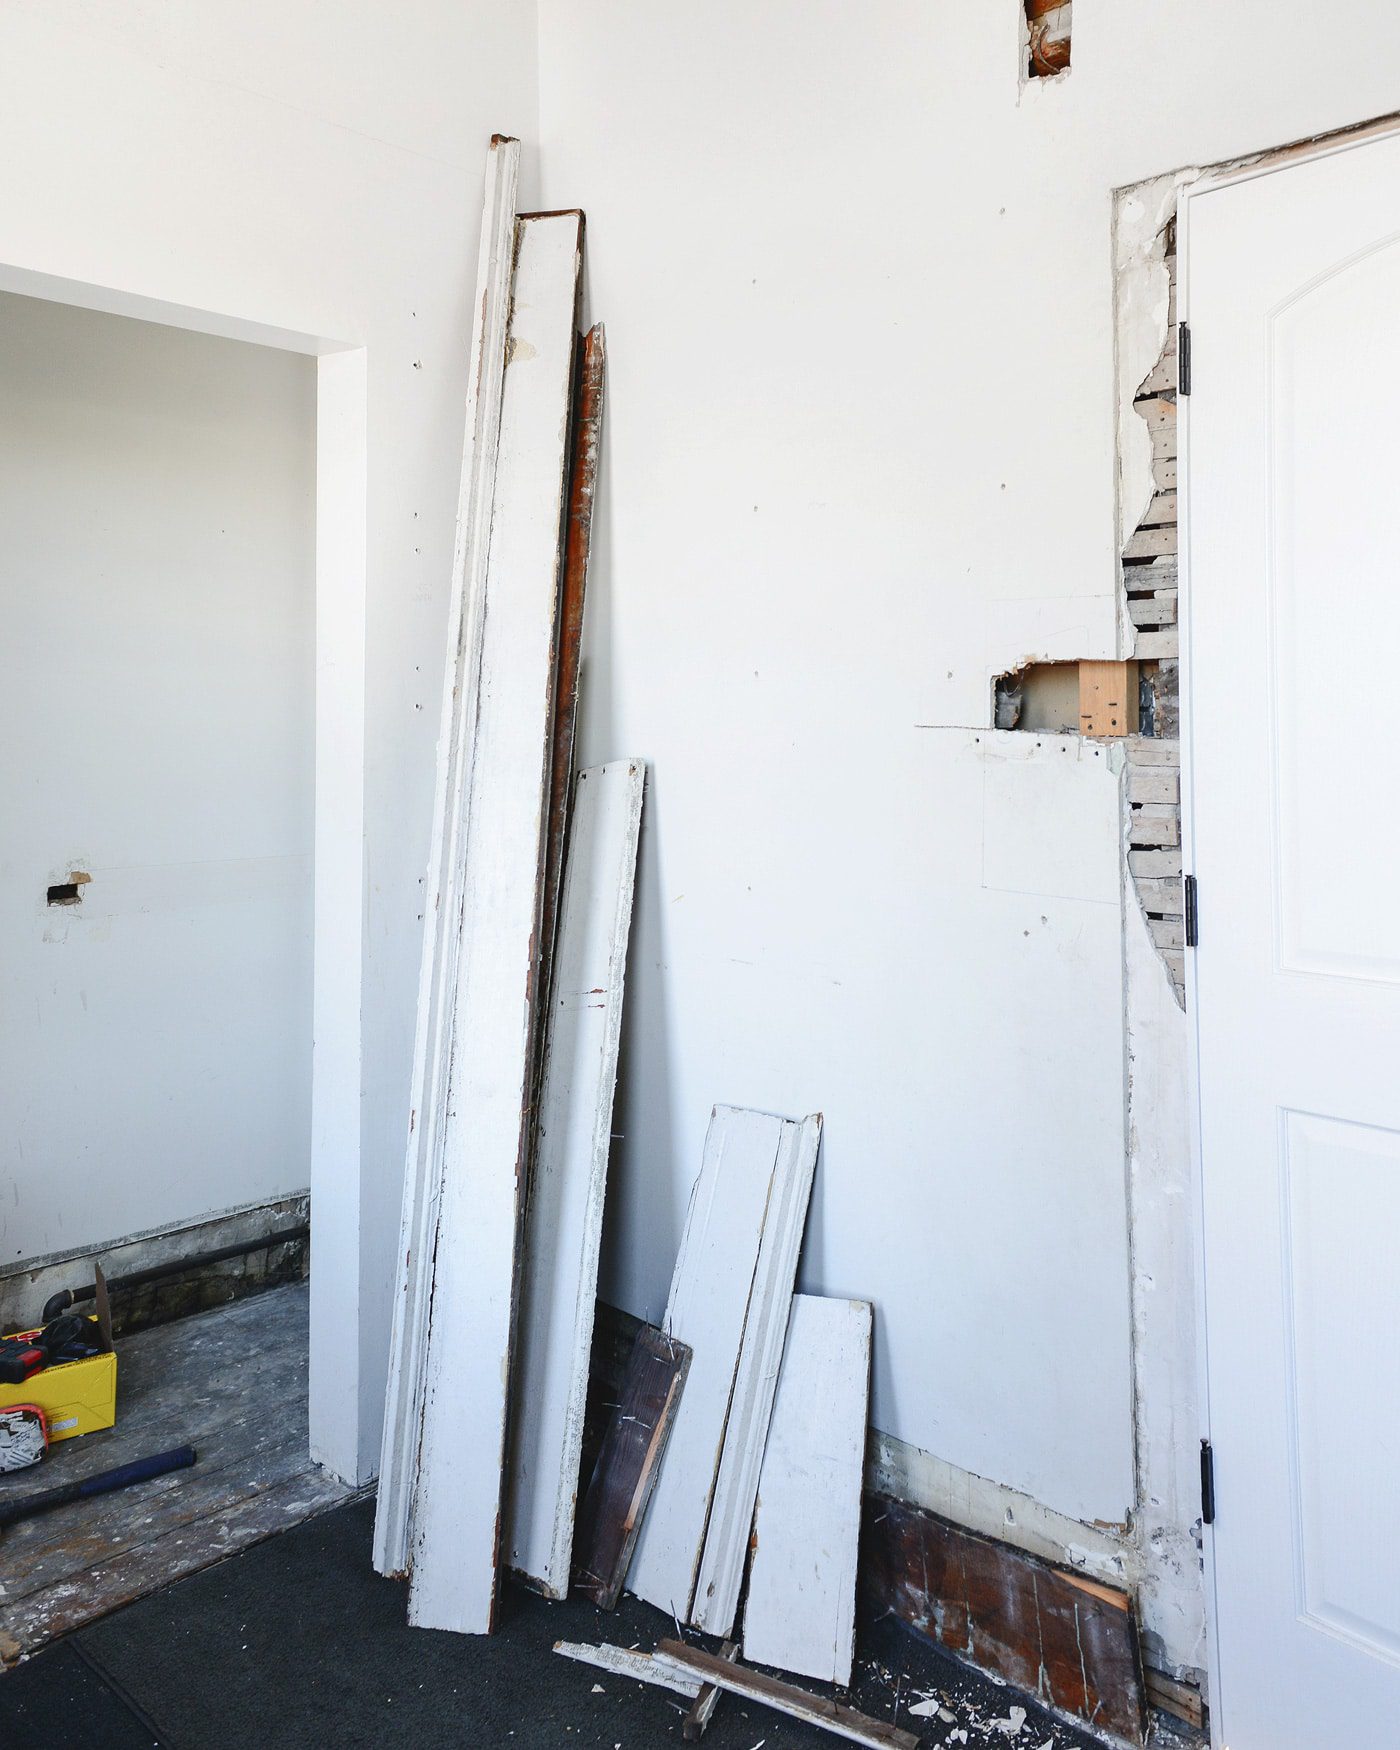
New electrical, window replacement, subfloor and drywall repair (including those closet modifications on the load bearing wall) will all be completed by the same contractor who we worked with on our bed, bath and laundry. After a walkthrough with him last week, he had a tiny pocket in his schedule to get started right away! His team is here this week – eek! – and it’s been an exciting few days around here as a result. They’ll be done with their portion of the job by Friday, and we’ll be left with a bare bones room that will leave us left with flooring, trim work and closet installation – all of which will finally (phew!) get us to square one.
Watch out, Scary Room!
If you’re in the Chicagoland area and in the market for a trustworthy contractor, we’ve got a guy, and we couldn’t recommend him highly enough. Feel free to get in touch through our contact form in the menu bar.


We just found out the closet opening in our bedroom is load bearing, too! We had planned on tearing it out to open up the room since we don’t actually use it as a closet but now it stays since we can’t justify the cost. Oh well! Excited to see how this room comes together.
Ugh, those load bearing walls! Ruining all the plans. ;)
I know everyone likes the after photos, but there is nothing like a good brief of the before state and all the issues. Real life, thanks for sharing!
I can’t wait to see how you transform this space!
Paige
http://thehappyflammily.com
Is it wrong that I got excited when you called it the Scary Room? There’s something wonderful about seeing a space that is Not Good come to life. Can’t wait to see what you’re doing with it!
Soon enough, it’s going to feel a little sad not to say ‘Scary Room’! We’ve grown so used to it, haha!
So, maybe a stupid question, but is Scary Room going to be a guest room? If not, what will you use the room for?
Yup, it’s the third and final bedroom in our house!
Hey!
Question: if the walls of the room are over-plastered and in some placed kind of held together with a hope and a prayer, why not redrywall the whole room? Would that be easier?
Also I LOVE SCARY ROOMS. The worse the room is the cooler it is to fix up. It’s the best.
We hear you! We talked with our contractor about that, and he is a magical drywall repairman. We could replace it all, but it would have at least doubled our cost for the amount of work to tear down, re-insulate, etc. He felt confident enough to patch it up and mud any parts of the wall that need it.
The scarier the room, the more fun the results of some hard work, right?!
Can’t wait to see what you guys do with this room!
You guys take the cake for tackling some of the most difficult renovations. Thanks for that, prior to reading this I thought our slab leak was horrible. There’s nothing like putting things into perspective. I’m excited to see how this space turns out!
I’m always so inspired by you two! If you need a long-distance Best Friend in Idaho, just let me know! :)
So excited to follow along on this Scary Room project!
So sweet, thanks!