

This is how we easily removed a stone vanity backsplash in just 30 minutes with just 4 simple steps. It’s easy! We promise!
You know that short, stubby slab that’s often placed against the wall at the back of a countertop? Apparently, the proper name for this piece is a vanity backsplash. Who knew? Anyway, as we renovated our condo to prep it for sale, we decided that our stacked white tile would look much, much better if it extended all the way to the countertop as opposed to the top of the vanity backsplash. This would provide a much cleaner look and also visually expand the space between the countertop and cabinets. We knocked this project out in about 30 minutes and were ready to tile shortly afterwards.
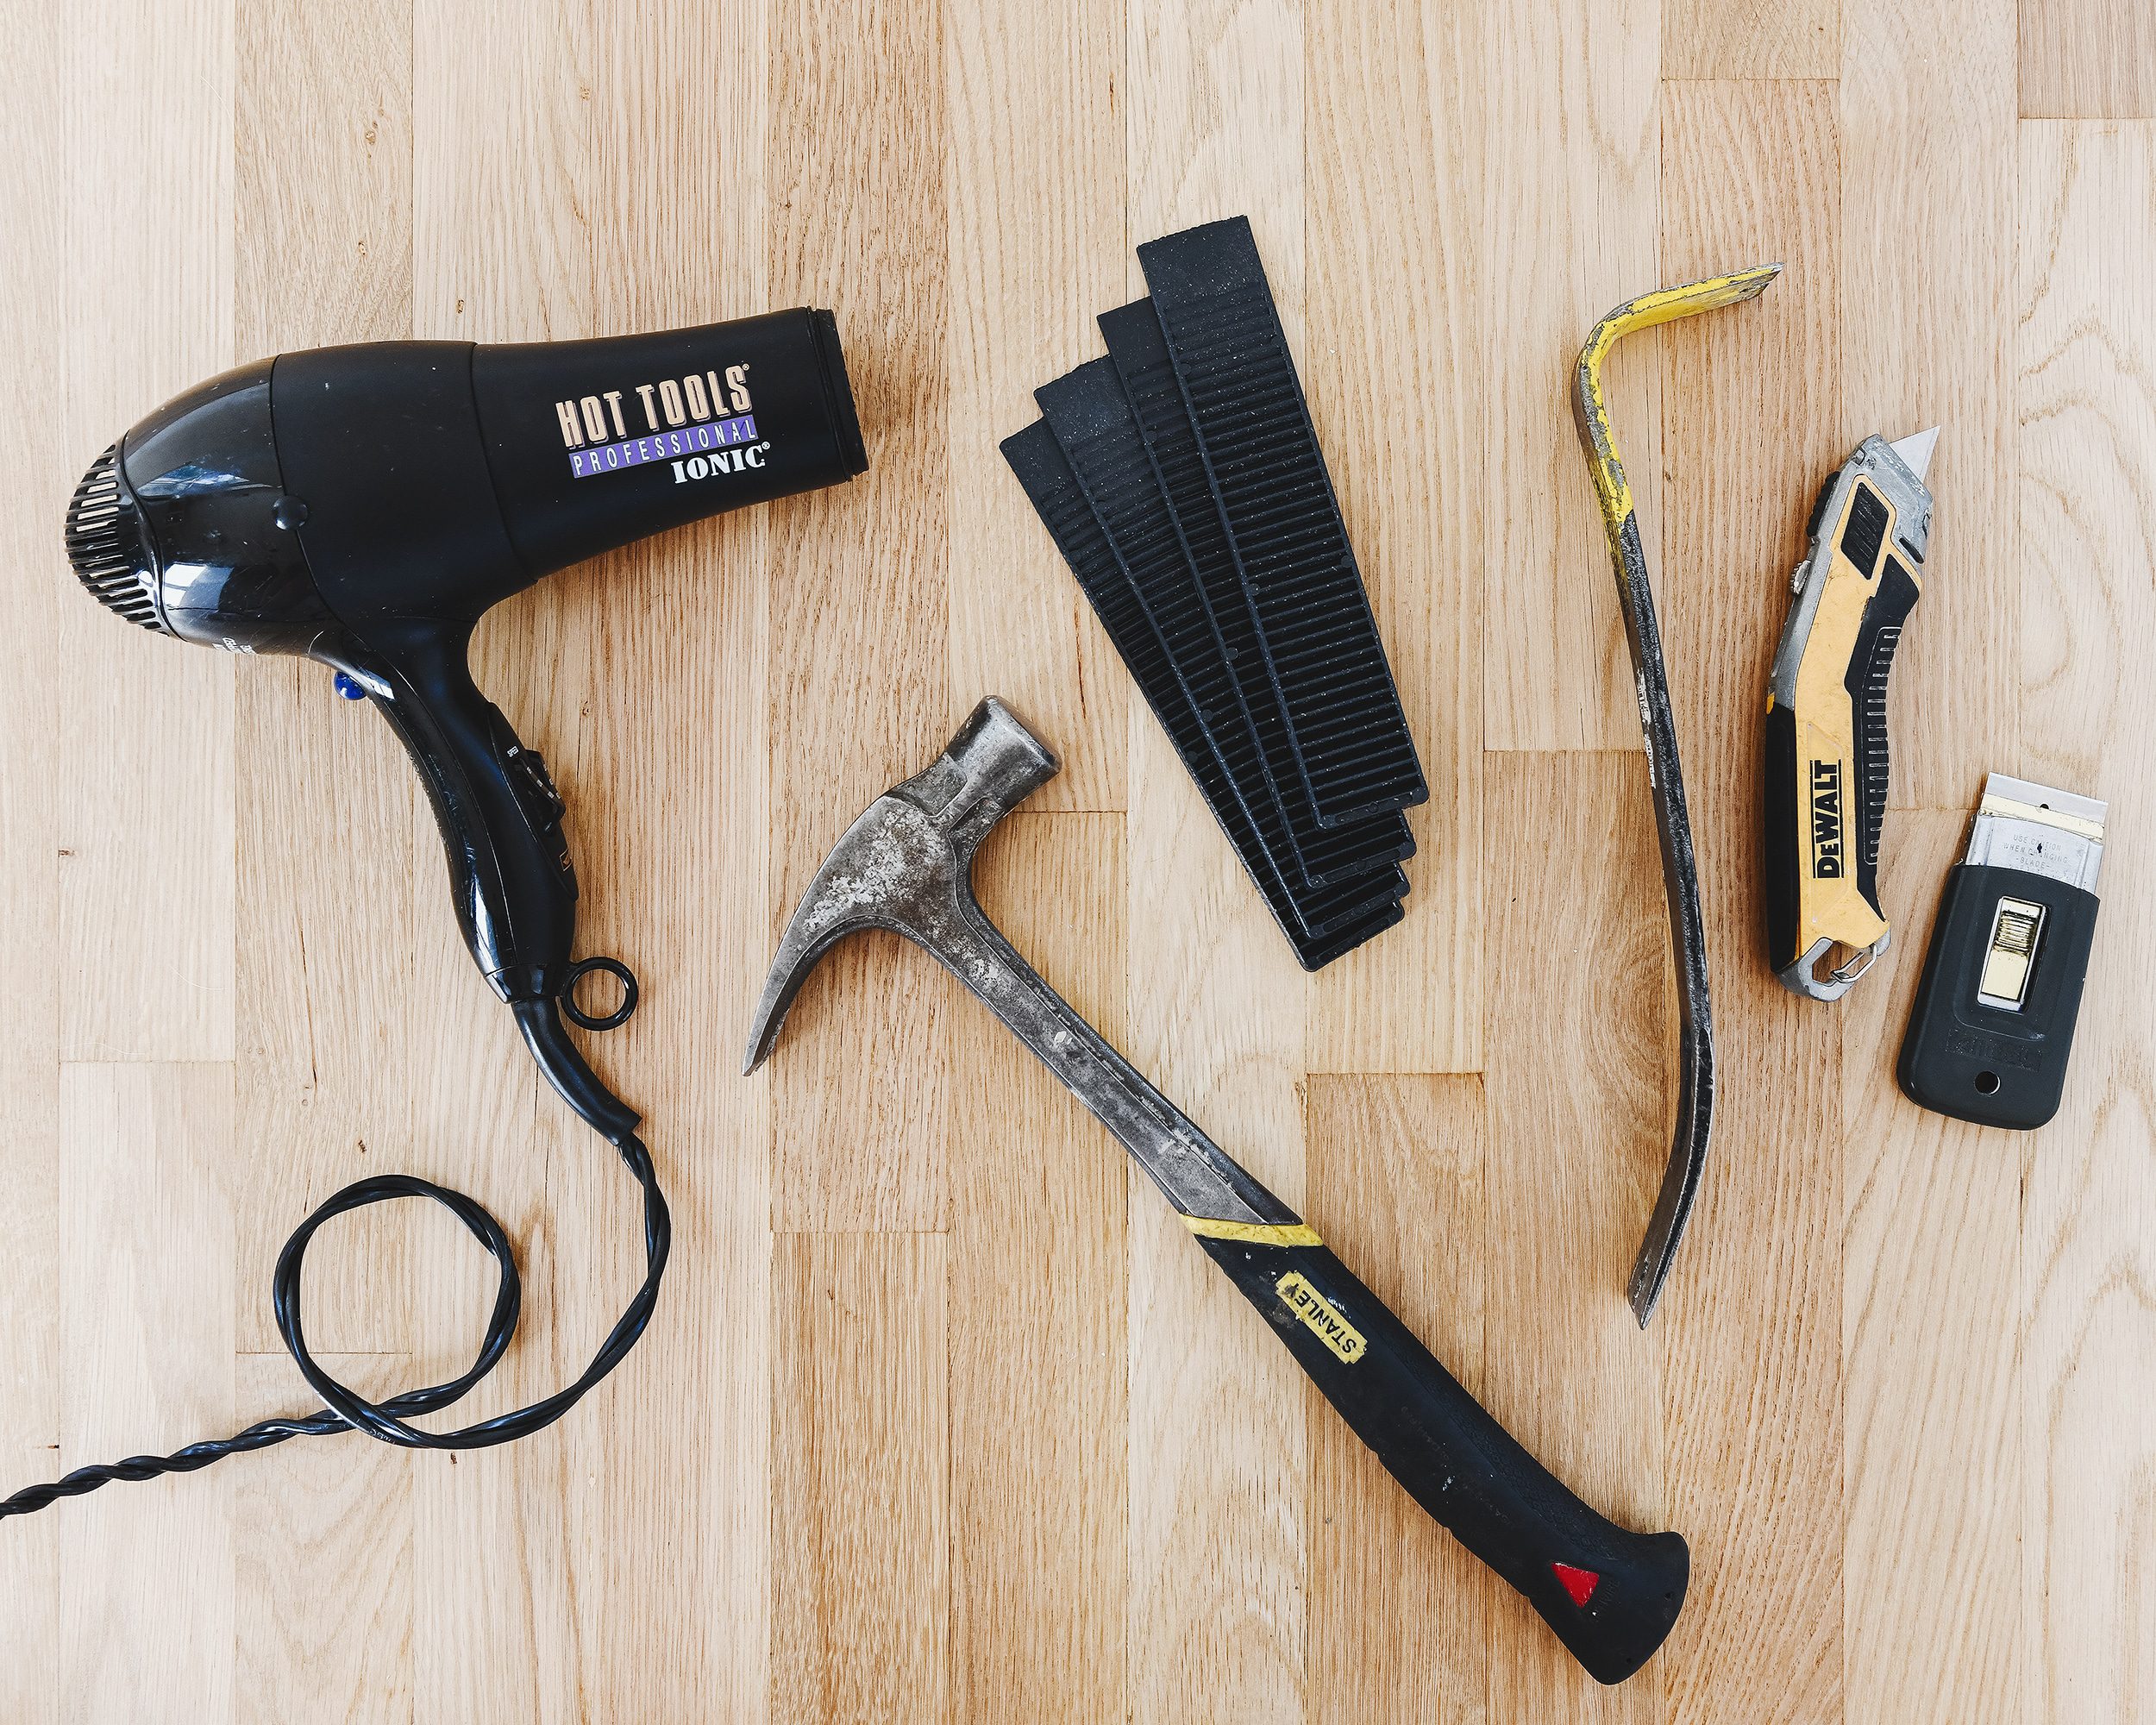
Here’s what you’ll need:
- hair dryer (or heat gun if you have one)
- utility knife
- composite shims
- hammer or mallet
- small pry bar (maybe)
- razor scraper
In This Post
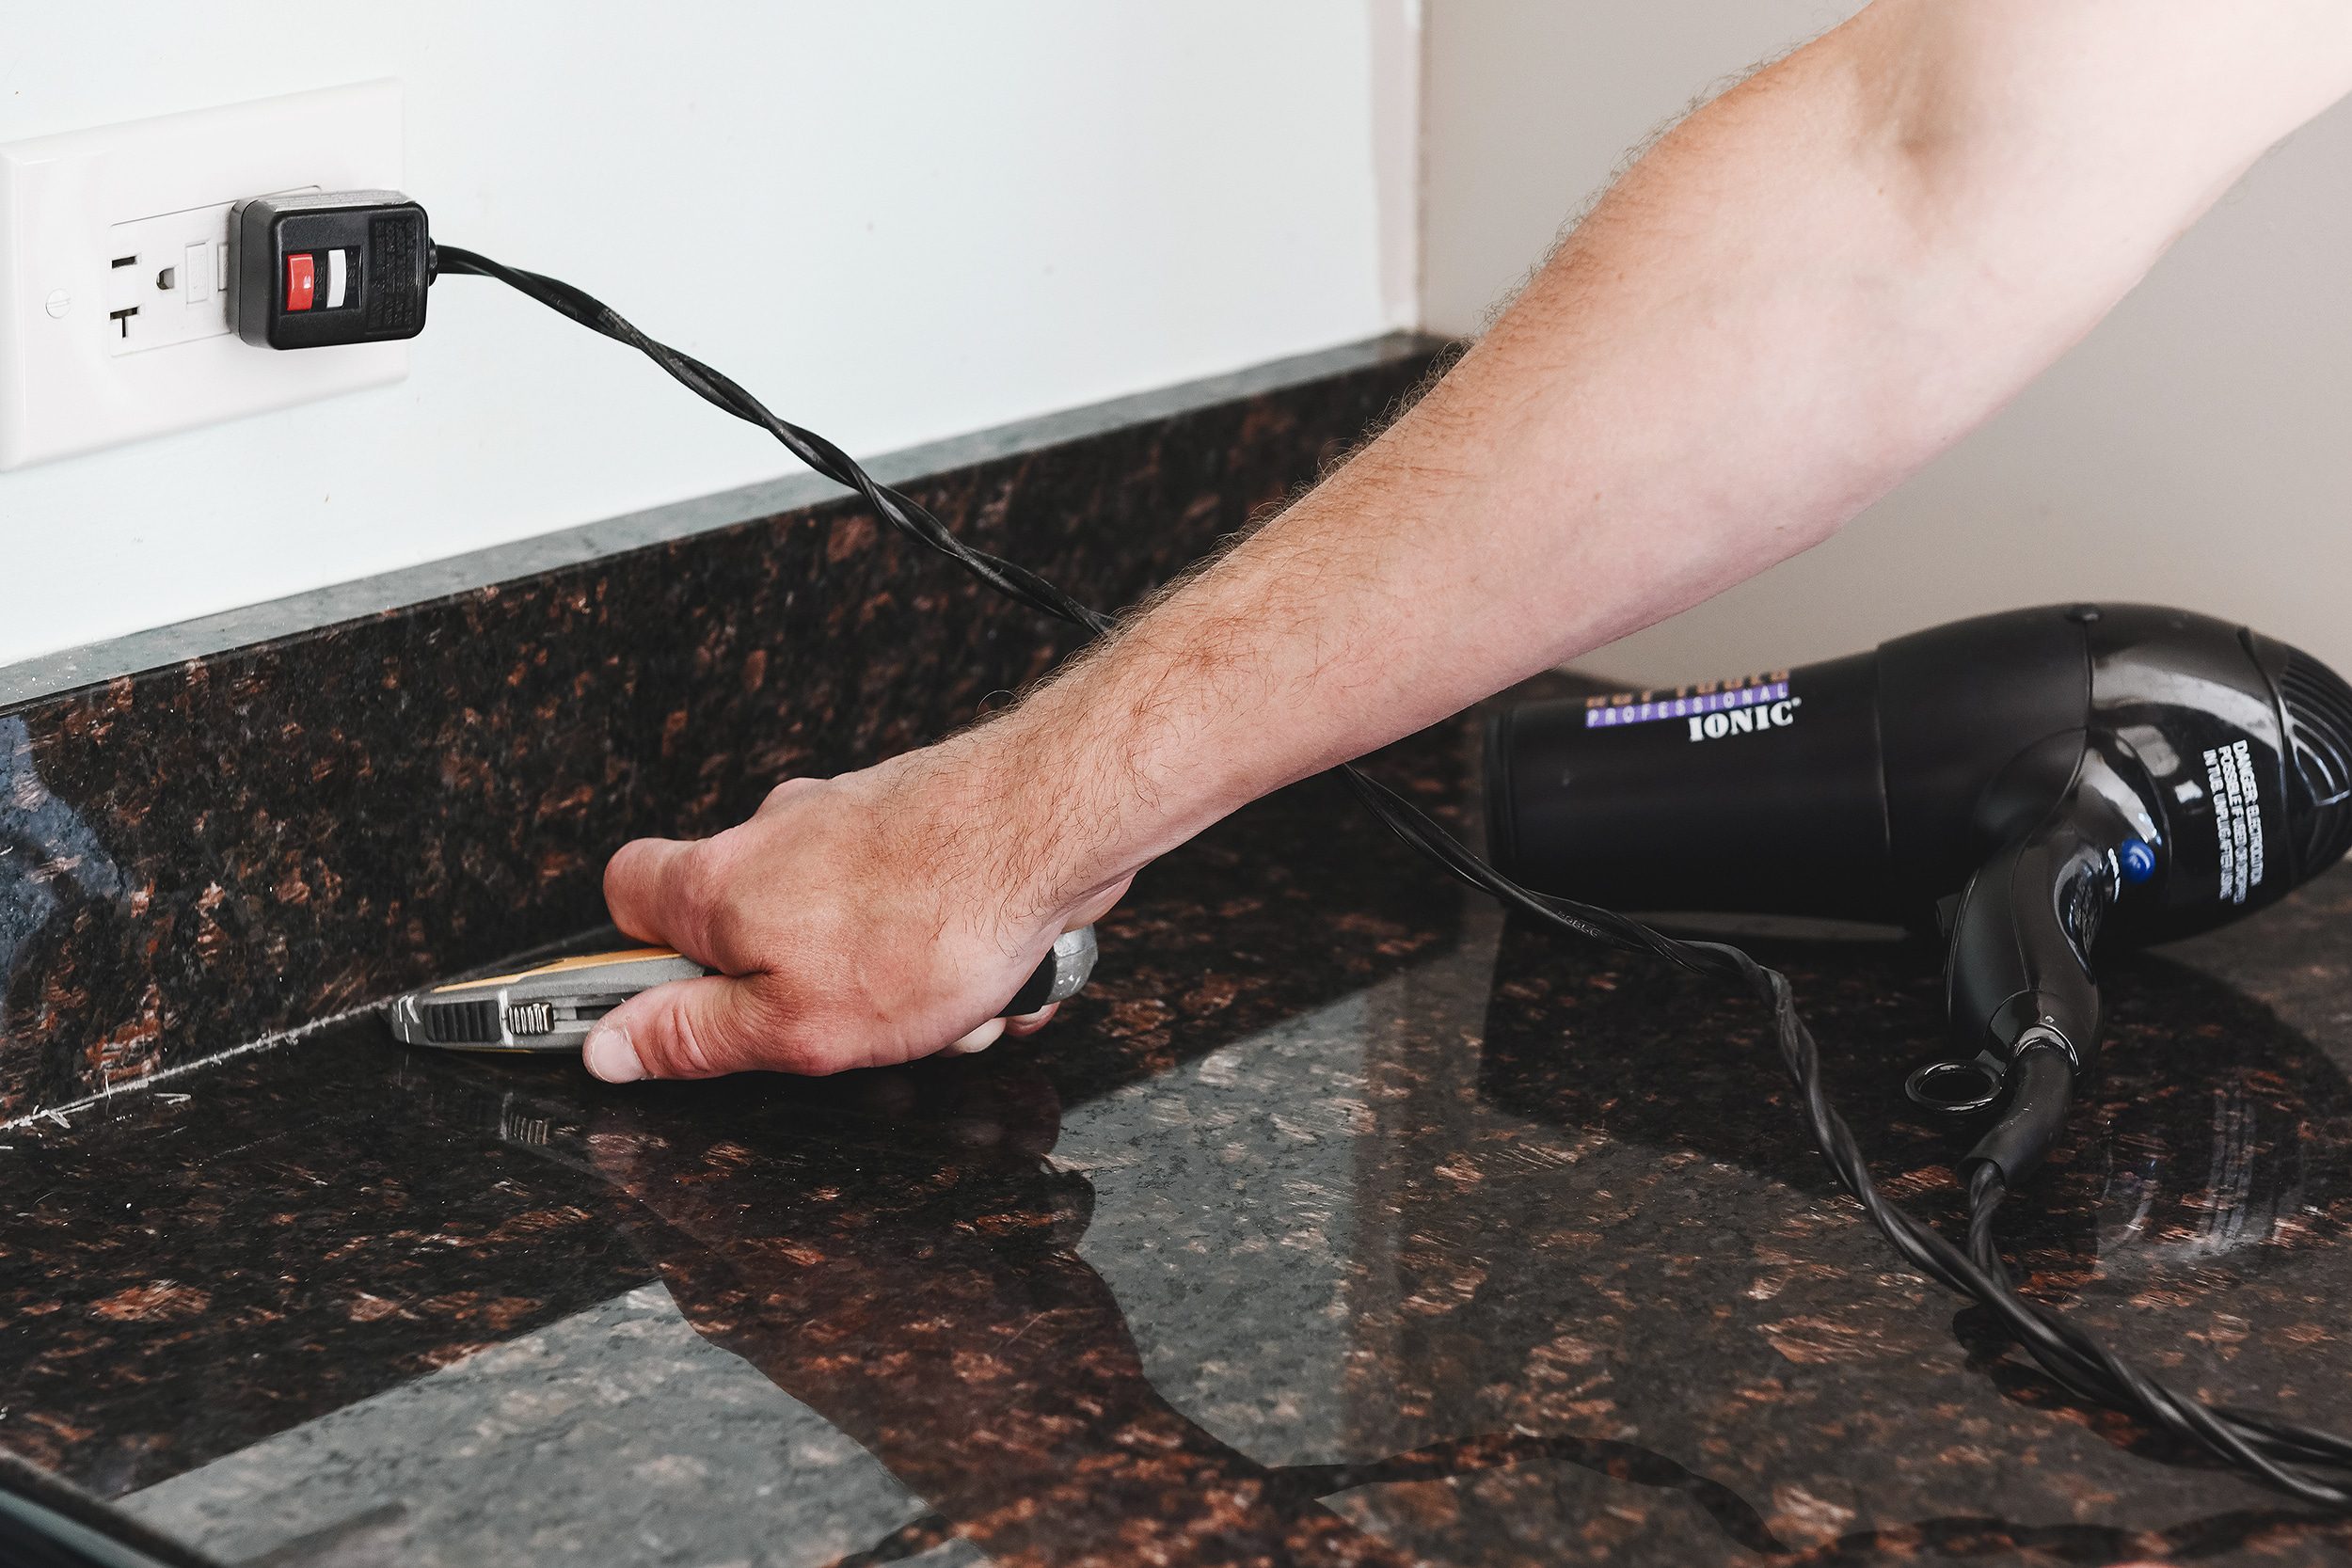
Step 1 | Heat + Score
The first step of the process was to aim the hair dryer (or heat gun) at the backsplash. This helped to soften the adhesive on the back of the stone and make removal easier. While the hair dryer softened the adhesive, we scored the caulk line between the bottom of the backsplash and countertop and the caulk line between the backsplash and drywall. We used a utility knife with a sharp, fresh blade.
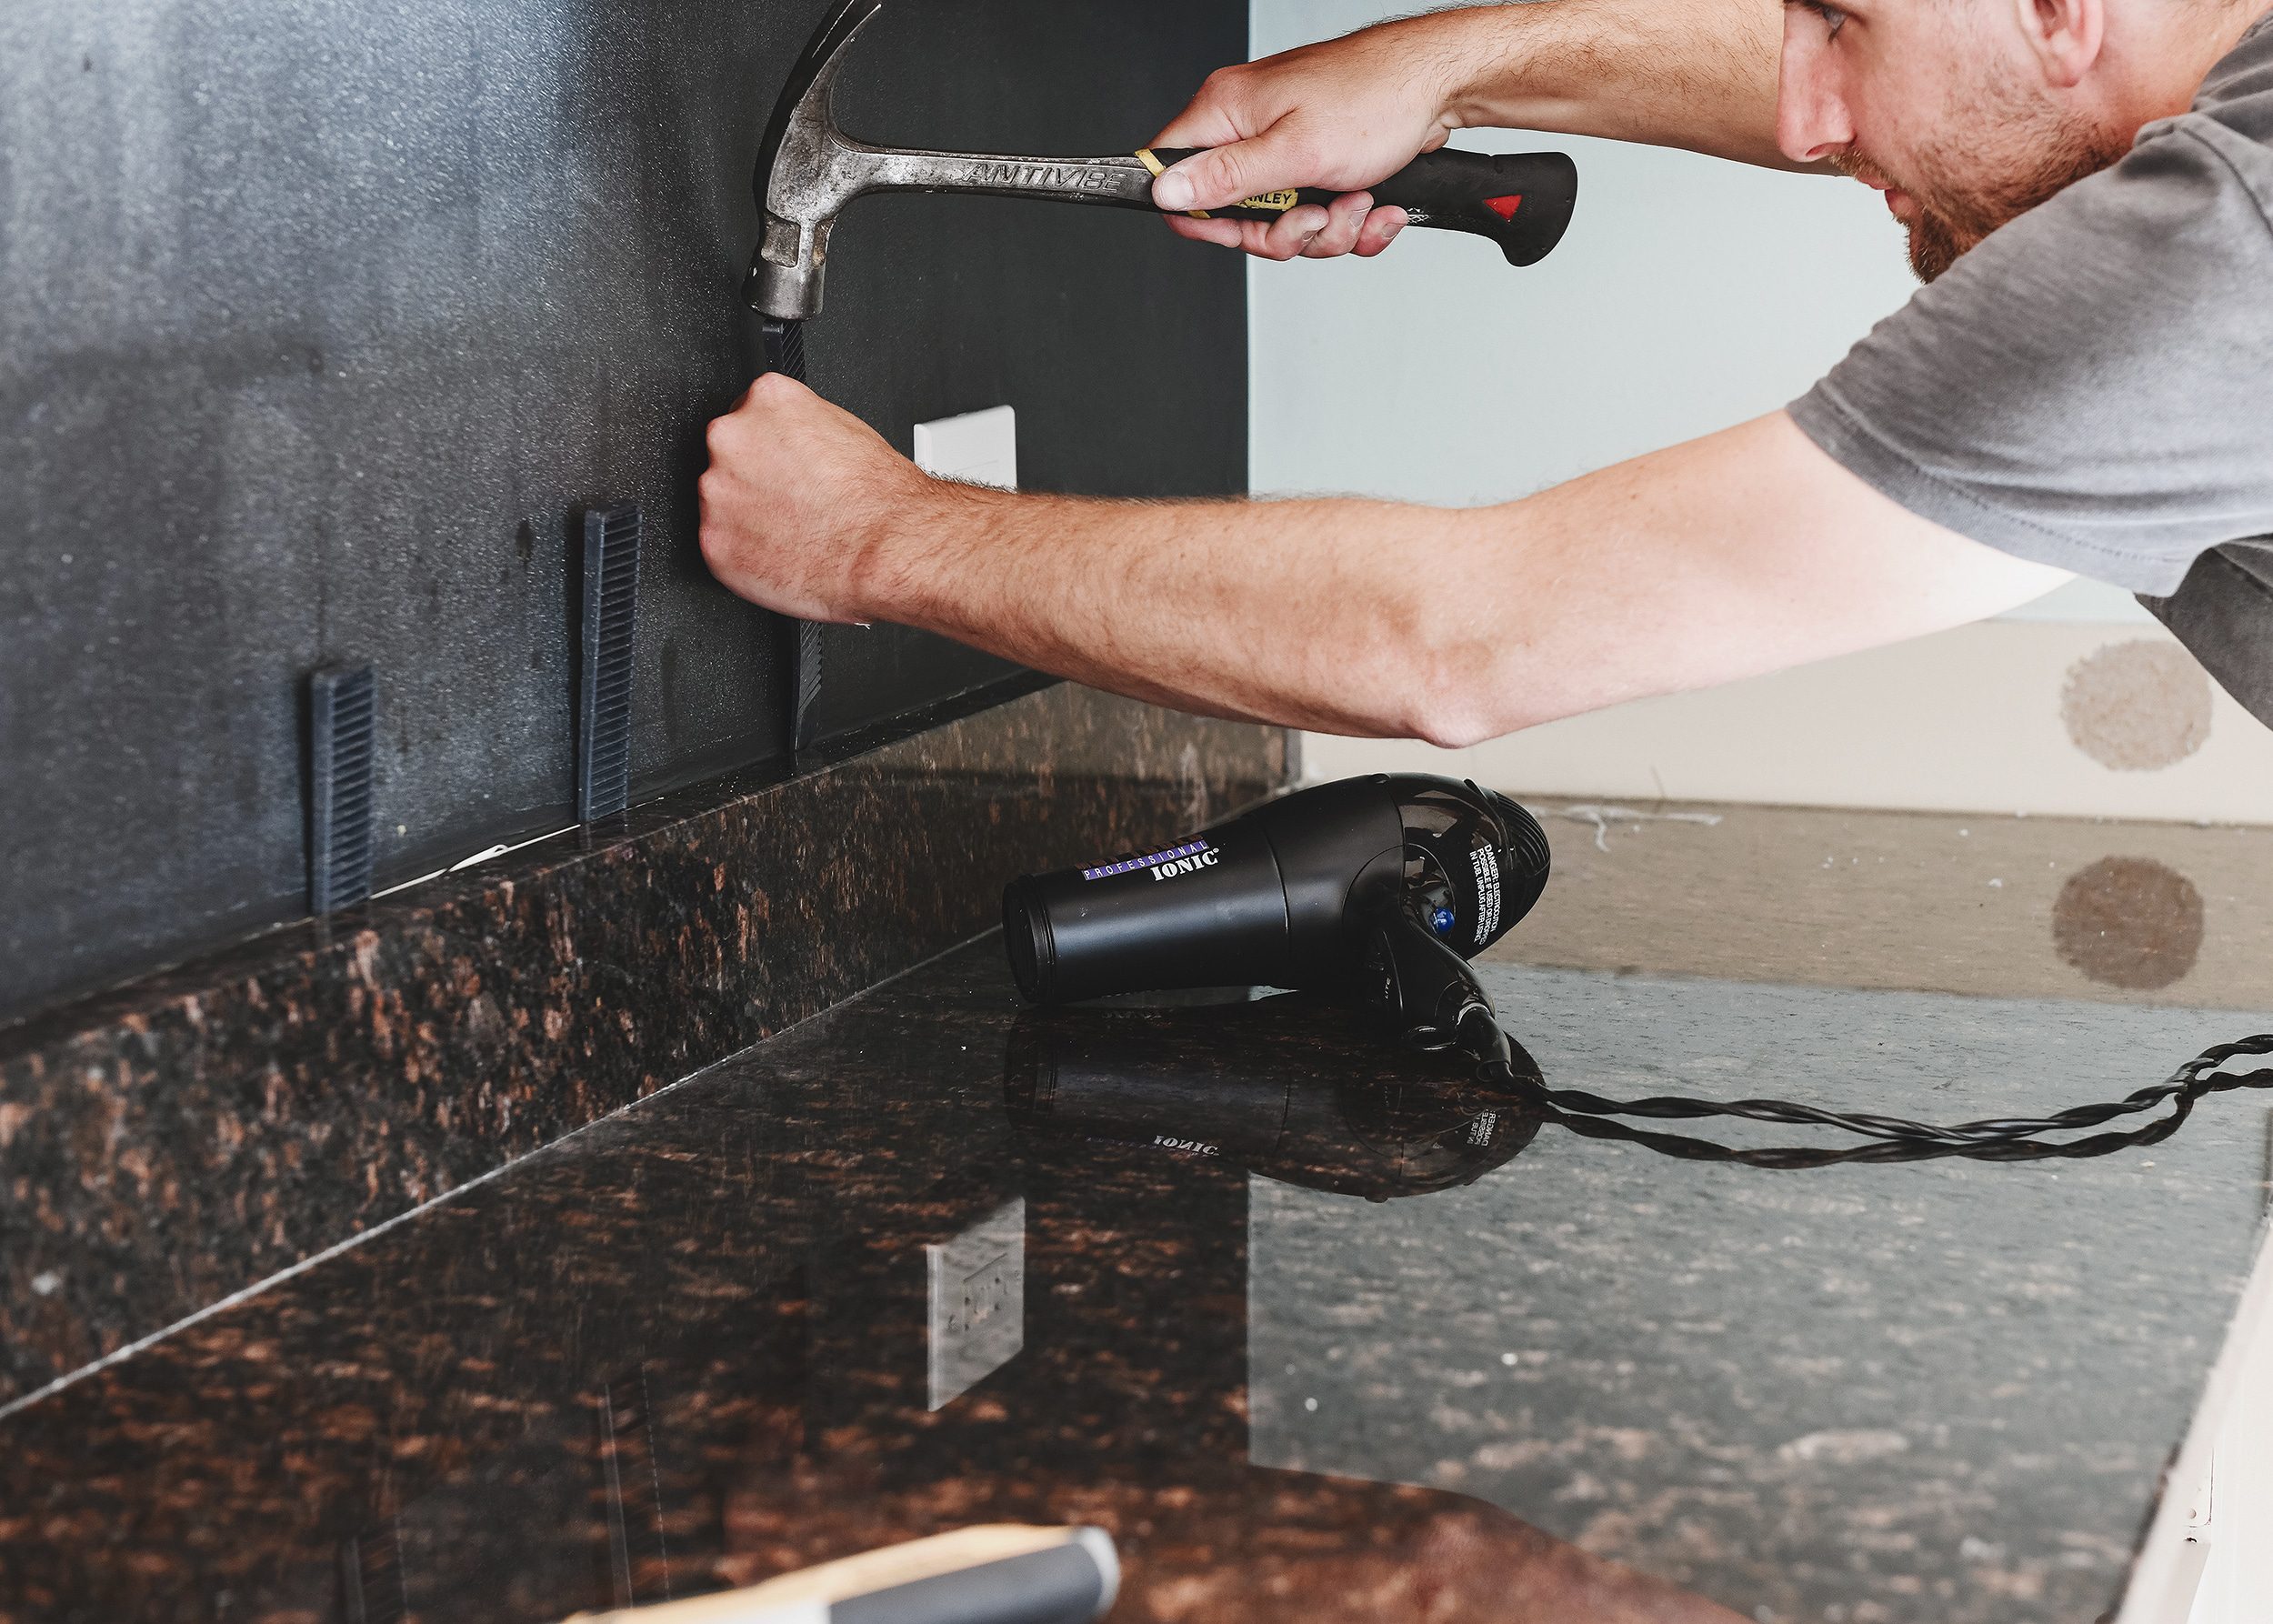
Step 2 | Hammer Shims Behind Backsplash
Once the stone felt warm to the touch (about 2-3 minutes), we gently rocked our composite shims back and forth behind the stone until we found an area where we could wedge them gently behind the backsplash. We then tapped the shims with a hammer until we could feel the backsplash pulling away from the drywall.
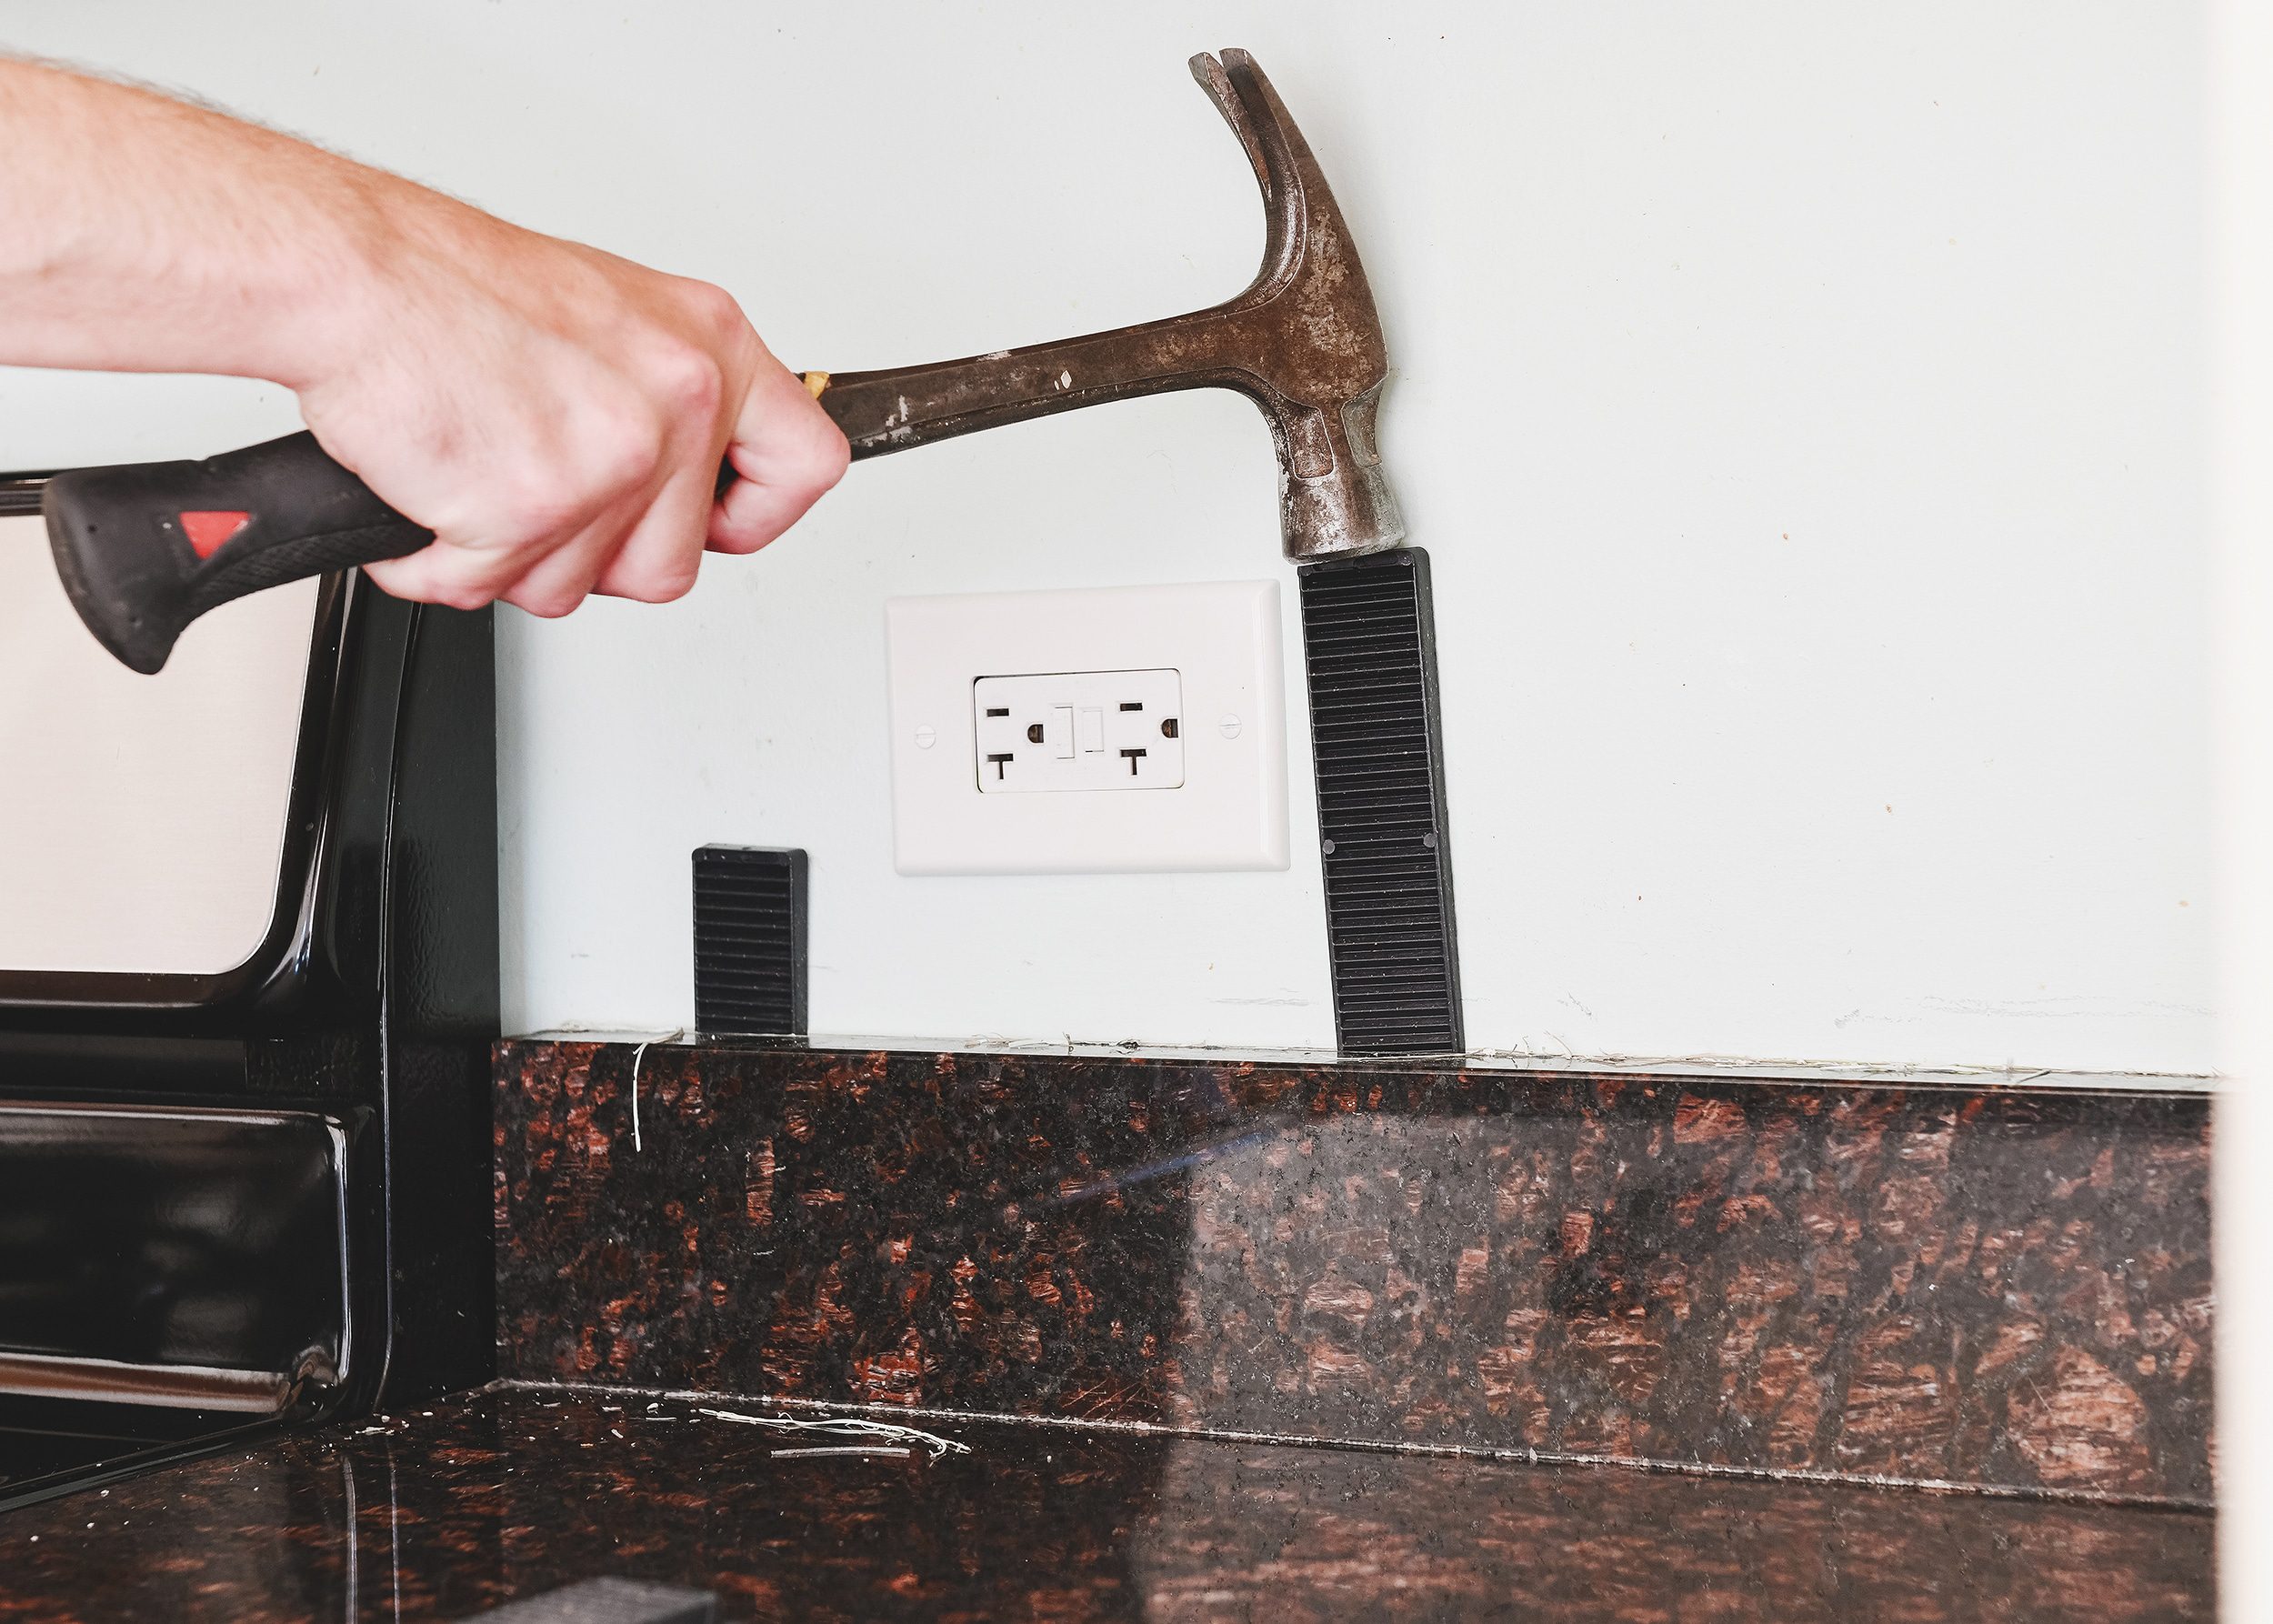
We continued to tap in additional shims along each section of backsplash until the stone was gently wedged loose from the drywall.
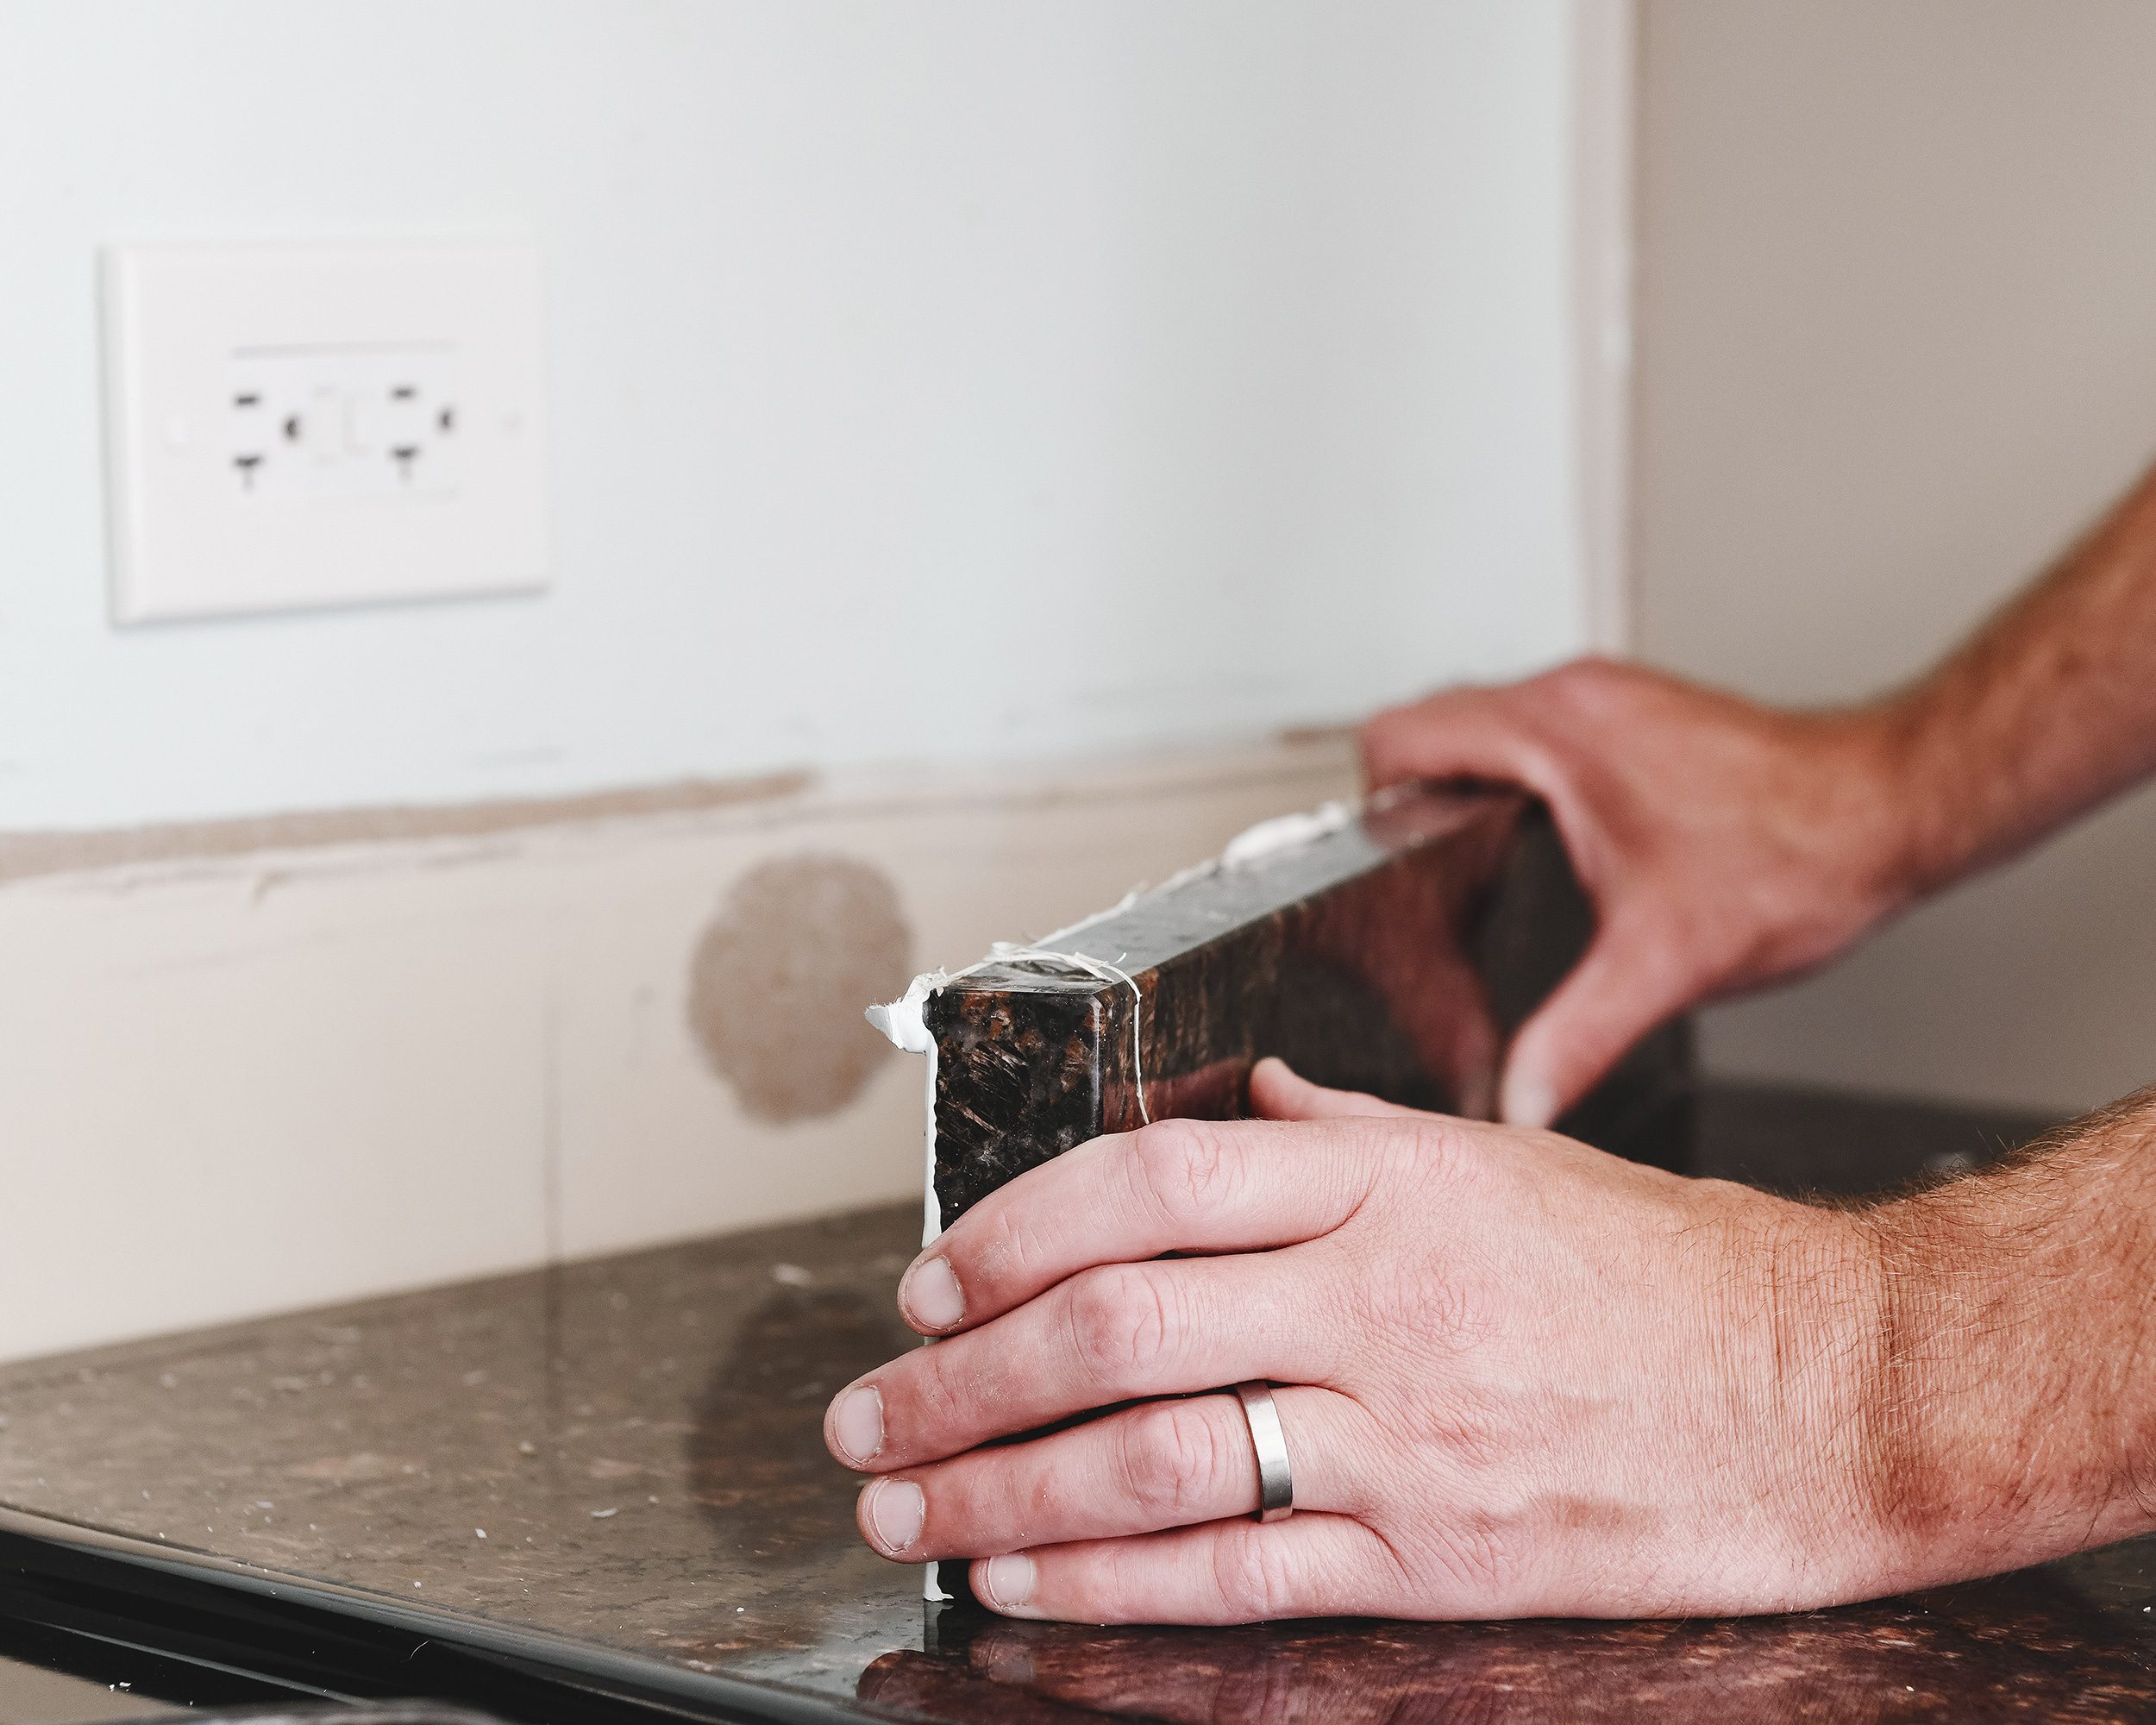
Step 3 | Carefully Lift Away Backsplash
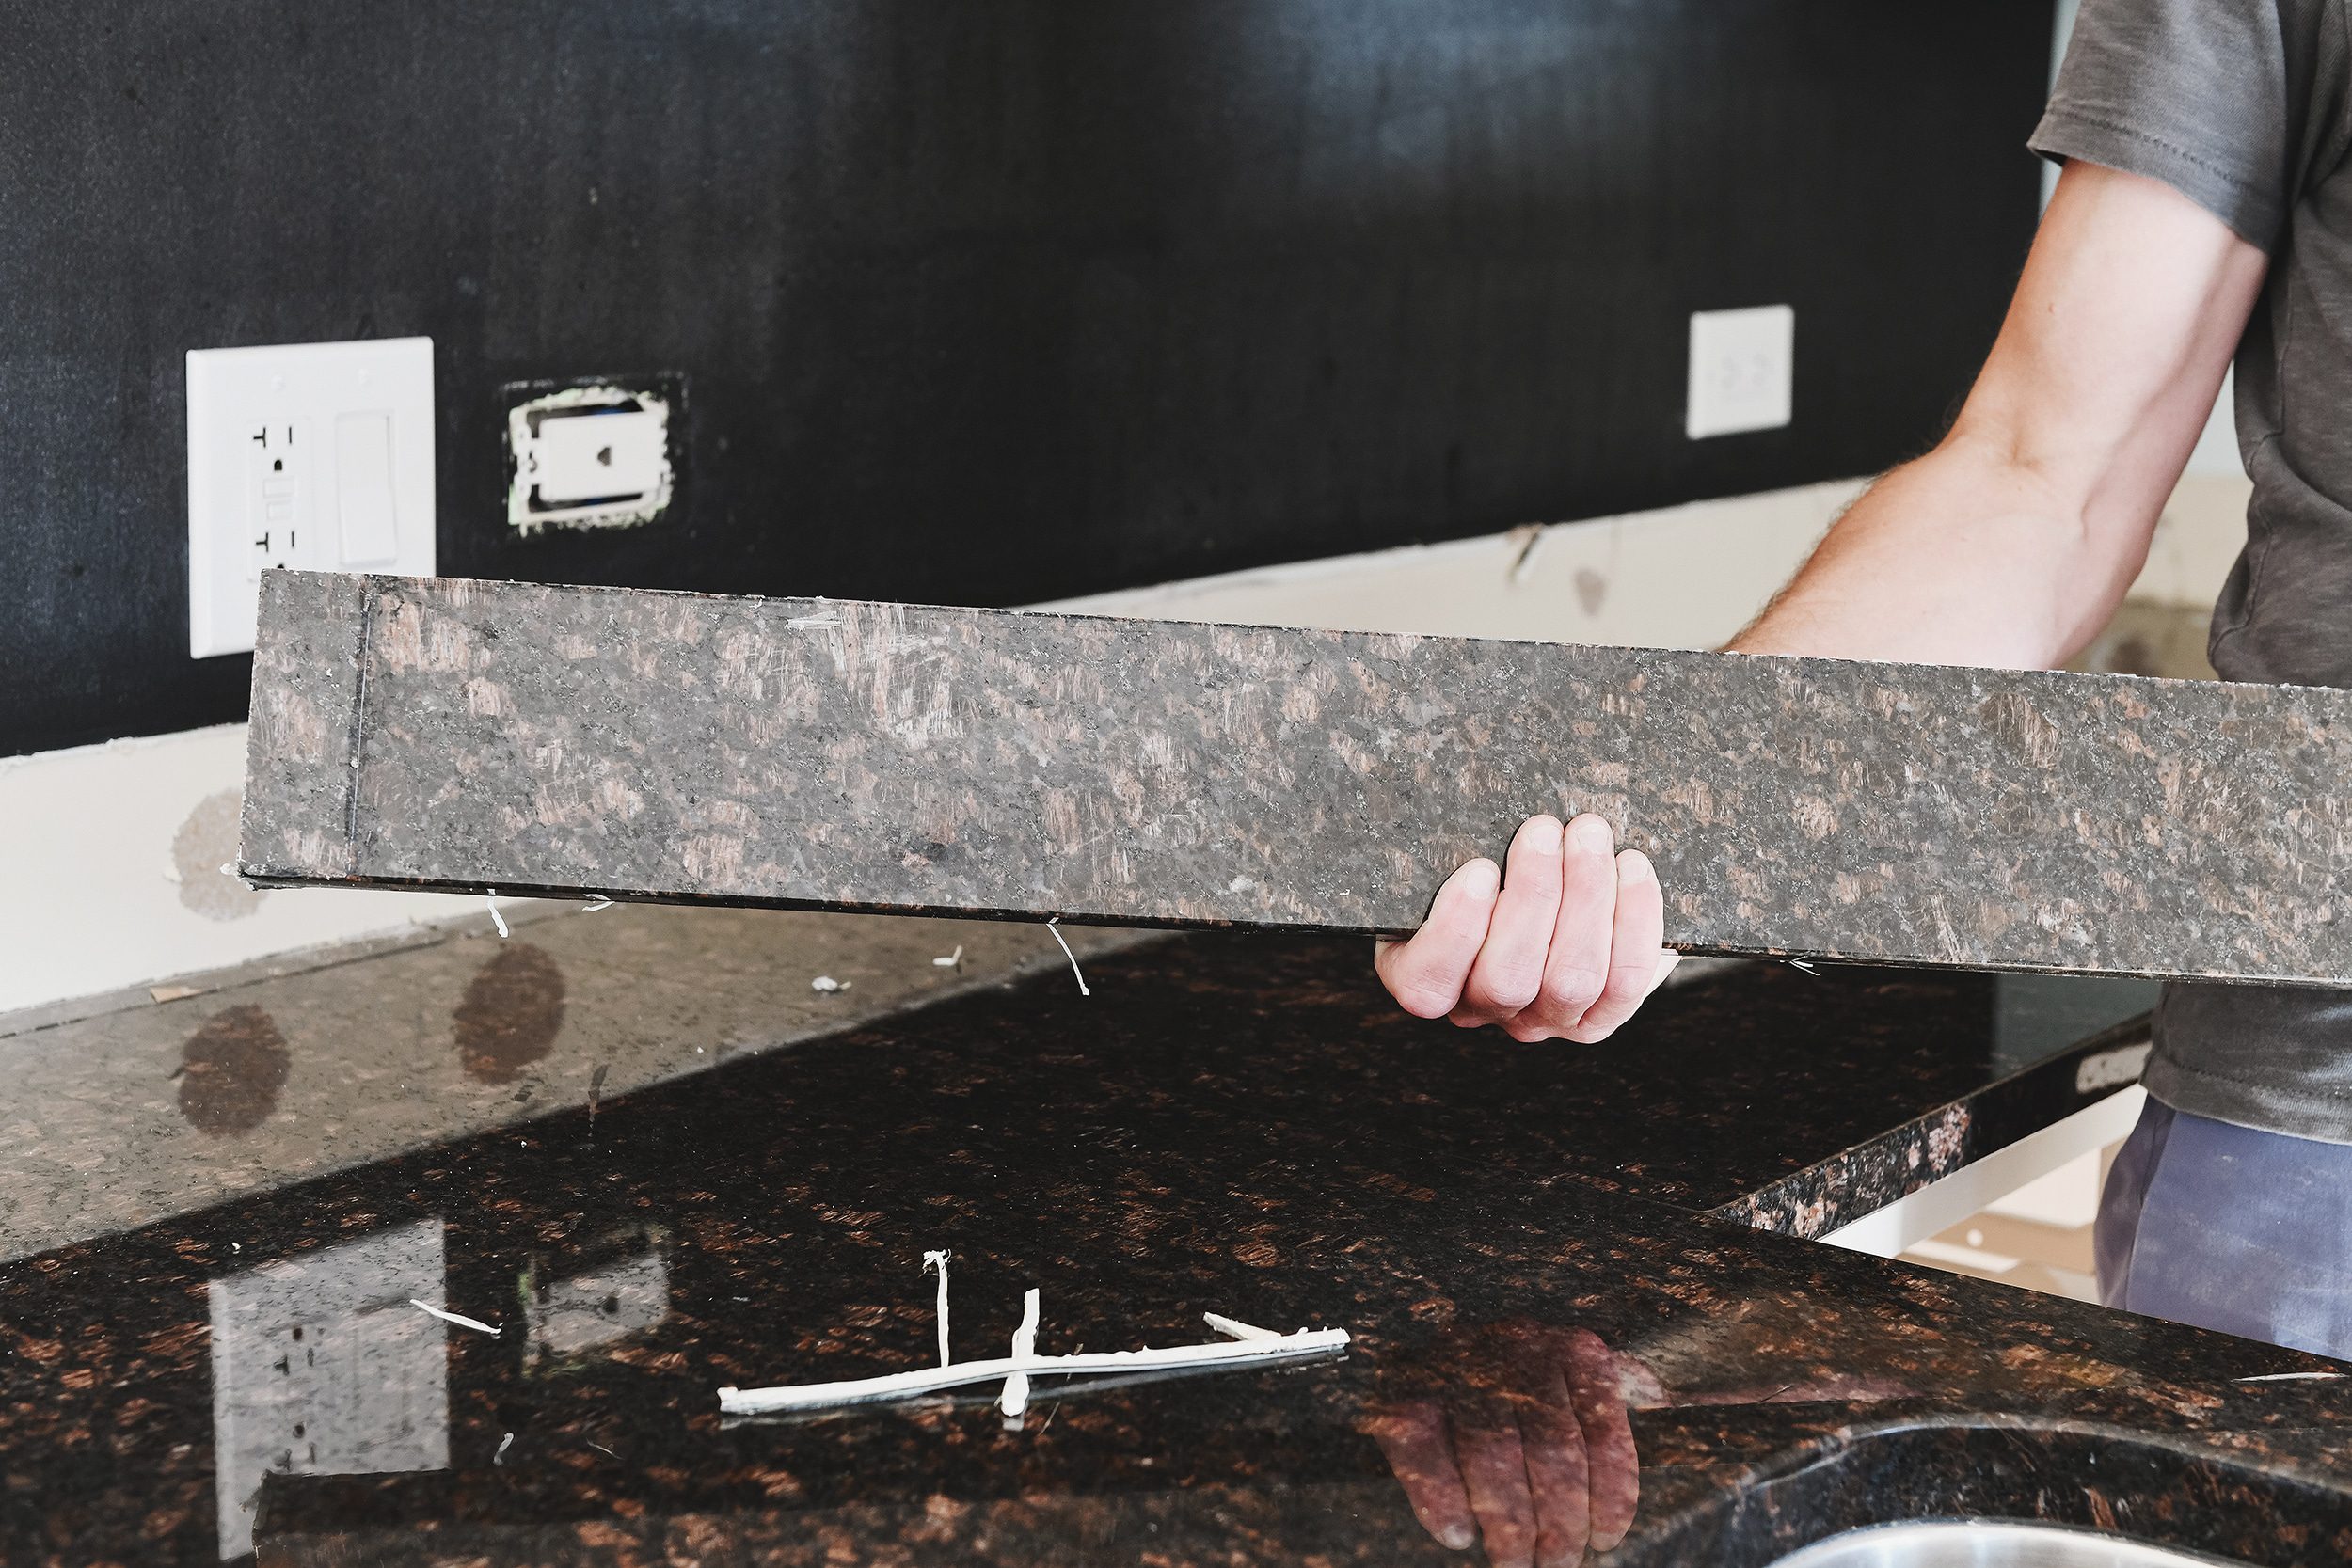
With the backsplash separated from the drywall, we reached our fingers behind it and were able to carefully remove it. We took extra care to lift the heavy (!) stone up and away from the countertop surface to avoid scratching it.
We worked our way around the kitchen and repeated this simple procedure until all of the vanity backsplashes were removed. If some of the adhesive patches are very stubborn, the small pry bar may come in handy here, but we found that additional heat and time worked just as well. Slow, gentle pressure seemed to be the key to avoid damaging anything.
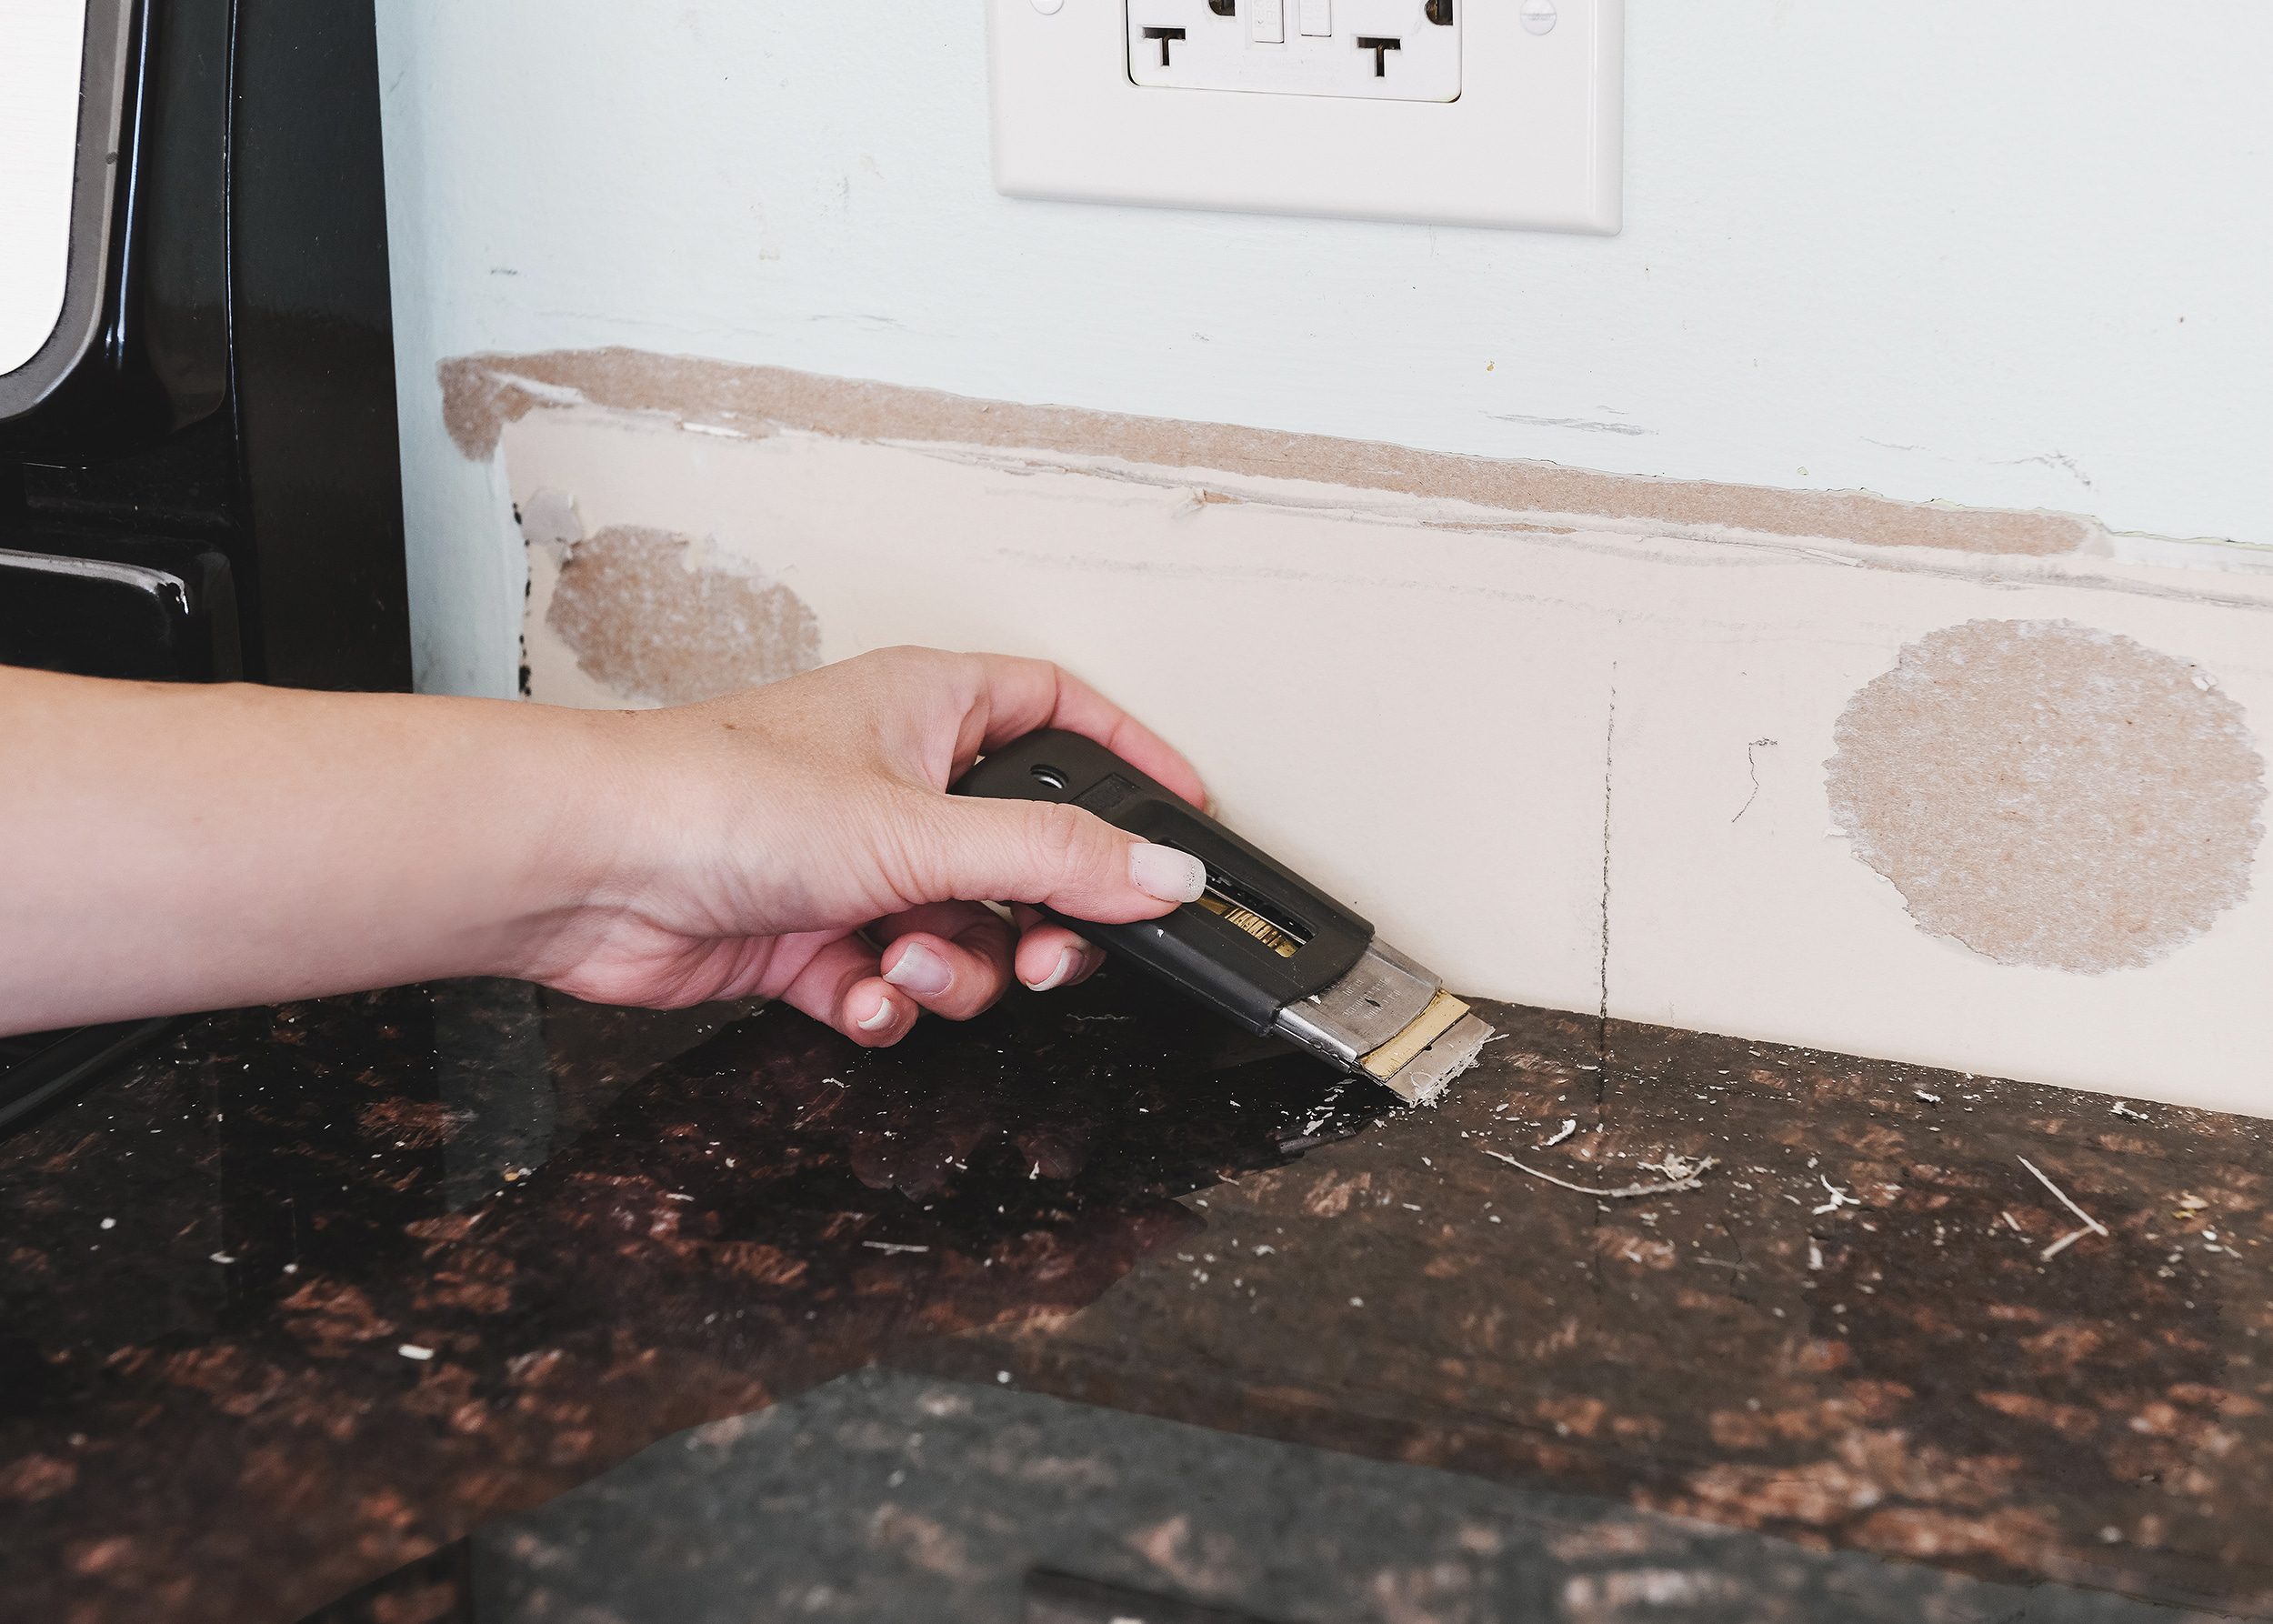
Step 4 | Prep for Paint or Tile
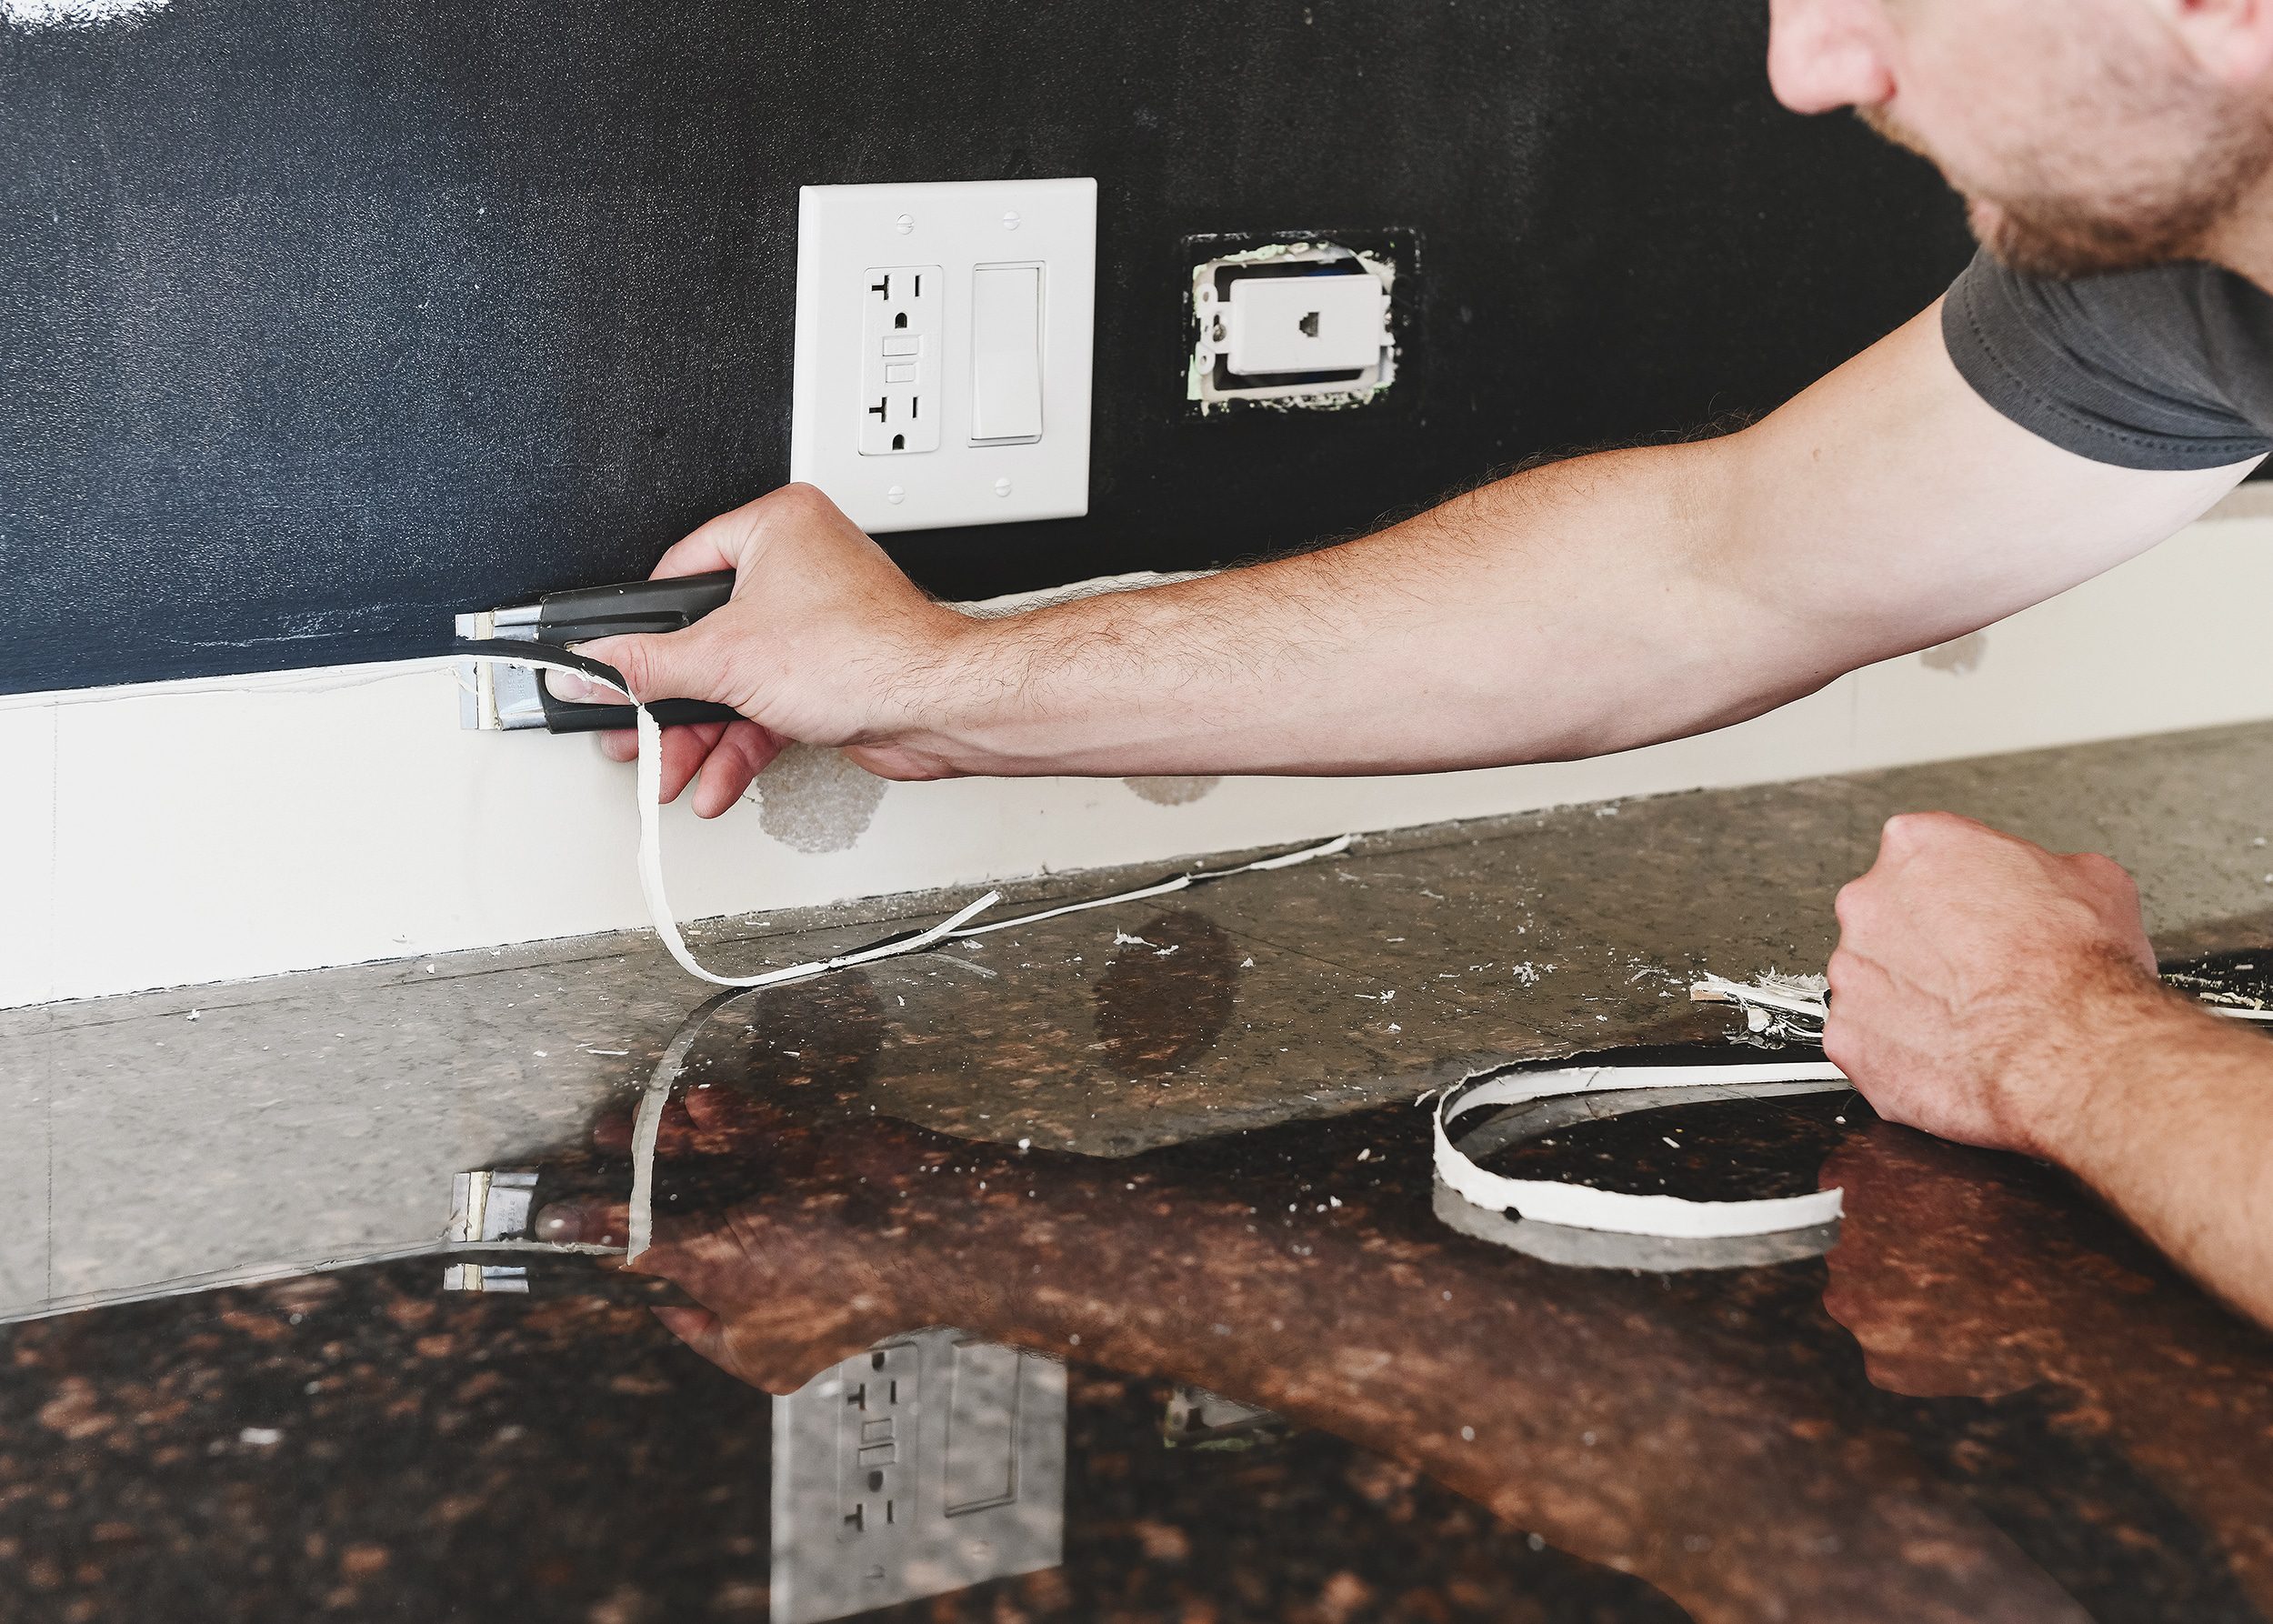
Once all of the stone vanity backsplash sections were removed, we were ready to clean up the countertop and walls. In order to remove residual caulk and adhesive, we used a fresh, sharp razor blade and slid it along the top of the countertop.
In our case, the caulk line behind the backsplash was significantly larger, so we repeated the same process here to remove the caulk that was left behind.
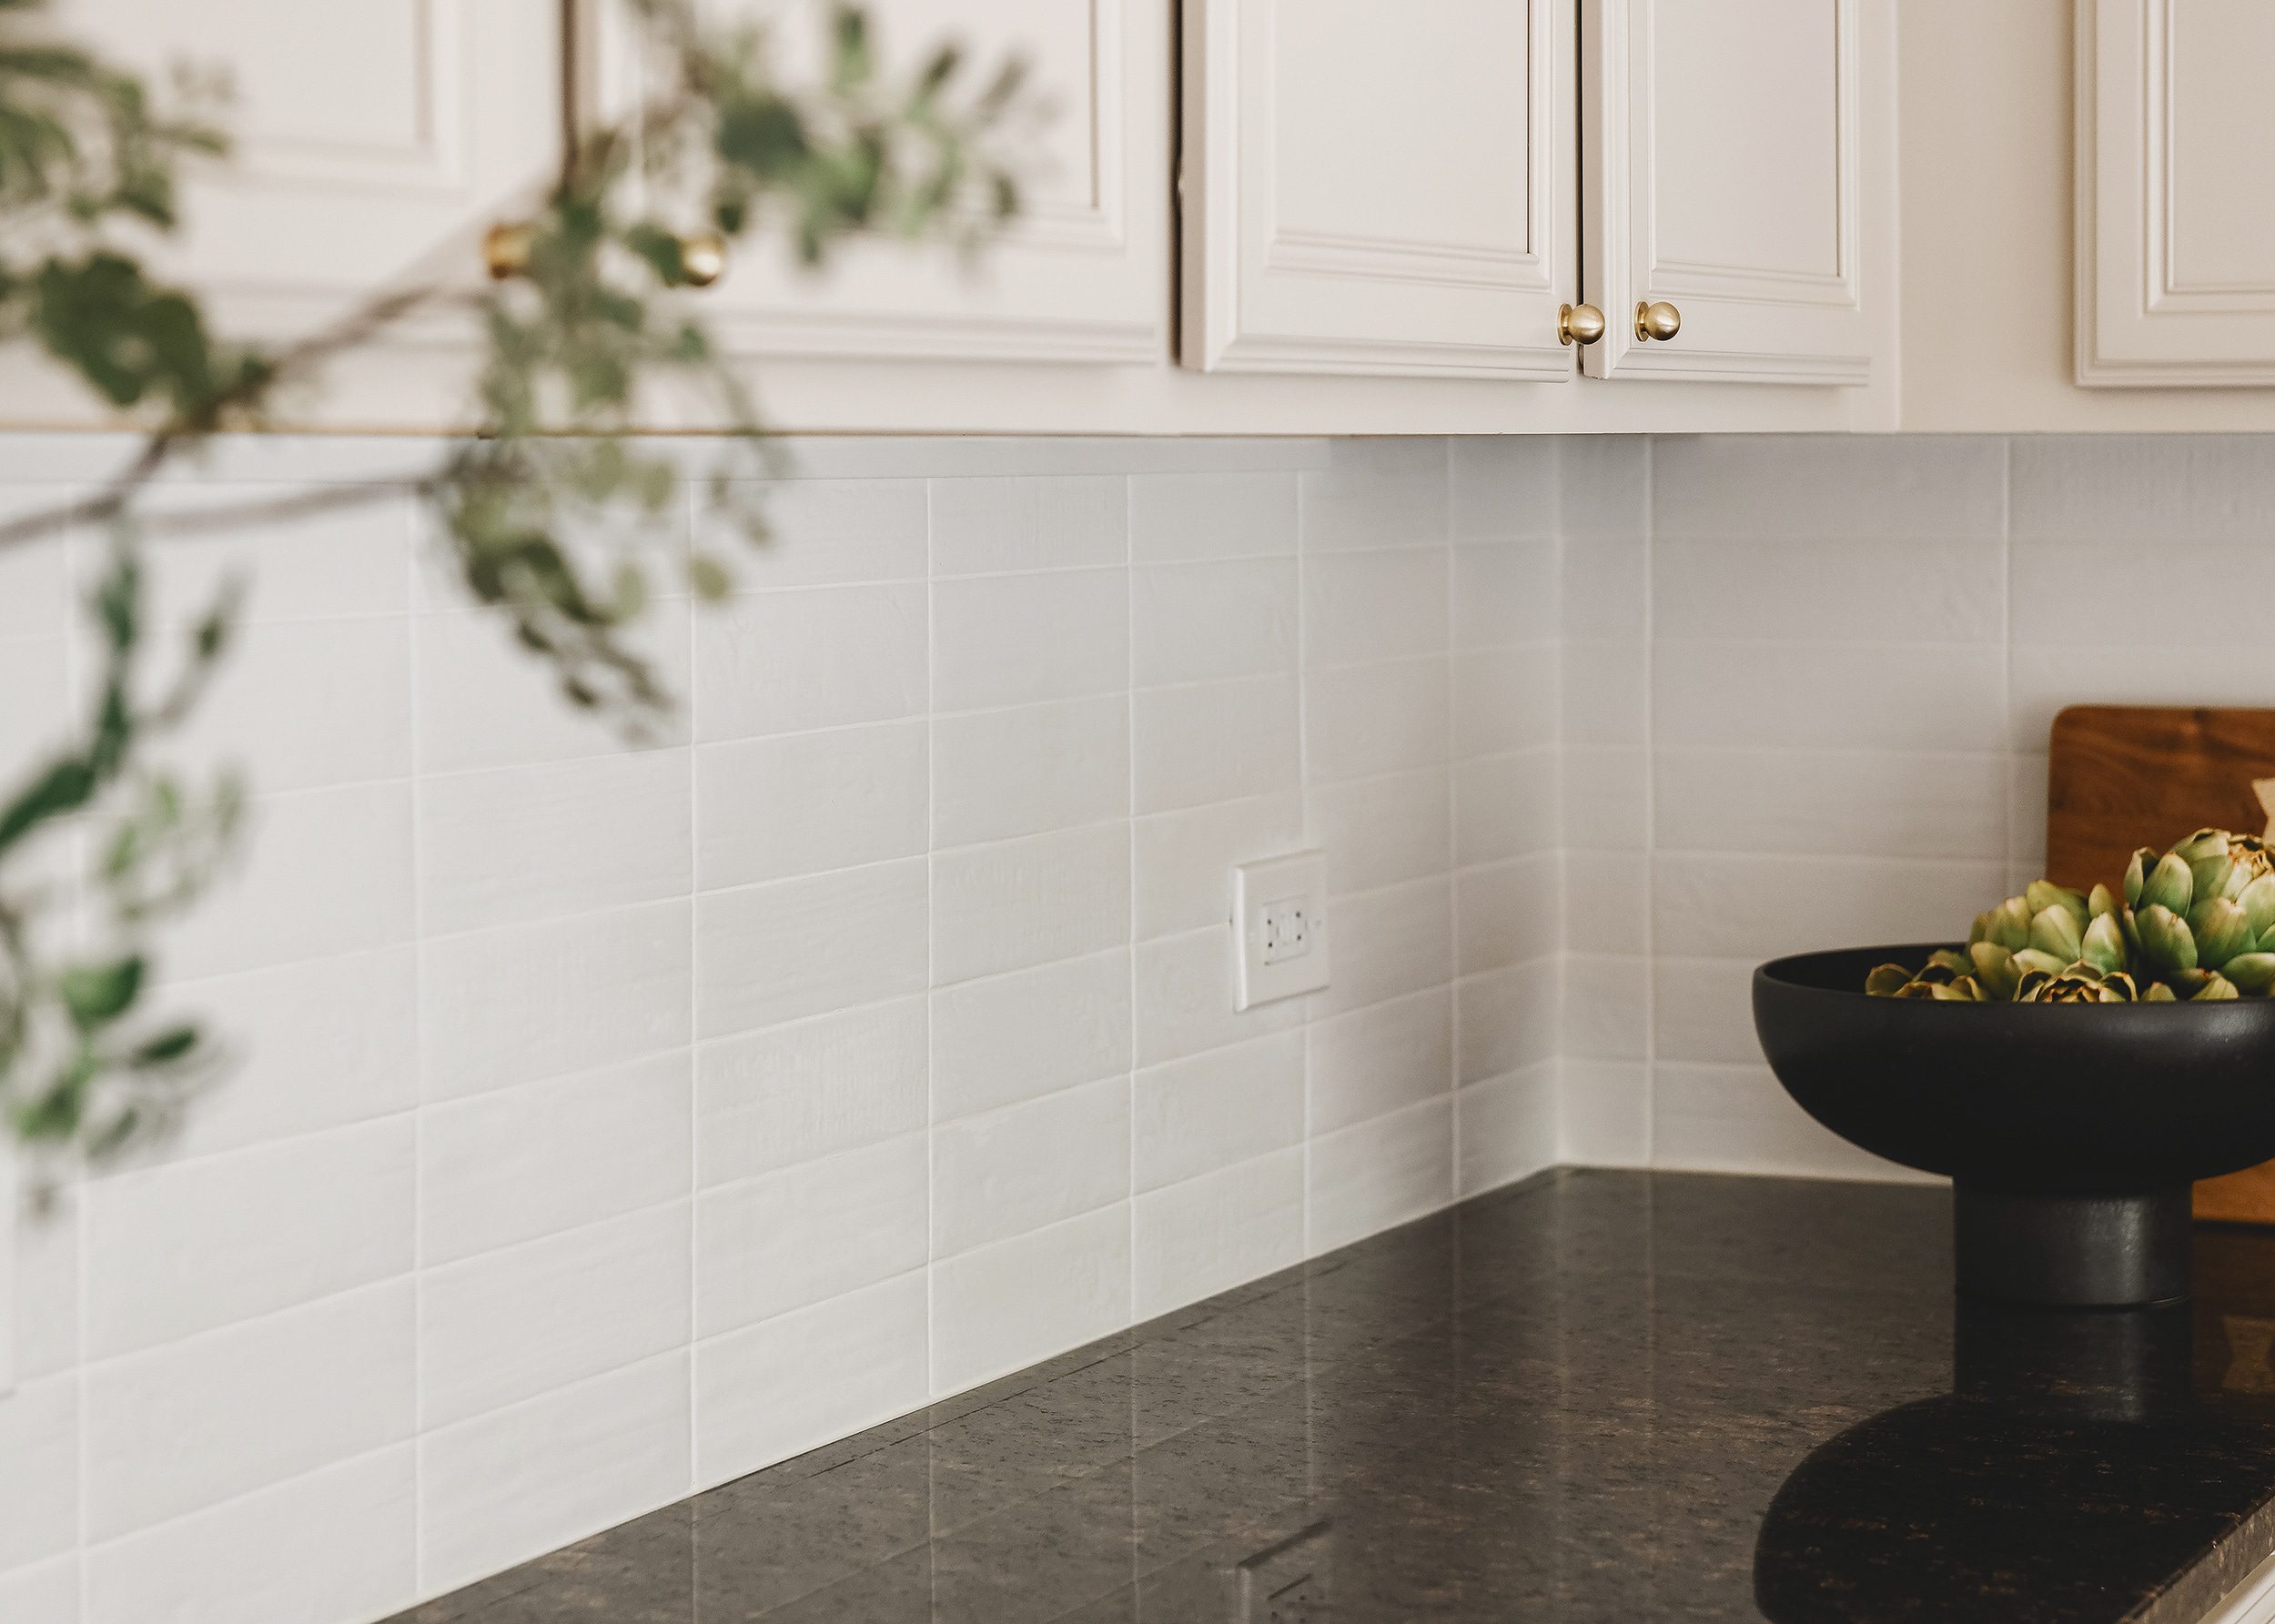
With a fresh, clean working surface, it was time to tile (but that’s a whole different tutorial). Fast forward a few days, and this is the end result! We think the countertops were given completely new life by removing the stone vanity backsplash. This allowed the pearly white stacked-bond tile to extend all the way to the countertop surface for a more custom look.
That’s it! We had no idea what we should expect with this project, but it was truly as simple as it looked. 30 minutes and a couple of tools that we had on hand and we completely changed the look of this kitchen. Let us know, are you team vanity backsplash, or team full tile backsplash?


Tile for sure! Although I loved the previous look as well.
Full tile 4ever!The glimpses in the past few posts have me very excited to see the full reveal for the condo kitchen. My parents have a vaguely similar kitchen (’90s partial-overlay oak cabinets for DAYS) and I’ve been itching to have at it with some paint and nice tile. Their upper-cabinet door panels have that goofy compound arch that was everywhere for a while and I’d love to replace them, but budget-wise it’d probably make more sense just to paint them either very very dark or very very light and hope it makes the doors themselves less prominent.
Thank you so much for this post! I watched the stories as you were doing it, but it’s good to have a reference to come back to. I plan to do this to my kitchen too!
The new backsplash is so pretty! We were about to remove our kitchen vanity splash last night but didn’t get around to it. Thanks for the good tips here. It is definitely a huge no-no, in my books, to add tile above the splash. In our kitchen, like yours, we will be removing it and installing tile instead. But what do you do with leftover nice old 4″ tall pieces of stone?
You can donate to a local architectural salvage, or even call a nearby fabricator to see if they have use for it!
Hi! Great tips! One thing: I’m fairly certain it’s only called a “vanity backsplash” when it’s part of a bathroom vanity. In a kitchen, it’d be just a backsplash or a 4-inch backsplash.
No “vanity backsplash” for sure! Spendy and looks…just wrong. Great job on giving the counter/backsplash a refresh!
That looks so nice! The stubby backsplash in my small kitchen is 6 inches high and includes 2 duplex electric outlets, 3 separate switches (overhead lights, under cabinet lights and garbage disposal), a phone jack and a coaxial cable jack. I’d love to get rid of those granite pieces and do a nice tile backsplash but dealing with all that stuff has put me off. Maybe I need to bite the bullet!
[…] How to Remove a Stone Backsplash in 4 Steps […]