

Lucy is growing faster than we could ever prepare ourselves for! The last year and a half has flown by in the best possible way, and it’s been the experience of a lifetime watching her grow and learn. As she’s become more independent, with her not-so-little opinions and favorites starting to develop, we realized it was time to nurture her creativity further with a tiny craft table to call her own.
In This Post
Lucy’s Craft Table | Before
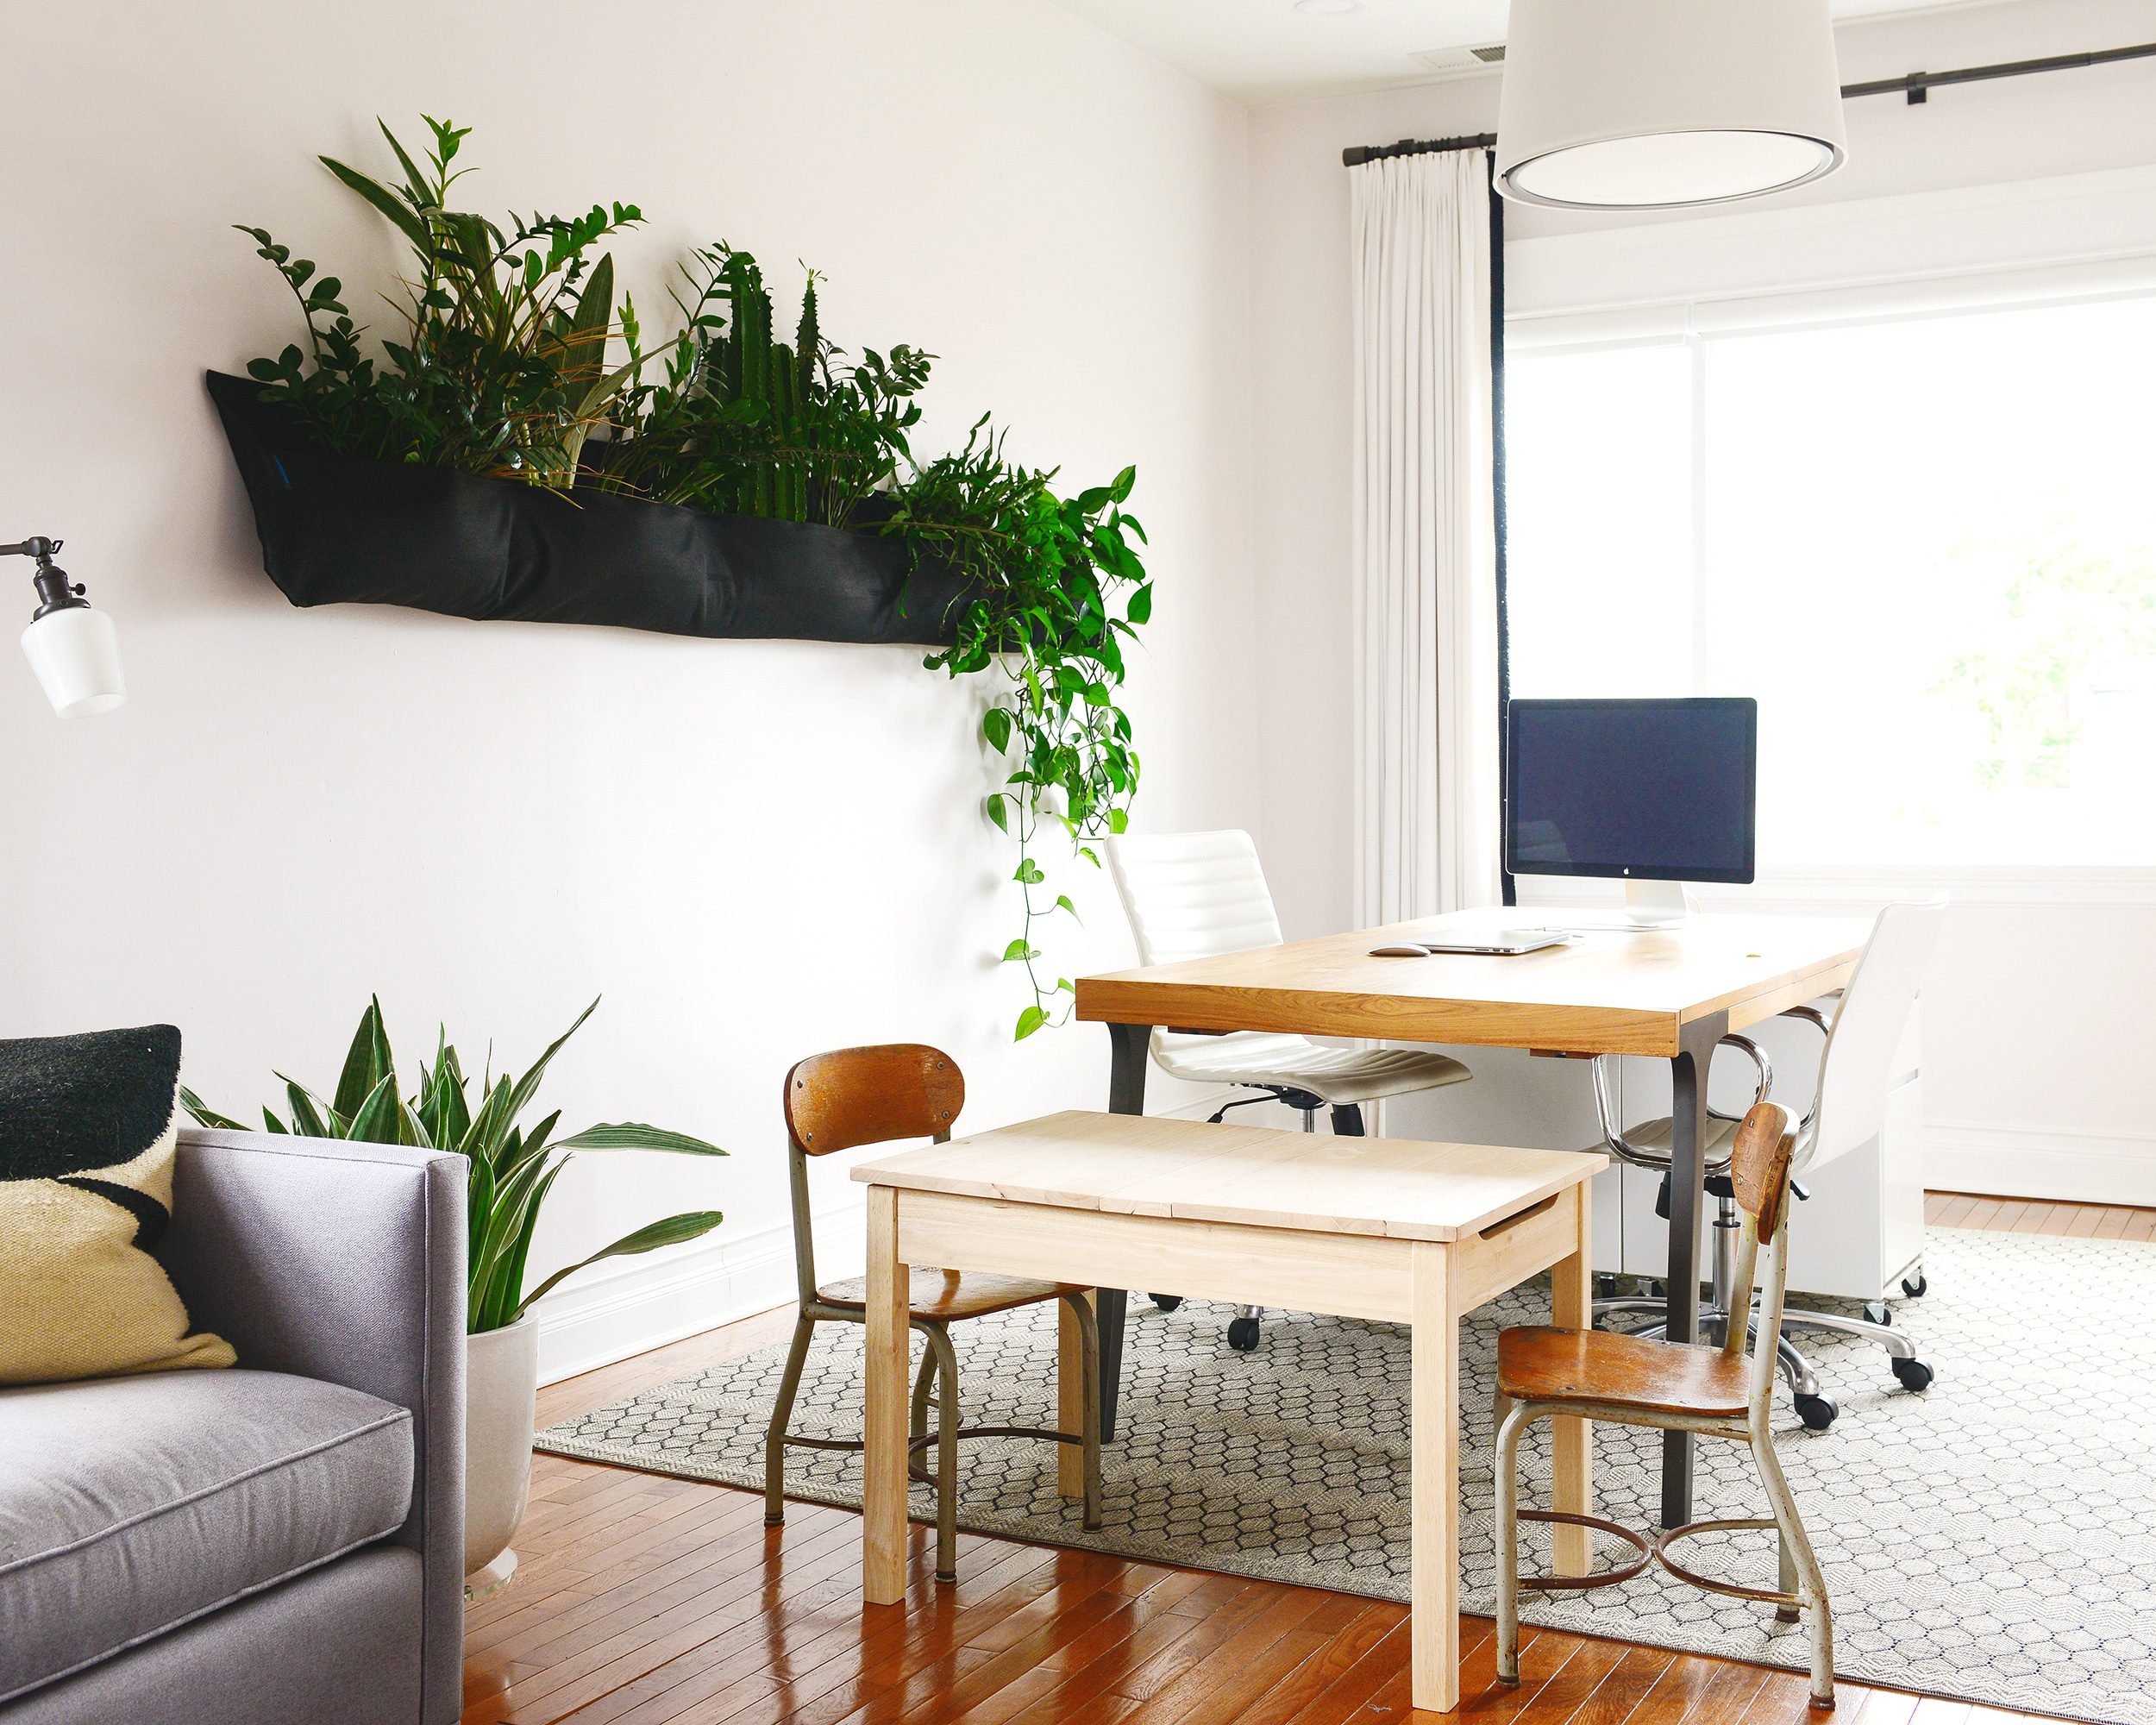
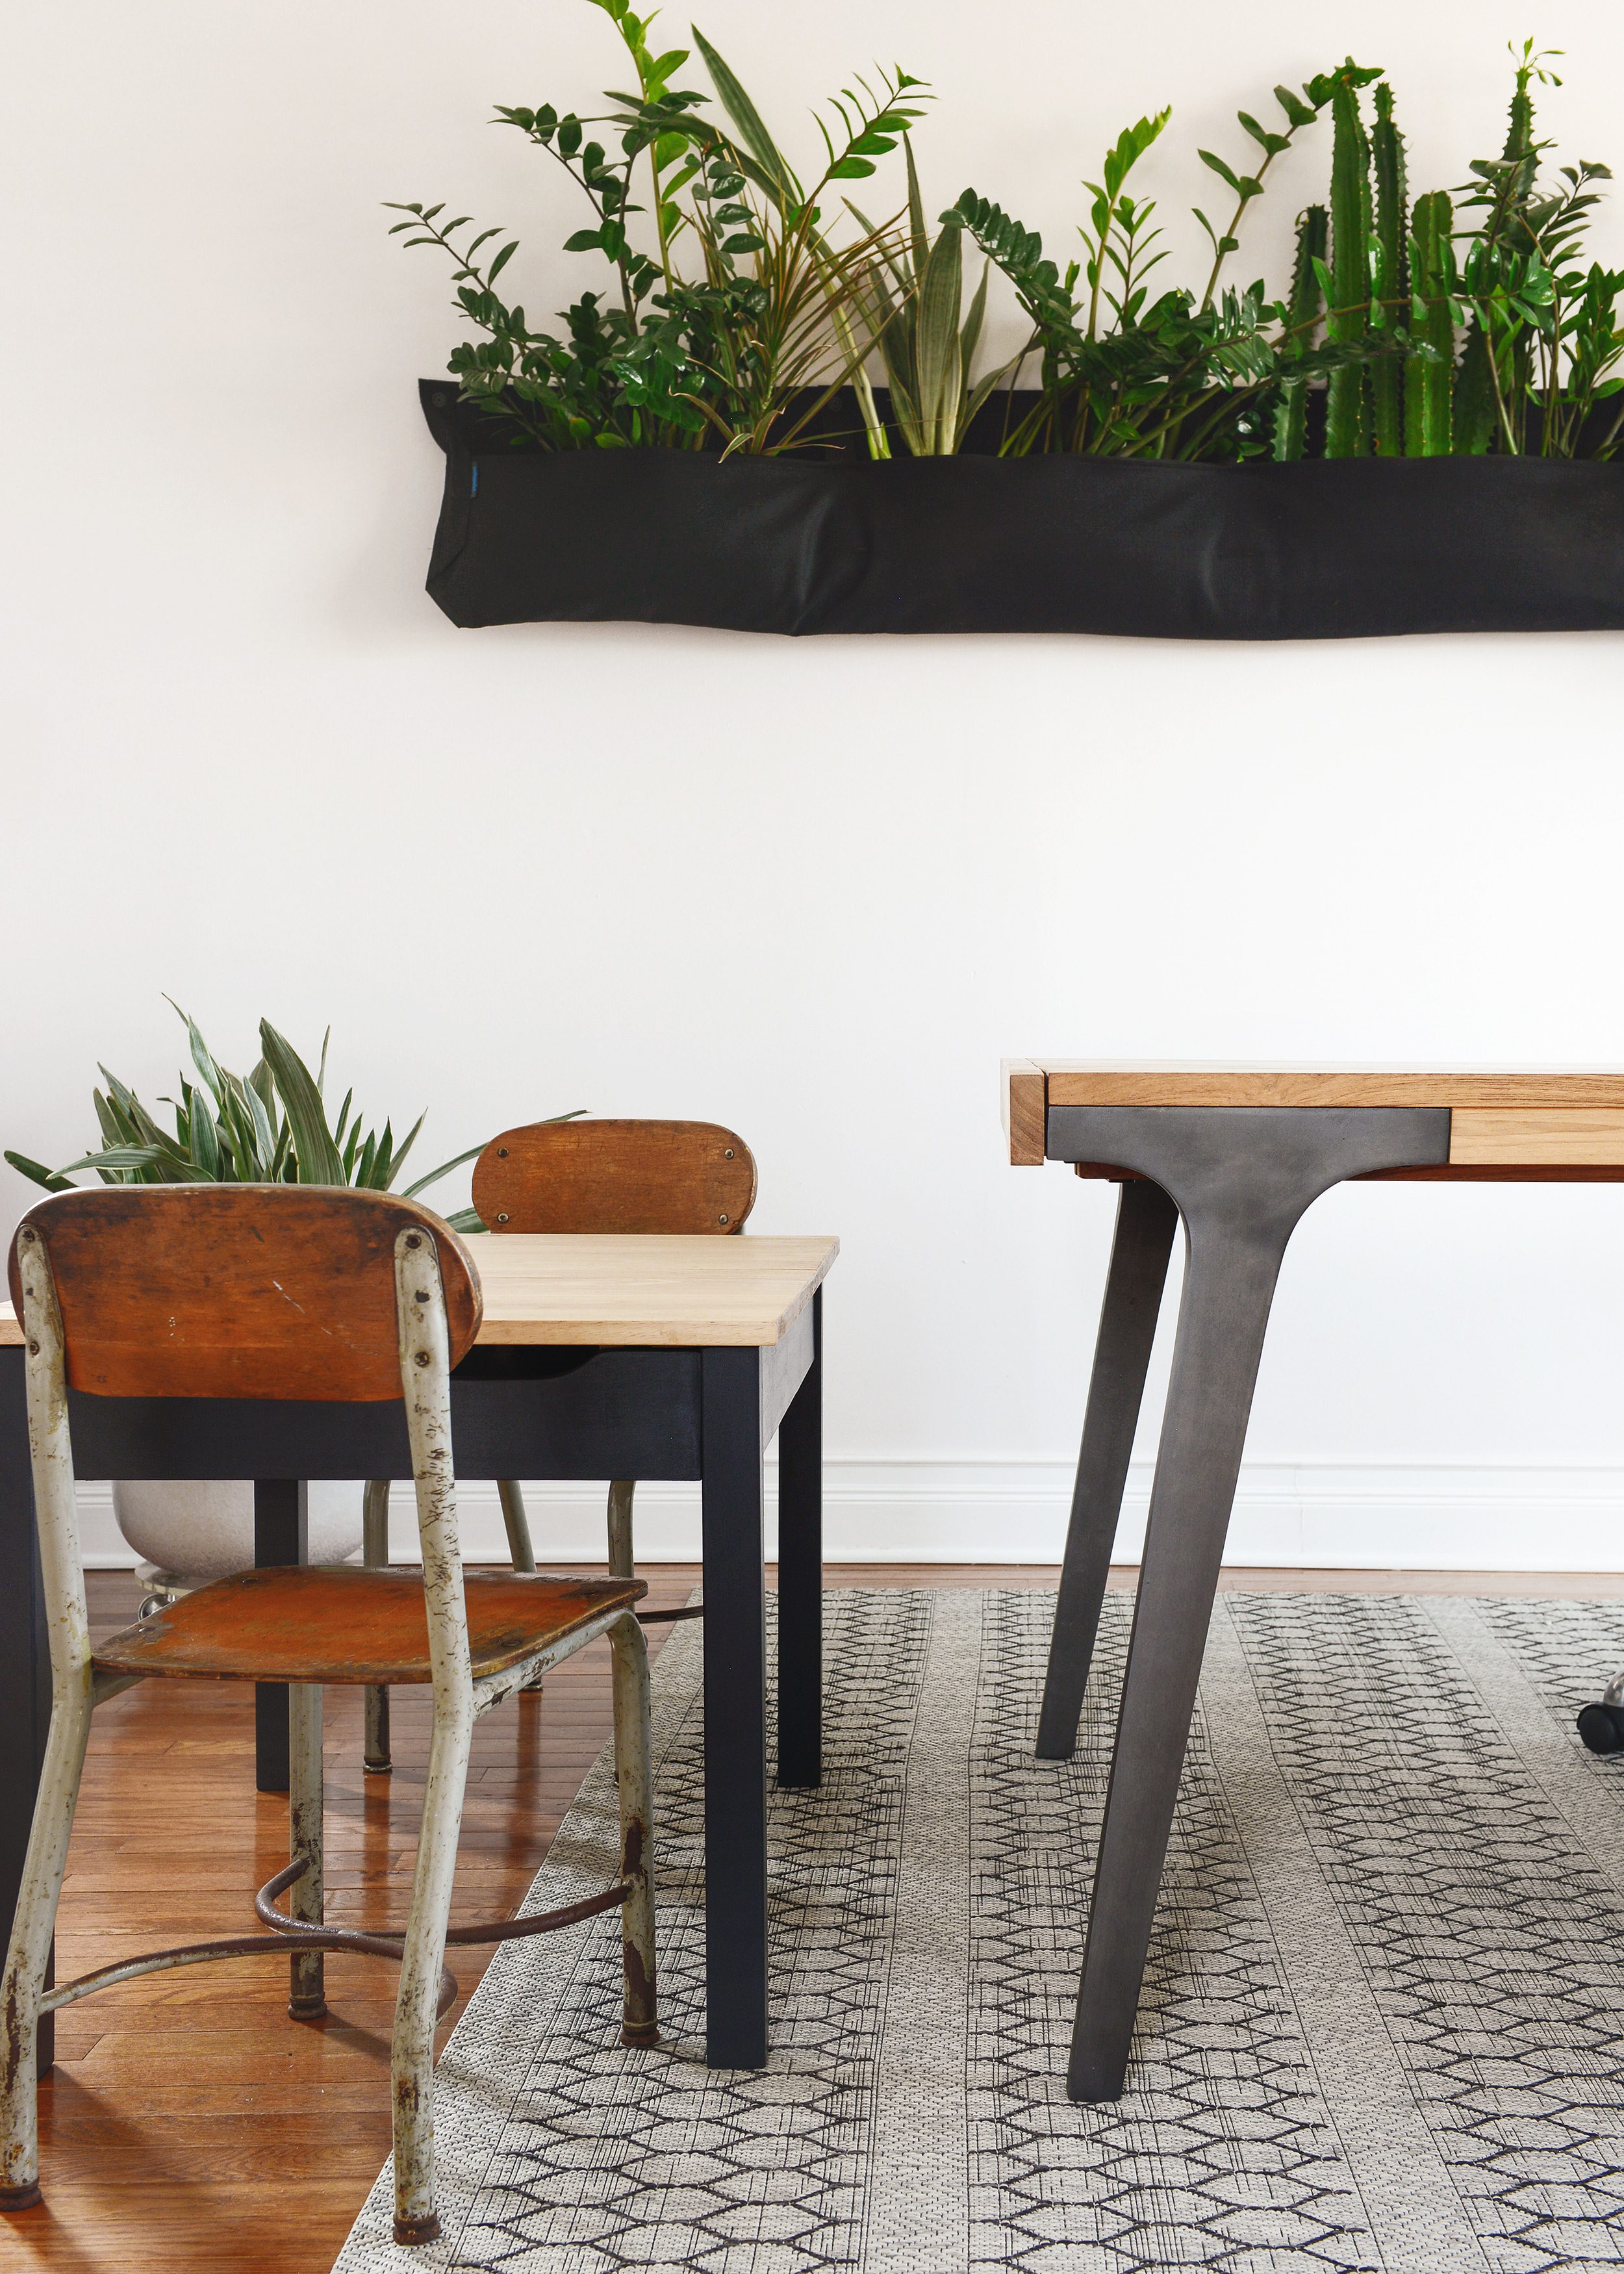
This project actually started a few months ago when we hosted our Flash Sale for Charity and came home with something ourselves – a pair of pint-sized vintage chairs! We went back and forth on trying to source a matching vintage table vs. purchasing something new, but we ended up finding this unfinished craft table that fit our (and Lucy’s) needs perfectly.
When we ordered the table, we weren’t certain if we’d end up staining it, painting it, or leaving it unfinished, but we loved that we’d have options. When it arrived, we knew it would need something, but what? We asked ourselves – and you via Stories! – Should we paint the whole thing one color? Stain the whole thing one color? Should it be two-tone with a white top and a pink bottom? Should we keep the desk neutral and spray the chair frames schoolhouse red? Should we poly the whole thing and call it a day?
As you can see, we truly considered every option. In the end, we opted for a simple DIY hybrid of paint and stain that roughly mimics the look of our work table, a suggestion thrown out by several of you! It would be a mini version of our grown-up table, and that made us very happy.
Tools + Supplies Used
- This kids craft table
- Restor-A-Finish
- Chalk paint
- Polycrylic (in a matte finish)
- Rag
- 4″ foam roller
- Disposable gloves (we use these)
- Drill / screwdriver
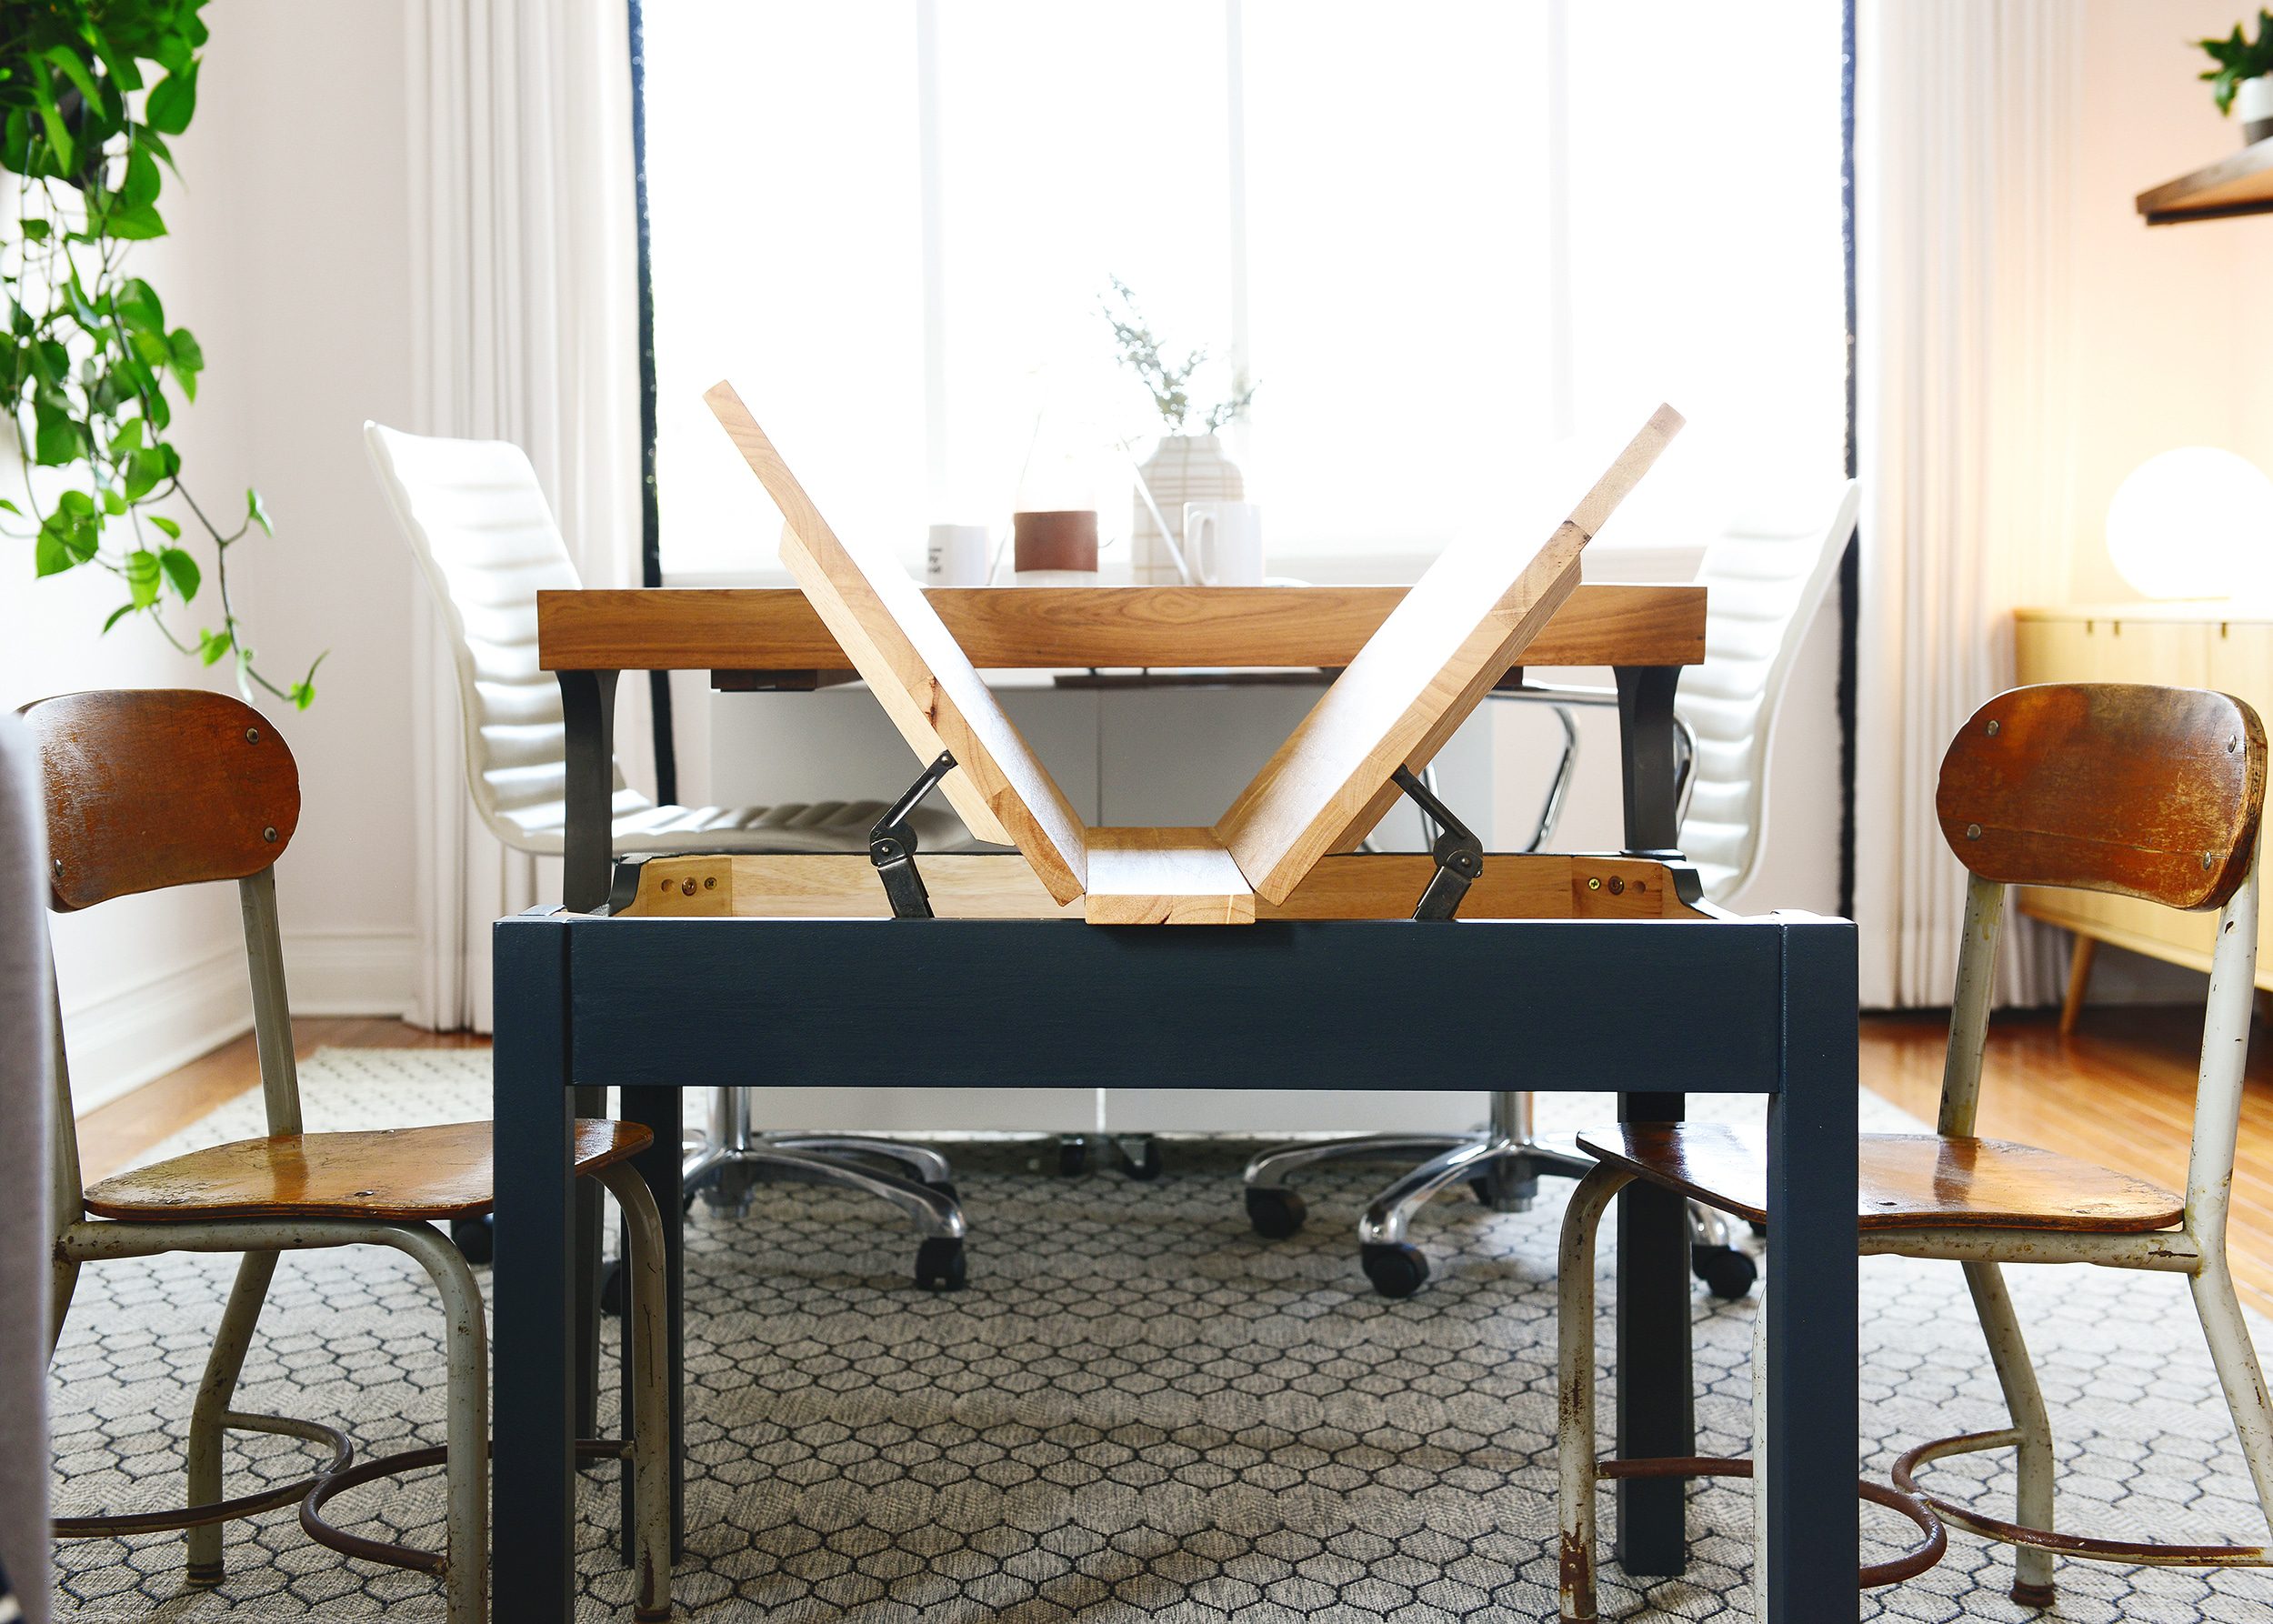
We started the project by removing the top of the table to make for easier painting and staining of each piece. Although we considered painting both the top and the bottom at one point, many of you wonderful folks reminded us that a stained top would be much more durable and resistant to chipping than a painted top. Thank you, as always, for your feedback!
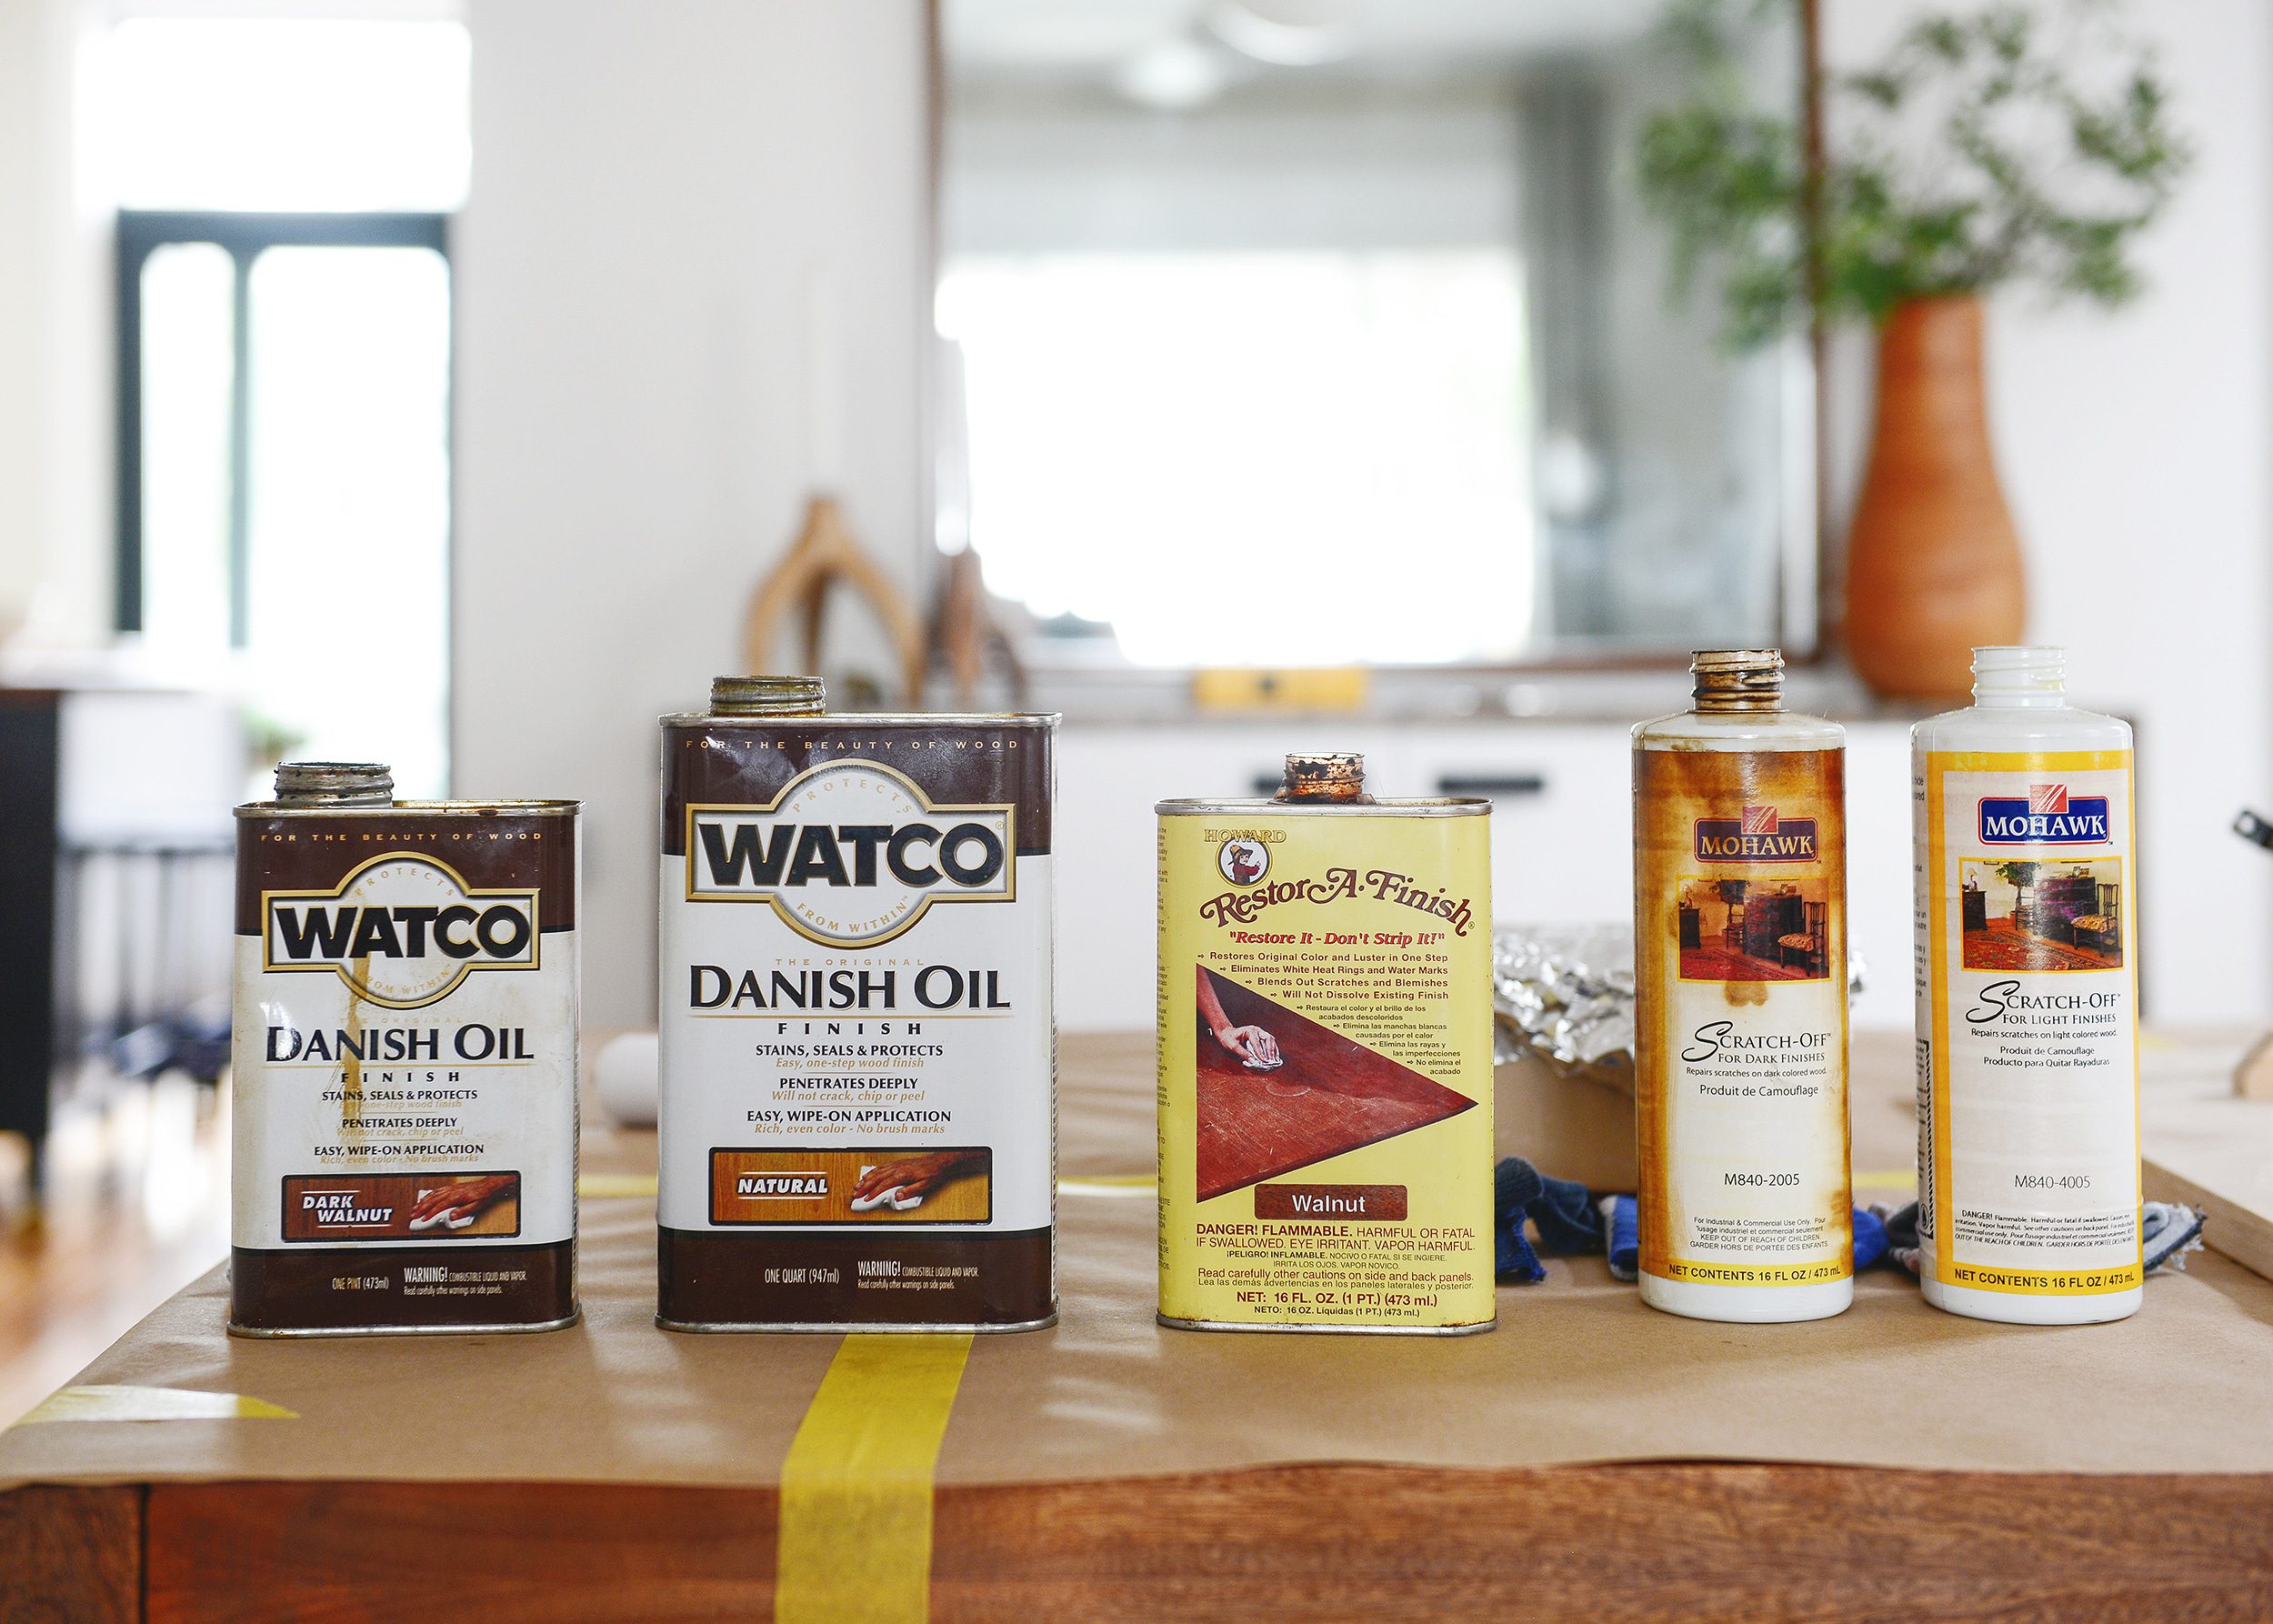
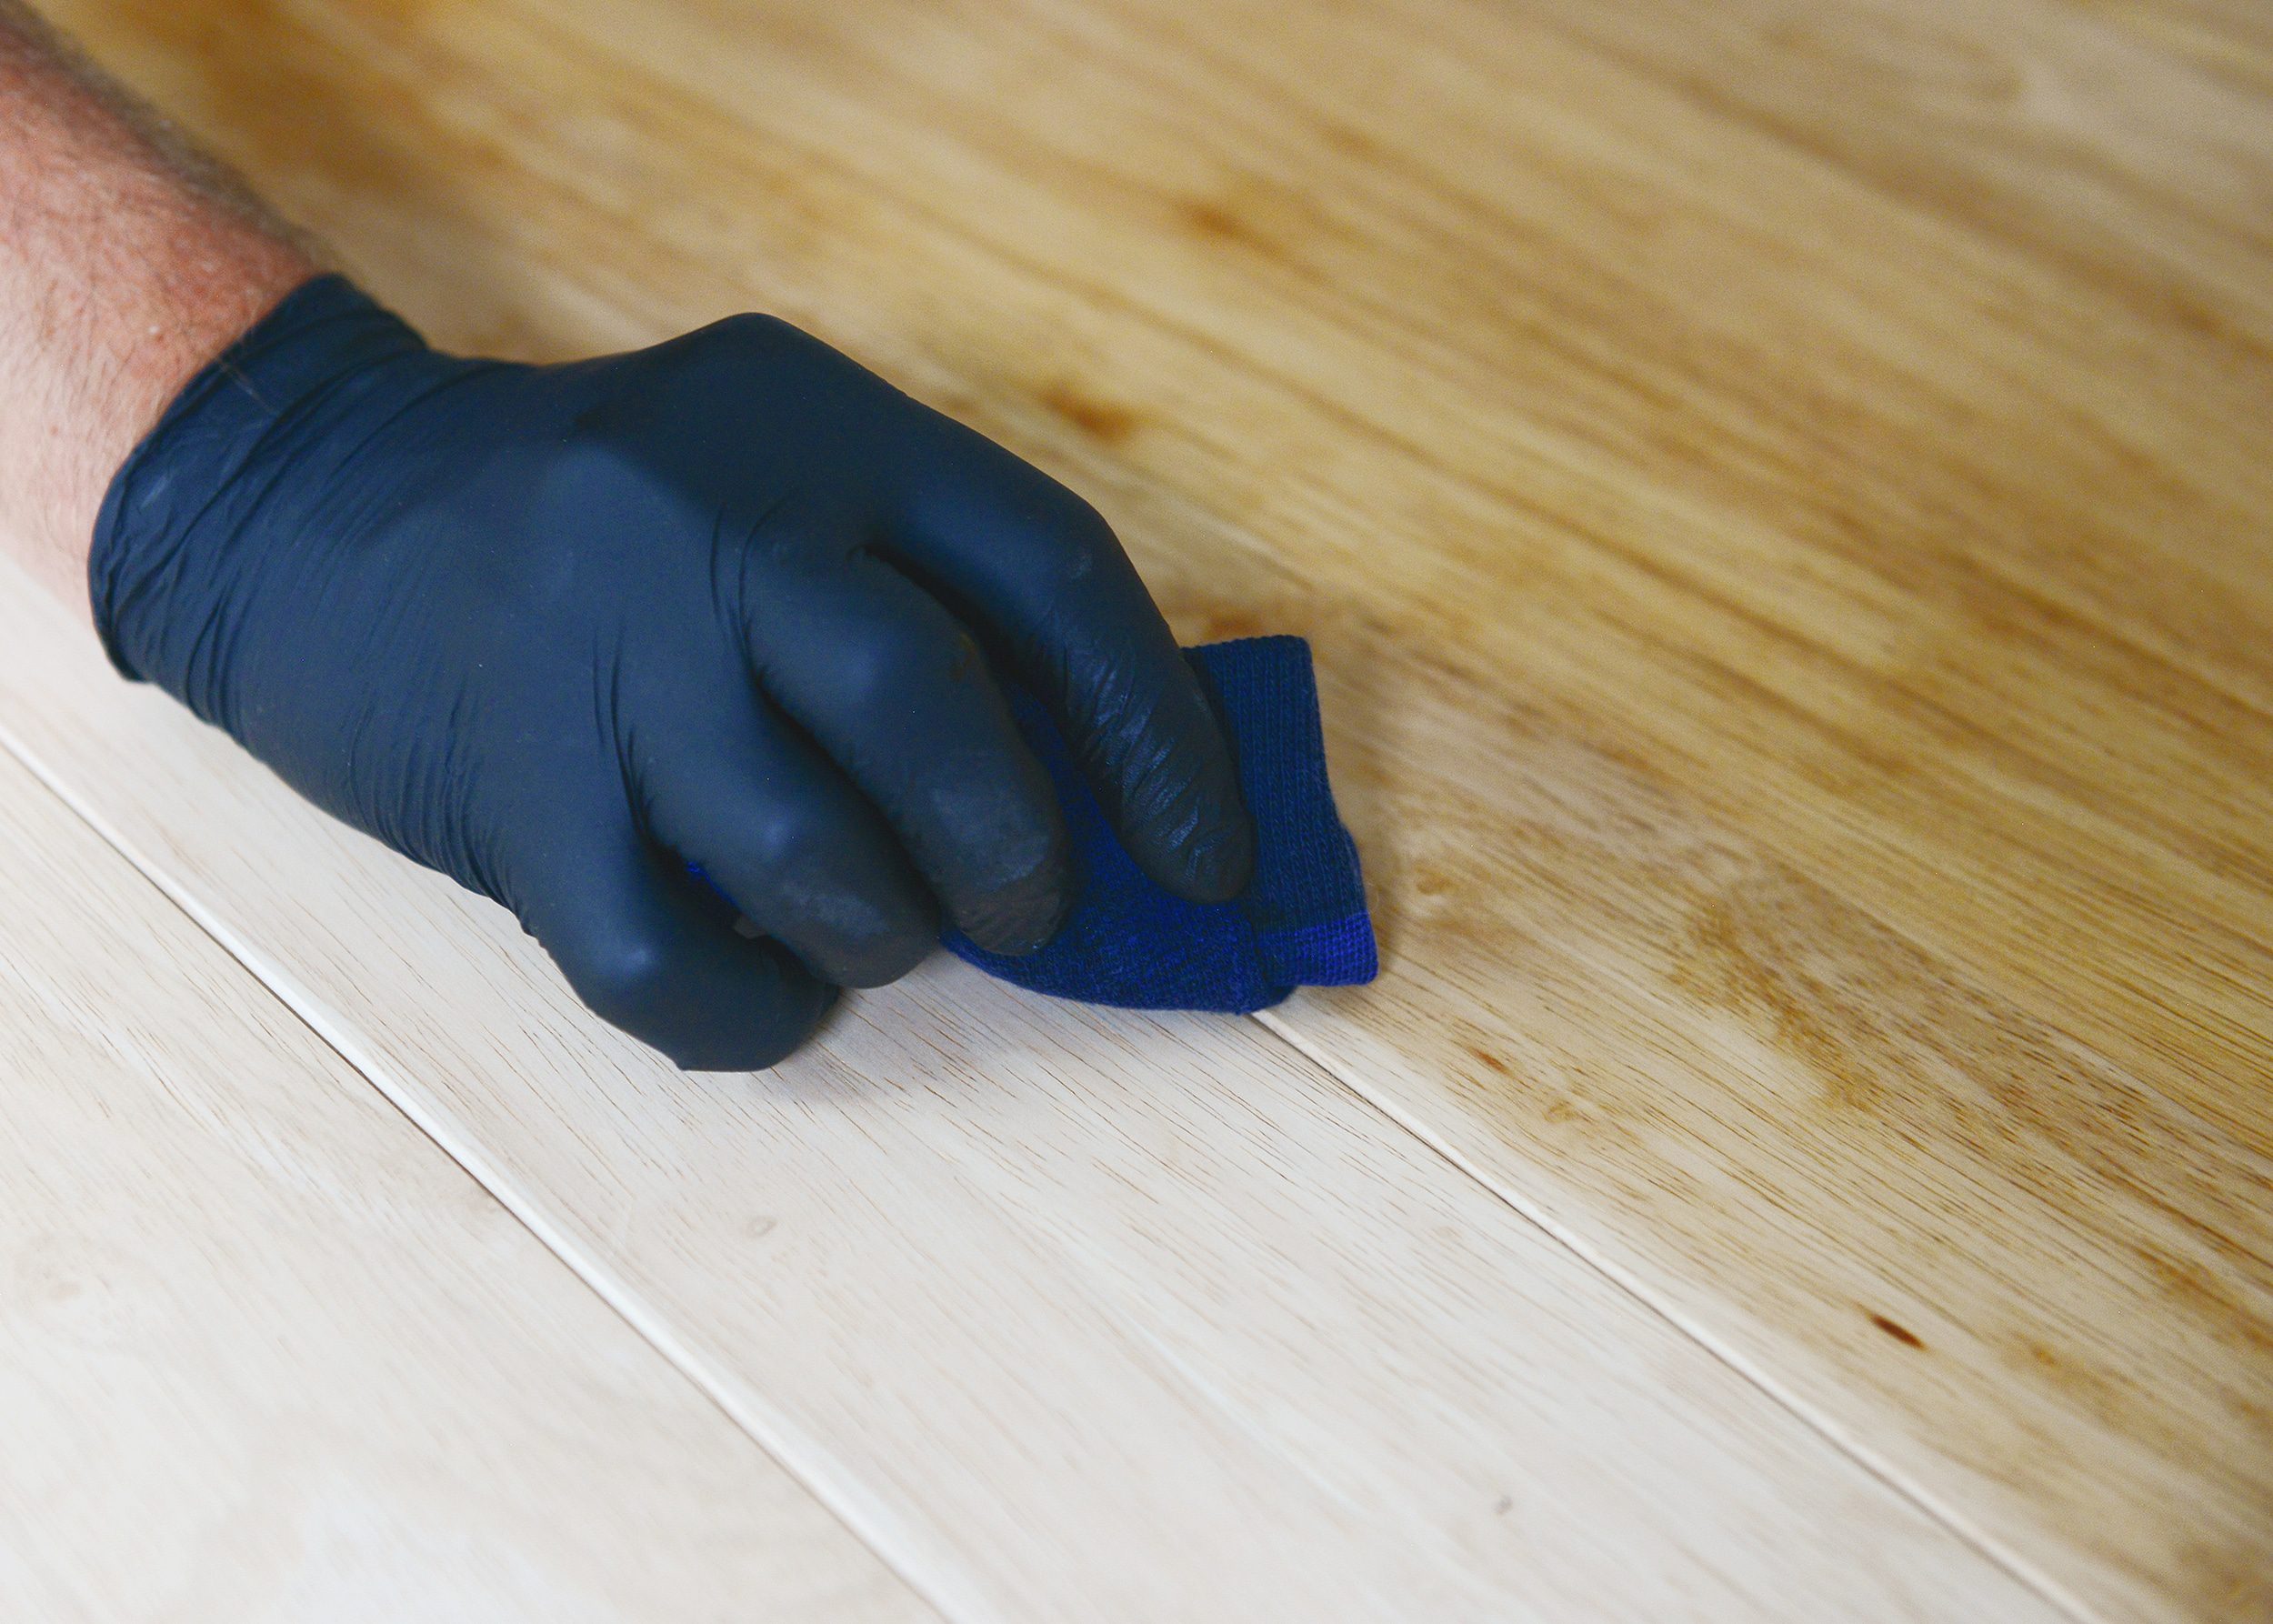
With the the top off and flipped upside-down, we used a handful of old rags to test a few stain options that we had on hand. We didn’t want the color to end up too dark or too light, and we landed on Walnut Restor-A-Finish. (It’s the middle option, third from left, in the photos above and below.) It would add depth without going too dark, which we didn’t want.
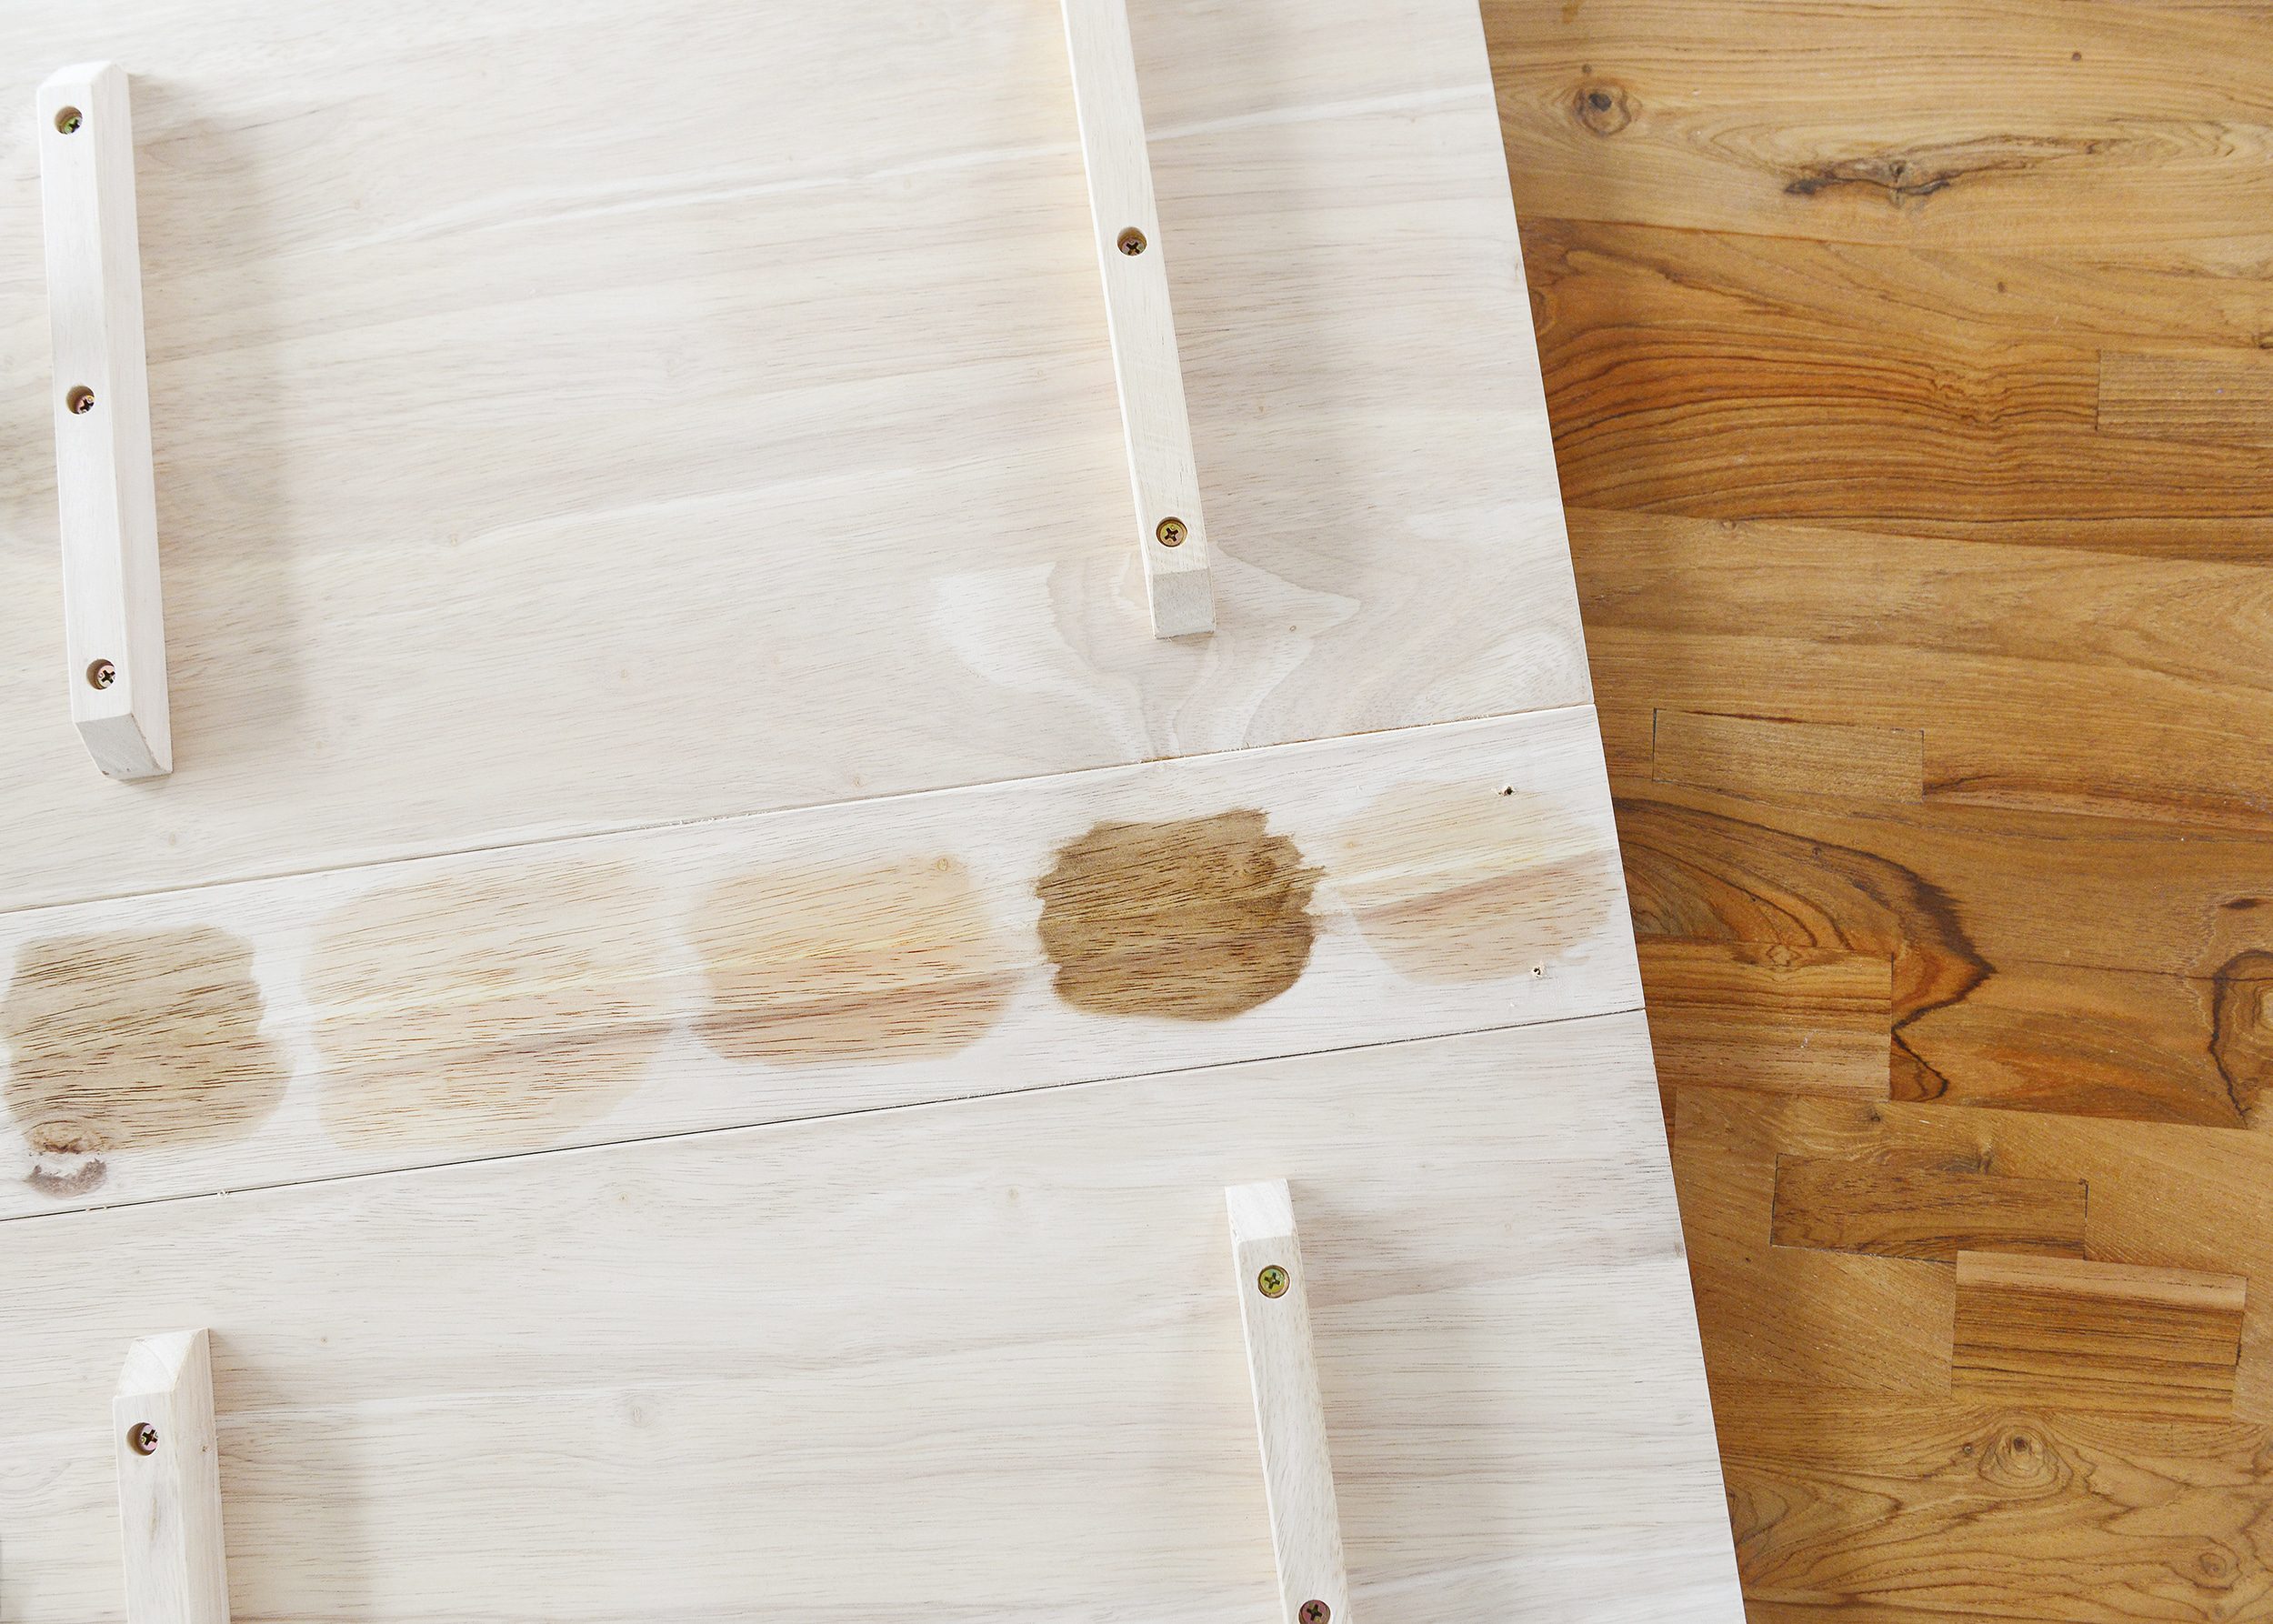
I used a rag to wipe the Restor-A-Finish onto the surface, being sure to apply the stain to the rag and rubbing it in with the grain of the wood for the most uniform coverage:
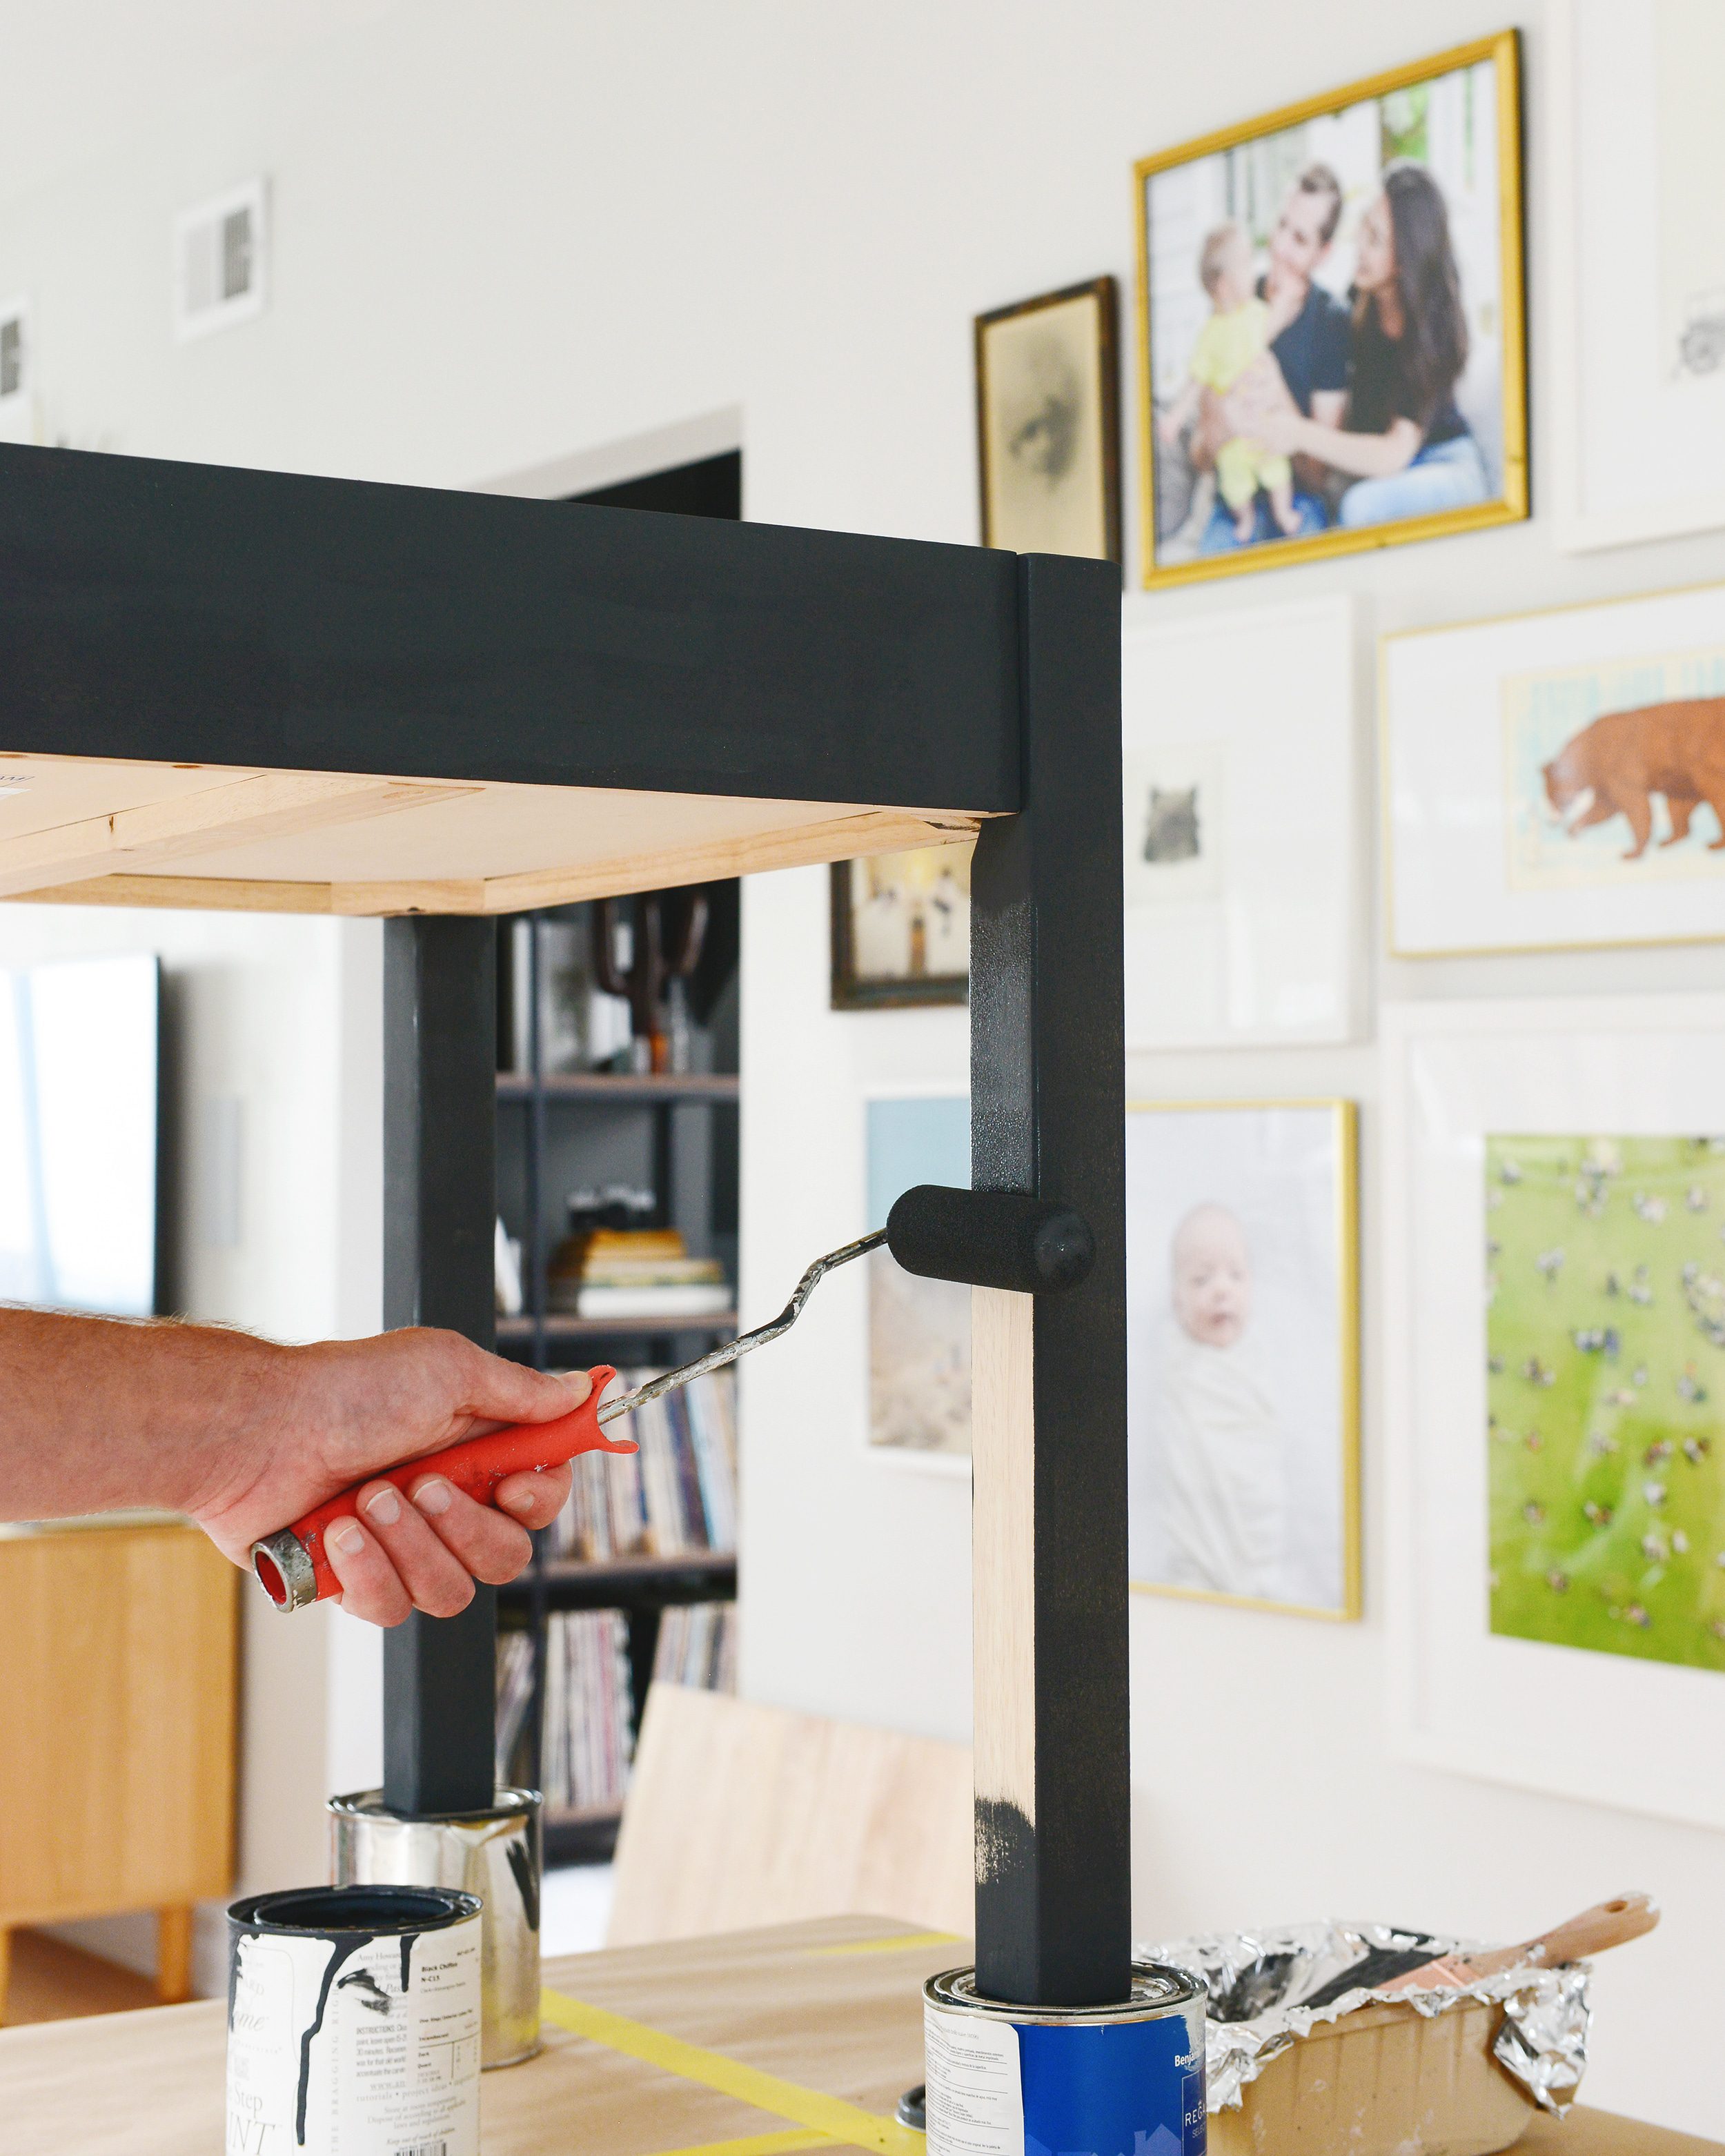
As the tabletop dried, we used a soft black chalk paint we had on hand leftover from an old project. Using a small foam roller, I rolled the large flat portions of the table base, and a I cut in with a small angled brush for the tight corner junctions. Two coats of paint gave us full coverage, and then I topped everything off with two thin coats of Polycrylic in a matte finish on both the table base and the stained tabletop.
Lucy’s Craft Table | After
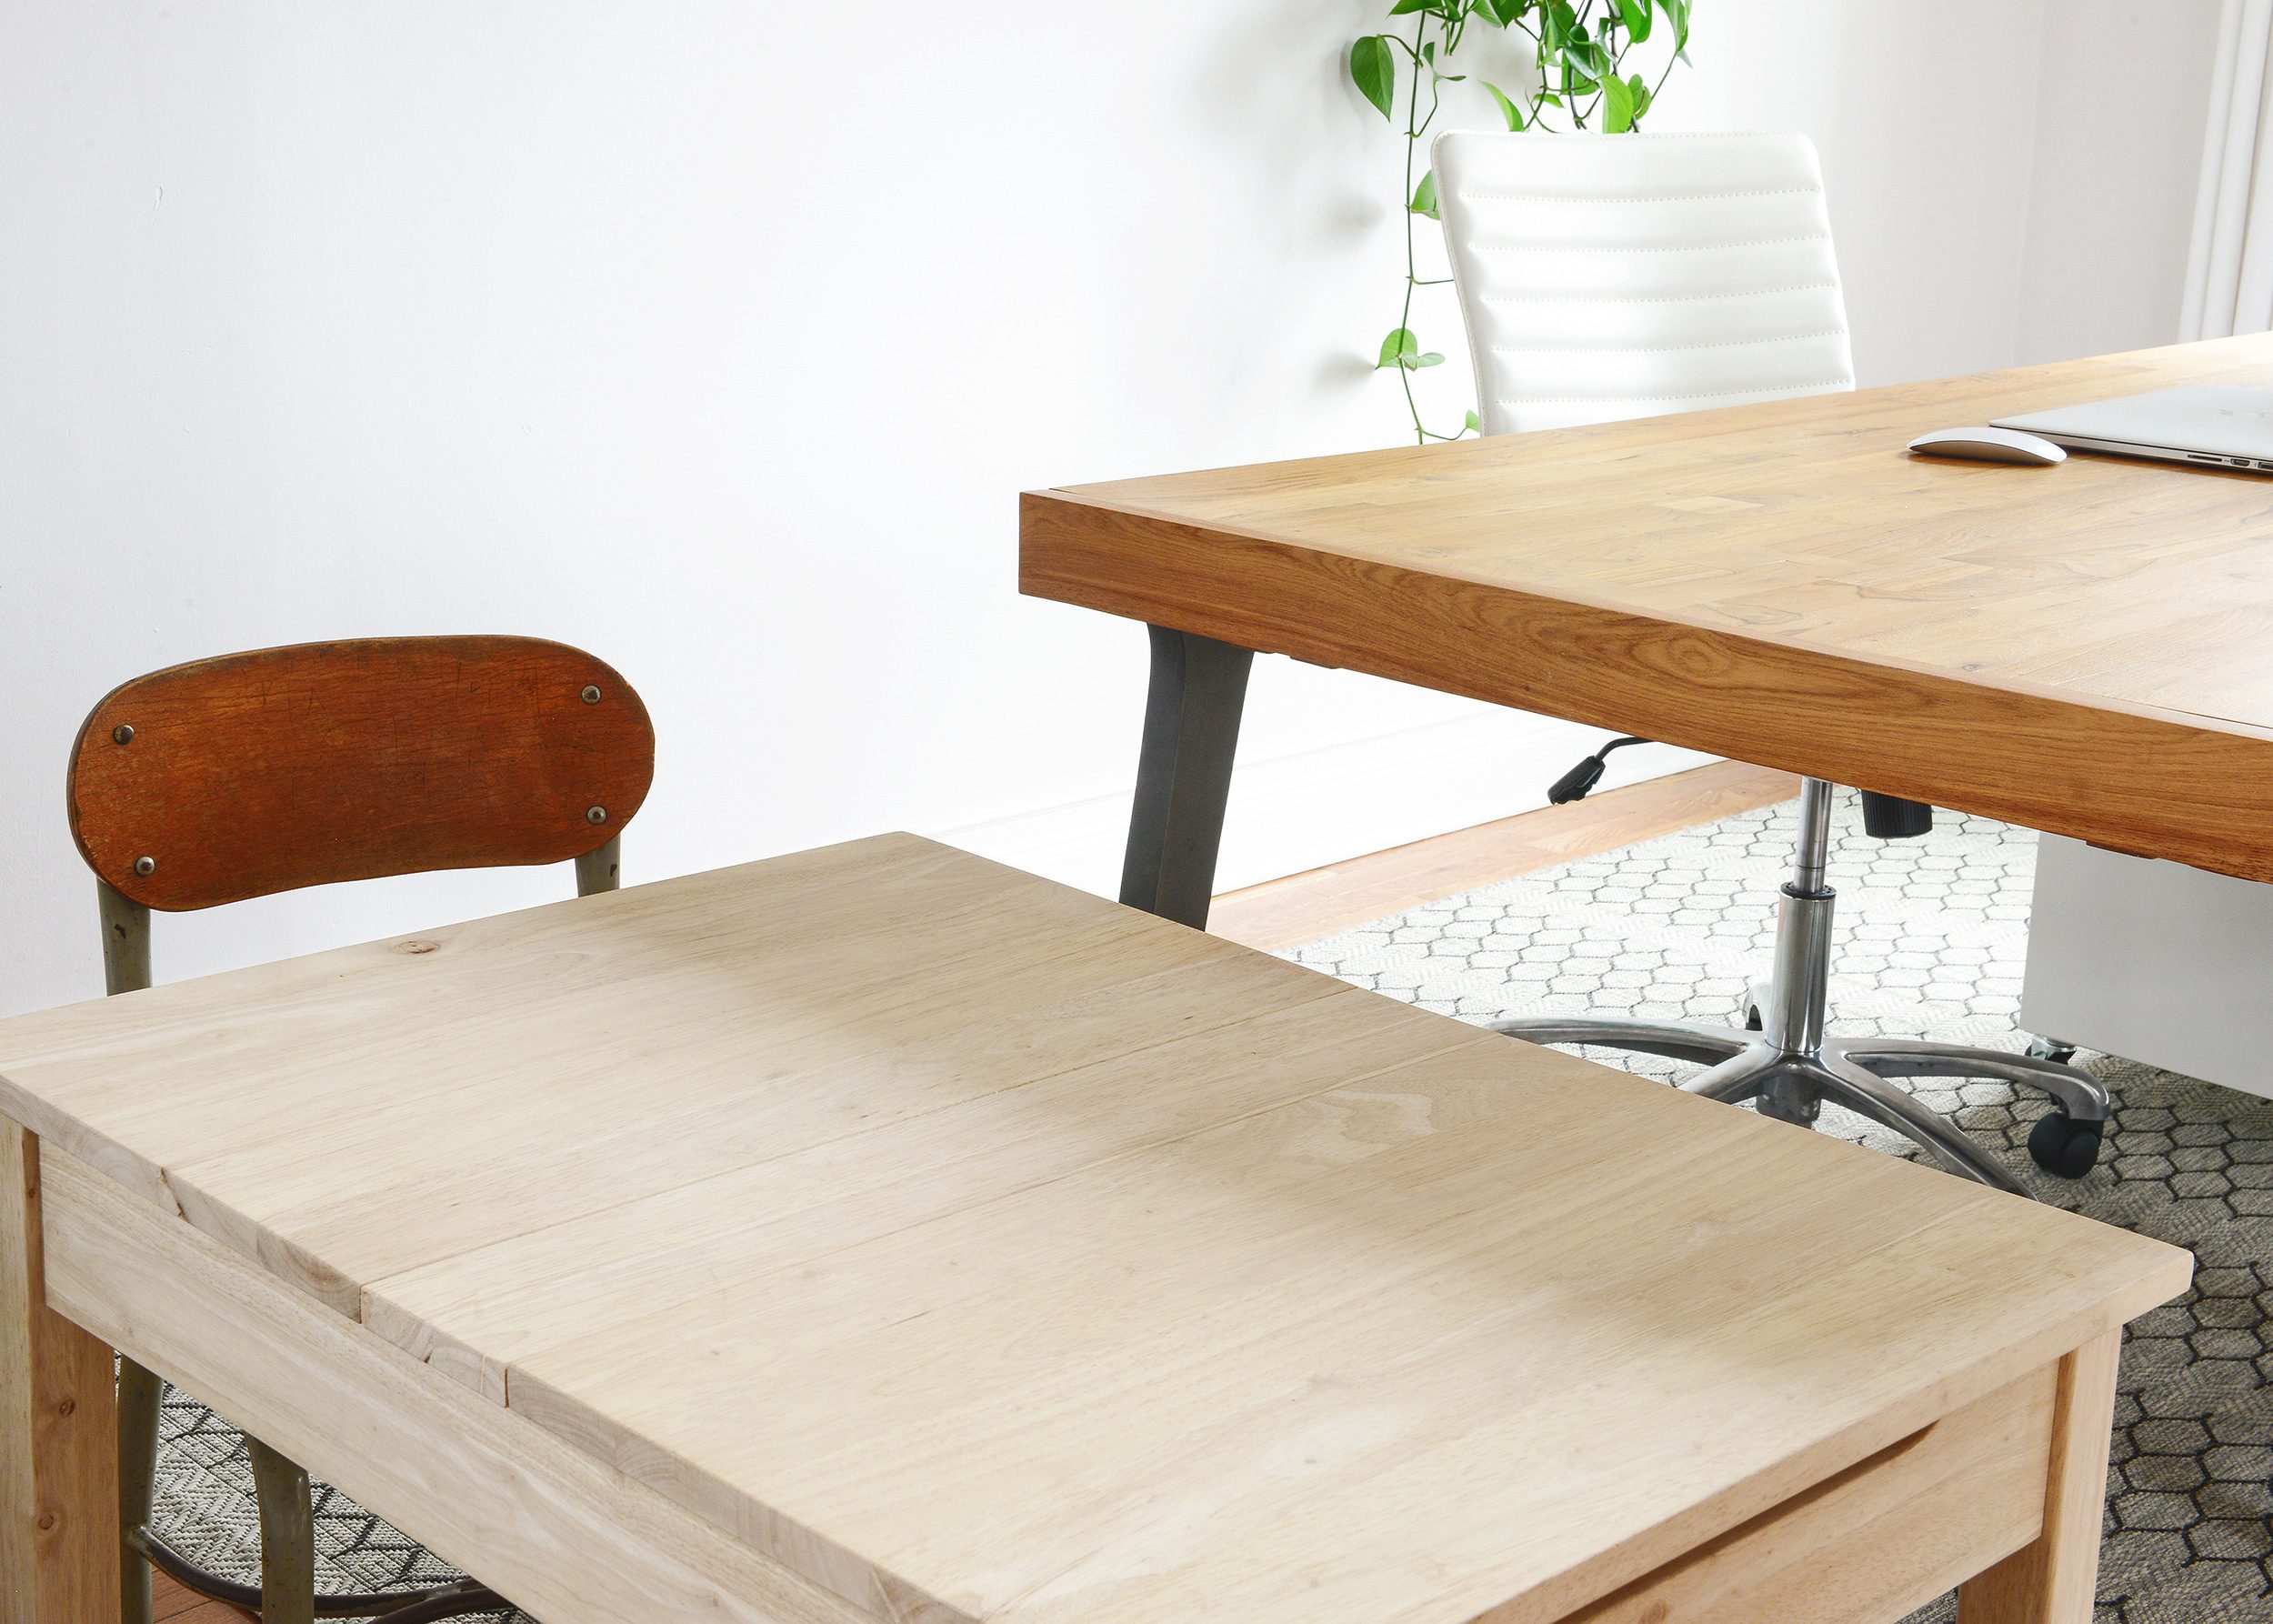
Would ya’ look at that adorable lil’ mini table?! We weren’t striving for a perfect tone match between the tables, but for a few hours of work and using paint and stain we had on hand, we got pah-retty close:
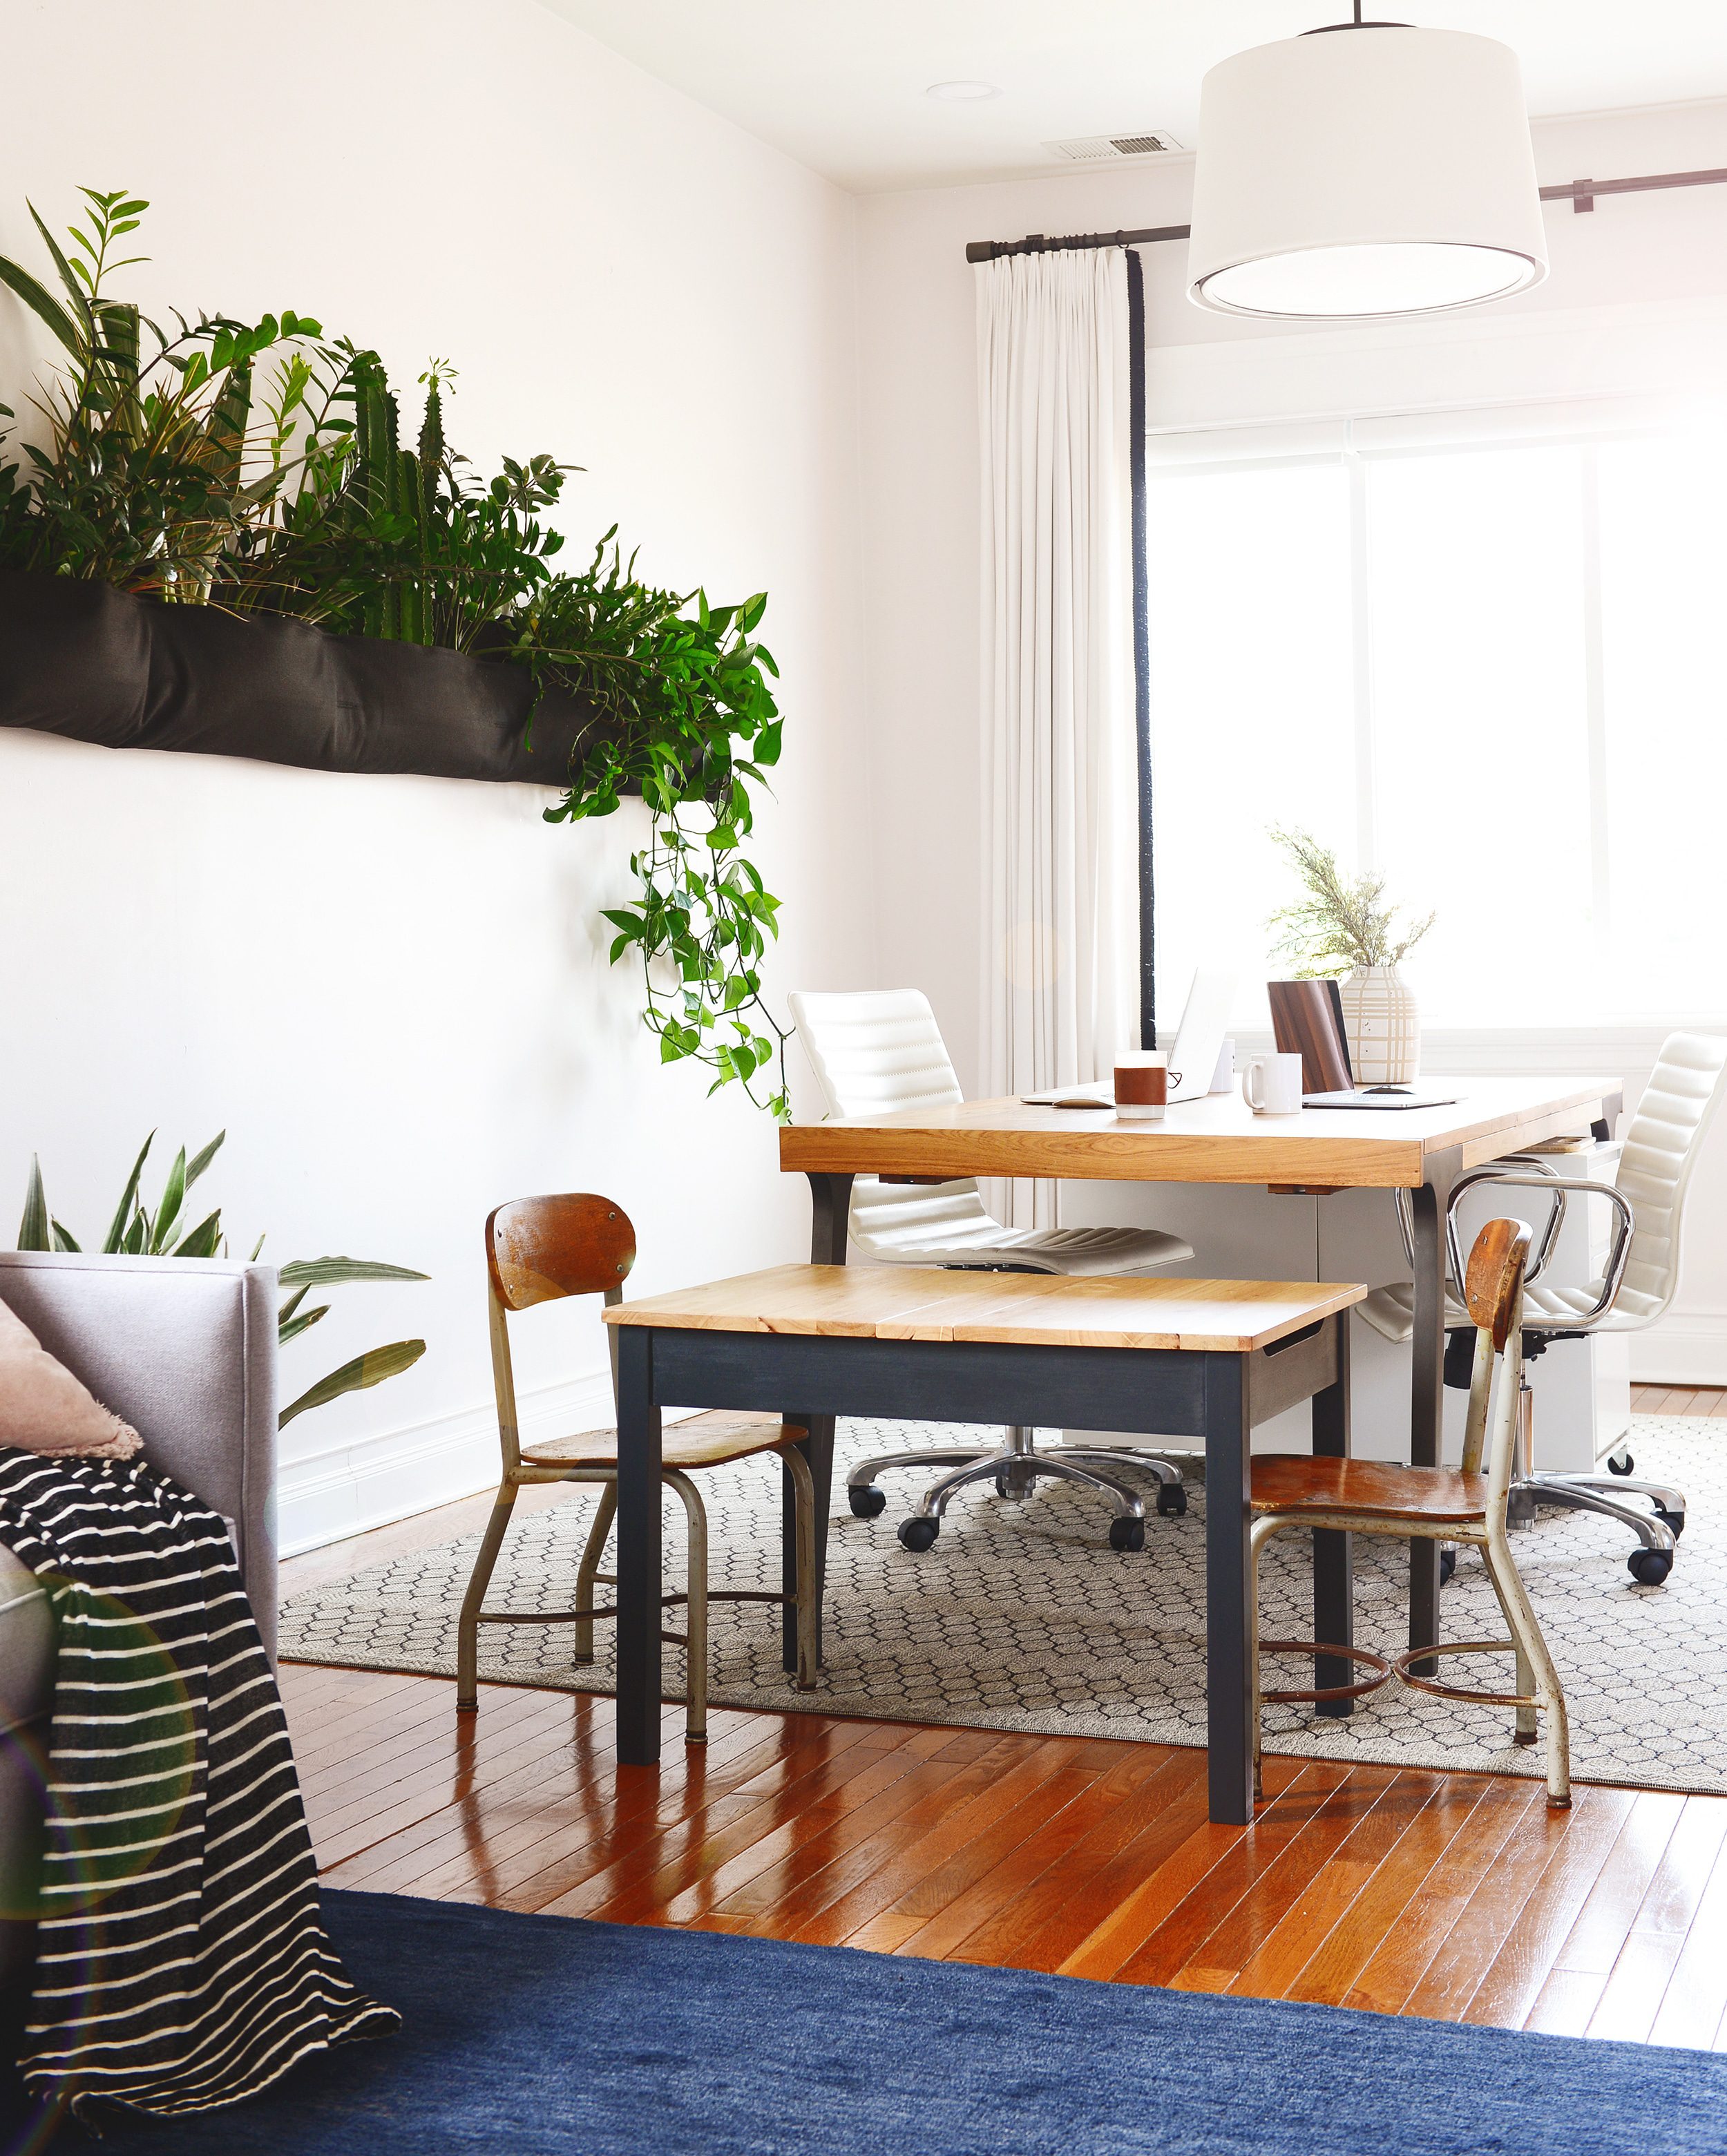
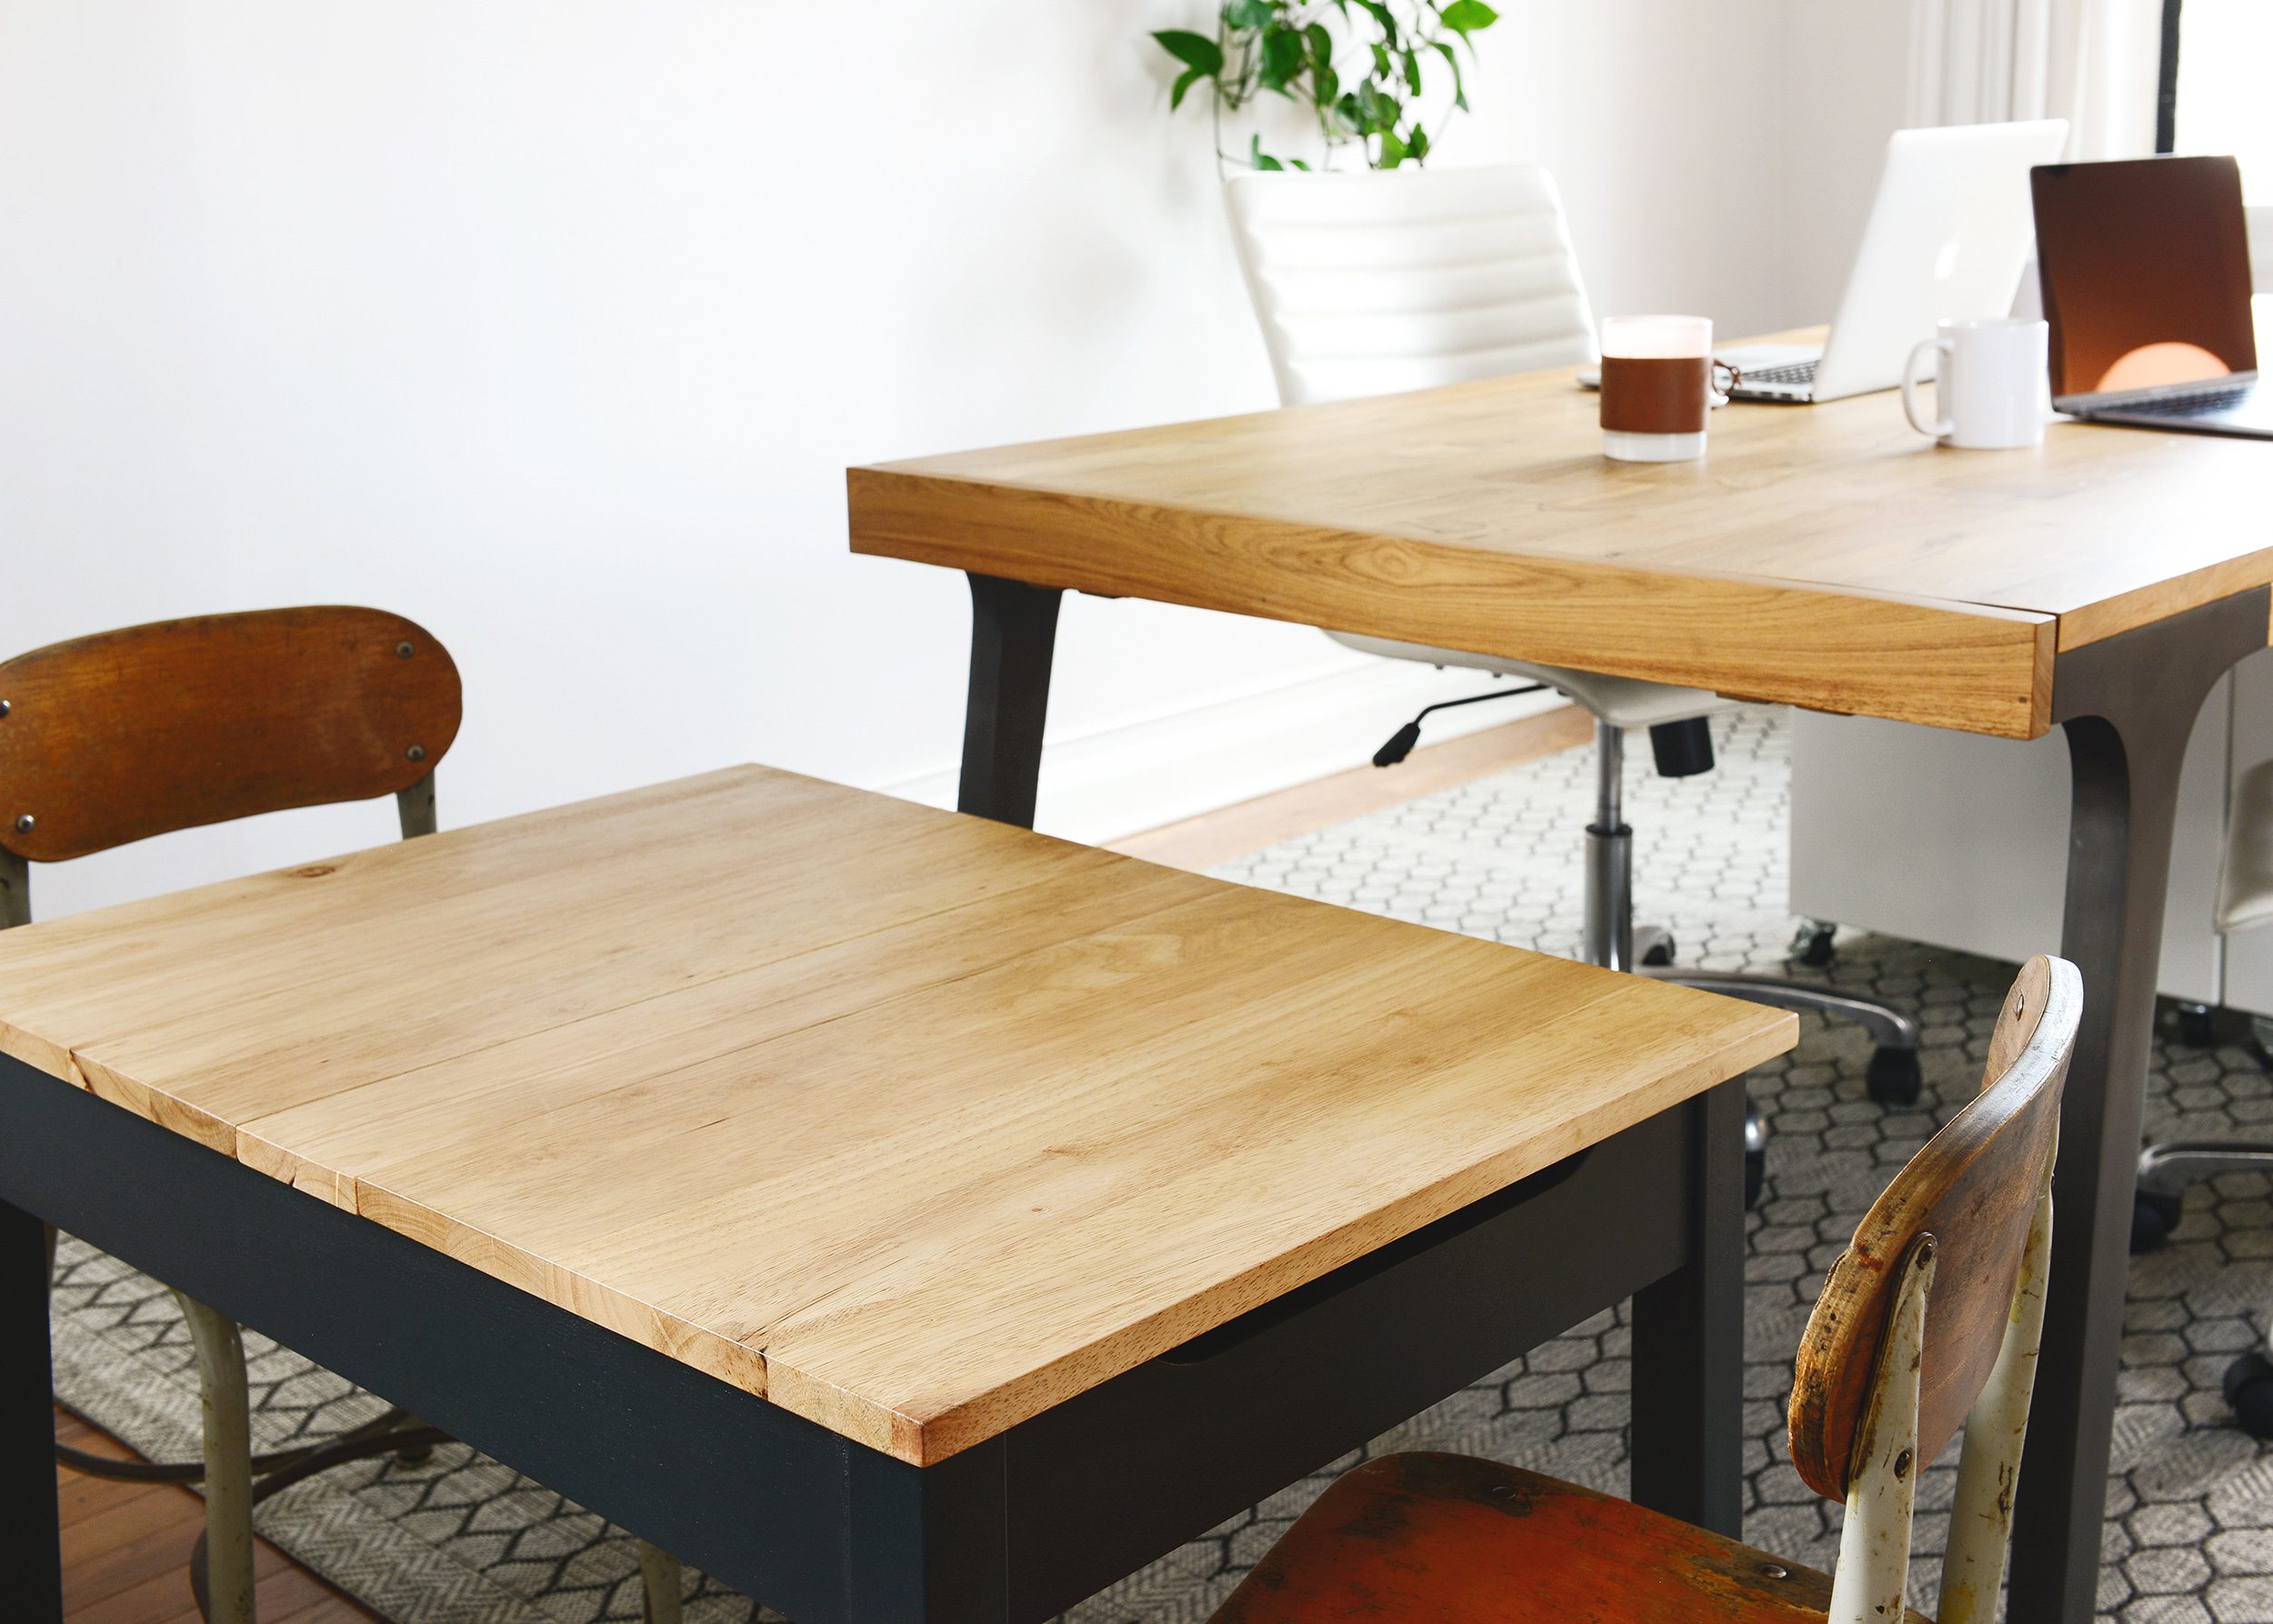
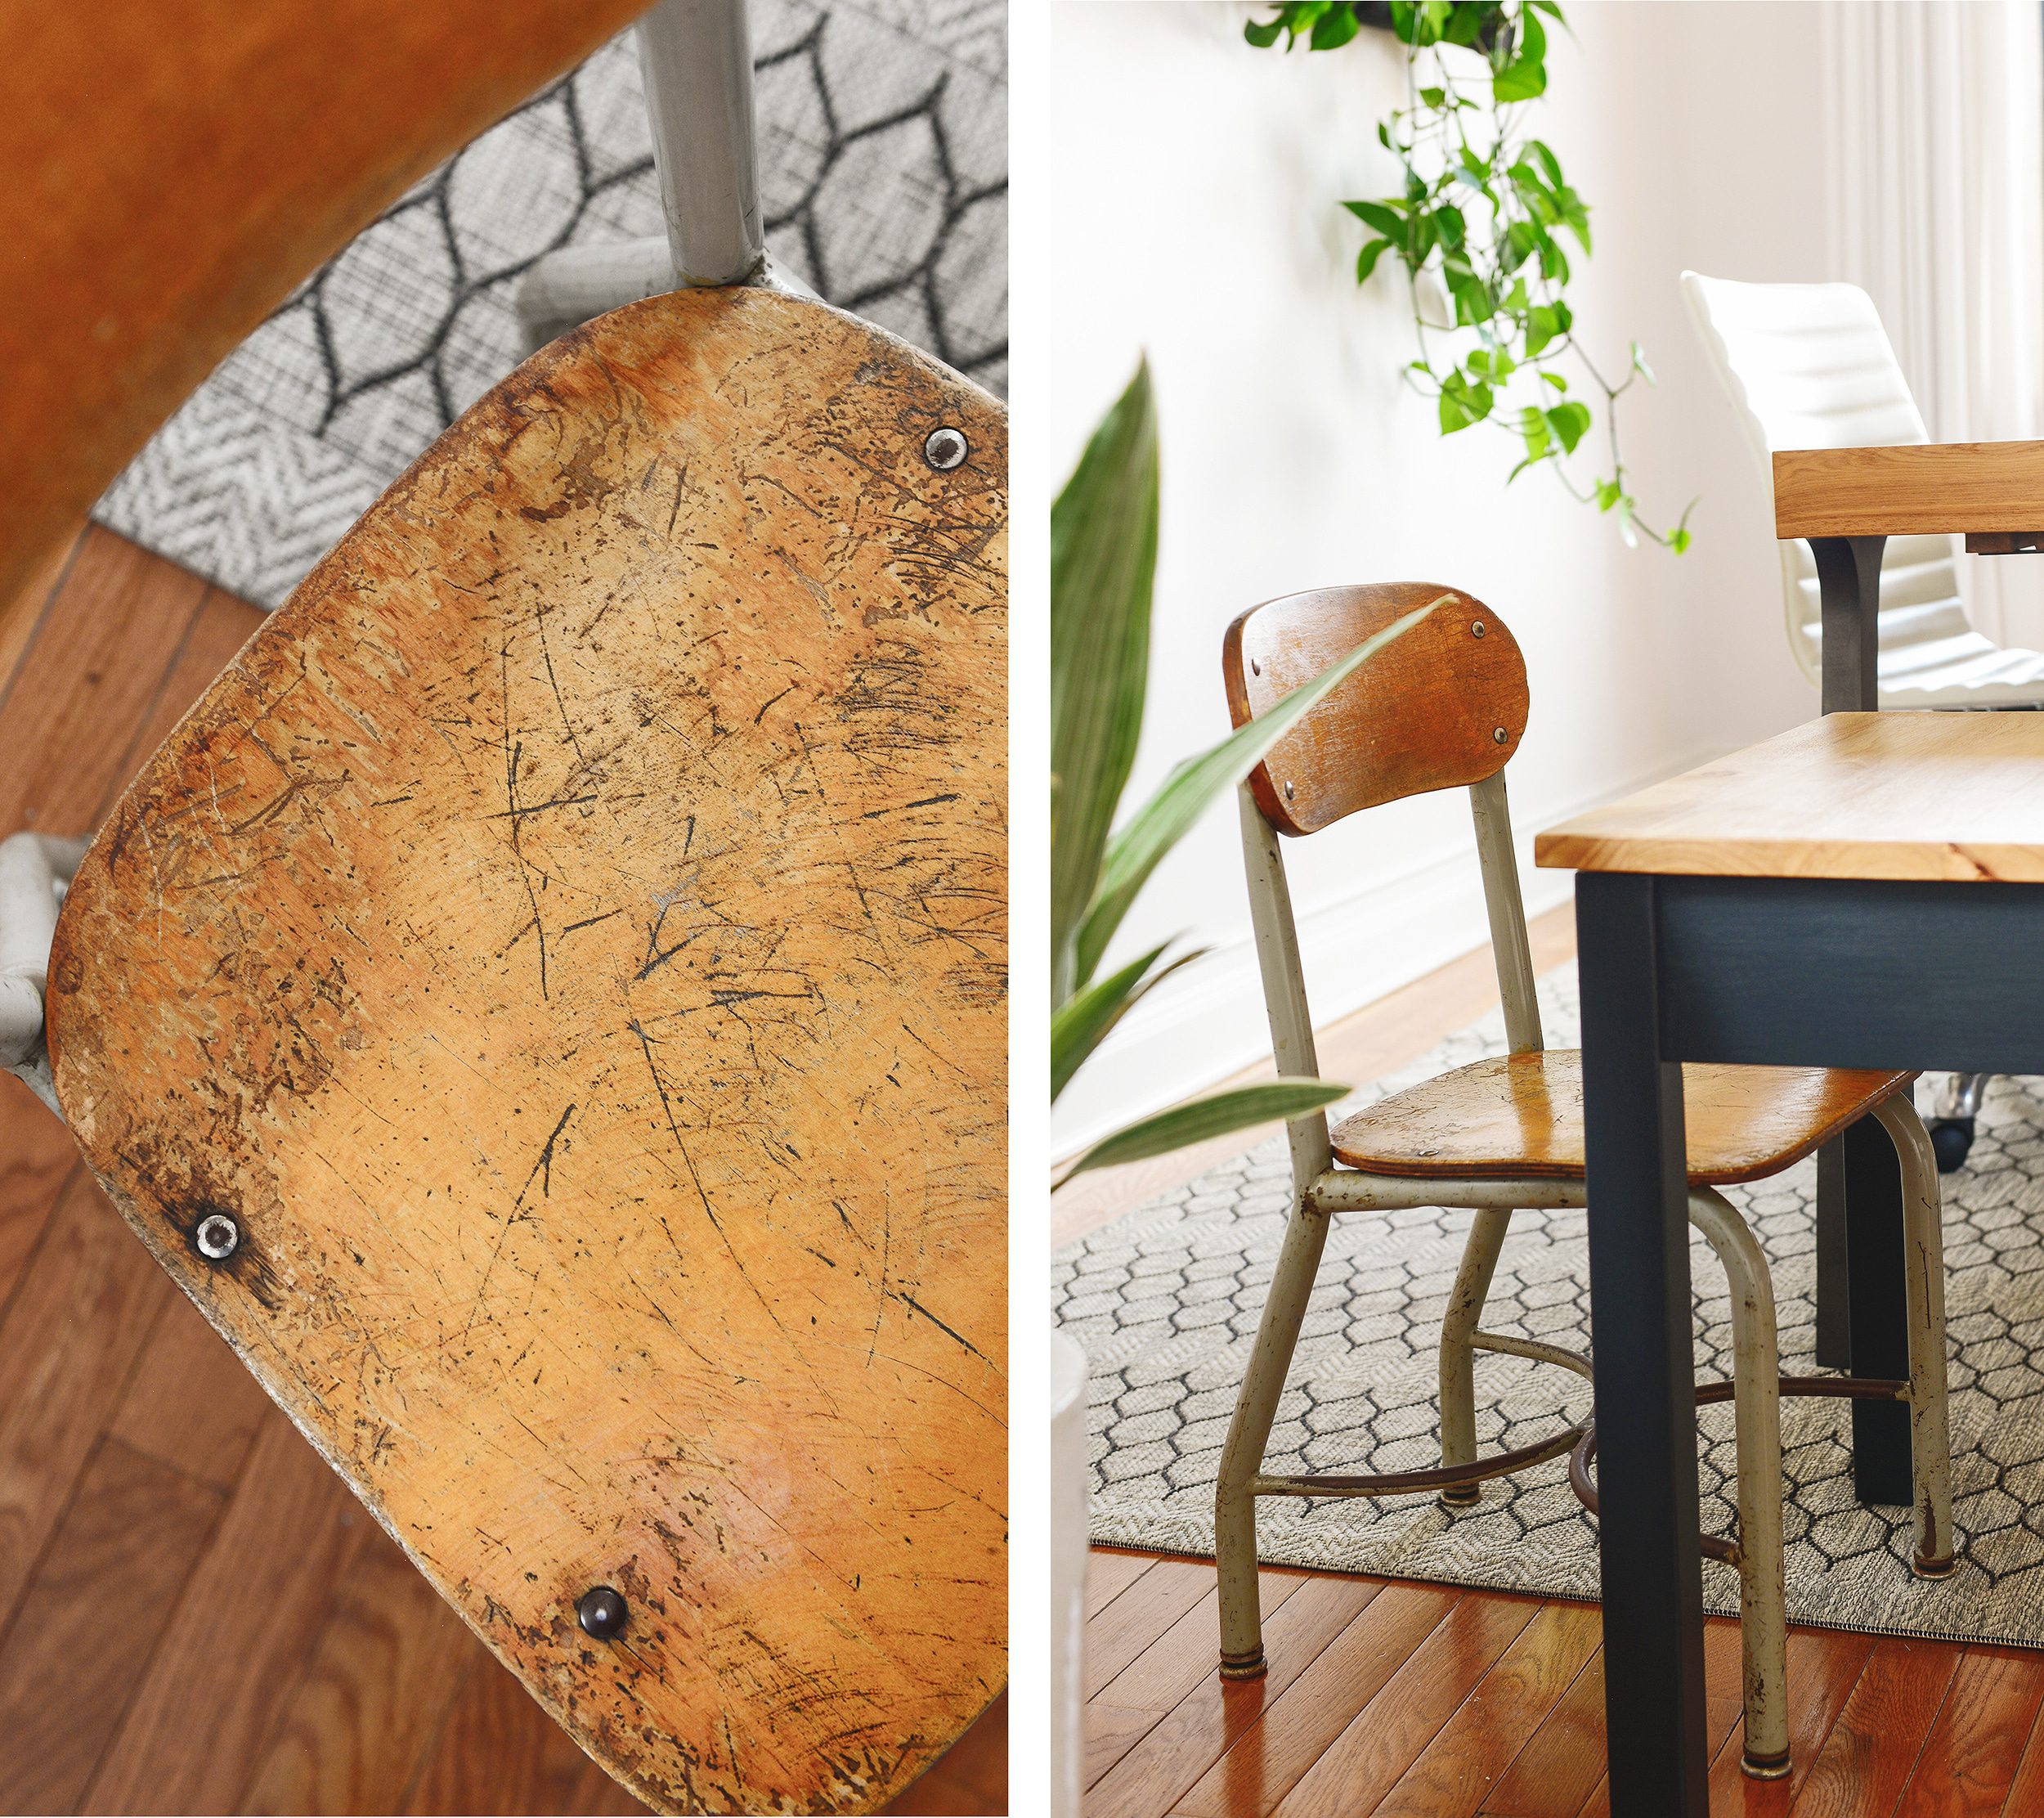
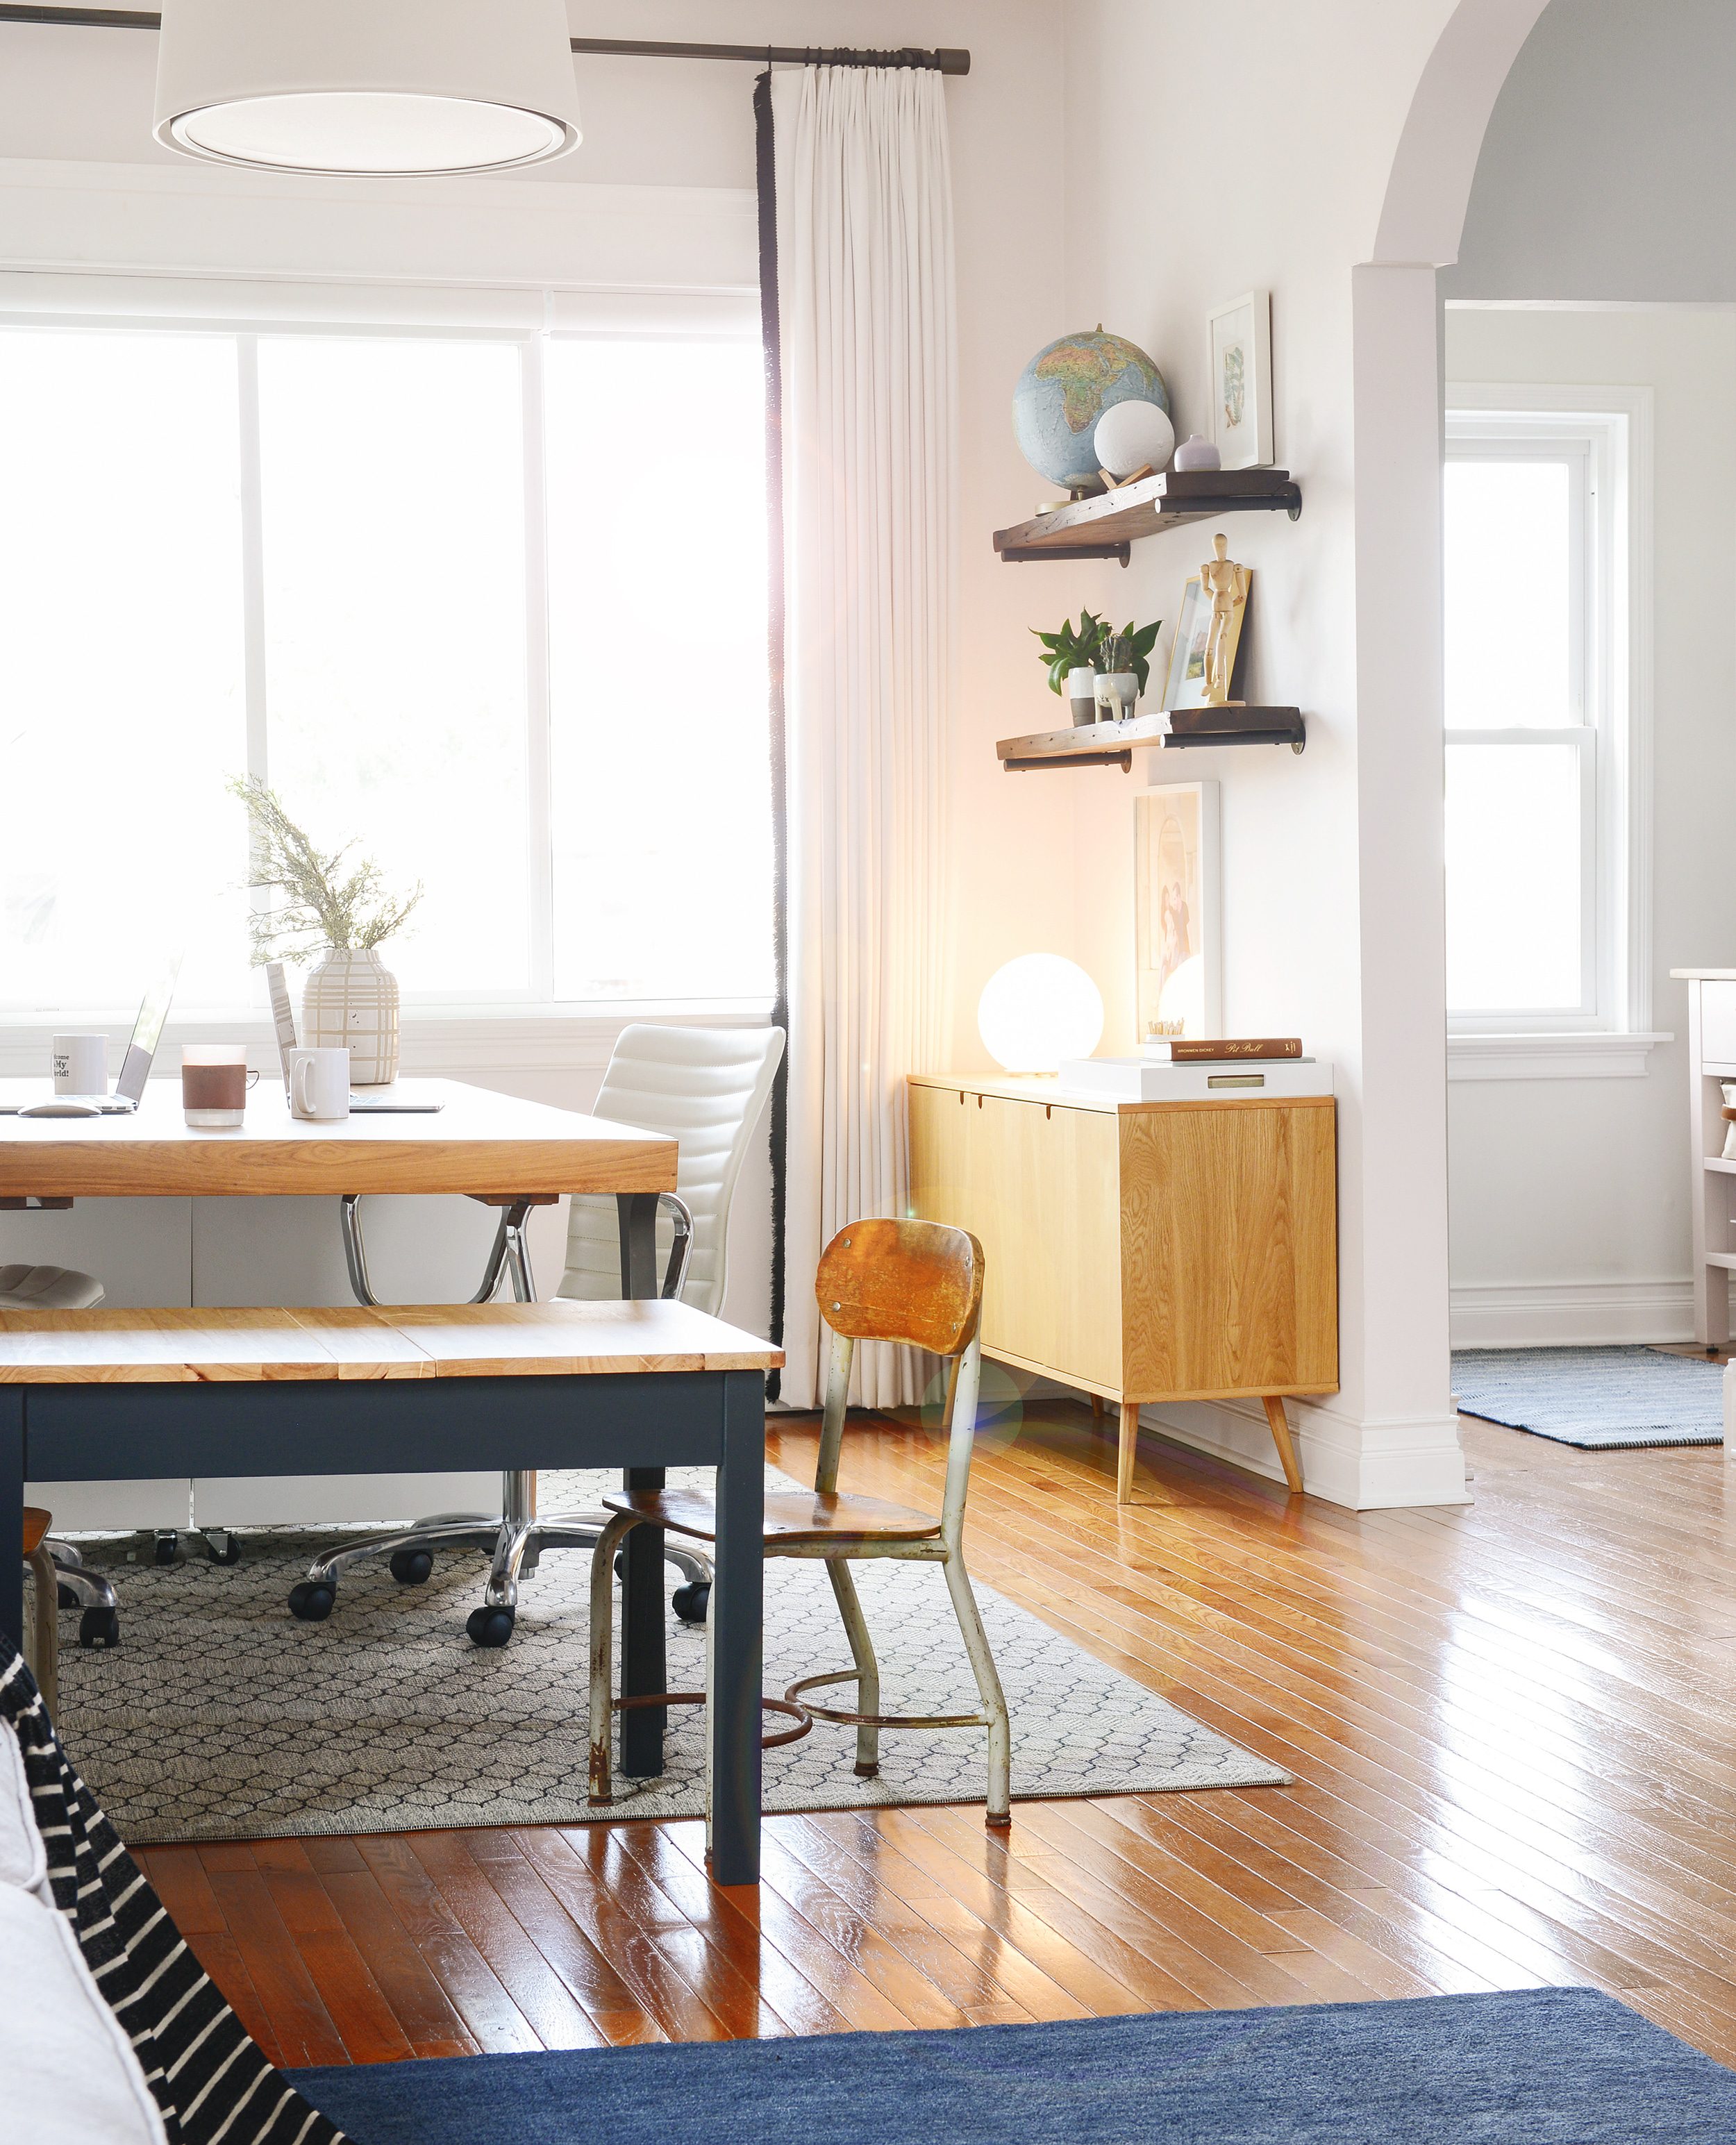
The legs on our table are metal, while the legs on Lucy’s table are solid wood. Again, not a perfect match, but the suggestion of matching tones really does unify the two pieces!
Much like we waffled on the potential finishes for Lucy’s table, we had an equally difficult time deciding how we should refinish the teen chairs. Upon closer inspection, we realized that the backs and bottoms of the chairs were attached to the metal frames of the chairs with rivets as opposed to removable fasteners. This meant that any attempt to remove the rivets and separate the wood pieces from the metal has the possibility to result in damage, and it wasn’t worth the risk. So we cleaned them thoroughly, and really, we just love the patina that decades worth of use has brought to the pair!
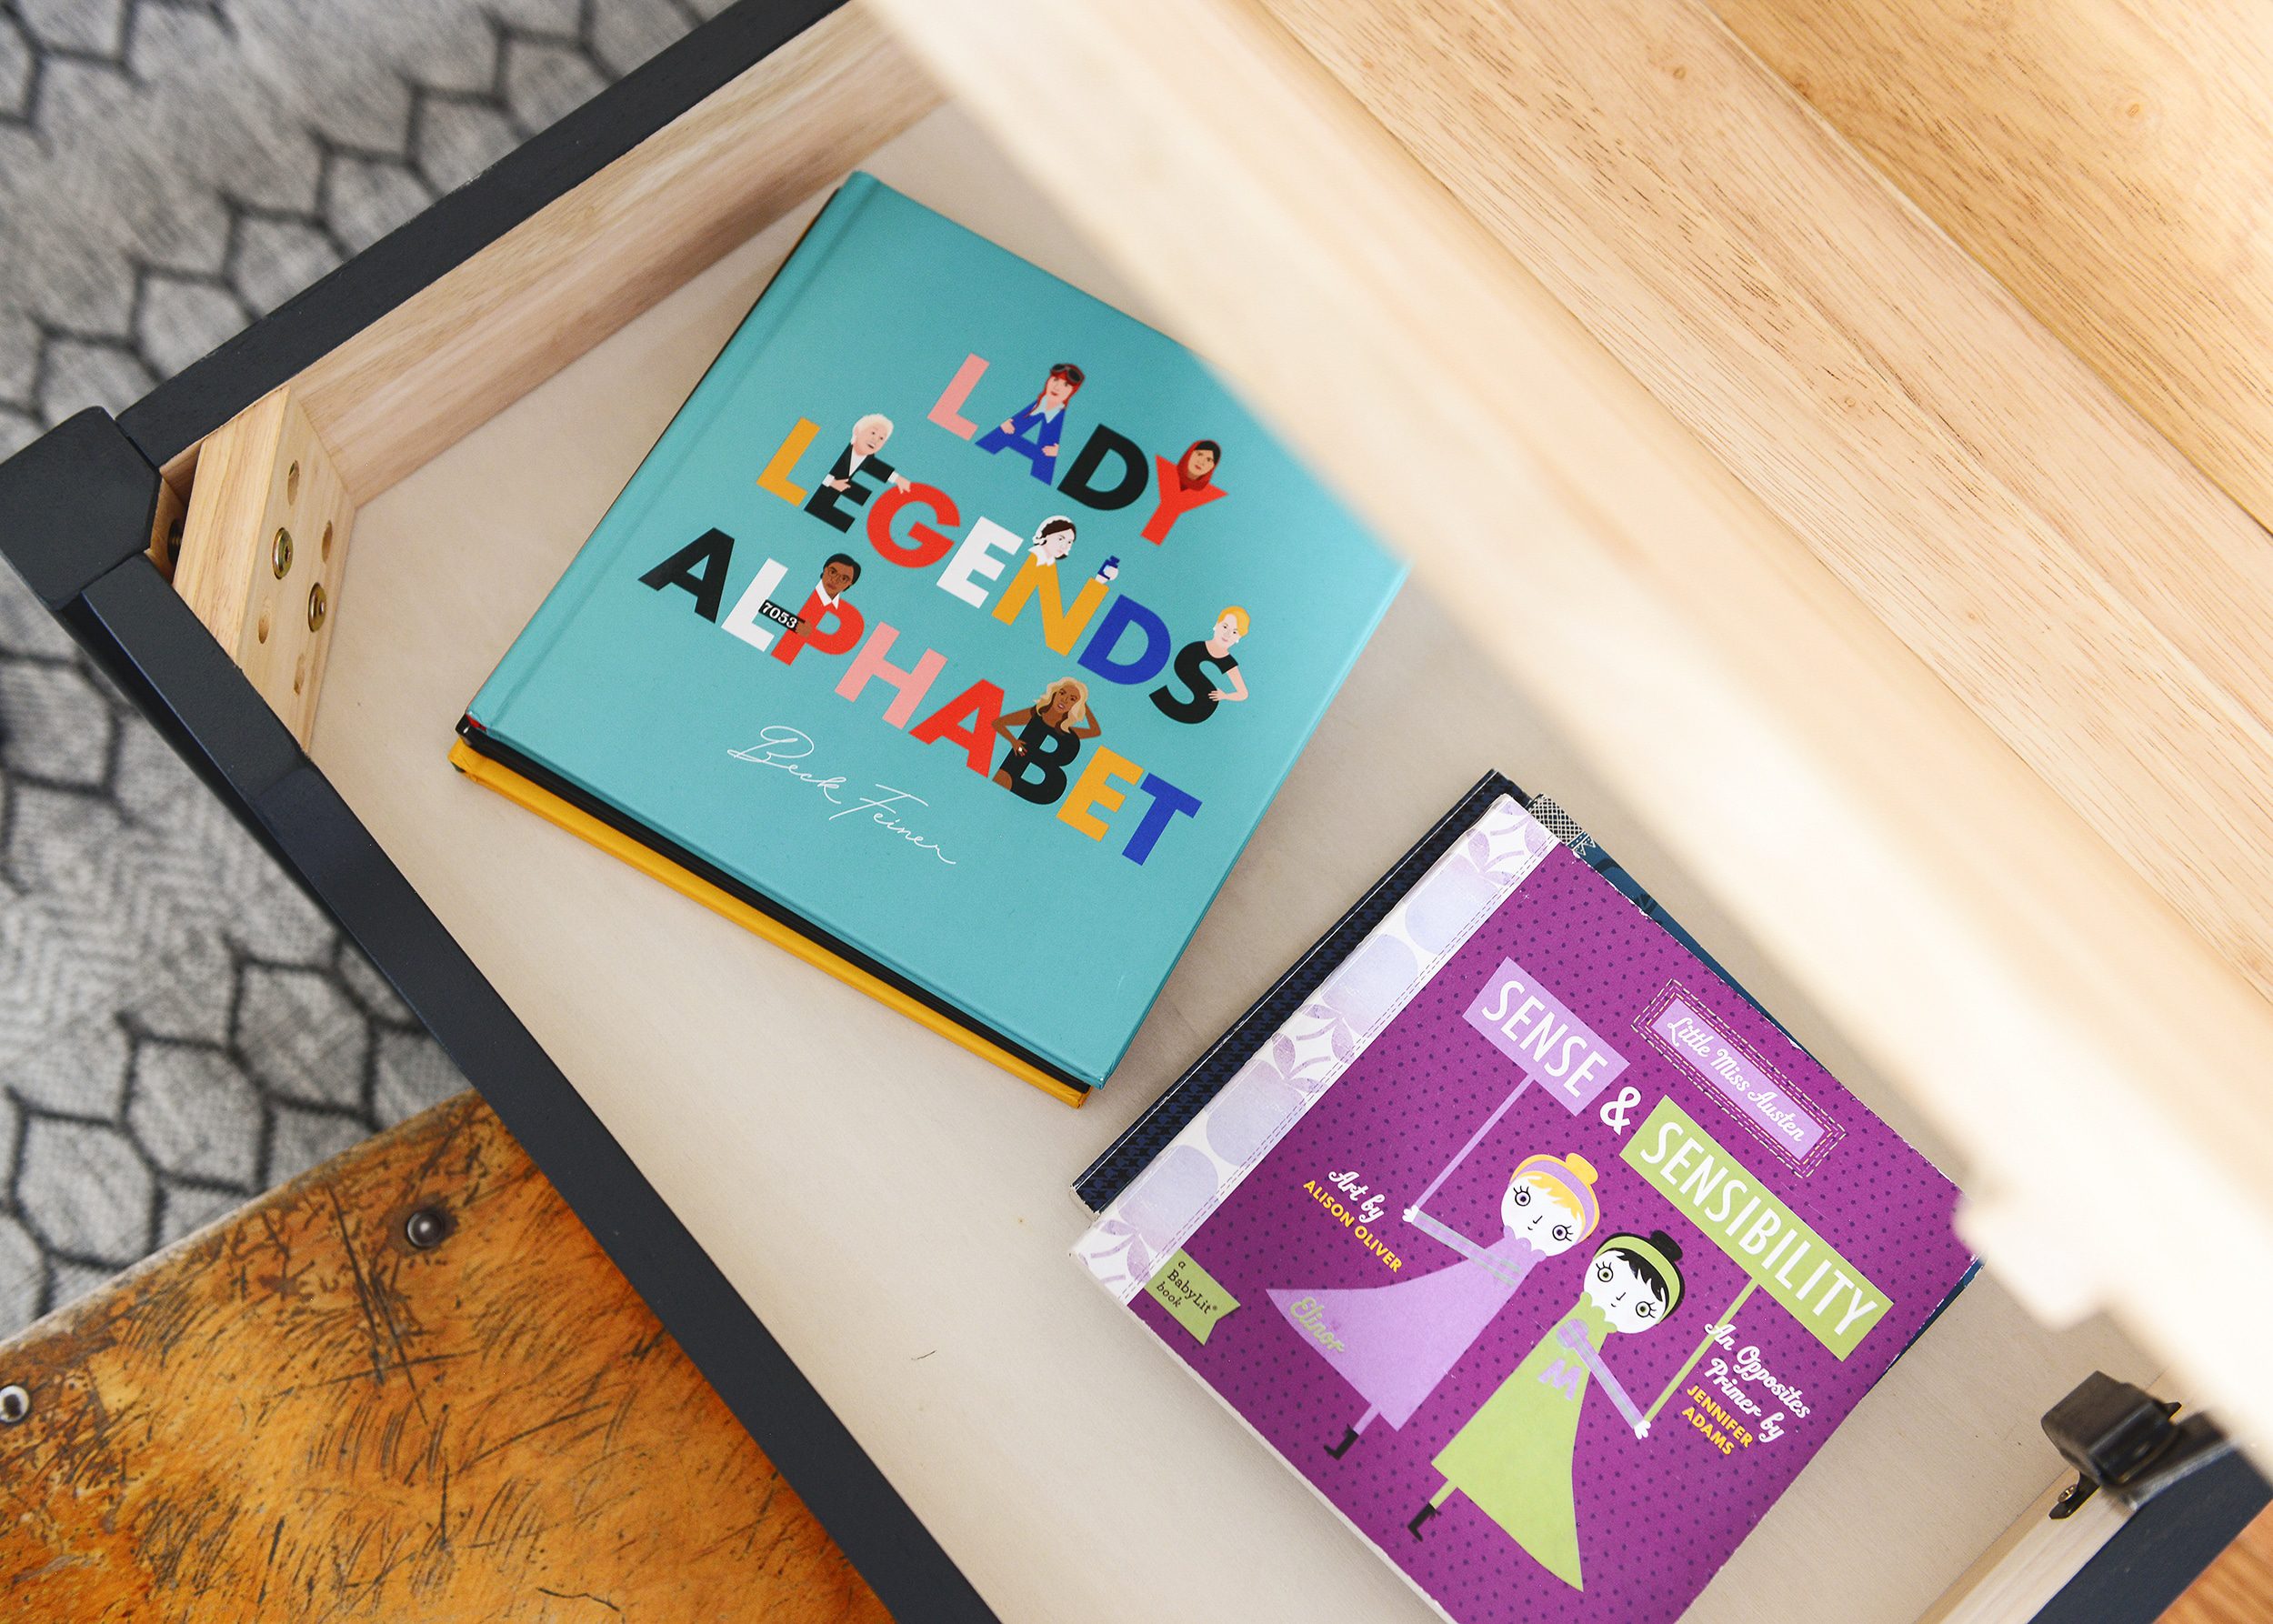
Jumping back to the table, one of the things we loved about this particular design is the clever built-in storage. For now, Lucy prefers to stash a small pile of her favorite books inside. Down the road, we see the flip-up tops concealing piles of crayons, markers and stacks of scrap paper, among other art items. We can’t wait to see our Goose creating her masterpiece at this very table!
But perhaps the best part of the flip top? The hinges of the table also conceal a clever trick. While they’re not exactly soft-close, they do provide enough mechanical resistance to stay up on their own, preventing the tops from slamming onto tiny fingers!
Despite our months (and months!) of debate, we’re so happy with how well Lucy’s table turned out. If dry time is eliminated form the equation, this project was only about an hour of work spread out over the course of an afternoon. With the raw, unfinished wood of this kid’s craft table ready to be painted or stained right out of the box, the finish possibilities for this little storage table are basically limitless. And if anyone else has taken on this project, we’d love to see other interpretations!
In This Post:


This turned out so cute. I constantly love your use of black! It totally modernizes the look of the table. And just a bit of stain added a lot to the top.
Thanks, Ashley! We considered pink (how could we not?!), but it didn’t feel right. We’re so happy we went with black!
When you use chalk paint you don’t have to use the wax? I thought that was one of the key steps with chalk paint but I’ve never used it before. I like how yours looks!
We didn’t and it turned out great!
I love the makeover to Lucy’s new table!
So sorry if this has been asked and answered a hundred times, but where is the rug under your desk from? I checked the “Shop our House” page and didn’t see it.
It’s an outdoor rug we found at At Homes. :)
[…] Source: http://www.yellowbrickhome.com […]
[…] Yellow Brick Home […]