

We’re walking through the simple steps we used to create the ‘console shelf’ behind the sofa in our Chicago living room. This afternoon project cost around $100 and added a ton of functionality to the space!
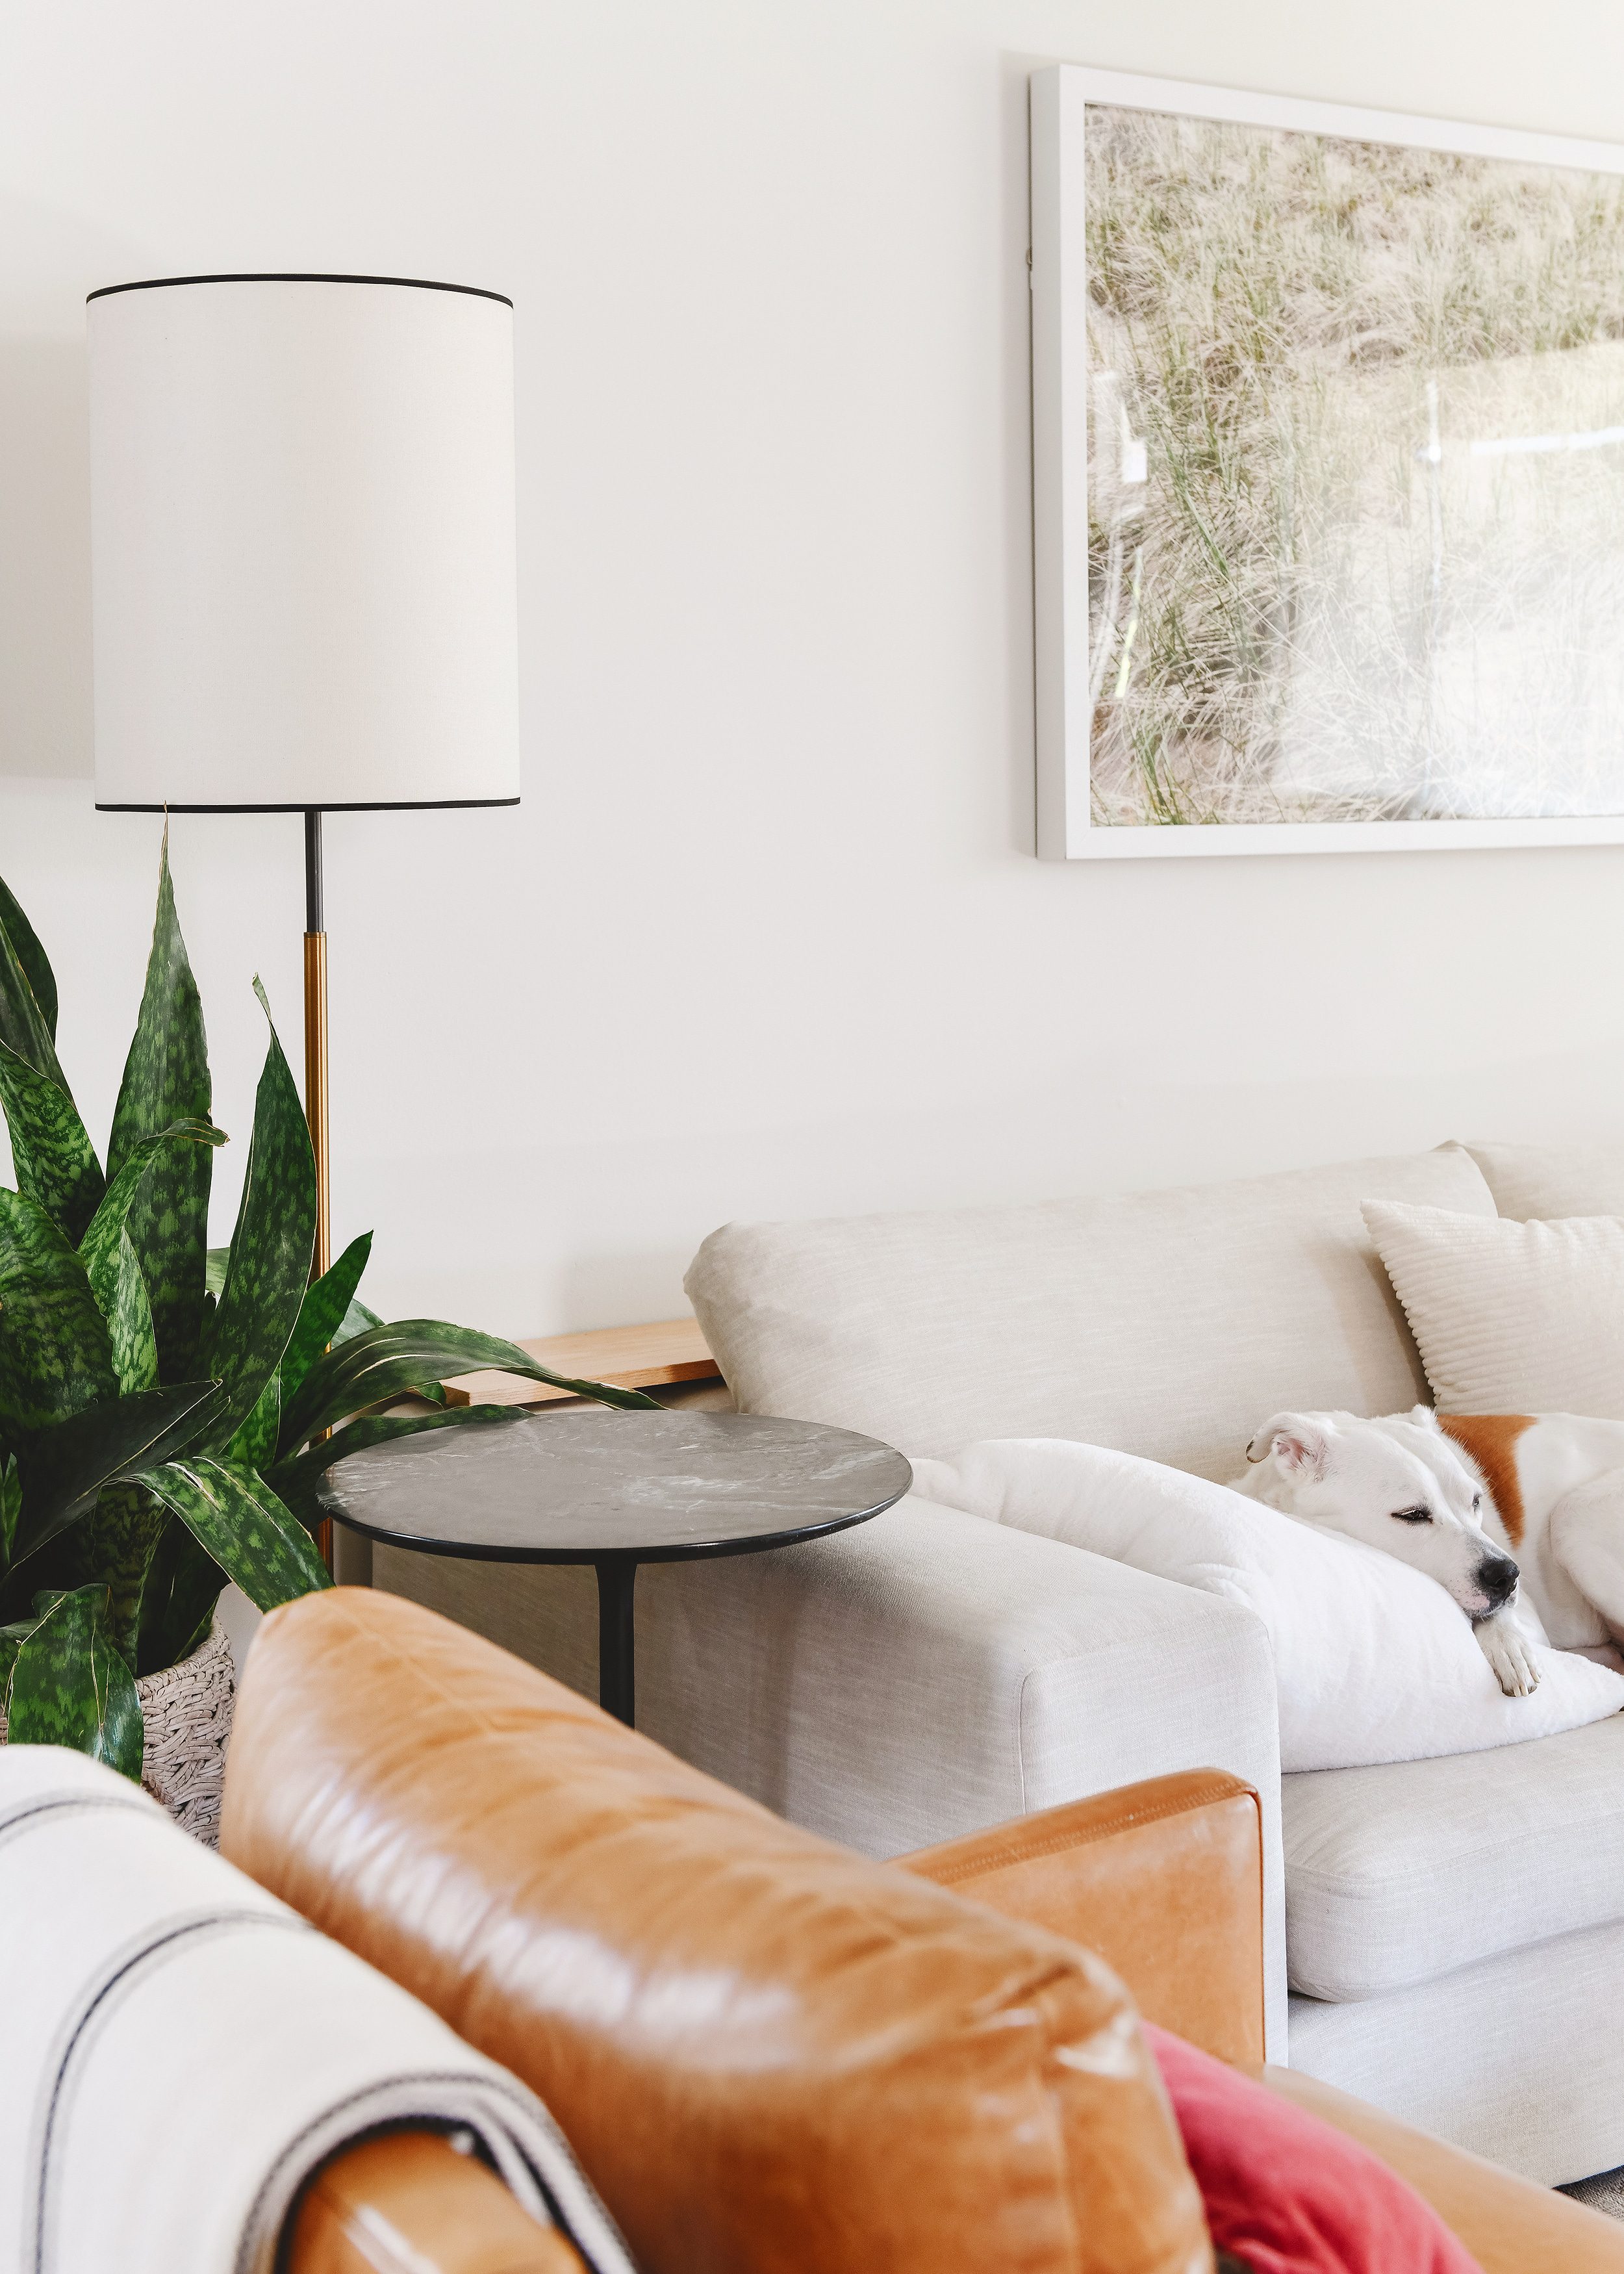
A coffee table is the obvious choice for a great place to set a drink, snack or a remote while relaxing on a sofa. If space is limited, though, a coffee table isn’t always the most practical answer! While we absolutely love the turning table in our Chicago living room, our big deep sectional sofa can make it tough to reach from certain seating positions.
In This Post
Tools + Supplies Used
- Oak board (ours is 1″ x 10″ x 11′) tip: if the board you choose is priced by the foot, have it cut at the store so you only pay for what you need!
- Shelf brackets (we used 5)
- 2″ screws to mount into studs (use anchors if studs can’t be located)
- 3/4″ screws
- 48″ level
- Drill driver
- Tape measure
- Sander and/or sanding block
- Polycrylic and brush
- Studfinder
Inspiration
If you’ve been around for a while, you may remember the slim console that we built behind the leather sofa in our Michigan Tree House. In that space, the flow of traffic through the open kitchen/living/dining room prohibits the placement of a coffee table, so the console was built out of necessity. Here in Chicago, we only needed some surplus space to rest a beverage..

Not long after we put this sectional in place, we realized that the thick framed back would be a perfect place to replicate the slim console idea, albeit without the additional storage shelves on the ends. So, yeah… pretty much just a well-placed and appropriately sized shelf! After measuring for length and depth, I was on the hunt for the perfect piece of wood. Three big box stores later, I located this big beautiful 1″ x 10″ x 11′ Oak board. Finding wood this wide and this long was a challenge, but it was worth the effort to prevent the need for a seam.

Sanding + Preparation
After a quick dry fit to ensure we were happy with the scale of the board, we got to sanding. Then more sanding. And then even more sanding.
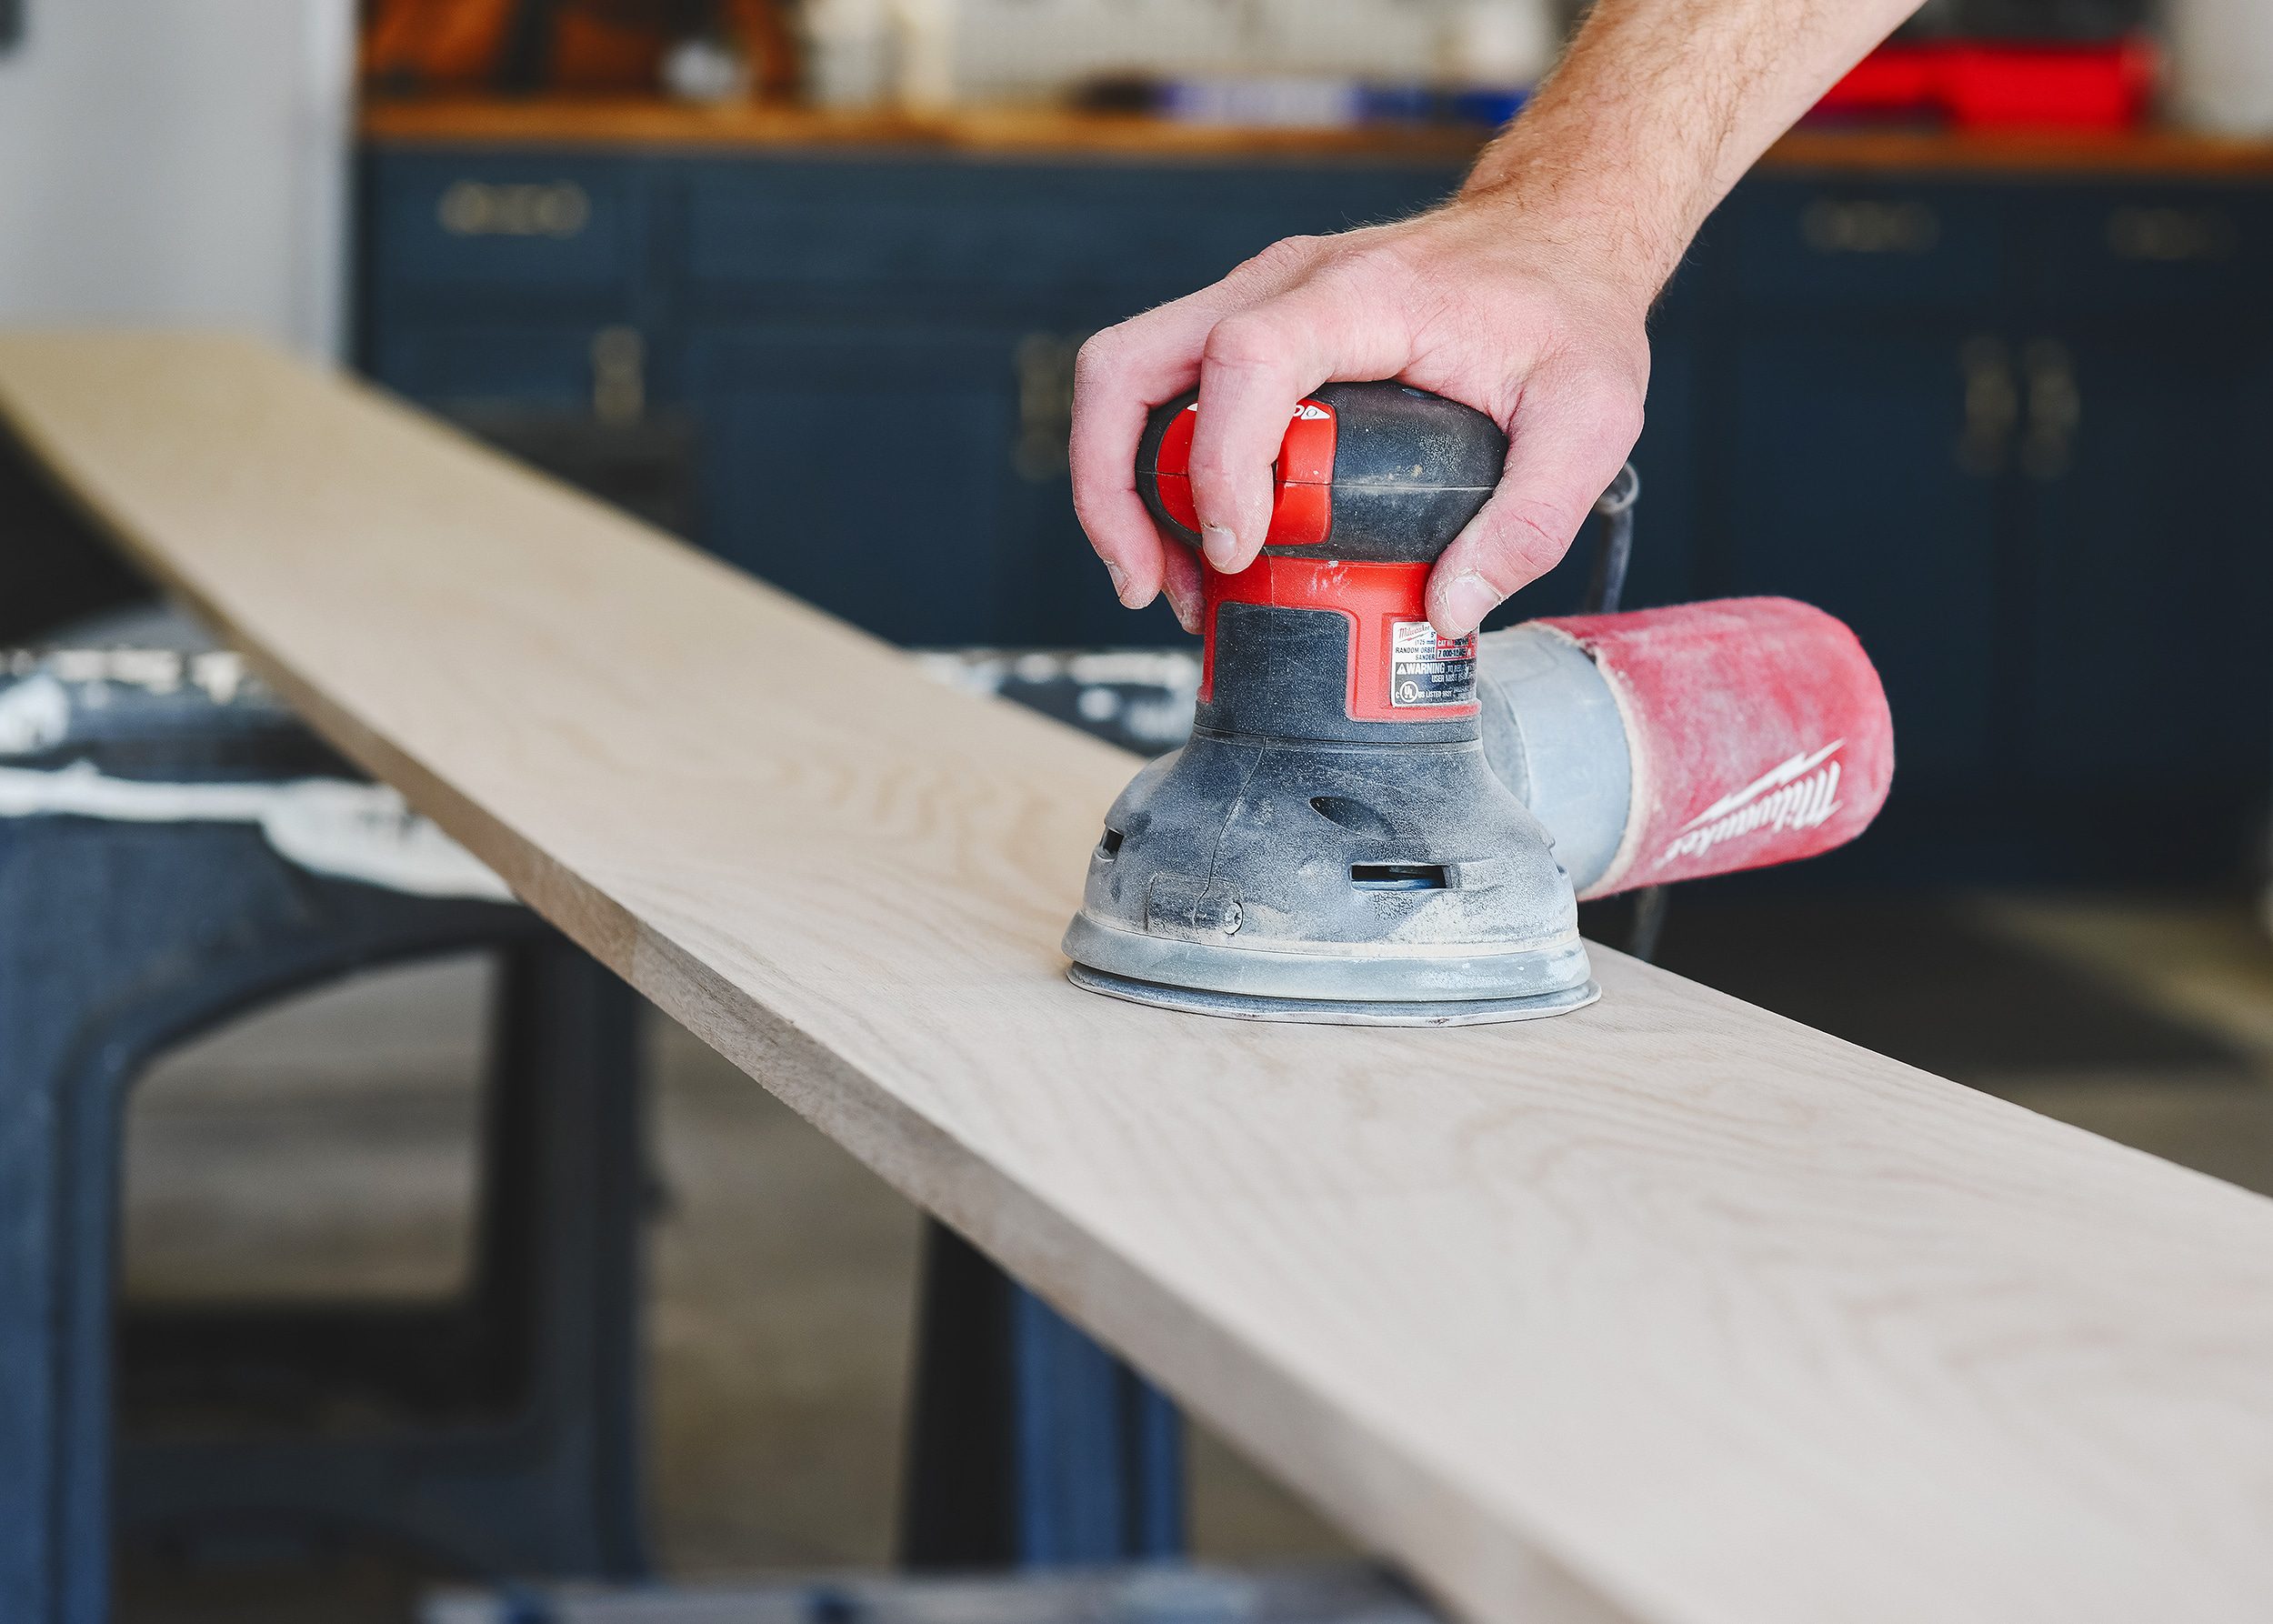
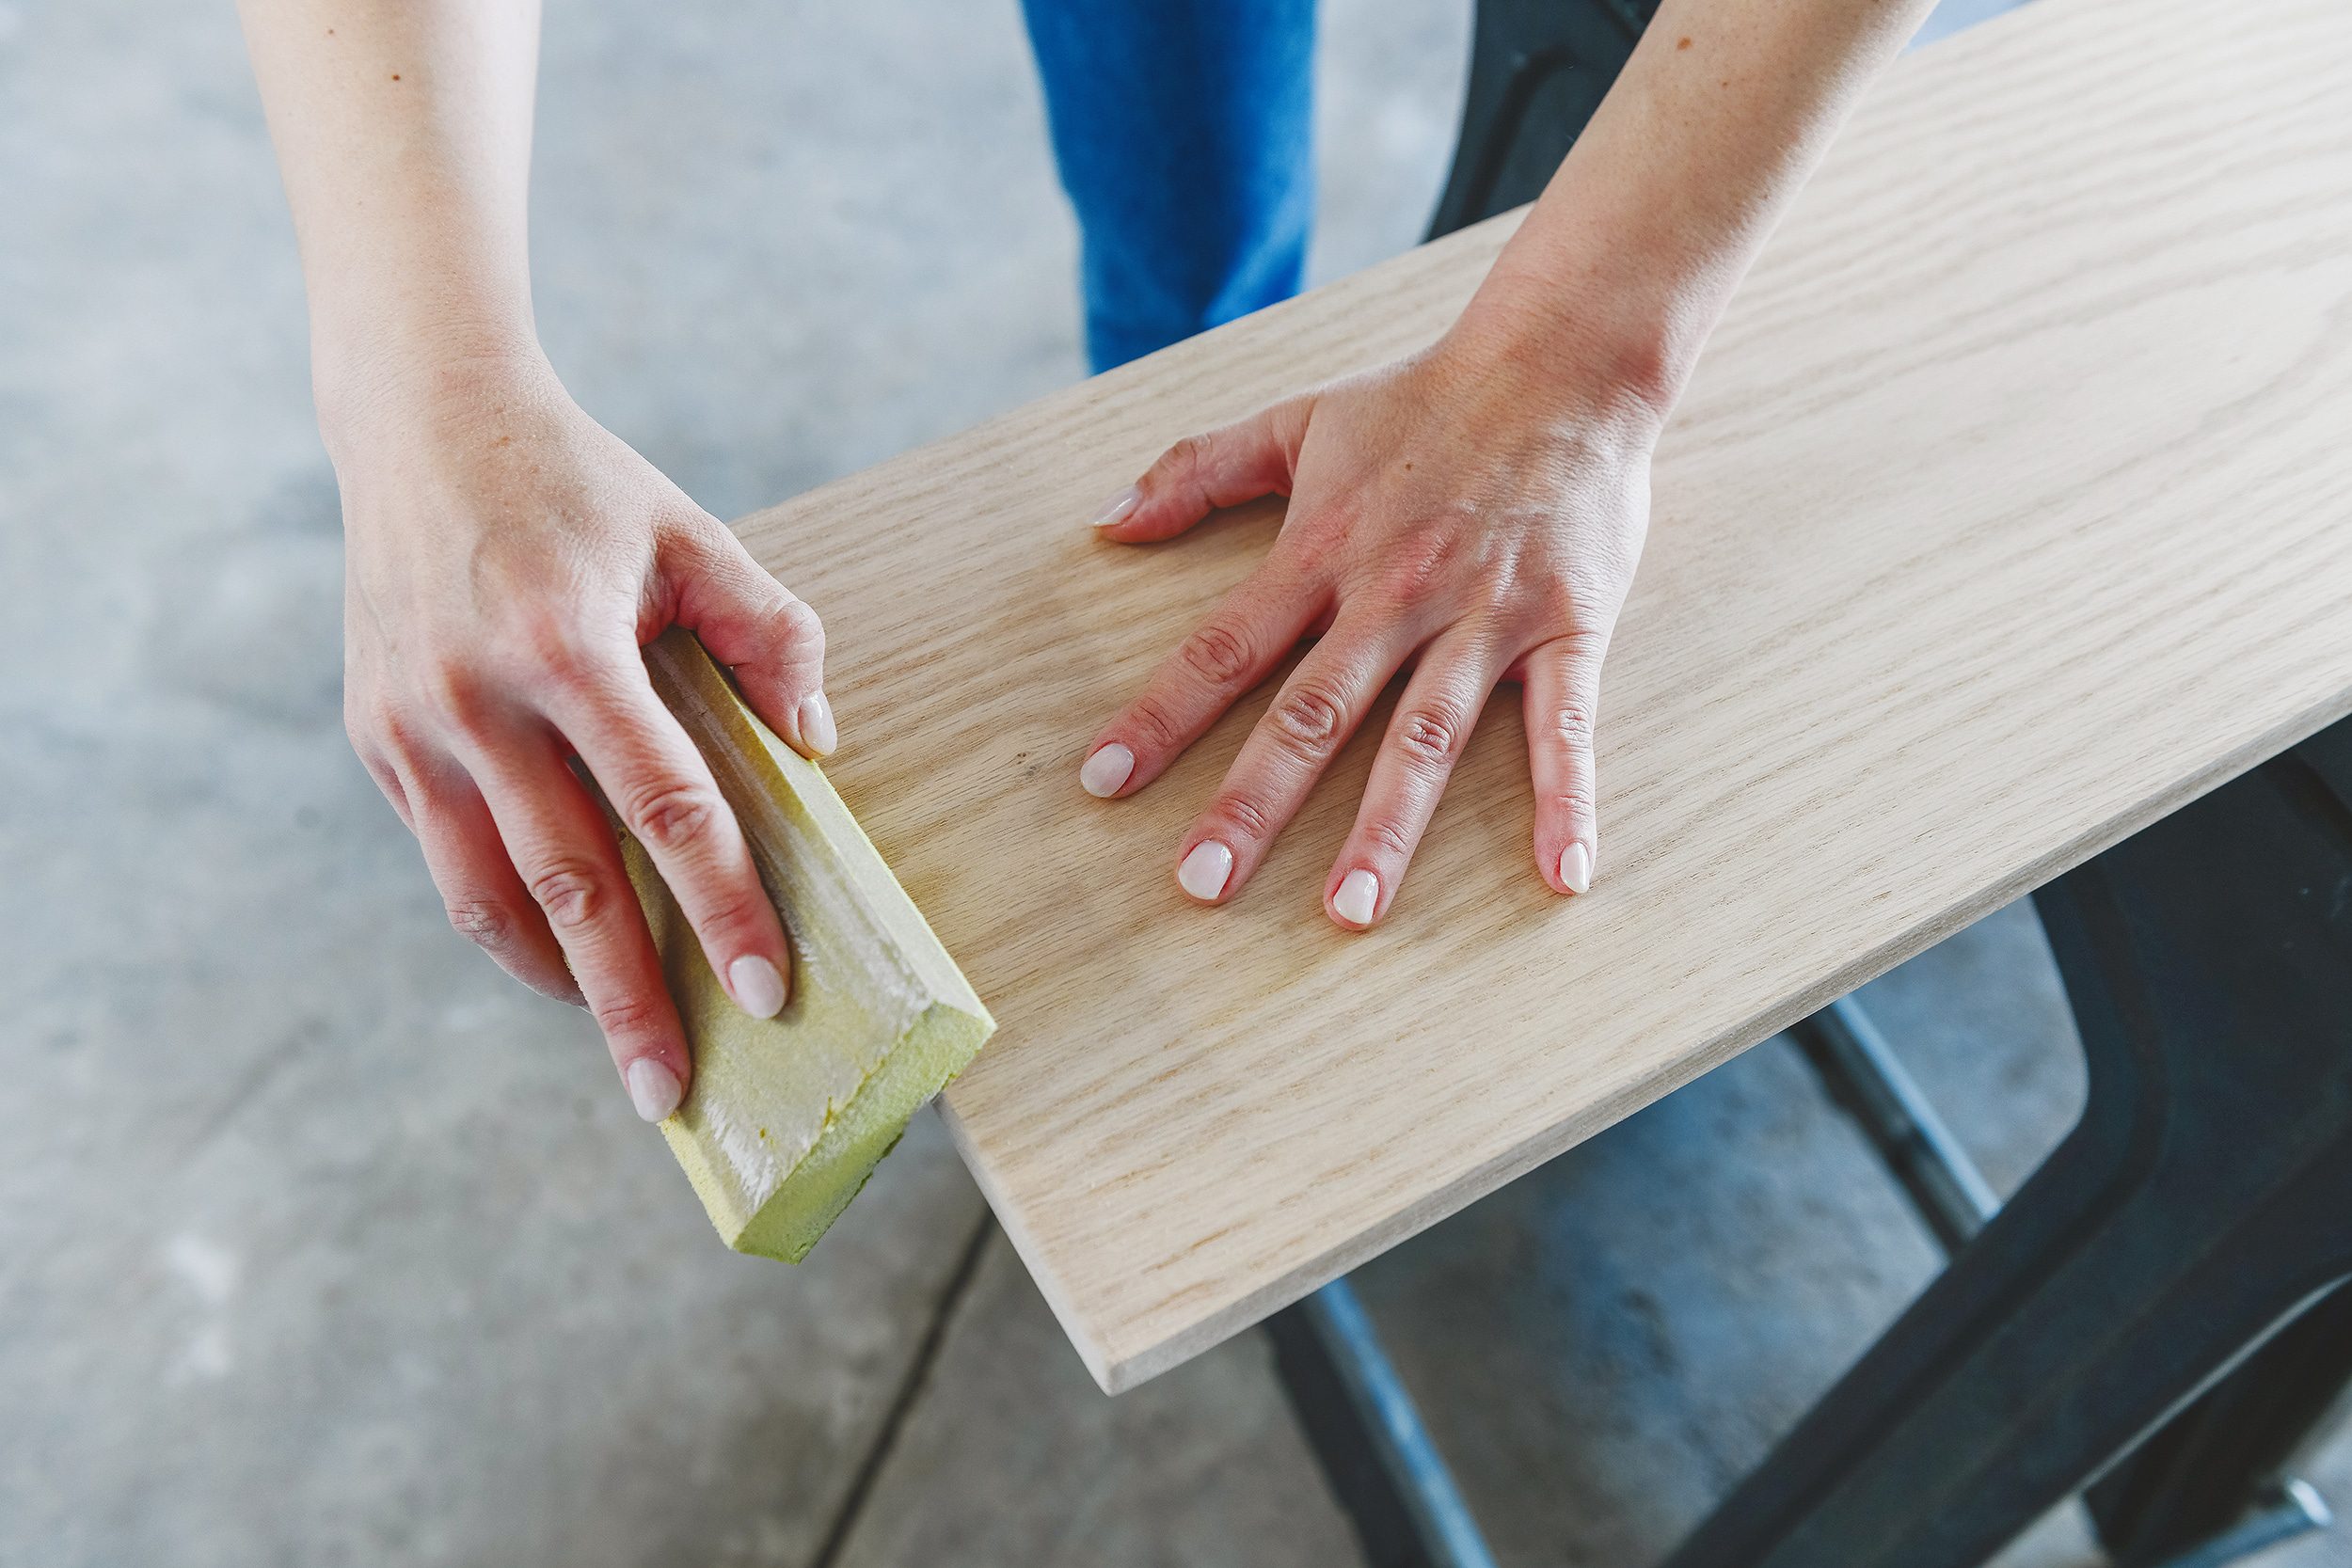
For a large sanding project such as this, the random orbital sander is our favorite tool. It makes quick, efficient work of large sanding projects and sanding discs of pretty much any grit are fairly inexpensive. We always recommend buying a big bulk package with varying grits so the right disc is always on hand. The corners and ends were then eased with a high-grit sanding block as to not round them off too significantly.
Planning for Access
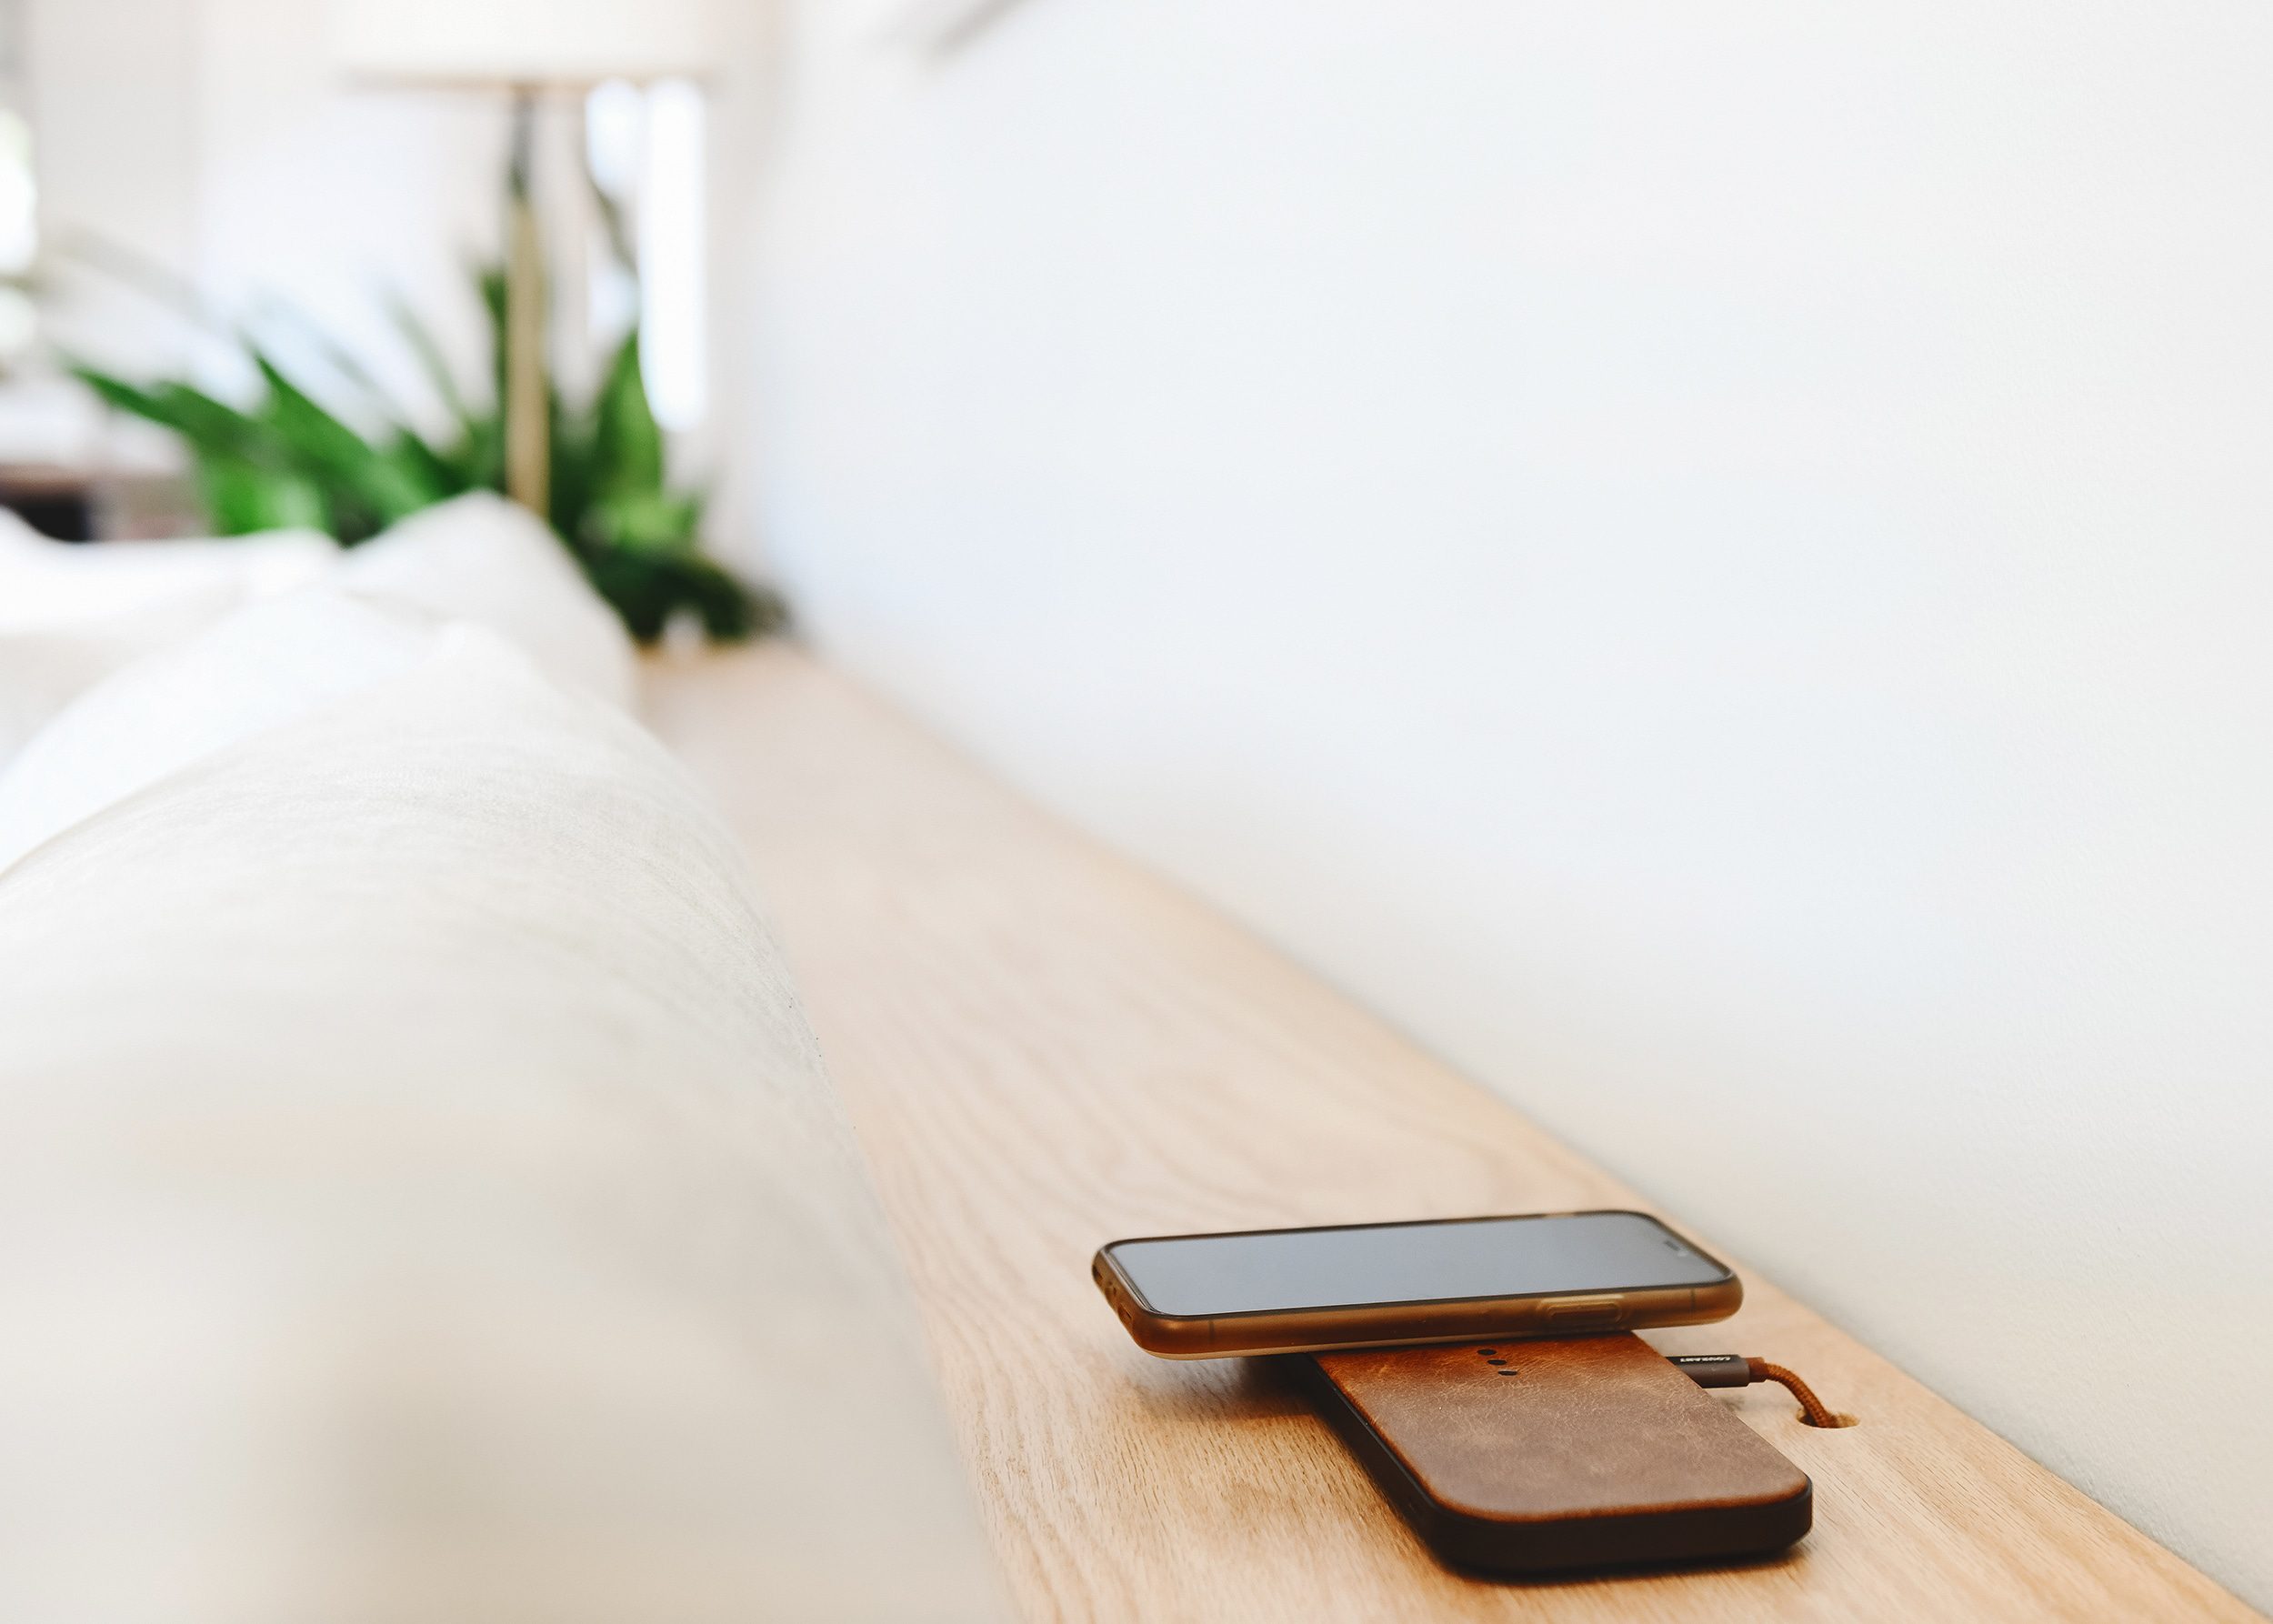
While the main function of this shelf is too have a place to rest a beverage between sips, it’s also the perfect spot for our wireless phone charger. In order to provide access for the charging pad’s cord, we drilled a 1/2″ hole toward the back of the shelf. When drilling a hole this large, we always start with a smaller pilot hole (in this case 1/8″) to minimize splintering and wood blow-outs. We gave the hole a quick sand around the edges and I was ready to move on to installing the brackets while Kim got to work applying our favorite Polycrylic finish.

Polycrylic Protection
Our love for Minwax Polycrylic should come as no surprise to anyone! We use this finish on almost every woodworking project that we take on. We love the matte and satin finishes that don’t seem to yellow over time the same way oil-based finishes are prone to. The application process is also incredibly easy!
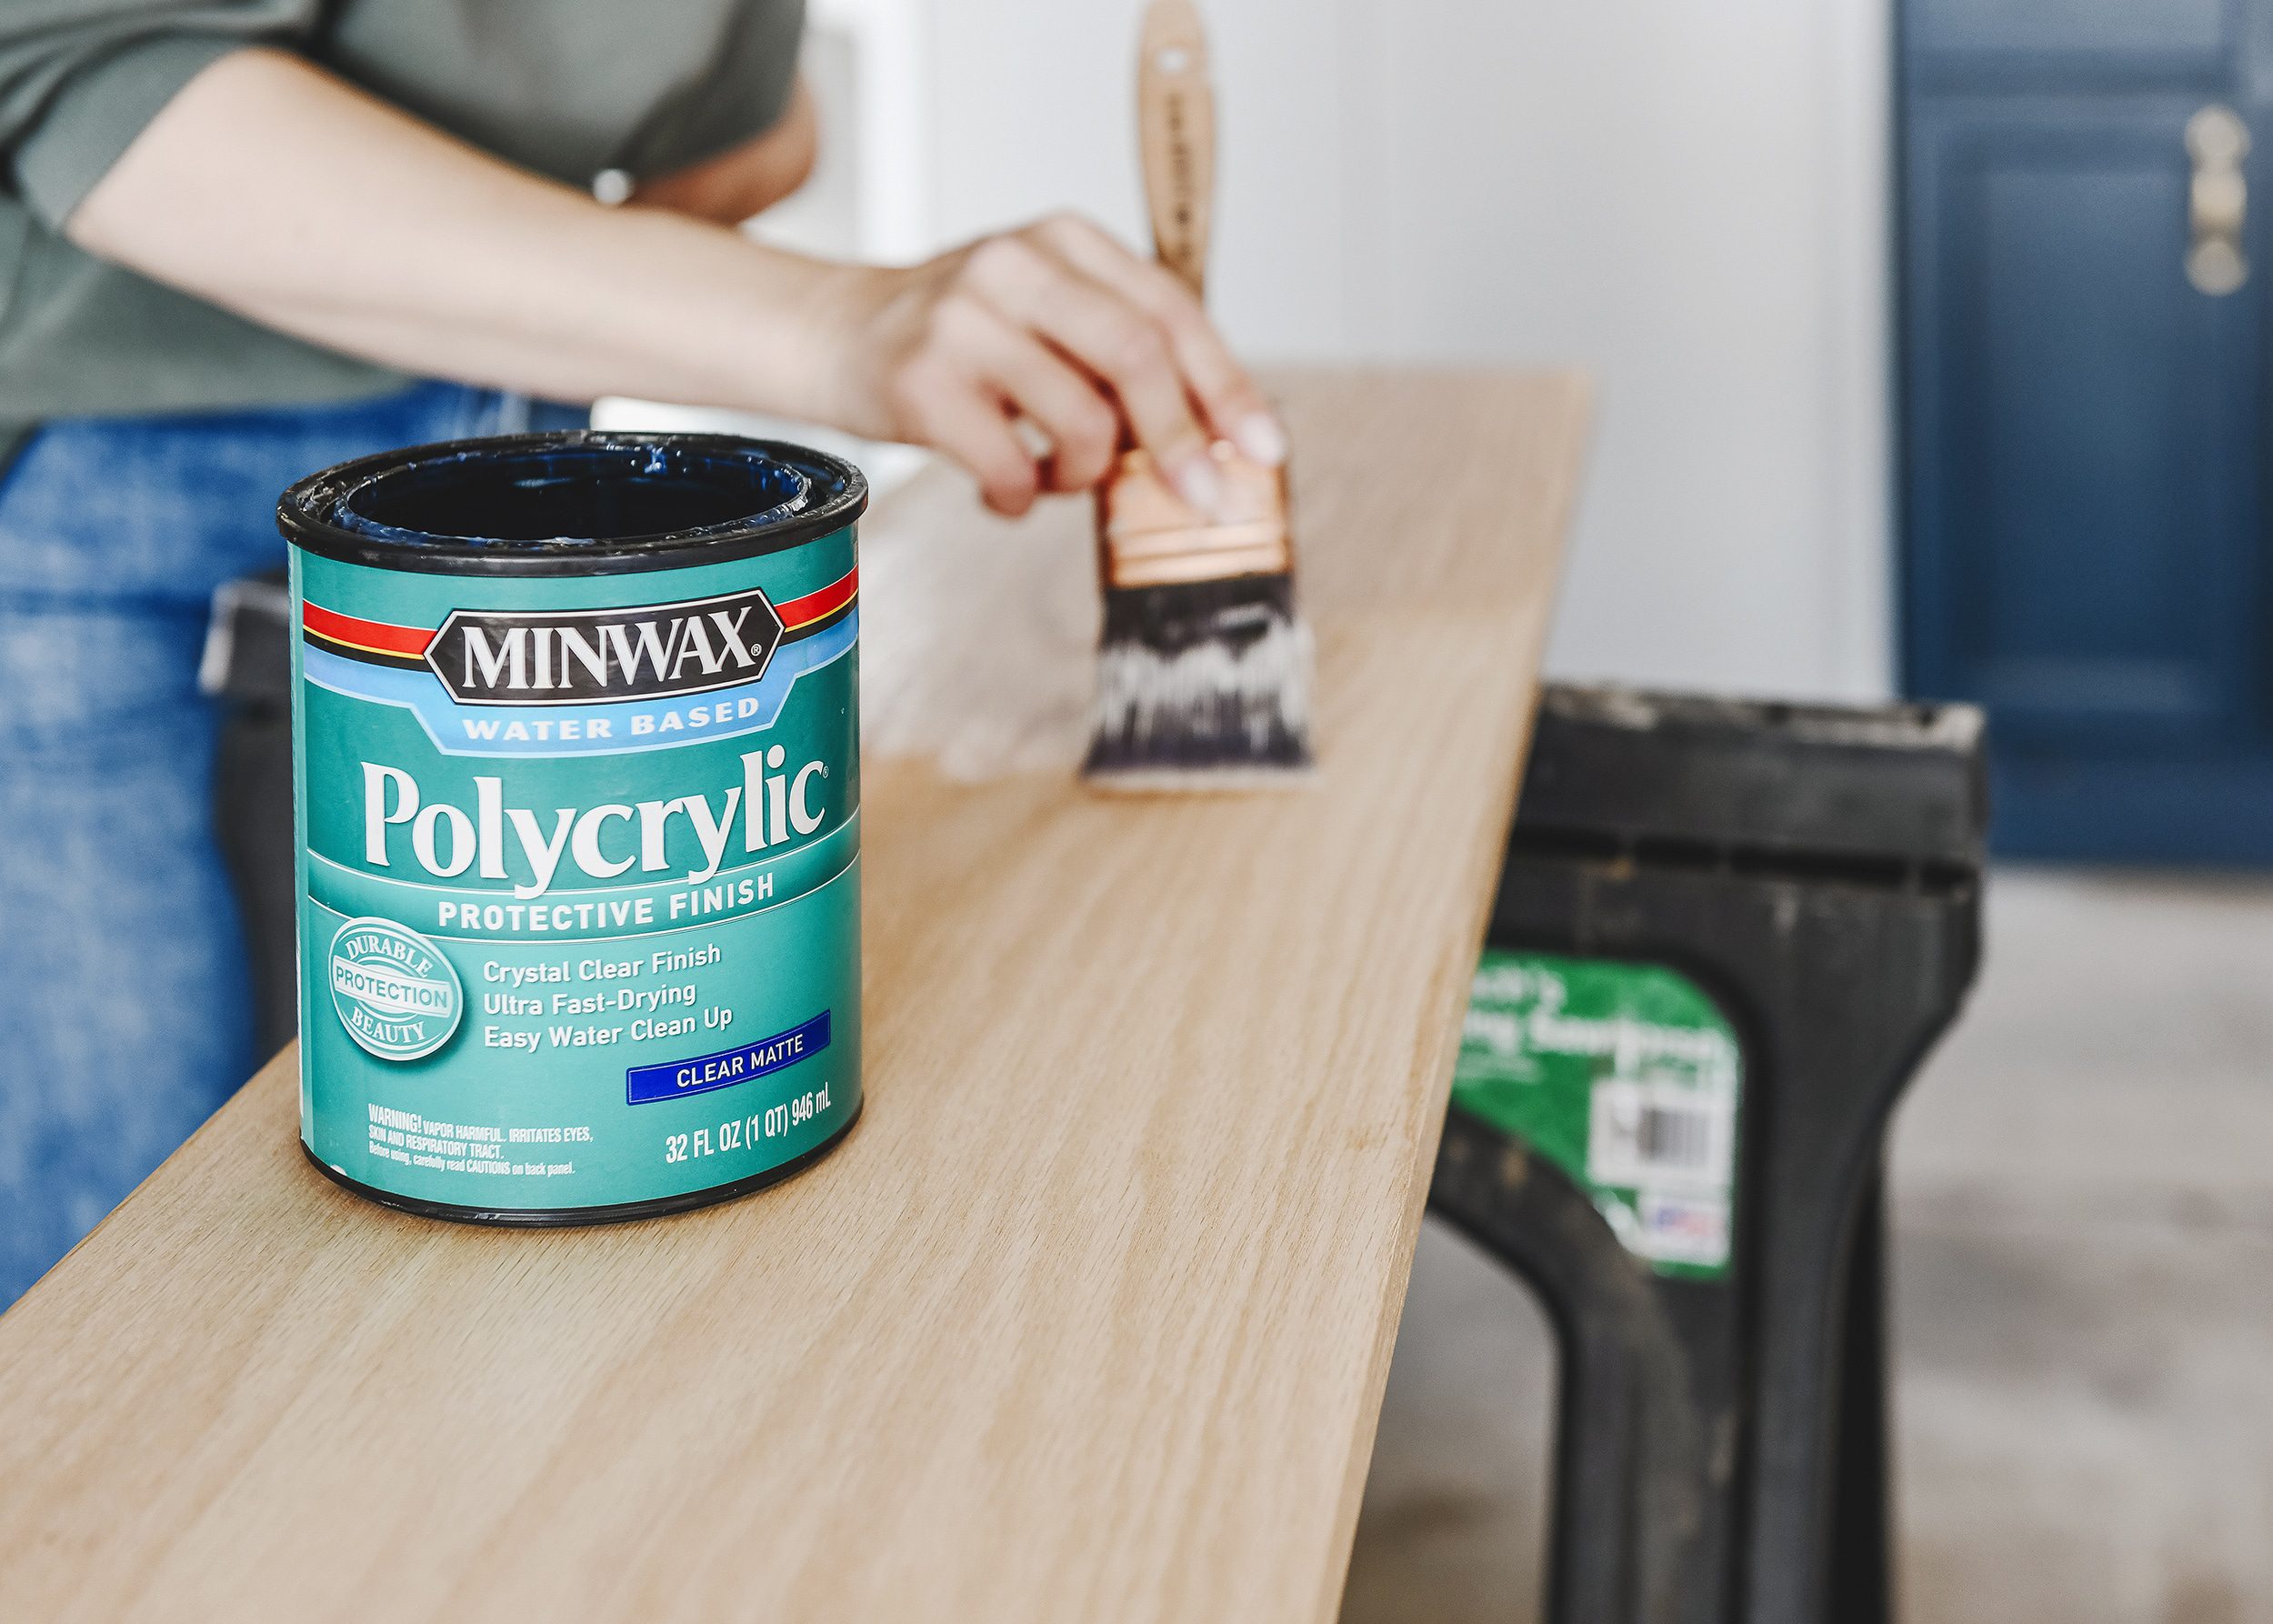
The water-based finish applies and cleans up easily and we simply hit each coat with a very high grit sanding block and wipe down with a microfiber cloth between coats. In this case, we applied three coats on the top and sides and just one coat to the bottom, which will see very little contact with anything.
Bracket Installation
While Kim alternated between coats of polycrylic and gentle finish sanding, I used a stud finder to locate and mark each of the studs behind the sectional with 1.5″ wide masking tape. Since the shelf won’t bear any significant weight load, we installed the brackets into every-other stud. A 48″ level came in very handy here since we were spanning 32″ lengths between alternating studs. In addition to using the level between brackets, we also checked the height from the bottom hole to the floor each step of the way.
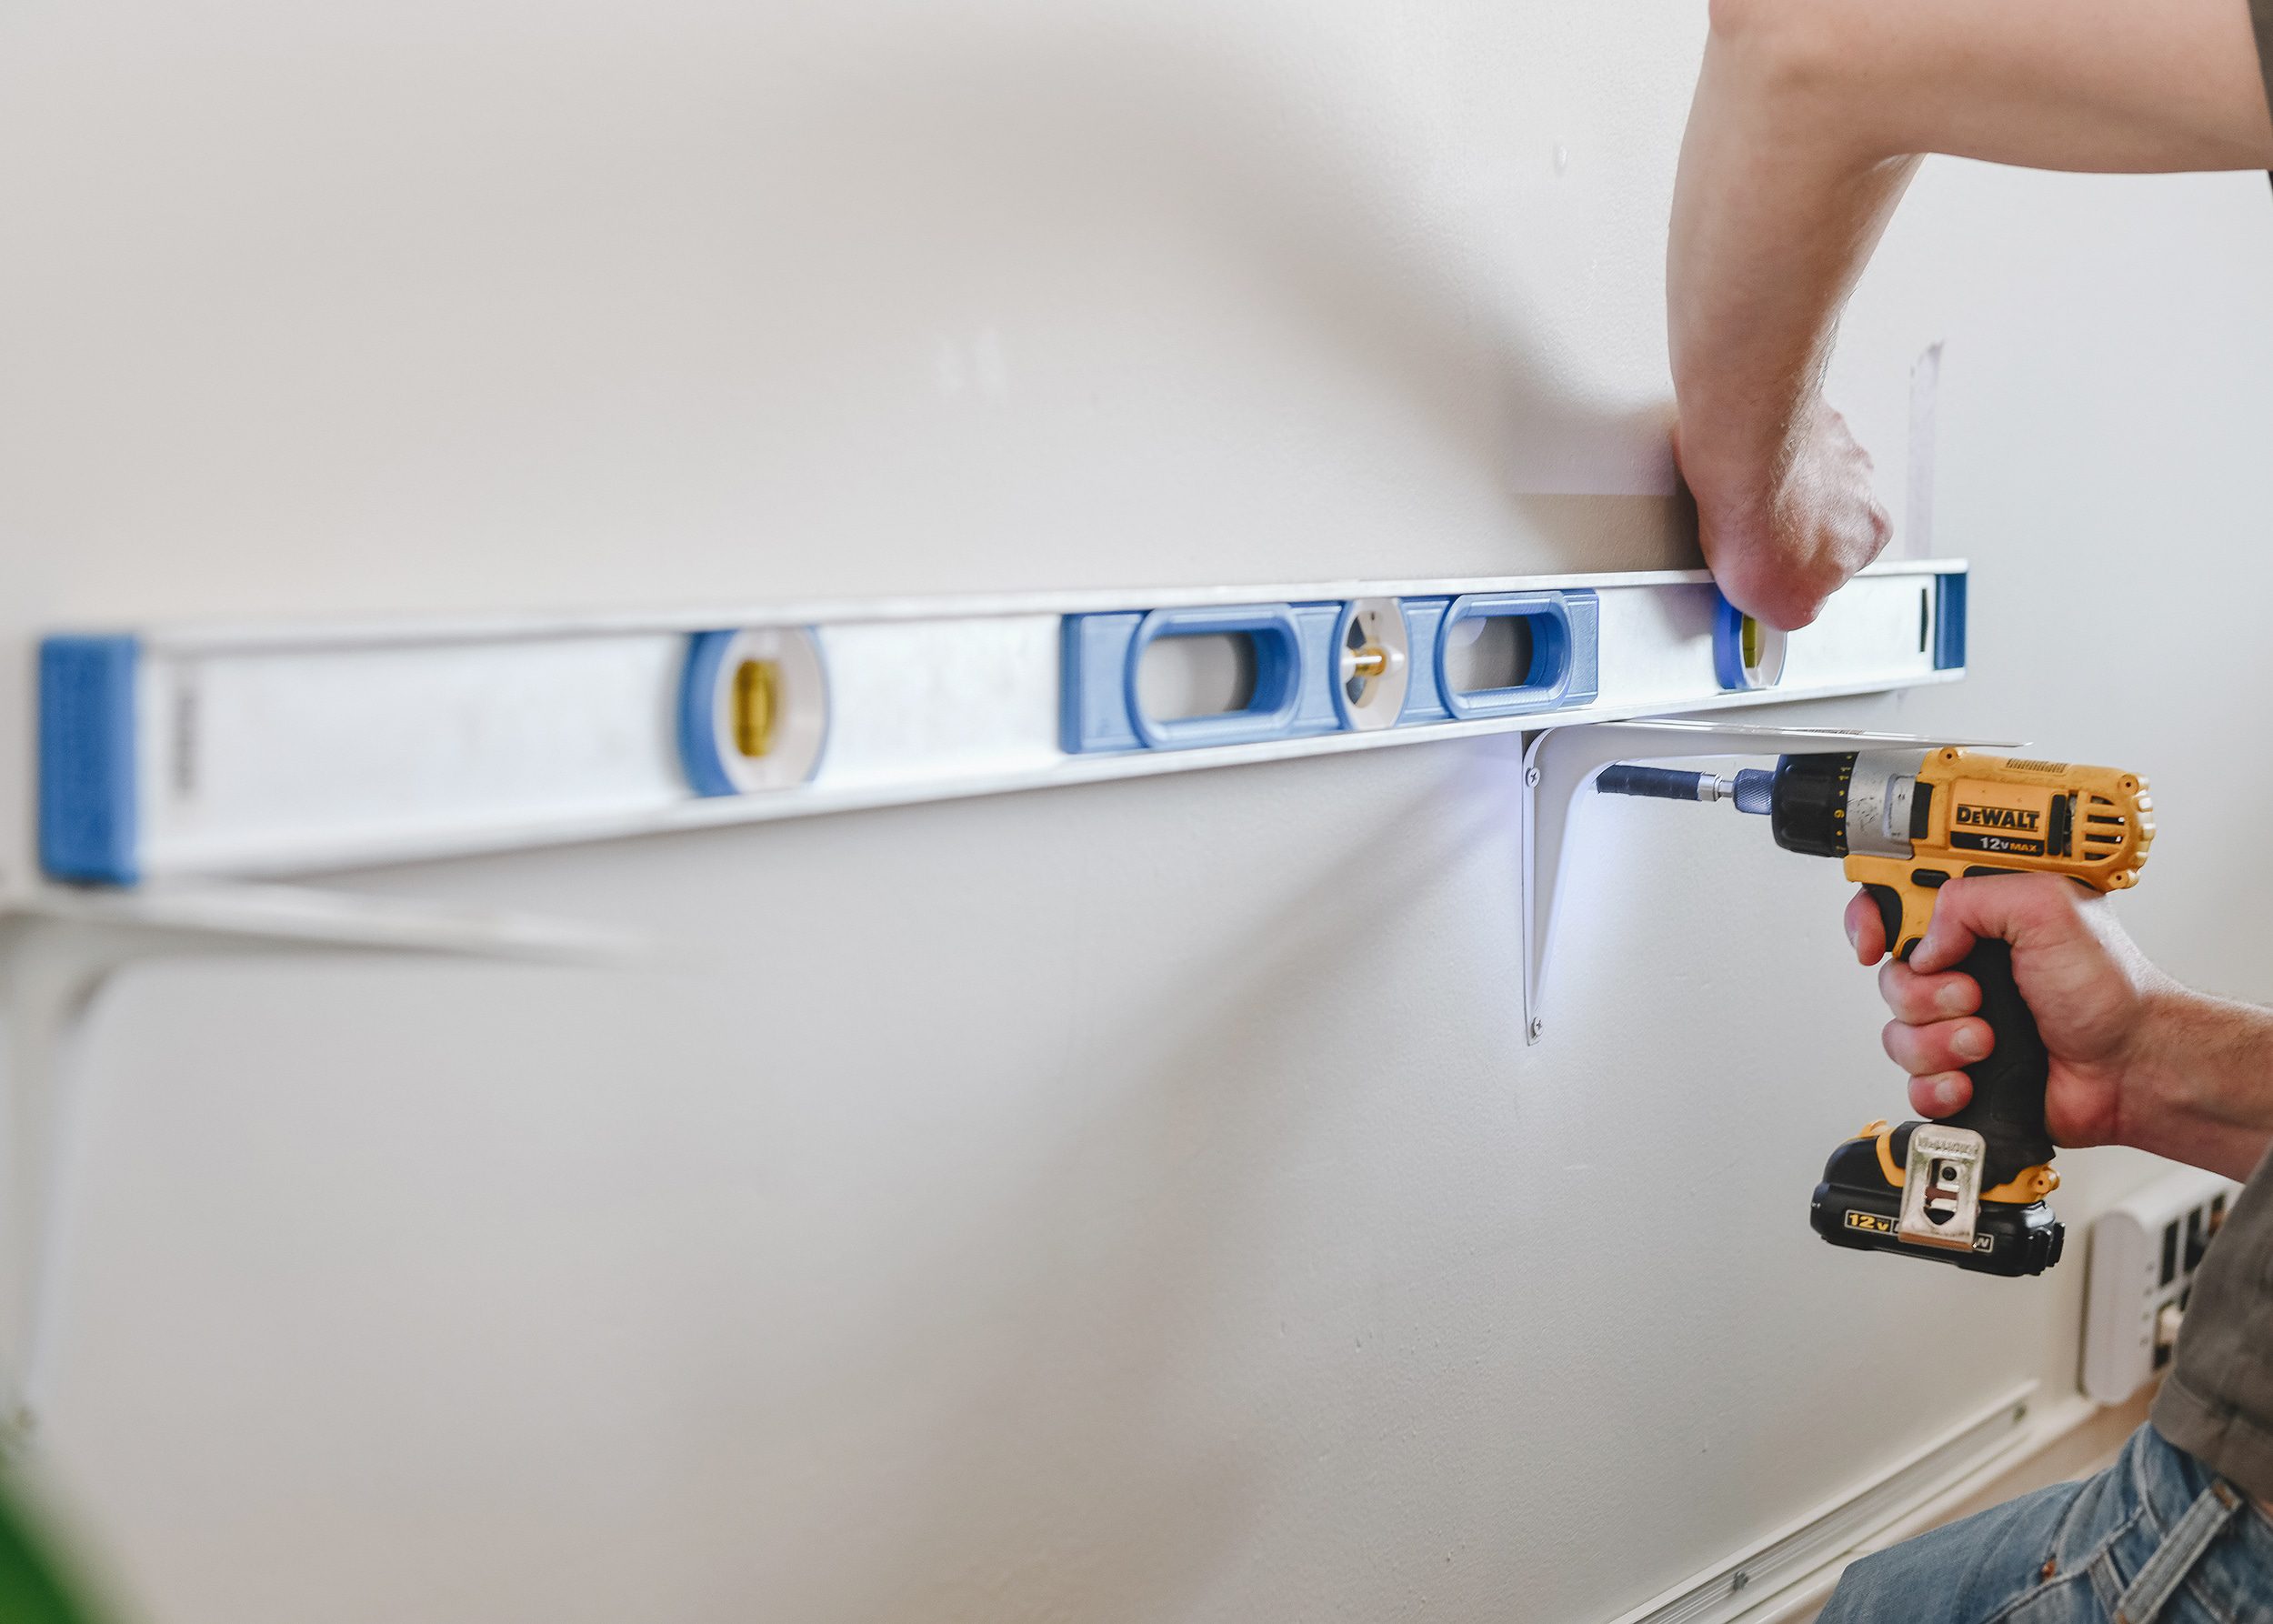
Final Installation
Once the brackets were installed and feeling solid, we set the board in place, made sure it was evenly spaced from side to side. We then fastened it to the brackets using 3/4″ screws wood screws.

Complete!
We’re excited to report that this simple project went off without a hitch! Once the wood was purchased, the shelf was installed a few short hours later. A big chunk of said time was spent waiting for coats of polycrylic to dry!
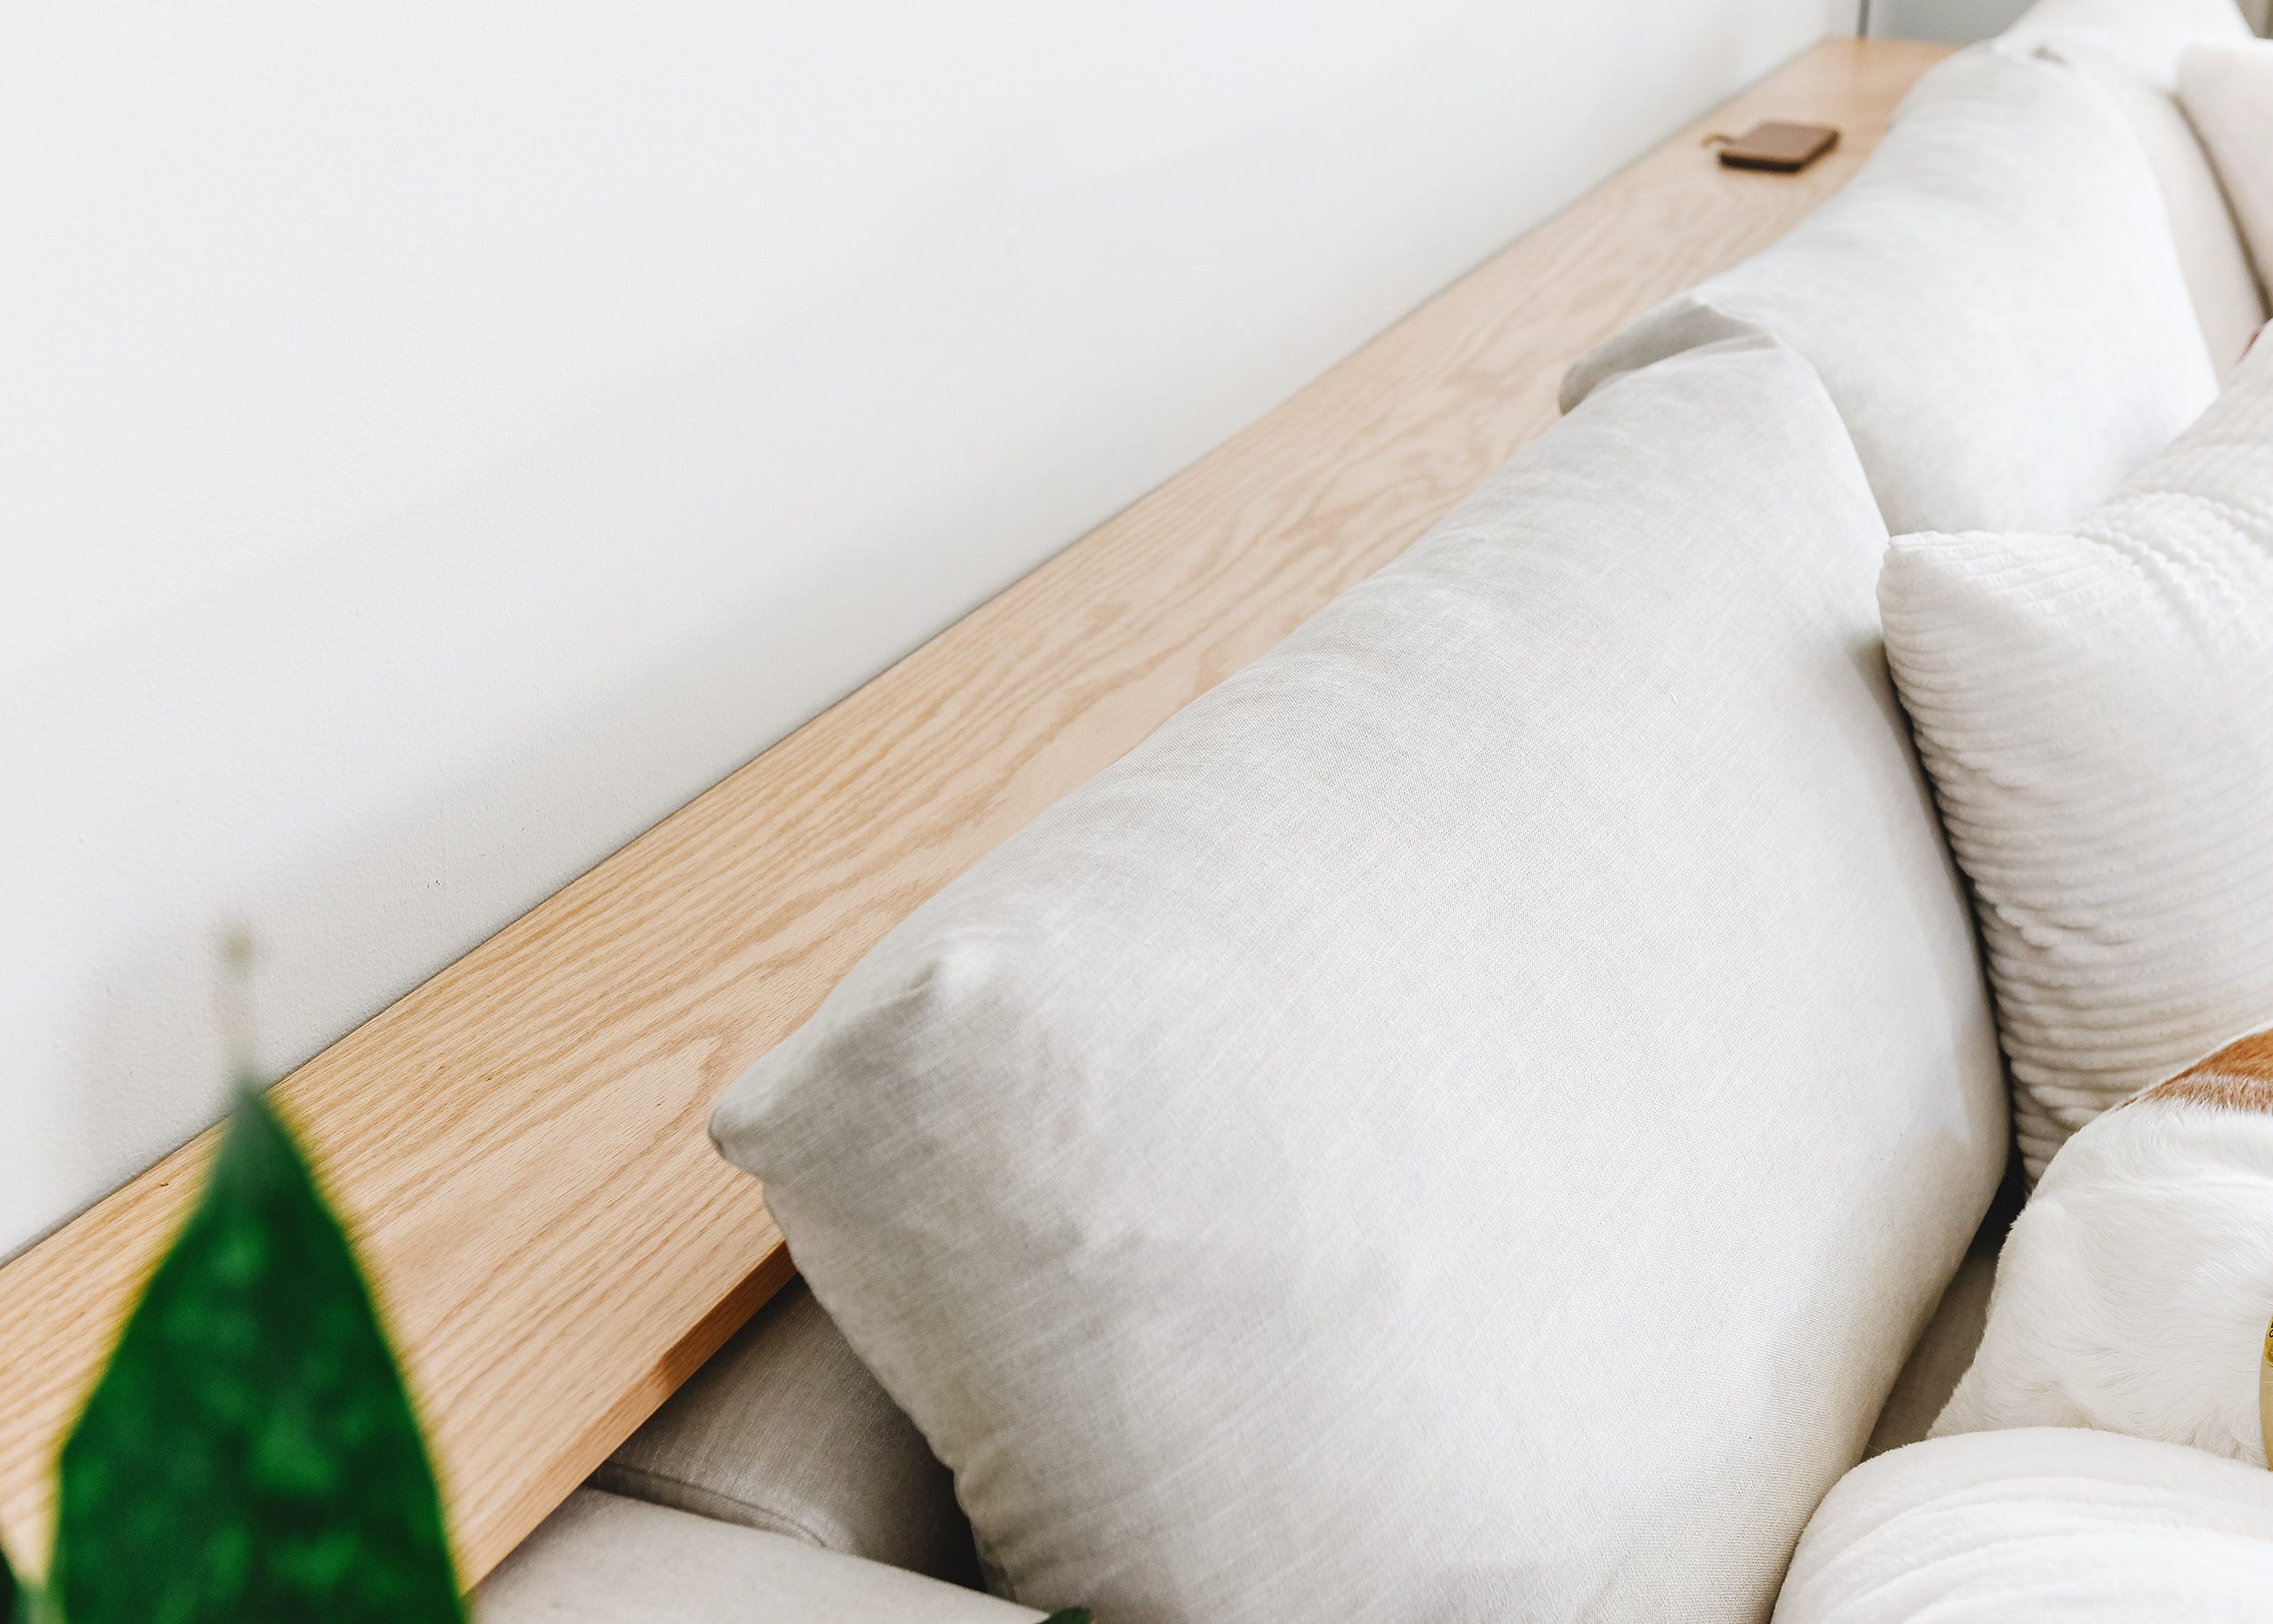
The hole we drilled for our wireless charging pad worked out perfectly and it’s really nice to have an accessible place to drop our phones while we catch up on the latest stabby Netflix murder documentaries.
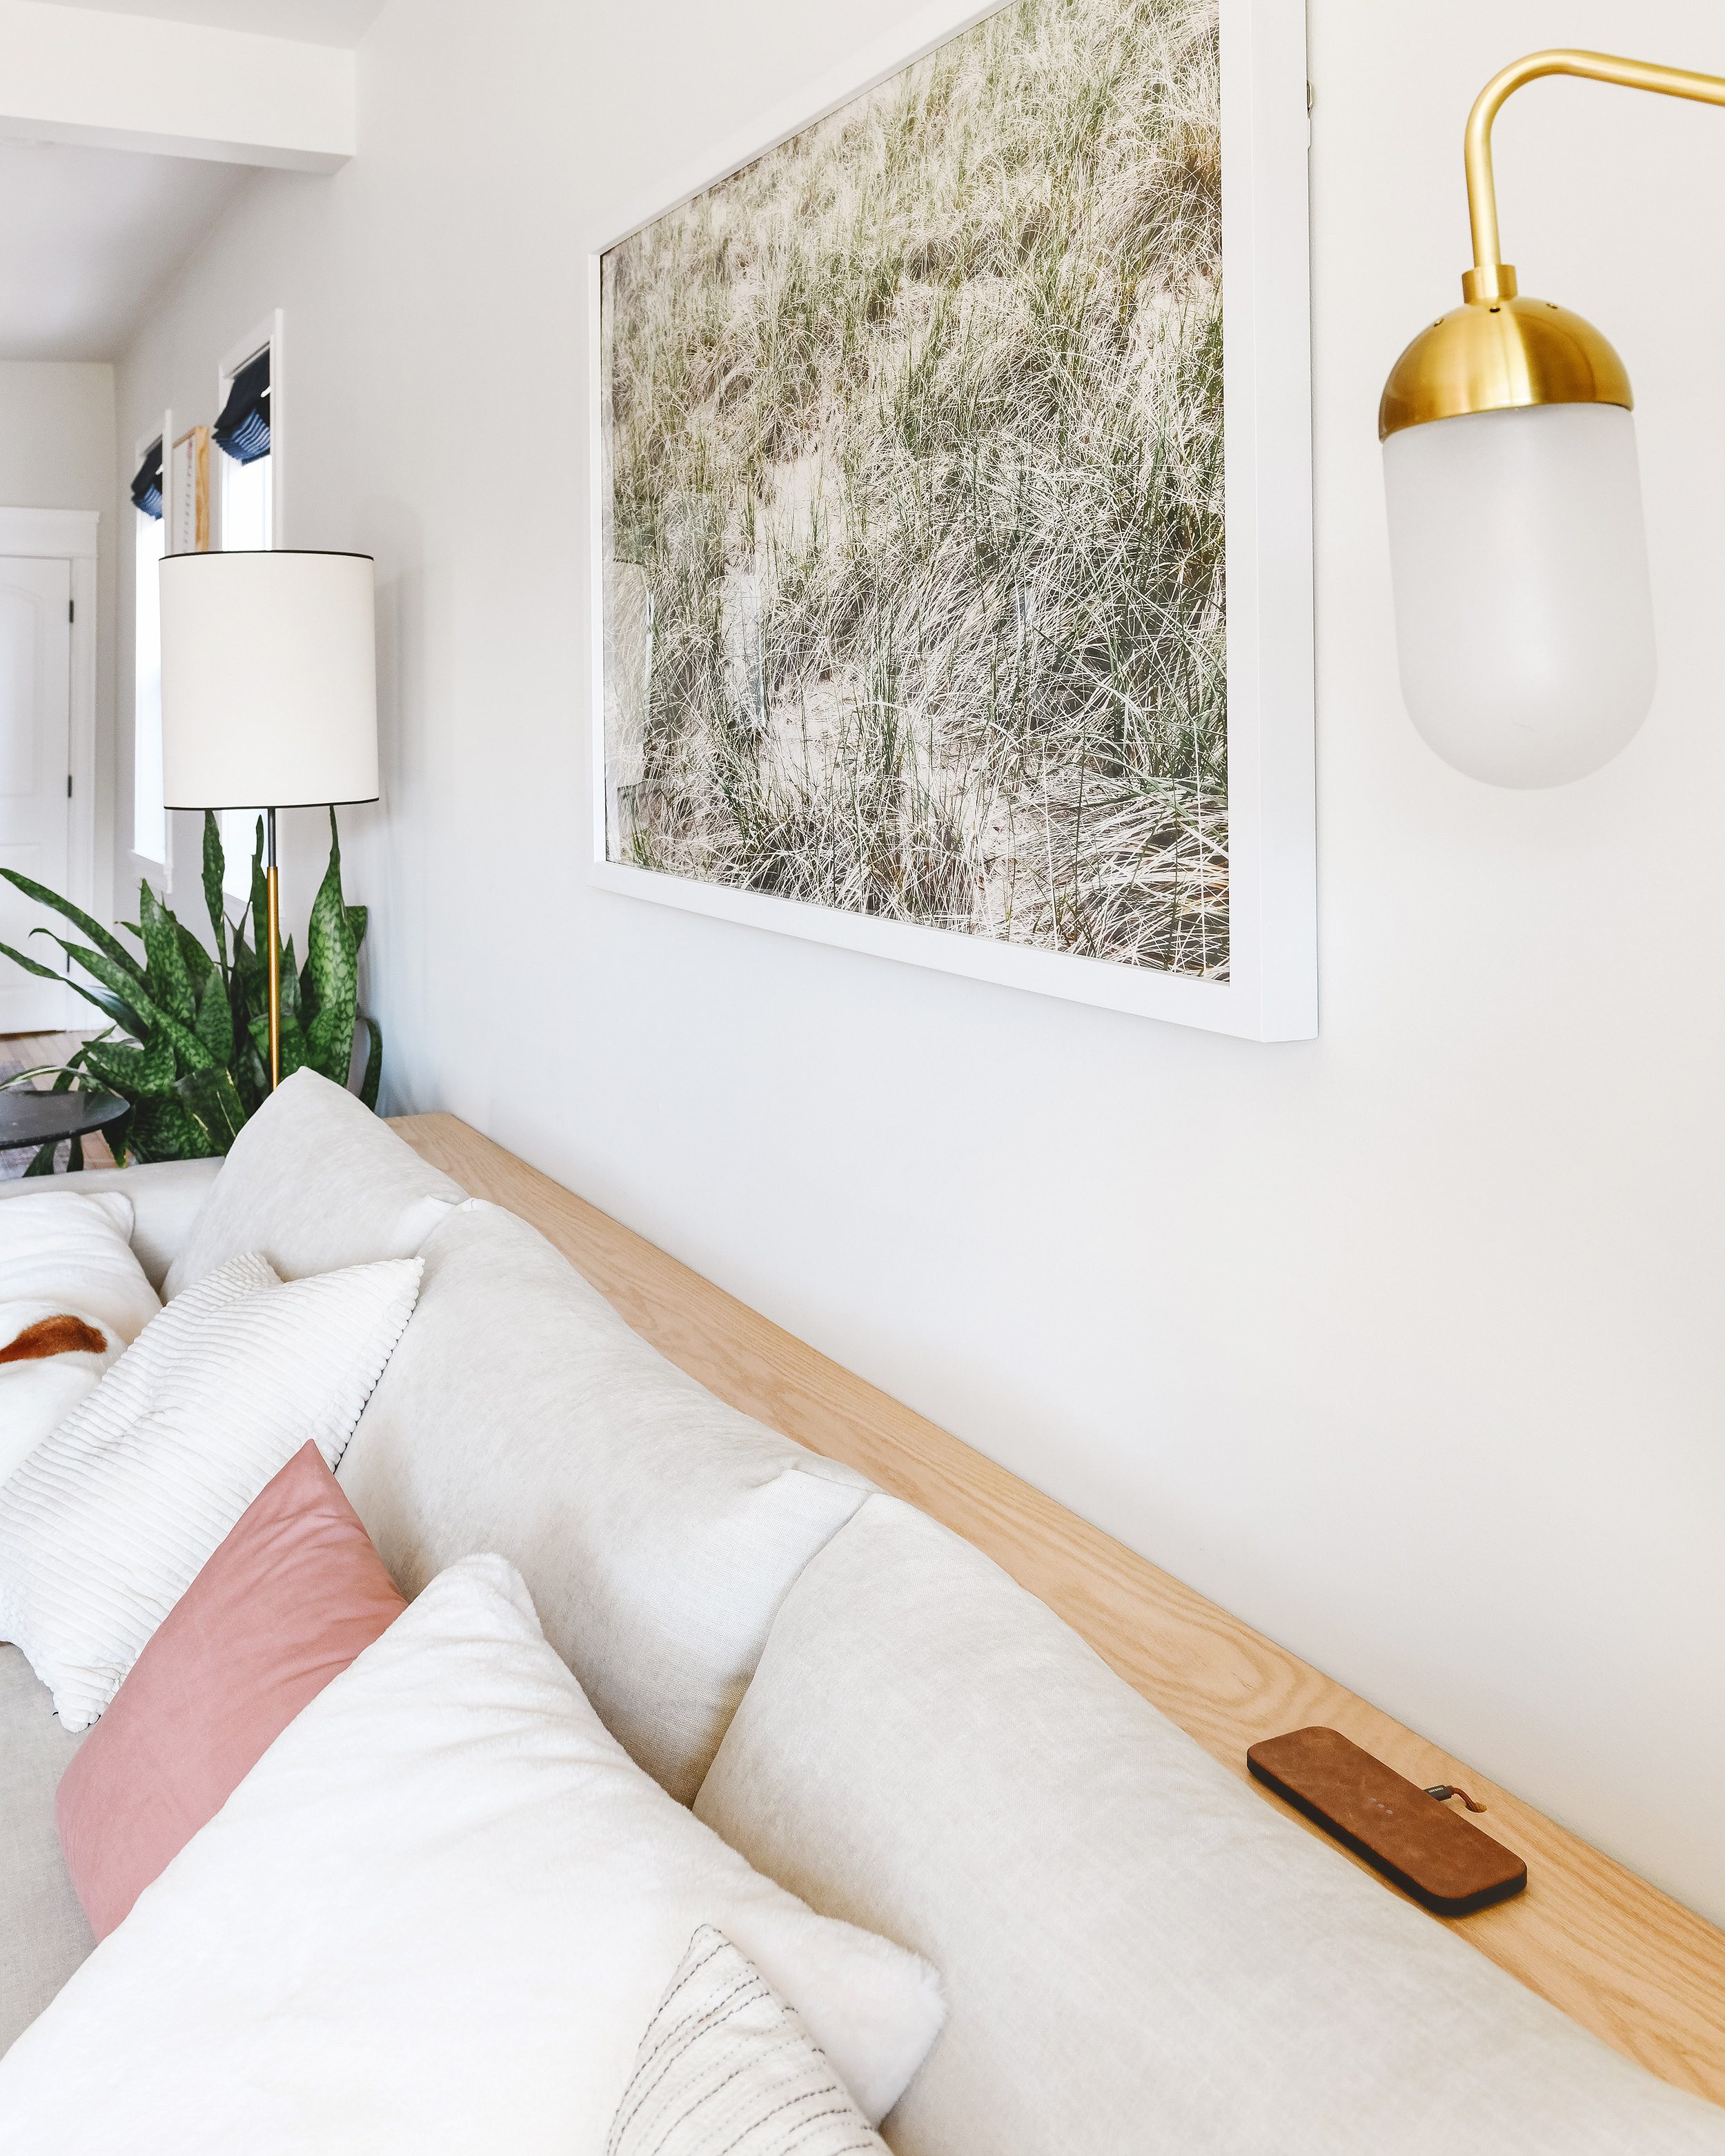
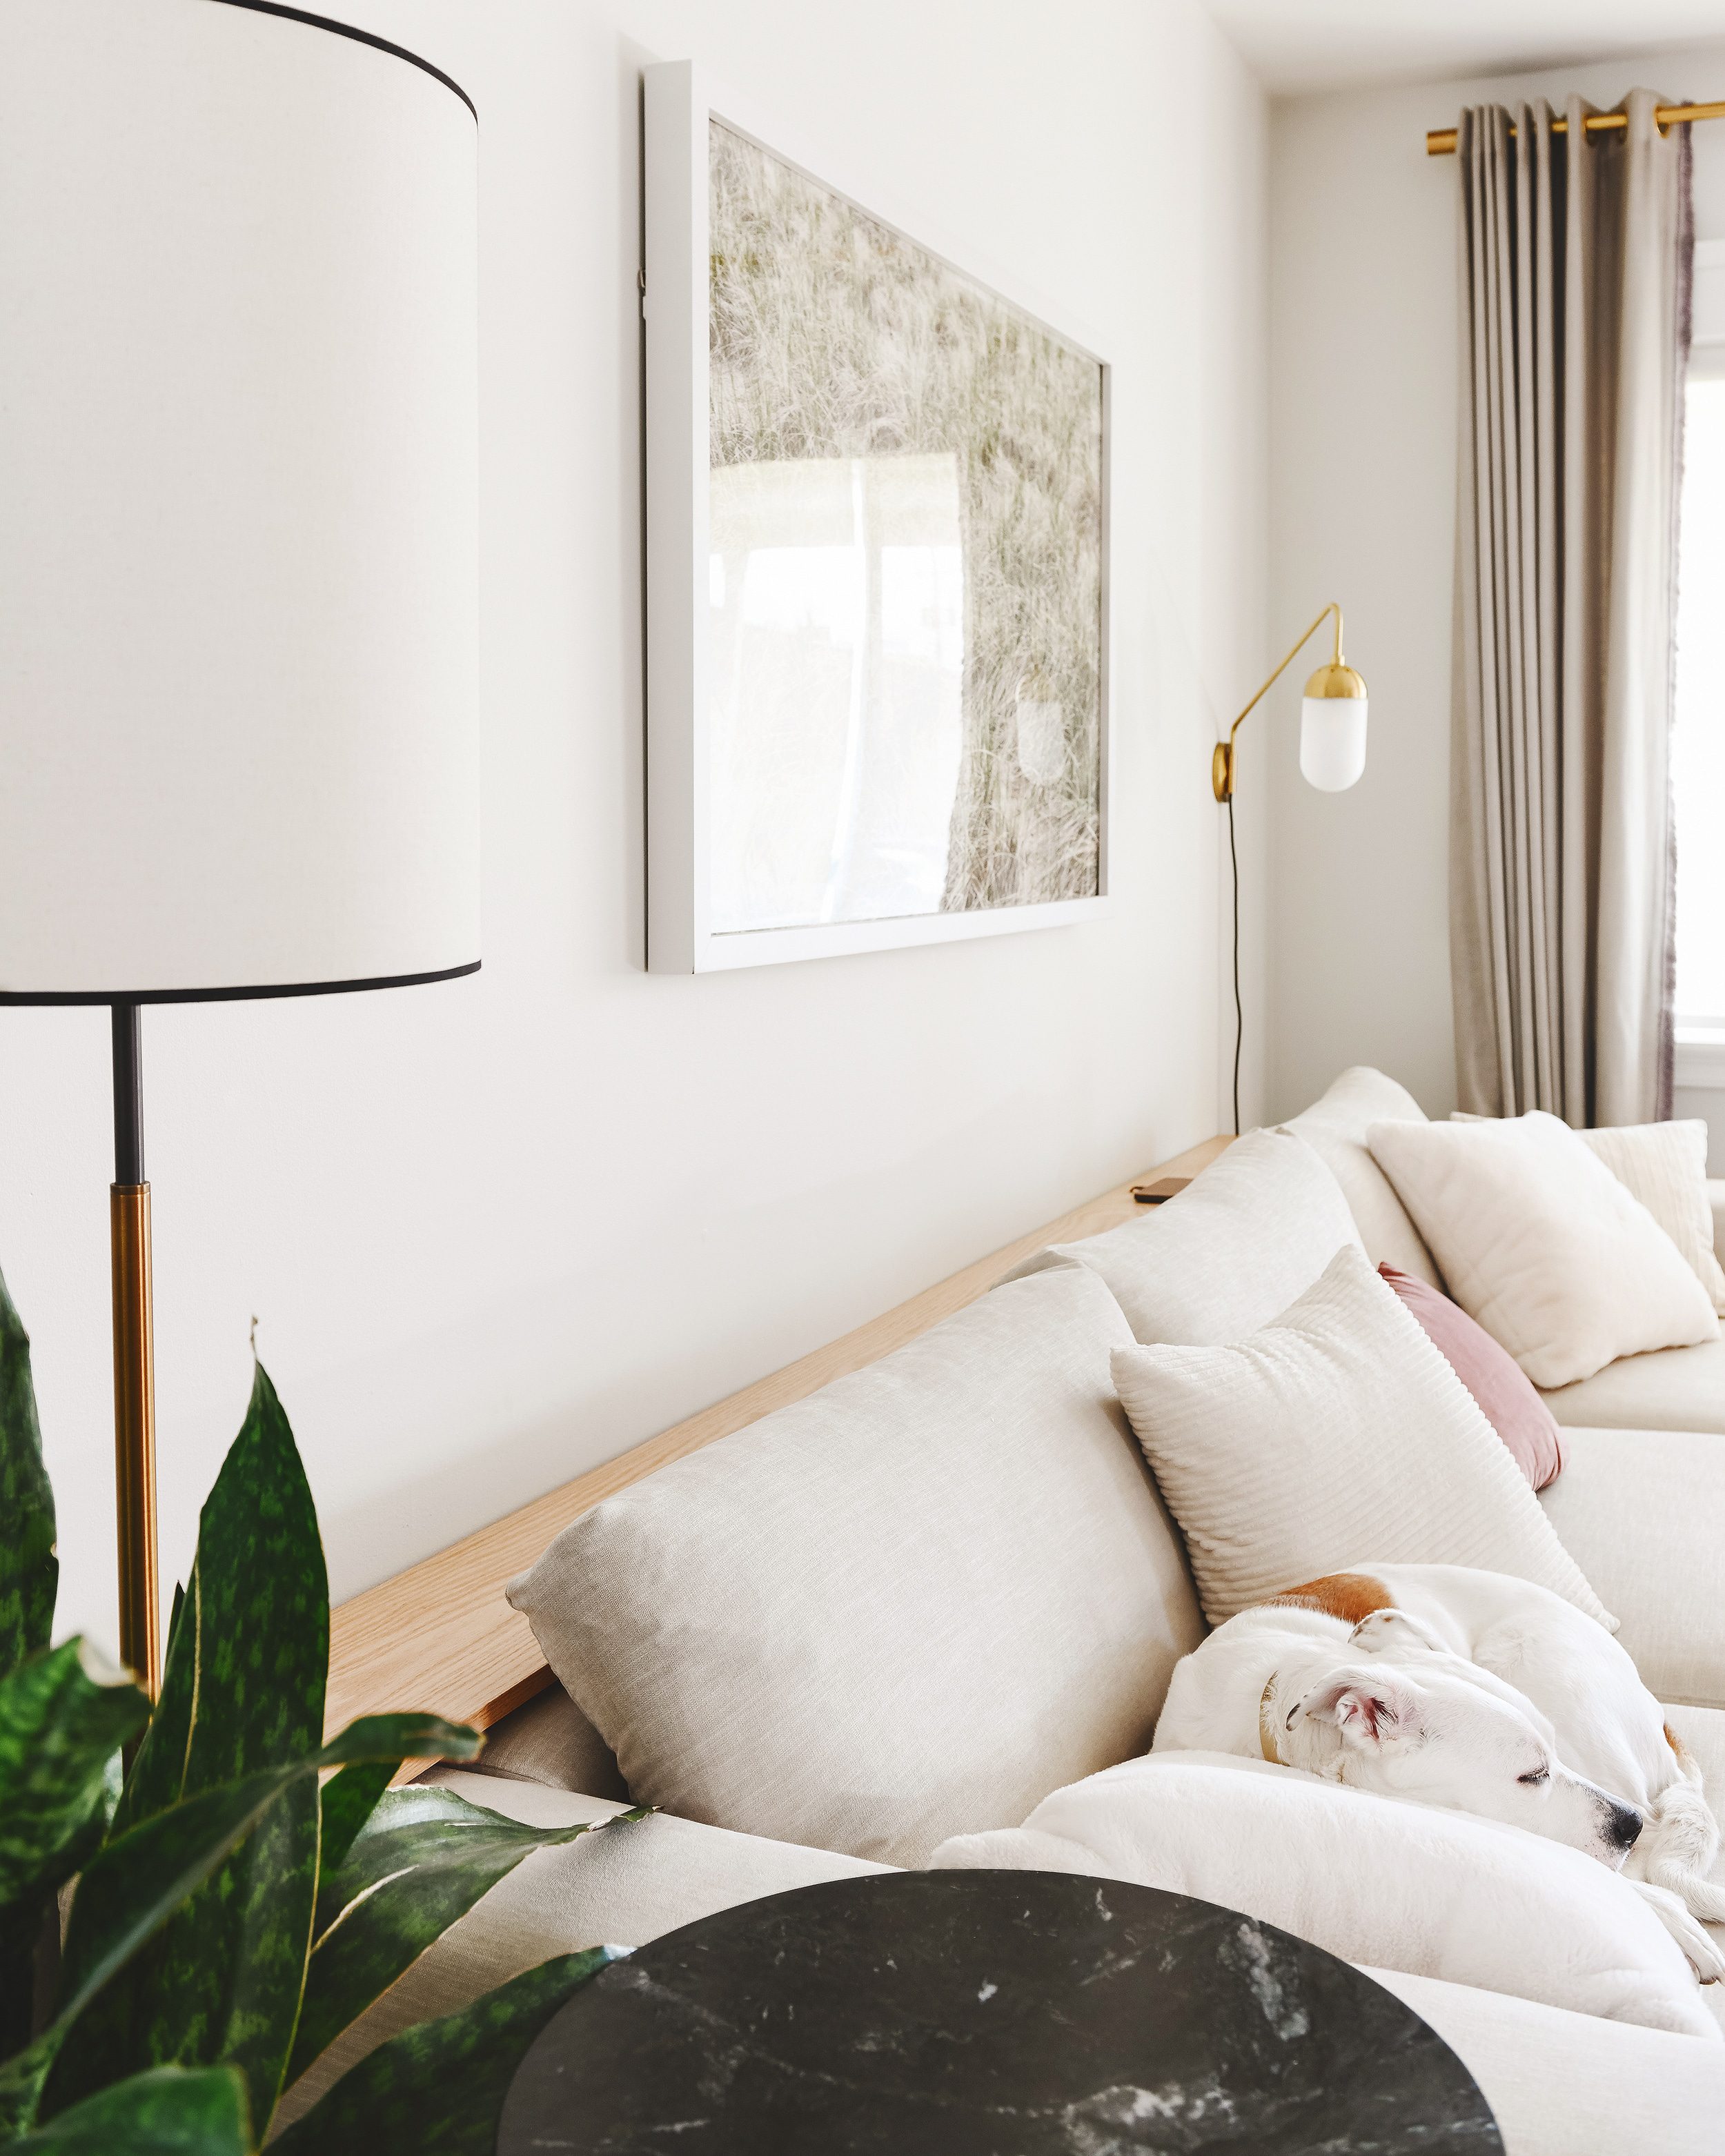
The installed shelf seems to ‘finish’ the look of the sectional sofa’s multiple seams and somehow makes things look even more streamlined. It’s odd to put into words, but we’d almost liken it to putting a frame on a photo. Sure it looked great by itself, but the ‘frame’ really made it pop!
This simple solution is similar to floating shelves we’ve made in that past and used as nightstands and decor shelves. In all of these applications, though, the execution was nearly identical! Keep in mind that this solution is completely flexible for any space. While our shelf measures 11′ x 9.25″ and hovers over the back of the sofa, any width and length of board could be used with any sofa shape!
After a few days of using the shelf, we’ve determined that it’s exactly what our living room was missing! The corner seat with the chaise (where Kim usually sits) has benefitted the most. What used to be a short climb forward to reach the coffee table is now a gentle reach behind to grab a beverage or a phone from the charger. This shelf adds loads of functionality to what was once unusable space. If you build one for your unique or challenging space we’d love to see it!
PS: A review of our sectional, a DIY console with built-in storage, and how we framed our large wall art.


The shelf looks great! So smart drilling a hole for the phone cord. How are you keeping the cord from falling back down the hole when not charging?
Also, I must know your list of “stabby Netflix murder documentaries”. This is my favorite genre as well. This deserves a blog post!
Some favorites: Lorena (amazon prime), Abducted In Plain Sight (Netflix), Mommy Dead and Dearest (hbo), I Love You Now Die (hbo), Mind of Aaron Hernandez (Netflix), to start!
I’m trying to figure out where I can add more shelves to my life because this is just genius!
This is genius! We just installed one behind our sectional. Thanks for the idea!