




Our step-by-step approach for creating a balanced, collected and playful gallery wall for any space in your home.
In This Post
How To Hang a Gallery Wall
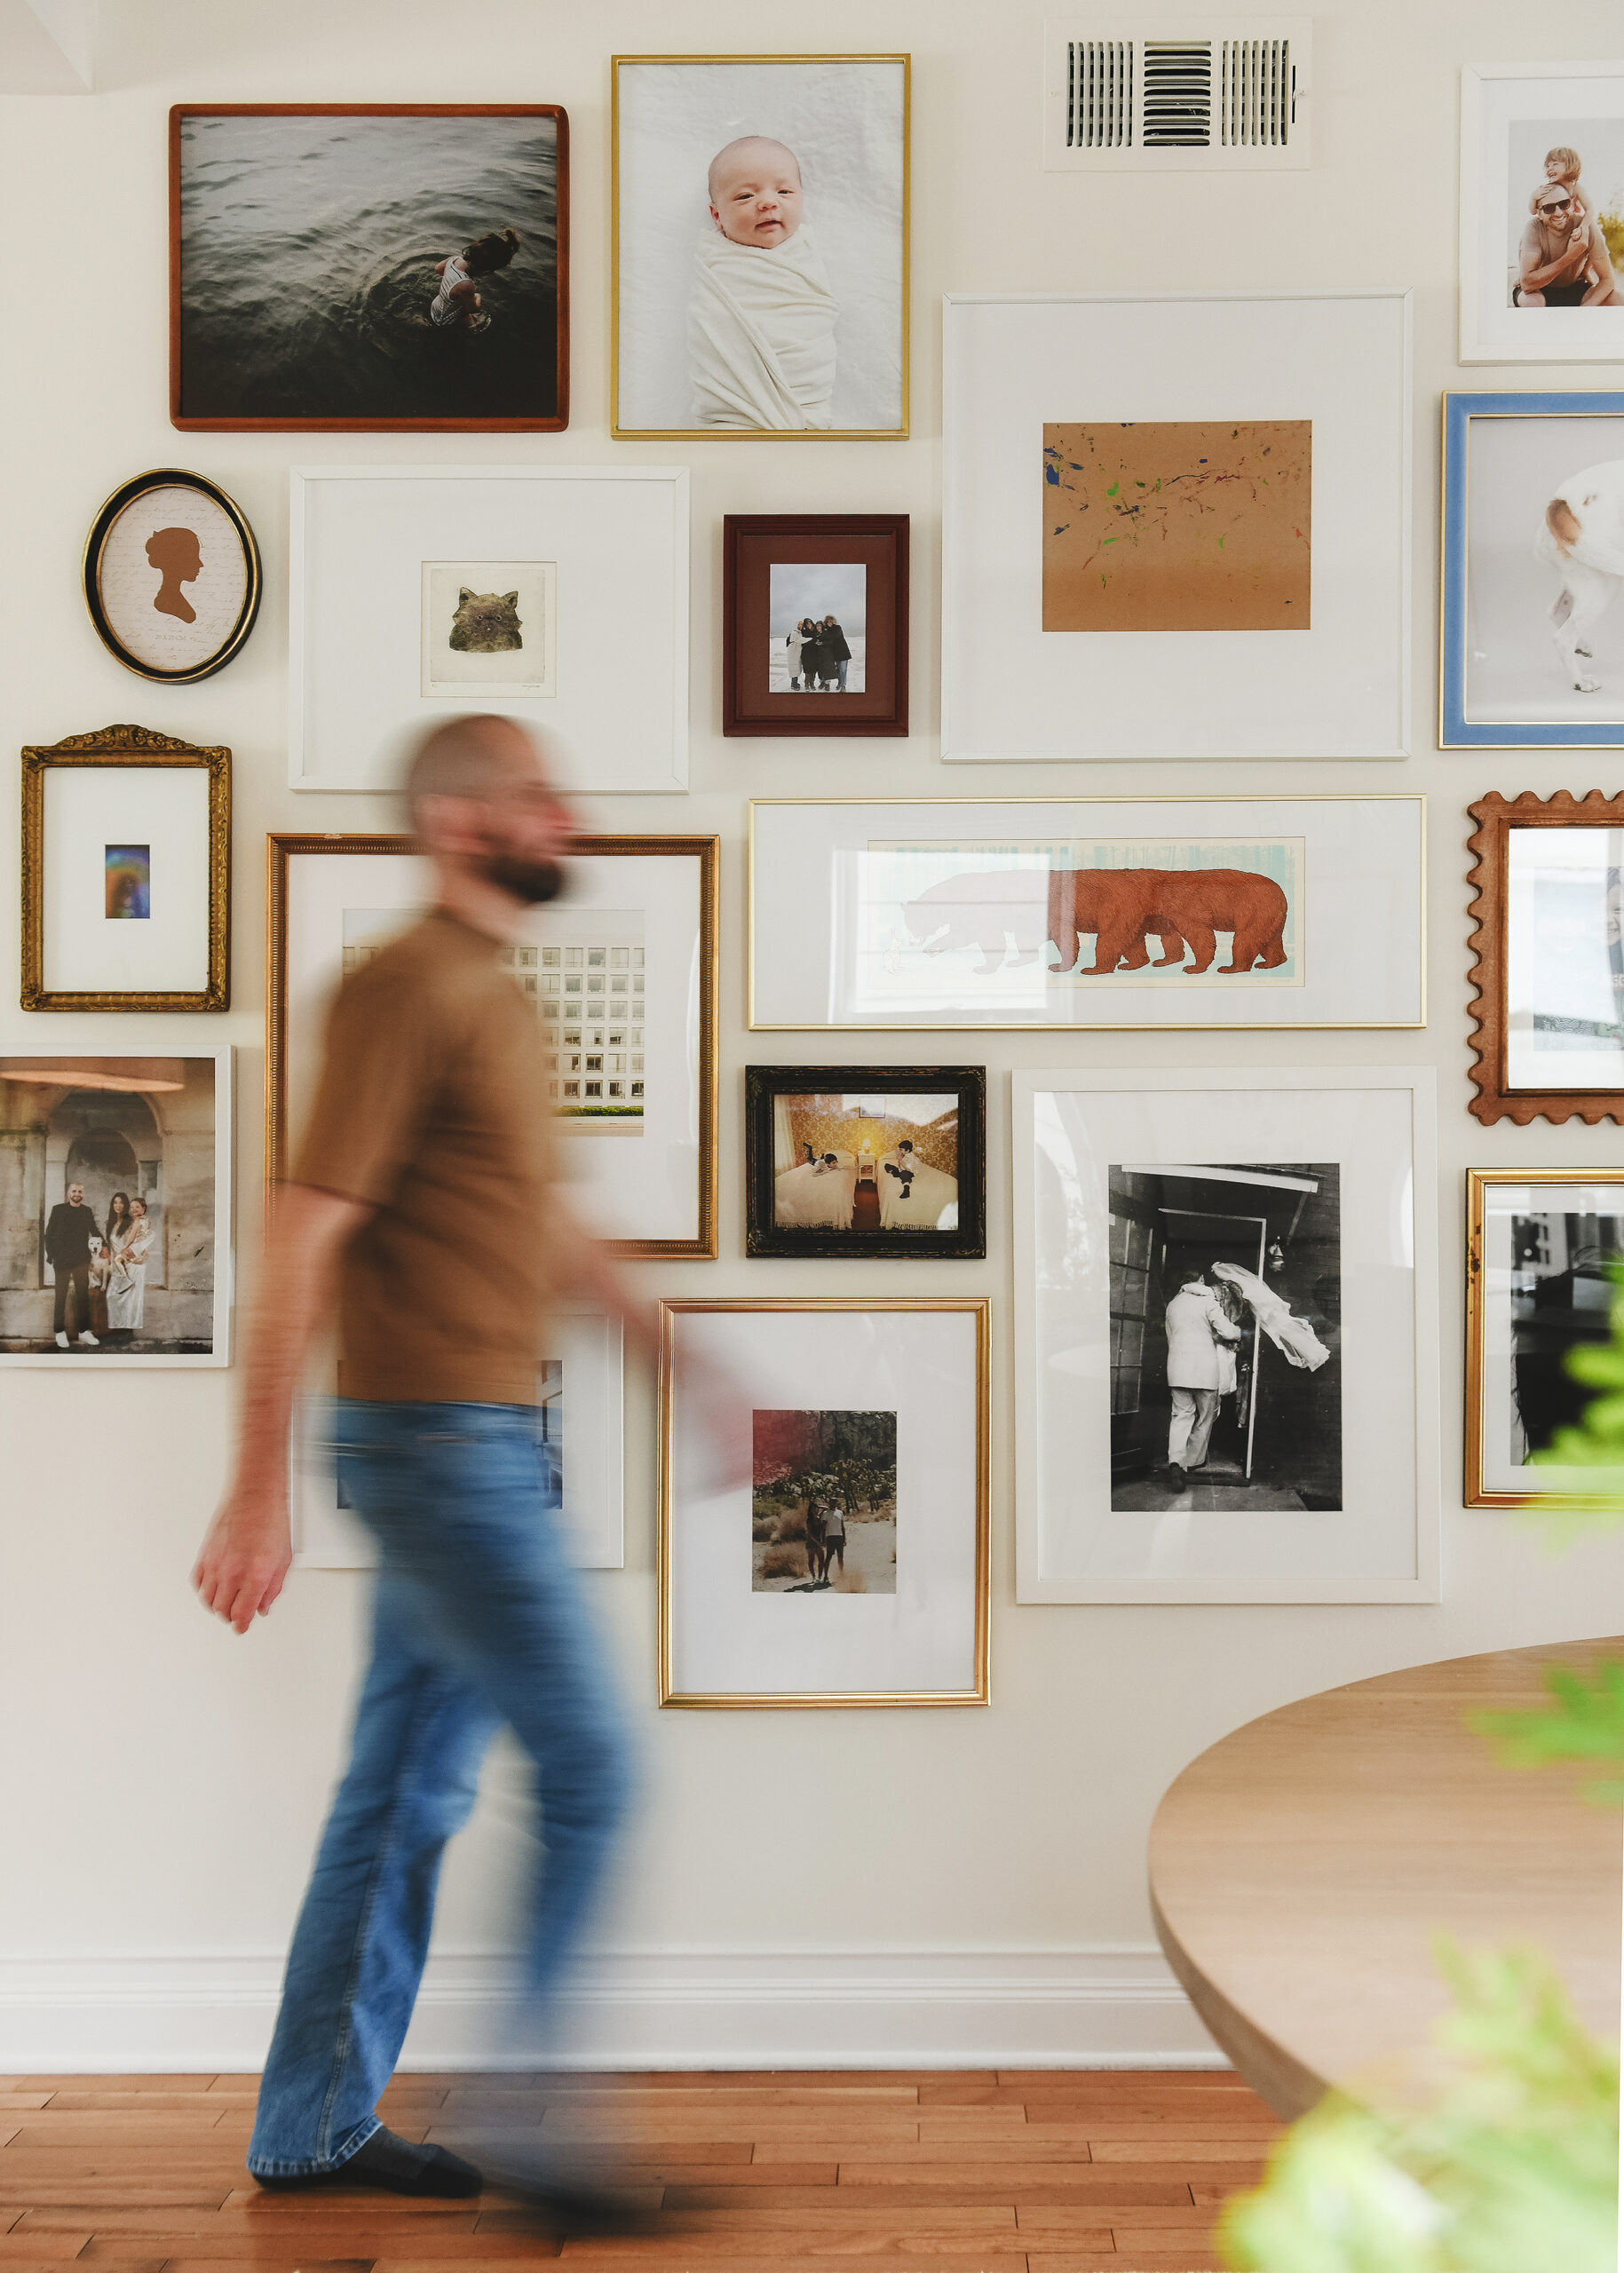
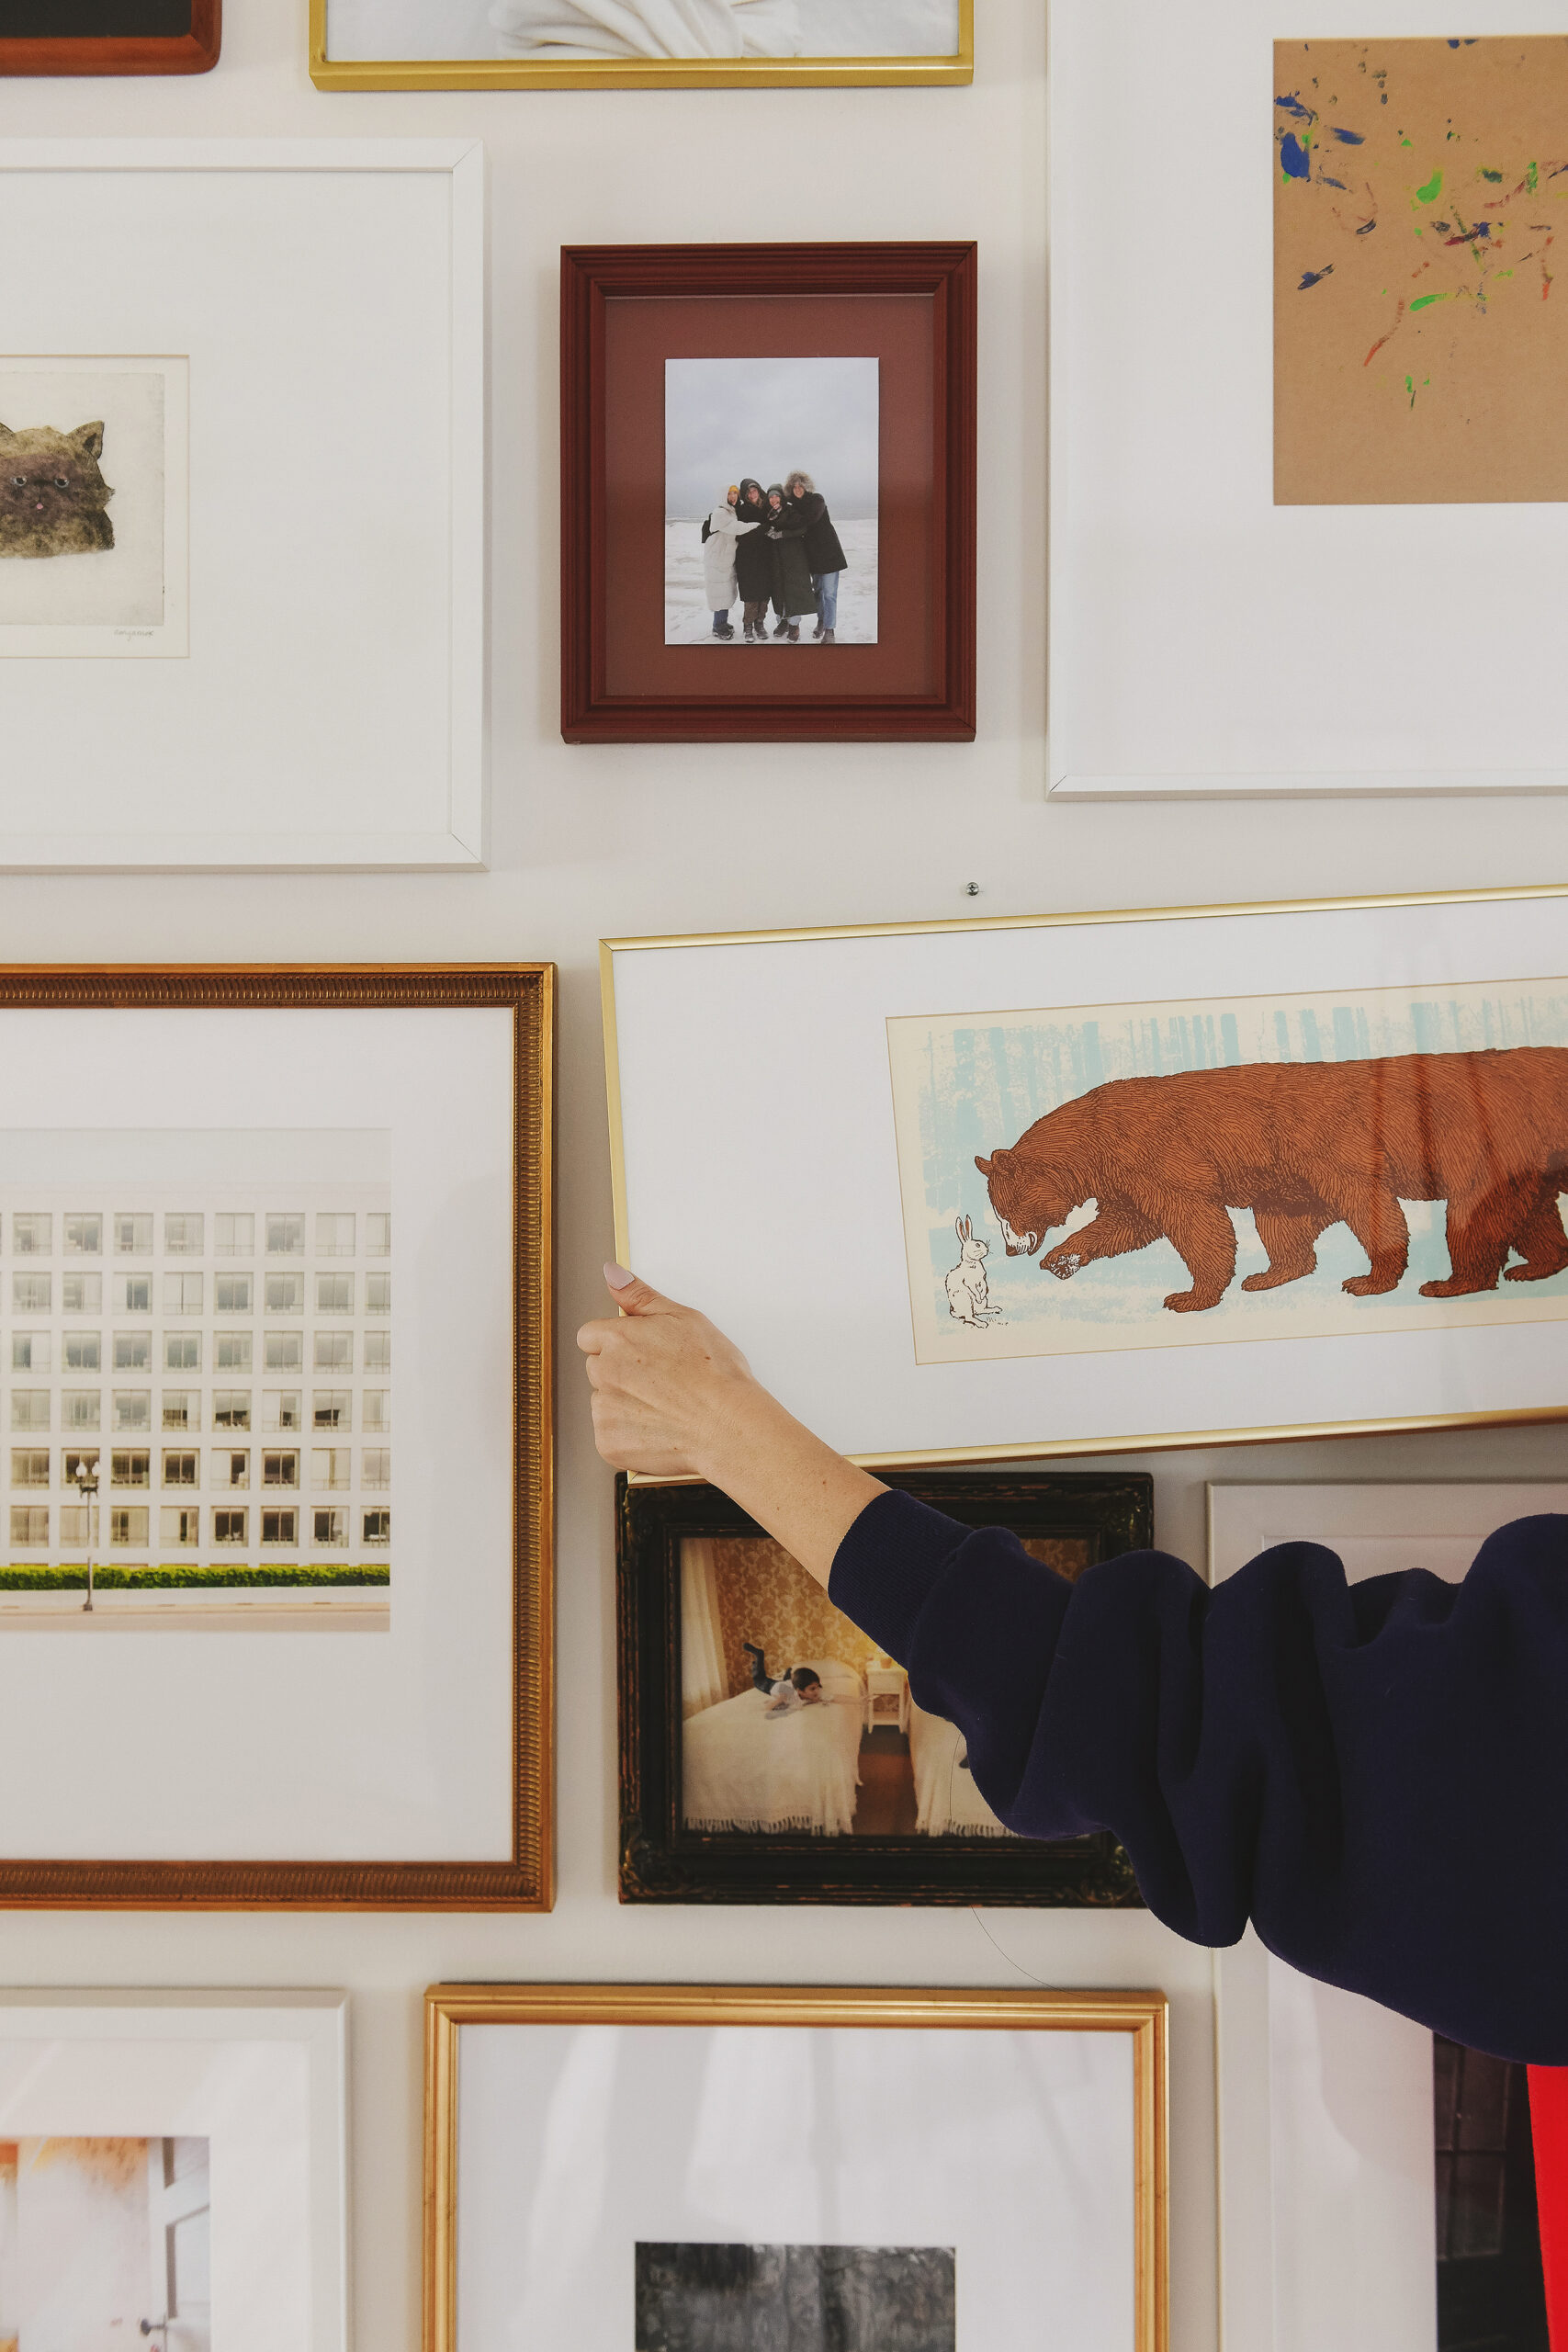
It’s no secret I love a good gallery wall (I can see 3 groupings from where I sit at this table!), and they’re easily my favorite way to make a home feel personal, layered, and collected. Over the years, we’ve hung too many gallery walls to count, from more free-flowing, more structured, or even a perfect grid. While every arrangement ends up a little different, there are a handful of simple rules I always come back to. These are 5 foolproof tips I do with every gallery wall to ensure they feel balanced, intentional, and even a little playful! Let’s go!
1| Gather Frames, Art and Photographs
Before a single nail goes into the wall, we figure out exactly what we want to hang. I usually start by pulling together loose prints, photographs, and any empty frames we already have on hand, then pairing things up to see what works together. Once I have a better sense of the overall mix, I’ll order additional prints or shop for a few more frames to fill in the gaps. I also try to keep the collection feeling layered and interesting by mixing materials, finishes, and color. If everything I have is white, for example, I’ll intentionally bring in brass, silver, or even a bold color pop to keep the gallery wall from feeling too one-note.
2| Determine Layout
This is where we get to try out as many combinations as we’d like! There is no single fail-proof way to do this. Some swear by cutting paper templates of all the frames and hanging them on the wall, but this method has never worked for me.
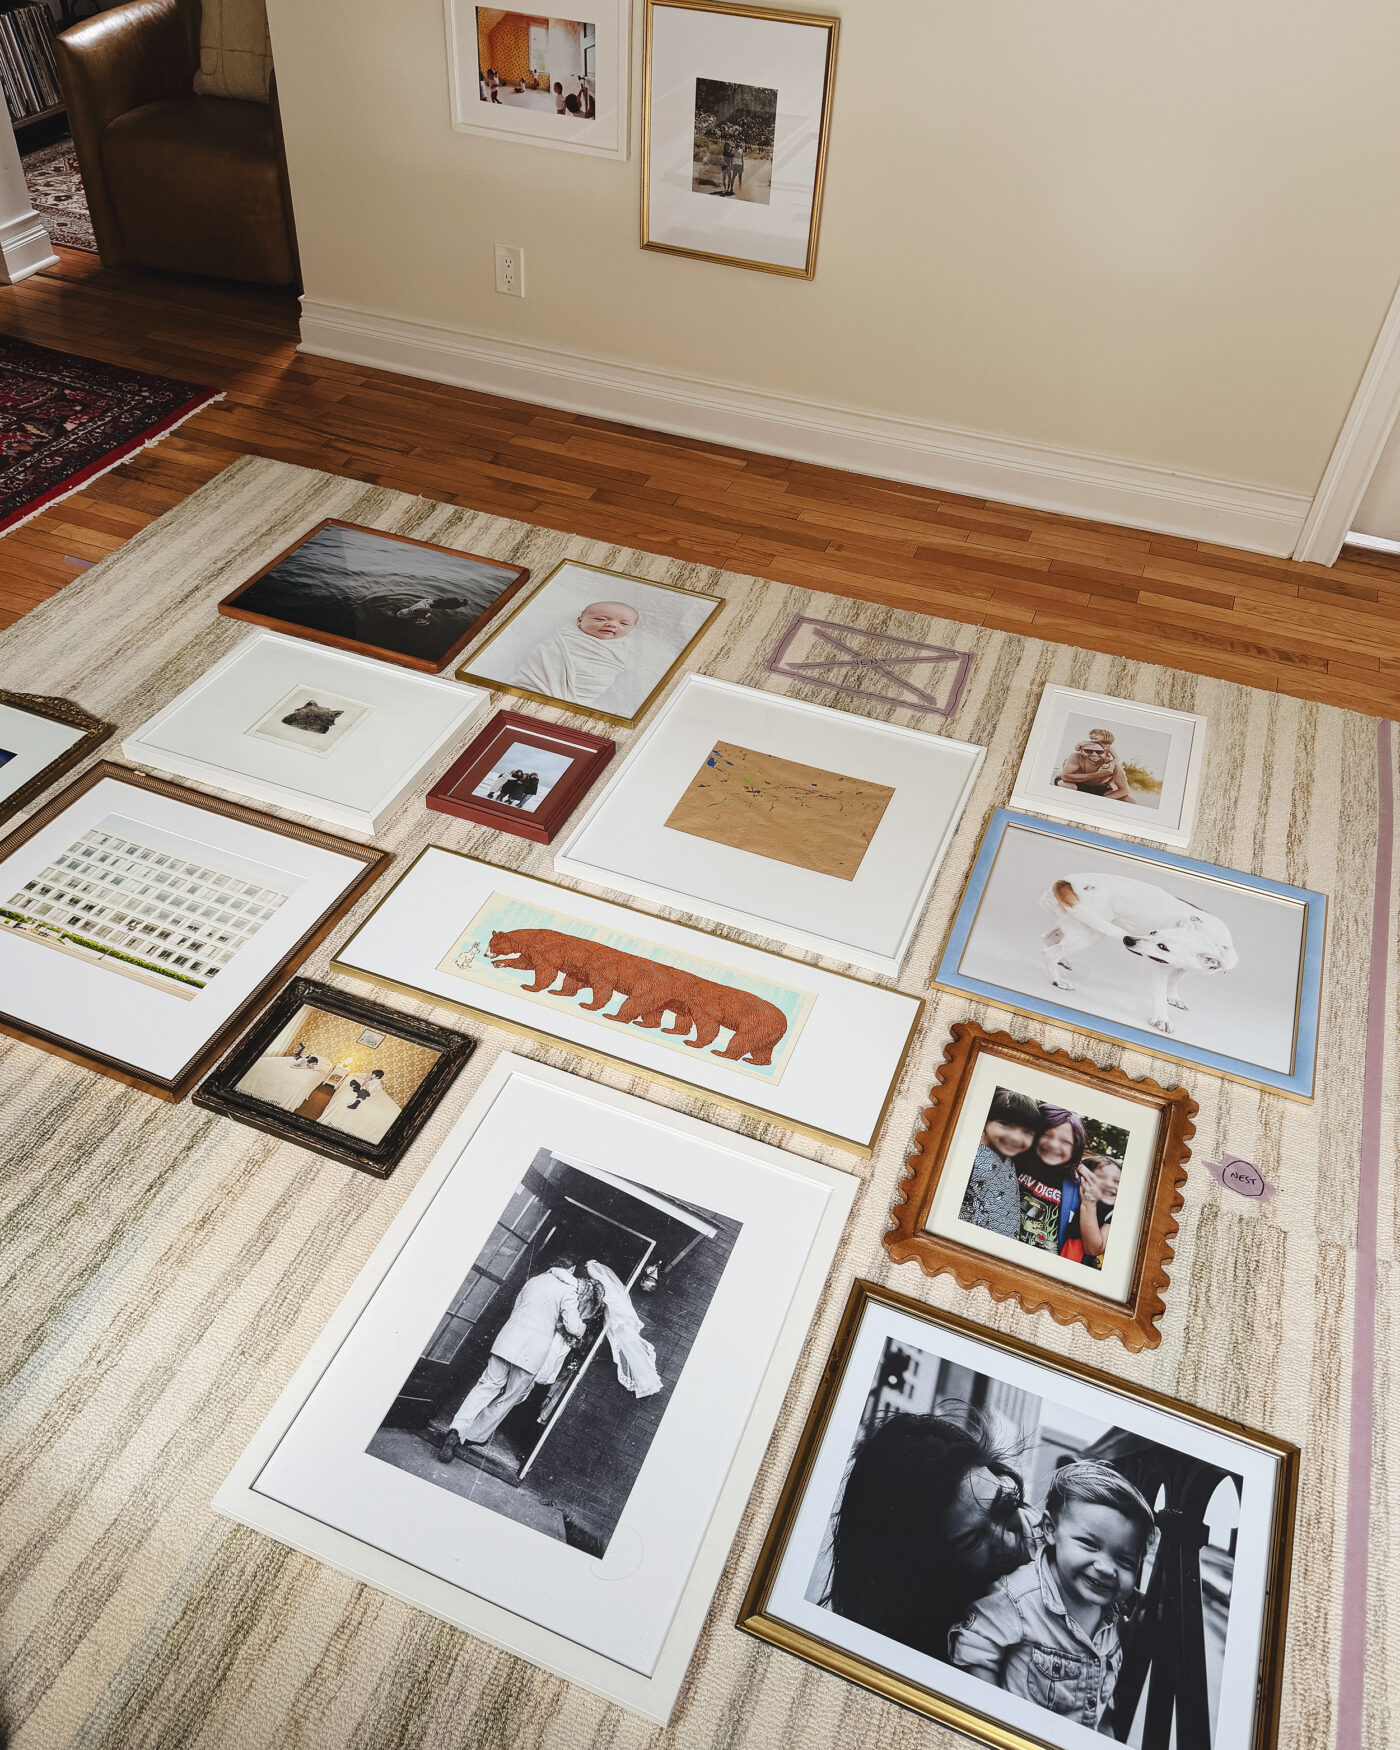
My preference has always been to tape out the section of wall on the floor (yes, this means I’ll move a dining table for floor space if I need to!), and then I begin laying frames within my measurement constraint.
This step takes me longer than the hanging itself; I’m spending quite a bit of time on this step, playing, mixing and matching until I absolutely love what I see!
Questions to Help You Edit the Layout
- Are too many frames of the same color next to each other?
- Do I have a mix of both horizontal and vertical orientations?
- Is the overall organic shape pleasing to my eye?
- Are the size of the frames balanced? (Are too many smaller frames clustered together?)
- Can I add an object anywhere? (Think: fiber art, a trinket from your travels, sports memorabilia)
3| Keep Frames Closer Than You Might Think
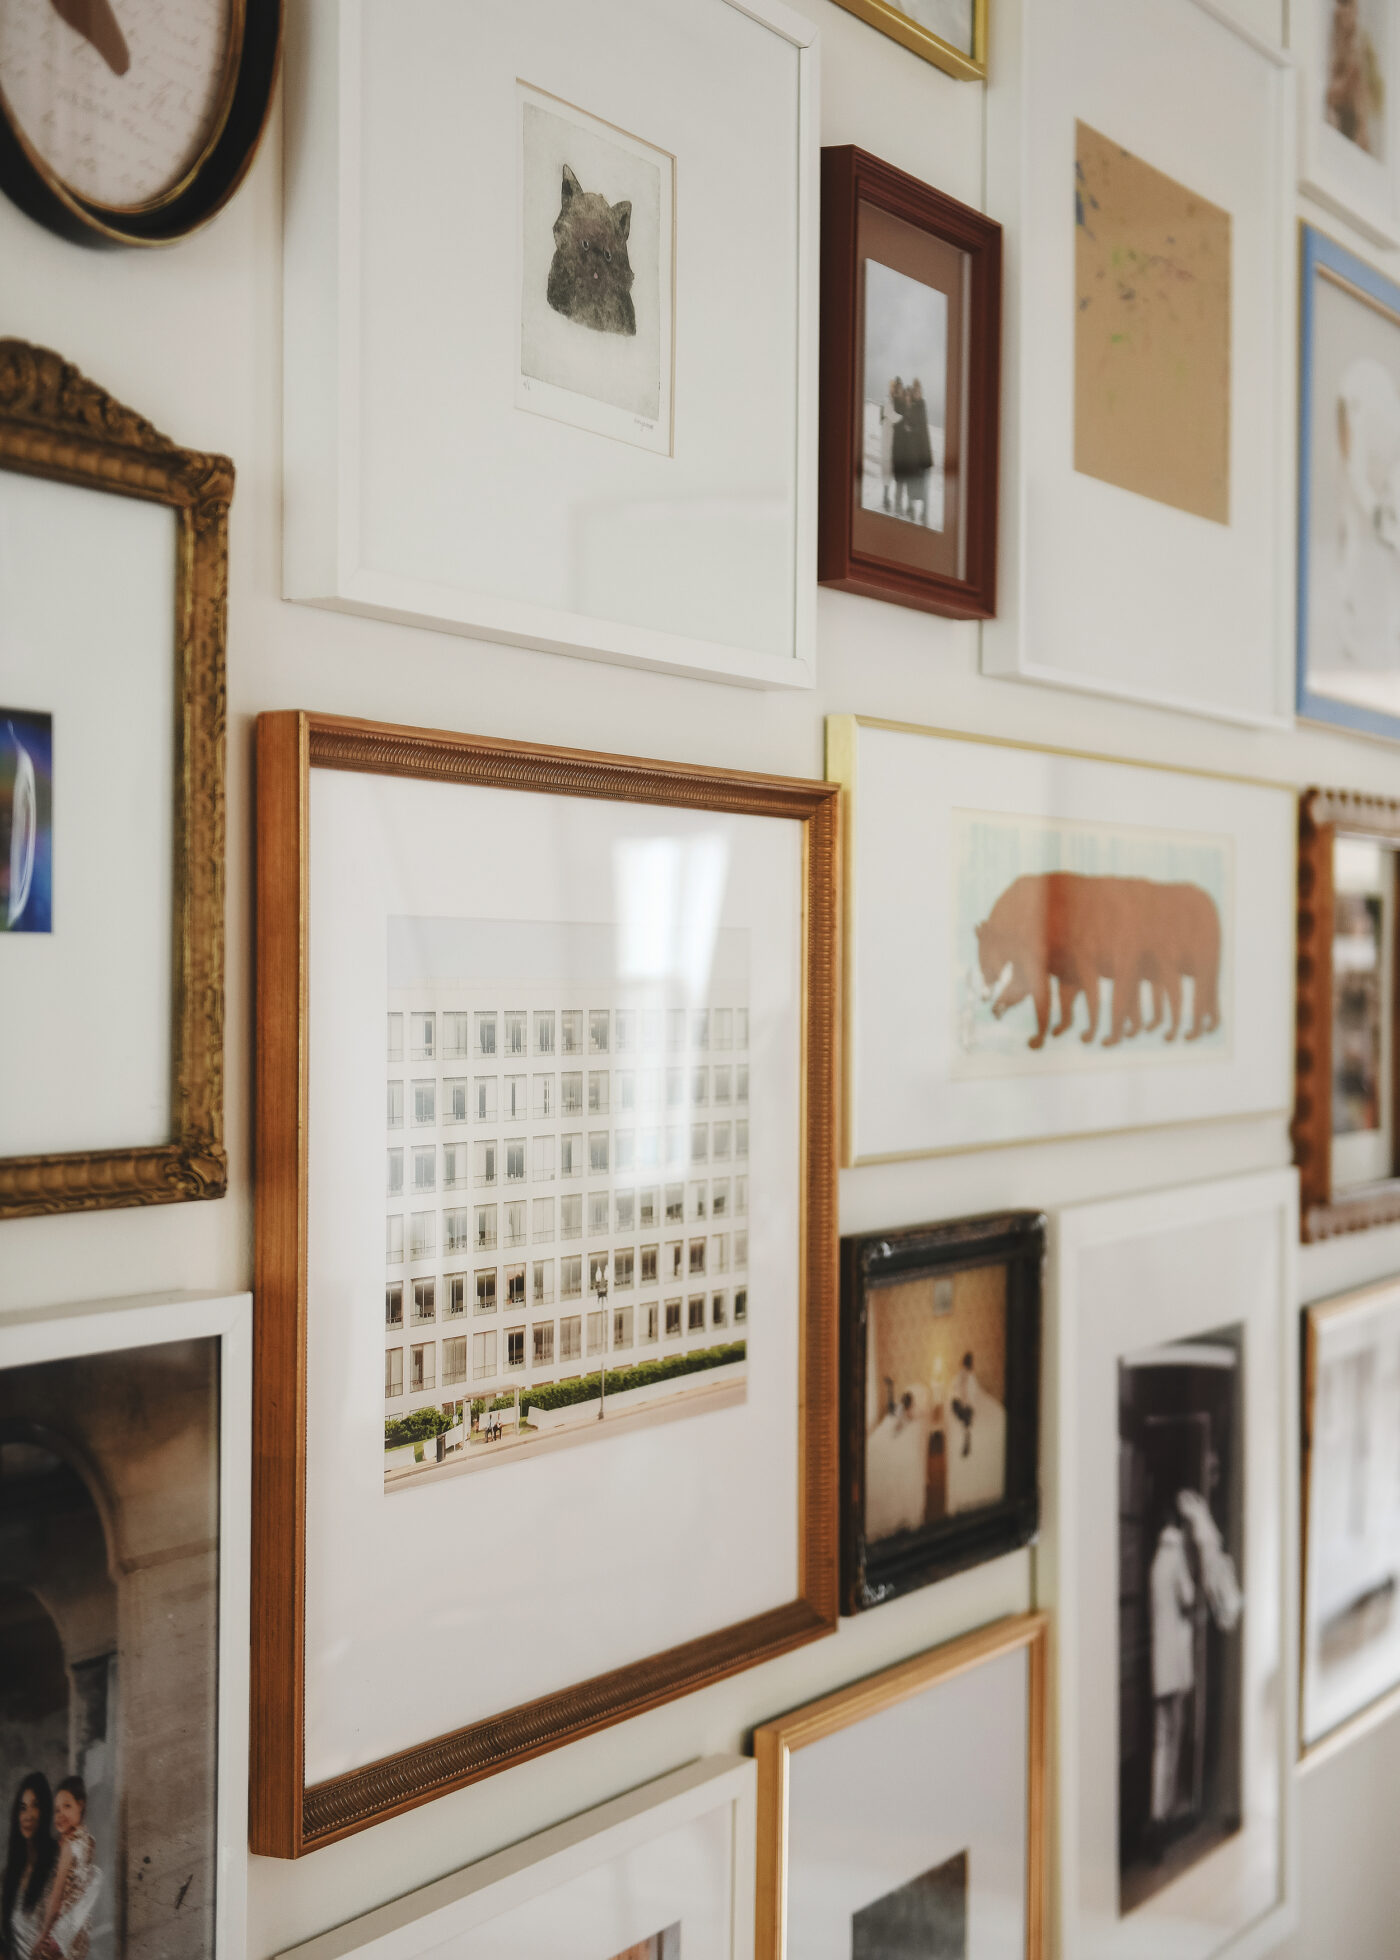
This is a step so important, it needs its own rule! While working through the layout, I pay especially close attention to spacing since the arrangement on the floor is exactly what will end up on the wall. One of the most common gallery wall mistakes I see is spacing frames too far apart. When that happens, the pieces start to feel disconnected rather than like a thoughtfully collected grouping.
A gallery wall should read as one cohesive composition, with every piece working together in harmony. Personally, I like to keep spacing between frames around 2″ for a look that feels connected, balanced, and intentional.
4| Start in the Center
When it’s finally time to hang, I start by measuring and marking the center point of the wall, then finding the center point of my floor layout. That tells me which frame gets hung first and helps anchor the entire arrangement. (And before anything goes up, I’ll snap a quick photo of the floor layout on my phone just in case something shifts or gets bumped!)
From there, I work outward one frame at a time, using the floor layout as my guide. I’m constantly paying attention to how each piece relates to the next. For example, maybe two frames line up perfectly, or maybe only one edge aligns while the other intentionally offsets. I move left, right, above, and below the anchor piece, following the flow I already established on the floor. Beyond that initial center point, I’m rarely measuring again! I’m mostly using the layout itself to guide the hanging process.
5| Level + Use Two Anchoring Points If Possible
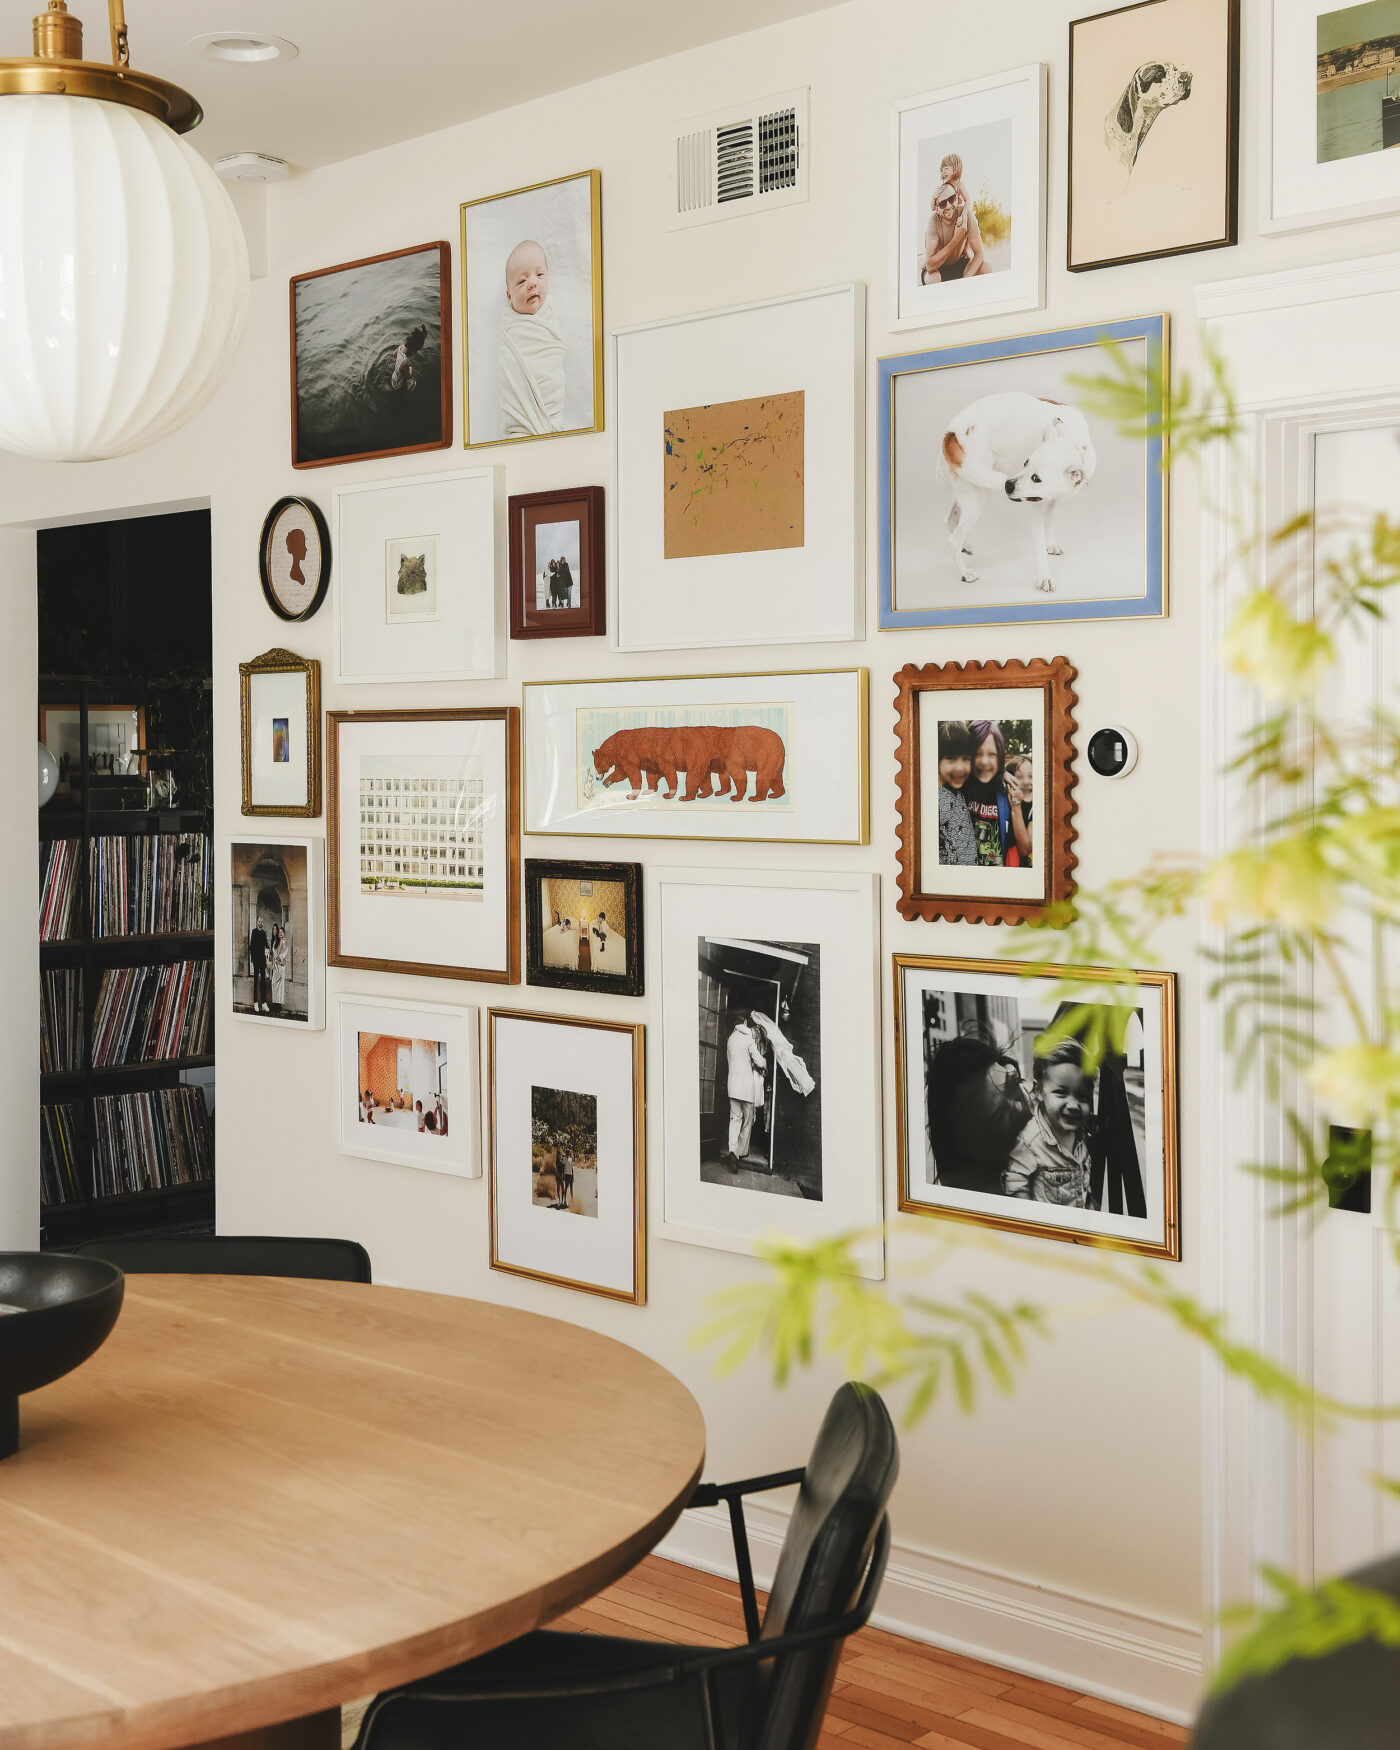
The last thing you want is to constantly be straightening frames that shift askew over time. Whenever possible, I hang artwork using two drywall screws instead of one so the frame stays perfectly in place from the start. And if two screws aren’t an option, I always, always add a small piece of Gorilla Mounting Putty to the bottom corners of every frame. Once I’ve confirmed everything is level, I press the putty firmly into the wall to keep the frame from moving around. It’s one of those small details that makes a huge difference, because once the gallery wall is up, I never want to think about adjusting it again!
The Frames I’m Using
I’ve linked up the frames you’re seeing throughout this post, below! #13 is one of my go-tos (you’ll find it in several places around our home), #8 added a big punch to our wall (and it’s velvet!), and #4 is the one our friends have asked about the most!
Tip: You can click directly on the image to take you to the source.
1. 16×20 gold aluminum frame | 2. etruscan red prof 01 frame | 3. kate and laurel adlynn wall picture frame, set of 3 | 4. 16×20 rounded corner solid teak frame | 5. multi-mat metal gallery frame | 6. 8×10 vintage oval picture frame | 7. irvine slim frame | 8. 16×20 velvet picture frame | 9. wavy edge walnut finish wood frame | 10. georgetown frame | 11. richmond frame | 12. 16×20 bronze aluminum frame | 13. gallery white frame with white mat
Which frames top your list? See also: our go-to framing guide, how to plan a gallery wall, and hiding your television in a gallery wall.









I love this so much! One hesitation I have about gallery walls is how to patch up the holes if we decide to change or move out. I’m looking for the easiest renter-friendly way to do something like this and how to get the wall back to its original state if we don’t have the original paint. Any advice?
If you don’t have the original paint for touch ups, you can use large heavy duty command strips. They usually pull right off the wall once you’re ready to move on or rearrange. Hope this helps!
Can I hang a small art work on top and in middle of a larger painting
Hi Tina! We like to think that there are no real ‘rules’. It would be dependent on size, scale between pieces and room layout.
I would love to know where you got the long, rectangle pic!
Hi! It’s by Artist Nate Duval. Looks like there’s one one ebay right now.