

This post and #BEHRBox challenge is in collaboration with BEHR Paint®.
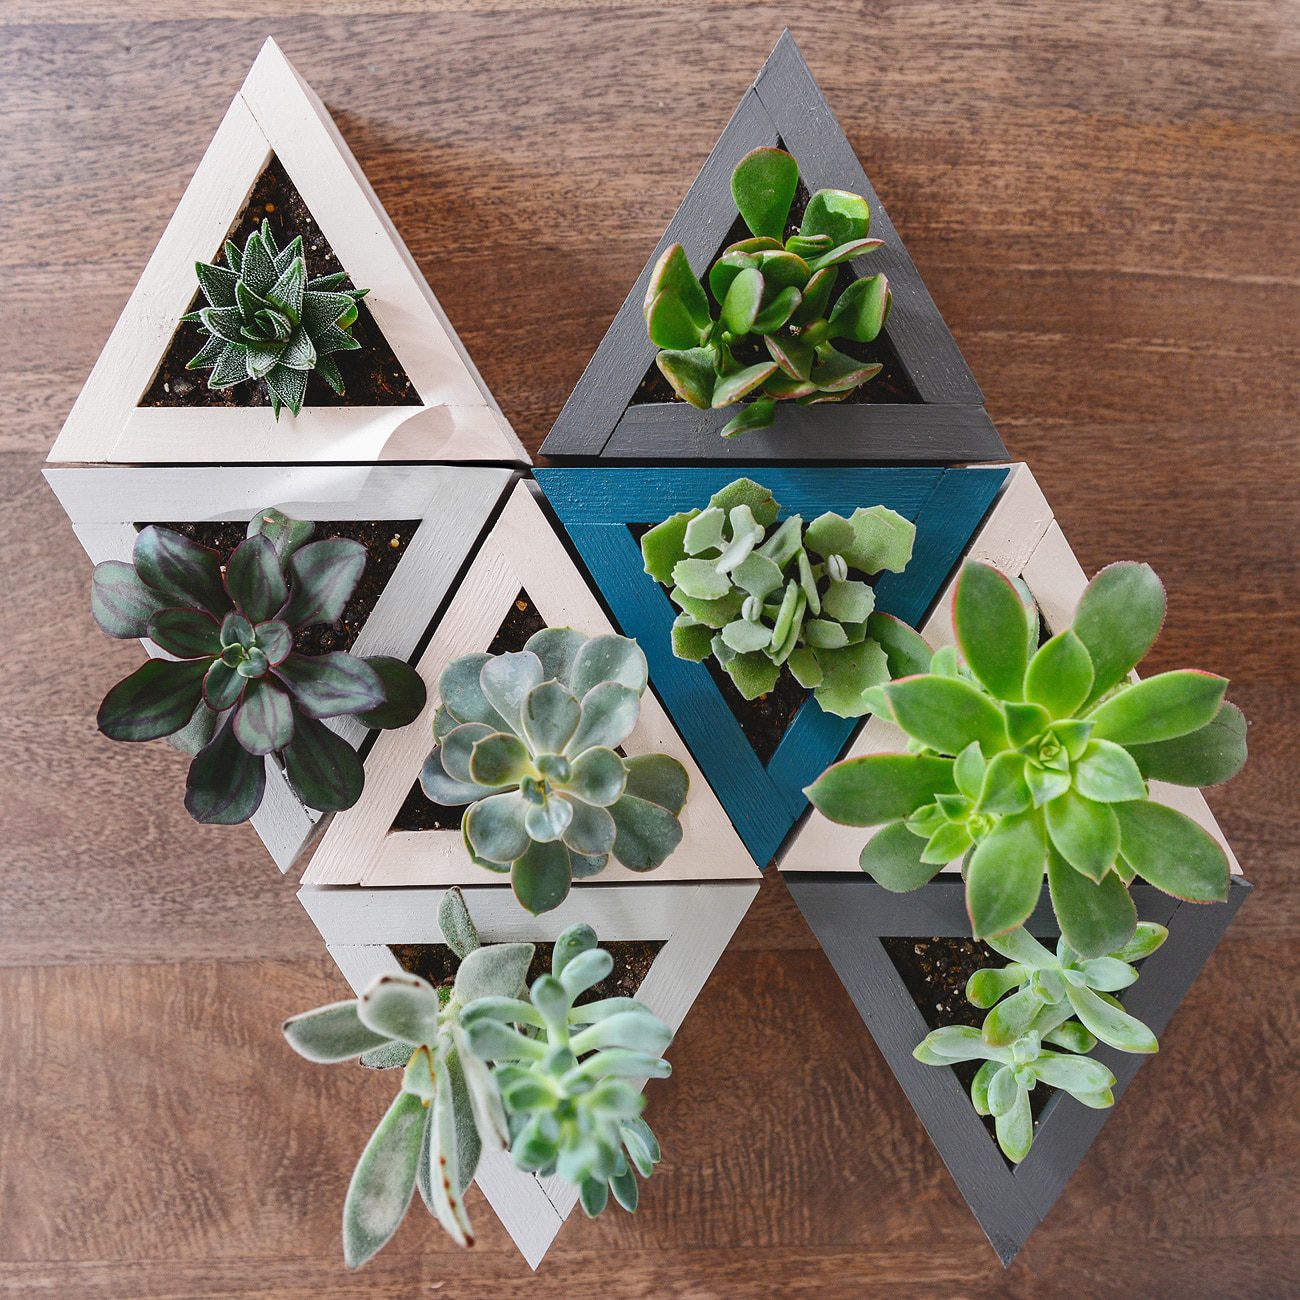
We had a little less than a week to come up with and execute our #BEHRBox idea with BEHR Paint®, and while we toyed with starting projects that were just a tad too large (our first floor bathroom, for starters – a bit ambitious for one weekend, we think!), we decided to tone it back and create something that would be great for the season, but year-round, too! Our idea was to make mini planters that could be used as a centerpiece for holiday gatherings, low enough that friends and family could talk over them, and at the end of the day, every guest could take one home as a sweet little gift and reminder from the day.
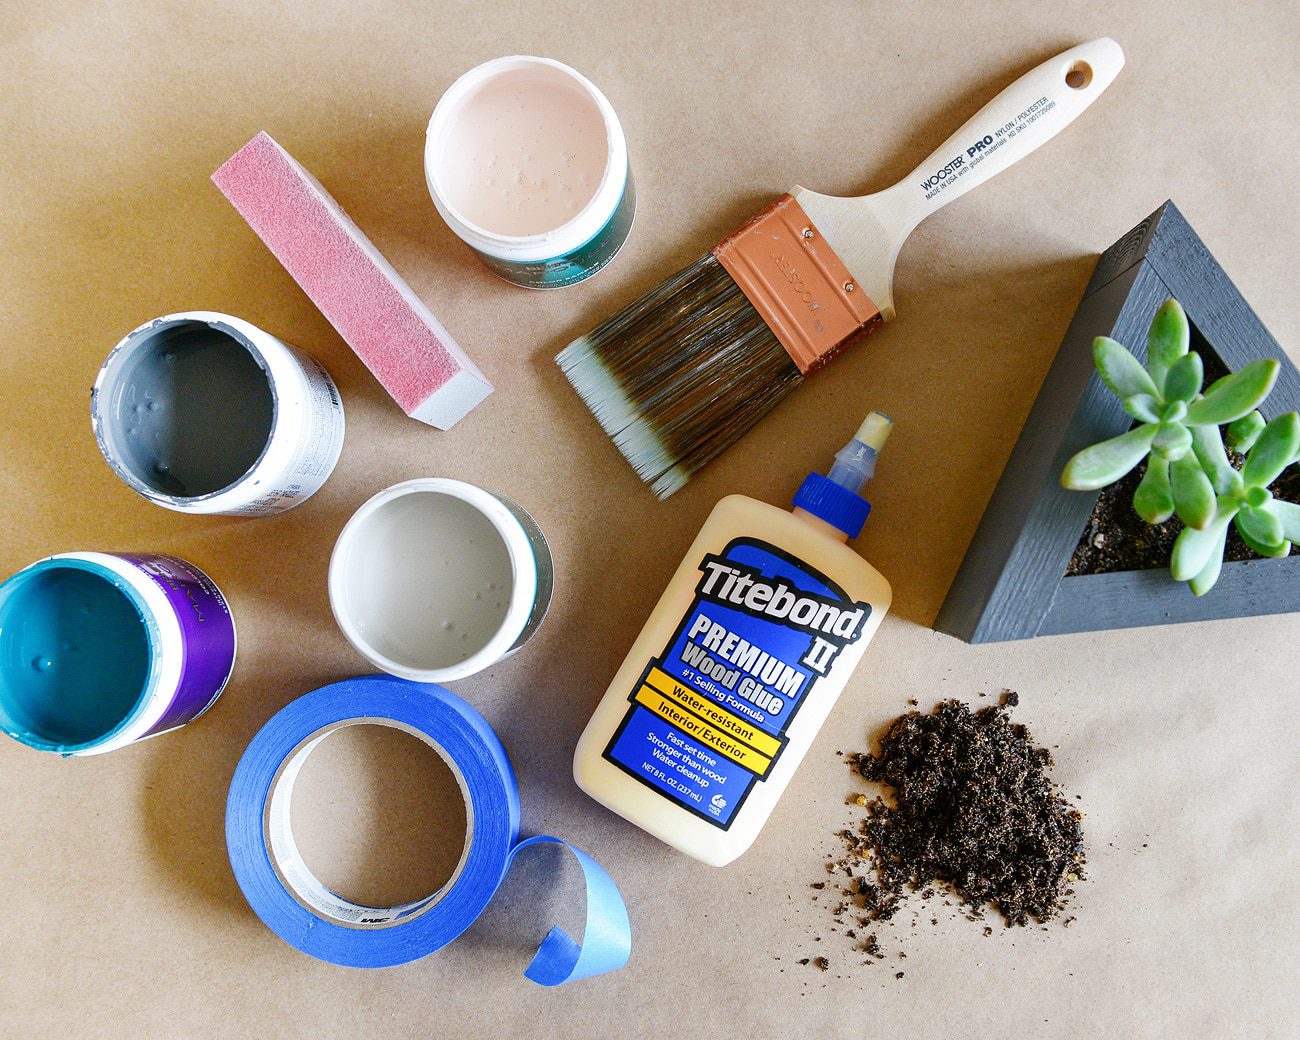
SUPPLIES + TOOLS FOR 8 MINI PLANTERS:
2 – 1″ x 4″ pine boards, 6′ and 8′
Sanding block
Wood glue
Painter’s tape
Paint samples
Paint brushes
Cactus soil
Succulent variety
Pencil
Miter saw
WHAT WE DID:
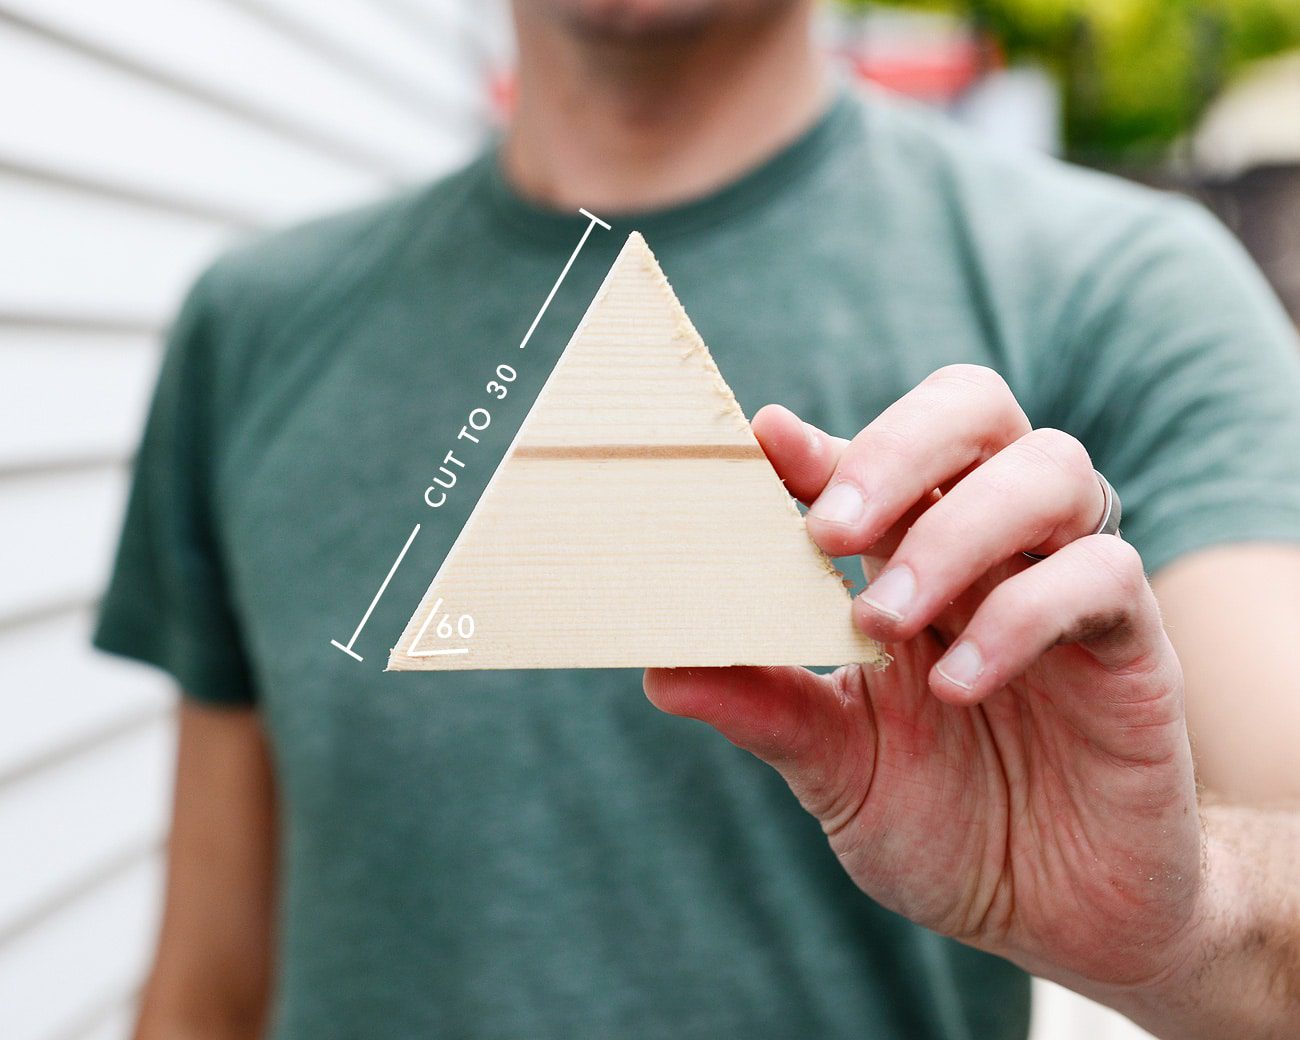
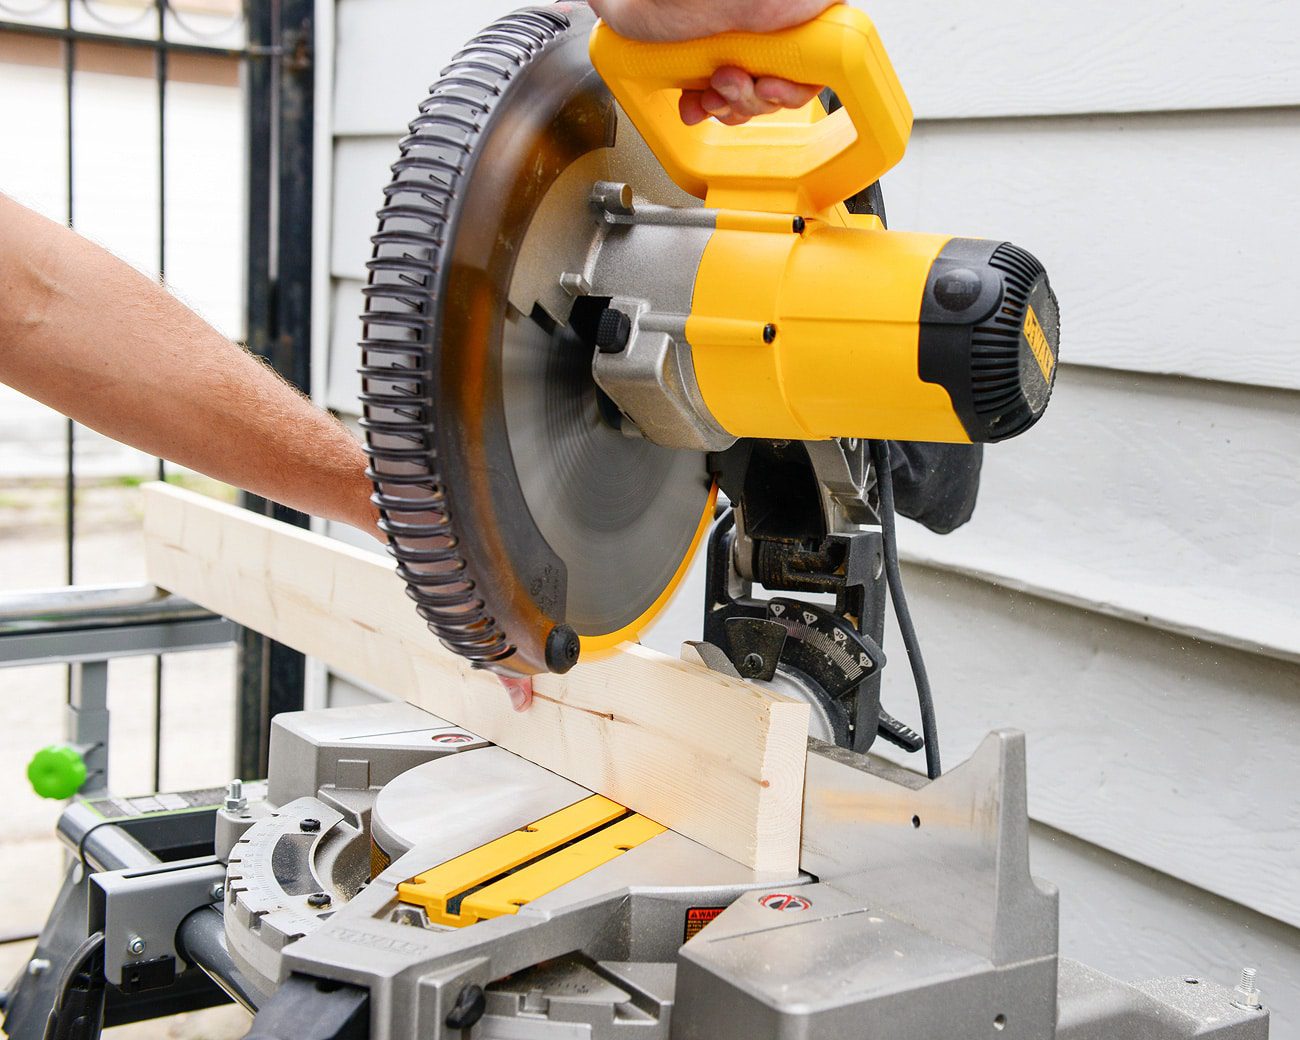
For starters, we took a road trip back to grade school to re-learn the art of the equilateral triangle. We wanted the planters to be the same on all sides (better for creating shapes and patterns!), which meant that the inside angle of the triangle needed to be 60 degrees. To achieve this, Scott took the 6′ 1″ x 4″, and he set the miter saw to 30 degrees. He made 8 triangles to be used for the base of each planter, all cut at a 30 degree angle:
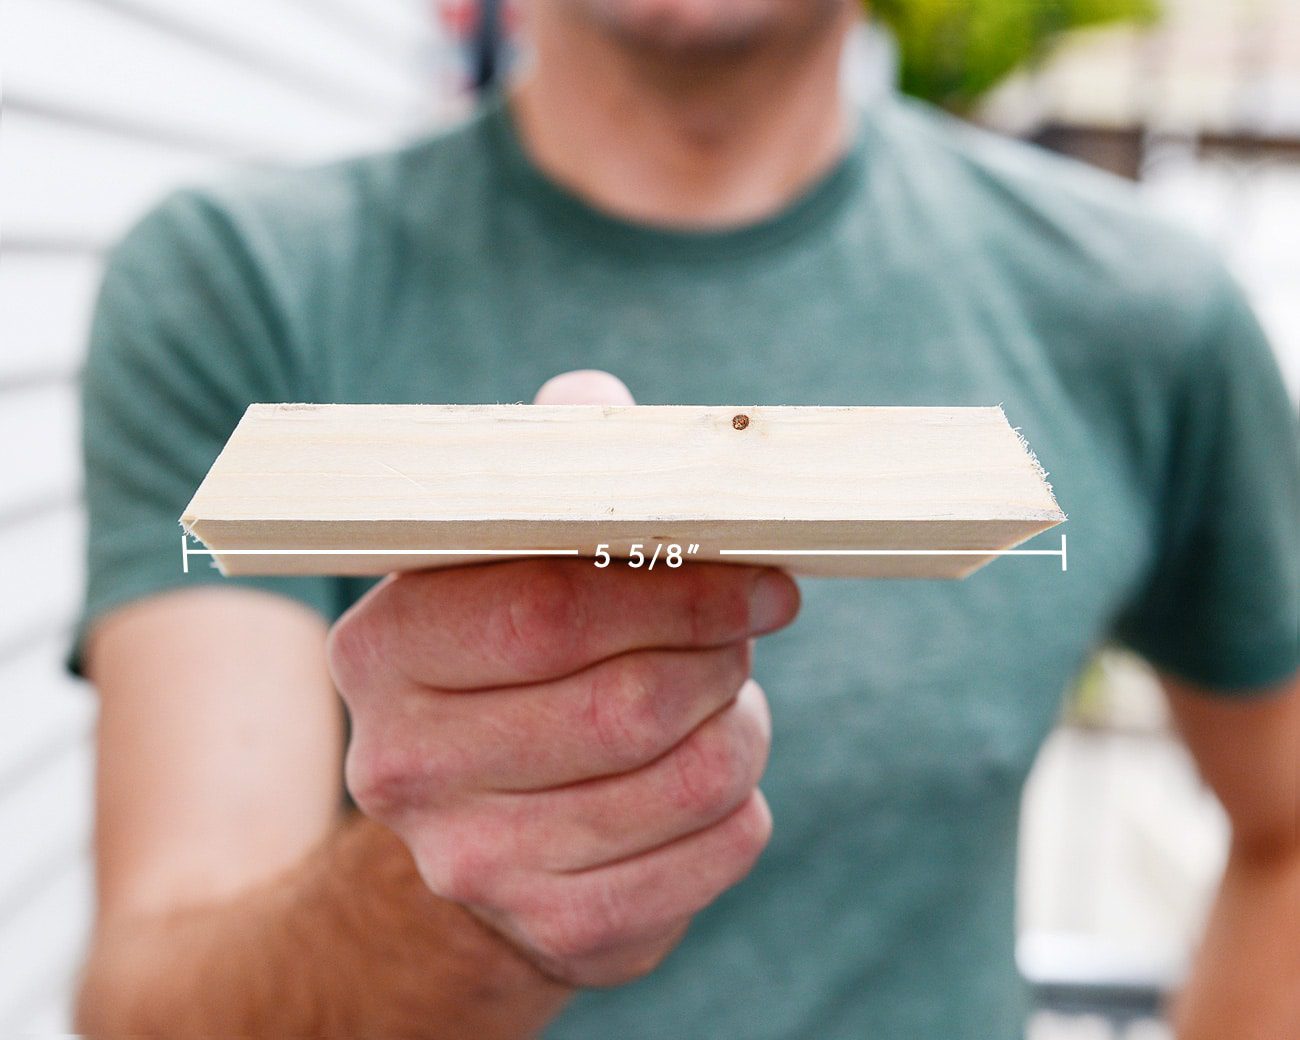
The remainder of the 6′ board and the 8′ board were used for the sides – all 24 of them. Again, this required 30 degree cuts, with the board positioned vertically on the miter saw. Once cut, each side will look like a trapezoid, and the long side will be 5 5/8″ when using 1″ x 4″ pine boards. When in doubt, make sure your miter saw is set to 30 degrees! Side note: If you’re in the market, we upgraded to this miter saw a few months ago, and we couldn’t love it more!
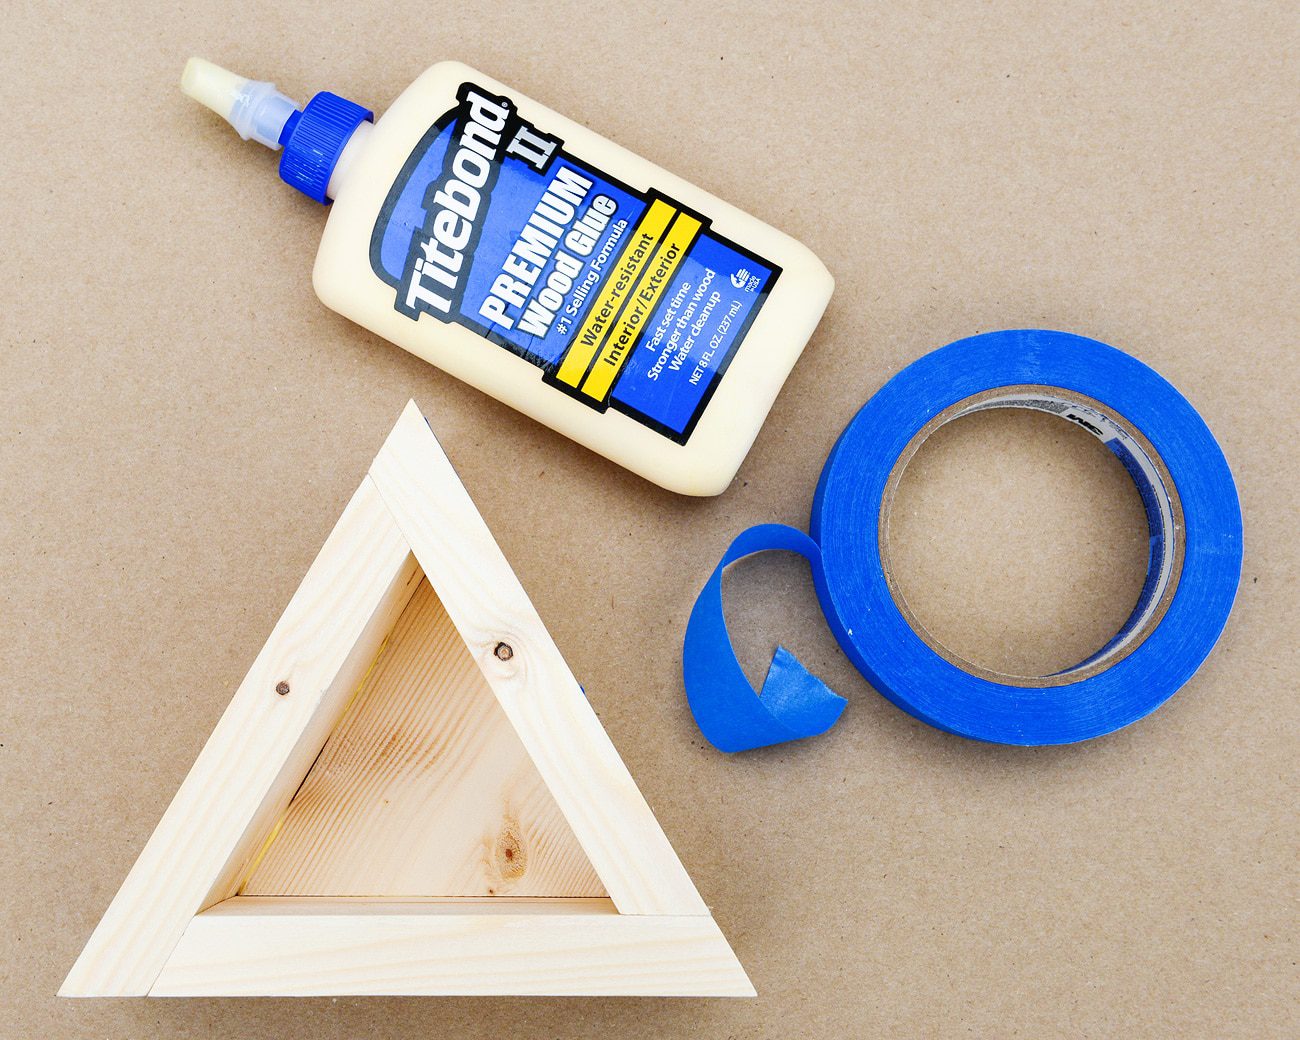
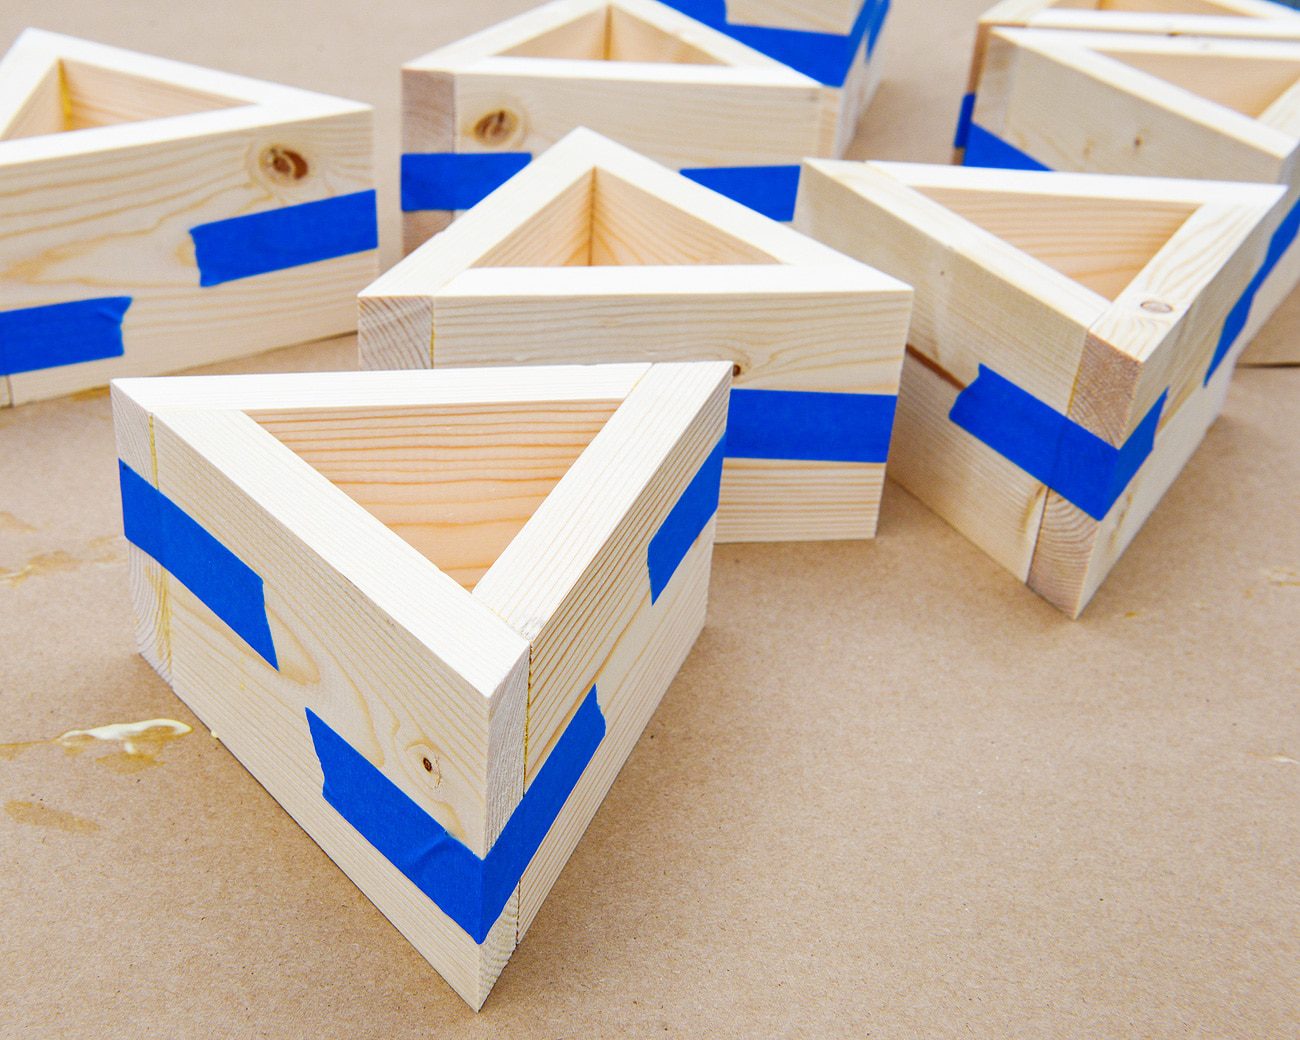
The hard part (aka: the math-y part) is over! I used the sanding block from the #BEHRBox to get rid of rough edges and burrs, and then it was time to make our mini planters. We used wood glue to bring everything together, starting by squeezing a strip of glue along the 3 sides of the base and adding the sides, one by one. Everywhere the sides met, we used another line of glue. While Scott helped to hold the sides in place, I used painter’s tape to keep them from shifting, and we allowed them to dry overnight.
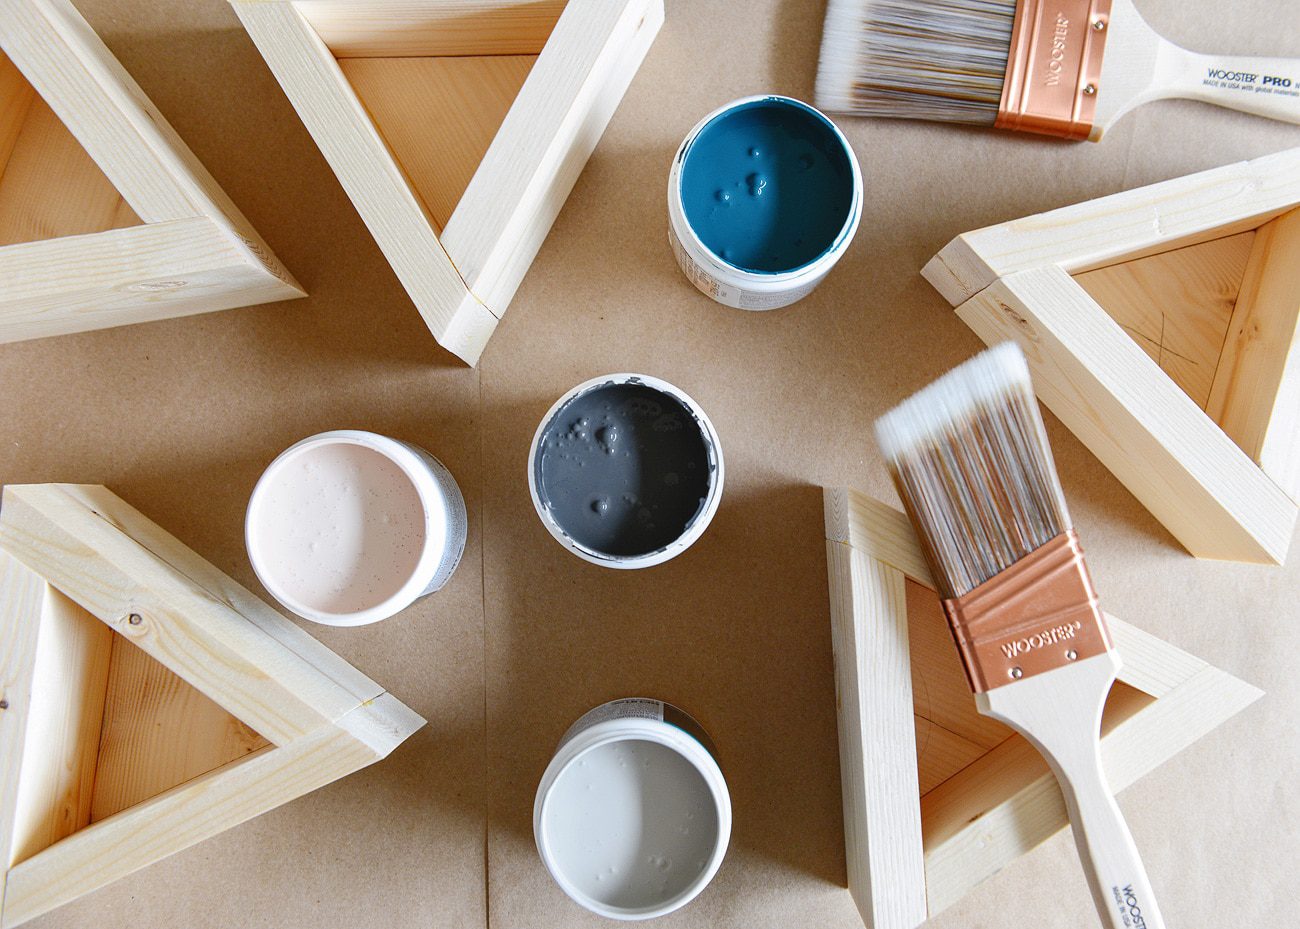
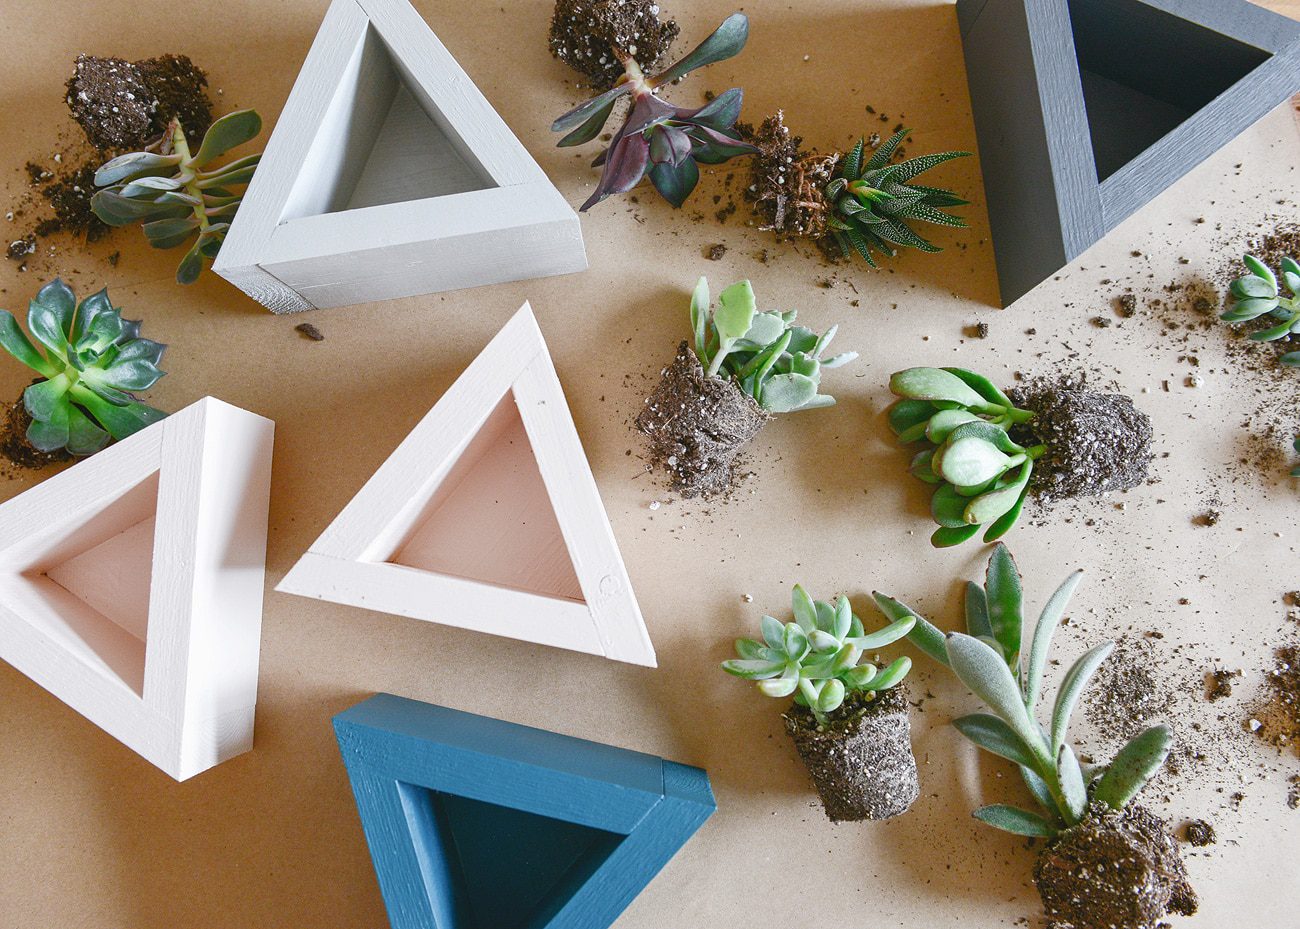
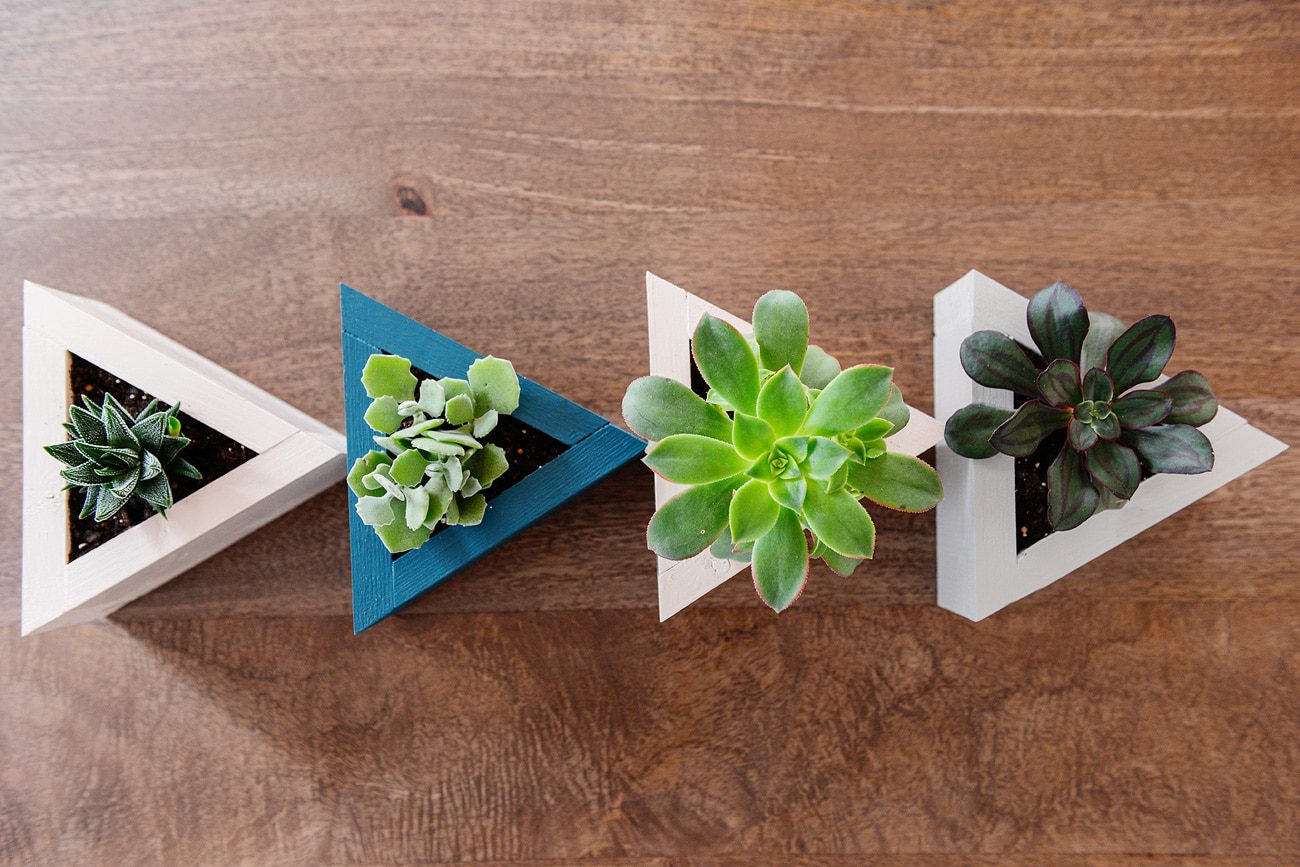
The next day, it was time to paint and plant! Our favorite samples we received in the challenge were Shades On and Wanderlust, and we added two more to the mix – Life’s a Peach and Laid Back Gray. (Be sure to check out all of the limited edition colors as a part of BEHR®’s Color Currents 2017! They’re good.)
The planters are the perfect size for the smallest 2.5″ succulent pots, and we used cactus soil with a little dash of fertilizer for good measure. The insides are painted to protect the wood from moisture, but because succulents prefer dry soil, we think the planters will hold up just fine.
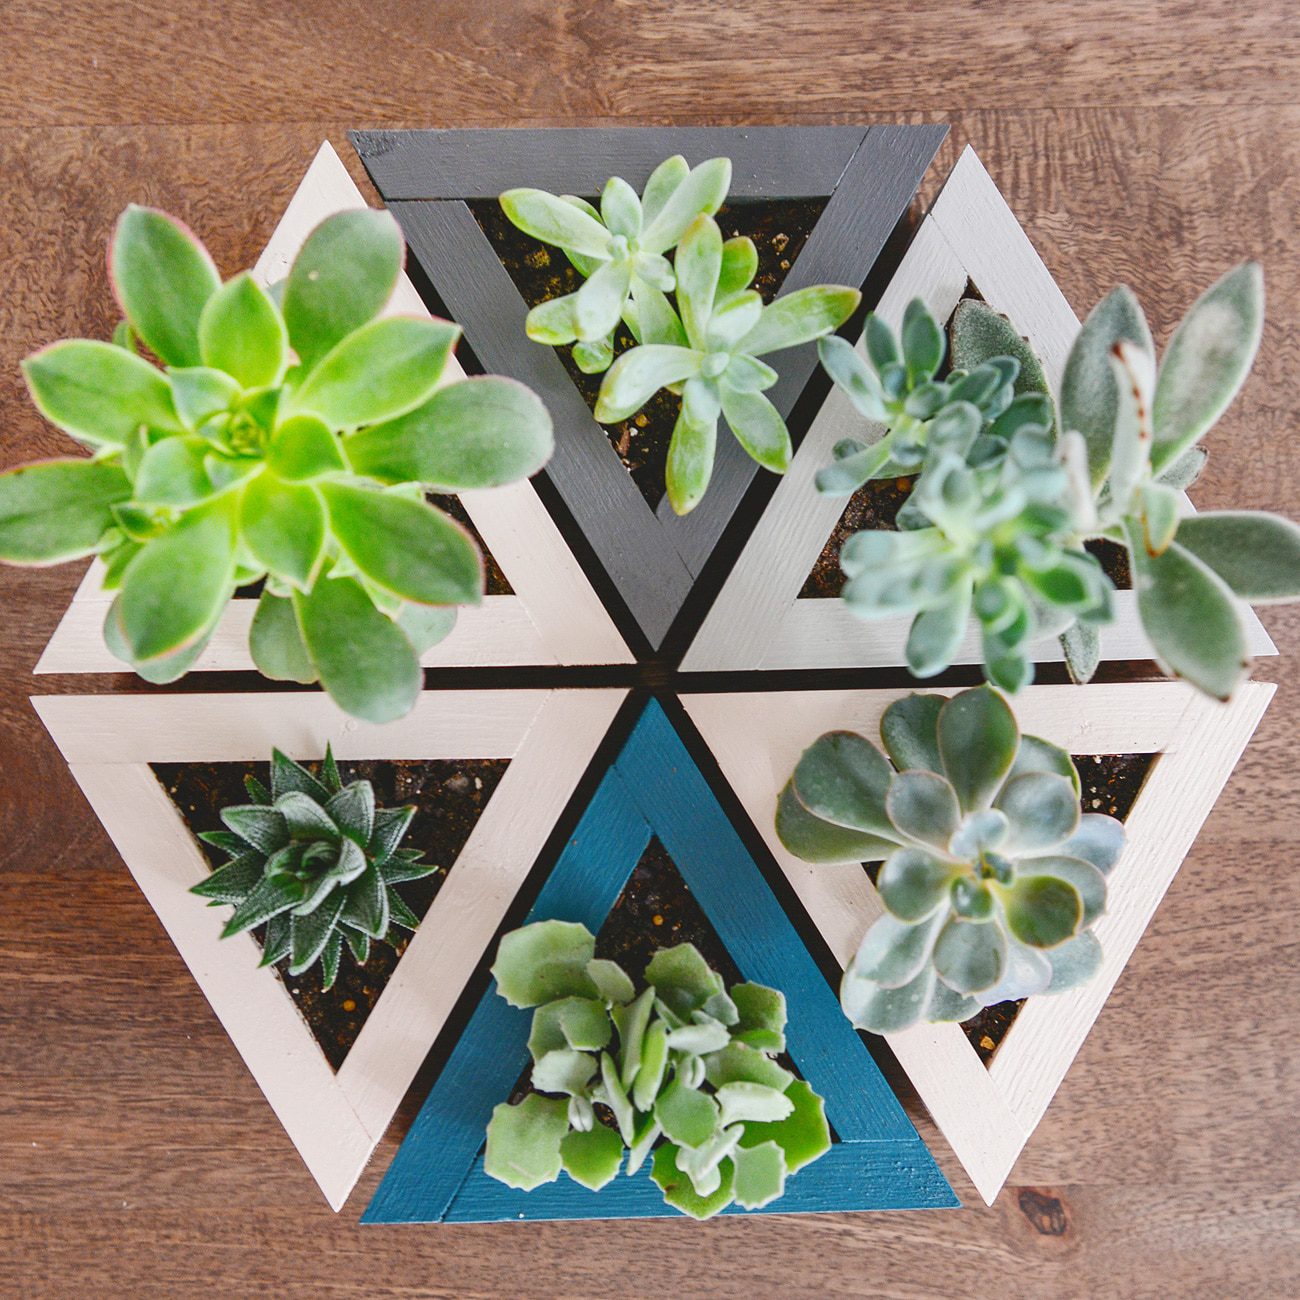
We made 8 total, but how cute would 16 of these look? Or 20? Or 30? The sky’s the limit, really.
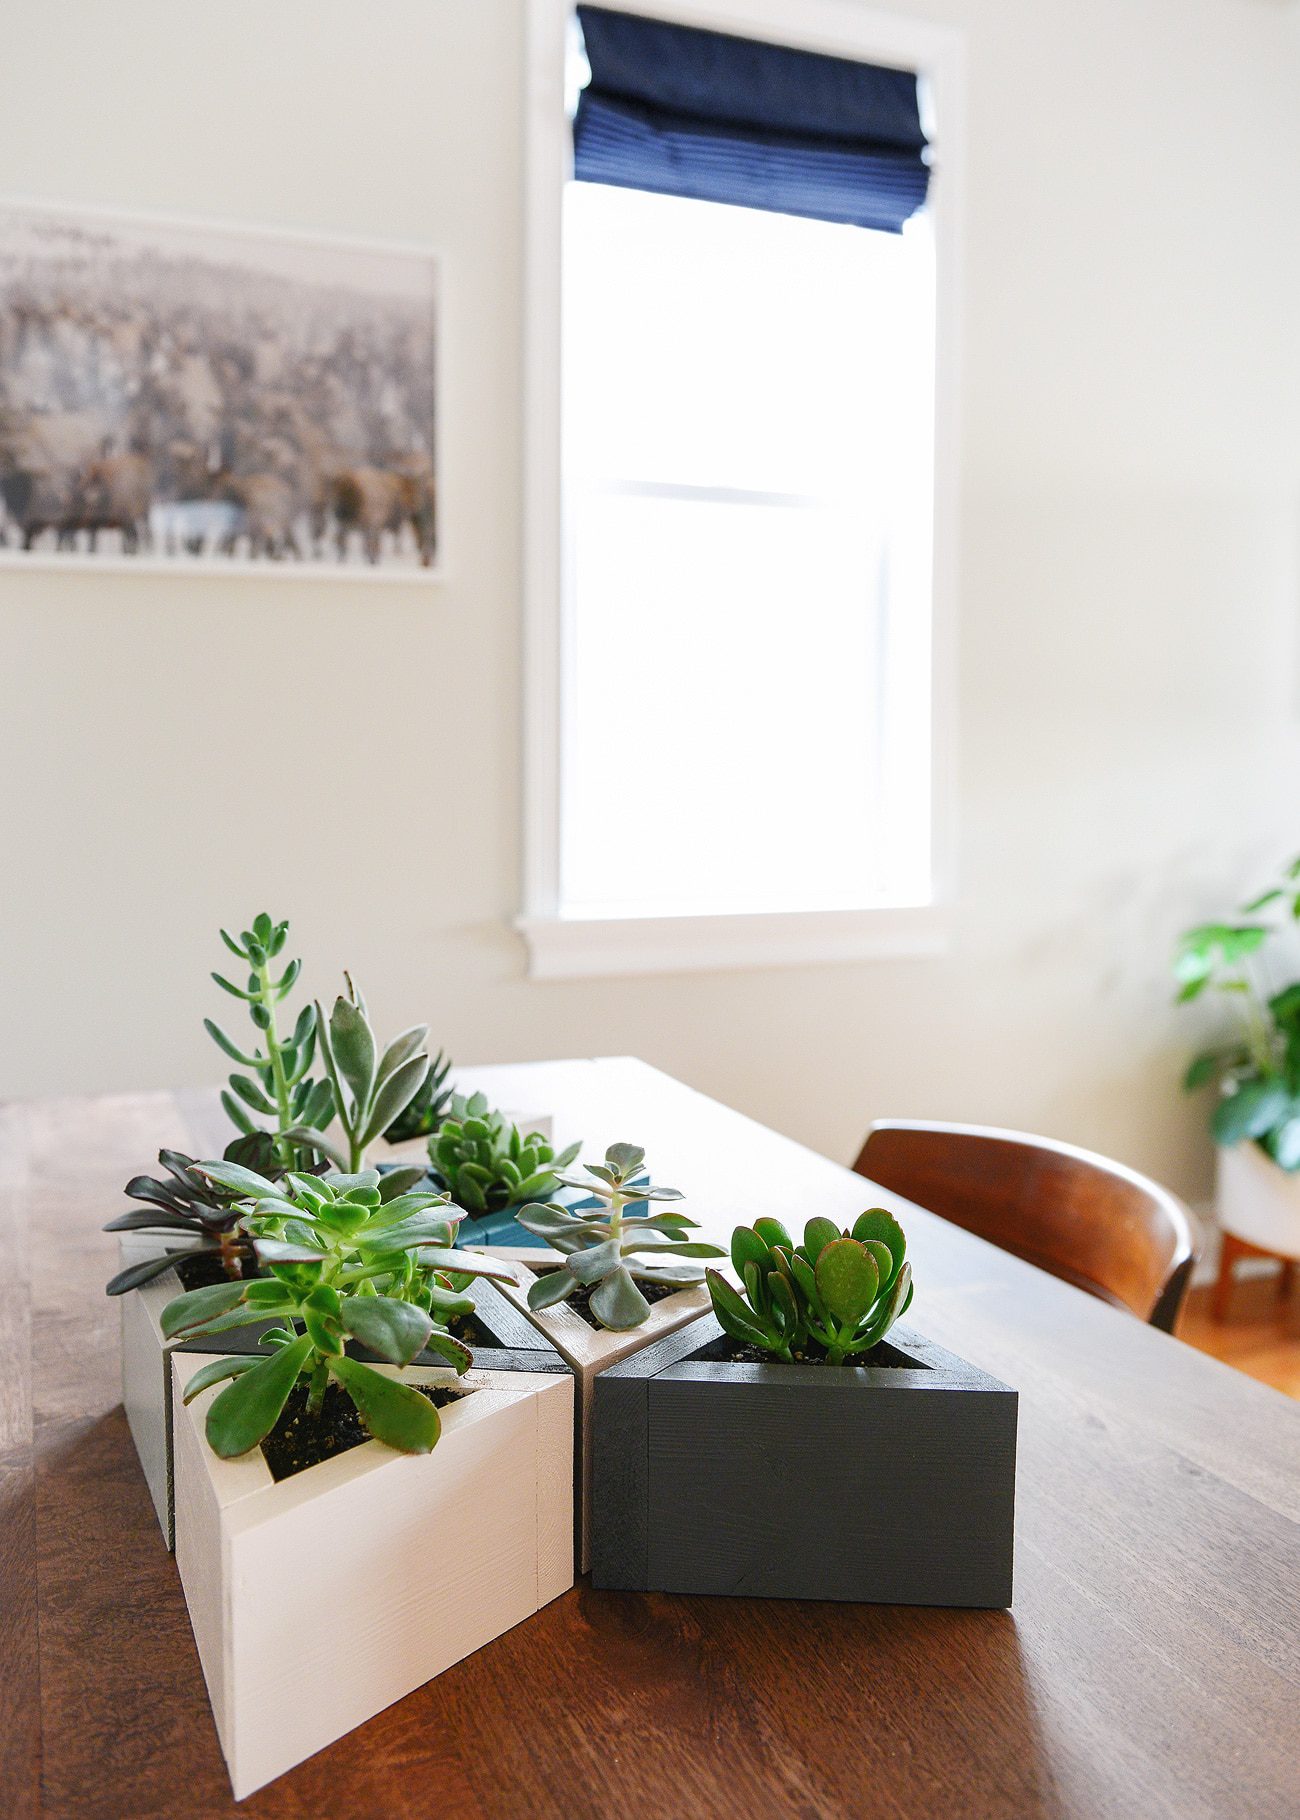
We’ll be bringing them to our Friendsgiving gathering (in just a few short weeks!), but in the meantime, these guys are catching the rays on the studio’s windowsill. The entire project came together in about 3 hours – including shopping for the pine, making our cuts, gluing, painting and planting – spread out over two days this past weekend. We had a lot of fun whipping these up, and we think even the most beginner DIY-er could make these with ease!
PS – See the challenge kick-off right here, and a big thank you to BEHR® for sponsoring this project!


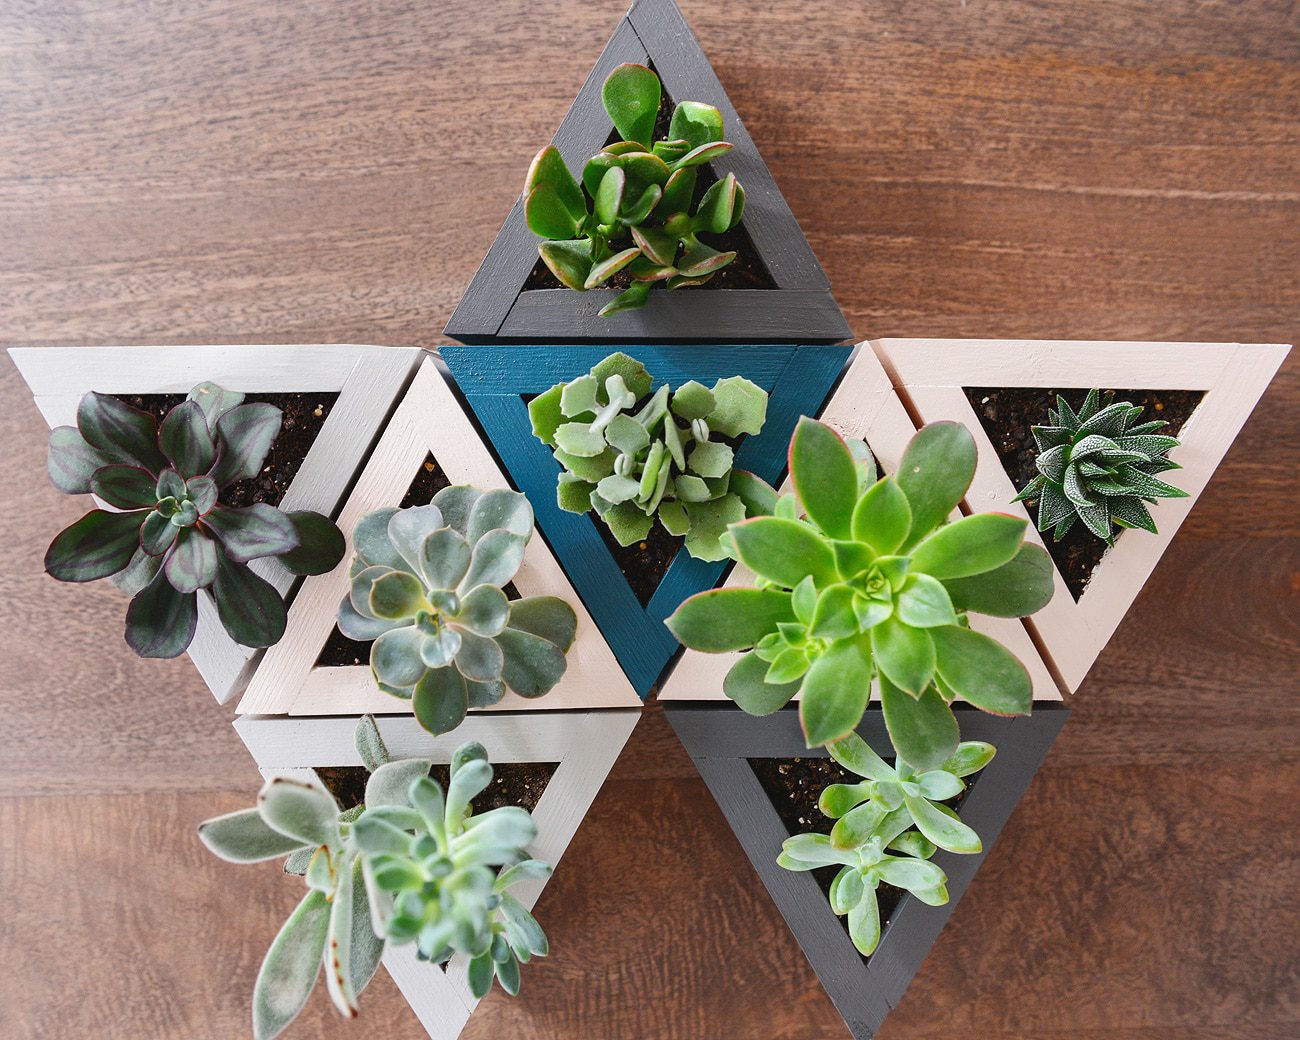
So cute! I love that they can be arranged in a variety of ways, and my minimalist heart is so happy that they are meant to be given away. Good job.
Agreed, our favorite part is that they’re meant to be gifted to friends! Less ‘stuff’ in our home, and a fun way to remind everyone of the good times.
What a great idea! I just planted succulents and am itching to get more! The succulents themselves are relatively inexpensive…but buying all the pots can really add up. These DIY planters are such a great alternative and budget-friendly.
VERY budget friendly!
Wouldn’t these make a great gift when someone moves to a condo??
Ha, true! Was also thinking they’d be great for weddings and showers and pull double duty as favors, too.
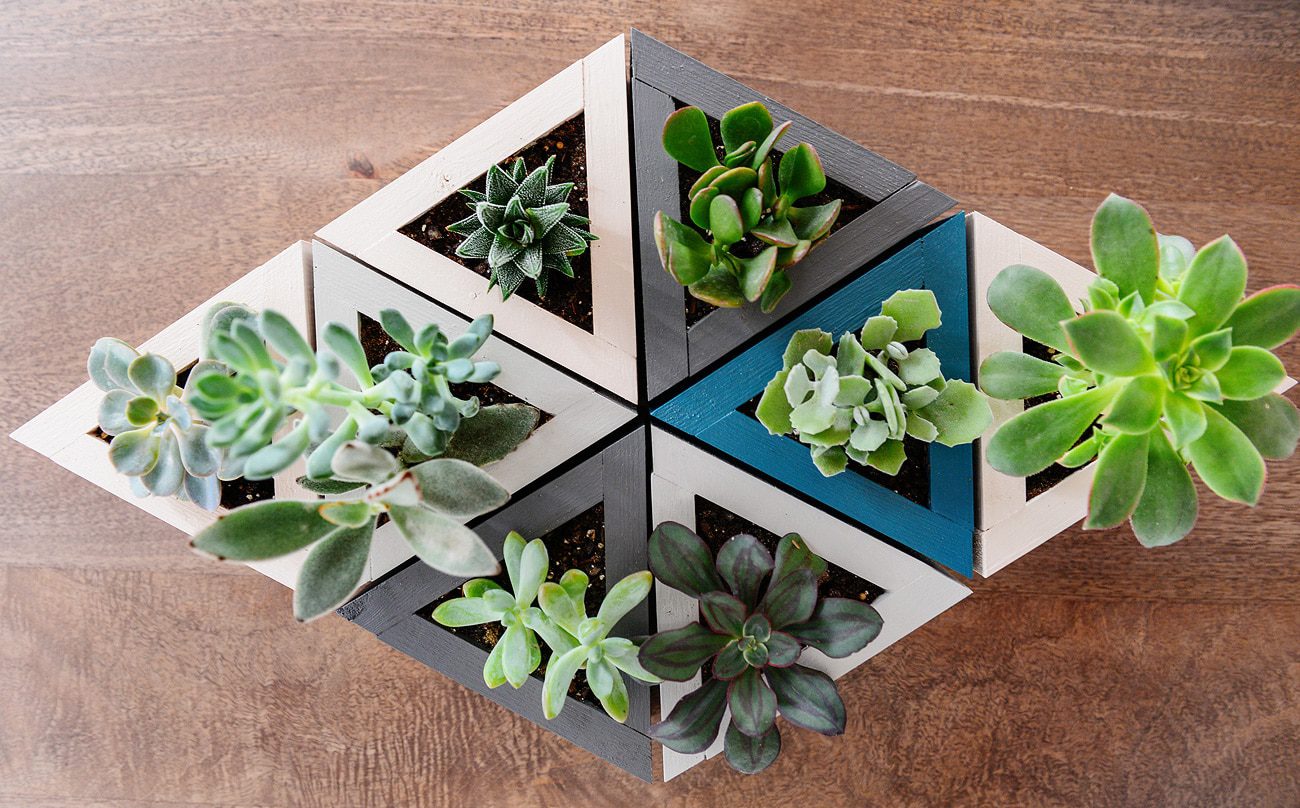
We may just end up doing this for our wedding…We could fit them all together as table runners and just have guests take them home!
TOTALLY. These would made cute centerpieces and guest favors!
I love these! What a cute idea — and useful, even better. ^_^
This triangle planters could be arranged in so many ways (want to create an heart-shaped) :o Love it! Thank you for sharing the post!
[…] These are triangle-shaped small planters, which you can create an attractive center point by putting them on the walls or in the garden. You can use the succulent plants on them. When used on the walls, it will be the subject of discussion for your guests. To make this, the triangle is prepared by adding a wood board to 60 degrees. Similarly, by making 8 triangles it is, then parallels with each other. See for more information. […]
[…] These are triangle-shaped small planters, which you can create an attractive center point by putting them on the walls or in the garden. You can use the succulent plants on them. When used on the walls, it will be the subject of discussion for your guests. To make this, the triangle is prepared by adding a wood board to 60 degrees. Similarly, by making 8 triangles it is, then parallels with each other. See for more information. […]